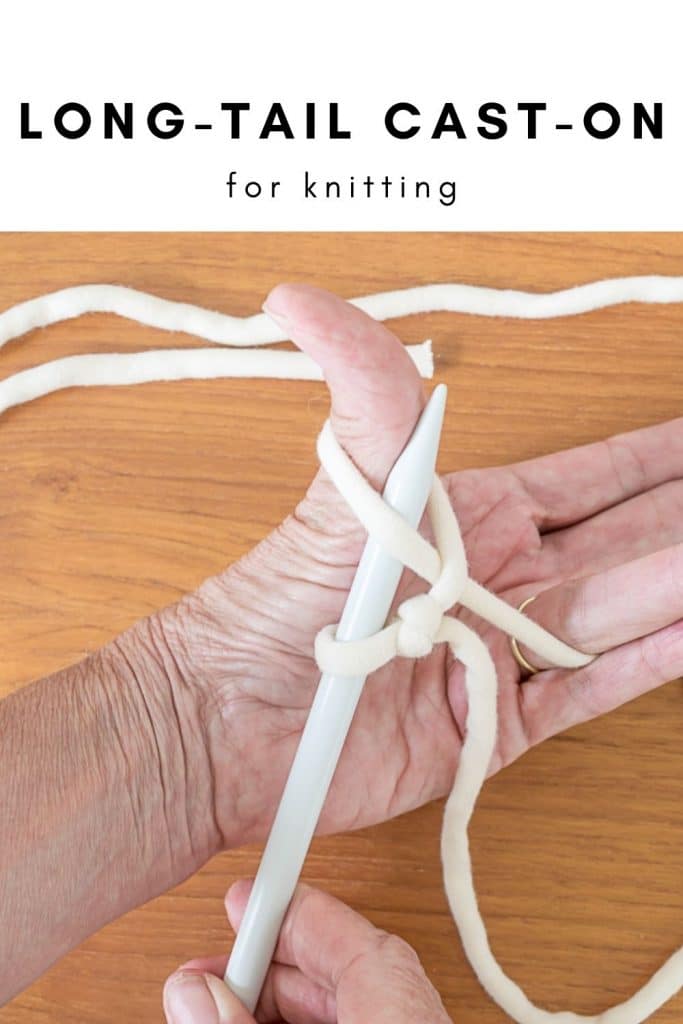
Long Tail Cast On for Knitting


This post uses still images, written directions, and a video to show how to do a long-tail cast-on using your thumb. Casting on is the first step in knitting.
You’ve picked out your pattern, yarn and made sure you have the correct needles. Now you are ready to start knitting! And once you’ve mastered this, bring on the knit and the purl!
But first, we need to get the yarn onto the needles. And to do that, we need to cast on.
What does it mean to ‘cast on?’
transitive verb: to place (stitches) on a knitting needle for beginning knitted work.
You can’t start knitting until you get some of that yarn you just chose onto the needle. Casting on is how we do that.
There are a variety of methods to cast on, but I feel the simplest is the thumb long-tail method.
Terms to Know
Slip Knot
The slip knot forms an adjustable loop in your yarn or rope. You can place the loop around your needle and then tighten the knot by sliding it.
Cast On/Casting On (abbreviated co)
Placing stitches on a knitting needle for beginning knitted work
Working Yarn
The yarn coming from the ball and is the yarn you will be knitting with.
Tail End of Yarn
The yarn not coming from the ball; it’s the length of the yarn you’ve pulled off to cast on and will be the shorter piece of yarn at the very beginning of your piece. Once you are done with your cast on, you will not use the tail end of the yarn and will weave it in at the end of your work.
Why chose the Long-Tail Cast On Method?
I find that the long-tail cast-on method produces an even, sturdy, and elastic edge to your knit project, no matter what it is. There are several other methods for casting on, but this is the one I’ve stuck with unless I want a double-sided cast-on.
The only drawback to the long-tail cast-on method is that you need to be able to estimate how much yarn you will need to cast on. If you estimate too little, you will have to rip out what you have cast on, allocate a bit more yarn and begin the process again. If you estimate too much, you will end up wasting some yarn.
How much yarn do I need for a long-tail cast-on?
Well, that’s the $64K question, isn’t it? With the long-tail method, you need to estimate the amount of yarn you will need to cast on the number of requisite stitches. Over the years, I have found a ‘mostly reliable’ method to estimate the length of yarn needed for a long-tail cast-on is the needle wrap estimation.
Simply, I start with a 6-8″ tail and then loosely wrap my yarn around both of my needles as many times as I need to cast on. So, for the image below, I want to cast on 10 stitches. So I leave a 6″ tail and then wrap my yarn 10 times loosely around both needles and then another 6″ tail.
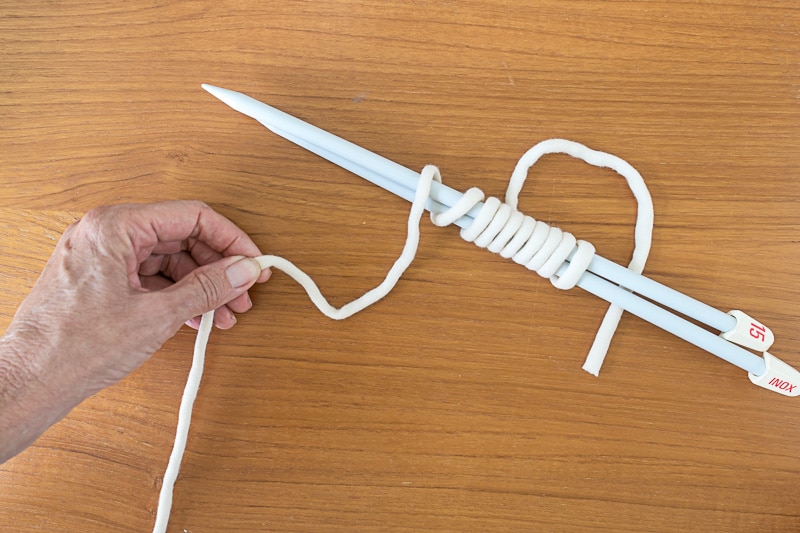
Table of Contents
At the end of the last 6″, where my fingers are pinching the yarn, is where I will tie my slip knot.
How to Tie a Slip Knot, Step-by-Step
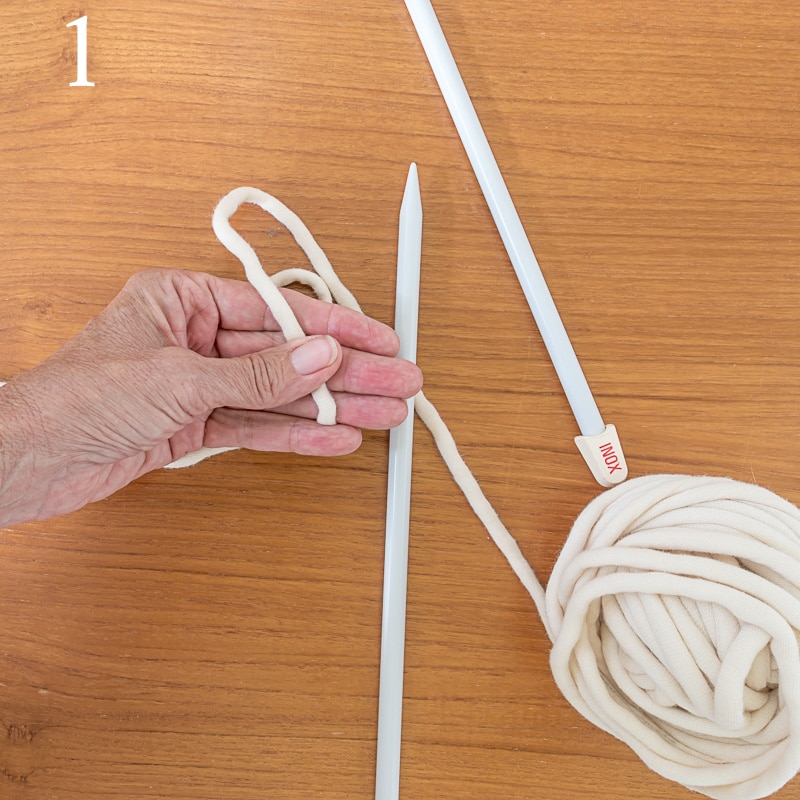
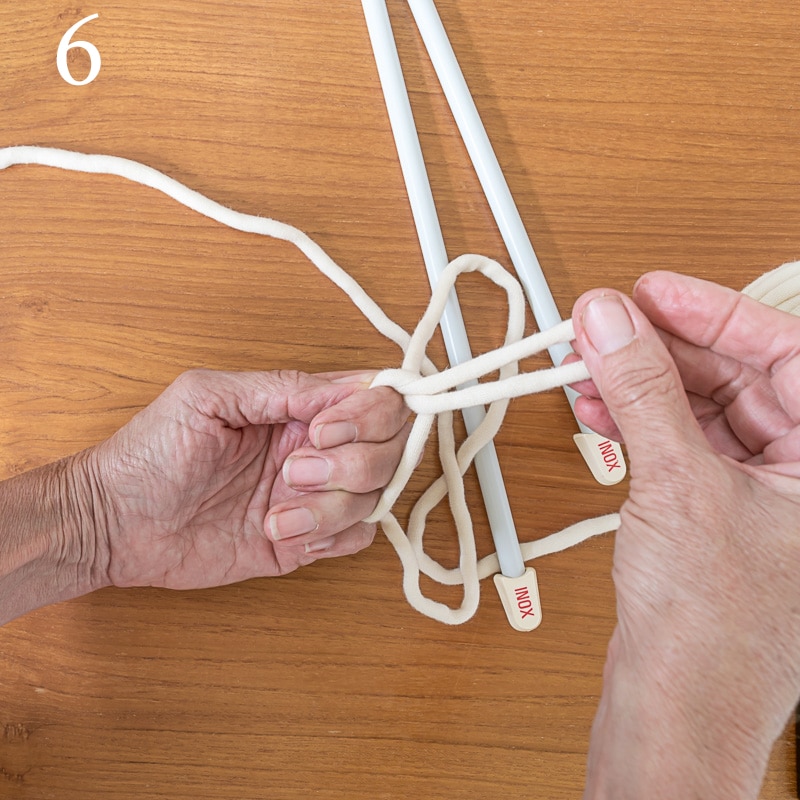
With the tail end of the yarn between your pinky and ring finger,
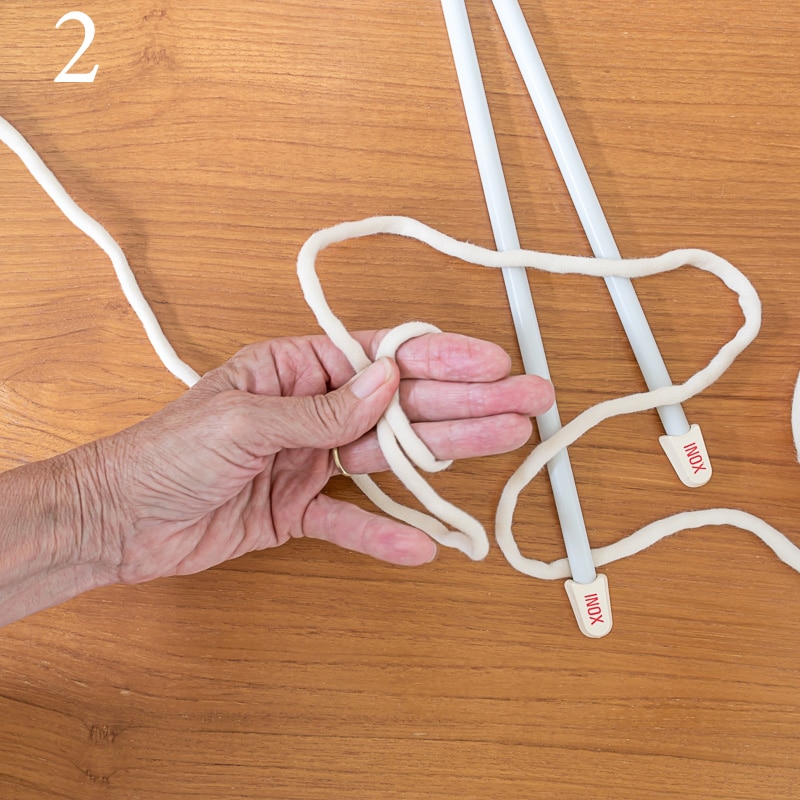
pull the working end up and hold it under your thumb.
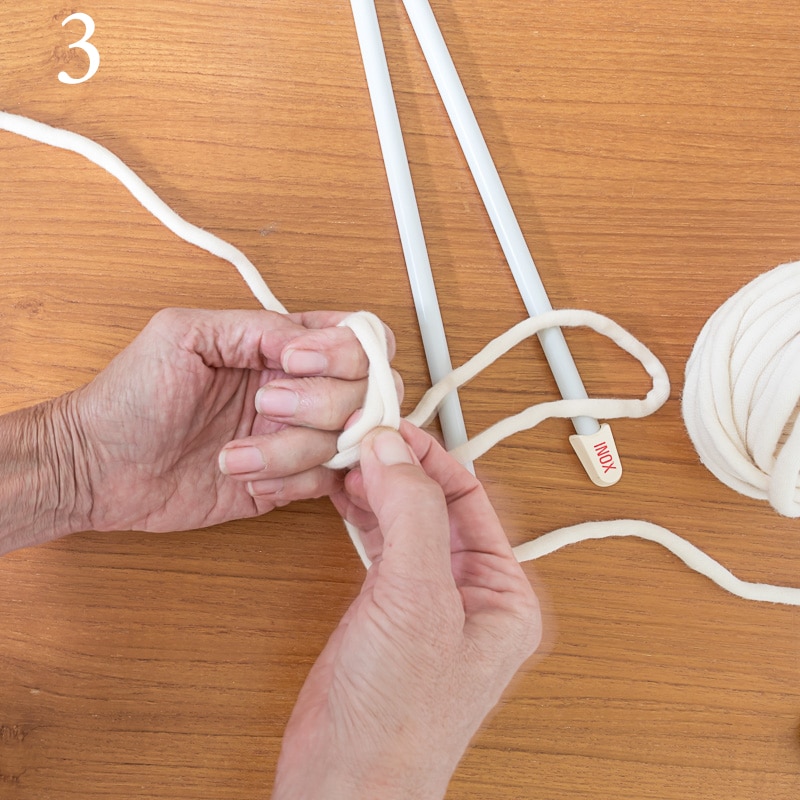
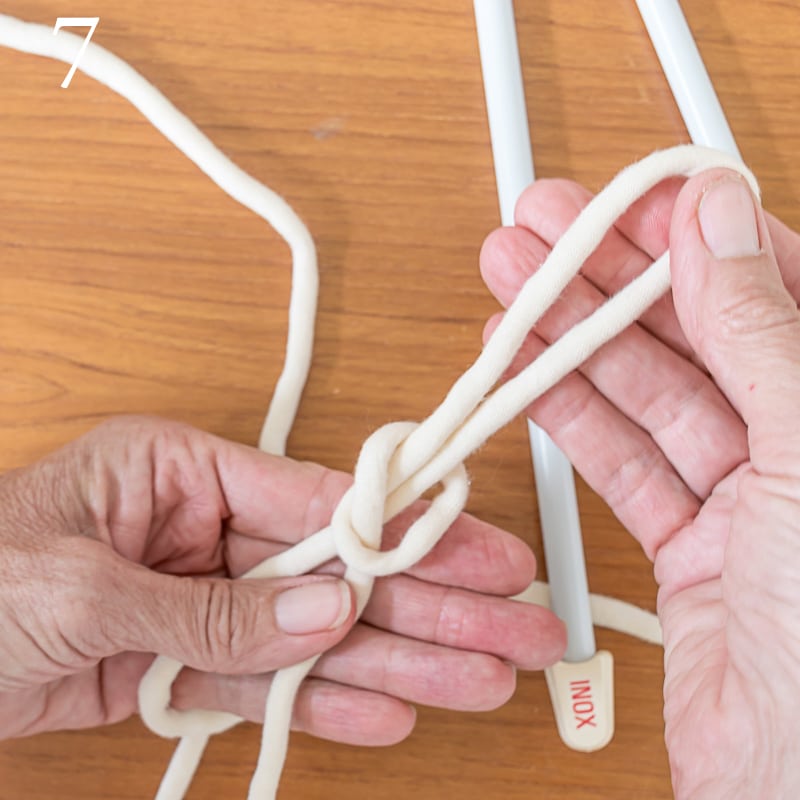
Continue with the working yarn around the back of your fingers and
come up under the loop you have created on the back of your fingers.
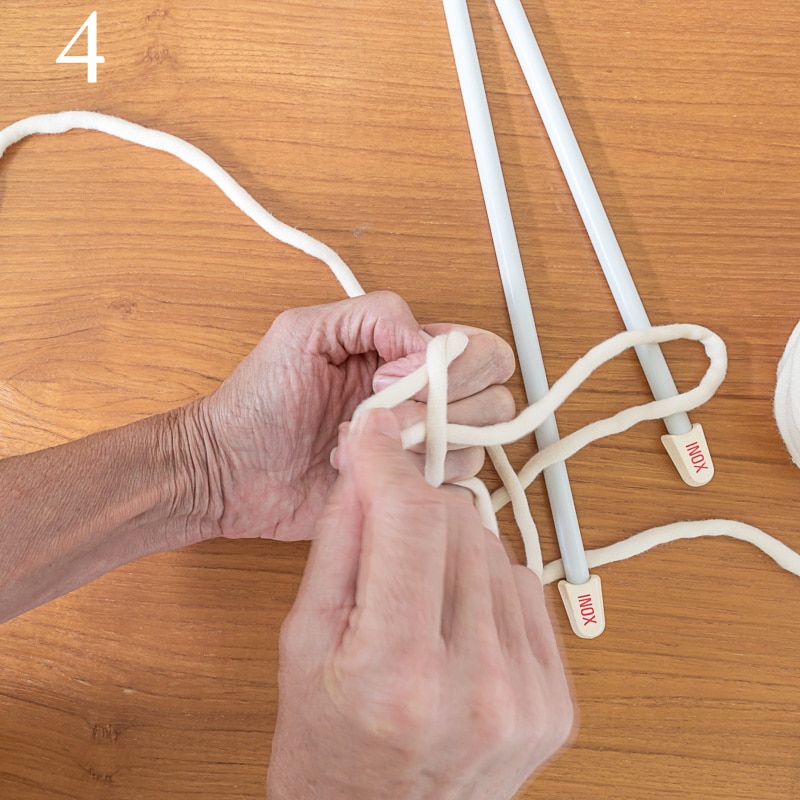
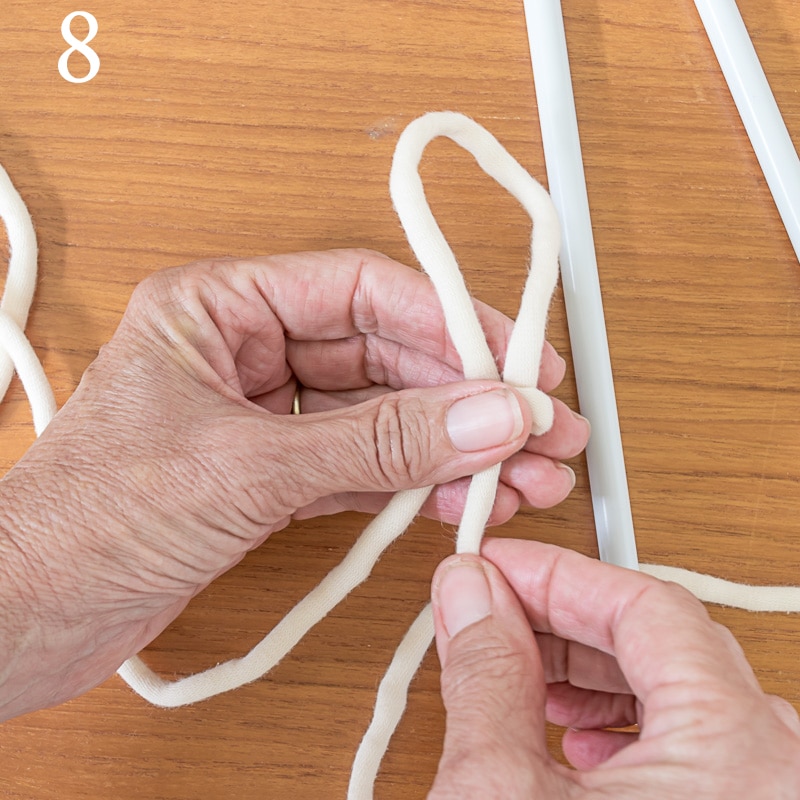
Take the initial loop off of your fingers and hold the new loop you just created.
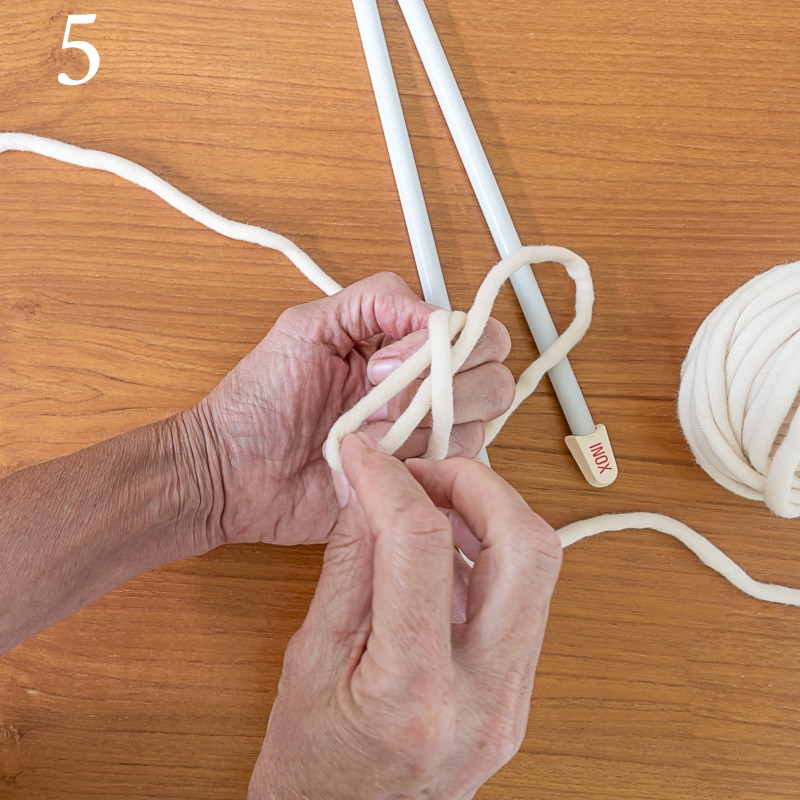
Hold the initial loop in one hand while you pull the working yarn to slip the knot.
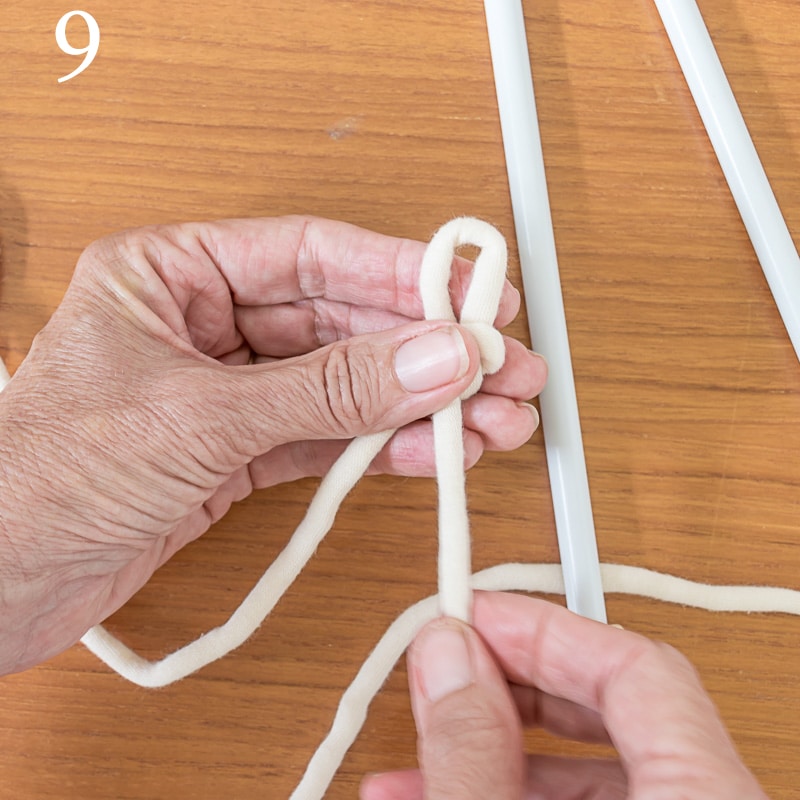
At this point, you can slip it over your needle. This slip stitch counts as your first cast-on stitch.
Let’s see the Slip Stitch in Action!
Once you put that slip stitch onto your needle, you have the first cast-on stitch. Now it is time to put the rest of the stitches onto your needle by casting them on using the long-tail method.
How to Cast On Using Long-Tail Cast-On with Thumb, Step-by-Step
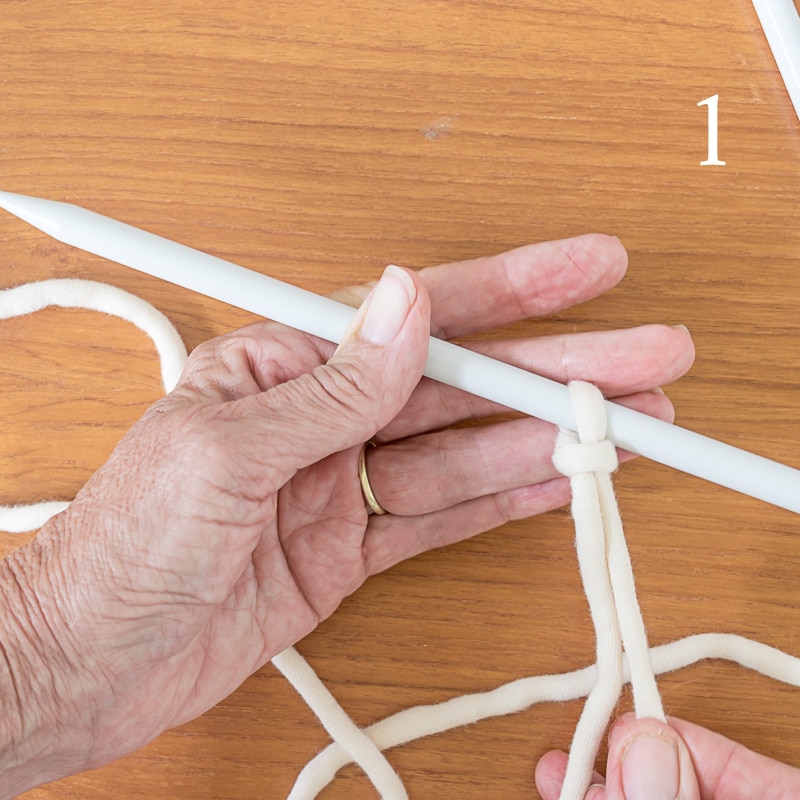
Hold the needle with one cast-on stitch in your right hand and
grab the tail end of your yarn between your pinky and ring finger of your left hand.
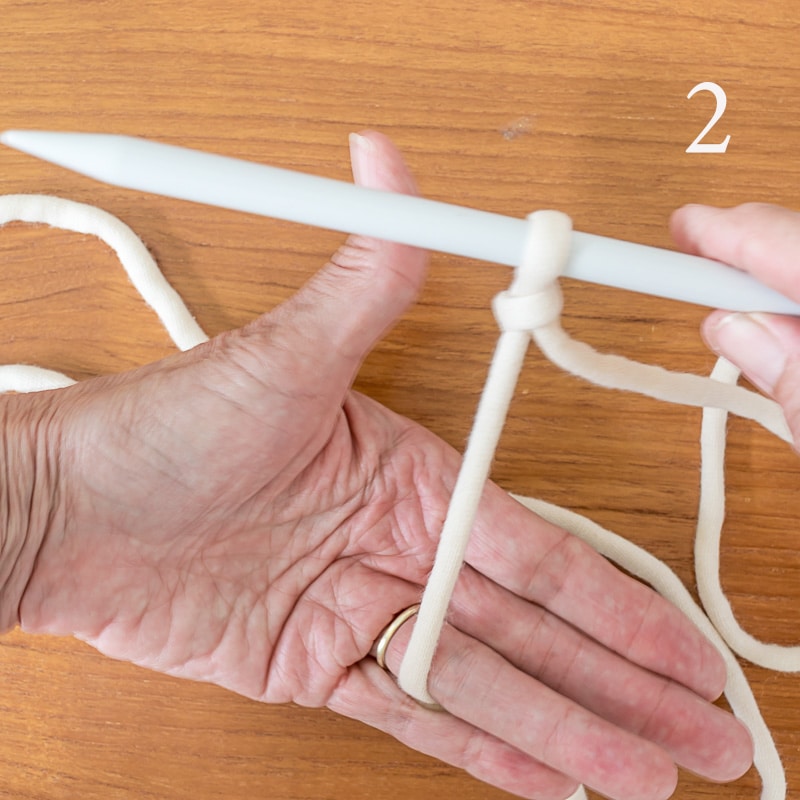
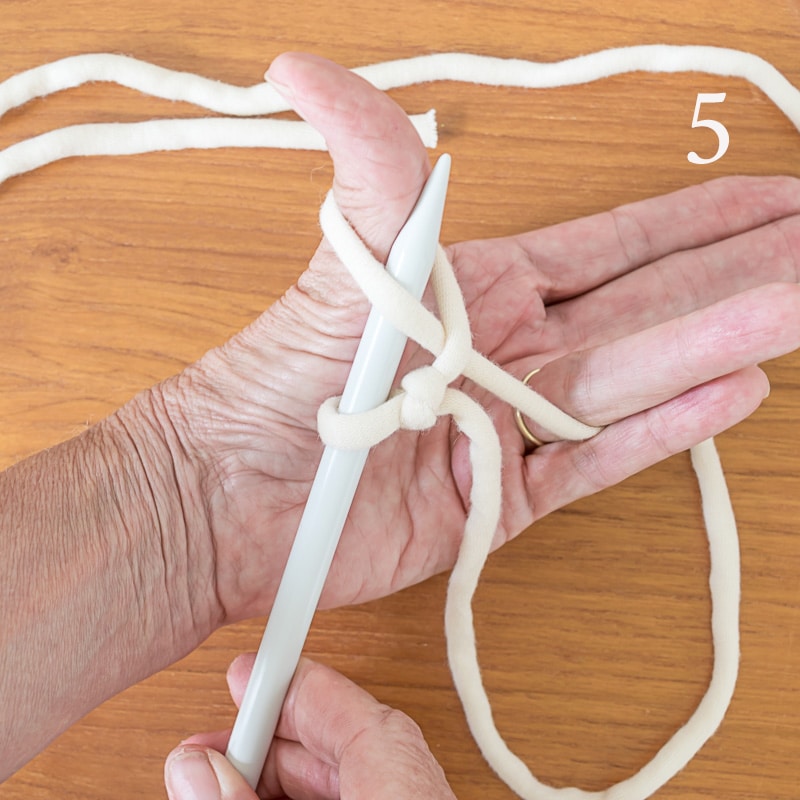
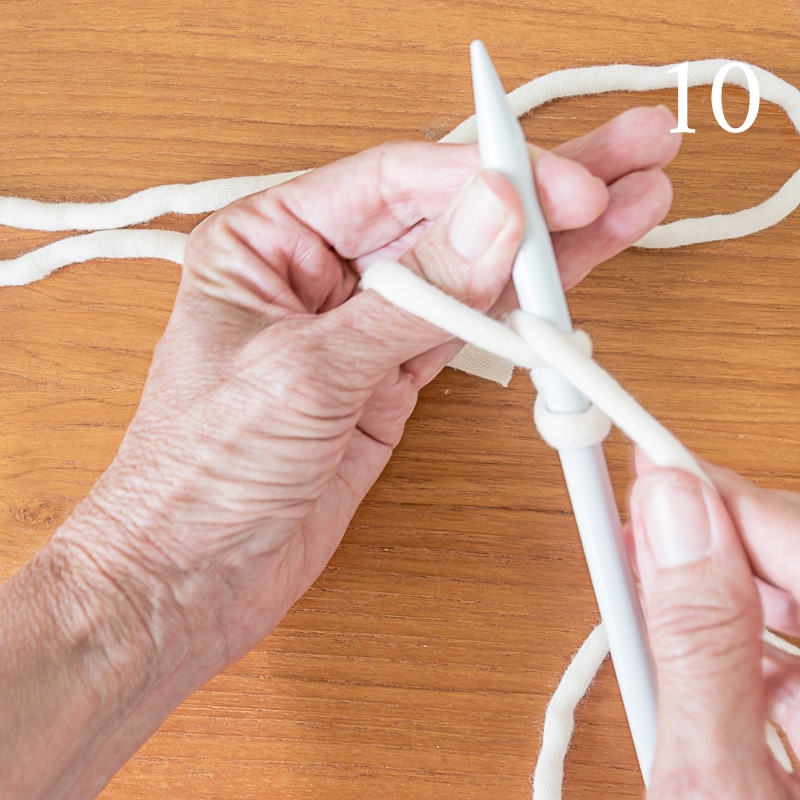
With right hand, move needle behind left thumb and down to the base of your palm.
You have formed a loop on your thumb. Take your needle up under that loop
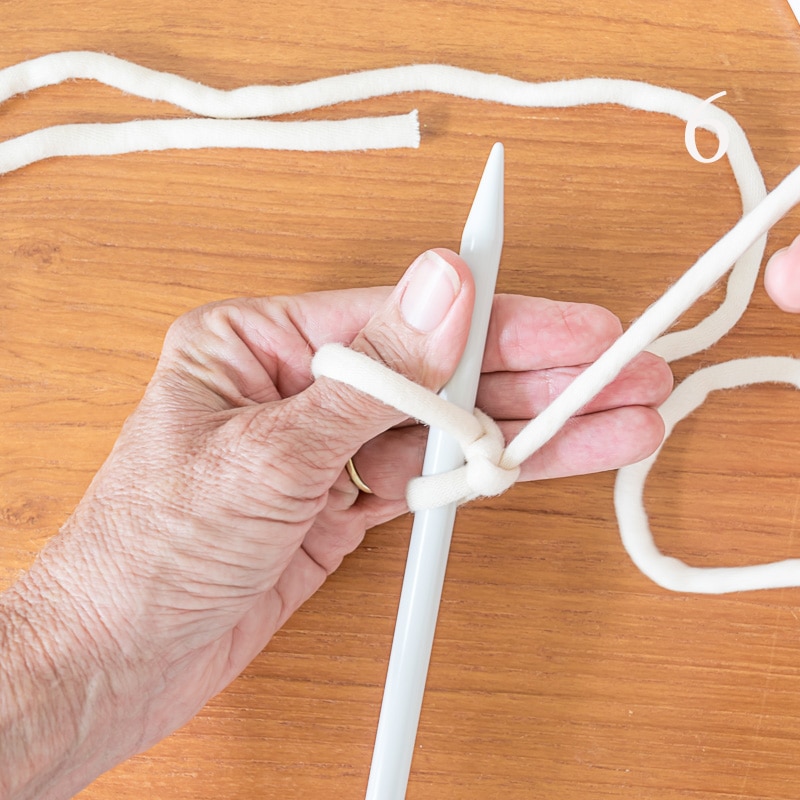
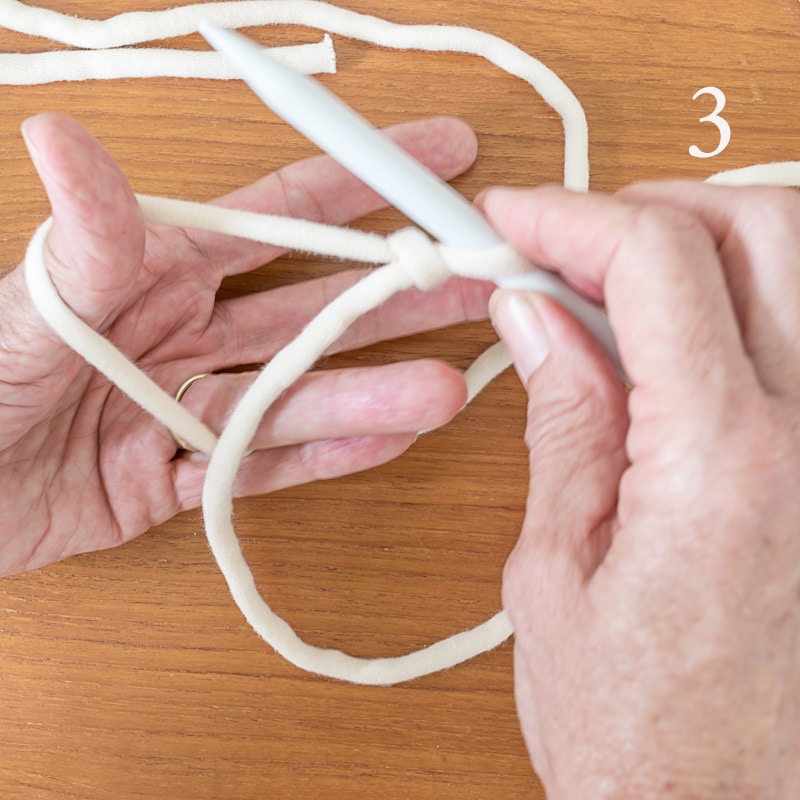
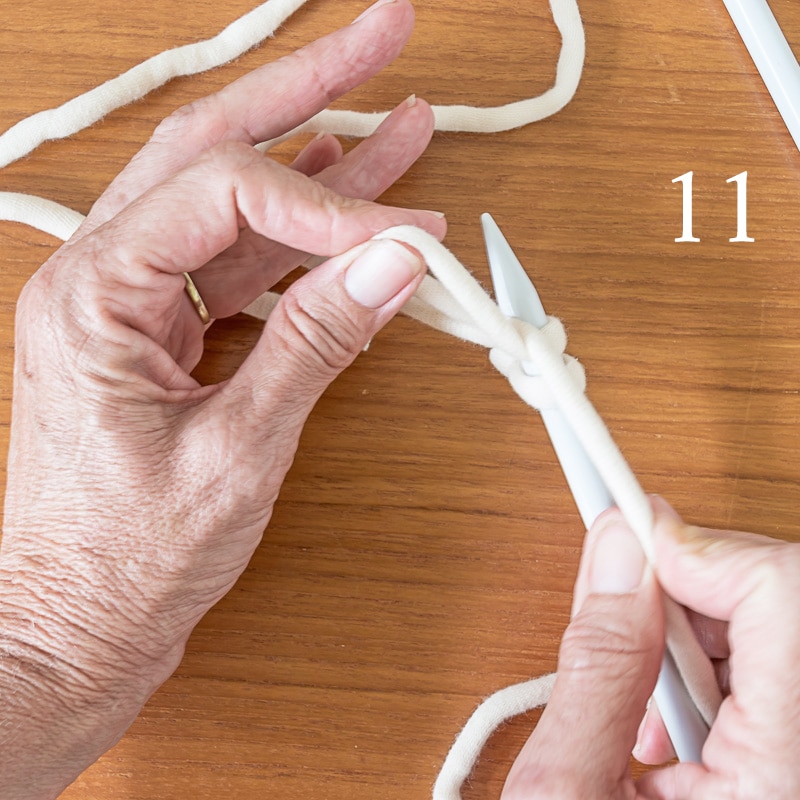
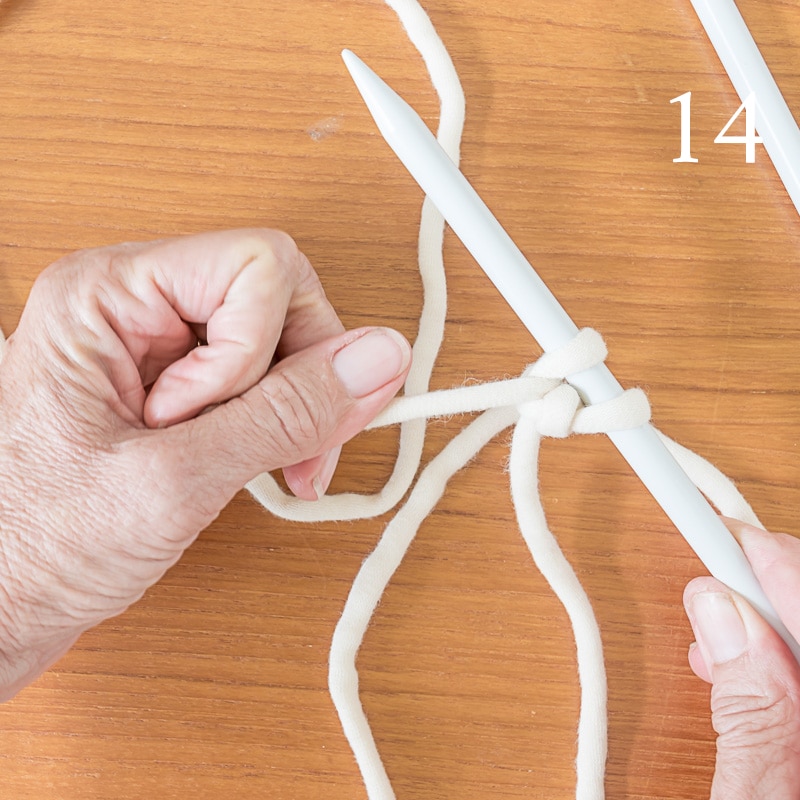
Hold the needle between fingers on your left hand. With working yarn in your right hand
begin to wrap it around the back of the needle, from right to left

and bring the yarn between your thumb and the needle.
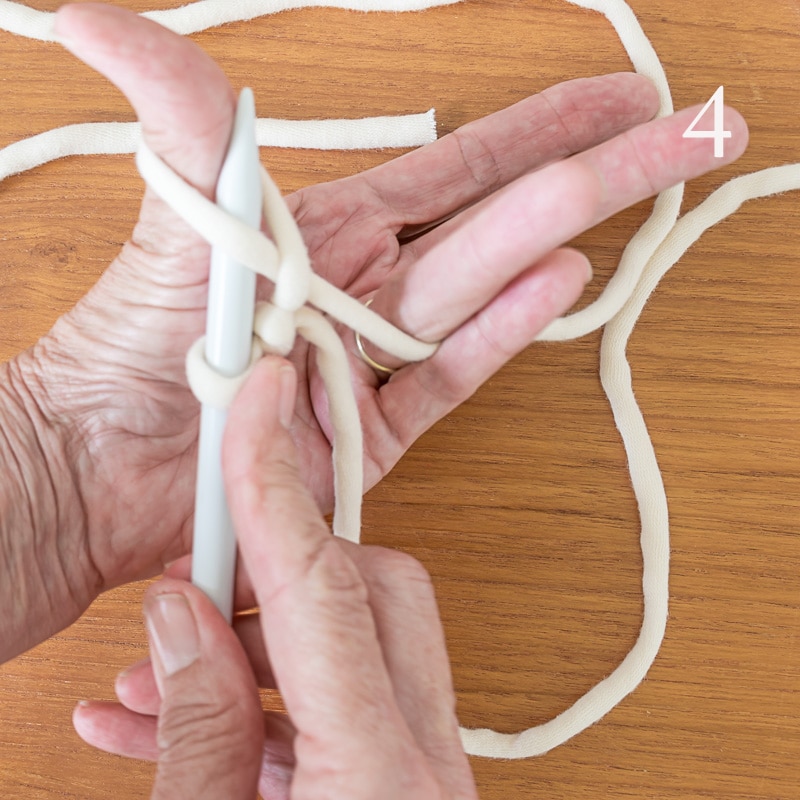
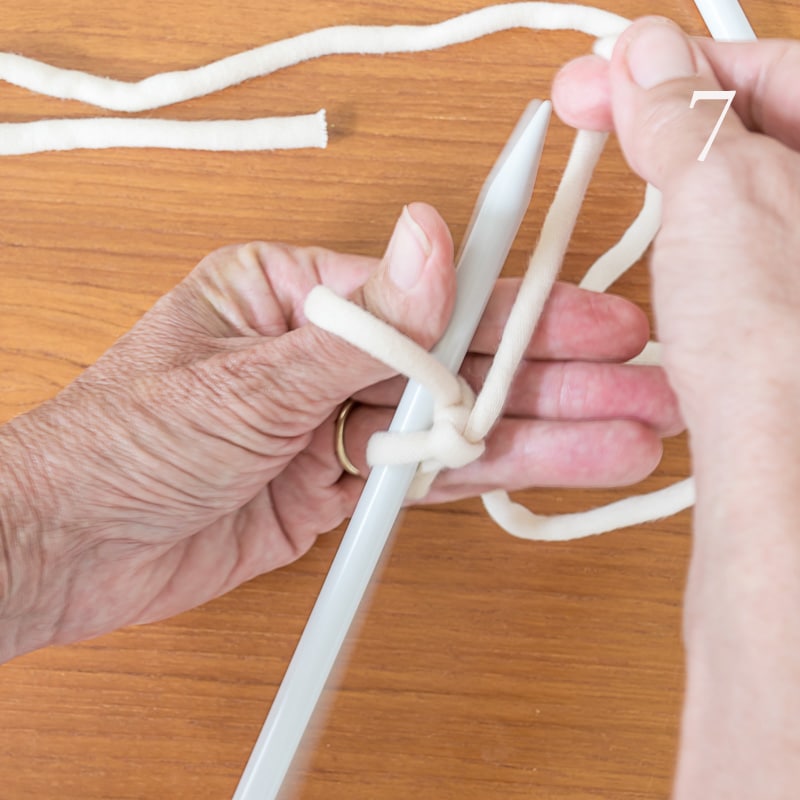
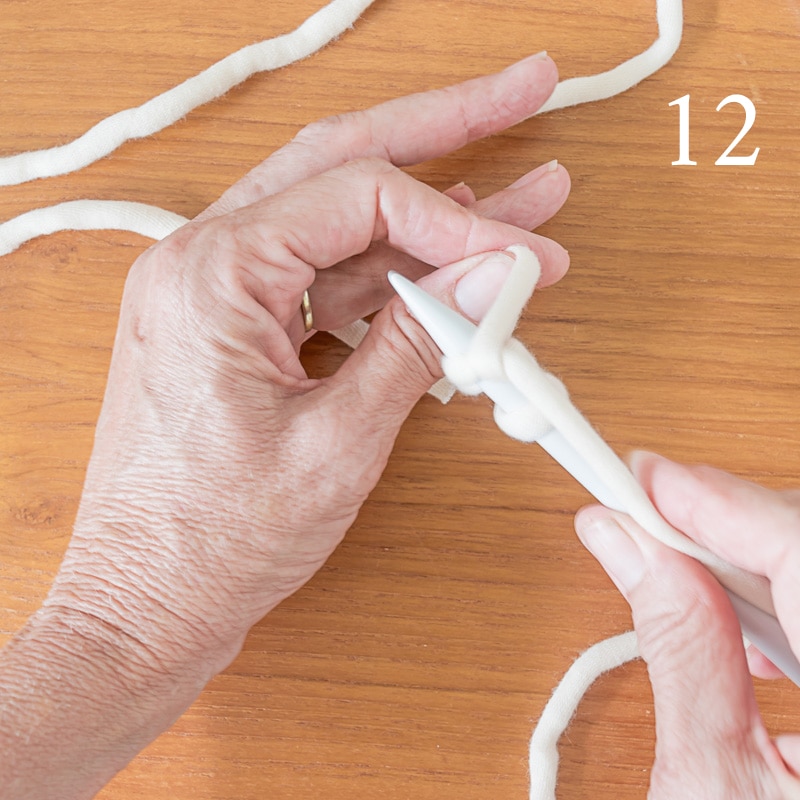
With your right hand, pull the working yarn down slightly
while your left thumb slides the loop that is around it up and over the tip of the needle.
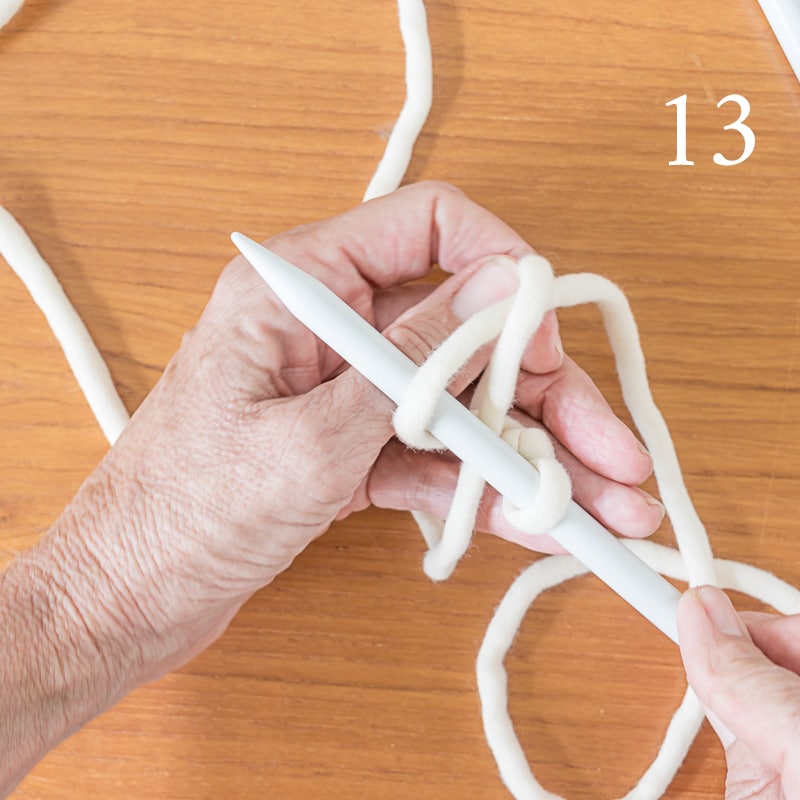
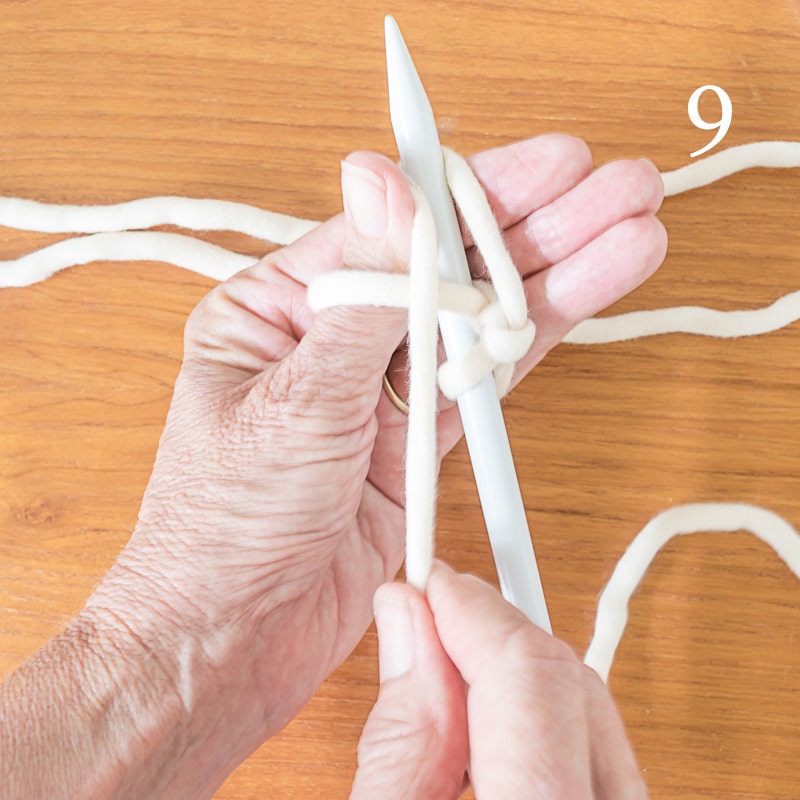
Use your left hand to pull the tail end of the yarn gently to snug the stitch to the needle

You now have 2 cast on stitches. Continue that process until you have the number of stitches required
Long-Tail Cast-On in Action!
Tips and Hints For Casting On
- When it doubt, give yourself that little extra bit of yarn when estimating how much you need.
- If you are required to cast on alot of stitches…like more than 50…save yourself some sanity and place some stitch markers at increments along the way so that you don’t have to count all 187 stitches multiple times. I like to place them in 25 or 50 stitch increments.
- Don’t make your stitches too tight, you will need to knit into them. Plus, you don’t want that end to pull in more than the rest of your work.
- Don’t make your stitches too loose either. You don’t want to see space between and within the stitches. Just snug them up against the needle.
- The first slip stitch does count as the first stitch in your cast on.
- BUT, your cast on row does not count as your first row of knitting.
See the full video on how to cast on and make a slip knot here.
If you want to learn how to knit or are looking to brush up on your knitting skills and knowledge, pop over to the How to Knit page, which houses all of the posts that teach knitting skills. Or, you could go ahead and visit each one by clicking the links below.
All About Knitting
- All About Yarn, including different fibers and weights, how to read a yarn label, and a Yarn Weights Chart
- All About Knitting Needles, including material, sizes, styles, and a Needle Conversion Chart.
- How to Cast On Using the Long-Tail Method, including calculating how much yarn is needed to cast on and how to make a slip knot.
- How to Knit the Knit Stitch
- How to Knit the Purl Stitch
- How to Knit the Seed Stitch
- How to Bind Off, including how to weave in your loose ends.
- How to Read a Knit Pattern, including a Common Knitting Abbreviations Chart.
- This simple Garter Knit Dishcloth will let you put all your new skills to good use!
- How to Block Your Knitting.
- Common Knit Errors; How to Prevent or Diagnose and Fix Them
- Join yarn using the Russian Join
- How to seam pieces of knit fabric with the Mattress Stitch (for sweaters, tops, pillows, etc…)
- How to Knit in the Round with Circular Needles
- How to Knit in the Round with Double-Pointed Needles
- How to Knit in the Round using the Magic Loop Technique.
- Organize Your Knitting with these free printables.
- Check out our Gift Ideas for Knitters.
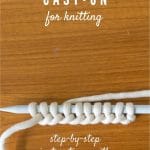
To refer back to this post on the Long-Tail Cast-On, bookmark this page or pin the following image.
Thanks so much for spending a few minutes of your busy day with me!
To ensure you don’t miss future content, pop your email in the pale green box on the right or click here. I usually send one email weekly, so I won’t inundate your inbox. I’m sensitive to an overflowing email inbox!
We will only use your email address to send you emails, no more than 1-2 weekly. In addition, you will have access to my growing library of knit & crochet patterns and other printables. Check back often as this library will continue to grow. You can unsubscribe anytime by emailing me or clicking on the “unsubscribe” link at the bottom of all emails.
And you can access many of the products I refer to on my Nourish and Nestle Amazon Page. You can access it here.
So, if you’d like to participate in the ‘subscriber benefit’ action, simply subscribe to Nourish and Nestle here or use the form on the right sidebar. It’s slightly towards the top.
I have sent all my subscribers the link to the Subscriber Benefits Library. If you missed it or misplaced it, let me know.
Until next time…