Milk Kefir Recipe
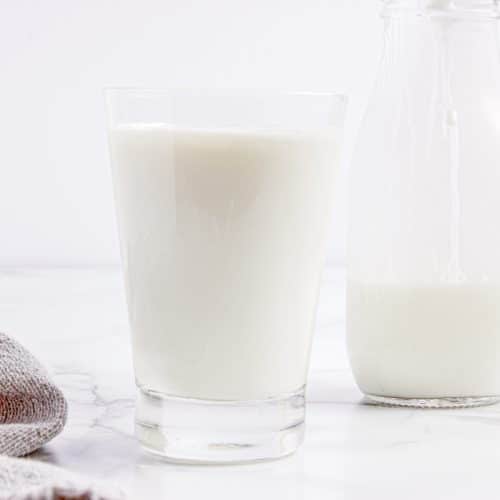
Homemade milk kefir is the easiest fermented food you'll ever make. Just add kefir grains to milk, let it sit on your counter for 12-24 hours, and strain. You'll have a tangy, probiotic-rich drink that costs pennies per batch and beats store-bought kefir in both flavor and the number of bacteria. Use it in smoothies, baking, or drink it straight for gut health support.
Equipment
- Glass Jar - quart size or larger
- Breathable cover - coffee filter, papertowel, or cloth
- Rubber band
- Fine mesh strainer
- Storage jar with tight-fitting lid
Ingredients
- 1 tablespoon kefir grains
- 4 cups whole milk pasteurized or raw; avoid ultra-pasteurized
Instructions
- Add 1 tablespoon of kefir grains to your clean jar. Pour in 4 cups of milk and give it a gentle stir to distribute the grains. Note: Using too many grains will cause overly fast fermentation; too few will result in slow or incomplete fermentation.
- Cover the jar with a loose-fitting lid or a breathable material like a coffee filter, paper towel, or cloth, and secure it with a rubber band. Avoid using an airtight lid, as the fermentation process releases gas that needs a way to escape.
- Place the jar in a warm spot away from direct sunlight ideally between 68–78°F (20–26°C). Let it sit undisturbed for 12 to 48 hours.
- Your kefir is ready when you see these signs: a texture noticeably thicker than regular milk, a pleasant, yogurt-like aroma, slight separation into thick curds and thin yellowish whey, a tangy taste, and the grains may rise to the top.Start checking at 12 hours in warm weather, 24 hours in cooler conditions. Gently tilt the jar. If the milk has thickened and pulls away from the sides, it's ready.
- Set a fine-mesh strainer over a bowl or jar. Pour the kefir into the strainer then use your spoon to gently move the grains in small circular motions. This encourages the liquid to flow through while the grains stay behind.If the mixture has separated significantly, give the jar a gentle swirl before straining to recombine it slightly.
- Move the kefir you strained to a clean jar and cover it with an airtight lid. Refrigerate it immediately.Shelf life: 7–10 days refrigeratedTexture: It will continue to thicken slightly in the refrigeratorFlavor: It will become tangier over time
- Optional Second Fermentation for Fizz: Before refrigerating, seal the kefir you strained in an airtight jar and leave at room temperature for 2–6 hours, then refrigerate. This creates a fizzier, more effervescent kefir. Burp the jar (open briefly to release pressure) every few hours to prevent over-pressurization.
- Immediately after straining, return the kefir grains to your fermentation jar. Do not rinse them unless they smell off. The residual kefir helps jumpstart the next batch.
- Add 4 cups of fresh milk, stir it gently, cover it with a loose lid or breathable material, and repeat the process. Your grains will multiply over time and continue producing kefir indefinitely.
Nutrition
Serving: 1cupCalories: 150kcalCarbohydrates: 12gProtein: 8gFat: 8gSaturated Fat: 5gCholesterol: 30mgSodium: 125mgSugar: 12gVitamin A: 492IUCalcium: 300mg
Well, what did you think?Please rate this recipe here! It helps other readers and also helps to support our site.