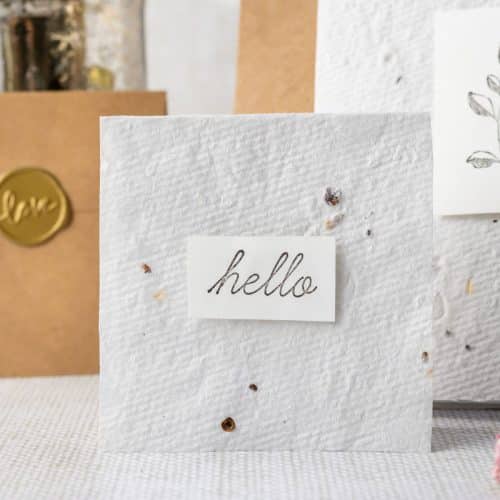
Wildflower Seed Paper Cards
Discover how to create your own Wildflower Seed Paper Cards, a unique, eco-friendly way to send messages that bloom into beautiful wildflowers.
Ingredients
- 8 x 6 inch DIY Seed Paper
- Rubber Stamps, ½ inch to 1 inch, of foliage or saluations
- Stamp pad, black
- Printer paper
- Cardstock, white
- Glue dots
- Foam mounting tape
- Seed Paper planting instructions insert
- Scissors
- Envelopes 4x6 and 3.25x3.25, natural color
- Optional wax stamp stickers for sealing envelopes
Instructions
- To make the stamped design for the front of the card, take a piece of cardstock and stamp some images or words to be placed on the front of your cards. Leave enough room around them to cut a rectangle border.
- Cut around each image leaving approximately ¼ in white space. Cut a line above, below and on each side of each stamped image, creating a rectangle. Set aside.
- Next, take an 8x6 inch piece of seed paper and fold it in half so that you have a 4x6 inch card. If making 2, 3x3 cards, cut the 4x6 card in half to make 2 cards.
- If your paper edges need to be trimmed so that the card will fit into the envelope, use your envelope as a guide. With a pencil, draw a line to mark any excess that needs to be trimmed. Tip: cut off a bit more than the exact size of the envelope and cut both sides so that the edges have uniform sides
- To make the insert that will sit in the card, fold a piece of white printer paper in half. Use the seed paper card as a guide,make your lines a bit smaller that the seed paper card and cut to fit (Again, drawing and cutting the insert a little smaller than the seed paper will make it so the insert does not stick out).
- Open the seed card all the way with the inside facing up. Place 2 glue dots along the inside fold. Place the printer paper insert on top of the glue dots in the seed paper card, fold to fold. Close the card and crease the fold.
- Taking your stamped design, decide if you want your stamped paper to beplaced vertical or horizontal. Put a piece of foam mounting tape on the back of your stamped paper and place it in the center middle of your card.
- Print and cut the seed paper planting instructions (Link here Plant Me Insert ) andplace it inside your card.
- Optional, seal envelope with wax seal sticker.
Notes
- To make the 3.25" x 3.25" cards follow the same steps as the 4" x 6", using the envelopes as a guide for trimming to size.
- The paper insert will allow for a smooth surface to write a note since the seed paper may be a little bumpy because of the seeds.
- If you want to make the cards but don’t want to make homemade seed paper, they sell seed paper on Amazon.
- These make great thank you cards, birthday cards, wedding notes, sympathy notes, just because notes, housewarming, and welcome cards.
Tried this? Love it? Let us know how it was!