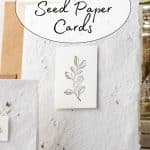
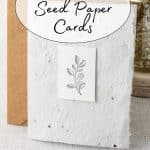
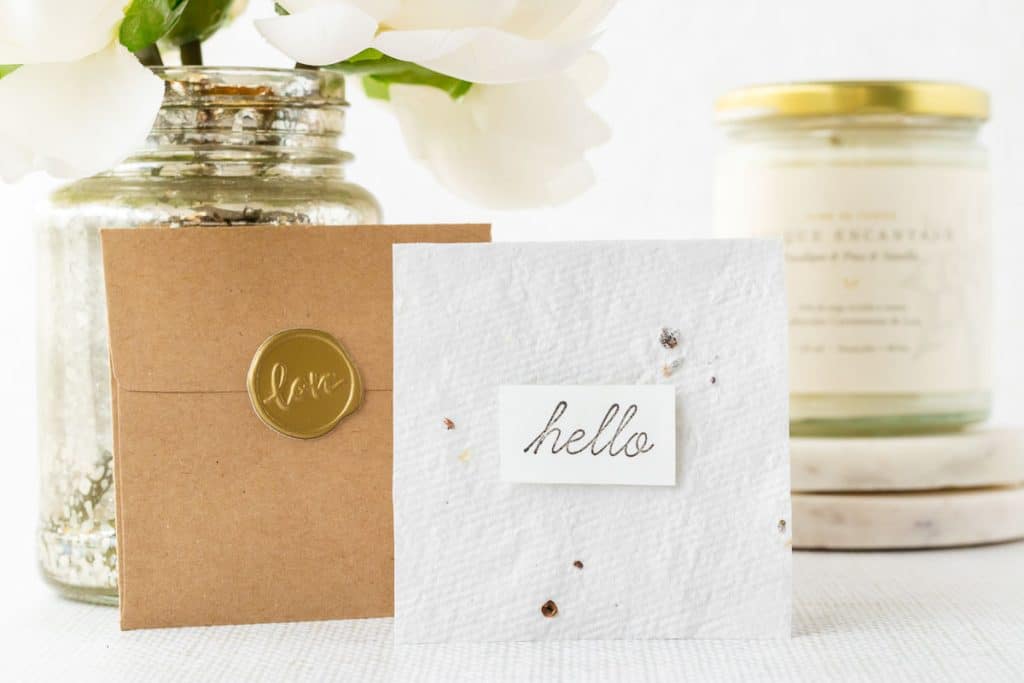
Wildflower Seed Paper Cards
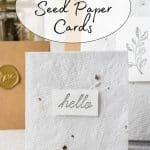
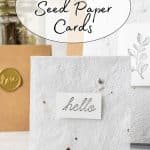
Creating wildflower seed paper cards combines the joy of crafting with the beauty of gardening. This tutorial teaches you to create beautiful, eco-conscious cards that do more than just convey messages—they blossom into vibrant wildflowers. Unique cards, crafted from recycled paper infused with wildflower seeds, are harmonious blend of art and nature. Make your own wildflower seed paper cards, perfect for invitations, thank-yous, or just because.
In this post, we shared how to make seed paper, which you can now put to use in these Seed Paper Cards. Whether you’re a seasoned DIY enthusiast or a crafting novice, you’ll find this project rewarding, with each card recycled paper and turning it into blooming treasures!
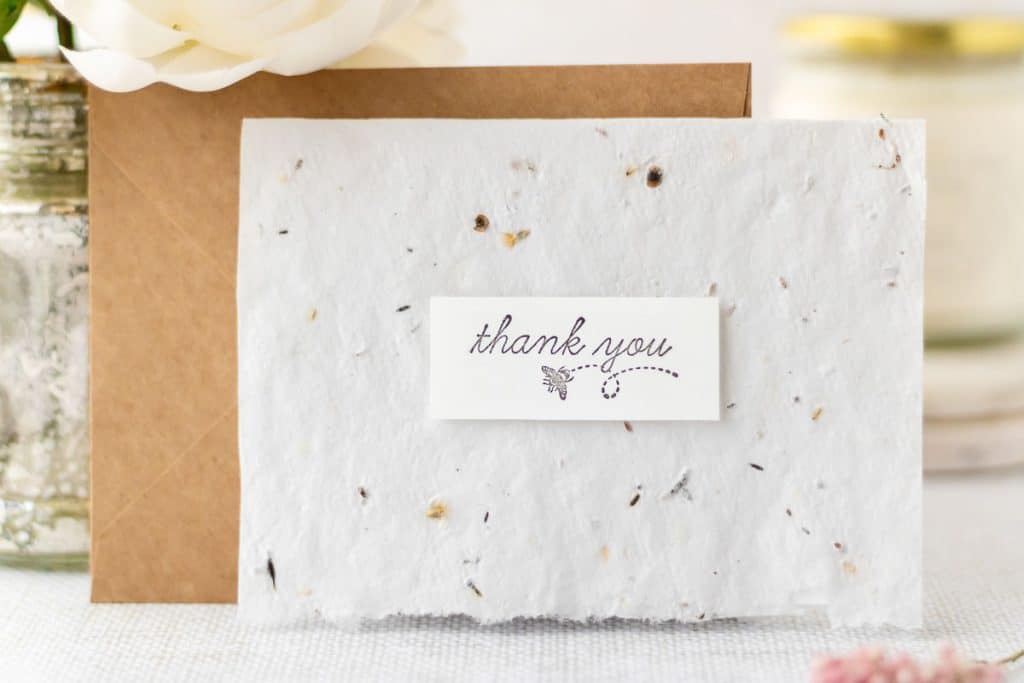
Table of Contents
Why You’ll Love This Plantable Seed Cards Project
- Eco-Friendly Impact: These cards offer a way to reduce waste and promote green living. By utilizing recycled paper embedded with wildflower seeds, you’re contributing to the health of our planet, encouraging biodiversity, and providing essential habitats for pollinators.
- A Unique Handmade Gift: When it comes to useful gifts, everyone can use notecards. And when you give a stack of notecards that you’ve made with handmade seed paper, it makes this gift both unique and useful.
- Personal Touch: Handmade gifts carry a special warmth and personal touch that mass-produced items simply cannot match. These seed paper cards allow you to express your creativity and thoughtfulness.
- Versatility: Wildflower seed paper cards are perfect for any occasion—be it weddings, birthdays, anniversaries, or simple notes of appreciation. The versatility of these cards makes them a wonderful addition to your crafting repertoire.
- Encourages Gardening: By sending a card that grows into flowers, you’re not just giving a card; you’re also giving the joy of gardening. It’s a wonderful way to introduce friends and family to the pleasures and benefits of growing their own plants.
- Fun and Educational: This project is not only enjoyable but also serves as an educational tool, especially when done with children. It’s a fantastic opportunity to teach about recycling, plant growth, and the importance of caring for the environment.
- Cost-Effective: Making your own wildflower seed paper cards can be very cost-effective, especially when compared to purchasing specialty cards or gifts. With minimal supplies needed, most of which you may already have at home, you can create beautiful, unique cards without breaking the bank.
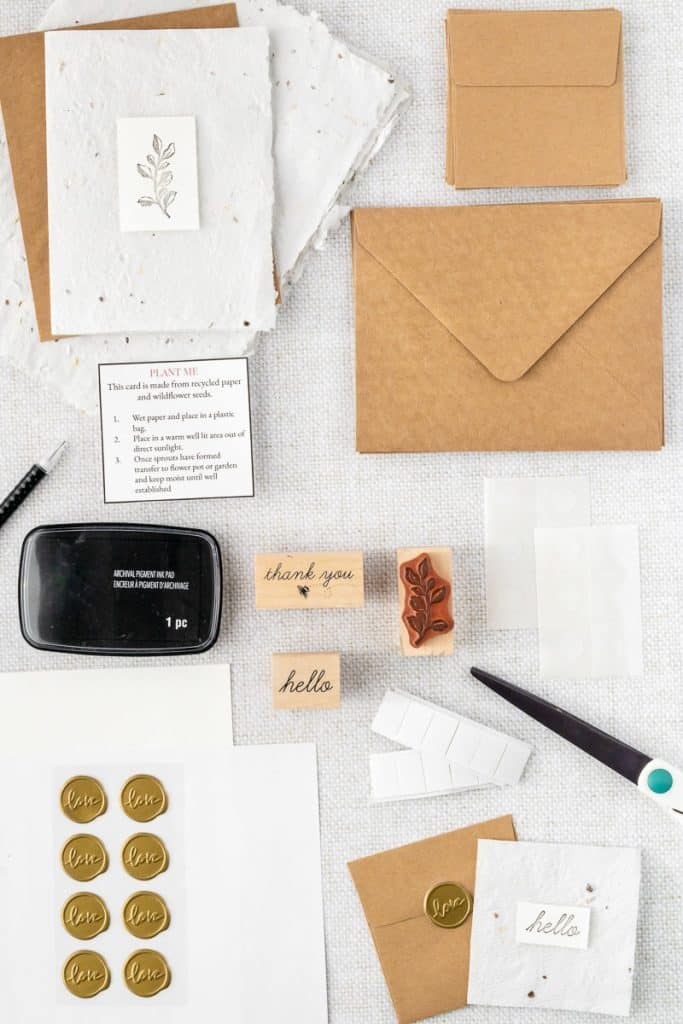
Materials to Make Wildflower Seed Paper Cards
Some of these links may be Amazon affiliate links and I may earn a small commission from the sale of these products to help defray the costs of operating this site, but the price you are charged is not affected. You can see my full disclosure policy here.
- 8 x 6 inch DIY Seed Paper
- Rubber Stamps, ½ inch to 1 inch, of foliage or salutations
- Stamp pad
- Printer paper
- Cardstock
- White glue dots
- Foam mounting tape (optional)
- Planting instructions insert (Plant Me Insert)
- Scissors
- Envelopes 4″× 6″ and 3.25″×3.25″, natural color
- Optional wax stamp or stickers for sealing envelopes
Instructions
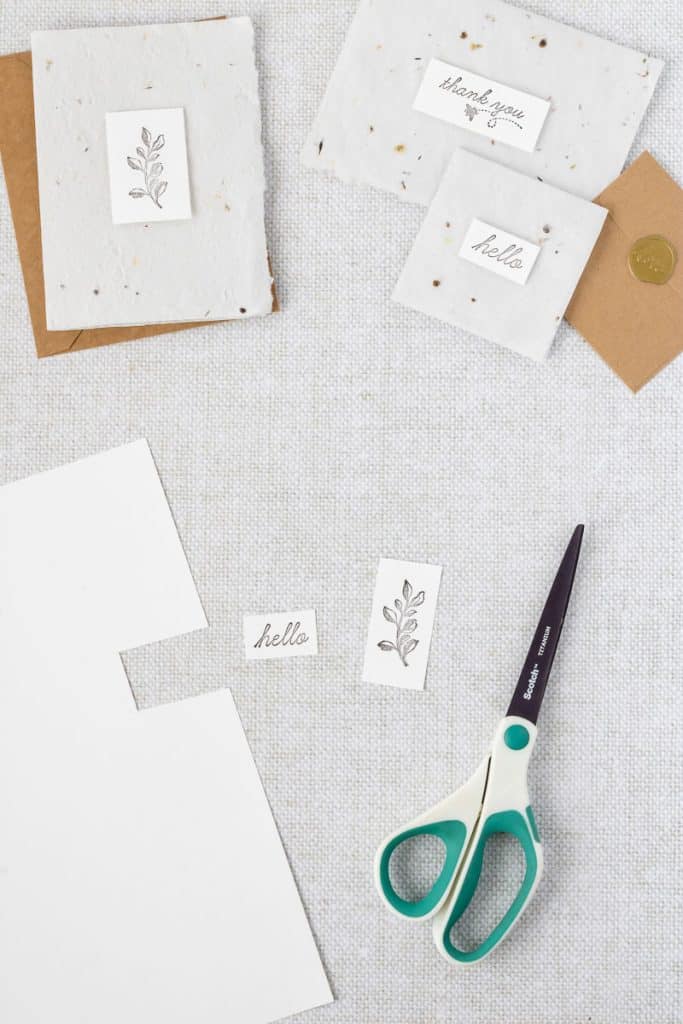
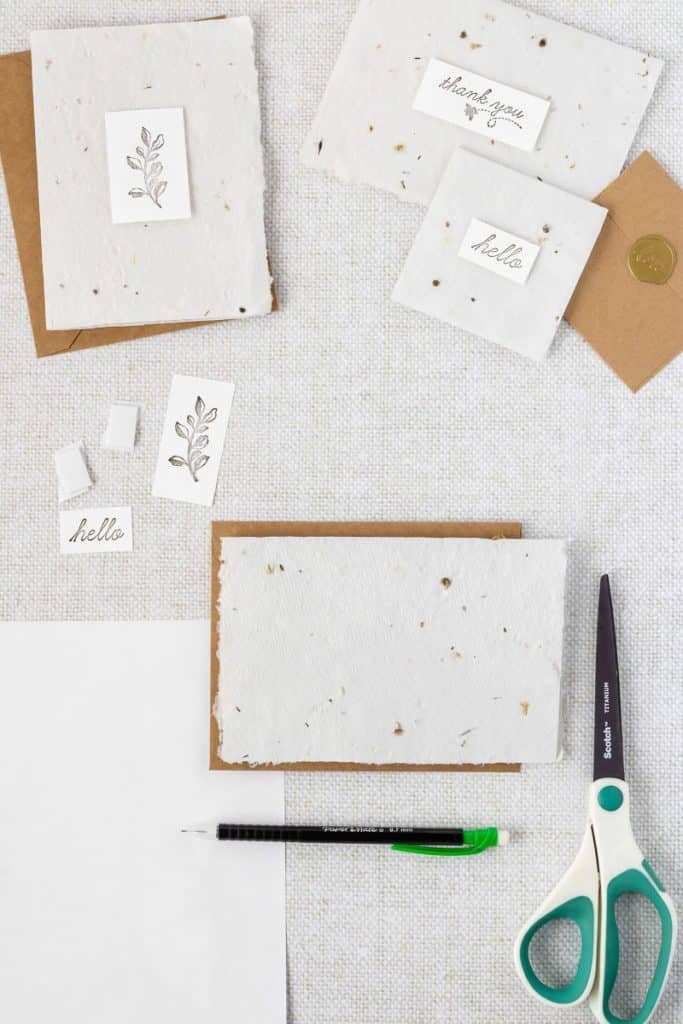
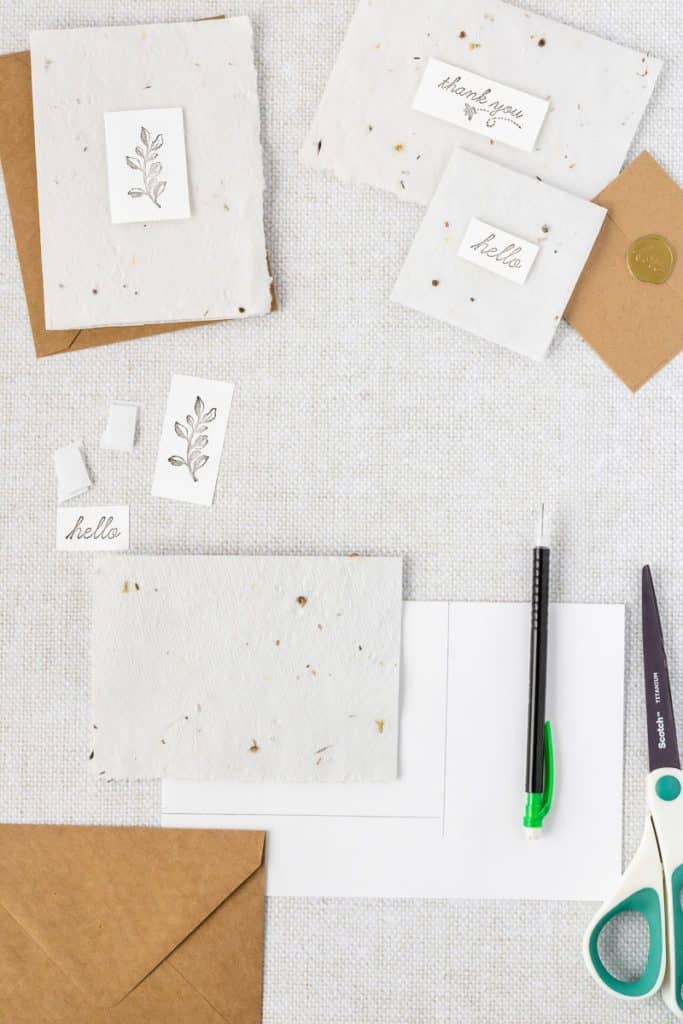
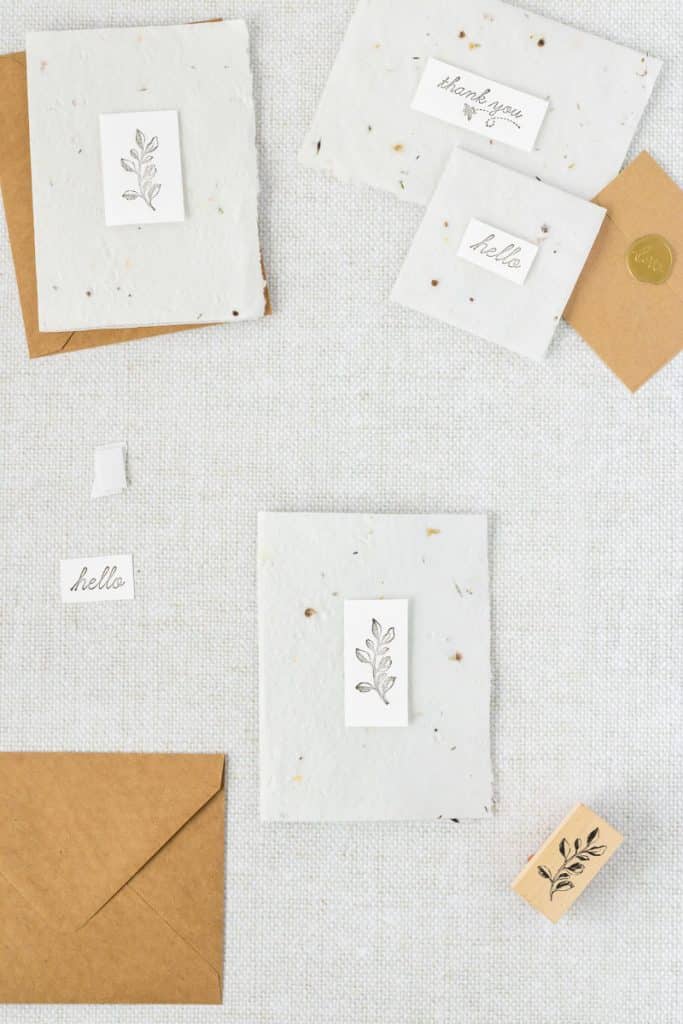
Prepare the Stamped Design
- Stamp images or words that you’d like on the front of your card on a piece of cardstock. Leave enough room around the images/words to cut a border.
- Cut around each image leaving approximately ¼ in white space. Set aside.

Prepare the Seed Paper
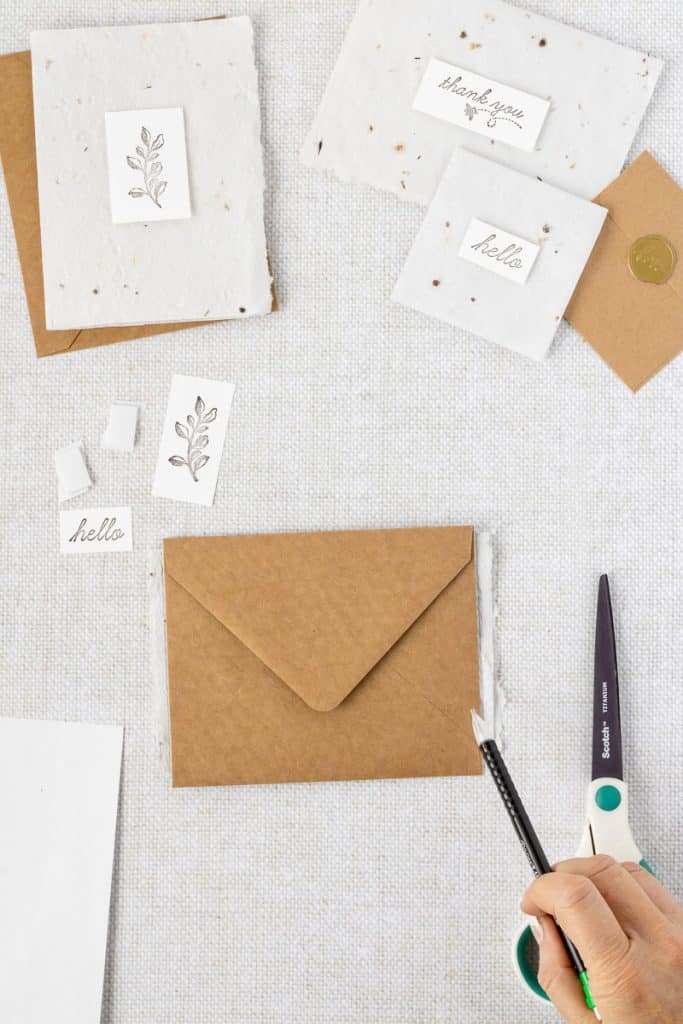
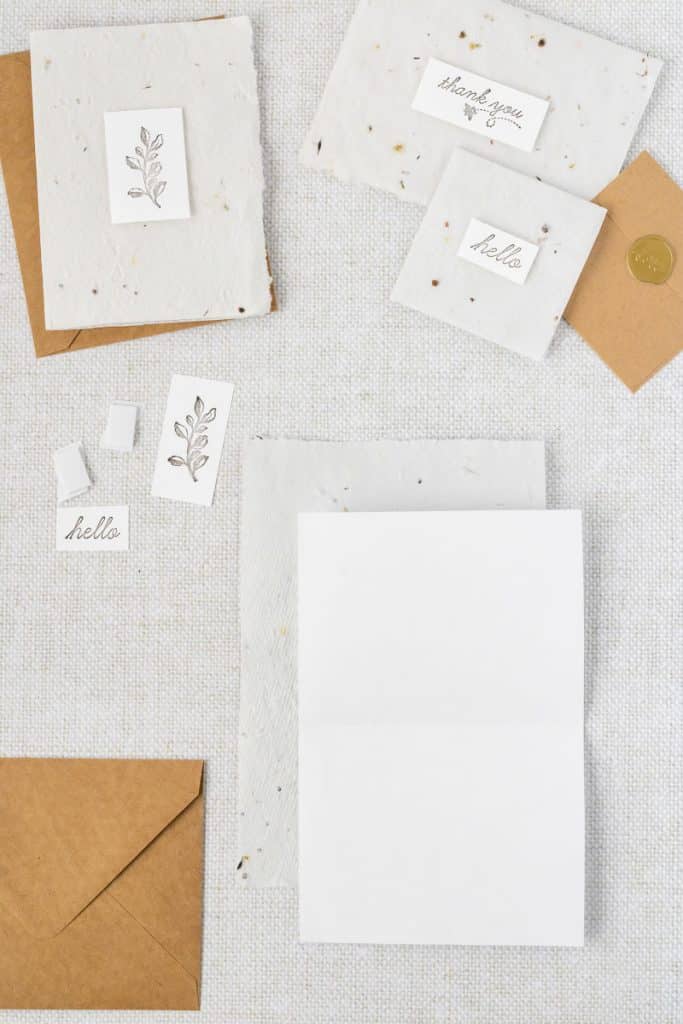
- Fold an 8×6 inch piece of seed paper in half so that you have a 4×6 inch card. If making two 2×3 cards, cut the 4×6 card in half to make two cards.
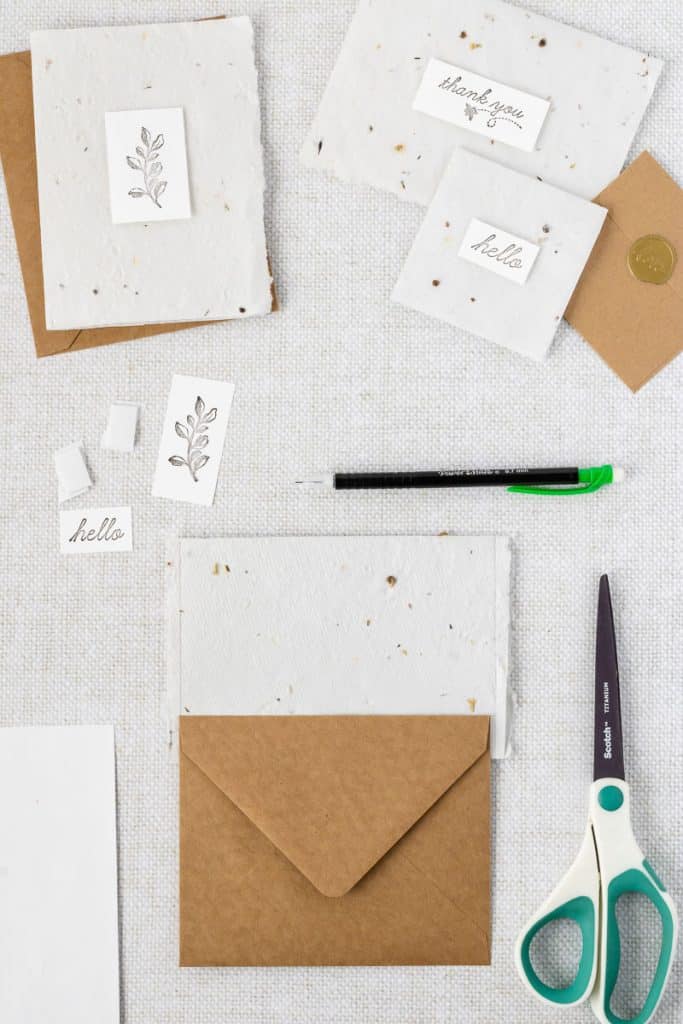
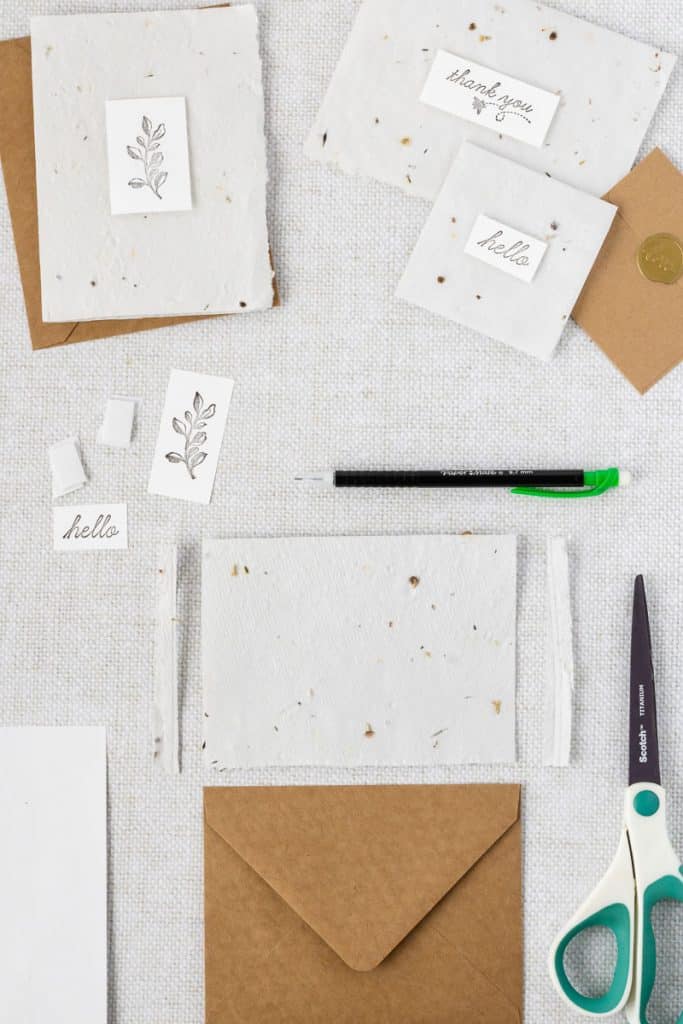
- If your paper edges need to be trimmed so that the card will fit into the envelope, use your envelope as a guide. With a pencil, draw a line to mark any excess that needs to be trimmed. Tip: cut off a bit more than the exact size of the envelope and cut both sides so that the edges have uniform sides
Cut the Card Insert
- To make the insert that will sit in the card, fold a piece of white printer paper in half. Use the seed paper card as a guide and make the insert a bit smaller than the seed paper card. Cut it to fit.
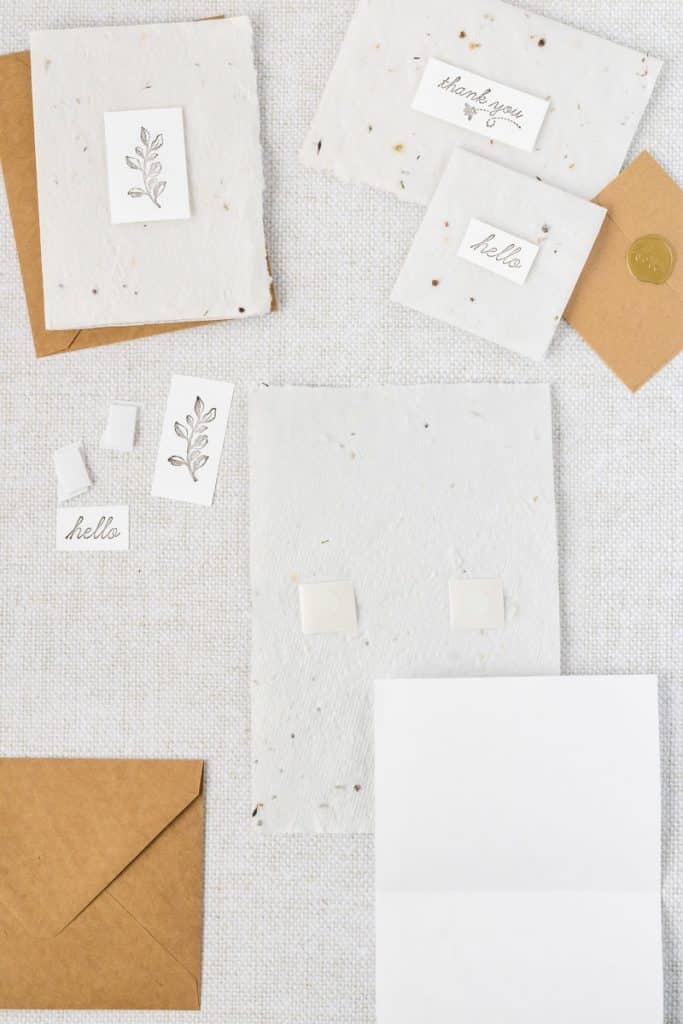
Glue the Insert into the Card
- Open the seed paper card with the inside facing up. Place two glue dots along the inside fold. Place the printer paper insert on top of the glue dots in the seed paper card, card fold to insert fold. Close the card and crease the fold.
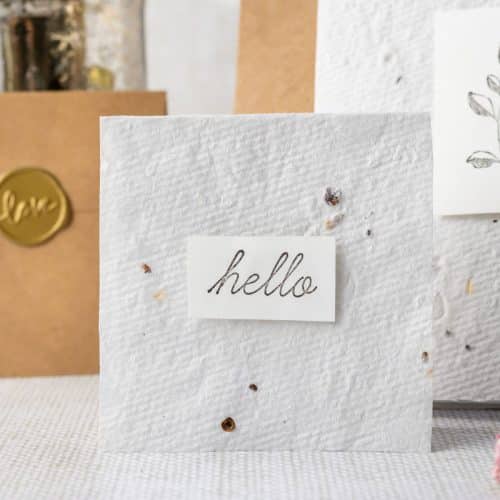
- Decide if you want your stamped paper to be placed vertically or horizontally on the seed paper card. Put a piece of foam mounting tape or a glue dot on the back of your stamped paper and place it in the center middle of your card.
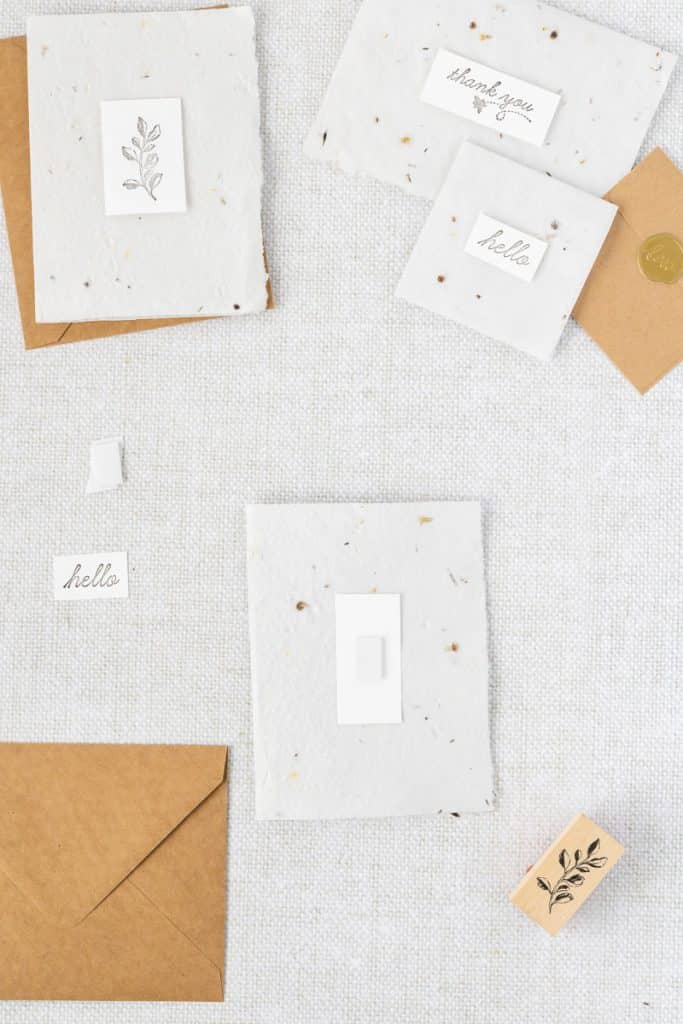
- Print and cut the seed paper planting instructions (Plant Me Insert) and place it inside or on the back of your card.
- Optional, seal envelope with wax seal sticker.
Wildflower Seed Paper Cards
Ingredients
- 8 x 6 inch DIY Seed Paper
- Rubber Stamps, ½ inch to 1 inch, of foliage or saluations
- Stamp pad, black
- Printer paper
- Cardstock, white
- Glue dots
- Foam mounting tape
- Seed Paper planting instructions insert
- Scissors
- Envelopes 4×6 and 3.25×3.25, natural color
- Optional wax stamp stickers for sealing envelopes
Instructions
- To make the stamped design for the front of the card, take a piece of cardstock and stamp some images or words to be placed on the front of your cards. Leave enough room around them to cut a rectangle border.
- Cut around each image leaving approximately ¼ in white space. Cut a line above, below and on each side of each stamped image, creating a rectangle. Set aside.
- Next, take an 8×6 inch piece of seed paper and fold it in half so that you have a 4×6 inch card. If making 2, 3×3 cards, cut the 4×6 card in half to make 2 cards.
- If your paper edges need to be trimmed so that the card will fit into the envelope, use your envelope as a guide. With a pencil, draw a line to mark any excess that needs to be trimmed. Tip: cut off a bit more than the exact size of the envelope and cut both sides so that the edges have uniform sides
- To make the insert that will sit in the card, fold a piece of white printer paper in half. Use the seed paper card as a guide,make your lines a bit smaller that the seed paper card and cut to fit (Again, drawing and cutting the insert a little smaller than the seed paper will make it so the insert does not stick out).
- Open the seed card all the way with the inside facing up. Place 2 glue dots along the inside fold. Place the printer paper insert on top of the glue dots in the seed paper card, fold to fold. Close the card and crease the fold.
- Taking your stamped design, decide if you want your stamped paper to beplaced vertical or horizontal. Put a piece of foam mounting tape on the back of your stamped paper and place it in the center middle of your card.
- Print and cut the seed paper planting instructions (Link here Plant Me Insert ) andplace it inside your card.
- Optional, seal envelope with wax seal sticker.
Notes
- To make the 3.25″ x 3.25″ cards follow the same steps as the 4″ x 6″, using the envelopes as a guide for trimming to size.
- The paper insert will allow for a smooth surface to write a note since the seed paper may be a little bumpy because of the seeds.
- If you want to make the cards but don’t want to make homemade seed paper, they sell seed paper on Amazon.
- These make great thank you cards, birthday cards, wedding notes, sympathy notes, just because notes, housewarming, and welcome cards.
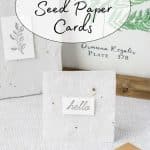
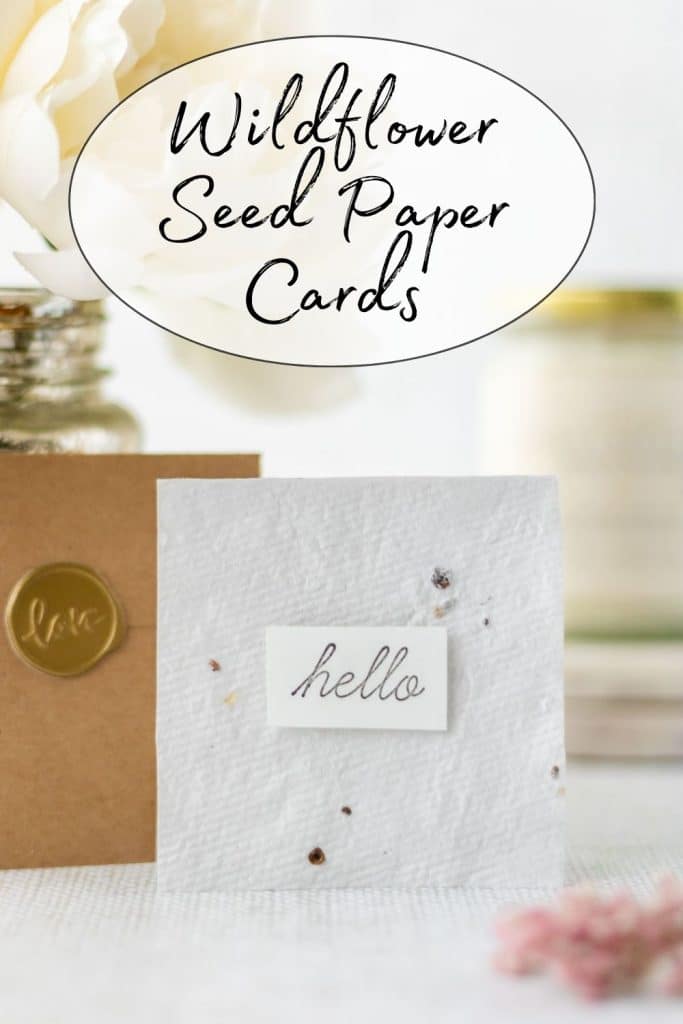
Bookmark this post or pin the following image to refer back to this Wildflower Seed Paper Card tutorial in the future.
Thanks so much for spending a few minutes of your busy day with me!
To ensure you don’t miss future content, pop your email in the pale green box on the right or click here. I usually send one email weekly, so I won’t inundate your inbox. I’m sensitive to an overflowing email inbox!
We will only use your email address to send you emails, no more than 1-2 weekly. In addition, you will have access to my growing library of knit & crochet patterns and other printables. Check back often as this library will continue to grow. You can unsubscribe anytime by emailing me or clicking on the “unsubscribe” link at the bottom of all emails.
And you can access many of the products I refer to on my Nourish and Nestle Amazon Page. You can access it here.
So, if you’d like to participate in the ‘subscriber benefit’ action, simply subscribe to Nourish and Nestle here or use the form on the right sidebar. It’s slightly towards the top.
I have sent all my subscribers the link to the Subscriber Benefits Library. If you missed it or misplaced it, let me know.
Until next time…