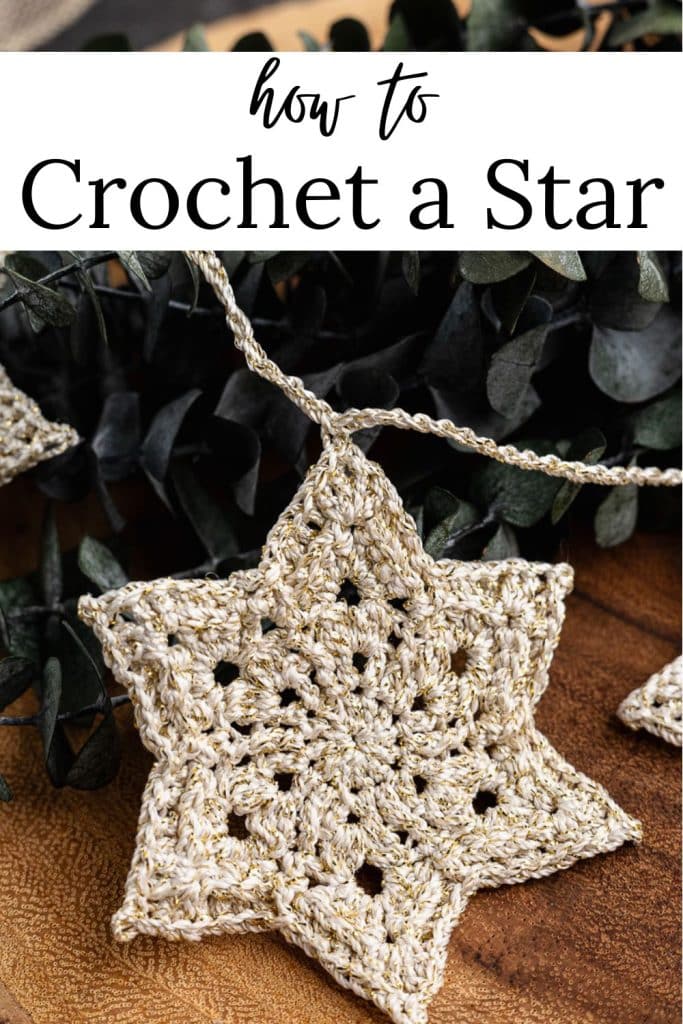
How to Crochet Stars and Make a Star Garland
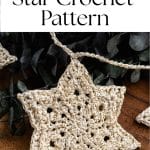
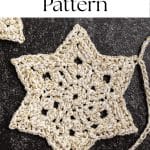
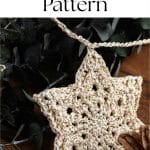

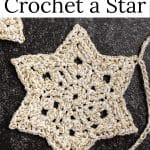
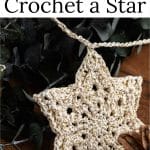
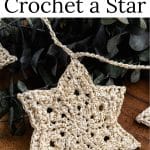
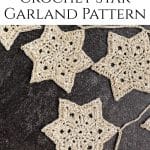
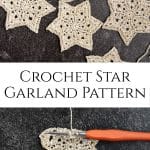
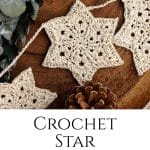
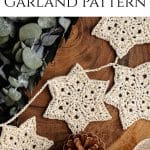
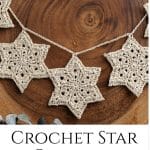
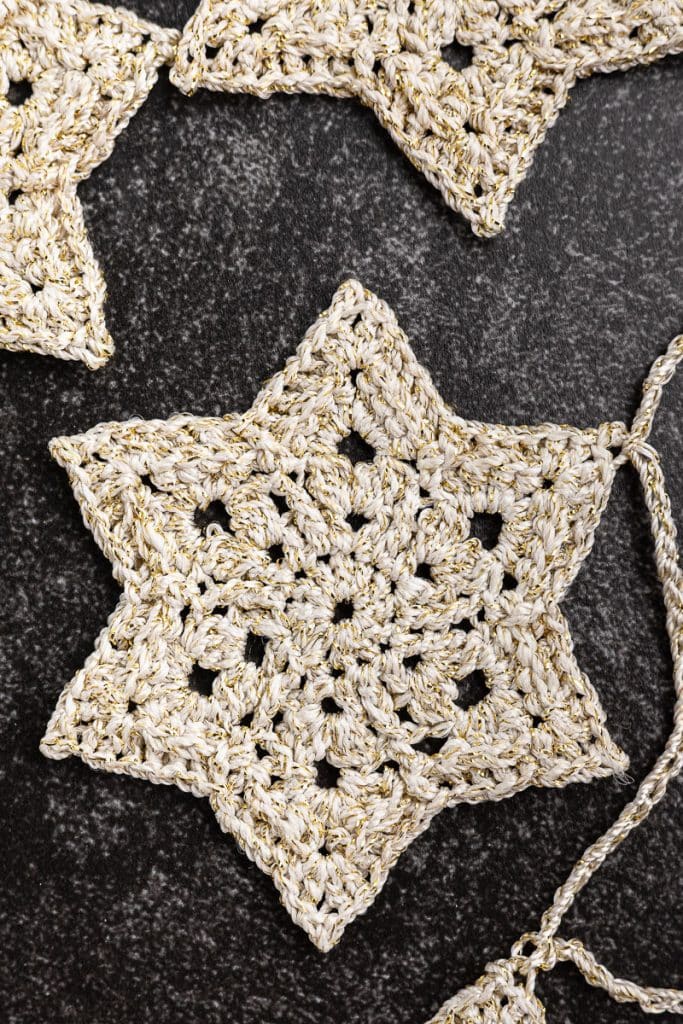
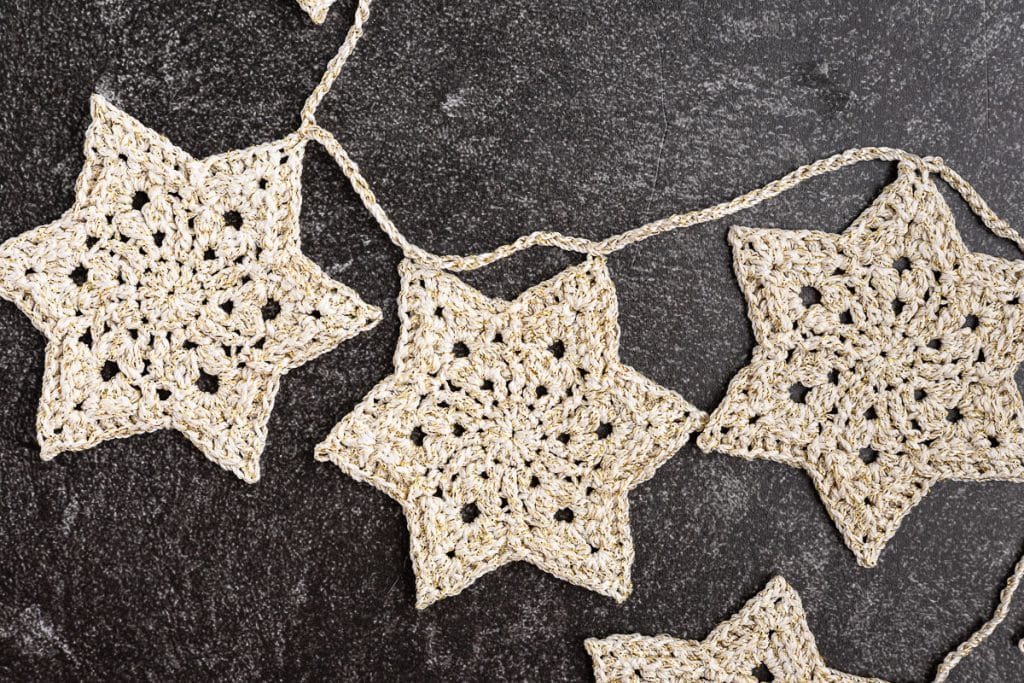
This pattern teaches you how to crochet stars for delicate, shimmering decorations that are perfect for the holiday season or year-round home decor. Each star measures approximately 3.5 inches high by 3 inches wide, making them the ideal size for numerous uses beyond just garland. You can attach them to gift packages instead of traditional bows, use them as ornaments on your Christmas tree, string them across a mantel or doorway, or even sew them onto throw pillows for a festive touch. They also make fabulous gift toppers that recipients can save and reuse year after year, which means your handmade touch keeps giving long after the gift is opened.
The metallic yarn gives these stars a special sparkle that catches the light beautifully, and at about 30 minutes per star, this is a project you can easily work on while watching television in the evening. A single skein of yarn costs around $10 and yields 20 to 25 stars plus enough for a 3-foot garland chain, making this an economical way to create custom decorations. If you’re making these as gifts or for a craft fair, that works out to less than 50 cents per star in materials. The pattern uses basic stitches with some textured post stitches that add dimension. If you’re comfortable with double crochet and willing to learn front post and back post stitches, you can absolutely tackle this project.
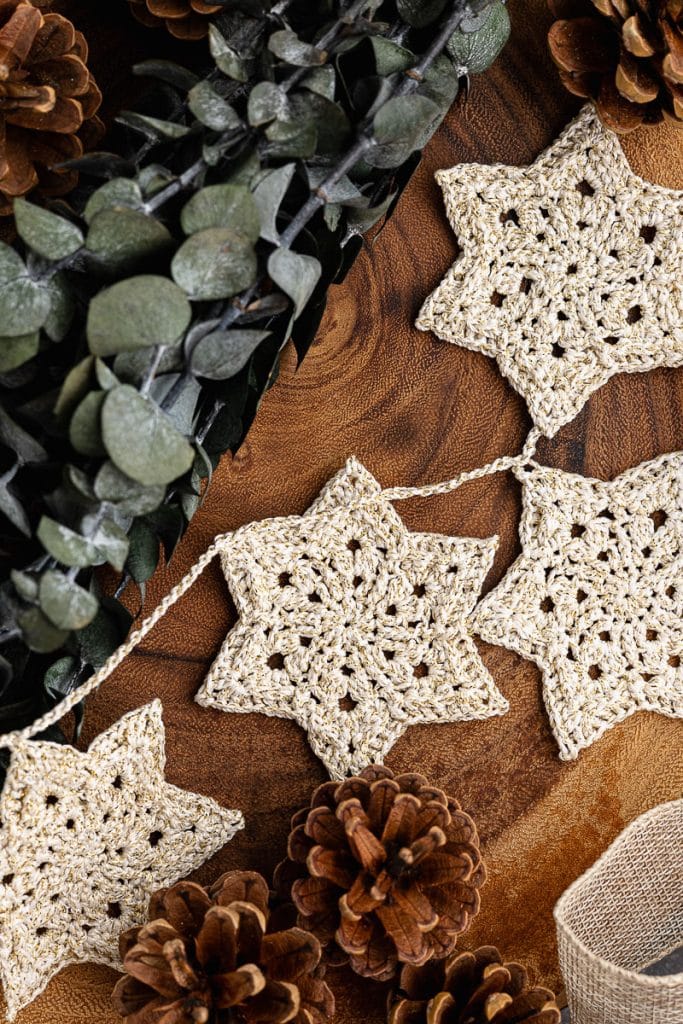
Table of Contents
Tips for Success
Here are the tips for success when making these crochet stars:
- Take your time with the cluster stitches in Round 3, as they form the foundation for your star points.
- Keep your tension consistent throughout, especially on the metallic yarn, which can be a bit slippery to work with.
- Use a damp cloth to wipe your hands occasionally when working with slippery metallic yarn.
- Blocking is essential for these stars to really show off their shape, so don’t skip that step.
- Pin out each point carefully and use spray starch to help them hold their form.
- When assembling your garland, you can adjust the chain length between stars depending on where you plan to hang it. Shorter chains create a fuller look for mantels, while longer chains work better for draping across doorways or windows.
- Work more slowly than usual when using metallic yarn to prevent the strands from splitting.
- Count your stitches at the end of each round to catch any mistakes early before they affect the shape of your star.
- Use a damp cloth to wipe your hands occasionally when working with slippery metallic yarn.
- Pin your stars to foam board for blocking rather than a towel, as it provides a firmer surface and helps the points hold their shape better.
- Let blocked stars dry completely, preferably overnight, before unpinning them to ensure they maintain their stiffness.
Materials Needed to Crochet Stars
Some of these links may be Amazon affiliate links and I may earn a small commission from the sale of these products to help defray the costs of operating this site, but the price you are charged is not affected. You can see my full disclosure policy here.
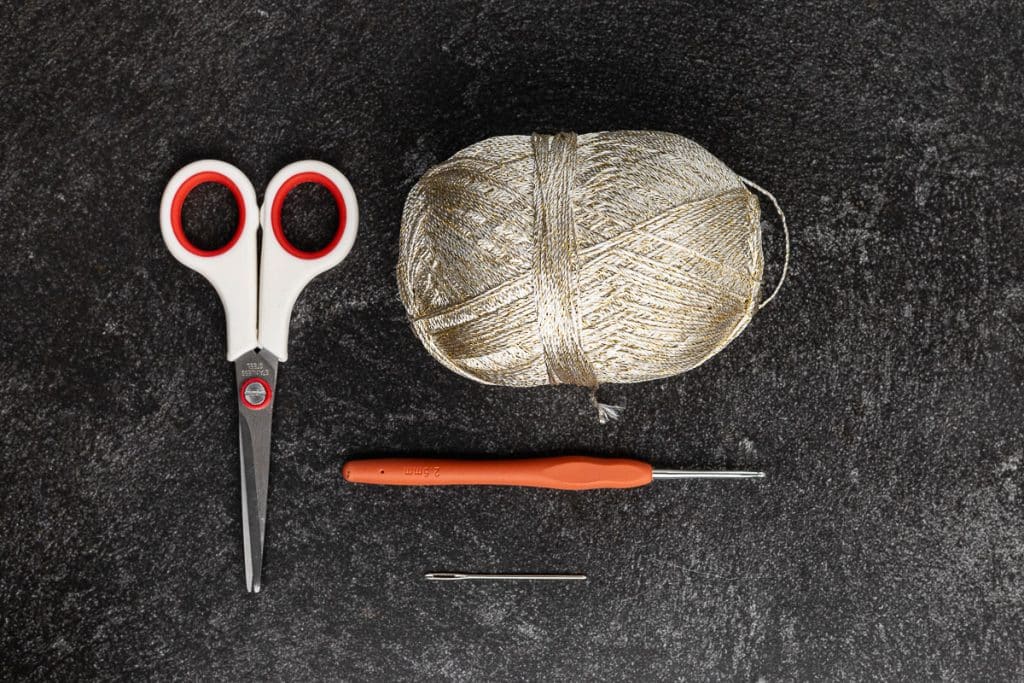
- 2.5 mm Crochet Hook
- YarnArt Bright Metallic Shiny Yarn (color 101) or other fingering weight yarn. You will be able to get approximately 20-25 stars (3.5” high x 3” wide) and a 3’ garland chain from approximately 370 yards of fingering weight yarn.
- This free Crochet Star and Garland is available in this post below and as an ad-free printable PDF for subscribers. You can find the pattern in the Miscellaneous section of the Library (your super secret password is included at the bottom of every Monday’s Newsletter email) or email me, and I’ll send it to you. Not a subscriber? C’mon—we’d love to have you. A subscription costs nothing and gives you access to all our printables and pattern PDFs. Click here to have the Free How to Crochet Stars and Garland pattern directly emailed to you.
Techniques Used, Abbreviations and Definitions
- MC = magic circle
- ch = chain
- dc = double crochet
- sc = single crochet
- sl st = To work a slip stitch, insert your hook into the designated stitch, yarn over, and pull the yarn through both the stitch and the loop already on your hook in one smooth motion. That’s it – you’ve completed a slip stitch. A slip stitch is used to travel without adding height.
- st = stitch
- YO – yarn over
- sp = space
- fpdc = front post double crochet is worked by inserting your hook from the front of your work, going around the post (the vertical part) of the stitch from the previous row, then completing a regular double crochet. This creates a raised stitch that stands out on the front side of your work.


- bpdc—back post double crochet is the opposite. You insert your hook from the back of your work, going around the post of the stitch from the previous row, then complete a regular double crochet. This creates a recessed stitch that pushes forward on the front side.
- partial dc—In this pattern, a partial dc happens when making the clusters, as you don’t finish the dc like you normally would; you stop after you’ve pulled the yarn through 2 loops.
How to Crochet the Cluster Stitch
All stitches are worked together in the same space.
Step 1: Yarn over and insert your hook into the designated stitch or space.
Step 2: Yarn over and pull through (you’ll have three loops on your hook). Yarn over and pull through 2 loops. Stop here – you’ll have two loops remaining on your hook. This is partial double crochet.
Step 3: Repeat steps 1 and 2 two more times, working into the same stitch or space. Each time you stop with two loops on your hook, you’ll add another loop. You should now have a total of 4 loops on your hook.
Step 4: Yarn over and pull through all four loops on your hook at once. This joins all three partial double crochets together at the top, creating your cluster.
The cluster creates a textured, gathered look and is often used in decorative patterns, afghans, and lacy designs. You can make clusters with different numbers of stitches (2, 3, 4, or more) and with different stitch heights (half double crochet clusters, treble crochet clusters, etc.). The principle is always the same – work incomplete stitches and join them at the end.
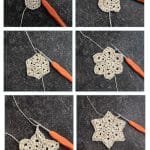
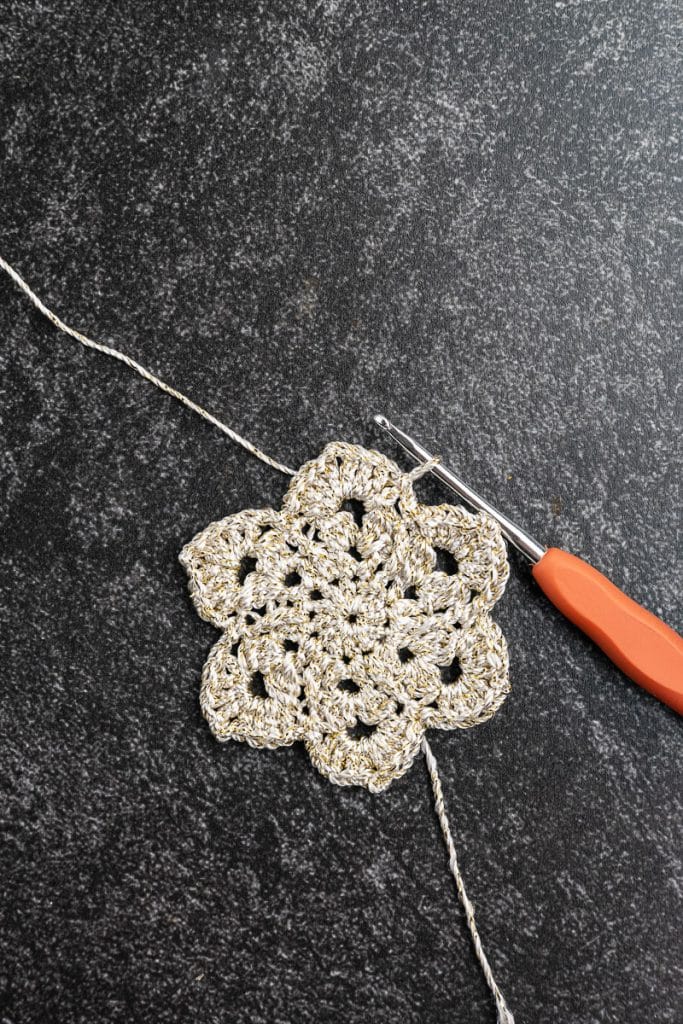
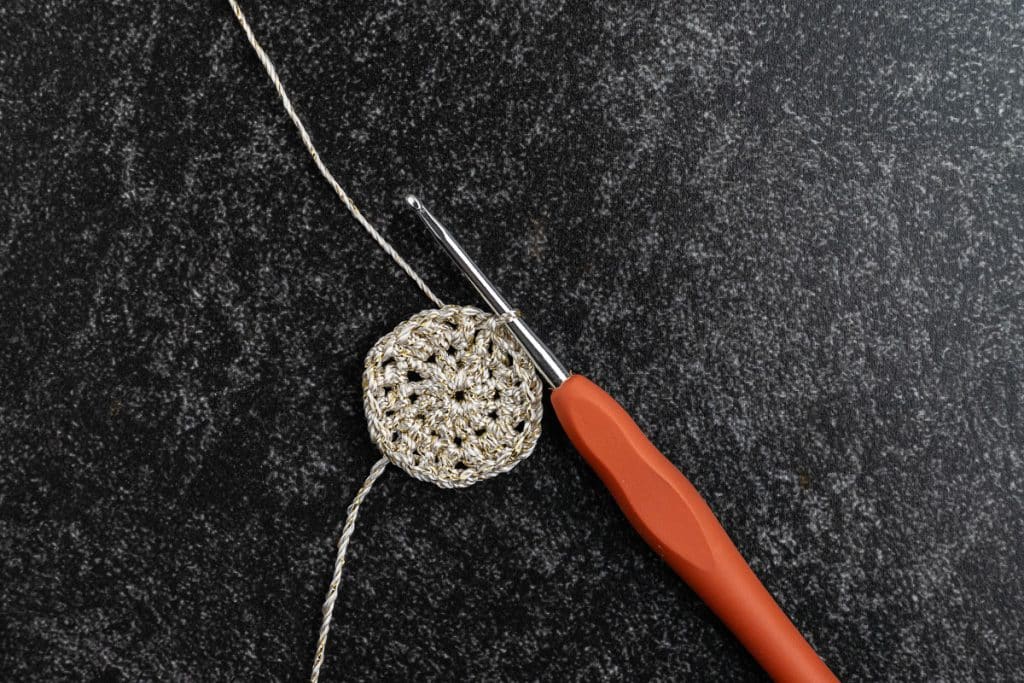
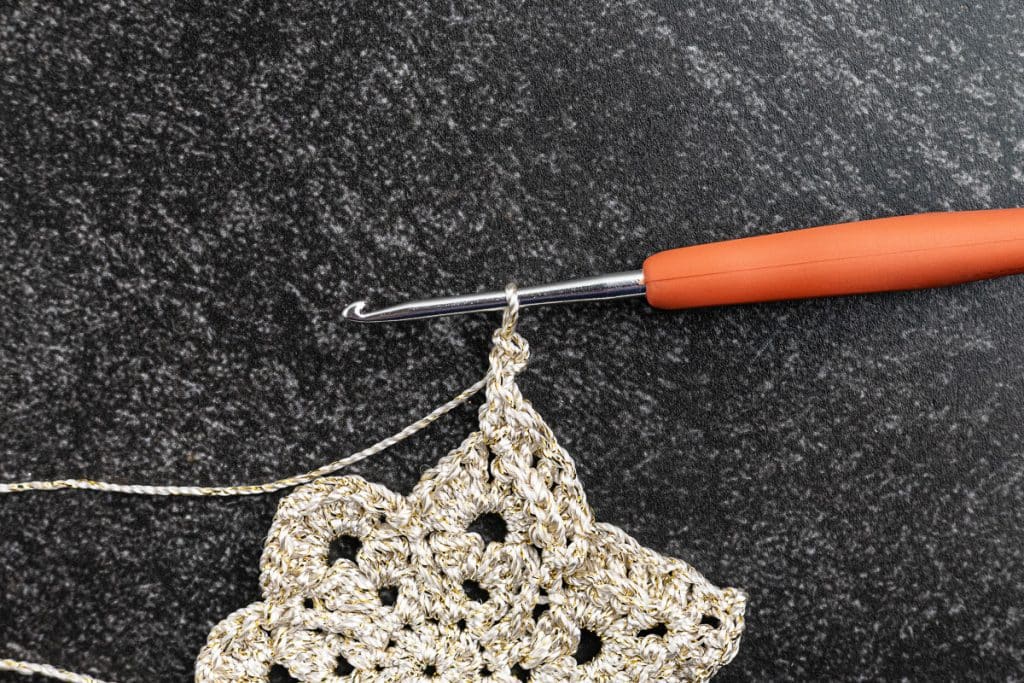
Star Pattern
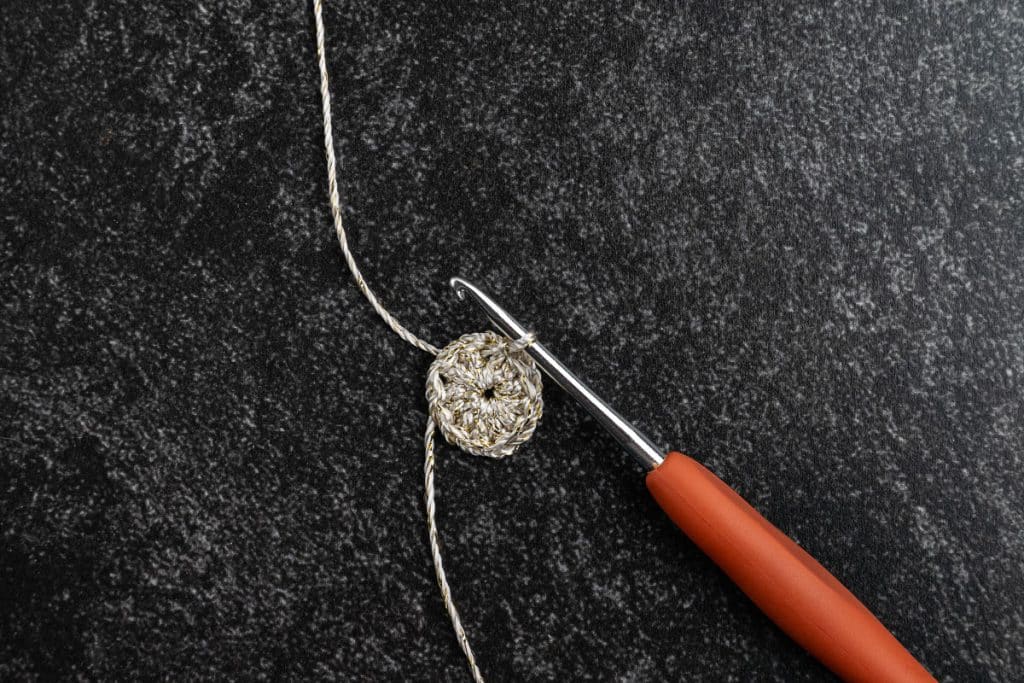
Round 1
- Make a MC, ch 3 (counts as first dc)
- Work 11 dc into the circle (12 dc total). Join with a sl st to the top of ch 3.
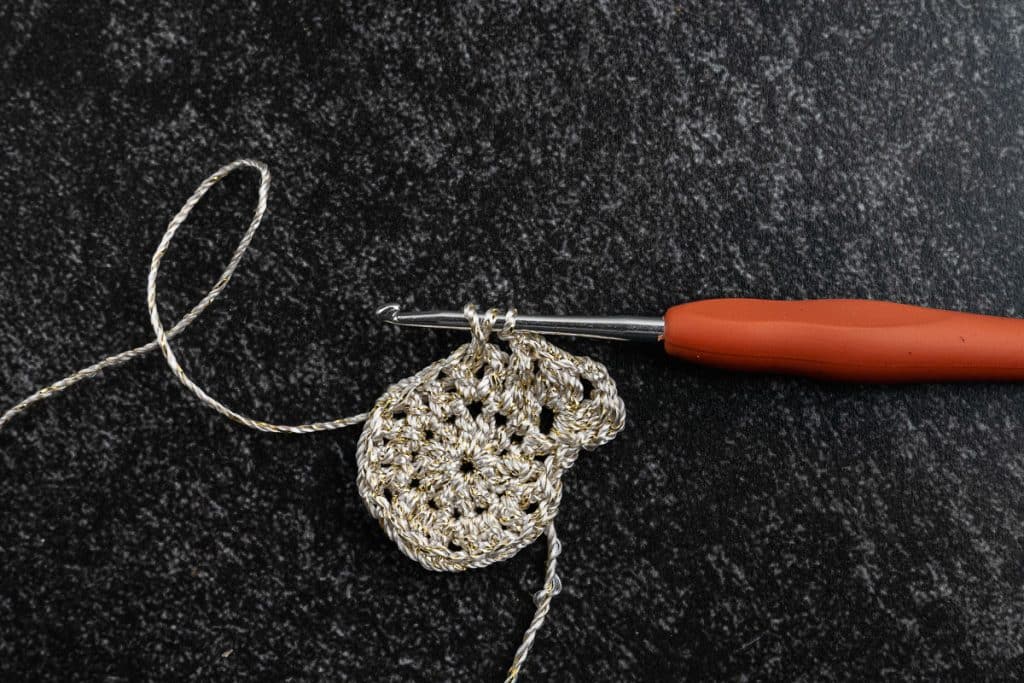
Round 2
- Ch 3 (counts as dc)
- *(dc, ch 1, dc) in next st, dc in next st. Repeat from *. You should have 6 ch-1 spaces).
- Join with a sl st to the top of ch 3.
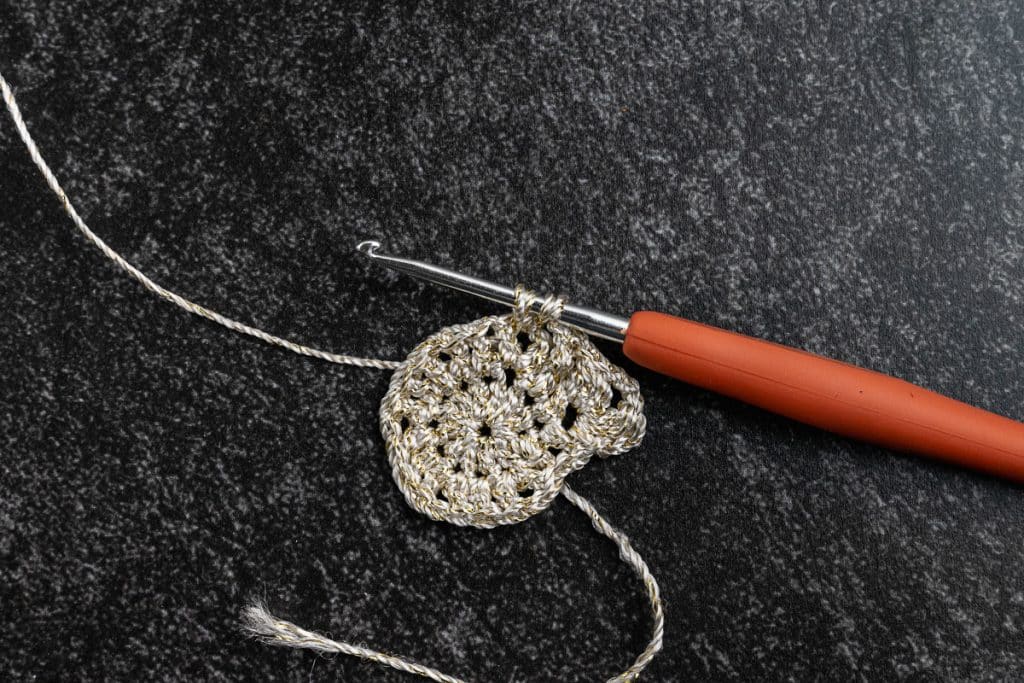
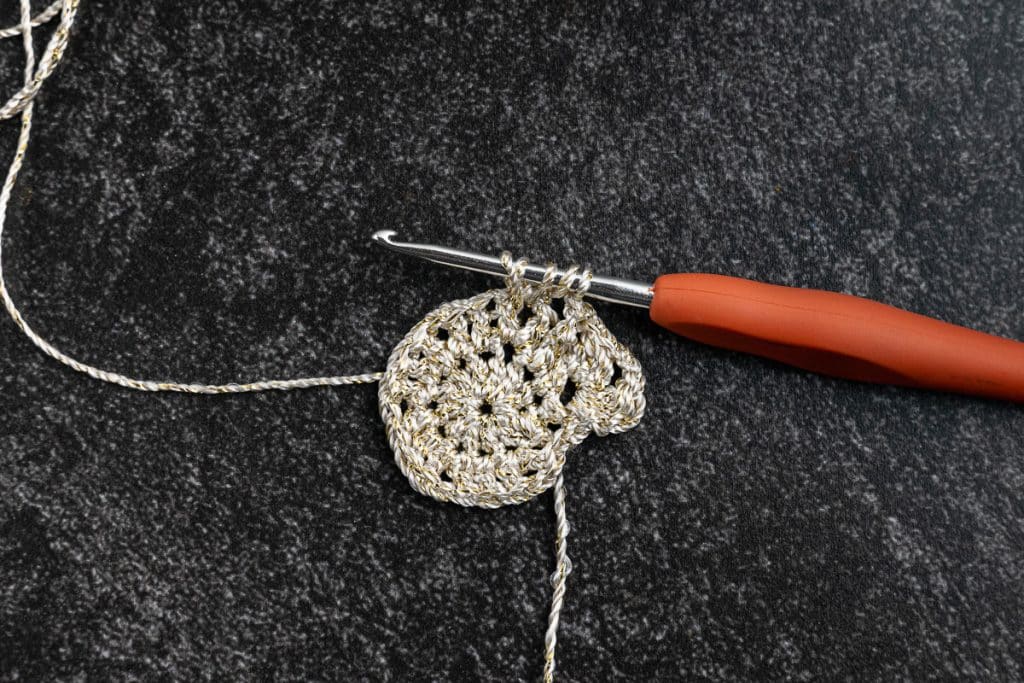
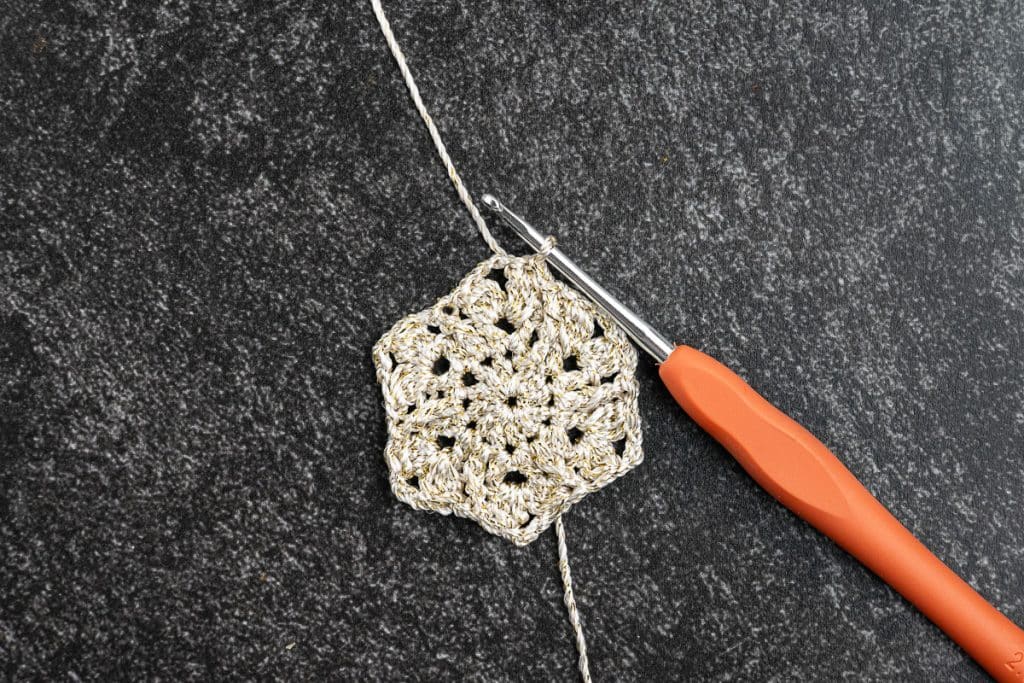
Round 3
- Slip stitch into the first chain-1 space. Now we’ll make our first cluster using a special start:
- Sl st into the first ch-1 sp. Now we’ll make our first cluster using a special start:
- Ch 2. This counts as one incomplete dc.
- Work 2 more incomplete dc in the same sp. To make each incomplete dc: yarn over, insert hook, yarn over and pull through, yarn over and pull through 2 loops only. Stop with 2 loops on your hook. After making both, you’ll have 3 loops total on your hook.
- Yarn over and pull through all 3 loops to complete your first cluster.
- Ch 3.
- Now make a regular cluster in that same sp: Work 3 incomplete dc (remember, stop each one with 2 loops on your hook). You’ll have 4 loops total. Yarn over and pull through all 4 loops.
- Ch 1, skip the next st, then work 1 fpdc around the next st. Ch 1, skip the next st.
- Now repeat this pattern around: Make a cluster in the next ch-1 sp, ch 3, make another cluster in the same sp. Ch 1, skip the next st, fpdc around the next st, ch 1, skip the next st.
- Continue this pattern all the way around your work.
- Join with a sl st at the top of your first cluster to complete the round.

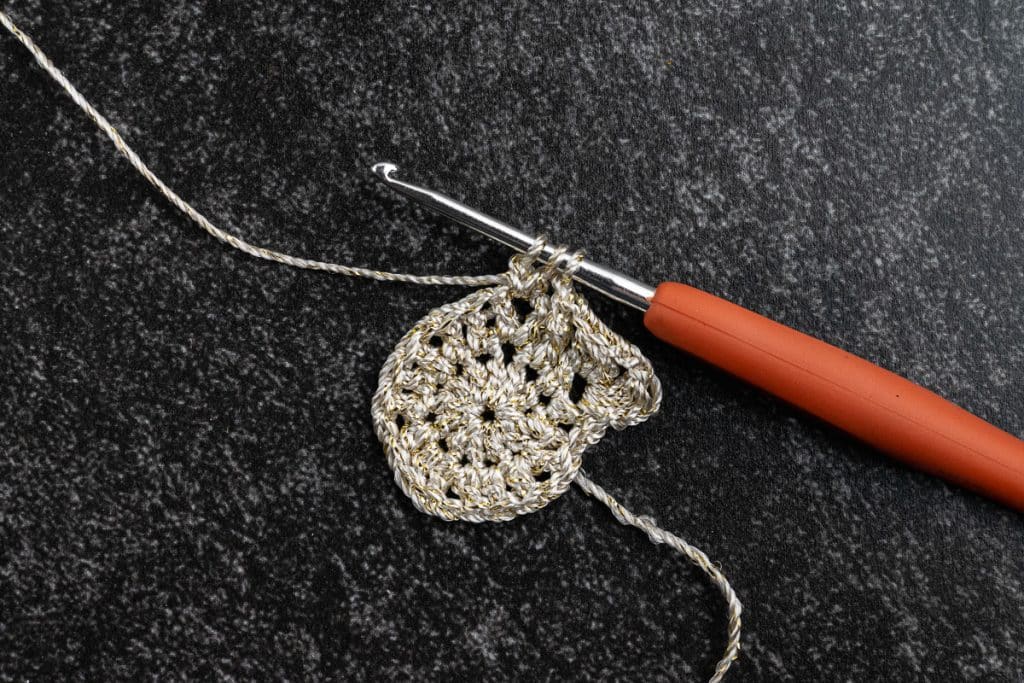
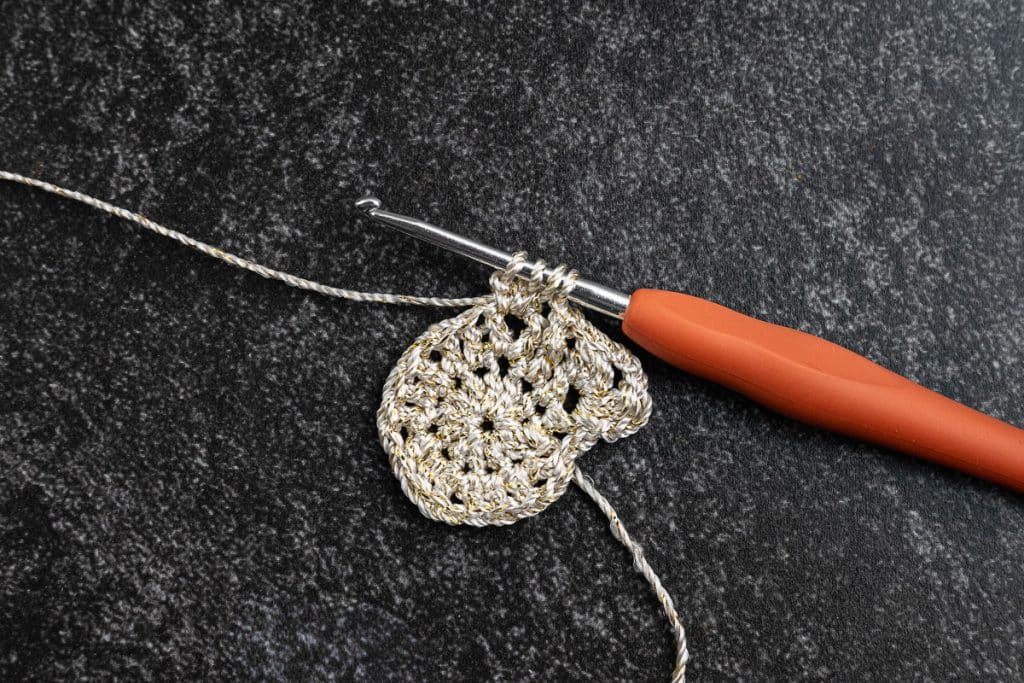

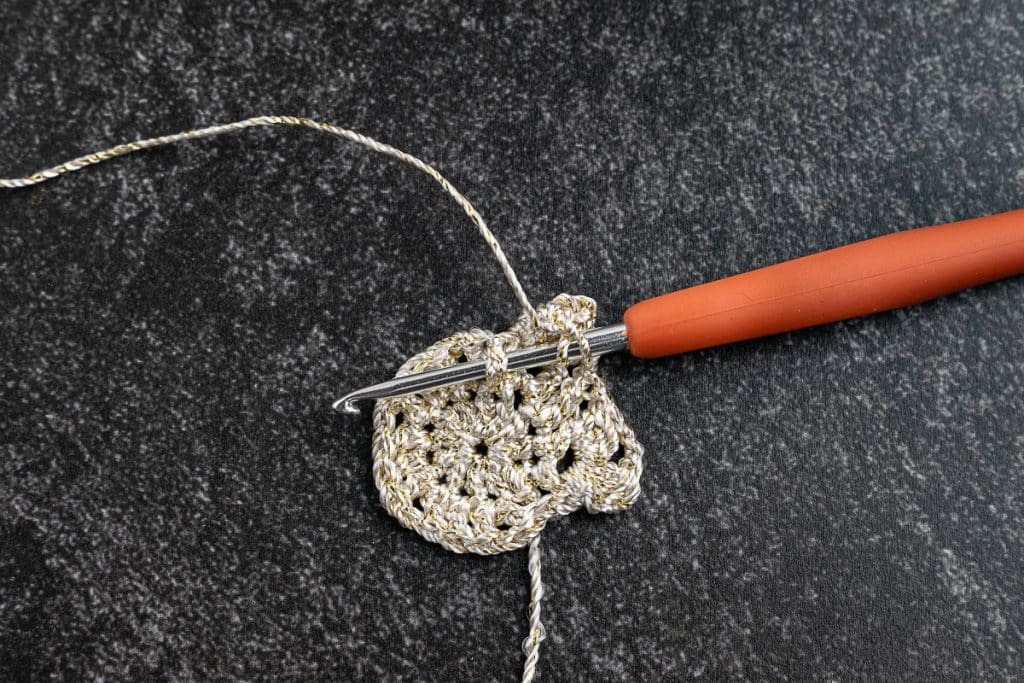
Round 4
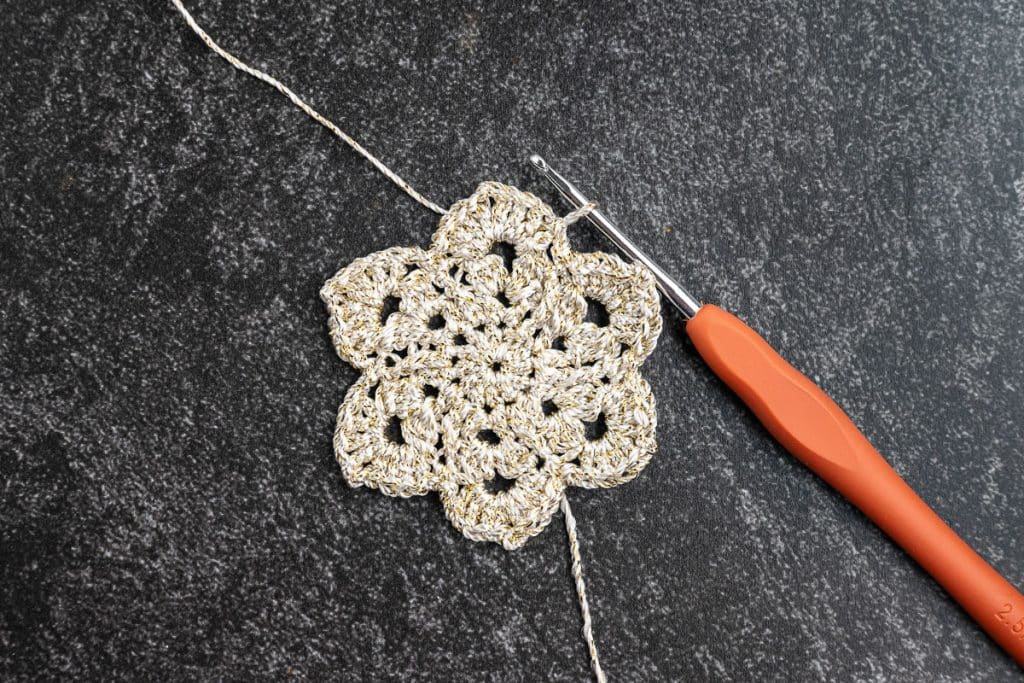
- Sl st into the first ch-3 sp.
- Ch 3. This counts as a dc.
- Work 3 more dc in the same sp, then ch 2, then work 4 more dc in that same sp. You’ve just made your first star arm
- Ch 1, then make a sc in the top of the fpdc from the previous round. Ch 1.
- In the next ch-3 sp, work 4 dc, ch 2, then 4 more dc.
- Continue this pattern around your work: ch 1, sc in the top of the fpdc, ch 1, then make your corner group of 4 dc, ch 2, 4 dc in the next ch-3 sp.
- Join with a sl st in the top of your beginning ch 3.
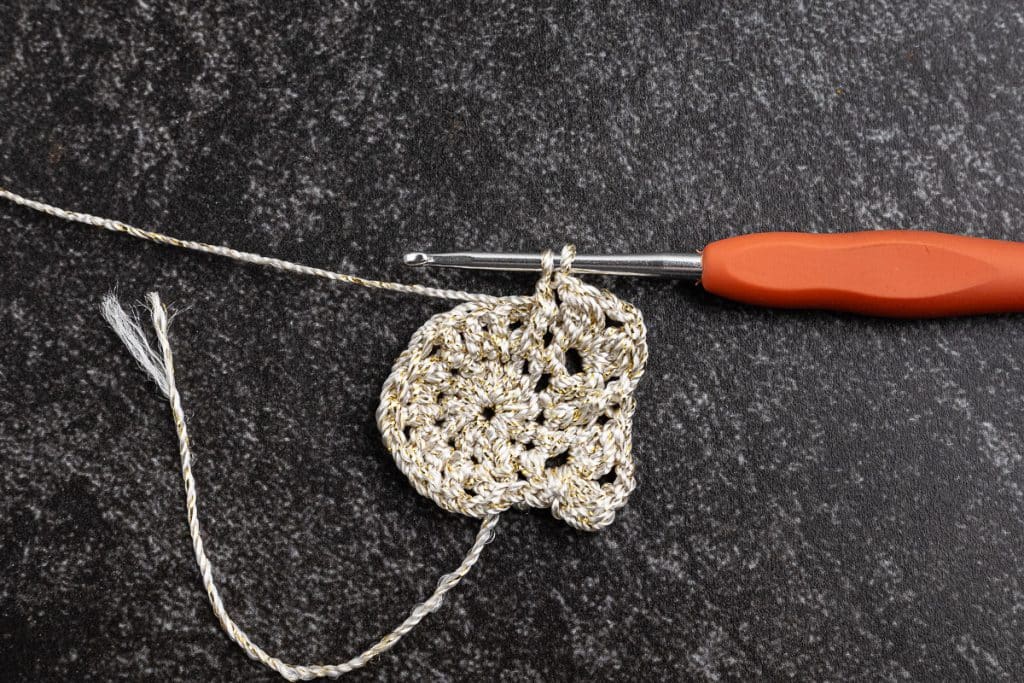
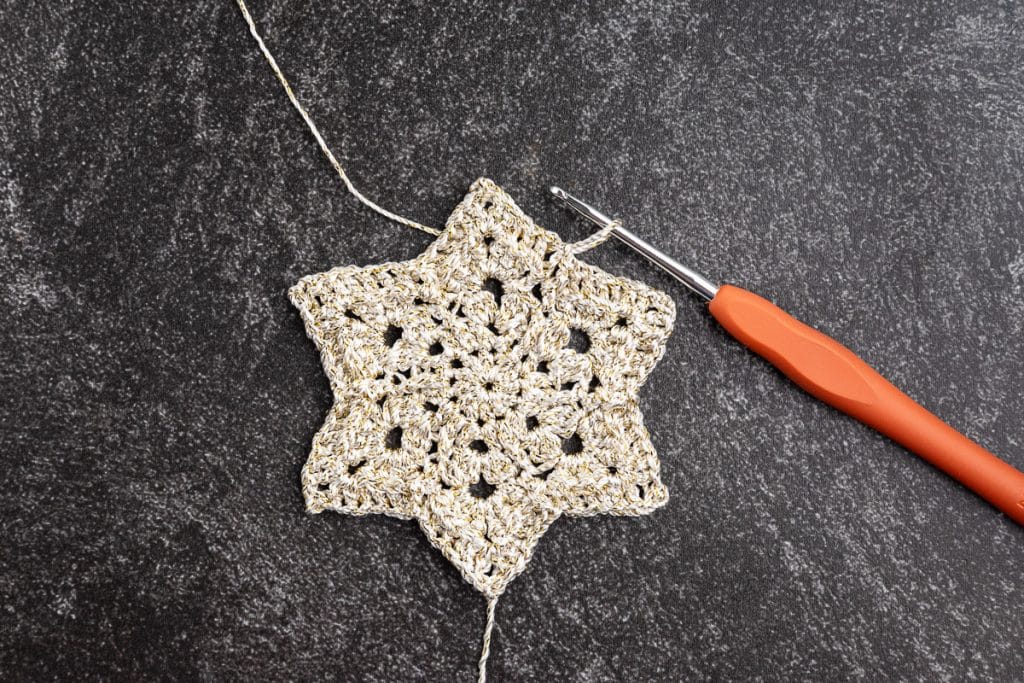
Round 5 (Star Points)
- Ch 3. This counts as a dc.
- Work 3 bpdc.
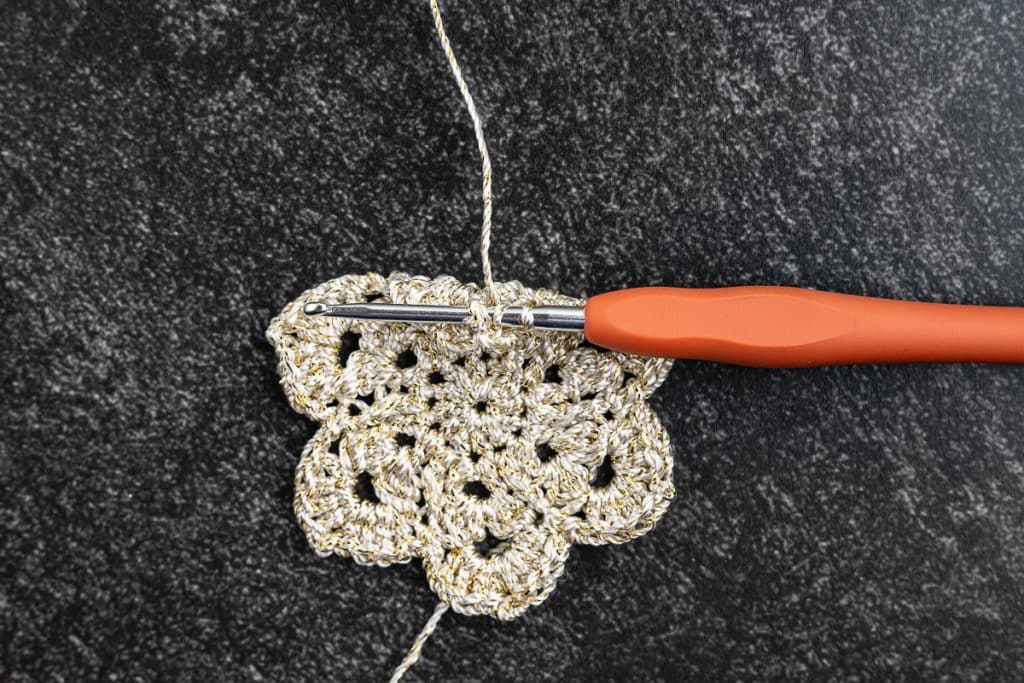
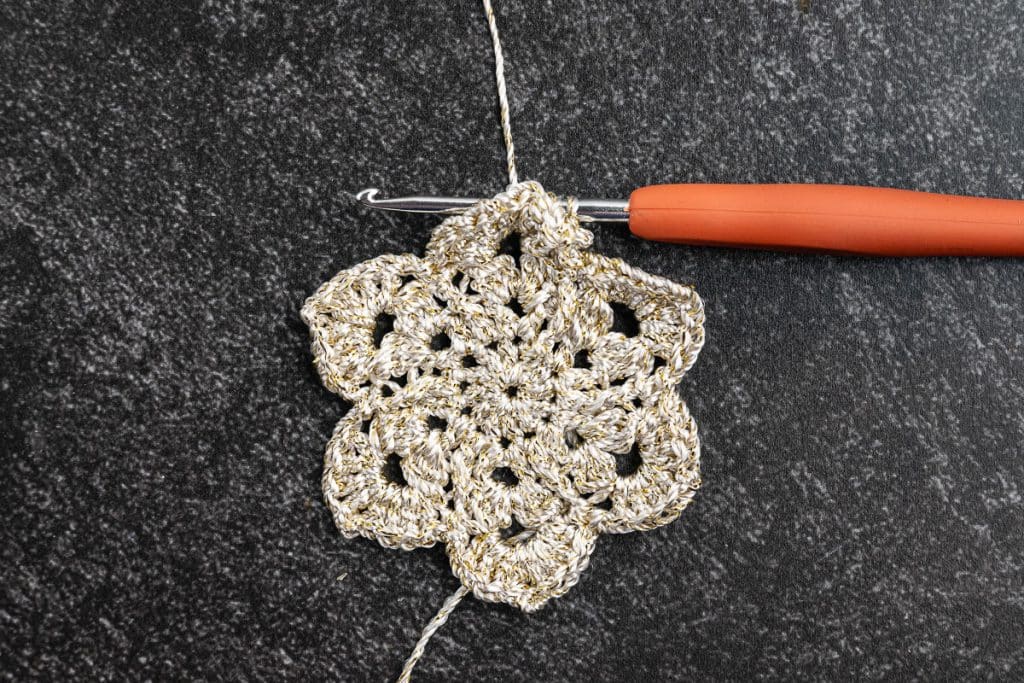
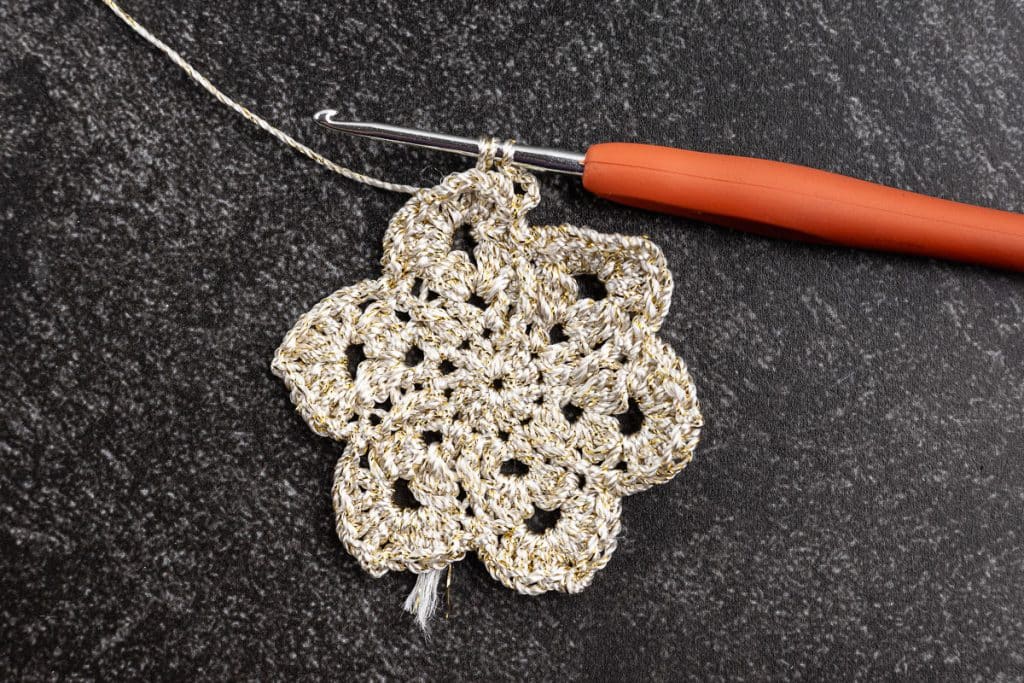
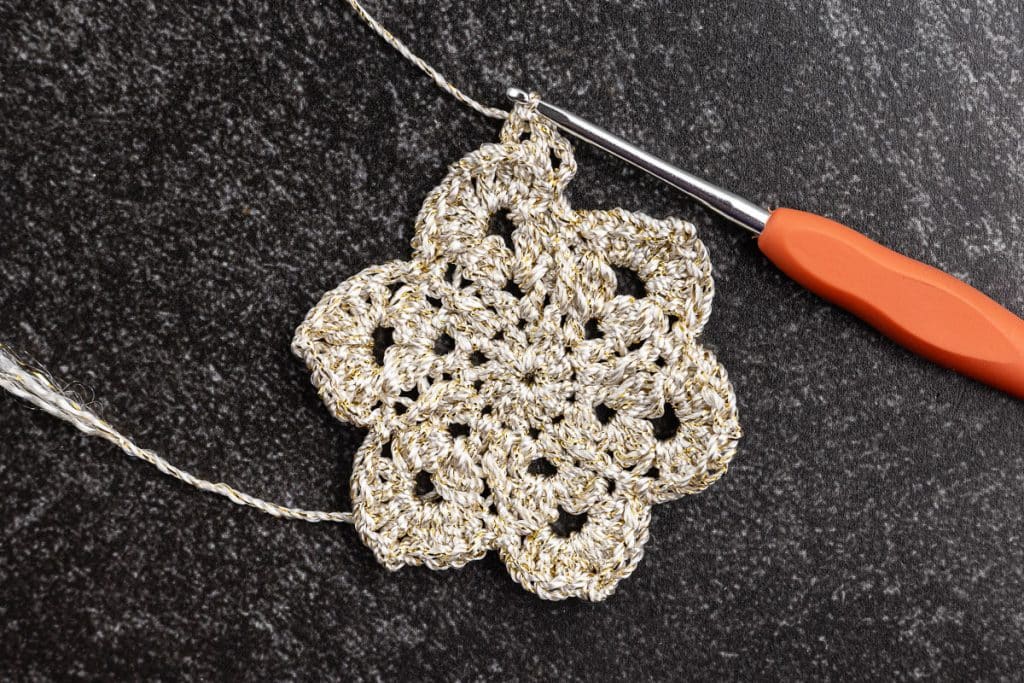
- Now we’ll create the point of the star in the next ch-2 sp: Work 2 dc, ch 2, sl st into the second ch from your hook (this creates the pointed tip), then work 2 more dc, all in that same ch-2 sp.
- Work 4 bpdc, then 1 fpdc around the next sc, then 4 more bpdc.
- Repeat this pattern around: 4 bpdc, make your star point in the ch-2 sp, 4 bpdc, fpdc around the sc, 4 bpdc.
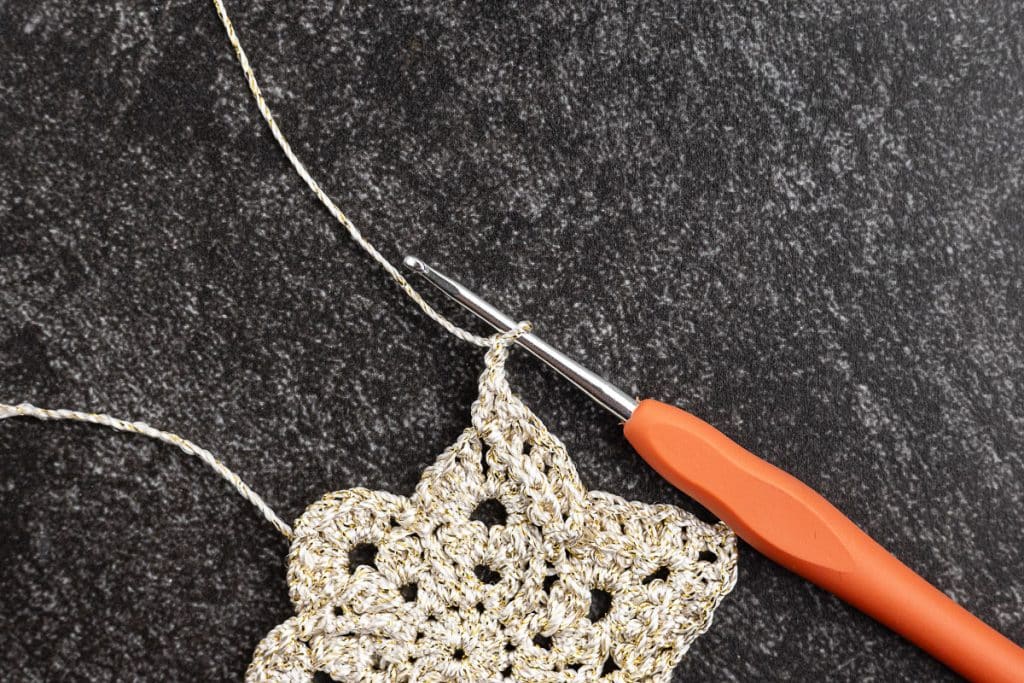
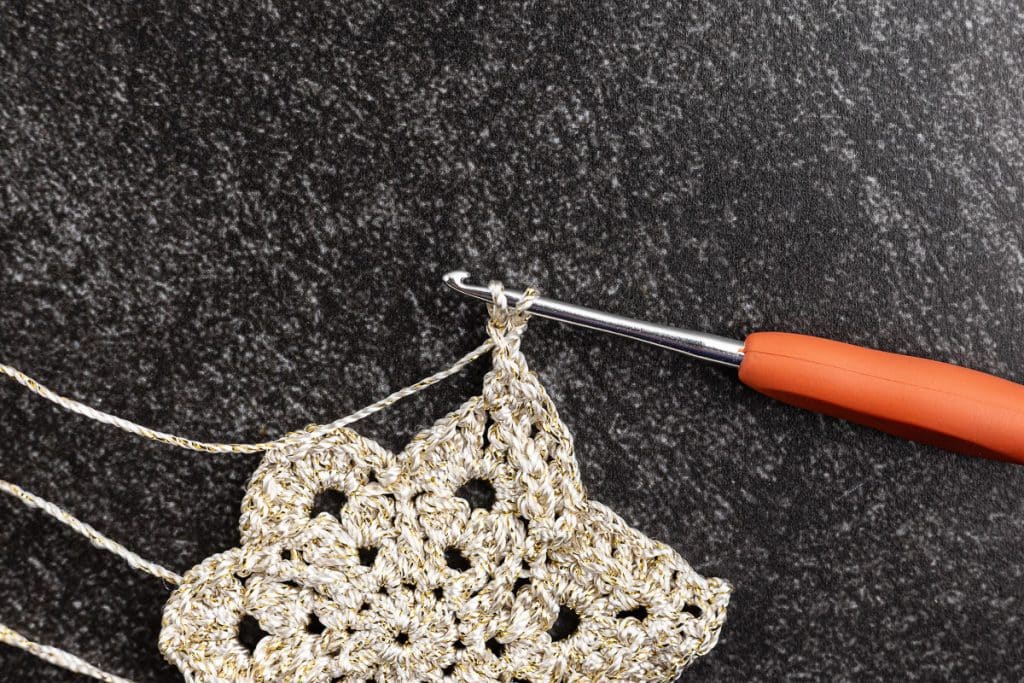
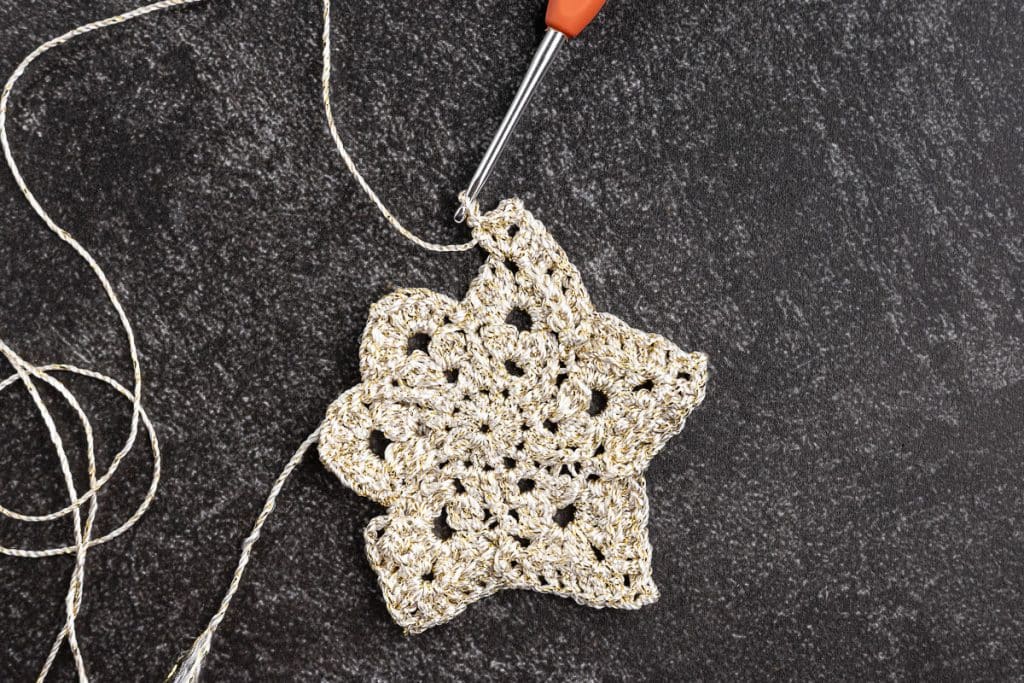
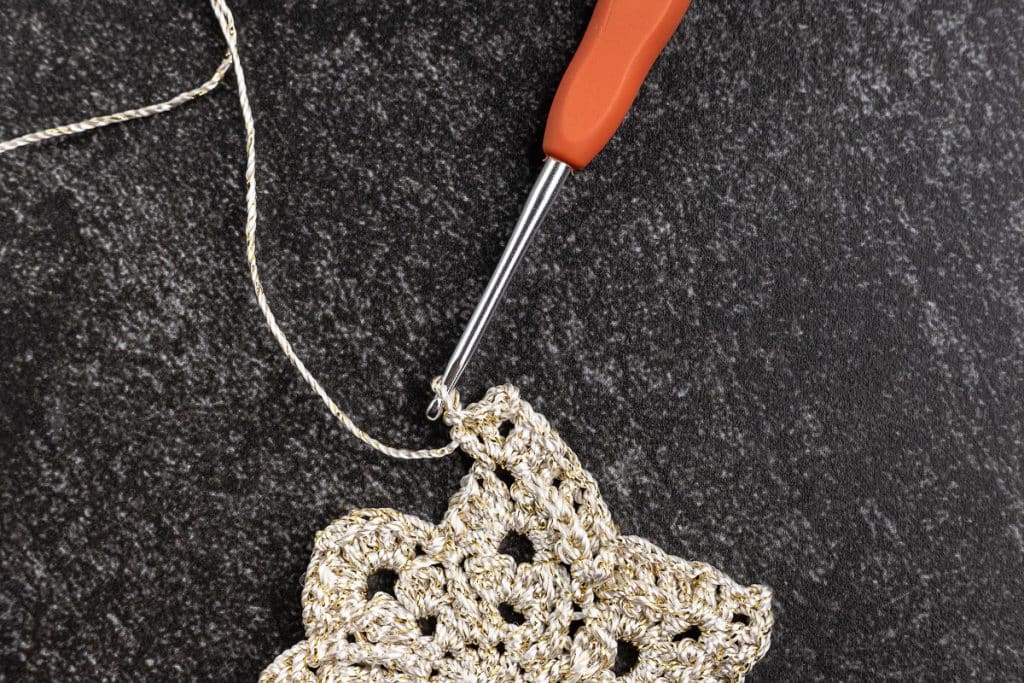

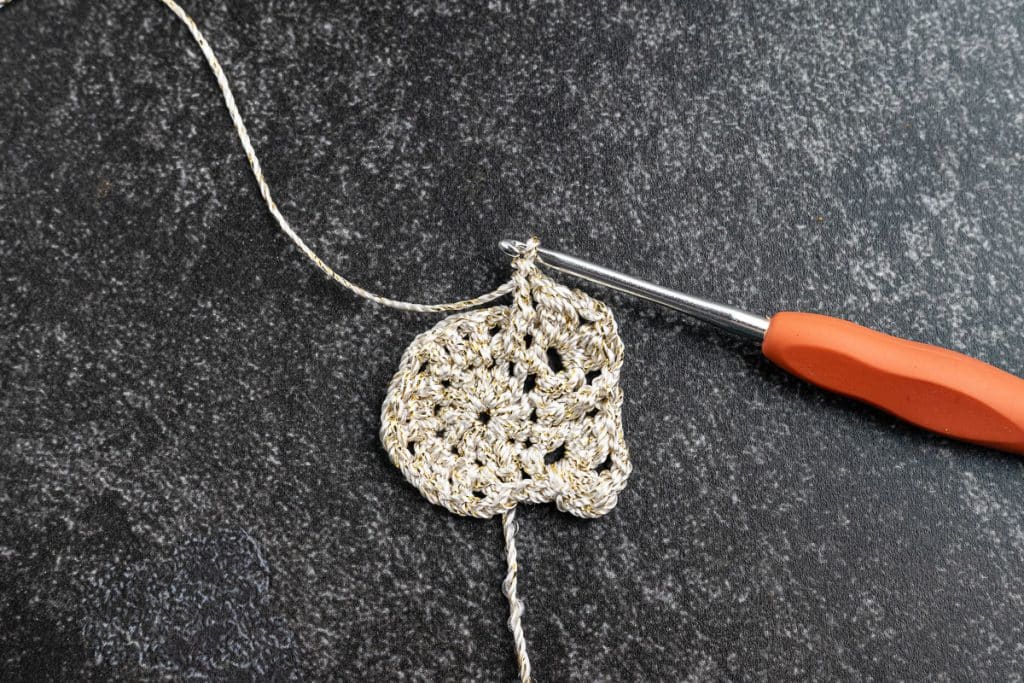
Finishing
Block star by pinning out each point and either spraying with starch or using fabric stiffener to set the star and make it stiff.
Fabric stiffener and spray starch each have their advantages, and the better choice really depends on your project needs and what matters most to you.
Spray starch is the more economical option, as you likely already have it in your laundry room, and a can costs just a few dollars. It’s quick to apply – simply spray and let it dry – and gives you reasonable control over how stiff you want the stars by adjusting the number of coats you use. The finish is lighter and more natural-looking, which some people prefer. However, spray starch is temporary. If your stars get wet or even absorb humidity over time, they’ll lose their stiffness and need to be re-starched. It also tends to flake off if you handle the stars frequently, and you’ll need multiple coats to get a substantial result.
Fabric stiffener creates a more permanent finish that withstands storage, handling, and even some humidity. One application usually does the job, and the stars will stay stiff for years without needing retreatment. It penetrates the yarn fibers more completely than spray starch, giving an even, professional-looking result. The downside is the cost – a bottle runs about $8 to $12, depending on the brand – and it’s messier to work with since you’re dipping the entire star into the solution. Some fabric stiffeners can also leave the yarn feeling slightly plasticky, rather than maintaining its soft texture. Additionally, a few brands may discolor over time, especially on white or light-colored yarn.
For these metallic stars that you’ll likely pack away and reuse year after year, fabric stiffener is probably a worthwhile investment, as you won’t have to re-stiffen them each season. But if you’re making stars as quick gift toppers that will only be used once, or if you want to test the pattern before committing to a large batch, spray starch makes more sense. You can always start with spray starch and switch to fabric stiffener later if you find yourself making these stars regularly.
Assemble the garland
· With the same yarn or coordinating yarn, ch 20, sc into the top point of a star, ch 20, sc into the next star, and repeat.
· Adjust the length of the chains between stars as desired.
Troubleshooting
Problem: Star points aren’t uniform, or some look larger than others.
Solution: Check your tension in the cluster stitches. Ensure you work the same number of incomplete double crochets in each cluster and pull through all the loops with the same amount of tension. Count your stitches carefully in each round to ensure you haven’t accidentally skipped or added any.
Problem: Metallic yarn splits easily or feels slippery on the hook.
Solution: Work slower than you usually would and make sure you’re catching the entire strand of yarn with each stitch, not just part of it. If the yarn keeps splitting, try a hook with a smoother finish or one size larger. You can also keep a damp cloth nearby to wipe your hands occasionally, which helps control slippery yarn.
Problem: The Magic Circle is too loose or too tight.
Solution: Practice adjusting the tail after you work your first round of stitches. A loose center will leave a visible hole in your star, while one that’s too tight makes it hard to work your stitches into the circle. You want it snug but not so tight that you’re fighting to insert your hook.
Problem: Star points curl inward or won’t lie flat.
Solution: Block more aggressively. Pin each point out further than you think necessary and use more starch. Let them dry completely before unpinning. Some crafters even pin them to foam board and leave them overnight to ensure they hold their shape.
Problem: Stitch count seems off partway through a round.
Solution: Stop and count back to determine where the mistake occurred. It’s much easier to rip back a few stitches now than to finish the round and discover your star has five points instead of six. The front and back post stitches in rounds 4 and 5 should line up with the cluster arrangements from round 3, so use those as visual markers to check your work.
Bookmark this page or pin the following image to return to this article about How to Crochet Stars and Make a Star Garland.
Thanks so much for spending a few minutes of your busy day with me!
To ensure you don’t miss future content, pop your email in the pale green box on the right or click here. I usually send one email weekly, so I won’t inundate your inbox. I’m sensitive to an overflowing email inbox!
We will only use your email address to send you emails, no more than 1-2 weekly. In addition, you will have access to my growing library of knit & crochet patterns and other printables. Check back often as this library will continue to grow. You can unsubscribe anytime by emailing me or clicking on the “unsubscribe” link at the bottom of all emails.
And you can access many of the products I refer to on my Nourish and Nestle Amazon Page. You can access it here.
So, if you’d like to participate in the ‘subscriber benefit’ action, simply subscribe to Nourish and Nestle here or use the form on the right sidebar. It’s slightly towards the top.
I have sent all my subscribers the link to the Subscriber Benefits Library. If you missed it or misplaced it, let me know.
Until next time…