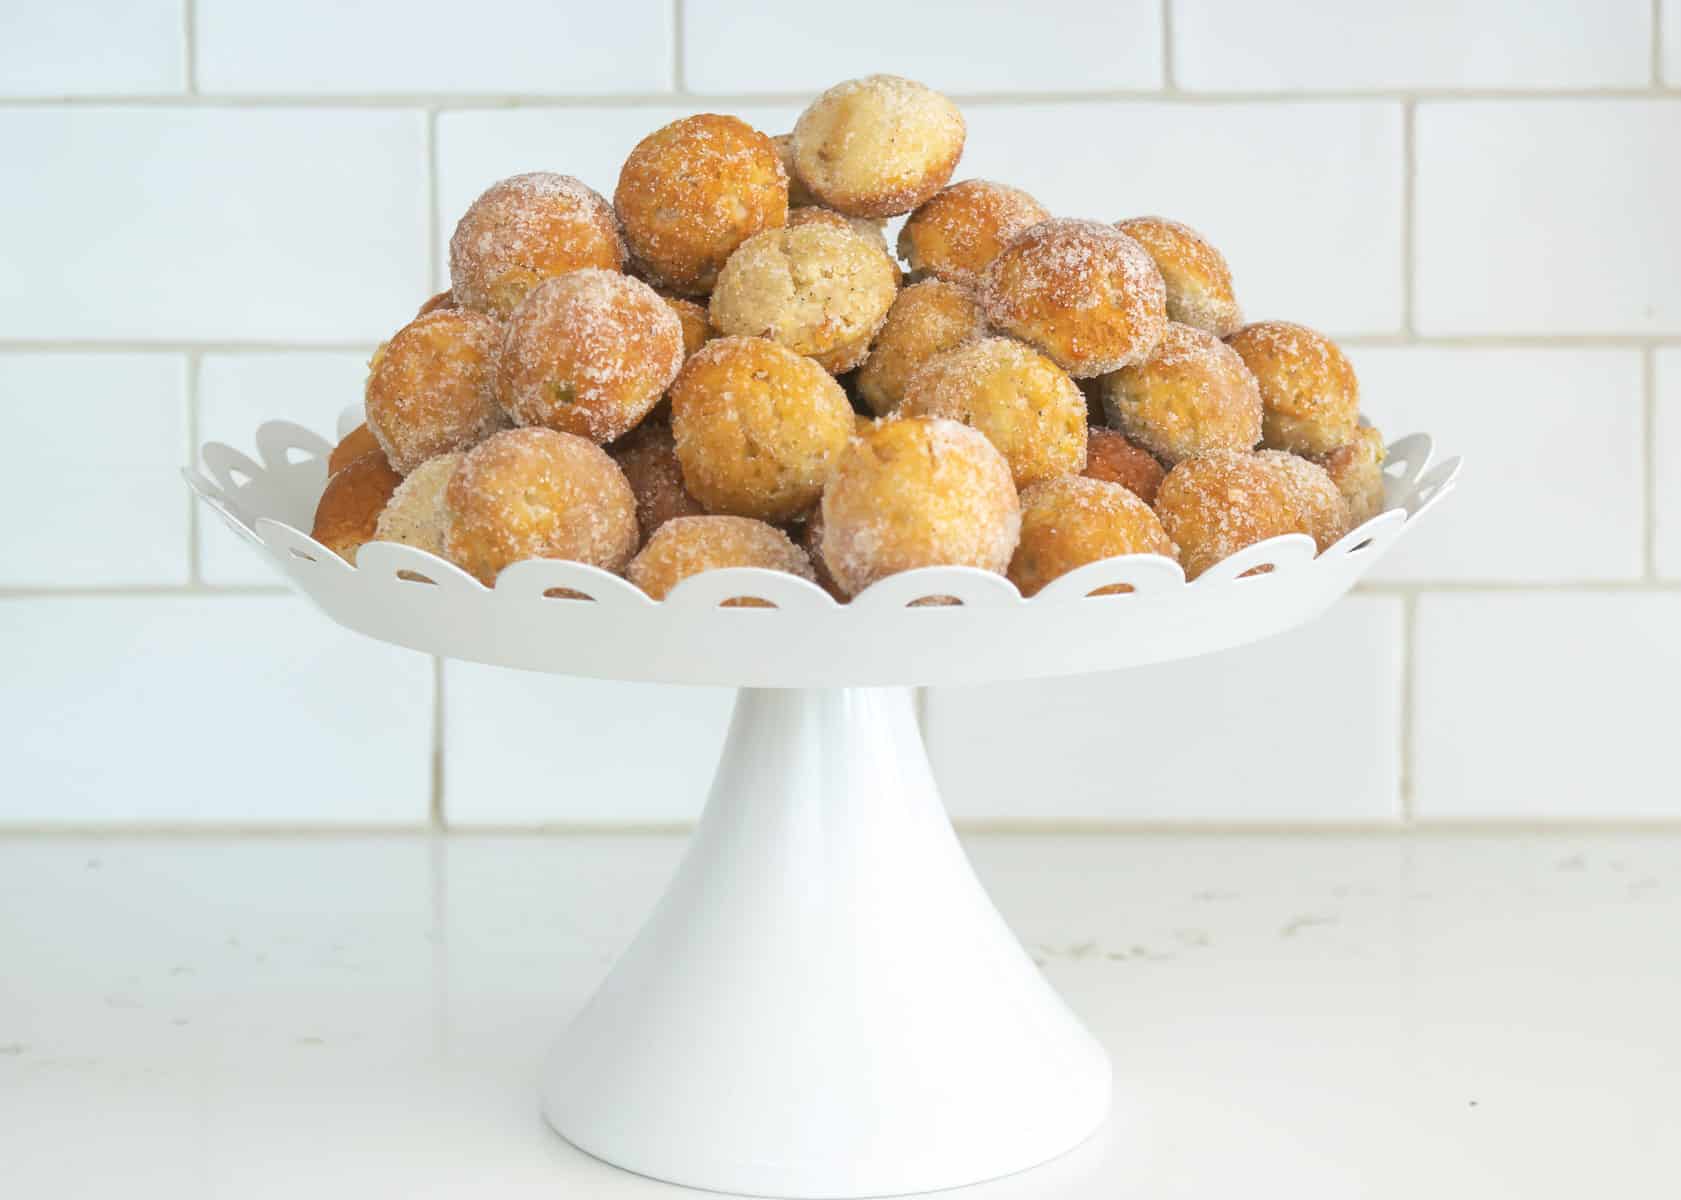
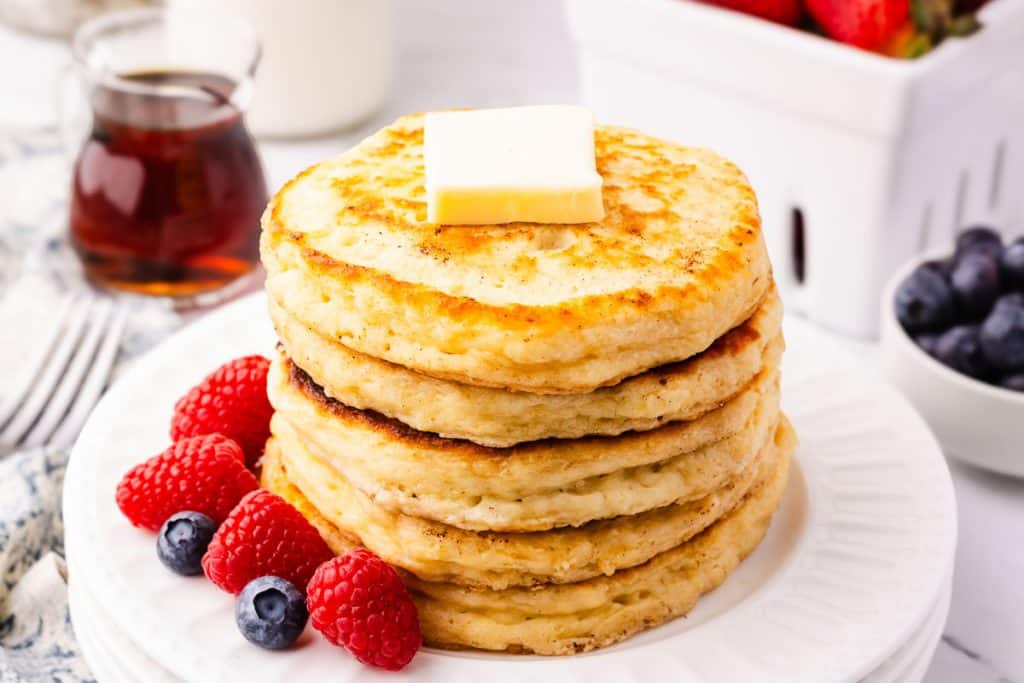
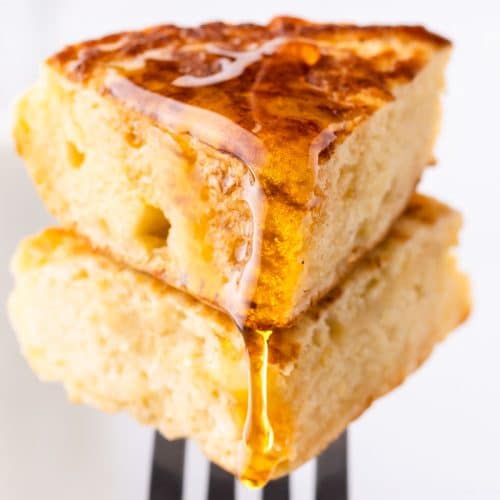
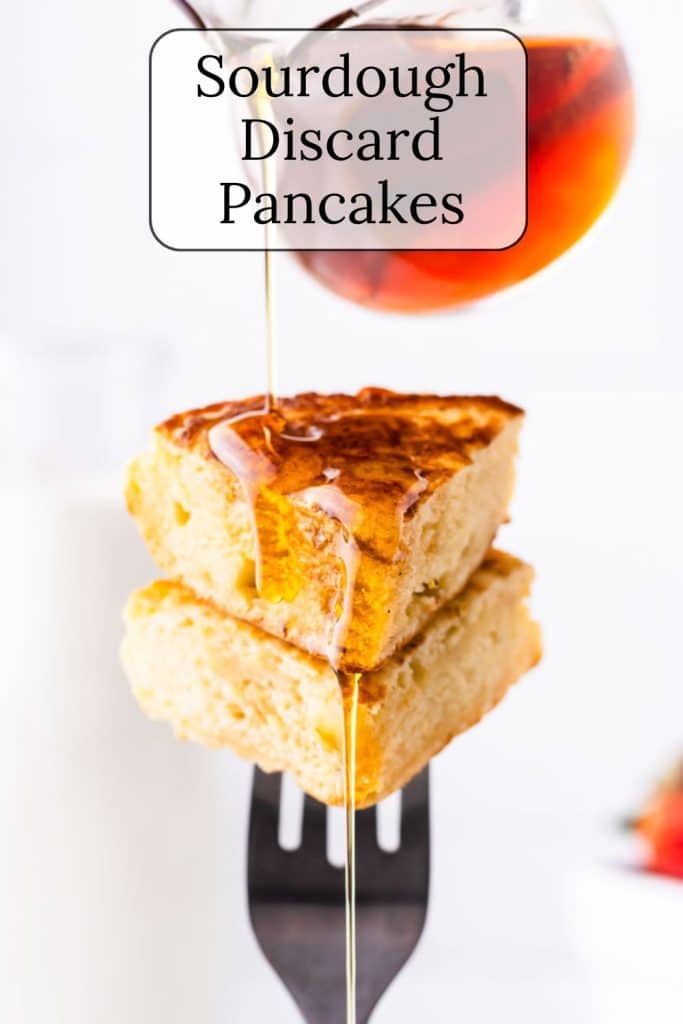
Sourdough Discard Pancakes – Light + Fluffy

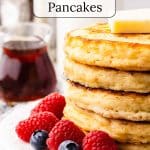


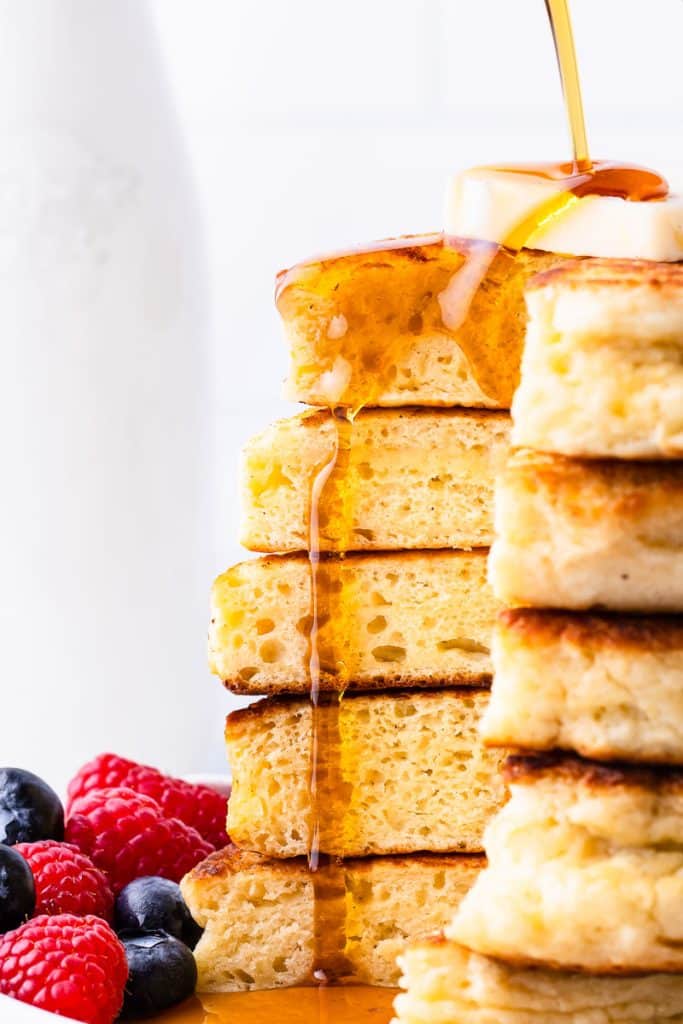
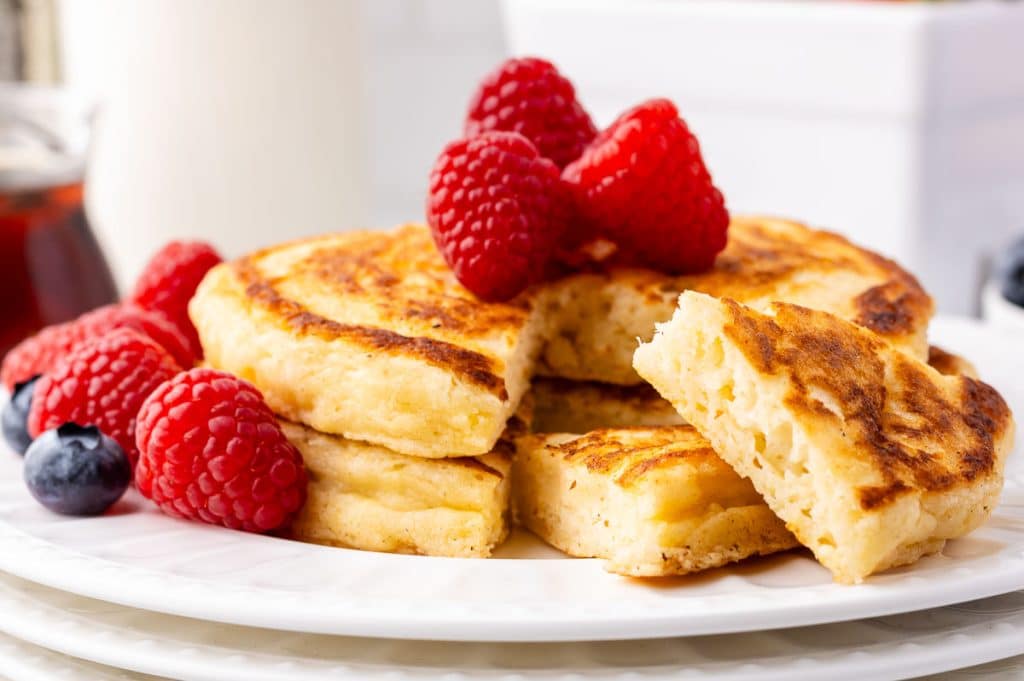
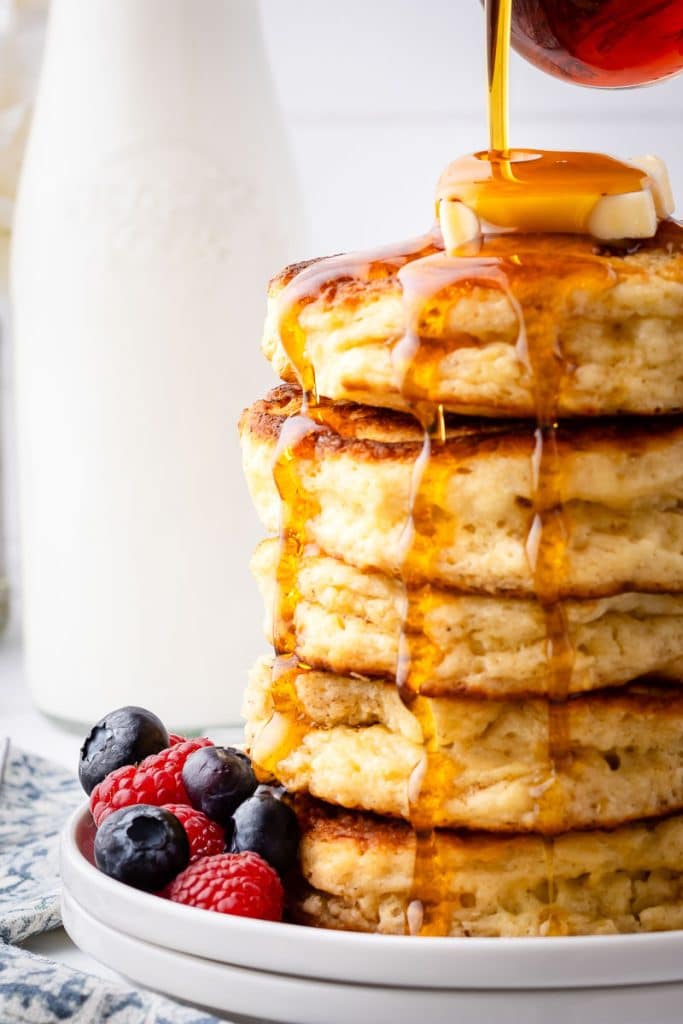
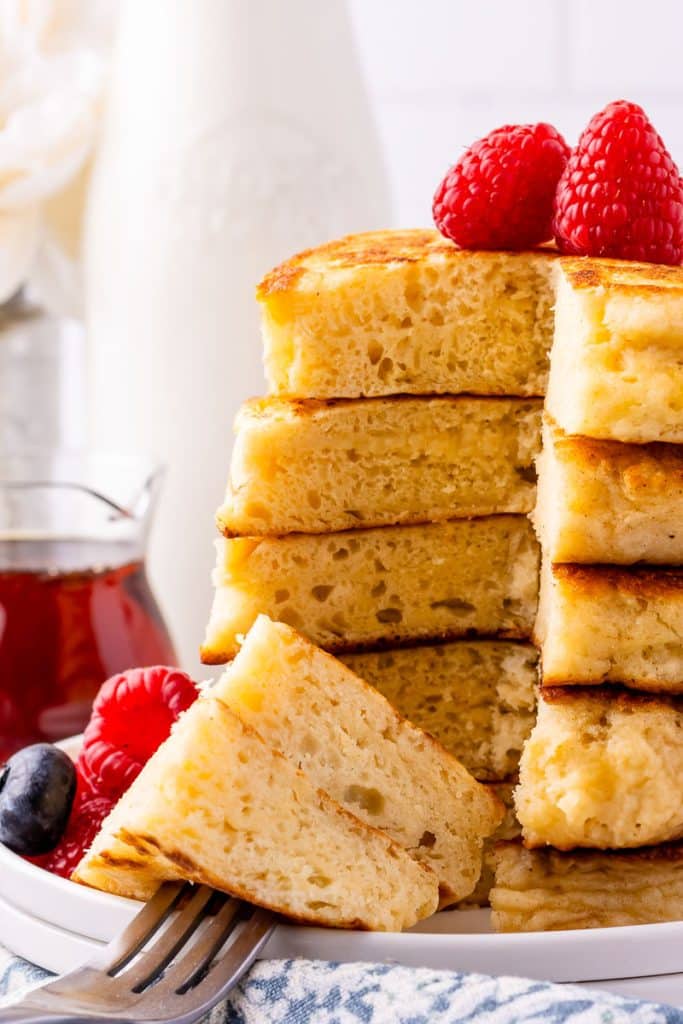
Looking for a delicious way to start your morning AND use some of your leftover sourdough discard? These fluffy sourdough discard pancakes are the perfect solution! This easy recipe turns your leftover starter into golden, light, and airy pancakes with a subtle tang that makes them extra special. Made with simple ingredients like buttermilk, eggs, and flour, these pancakes cook up beautifully every time. Plus, with just five minutes of prep time, they’re a quick and satisfying breakfast for any day of the week.
For extra time-saving and ease, you can mix the dry ingredients for this recipe and store the mixture until you are ready to make pancakes. Keep reading for tips on how to make them extra fluffy and flavorful!
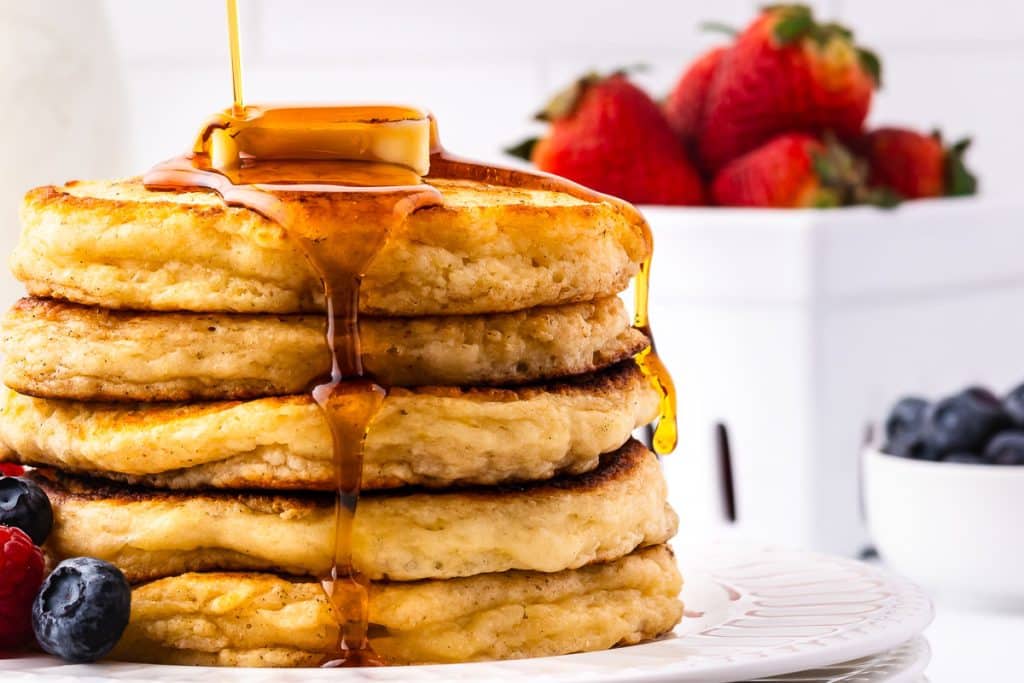
Table of Contents
What Makes These Sourdough Discard Pancakes So Darn Fluffy?
These sourdough discard pancakes achieve their extra fluffiness through a combination of ingredients and techniques.
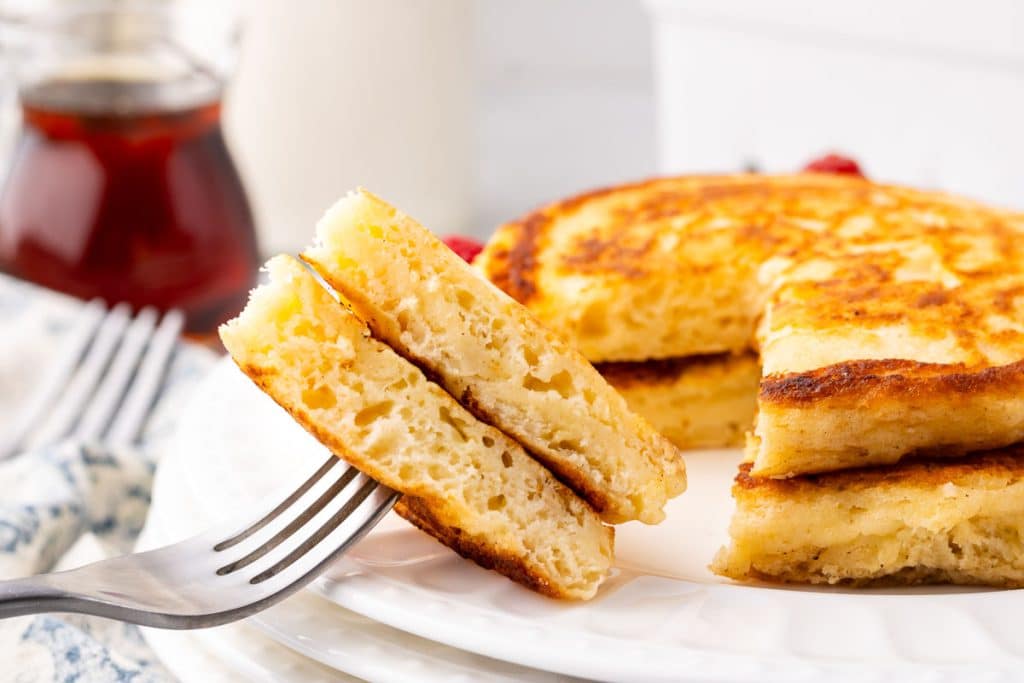
The recipe uses both baking soda and baking powder, creating a double leavening effect—baking powder provides an initial rise when mixed with liquid and another when exposed to heat. At the same time, baking soda reacts with the acidity of buttermilk and sourdough discard, generating carbon dioxide bubbles that expand the batter. The buttermilk activates the baking soda and helps create a tender texture by limiting gluten development. Meanwhile, the sourdough starter discard contributes to fermentation, adding a mild tang and enhancing aeration.
A key technique in this recipe is the separation of egg yolks and whites before mixing. The yolks are blended with melted butter, which ensures smooth incorporation and prevents the fat from coating the egg whites. The egg whites, combined with buttermilk, remain separate from the butter initially, allowing them to contribute more lift to the batter. This separation technique helps achieve a lighter structure. Additionally, this sourdough discard pancake recipe requires minimal mixing when combining wet and dry ingredients, which is essential to avoid overdeveloping gluten, ensuring the pancakes stay soft and fluffy.
The cooking process also plays a role in achieving a perfect texture. Cooking the pancakes over medium-low heat allows bubbles to form and expand before flipping, preventing them from deflating too soon. The recipe instructs waiting until bubbles appear on the surface before flipping, ensuring the structure is set, and the pancakes achieve maximum rise.
Essential Ingredients for Perfect Sourdough Pancakes
Sourdough Discard
It adds a slight tangy flavor and helps create a tender texture. If you don’t have sourdough discard, use ½ cup plain yogurt, kefir, or an extra ¼ cup buttermilk. These will provide a similar acidity but won’t replicate the depth of sourdough’s flavor.
Buttermilk
The acidity of buttermilk reacts with the baking soda, creating bubbles that make the pancakes light and fluffy. If you don’t have buttermilk, mix two cups of milk with two tablespoons of lemon juice or vinegar. Let it sit for 5–10 minutes before using.
Flour
All-purpose flour provides structure and absorbs moisture in the batter. You can use whole wheat flour for a heartier texture, but the pancakes may be slightly denser. If using gluten-free flour, choose a 1:1 all-purpose blend with xanthan gum for the best results.
Eggs (separated)
Egg yolks add richness, while the whites help create an airy texture. For egg-free pancakes, use ½ cup applesauce or mashed banana for moisture. You can also try a flax egg (1 tablespoon flaxseed meal + 3 tablespoons water, let sit for 5 minutes). These substitutions will affect the pancakes’ texture.
Melted Butter
Real butter adds richness and flavor, helping to create golden, crispy edges. For a dairy-free option, use coconut oil or neutral vegetable oil. Melted ghee can also work for a nuttier flavor.
Baking Soda & Baking Powder
These two leaveners work together to create the signature rise in these pancakes. Baking soda reacts with buttermilk while baking powder provides an additional lift.
Sourdough Discard
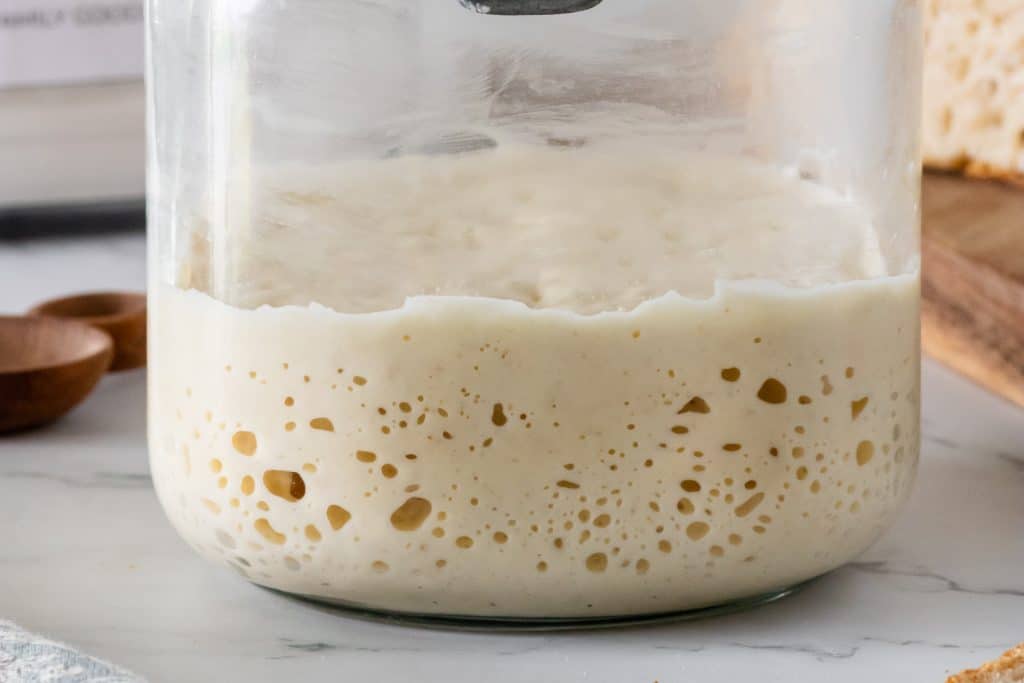
Sourdough discard is the portion of sourdough starter that is removed before feeding the starter with fresh flour and water. Since sourdough starter is a live, fermented culture of flour and water, it needs regular feedings to stay active. Rather than throwing away the excess, many bakers use this leftover sourdough starter in recipes like pancakes, waffles, muffins, crackers, and even cookies.
While discard is not active enough to make bread rise on its own, it still contains natural wild yeasts and beneficial bacteria that add depth of flavor, slight acidity, and tenderness to baked goods. The tangy flavor makes it perfect for pancakes, enhancing both taste and texture.
Sourdough Discard Pancake Variations
While delicious on their own, these fluffy sourdough pancakes are a perfect canvas for creativity. Try these exciting variations:
- Fruit: Fold in fresh blueberries, raspberries, or sliced bananas just before cooking.
- Chocolate Chips: Sprinkle dark or milk chocolate chips onto the batter as it cooks.
- Nuts: Add chopped pecans or walnuts to the batter for a crunchy texture.
- Spices: Mix in 1/2 teaspoon of vanilla extract, cinnamon, nutmeg, or pumpkin pie spice for a warm, comforting flavor.
When adding fruits or chocolate chips, sprinkle them directly onto the pancake after pouring the batter onto the griddle. This prevents them from sinking to the bottom of the bowl.
Make the Dry Mixture Ahead of Time
You can prepare the dry ingredients in advance and store them for up to three months. For convenience, the mixture can be doubled, tripled, or more to create a ready-to-use pancake mix. Before each use, give the dry mix a thorough stir to ensure even distribution. When you’re ready to make pancakes, simply measure 2 cups of the dry mix into a large bowl and follow the wet ingredient instructions as usual.
Troubleshooting Your Sourdough Pancakes
Common Issues and Solutions
- If the pancakes are too thick or heavy, add more buttermilk to thin the batter. Do not overmix; this can develop gluten and make the pancakes tough.
- If the pancakes are too thin or runny, add a tablespoon of flour until they reach the desired consistency. Let the batter rest for 5 minutes to thicken naturally.
- If the pancakes aren’t cooking through, Lower the heat to prevent burning the outside before the inside cooks. Also, make sure your pan is at the right temperature before starting.
- If the pancakes are sticking to the pan, ensure your pan is properly preheated before adding batter. Also use a non-stick pan or add more oil/butter to your cooking surface.
If you Remember Nothing Else…
- Wet goes on top of dry.
- Only mix until just combined, about 10 seconds. Over-mixing activates the gluten, which will make your pancakes rubbery.
Your Questions Answered
You can mix the wet and dry ingredients separately and store them overnight. However, once combined, the baking soda and powder start reacting, so it’s best to mix everything right before cooking for the fluffiest pancakes.
Yes, but it will change the texture slightly. An active starter has more gas and fermentation activity, which can make the pancakes airier and slightly chewier. Since discard is often more acidic, an active starter may make the pancakes have a milder flavor.
A cast iron skillet or a non-stick griddle works best for evenly cooked pancakes. If using stainless steel, make sure it’s well-greased and preheated to avoid sticking.
For the crispiest reheating, use a toaster or skillet instead of a microwave. Place a paper towel underneath the pancakes to absorb extra moisture if microwaving.
Absolutely! Just use 1–2 tablespoons of batter per pancake and slightly reduce the cooking time. This size is great for kids or for stacking and drizzling with syrup!
Make sure you cook the pancakes in butter instead of oil for crispier edges. Butter adds richness and helps create a golden, crispy crust. Letting the butter brown slightly before adding the batter enhances the flavor and improves the texture. A hot griddle set to medium heat ensures the pancakes cook evenly, perfectly balancing crisp edges and a fluffy interior.
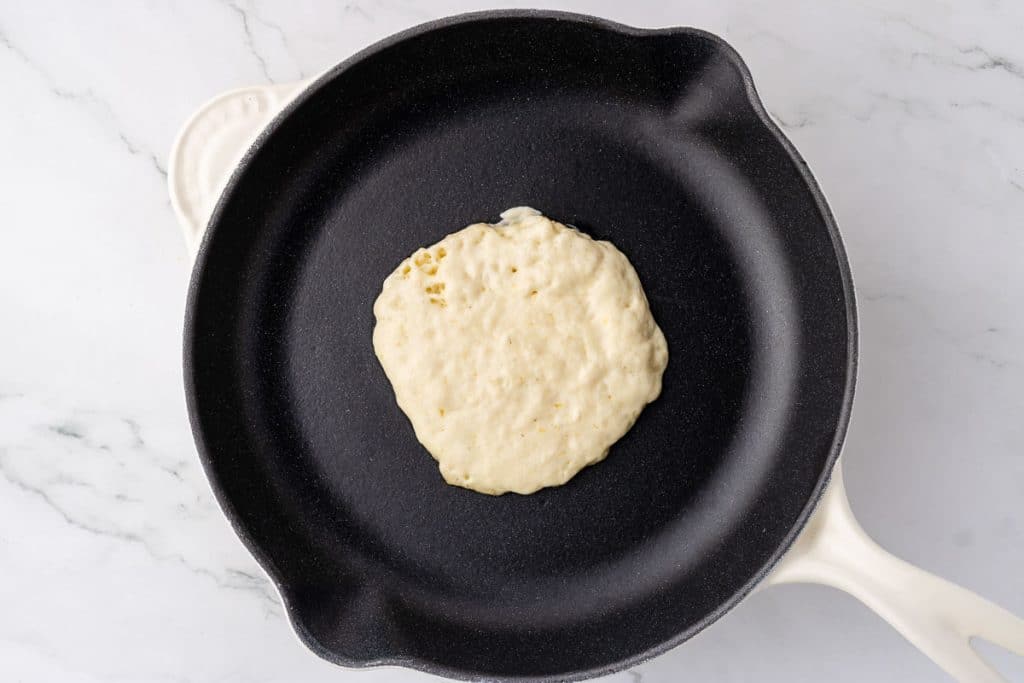
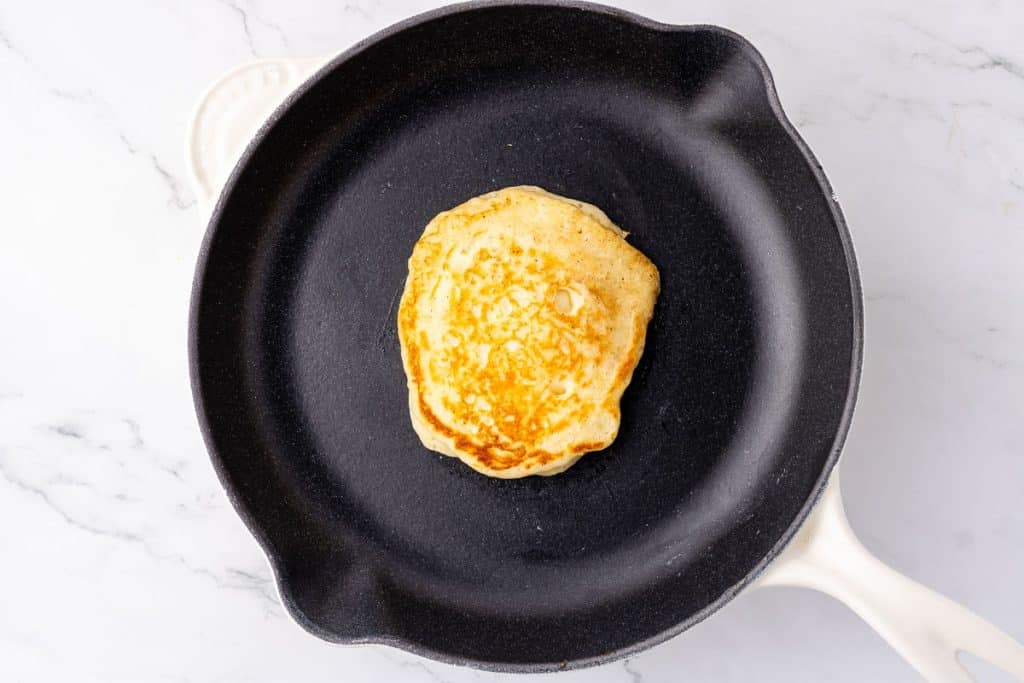
You’ll know your pancakes are ready to flip when tiny bubbles start forming across the surface, especially near the center, indicating that the bottom has set and is cooking evenly. The edges will begin to look dry and slightly lift away from the pan, showing that the batter has firmed up enough to hold its shape. To be sure, gently lift the edge of the pancake with a spatula—if the bottom is a nice golden brown, it’s time to flip. Generally, pancakes should cook for 2–3 minutes on the first side before flipping to ensure even cooking.
For a perfect flip, use a wide spatula to prevent breakage and flip confidently to avoid the batter spreading unevenly. Once flipped, resist the urge to press down on the pancake, which can squeeze out air bubbles and make it less fluffy. Cooking with the proper technique will ensure light, airy pancakes with a beautiful golden crust.
Step-by-Step Directions to Make Fluffy Sourdough Discard Pancakes
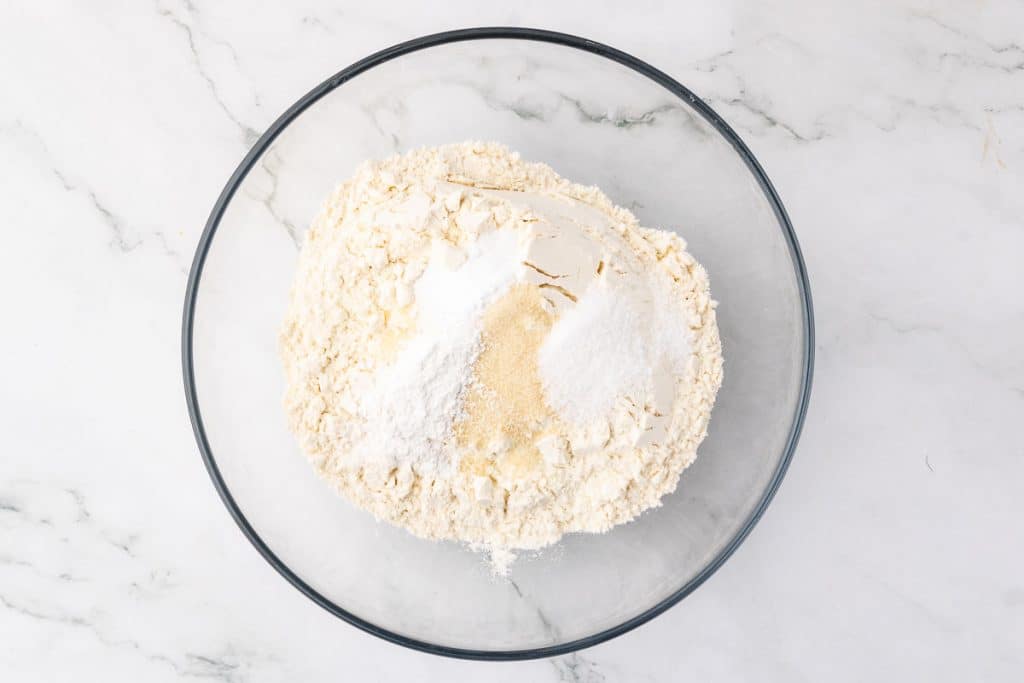
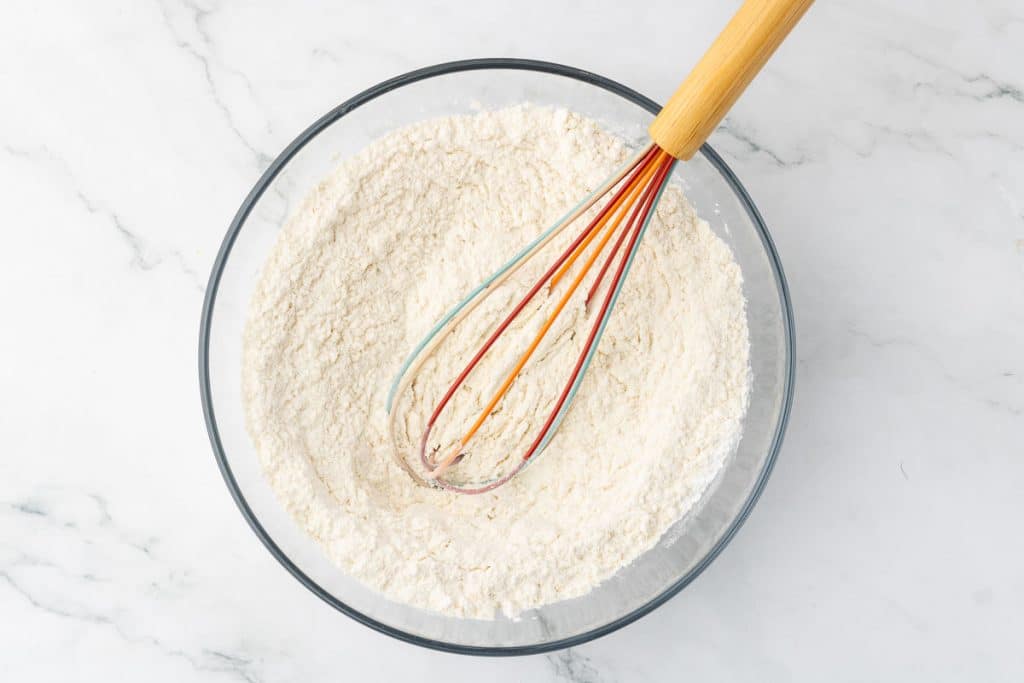
- Mix dry ingredients in a large bowl and set aside.
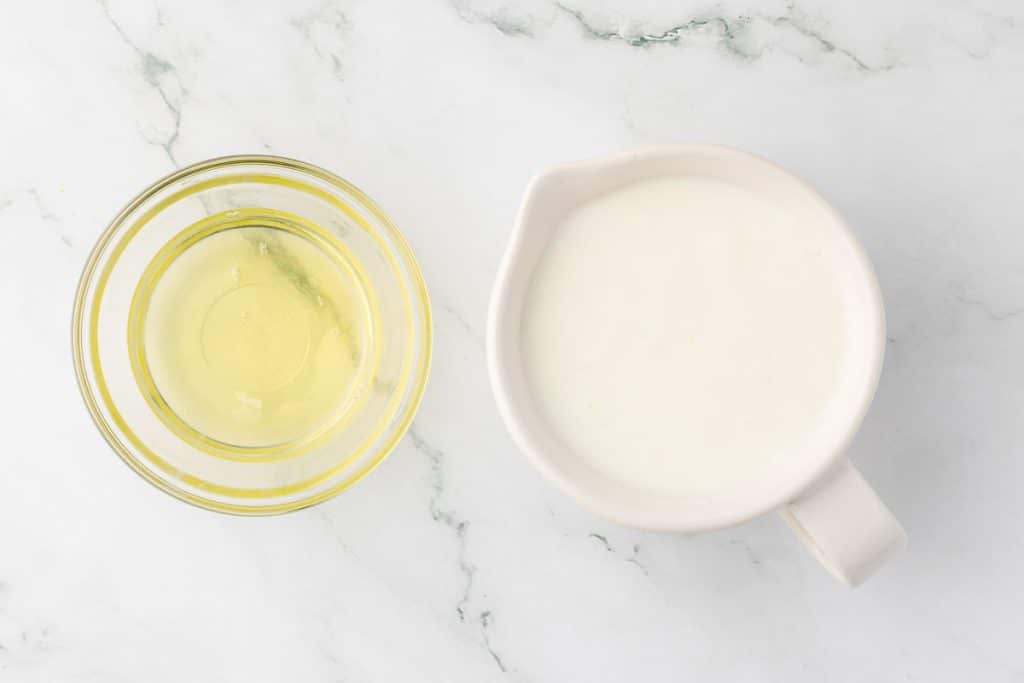
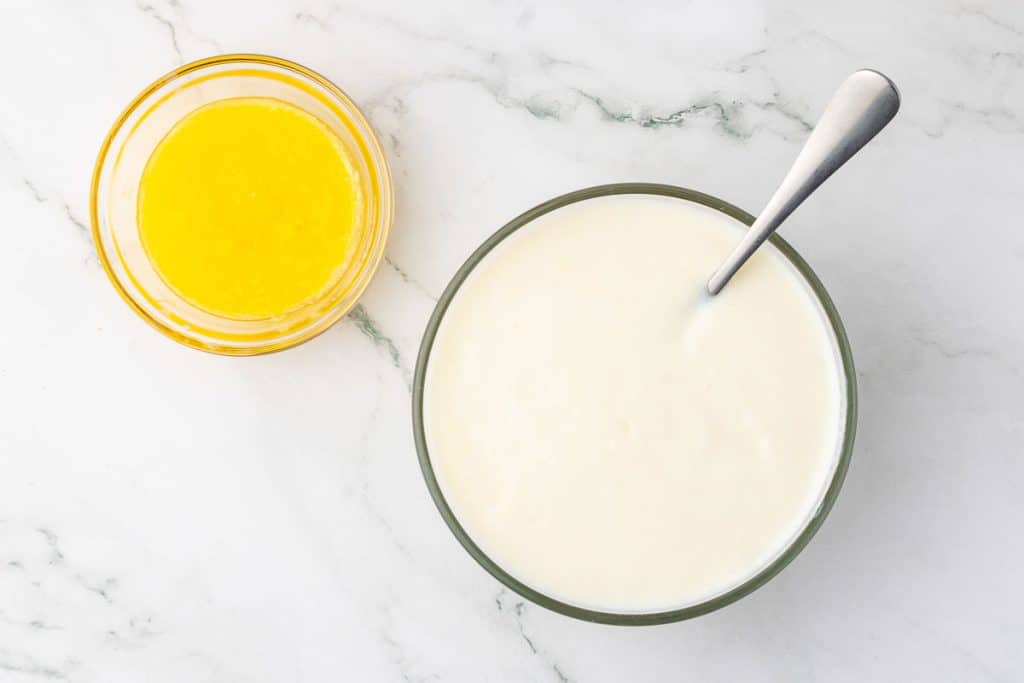
2. In a separate small bowl, mix the four tablespoons of melted butter cooled to room temperature and egg yolks


3. In another larger bowl, mix the buttermilk and egg whites.
4. Combine the two bowls of mixed wet ingredients: the butter and yolk mixture with the buttermilk and egg white mixture. Then, add the sourdough discard and mix
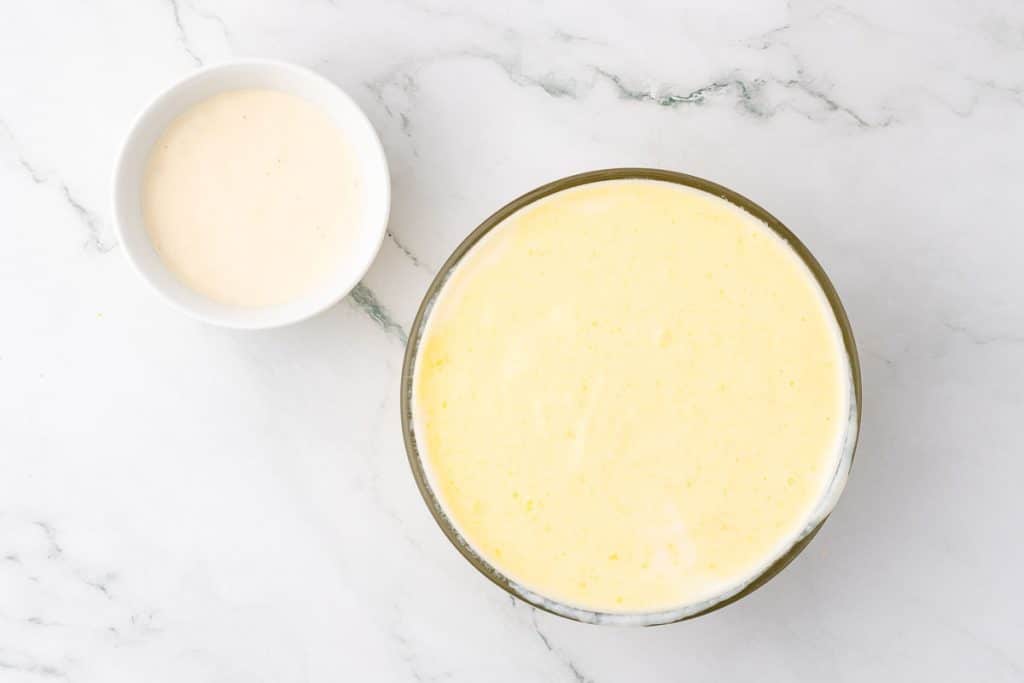
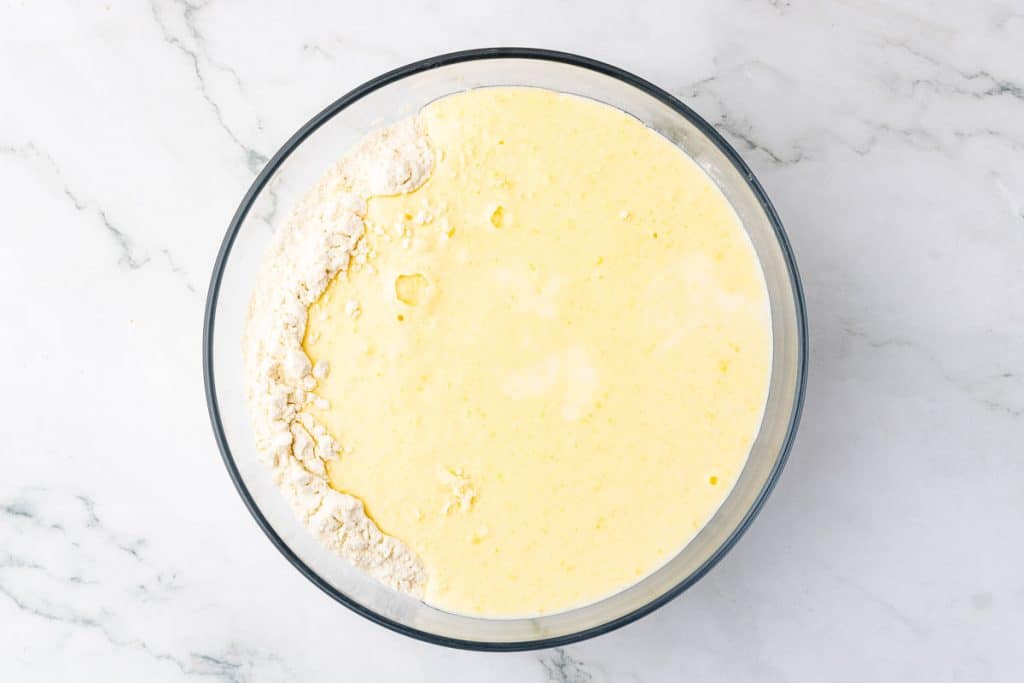
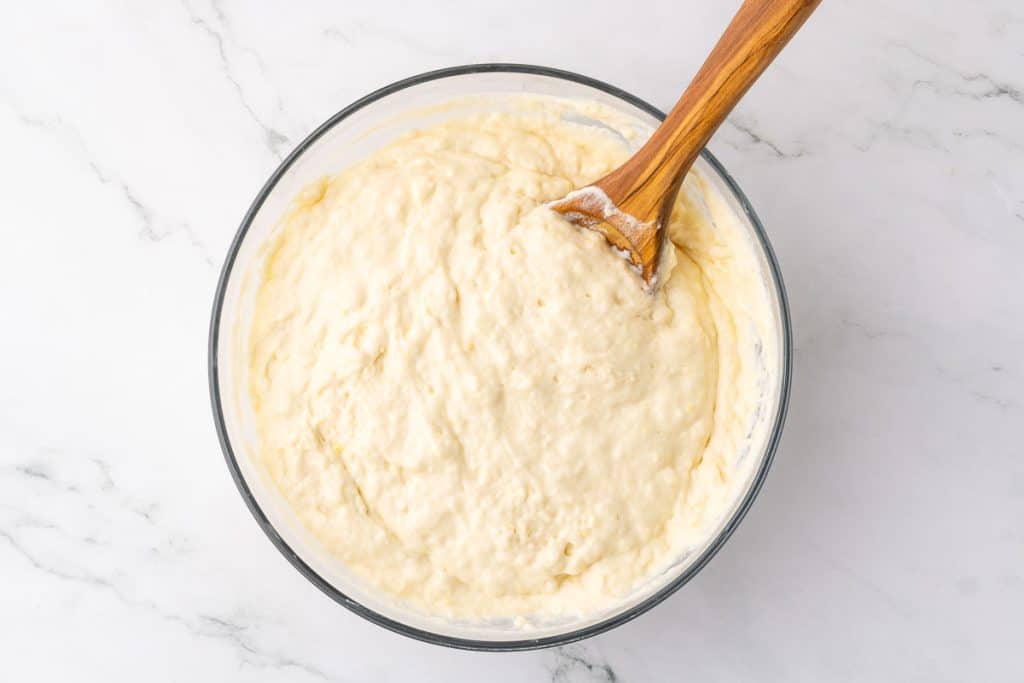
5. Pour the wet ingredients over the dry ingredients and mix until just combined. Do not overmix—this is key to making sure these are light and fluffy.
6. Heat a large pan over medium heat. Once hot, add butter to grease the pan and add ⅓ cup of batter for each pancake. Reduce the heat to medium-low.
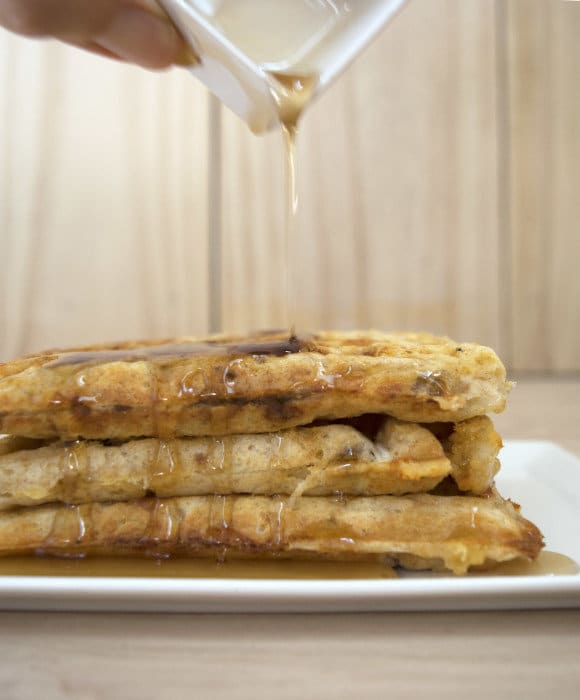
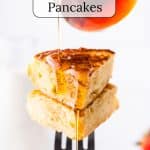
Cook the pancakes on the first side for about 2-3 minutes or until bubbles form on the surface. Then flip and cook for about 2-3 minutes more, or until golden brown.
Sourdough Discard Pancakes
Equipment
- Skillet
- Spatula
- Mixing Bowls
- Whisk
- Measuring Cups
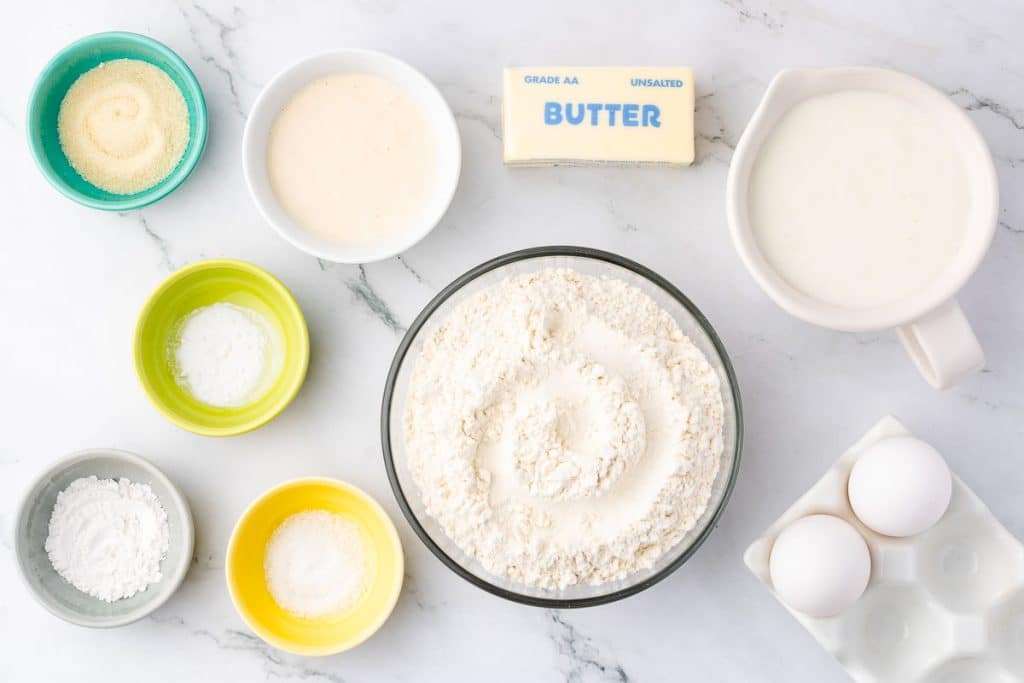
Ingredients
Dry Ingredients:
- ½ teaspoon baking soda
- 1 teaspoon baking powder
- 1 teaspoon kosher salt
- 3 teaspoons sugar
- 2 cups flour measured using scoop and level method, Note 1
Wet Ingredients:
- 4 tablespoons melted butter cooled to room temperature, plus more for greasing the pan
- 2 eggs separated into yolks and whites
- 2 cups buttermilk
- ½ cup sourdough discard
Instructions
- Mix dry ingredients in a large bowl and set aside.
- In a separate small bowl, mix the 4 tablespoons of melted butter cooled to room temperature and egg yolks
- In another larger bowl, mix the buttermilk and egg whites.
- Combine the two bowls of mixed wet ingredients, the butter and yolk mixture with the buttermilk and egg white mixture.
- Add the sourdough discard and mix
- Pour the wet ingredients over the dry ingredients and mix until just combined. Do not overmix—this is key to making sure these are light and fluffy.
- Heat a large pan over medium heat. Once hot, add butter to grease the pan and add ⅓ cup of batter for each pancake. Reduce the heat to medium low.
- Cook the pancakes on the first side for about 2-3 minutes or until you start to see bubbles form on the surface. Then flip. Cook for about 2-3 minutes more or until golden brown.
- Transfer the pancakes to a plate and enjoy!
Notes
Note 1 – The Scoop and Level Method
The “scoop and level” method is a common way to measure flour accurately when baking, which is essential for achieving the best results. Here’s how to do it:- Scoop: Use a spoon to fluff up the flour within the container. Then, use a scooping tool, like a spoon or a scoop, to overfill your measuring cup.
- Level: Once you’ve filled your measuring cup, take the back of a knife (or any straight-edged utensil) and level off the flour. This means you’ll sweep across the top of the measuring cup to remove the excess flour so the flour is even with the top edges of the measuring cup.
Nutrition
Storing and Reheating Your Sourdough Pancakes
Storage Tips
- Refrigeration: Store cooled pancakes in an airtight container for 3 days.
- Freezing: Place parchment paper between pancakes and freeze in a ziplock bag for up to 2 months.
Reheating Methods
- Toaster: For crispy edges, pop refrigerated pancakes in the toaster.
- Oven: Preheat to 350°F (175°C). Warm pancakes for 5-10 minutes until heated through.
- Microwave: Heat for 20-30 seconds, but be aware this method may make them slightly soggy.
- Skillet: Reheat in a lightly buttered skillet over medium heat for 1-2 minutes per side.
Pro Tip: For frozen pancakes, thaw them in the refrigerator overnight before reheating.
Other Sourdough Recipes
Our sourdough recipes are divided between sourdough discard recipes and active starter sourdough recipes. We also have a recipe and tutorial for making your sourdough starter.
Sourdough Discard Recipes
Sourdough discard is the portion of sourdough starter removed during feeding to maintain a healthy and active culture. When you feed a sourdough starter, you typically add fresh flour and water, but before doing so, a portion of the existing starter is discarded to prevent it from growing too large and to maintain the right balance of yeast and bacteria.

- Sourdough Discard Pizza Dough
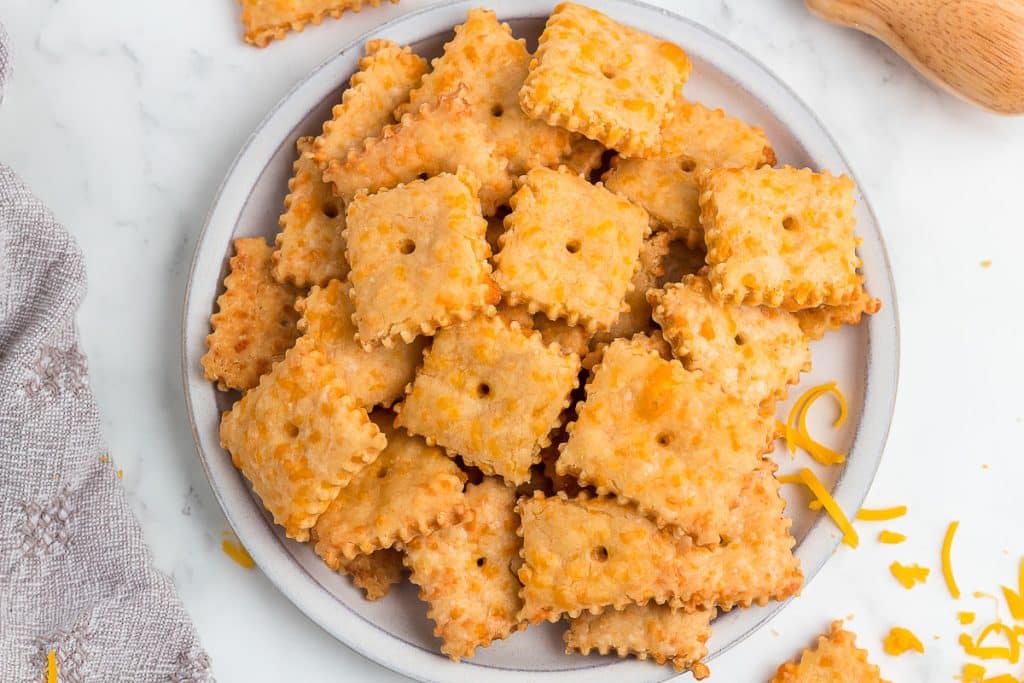
- Sourdough Discard Cheese Crackers
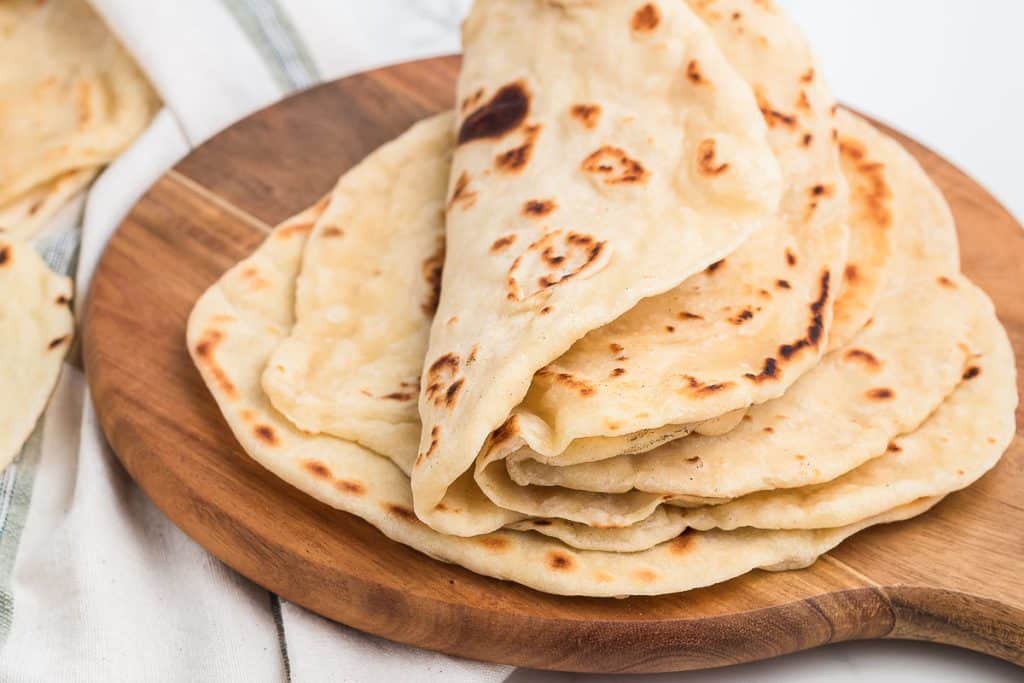
- Sourdough Discard Tortillas
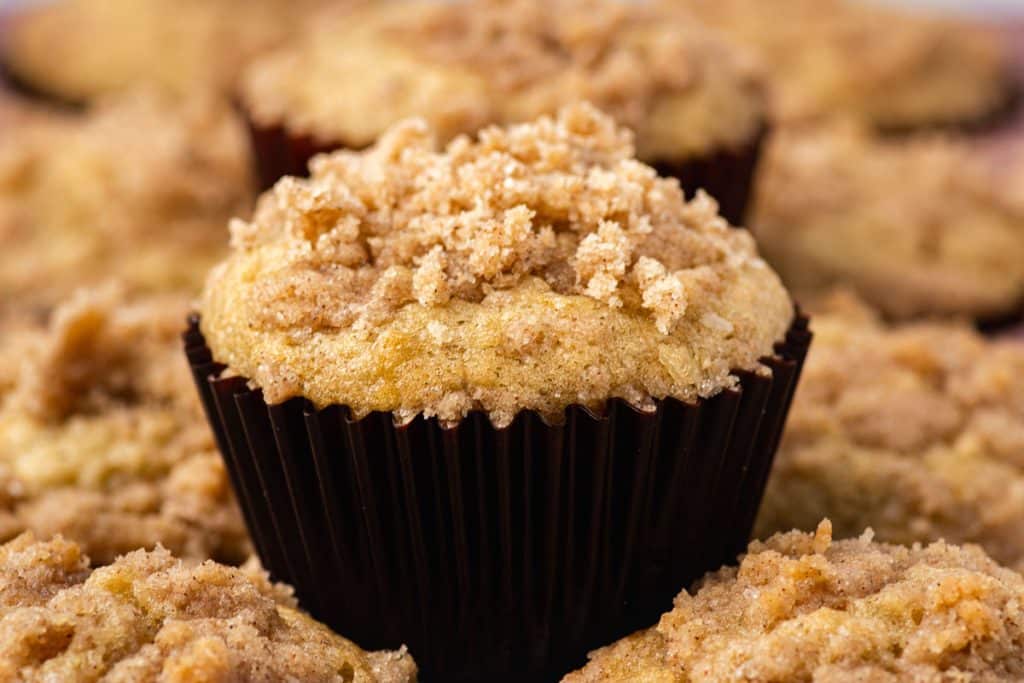
- Sourdough Discard Banana Muffins
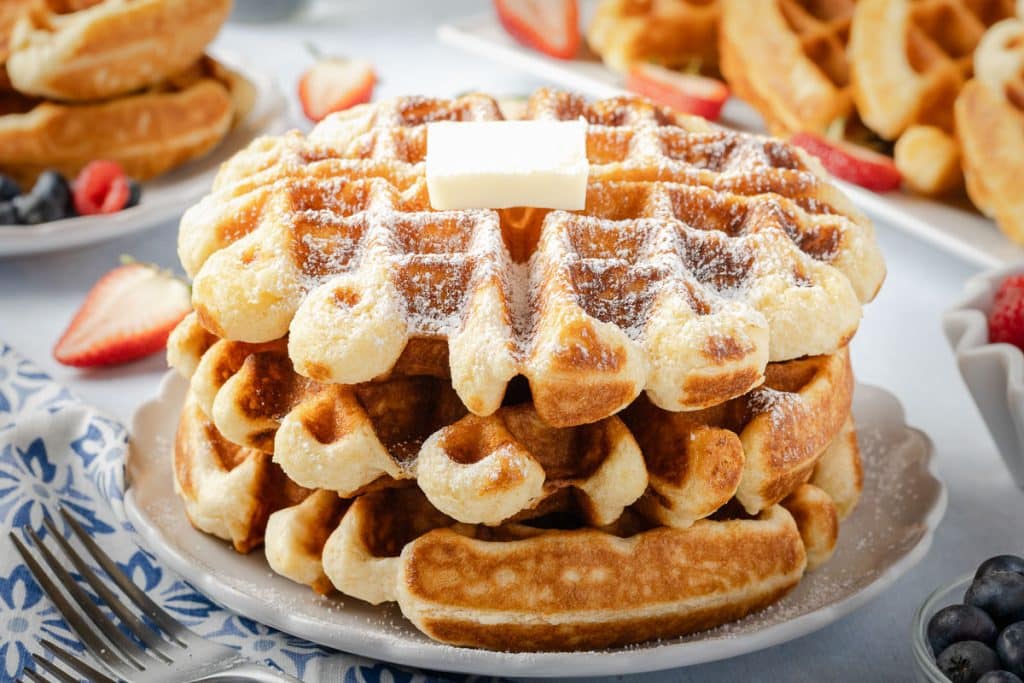
- Sourdough Discard Waffles
Sourdough Recipes
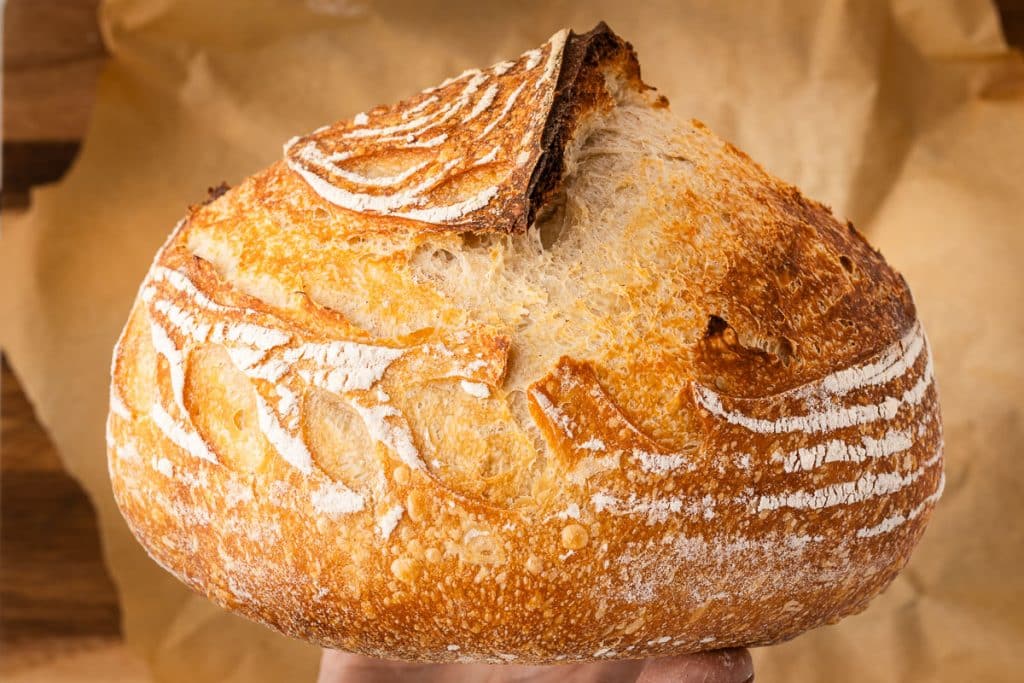
- Sourdough Bread Recipe
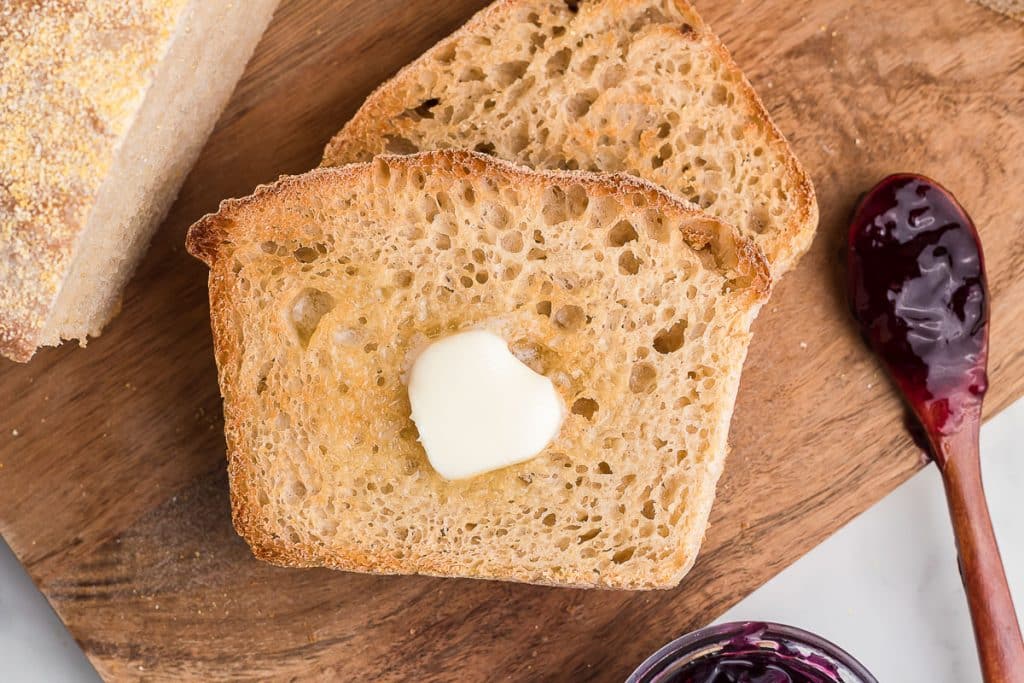
- Sourdough English Muffin Bread
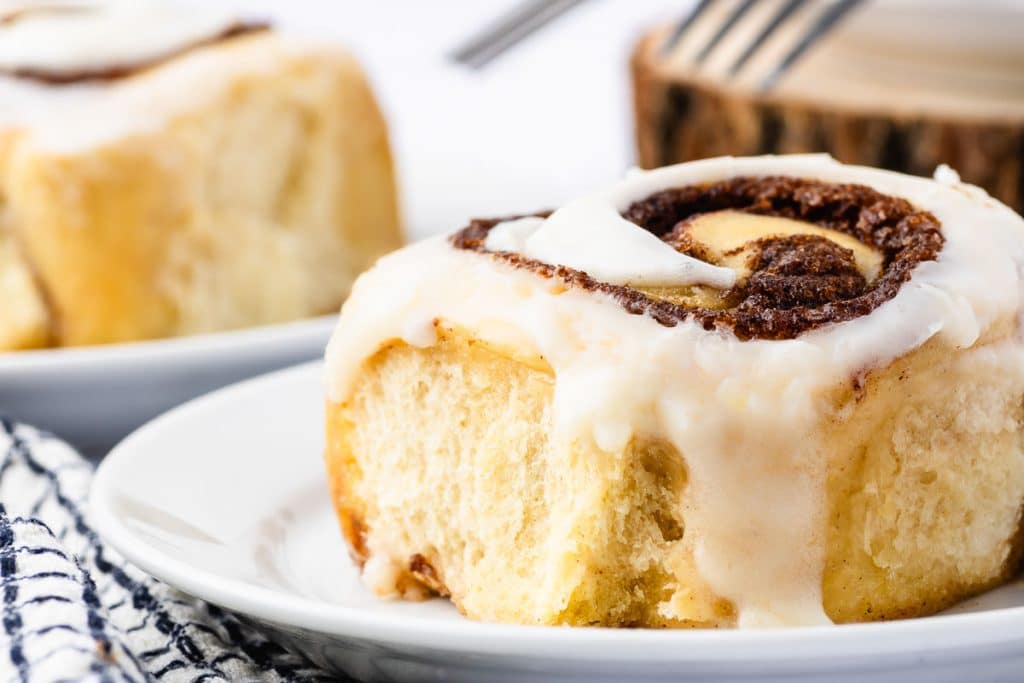
- Sourdough Cinnamon Rolls
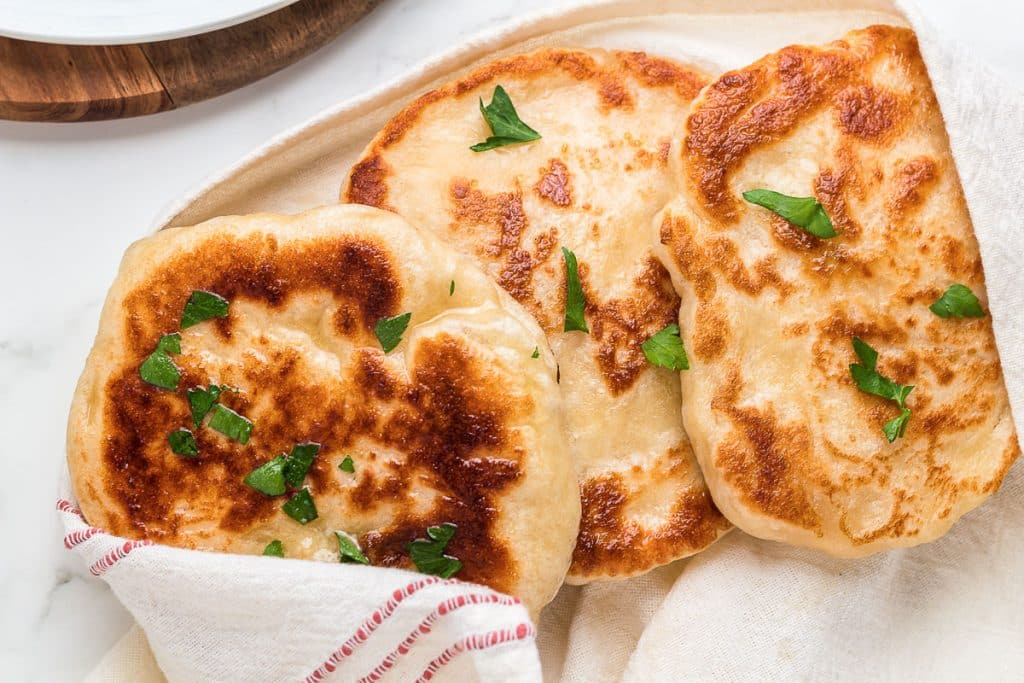
- Easy Sourdough Flatbread
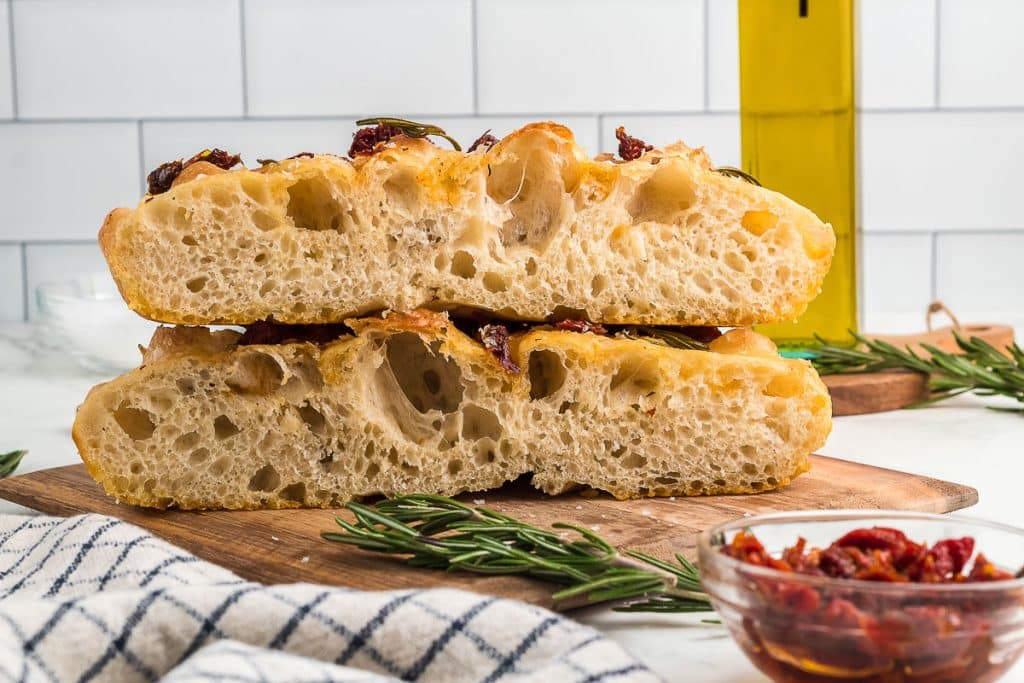
- Sourdough Focaccia
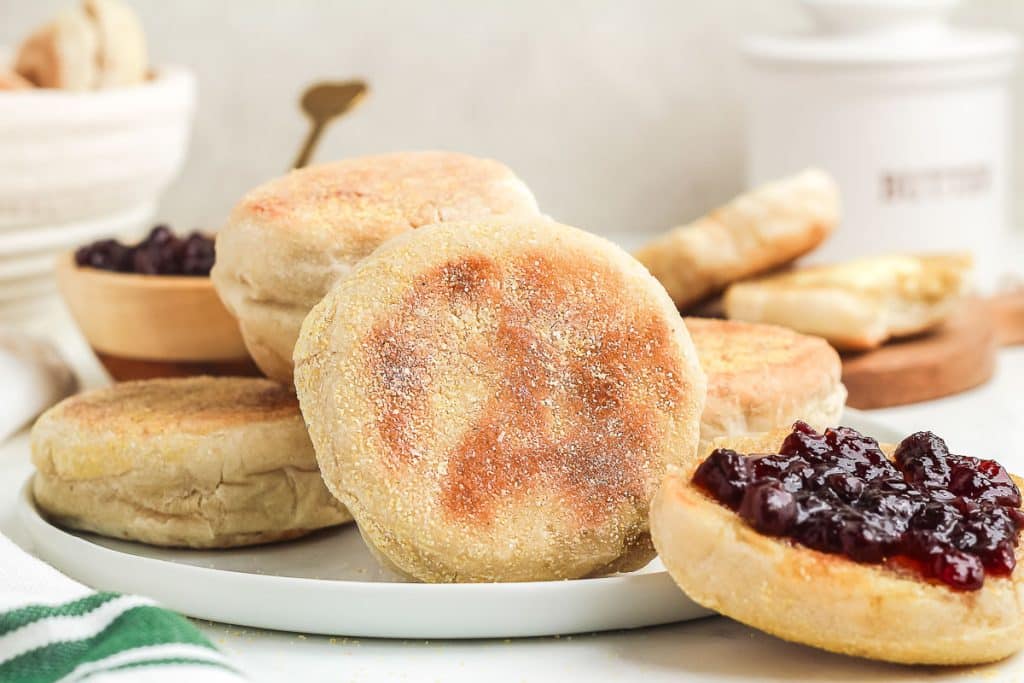
- Sourdough English Muffins
Bookmark this page or pin the following image to refer back to this Sourdough Discard Pancakes recipe in the future.
Thanks so much for spending a few minutes of your busy day with me!
To ensure you don’t miss future content, pop your email in the pale green box on the right or click here. I usually send one email weekly, so I won’t inundate your inbox. I’m sensitive to an overflowing email inbox!
We will only use your email address to send you emails, no more than 1-2 weekly. In addition, you will have access to my growing library of knit & crochet patterns and other printables. Check back often as this library will continue to grow. You can unsubscribe anytime by emailing me or clicking on the “unsubscribe” link at the bottom of all emails.
And you can access many of the products I refer to on my Nourish and Nestle Amazon Page. You can access it here.
So, if you’d like to participate in the ‘subscriber benefit’ action, simply subscribe to Nourish and Nestle here or use the form on the right sidebar. It’s slightly towards the top.
I have sent all my subscribers the link to the Subscriber Benefits Library. If you missed it or misplaced it, let me know.
Until next time…