Layered Taco Dip
A universally enjoyed and easily made appetizer, this layered taco dip recipe can be prepared ahead of time for easy entertaining. Made with refried beans, canned chiles, cream cheese, taco seasoning, freshly grated cheese, salsa, and fresh vegetables, this is dip is always a crowd favorite. And this Mexican layer dip is easily made vegetarian by using vegetarian refried beans.
So, I have shied away from calling this a Seven Layer Dip because…well, I can be a bit anal. I mean, what constitutes a layer? Who is the higher authority who determines if all the veggies lumped together are one layer, or do they each get their own layer?
And on top of that, this layered dip recipe is so easily customized that you could quickly turn it from a 7-layer dip to an 8-layer dip or, for that matter, a 6-layer dip. You see where I’m coming from? So, it was just easier to call it a Layered Taco Dip and let you add your own number.
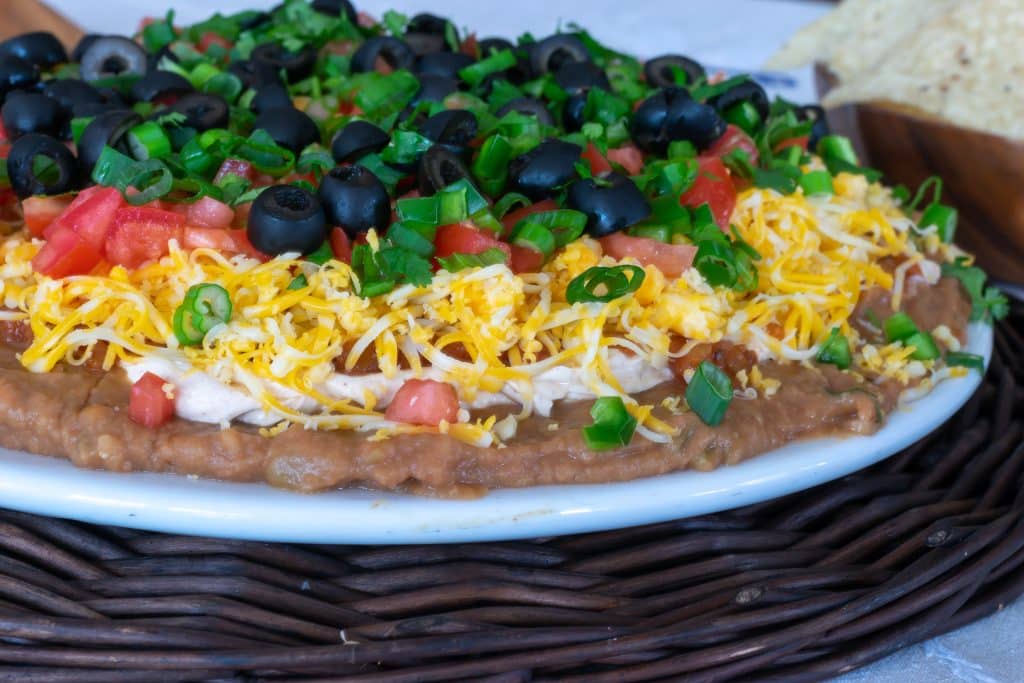
Table of Contents
But, no matter what you call it, this is the perfect appetizer to take to a game day celebration, a Cinco de Mayo party, or a casual neighborhood gathering.
customize this layered taco dip
- For a heartier appetizer, bordering on a meal, add seasoned ground beef between the bean layer and the cream cheese layer.
- For all the avocado lovers out there 🙋🏼♀️, mash one and put it between the bean and the cream cheese layer. Just make sure you cover it well with the cream cheese layer to keep it from turning brown. And because you can never have too much avocado, go ahead and chop and distribute one on top, too!
- Add a layer of diced bell pepper.
- Use green salsa instead of red salsa.
- Add a sprinkling of shredded lettuce right before serving.
is this Mexican Layer Dip served hot or cold?
This dip is served cold, making it easy to pull out of the fridge for a gathering. Even if you do add a layer of cooked beef or chicken, this is a cold dip. That said, because this dip contains dairy and possibly meat, it should not sit at room temperature for longer than two hours.
can you make this layered taco dip recipe ahead of time?
With this recipe, you can easily do much of the prep work ahead of time.
- Mix the beans and canned jalapeños and refrigerate or spread on your plate, cover, and refrigerate.
- Mix the cream cheese, sour cream, and taco seasoning ahead of time and refrigerate or spread on top of the beans, cover, and refrigerate.
- Grate the cheese, cover, and refrigerate.
- Drain the olives and the salsa.
- Dice the scallions and fresh jalapeño, cover, and refrigerate.
What I wouldn’t do ahead of time is add the salsa and chop the tomatoes. No matter how much you try to drain them, they will continue releasing their liquid, making your layered dip runny. No bueno!
ingredients
making layered taco dip is very easy
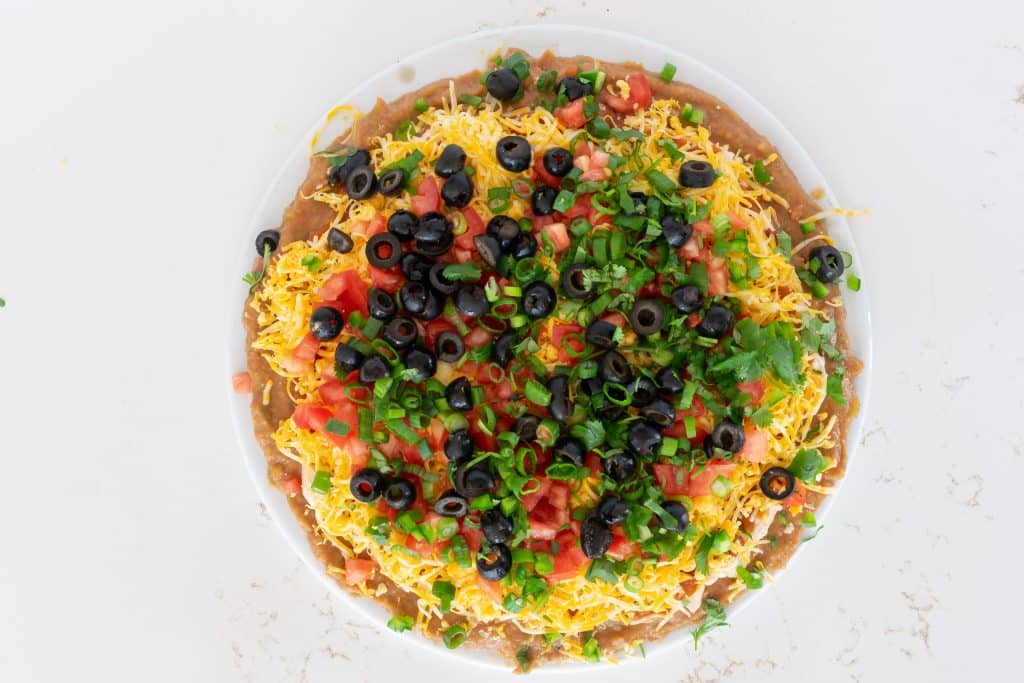
how to serve this layered taco dip
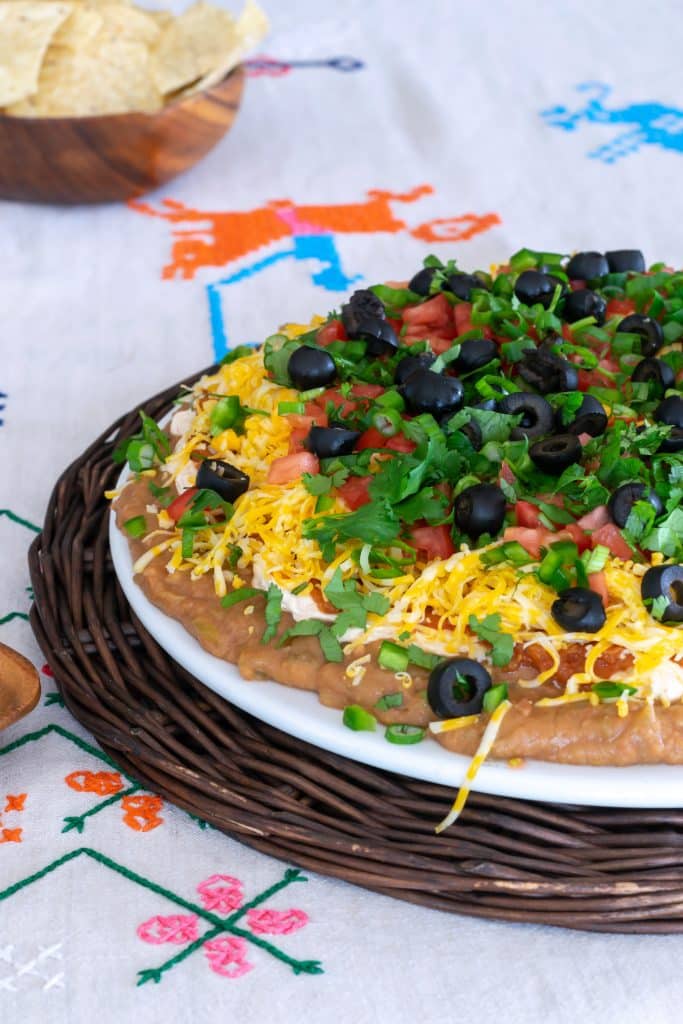
I prefer making and serving this dip on a plate instead of a baking dish because it is easy to scoop with a tortilla! A baking dish is beneficial if your dip is runny. But by draining excess liquid from our ingredients, it is easily served on a plate. But that’s just my preference! This is your dip, so you do you!
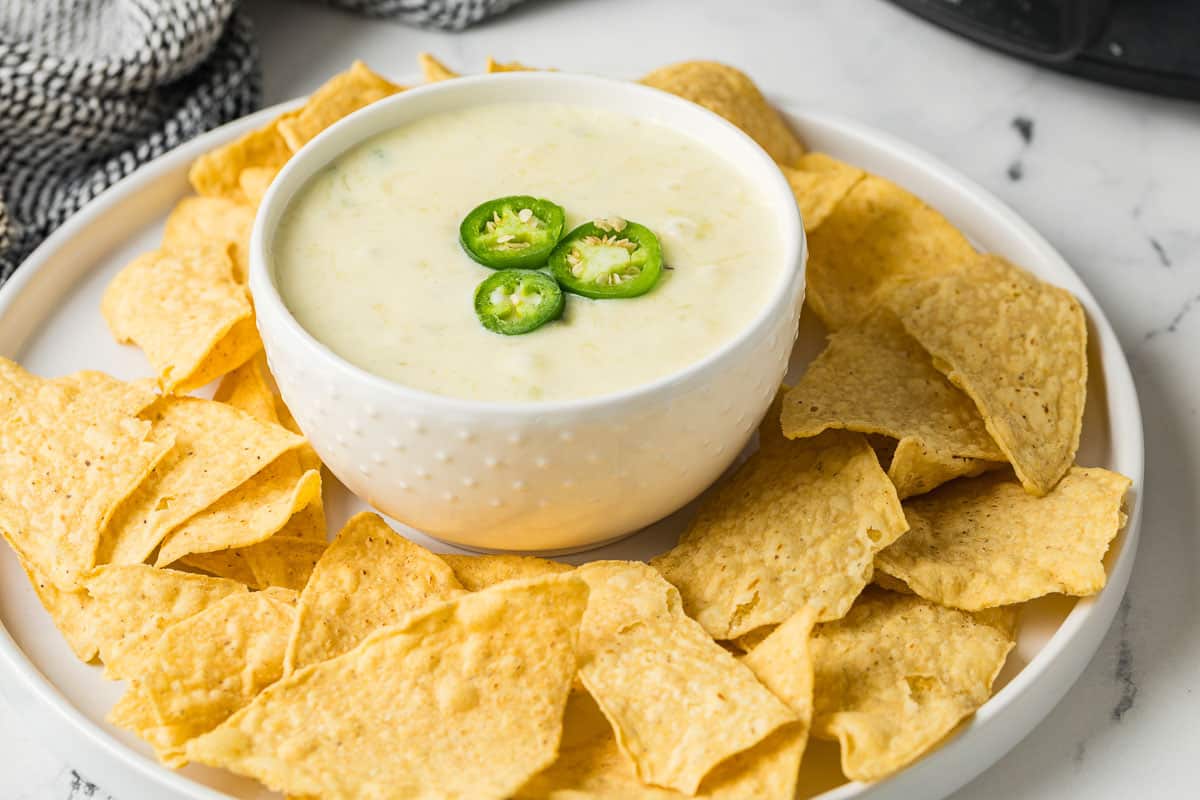
Serve your Mexican layer dip with tortilla chips.
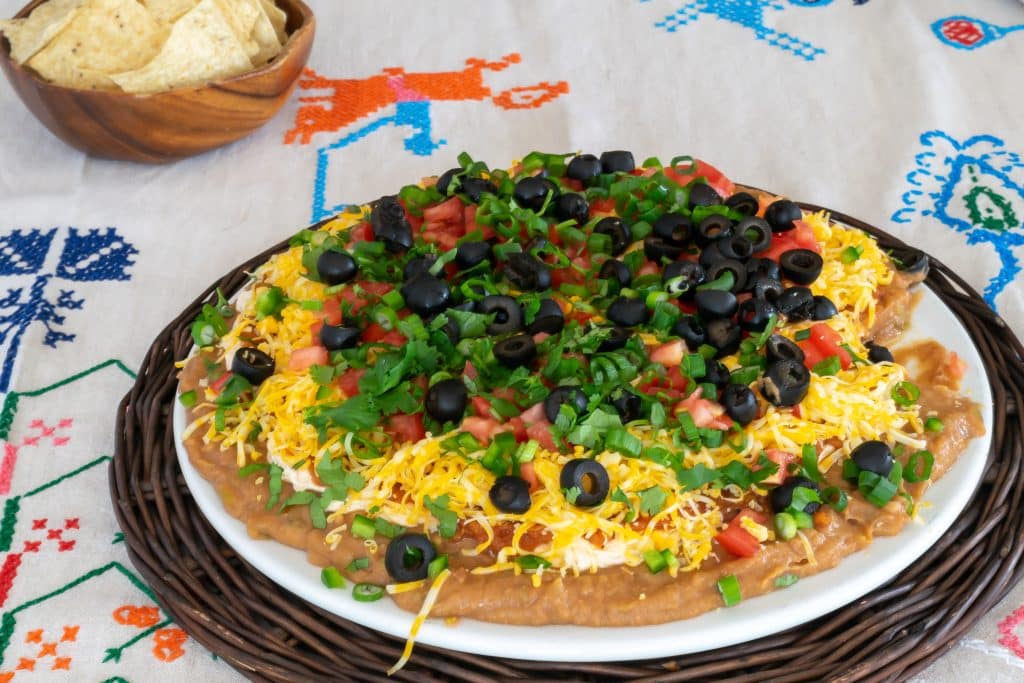

Layered Taco Dip
Ingredients
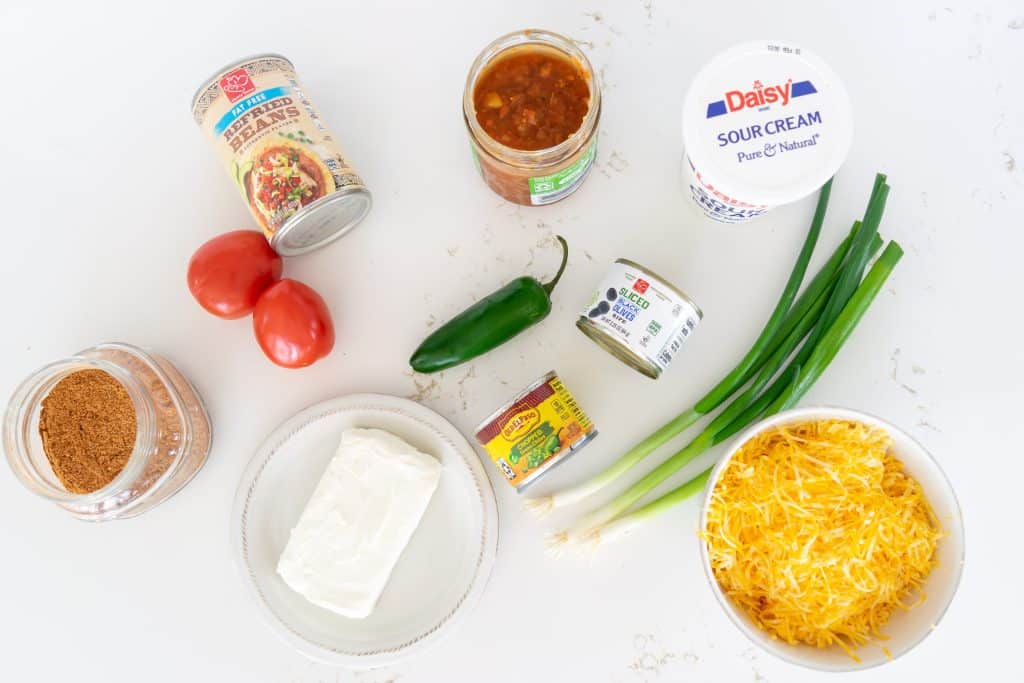
- 16- ounce can of refried beans or 16 ounces of your own refried beans recipe
- 4.5- ounce can of jalapeño peppers extra liquid drained off.
- 8- ounce package cream cheese at room temperature
- 8- ounces of sour cream
- 2- teaspoons of taco seasoning use your own taco seasoning recipe or package taco seasoning
- 16- ounce jar of salsa
- 2 Roma tomatoes diced with pulp removed
- 3 green onions or scallions sliced
- 8 ounces or 2 cups shredded cheddar cheese Monterey jack or a combination.
- 2.5- ounce can of sliced black olives
- Diced fresh jalapeño
- Diced avocado optional
Instructions
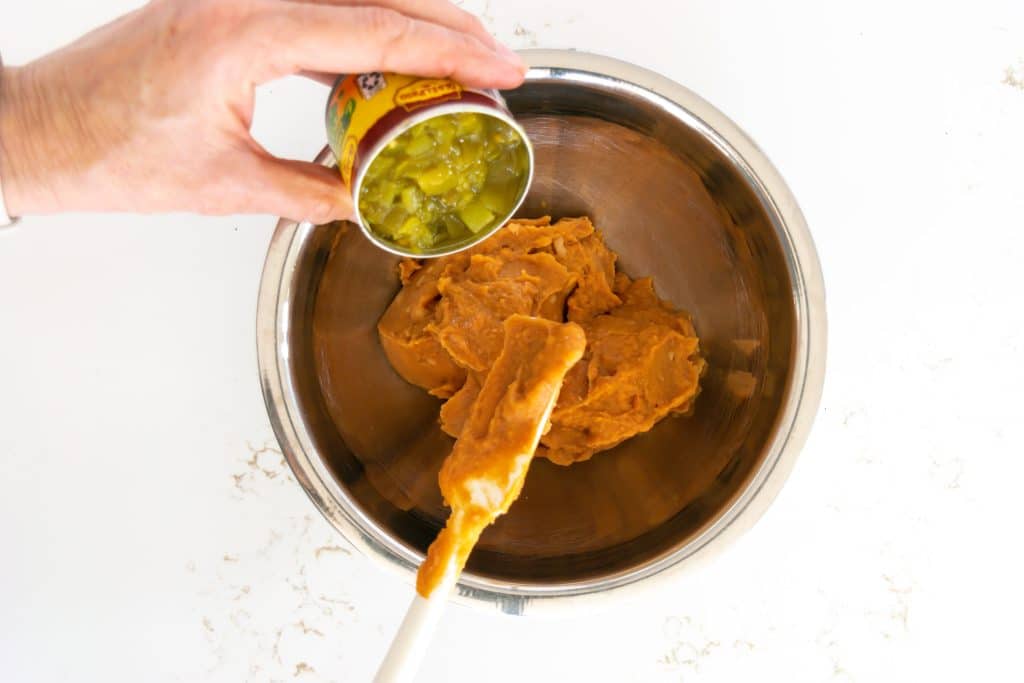
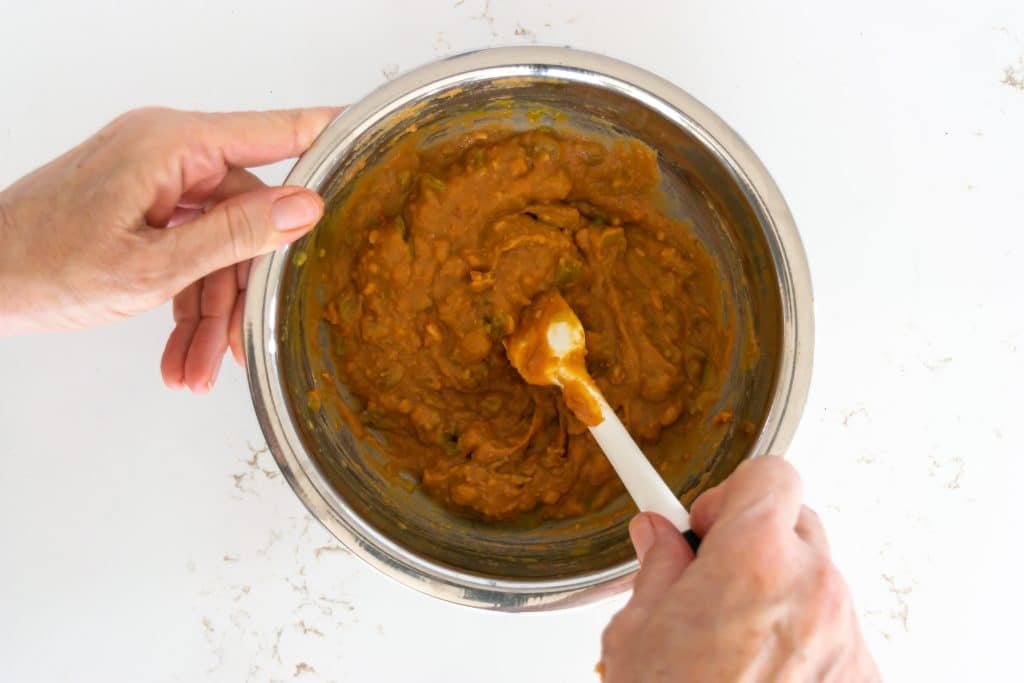
- Combine the refried beans and the canned jalapeño peppers in a medium bowl and set aside.
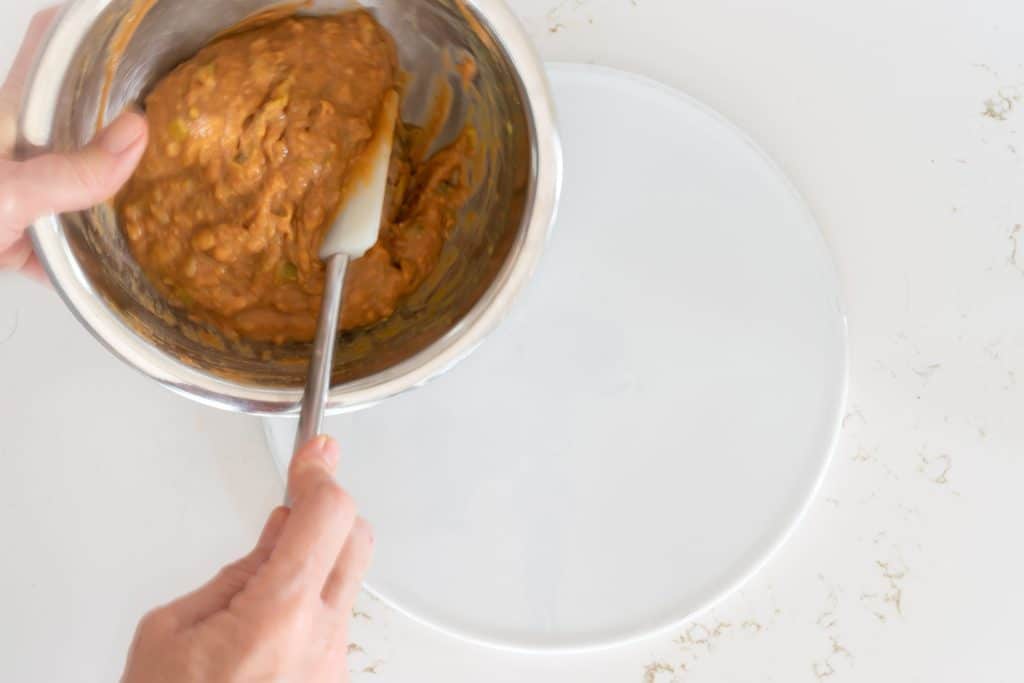
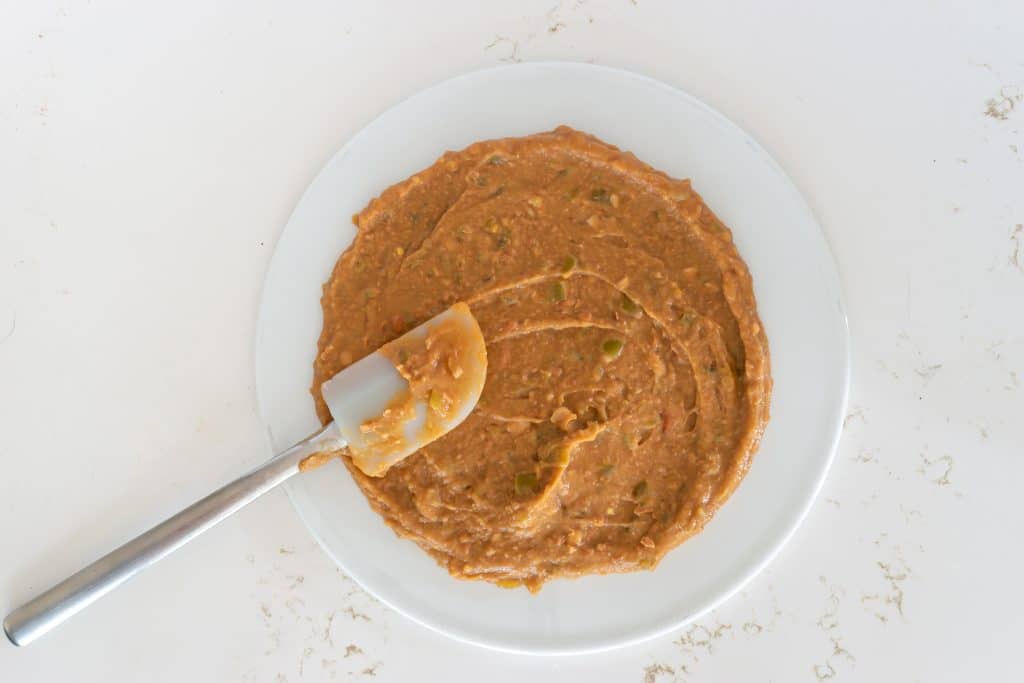
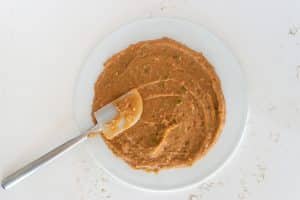
- Spread the bean mixture over the bottom of your serving plate. Leave a good 1" margin between the beans and the plate edge.
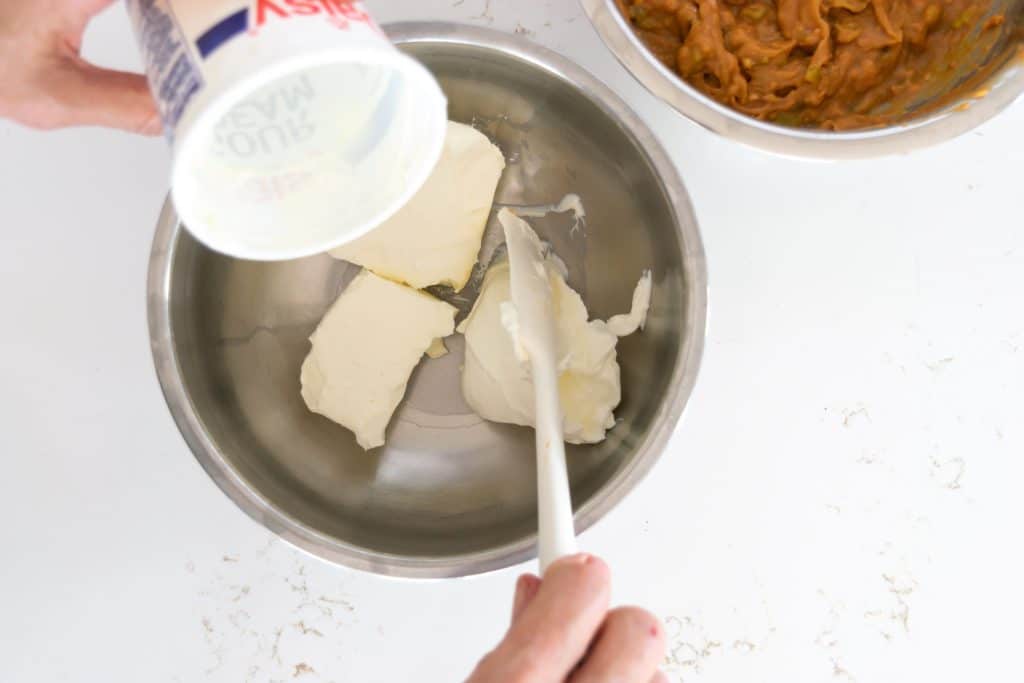
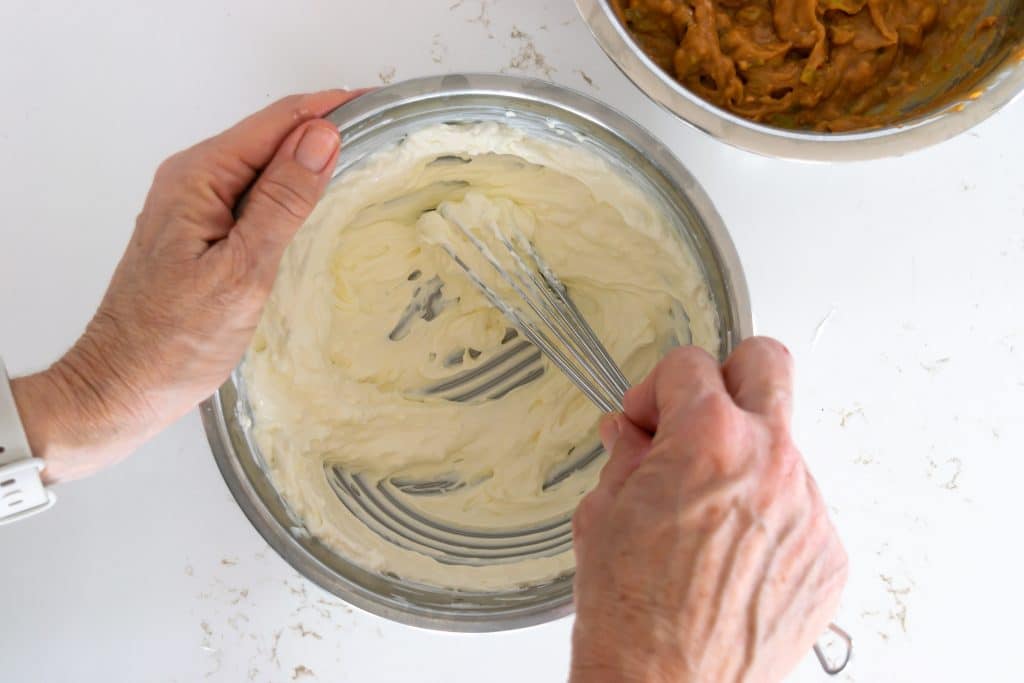
- Combine the sour cream with the cream cheese in another medium bowl. Depending on how soft your cream cheese is, you may need to mash it with a potato masher or blend it in a food processor. Your goal is to remove any chunks of cream cheese.
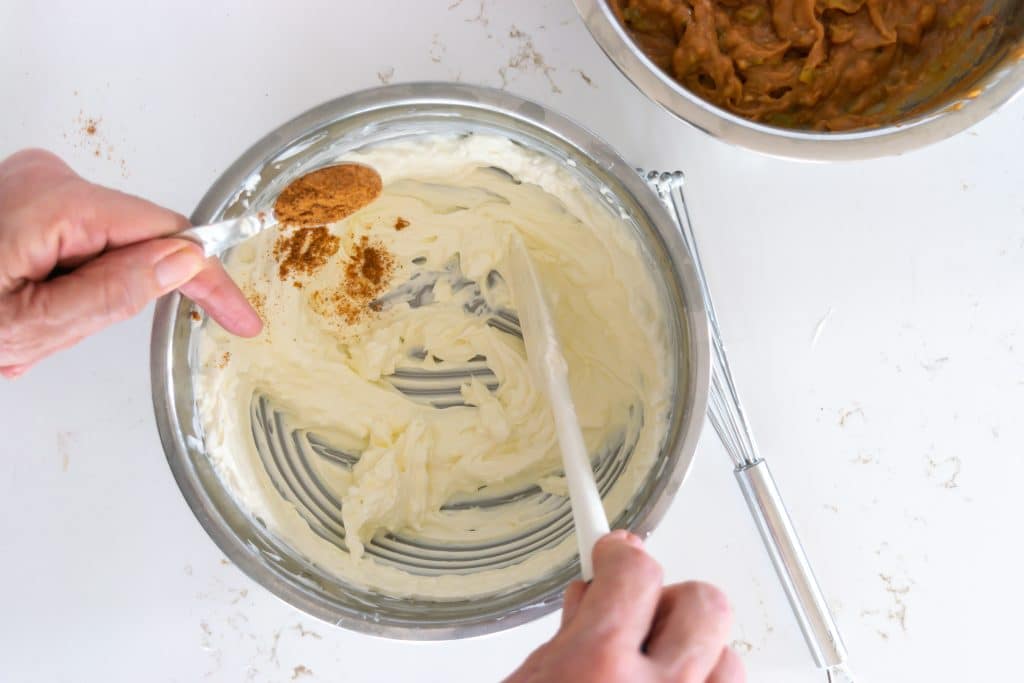
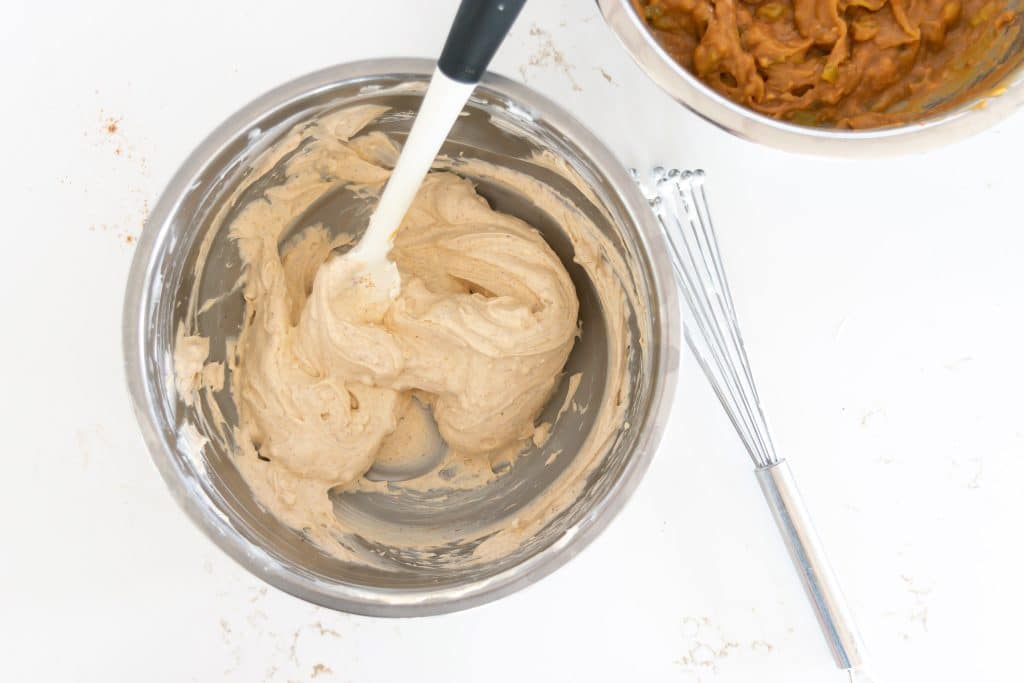
- Once the cream cheese and sour cream are fully incorporated, add the taco seasoning and mix well to combine.
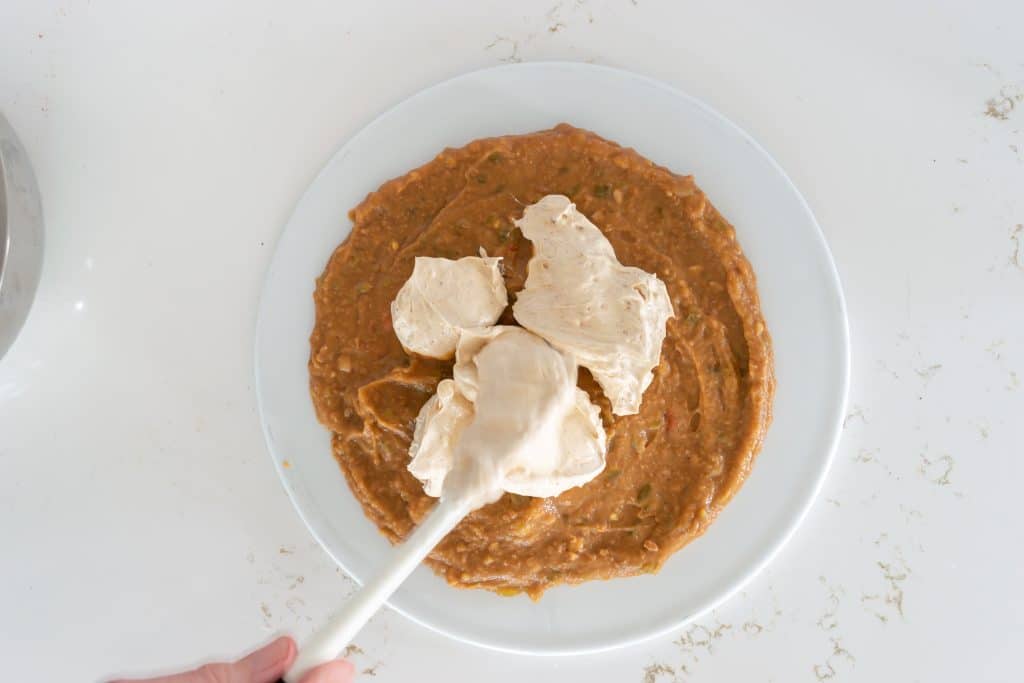
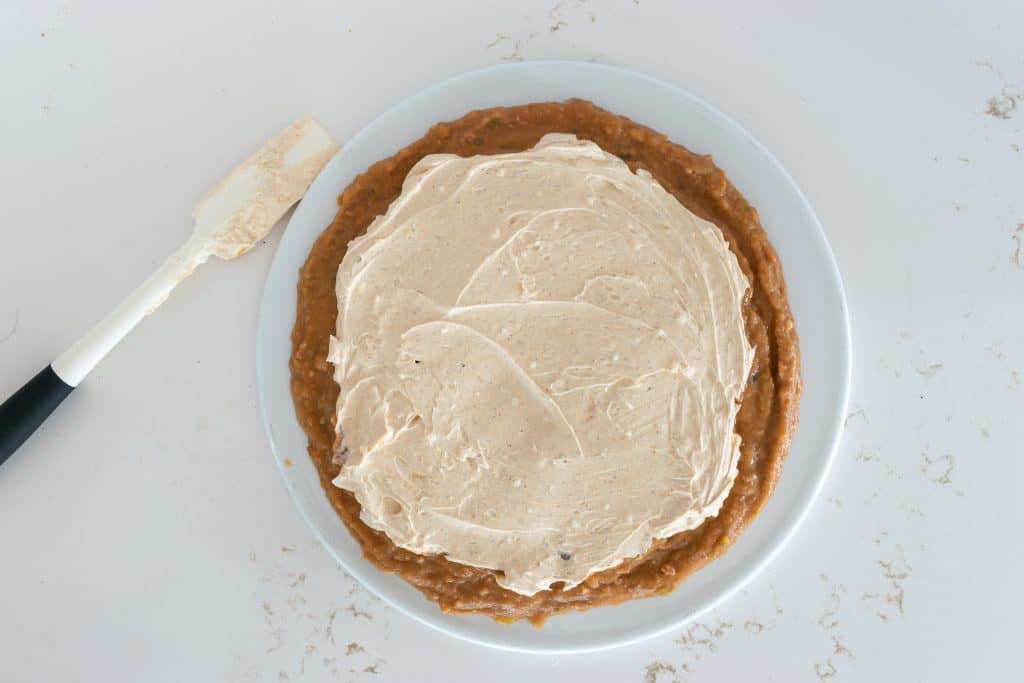
- Spread the cream cheese mixture over the beans. Try not to push down, as that will further spread your beans.
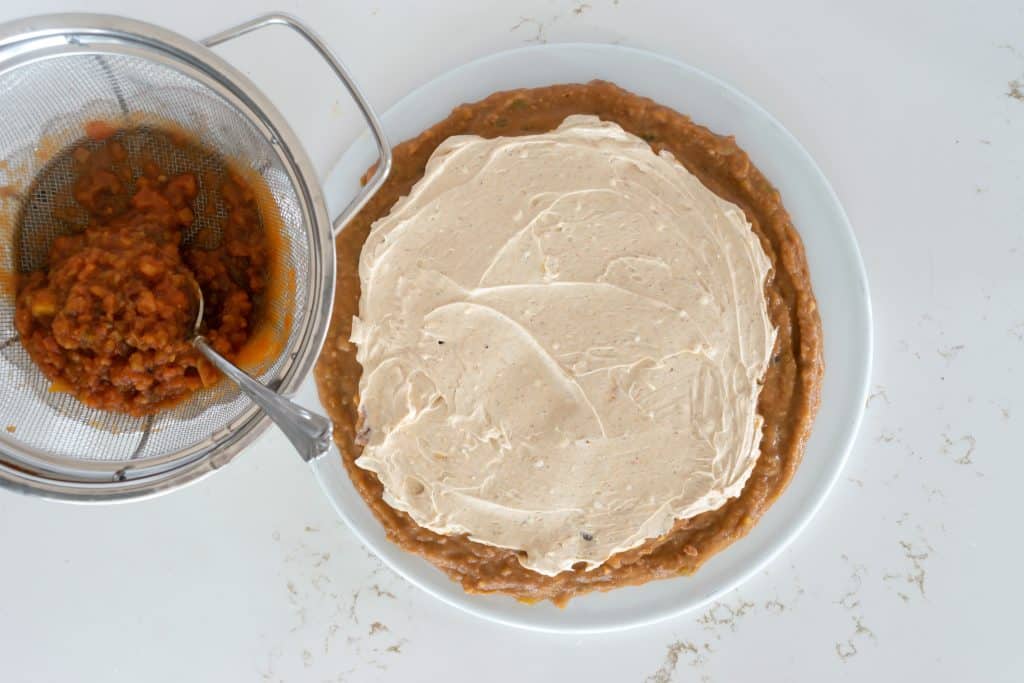
- If your salsa has a good deal of liquid, at it to a colander to drain the liquid off.
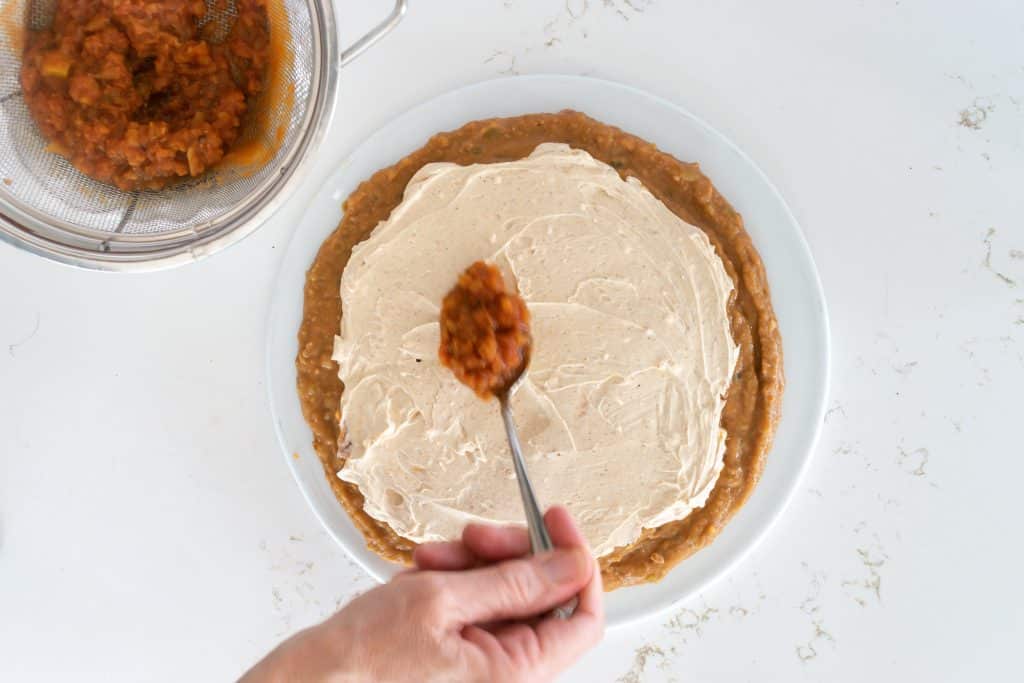
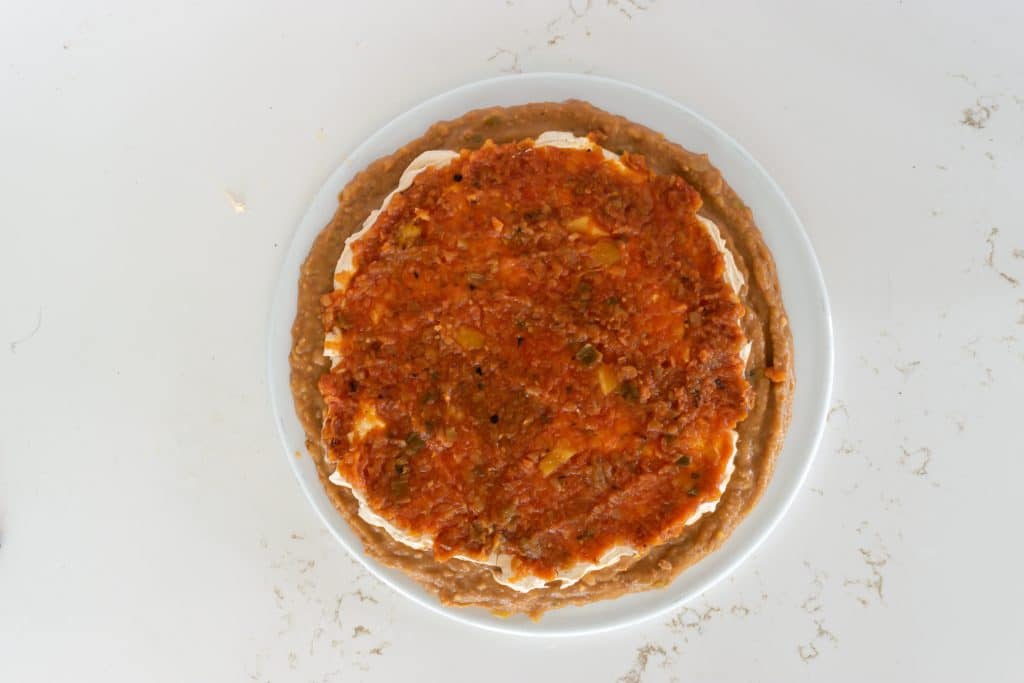
- Spread the salsa over the cream cheese layer.
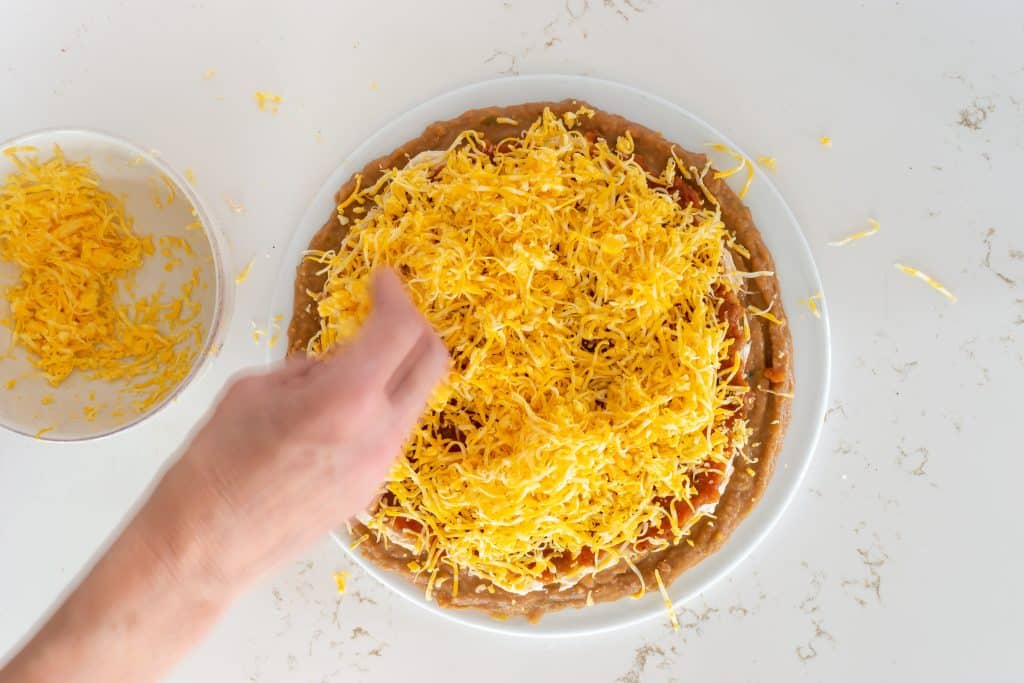
- Sprinkle the grated cheese over the salsa.
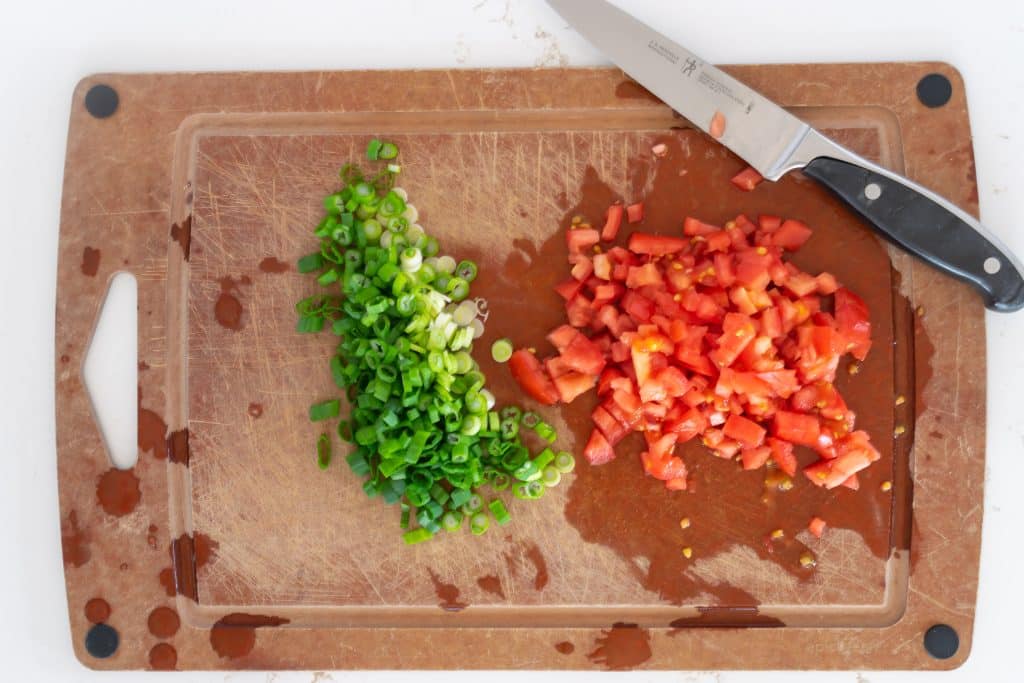
- Remove seeds and pulp from tomatoes and dice.
- Slice green onions thinly.
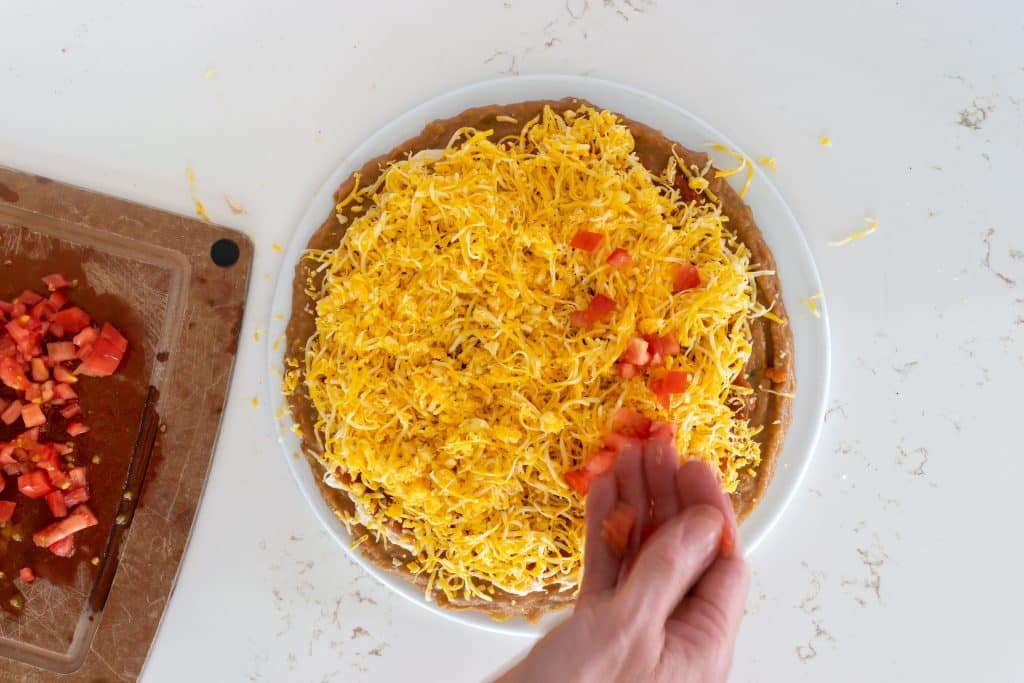
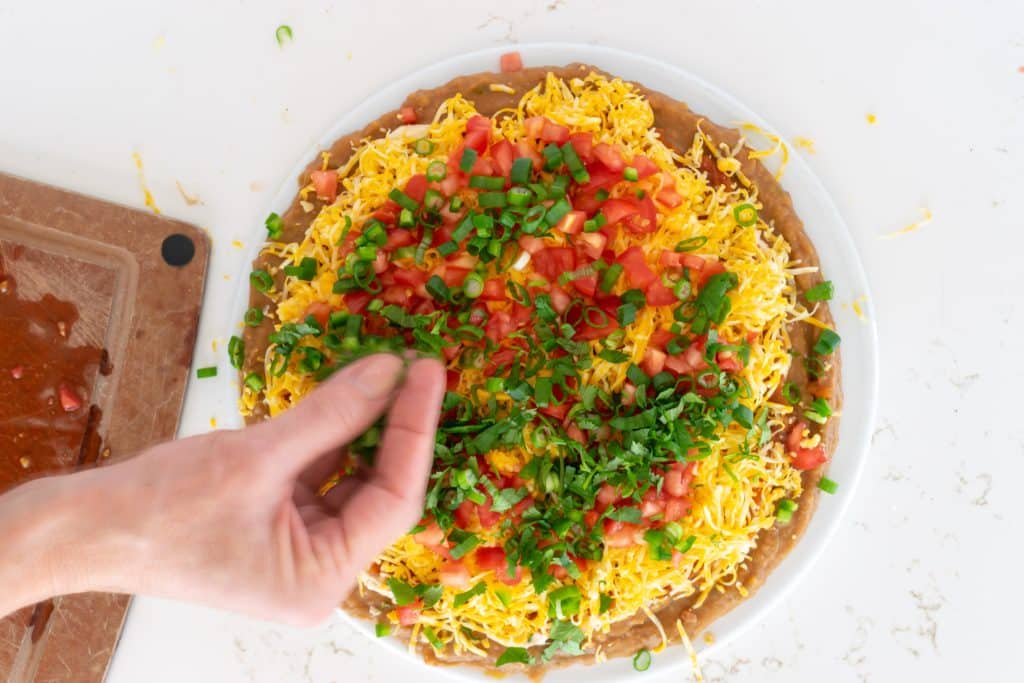
- Sprinkle the diced tomatoes and scallions over the cheese.
- Drain the black olives of their brine and sprinkle them over top.
- Dice the fresh jalapeño into a small mince and sprinkle. Use rubber gloves.
- Cut cilantro into fine shreds and distribute.
- If you will be adding avocado, wait until right before serving to dice and add it to your layered taco dip.
- Serve with tortilla chips for scooping.
Notes
Nutrition
other Mexican or Latin-inspired recipes
We love our Latin or Mexican food in this house! Here are a few of our favorites:
- My dad’s Margarita recipe is ALWAYS one of the top 10 most popular posts on our site for a reason!
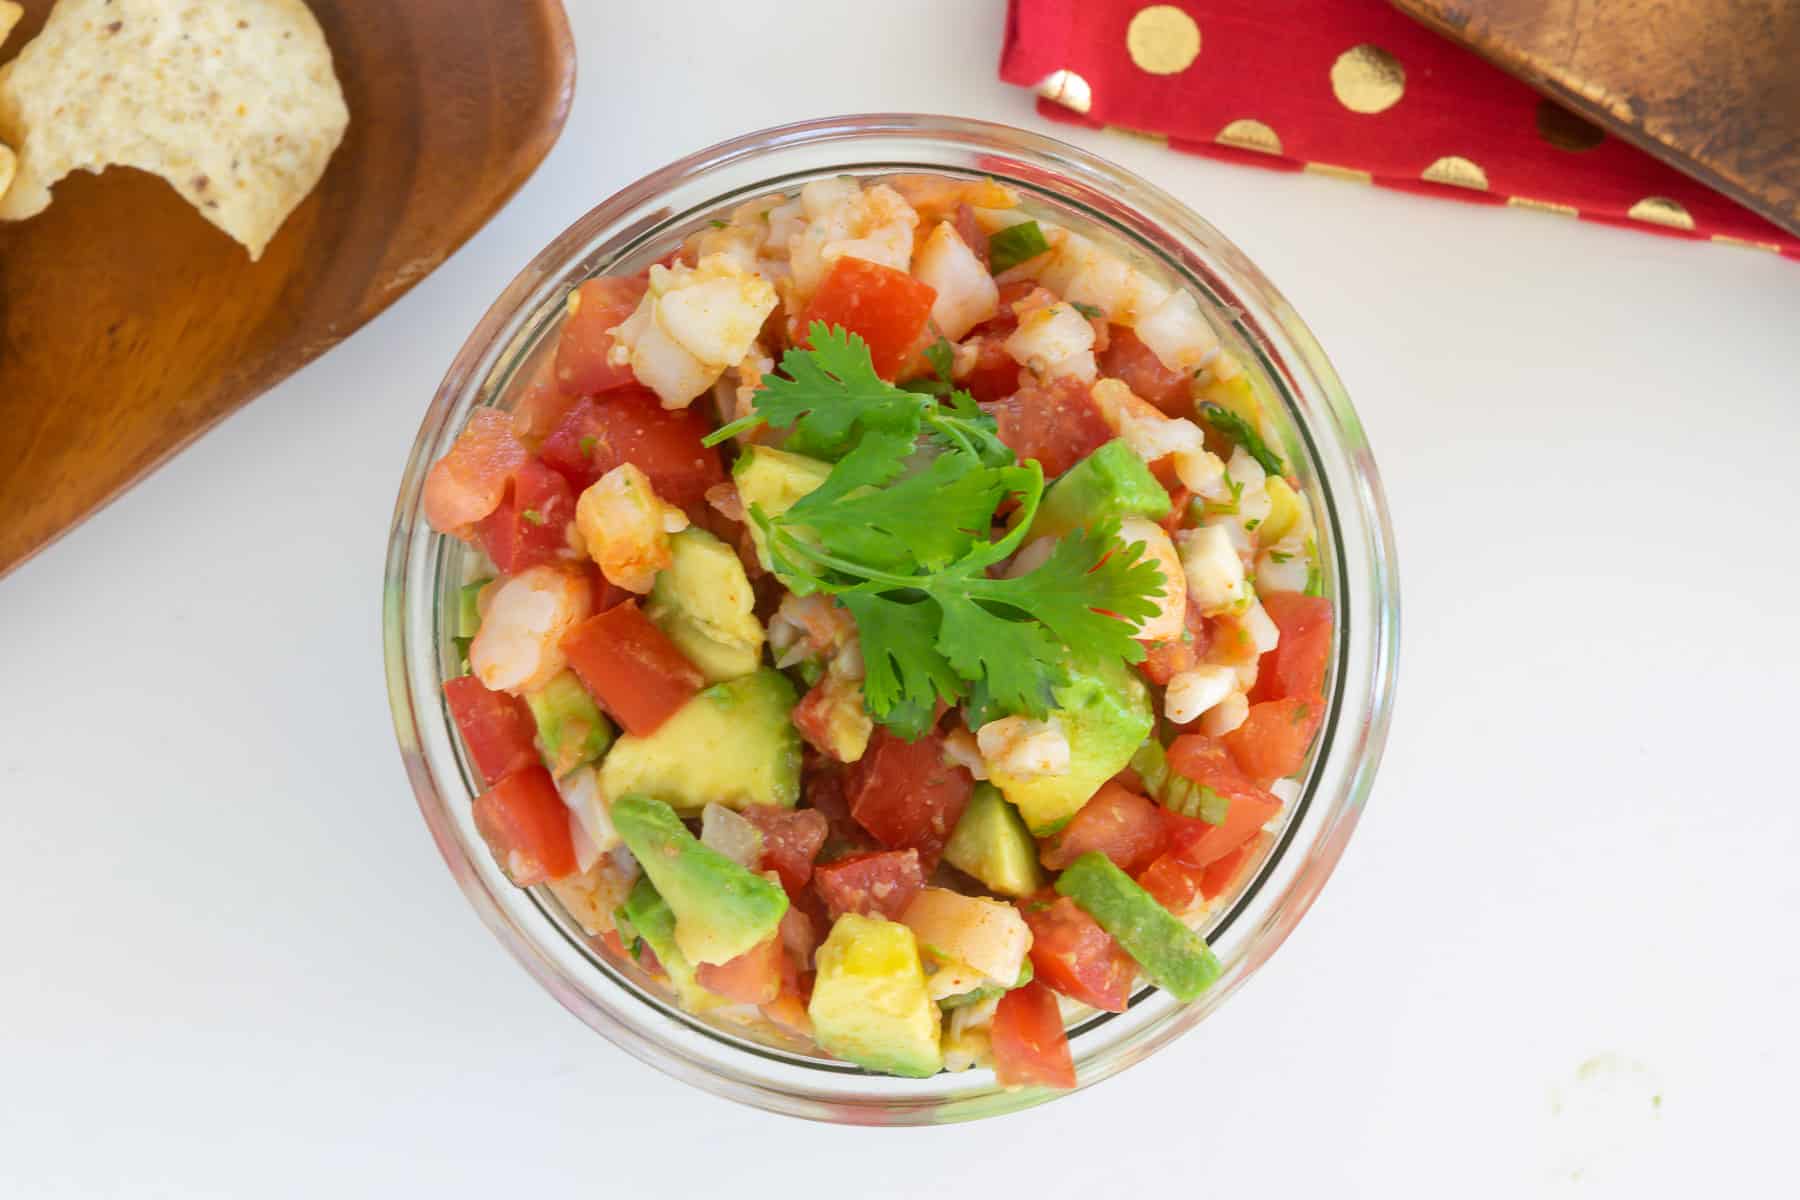
- Both Shrimp Salsa and Mango Habanero Salsa would be great to serve alongside your layered taco dip.
- Slow cooker Pinto Beans are excellent as is for a side dish, or mash them for quick refried beans.
why is my taco dip runny?
If you make sure to drain the liquid from the jalapeños, the salsa, and the olives AND you remove the pulp from the tomatoes, you will dramatically cut down any liquid that would make your taco dip runny.
Bookmark this page or pin the following image to refer back to this Layered Taco Dip recipe in the future.
Thanks so much for spending a few minutes of your busy day with me!
To ensure you don’t miss future content, pop your email in the pale green box on the right or click here. I usually send one email weekly, so I won’t inundate your inbox. I’m sensitive to an overflowing email inbox!
We will only use your email address to send you emails, no more than 1-2 weekly. In addition, you will have access to my growing library of knit & crochet patterns and other printables. Check back often as this library will continue to grow. You can unsubscribe anytime by emailing me or clicking on the “unsubscribe” link at the bottom of all emails.
And you can access many of the products I refer to on my Nourish and Nestle Amazon Page. You can access it here.
So, if you’d like to participate in the ‘subscriber benefit’ action, simply subscribe to Nourish and Nestle here or use the form on the right sidebar. It’s slightly towards the top.
I have sent all my subscribers the link to the Subscriber Benefits Library. If you missed it or misplaced it, let me know.
Until next time…







OK, this is the recipe of the week! LOL! I can tell you right now, I’m replacing “canned” jalapenos with home-canned CANDIED jalapenos! LOL! We’ve been adding them to everything – especially good in hummus, and PB-no-jelly! Fortunately I had a good crop of them from my garden this year. I always have TONS of candied jalapenos on hand – have to last a whole year! And I saved billions of seeds from what I grew, collecting them at the time of making the candied jalapenos. My husband uses leftover syrup for pancakes. Other than that, I truly try to cut back on his sugar intake. I made a very good blueberry bread recipe that called for zero sugar this week – except a sprinkle on top for baking that could easily be omitted; and, as you know, the nut-rosemary bread I told you about already. Which reminds me, I’d better give that a star rating now that I’ve made it!
Hi Cat,
I can only imagine how delicious hummus would be with your candied jalapenos! But…jalapeno syrup on pancakes? 🫨 That may be a bridge too far for me! But, as my Grandma would say, ‘That’s what makes the world go round!’ And I hope you did enjoy that rosemary bread! It’s one of our favs.
Hugs, Lynn