Button Cookies Recipe – Soft Gingerbread
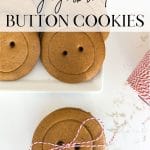
For a fun little spin on traditional gingerbread cookies, try this recipe for button cookies!
Sometime over the past year, I saw button cookies made out of sugar cookie dough and tucked the idea away for a cute Christmas cookie. Once Christmas rolled around, it only made sense that my button cookies should be Gingerbread Button Cookies!
While not gingersnappy-crisp, these adorable little button cookies are slightly crisp on the edge, though still soft in the middle. The combination of molasses and dark-brown sugar gives them that perfect ‘tooth’.
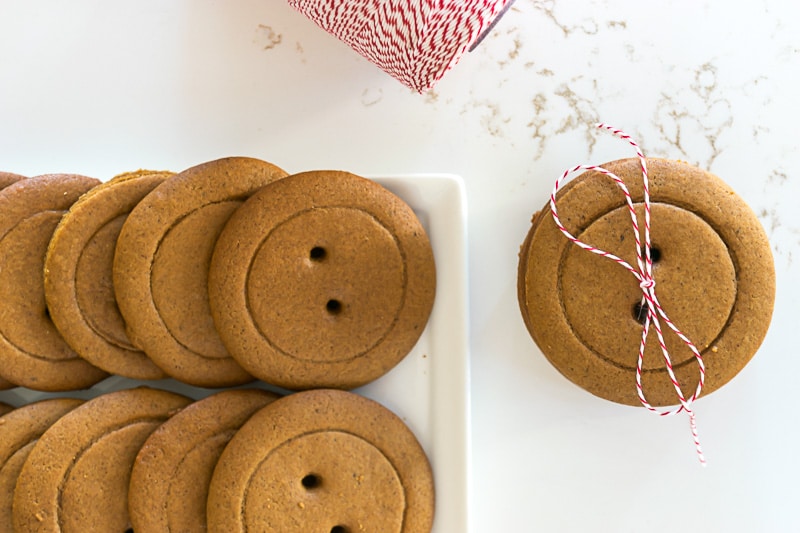
The dough needs to be chilled for a bit, so it’s a great recipe to mix up and then refrigerate until you have time to roll them out.
After I made all these Gingerbread Button Cookies, I wish I had made them 4-holed instead of 2-holed. I think they’d be more ‘buttony’ that way. Just a thought.
Some of these links may be Amazon affiliate links and I may earn a small commission from the sale of these products to help defray the costs of operating this site, but the price you are charged is not affected. You can see my full disclosure policy here.
You will need round cookie cutters in at least one size for these button cookies. Theoretically, you might be able to stamp the inner circle with a thin-rimmed glass (like a wine glass). I went ahead and purchased this set of 5 round sizes because I am going to master biscuits this year (she says, with emphasis) and so need a good biscuit cutter anyway. I used the 2.5″ and the 1.7″ cookie cutters.

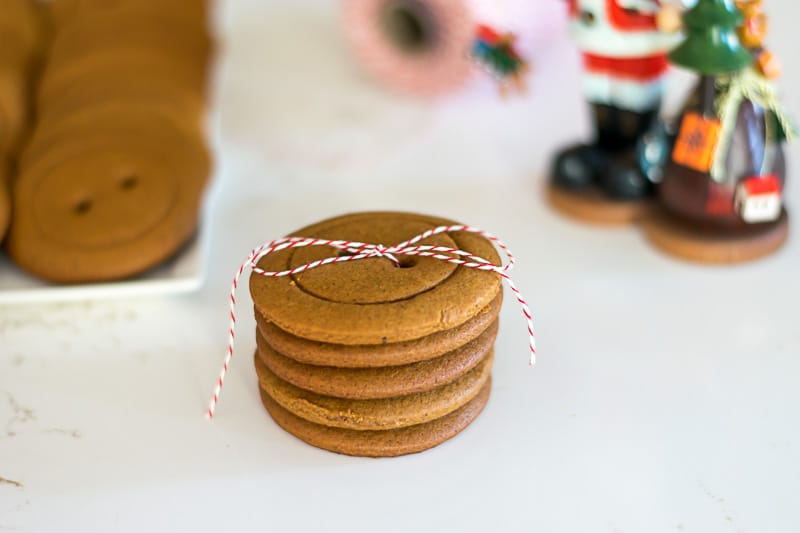
And if you are giving these Gingerbread Button Cookies as a gift or taking them to a cookie swap, consider threading a stack of the buttons together with a piece of baker’s twine. I just can’t get over how darling they are when threaded up!
If you are looking for more Christmas Cookies, you have come to the right place, my friend! Mrs. Claus 🤶🏼 has nothing on me!
- For super easy cookies that leave a big impression (and happen to be gluten-free), try these Coconut Christmas Trees and these delightfully chewy inside and crisp outside Amaretti Cookies.
- Molasses Crinkles and Pennsylvania Dutch Chocolate Cookies have been made in my home since I was a tyke!
- For a fancier Christmas treat, consider these Spiced Linzer Cookie with Pear Caramel Filling or these Mini Cranberry Curd Tarts.

My Kitchen Workhorse
- 7-quart capacity
- 10 speeds range from very slow stirring to very high beating.
- Makes up to 14 dozen cookies or 8 lb. of dough.
- Works with all KitchenAid attachments.
Button Cookies
Equipment
Ingredients
- 6 cups all-purpose flour
- 1 teaspoon baking soda
- 1/2 teaspoon baking powder
- 1 cup 2 sticks unsalted butter, at room temperature
- 1 cup dark brown sugar packed
- 1 Tablespoon plus 2 teaspoons ground ginger
- 1 Tablespoon plus 2 teaspoons ground cinnamon
- 1 1/2 teaspoons ground cloves
- 1 1/2 teaspoons salt
- 1 teaspoon allspice
- 1 teaspoon grated orange zest optional
- 2 large eggs
- 1 cup unsulfured molasses
- 2 sizes of round cookie cutters I used the 2.5″ and 1.8″ cookie cutters.
- Plastic straw
Instructions
- Combine flour, baking powder, and baking soda in a large bowl.
- In the stand mixer bowl, cream butter and brown sugar until fluffy.
- Mix in spices, salt, and orange zest. Then eggs and molasses.
- Add the dry ingredients to the butter mixture at low speed.
- Divide dough into five equal pieces and form each into a flat log.
- Wrap in plastic wrap or wax paper and chill for at least 1 hour. If you will be chilling for longer than 1 hour, place your logs into a ziplock bag or airtight container.
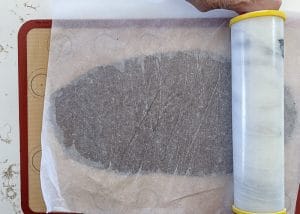
- Remove one log from the refrigerator and place it on a Silpat or parchment paper on your work surface. Using a rolling pin, roll the dough to 1/8" maximum thickness; the thinner they are, the crispier they will be. I roll my log on either the Silpat or parchment paper on which I will be baking the cookies. Lay a piece of parchment paper over the dough before you start rolling.

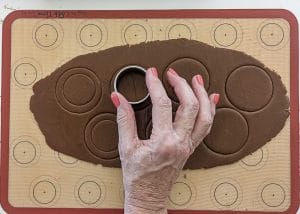
- Using the larger cookie cutter, stamp out as many circles as possible, but don't try to remove the excess dough. It's easier to do that once the dough is chilled again.
- To mark the inner circle, center your smaller round cookie cutter in the center of each cookie. Tamp down on the smaller cookie cutter just enough to leave a mark, but not enough to cut all the way through.

- Put the parchment or Silpat with your stamped dough on a baking tray and slide it into the refrigerator for 15 minutes. (I found a rhythm of rolling out the next log of dough while the previous one was in the fridge for the 15 minutes chill.)
- Preheat the oven to 350F°
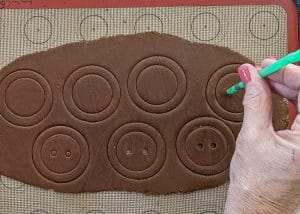
- Remove from the refrigerator, and using your straw, poke a two or four buttonhole pattern in the center of the cookies. The little hole plug comes out easiest if the dough is cold and you twist the straw a few times before you pull it out.

- Once done with the holes, quickly peel away the dough scraps and space the cookies at least an inch apart from each other. All this is done best with the cool dough. (Refrigerate the dough scraps…I combined mine and rolled them out again, with no obvious deterioration in the cookie taste or texture)
- Keep the cookies on a Silpat or parchment paper on a cookie sheet.
- Once your button holes are punched and the cookies are sufficiently spaced, pop them in the oven for 11 minutes, until crisp but not darkened.
- Let sit for 5 minutes, then transfer to a wire rack to cool.
- Store in an airtight container.
Nutrition
Bookmark this page or pin the following image to refer back to this Gingerbread Button Cookies Recipe in the future.
Thanks so much for spending a few minutes of your busy day with me!
To ensure you don’t miss future content, pop your email in the pale green box on the right or click here. I usually send one email weekly, so I won’t inundate your inbox. I’m sensitive to an overflowing email inbox!
We will only use your email address to send you emails, no more than 1-2 weekly. In addition, you will have access to my growing library of knit & crochet patterns and other printables. Check back often as this library will continue to grow. You can unsubscribe anytime by emailing me or clicking on the “unsubscribe” link at the bottom of all emails.
And you can access many of the products I refer to on my Nourish and Nestle Amazon Page. You can access it here.
So, if you’d like to participate in the ‘subscriber benefit’ action, simply subscribe to Nourish and Nestle here or use the form on the right sidebar. It’s slightly towards the top.
I have sent all my subscribers the link to the Subscriber Benefits Library. If you missed it or misplaced it, let me know.
Until next time…


Looks tasty! One question though. The recipe says 1cup 2 sticks unsalted butter. Is this correct? Or should it read 1 cup (or 2 sticks) of unsalted butter.
Thanks
Sorry for confusion! It’s one cup or 2 sticks of butter. I’ll clarify that in the recipe.