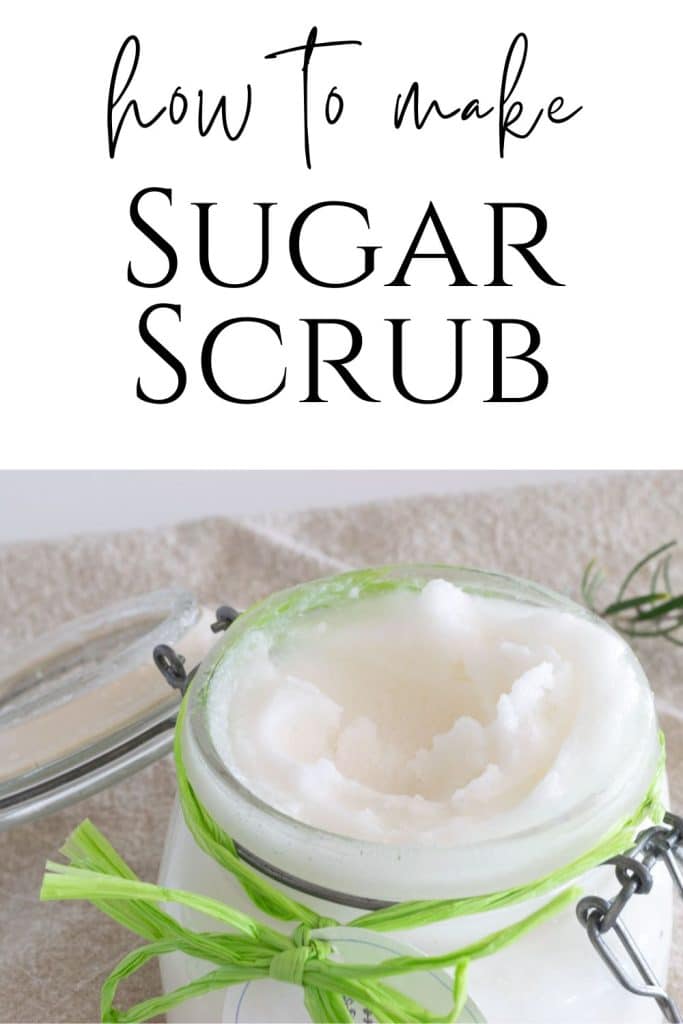
Homemade Sugar Scrub
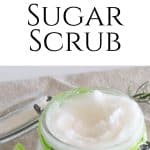
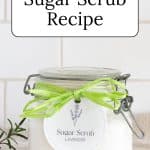

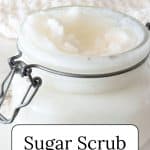
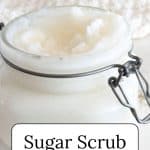
Looking for a simple, all-natural way to pamper your skin? This Homemade Sugar Scrub is the perfect solution!
With just a few ingredients—many of which you probably already have in your kitchen—you can whip up a luxurious exfoliating scrub in minutes. Coconut oil deeply hydrates, while sugar gently buffs away dry skin, leaving you feeling soft and refreshed. Plus, with the option to customize it with your favorite essential oils, this scrub makes a thoughtful homemade gift or a special treat just for you.
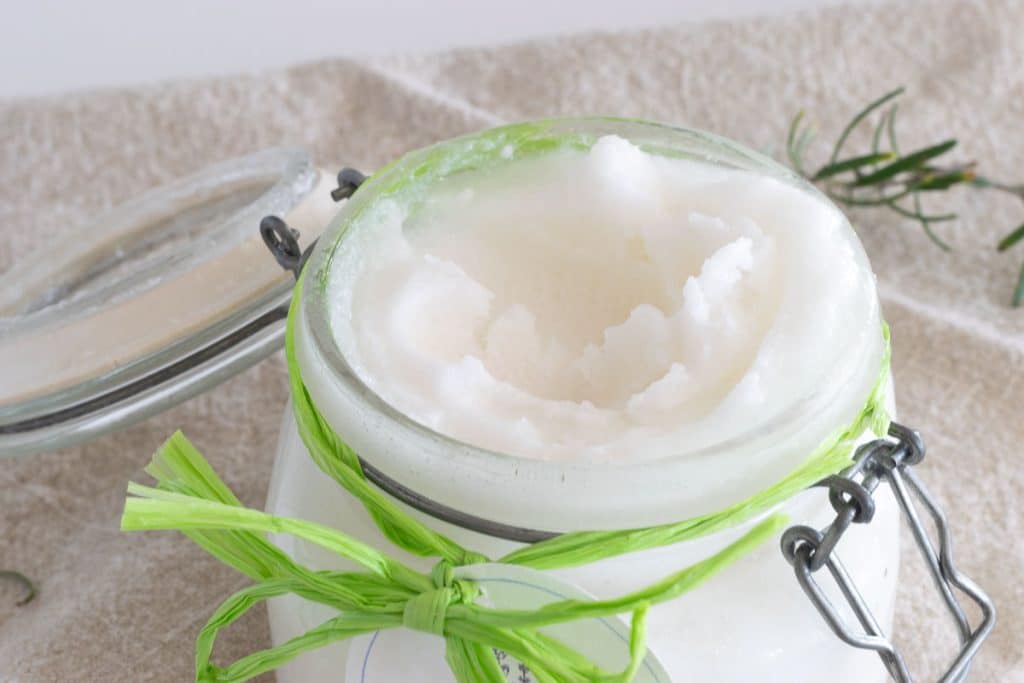
Table of Contents
How do Sugar Scrubs Work?
Sugar scrubs work through a combination of physical and chemical processes. Sugar is a gentle exfoliation that removes dead skin cells. It is also a natural humectant that attracts moisture to your skin.
Coconut oil penetrates the skin, providing deep moisturization and creating a protective barrier to lock in moisture. It also provides essential fatty acids to the skin.
Together, these ingredients leave your skin exfoliated, hydrated, and glowing.
Why Make Homemade Sugar Scrub?
Some of these links may be Amazon affiliate links and I may earn a small commission from the sale of these products to help defray the costs of operating this site, but the price you are charged is not affected. You can see my full disclosure policy here.
Homemade sugar scrubs offer numerous advantages over store-bought alternatives.
- Cost-effective: It is significantly cheaper than commercial products
- DIY Sugar Scrub: About $0.32 per ounce
- Budget Store-Bought: Around $0.50 per ounce
- Luxury Store-Bought: Up to $5 per ounce
- Natural ingredients: You can control what goes on your skin

- Customizable: You can tailor scents and textures to your preferences
- Quick to make: You can make a batch of sugar scrub in just 2-5 minutes
- Versatile: Use on face, body, hands, and feet
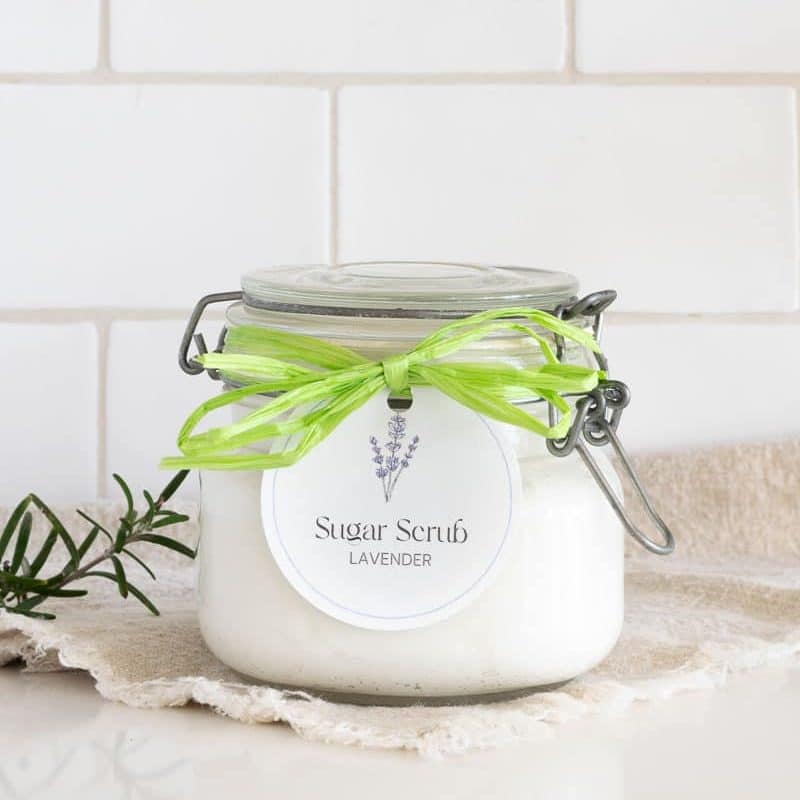
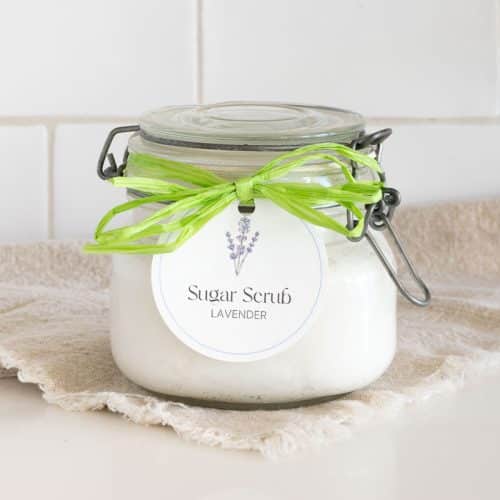
- Great for gifting: A jar of sugar scrub made by your hands is perfect for personalized, homemade presents. Tuck it in a jar with a little scoop and add a tag for the perfect gift. Click here to access the free printable tags for Lavender Sugar Scrub.
Making your scrub ensures a fresh, natural product tailored to your skin’s needs and preferences.
Customize Your Homemade Sugar Scrub
One of the joys of making your sugar scrub is the ability to customize it. Here are some ways to make your scrub unique:
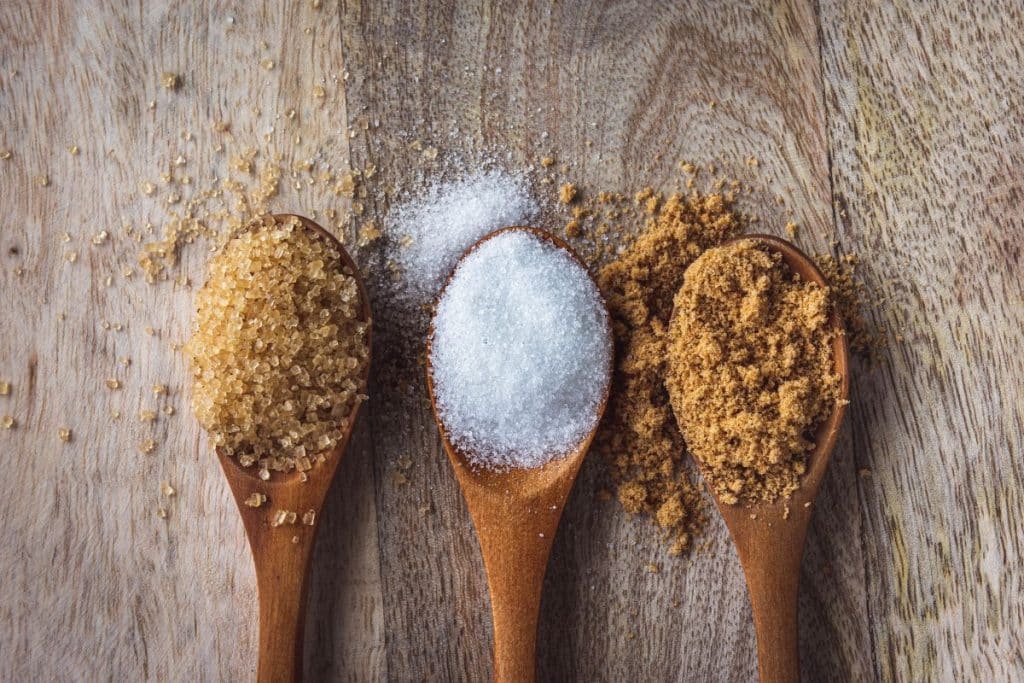
Choose Your Exfoliant
- White Granulated Sugar: Fine texture, suitable for sensitive skin
- Brown Sugar: Softer, with a warm aroma
- Raw Sugar: Coarser, ideal for body scrubs
- Coffee Grounds: Coarser, suitable for tougher skin areas (legs, arms, feet). Using coffee will cause the final product to have a shorter shelf life as it will mold over time.
Select Your Oil
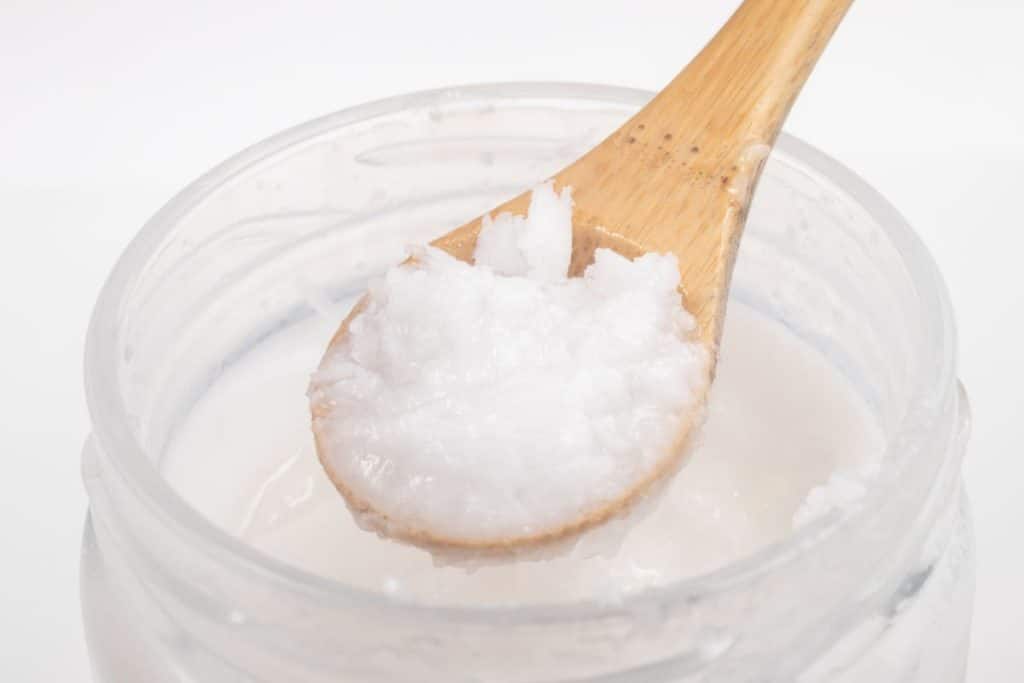
- Coconut Oil: Moisturizing and antibacterial. Unlike the other oils listed, the final product will be solid at room temperature.
- Olive Oil: Rich in antioxidants, the final product will be liquid at room temperature.
- Jojoba Oil: Similar to the skin’s natural sebum, the final product will be liquid at room temperature.
- Sweet Almond Oil: the final product will be liquid, light, and easily absorbed.
Add-ins for Extra Benefits:
- Essential Oils: For fragrance and aromatherapy
- Vitamin E Oil: For added skin nourishment
- Citrus Zest: For a natural, refreshing scent (will cause the final product to have a shorter shelf life as it will mold over time)
- Vanilla Extract: For a warm, comforting aroma
Experiment with these options to create a scrub that is perfect for your skin and senses!
Know Your Coconut Oil
There are several types of coconut oil, each bringing unique qualities to a sugar scrub.
Unrefined (virgin or extra virgin) coconut oil is ideal for a nourishing, natural scrub with a pleasant coconut scent, as it’s cold-pressed from fresh coconut meat and solid at room temperature.
Refined coconut oil, processed to remove its natural aroma, offers a neutral base if you don’t want the coconut scent to compete with added essential oils. This is what I use and prefer as I’m not fond of the coconut smell.
Fractionated coconut oil remains liquid at all temperatures, providing a lightweight, non-greasy feel that is easily absorbed by the skin.
Organic coconut oil, available in virgin and refined forms, is a cleaner choice, free from pesticides or chemicals.
Finally, cold-pressed coconut oil retains more nutrients, while expeller-pressed uses heat and has a longer shelf life but fewer nutrients.
How to Use Your Sugar Scrub
To get the most out of your homemade sugar scrub, follow these steps:
- Wet your skin: Start with damp skin in the shower or bath.
- Scoop a small amount: Use about 1/2 tablespoon for hands and more for larger areas.
- Gentle circular motions: Massage the scrub into your skin for 30 seconds.
- Rinse thoroughly: Wash off the scrub with warm water.
- Pat dry: Gently dry your skin with a soft towel.
- Moisturize: If needed, apply a light moisturizer after scrubbing.
Usage Tips:
- Use 1-2 times per week for the body, less frequently for the face
- Be gentle, especially in sensitive areas
- Avoid using it on broken or irritated skin
- Use caution in the shower and as you step out, as oils can make surfaces and the bottom of your feet slippery.
Remember, a little goes a long way with sugar scrubs. Start with less and adjust as needed for your skin type.
Storing Your Sugar Scrub
Proper storage is key to maintaining the quality and effectiveness of your homemade sugar scrub:
Storage Tips:
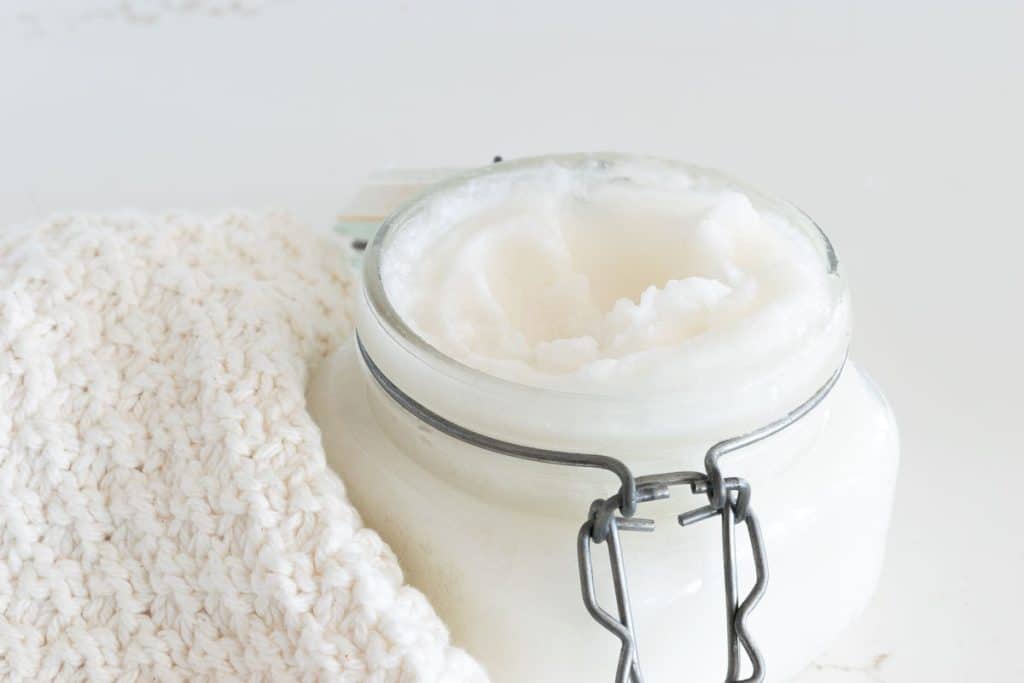
Use an airtight, waterproof container to store your homemade sugar scrub. Glass jars work well. While refrigeration is not necessary, it will extend its shelf life. In any event, keep it in a cool, dry place away from direct sunlight.
Use clean, dry hands or a spoon or scoop, if possible, to scoop out the scrub. Keeping it germ-free and free from excess water will extend the life of your sugar scrub.
When stored properly, your homemade sugar scrub can last up to 1-2 months at room temperature and 3-6 months when refrigerated.
Tip: If you notice any changes in color, smell, or texture, it’s best to discard the scrub and make a fresh batch.
Sugar Scrub Variations
Once you have the basic recipe, feel free to experiment with your favorite
Lemon Mint Kitchen Hand Scrub
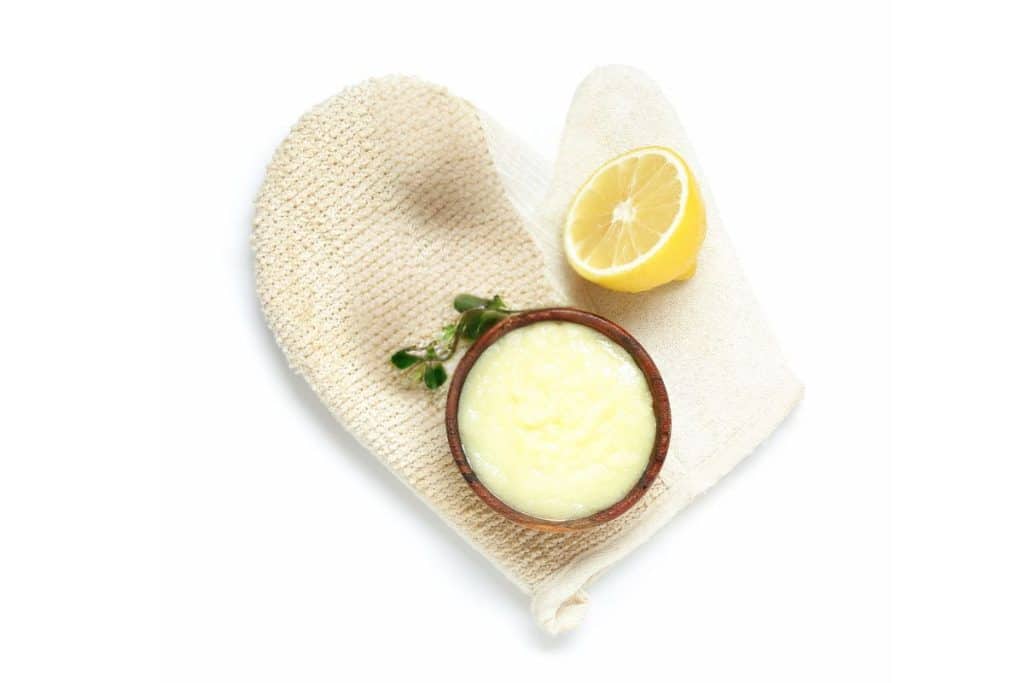
Perfect for removing cooking odors and softening hands.
- 1 cup white sugar
- 1/2 cup coconut oil
- Zest of 1 lemon (is lovely in your scrub, but know it will cause to become moldy quicker so feel free to leave it out)
- 8 drops of lemon essential oil
- 5 drops peppermint essential oil
Energizing Coffee Sugar Scrub
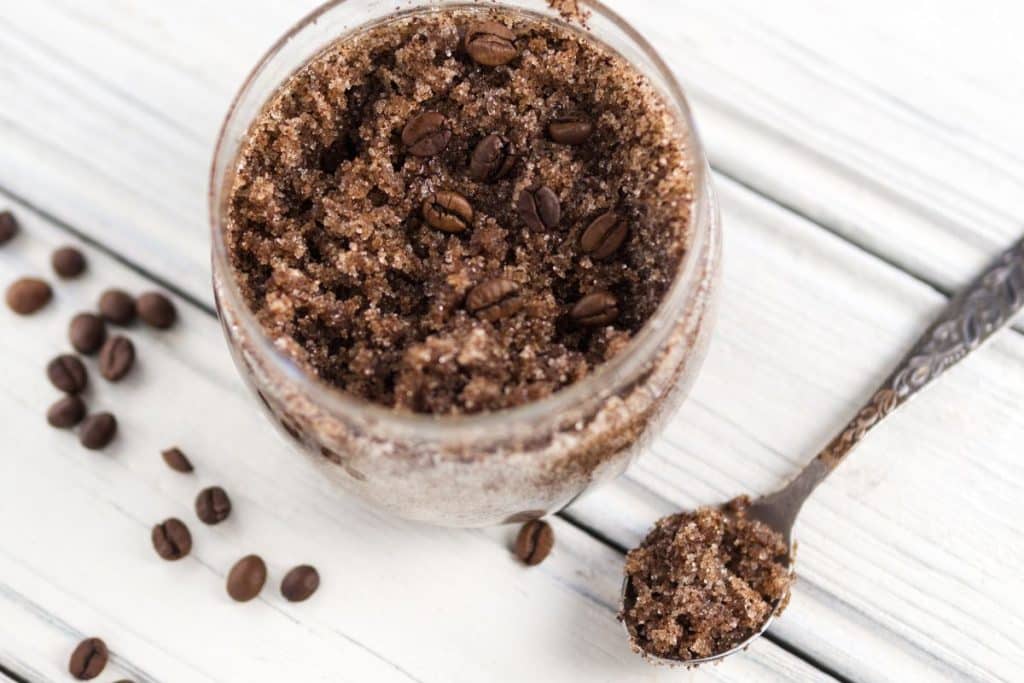
Great for boosting circulation.
- 1 cup brown sugar
- 1/2 cup coconut oil
- 1/2 cup ground coffee
- 1 tsp vanilla extract
Vanilla Brown Sugar Scrub Recipe
This version provides a warm, sweet scent and extra-gentle exfoliation. Brown sugar is softer than white sugar, making it ideal for sensitive skin and faces, while vanilla extract adds a cozy, soothing fragrance.
- 1 cup brown sugar
- 1/2 cup coconut oil
- 1 tsp pure vanilla extract
- 5 drops of vitamin E oil (optional)

Frequently Asked Questions About Making Homemade Sugar Scrub
For most skin types, you can use a sugar scrub 2-3 times per week. If you have sensitive skin, start with once a week and adjust as needed. Over-exfoliating can lead to irritation.
Yes, but with caution! Use fine sugar (brown sugar is best) and avoid scrubs with coarse granules, as they may be too abrasive for facial skin. Always follow with a moisturizer.
Sugar dissolves in water so that it won’t clog your pipes. However, if you use coconut oil, occasionally run hot water down the drain to prevent buildup.
Yes, but salt is coarser and more drying. Salt scrubs work best for rough areas like feet and provide extra detox benefits, while sugar is gentler and better for overall body exfoliation.
For the best results, apply it to damp skin in the shower. If you need more vigorous exfoliation, use it on dry skin before rinsing off.
Natural separation happens over time, especially with liquid oils. Just stir before use to recombine the ingredients.
While sugar scrubs won’t eliminate cellulite or stretch marks, they boost circulation and exfoliate, which may temporarily improve skin texture. Coffee scrubs, in particular, are popular for this purpose.
Homemade Sugar Scrub
Equipment
Ingredients
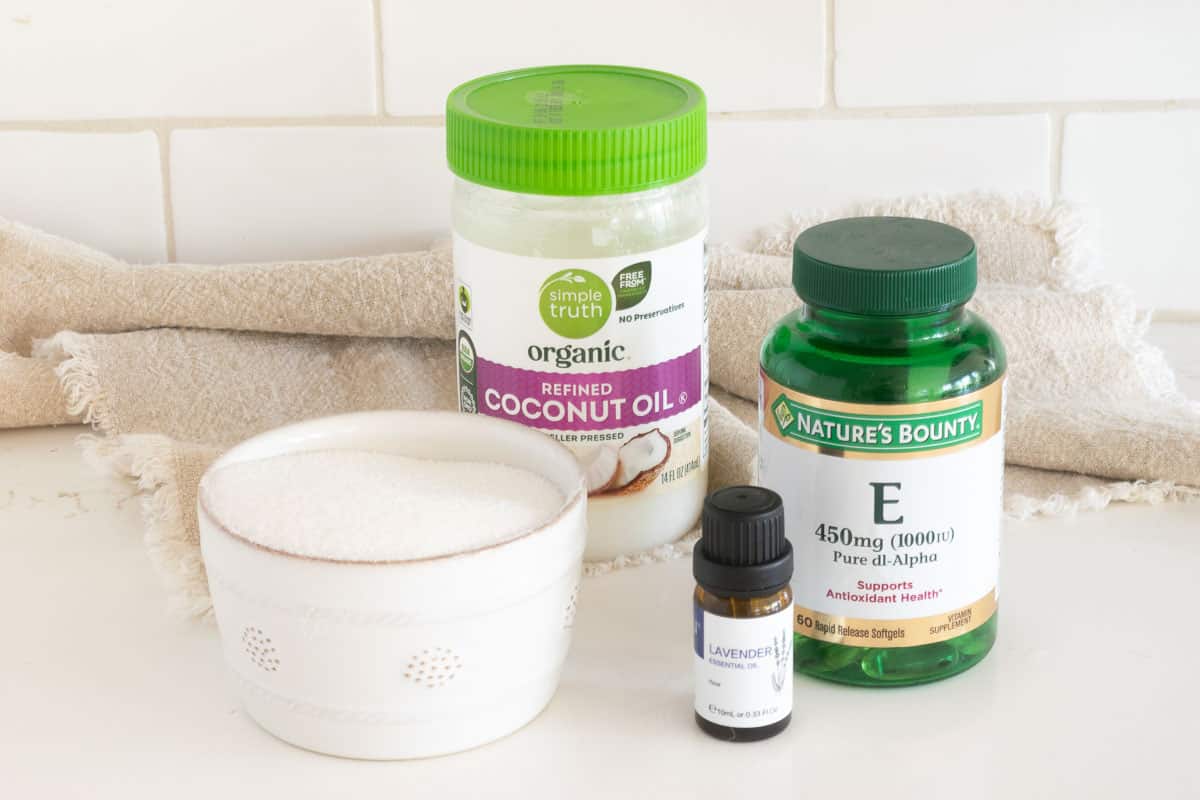
- 1 cup granulated sugar
- 1/2 cup coconut oil, see note 1 at room temperature
- 1/4 teaspoon vitamin E oil optional
- 5-10 drops lavender essential oils
Instructions
- Combine coconut oil with sugar, vitamin E oil, and essential oils.
- Transfer to an airtight container and tore at room temperature.
Notes
Bookmark this page or pin the following image to refer back to this Homemade Sugar Scrub Recipe in the future.
Thanks so much for spending a few minutes of your busy day with me!
To ensure you don’t miss future content, pop your email in the pale green box on the right or click here. I usually send one email weekly, so I won’t inundate your inbox. I’m sensitive to an overflowing email inbox!
We will only use your email address to send you emails, no more than 1-2 weekly. In addition, you will have access to my growing library of knit & crochet patterns and other printables. Check back often as this library will continue to grow. You can unsubscribe anytime by emailing me or clicking on the “unsubscribe” link at the bottom of all emails.
And you can access many of the products I refer to on my Nourish and Nestle Amazon Page. You can access it here.
So, if you’d like to participate in the ‘subscriber benefit’ action, simply subscribe to Nourish and Nestle here or use the form on the right sidebar. It’s slightly towards the top.
I have sent all my subscribers the link to the Subscriber Benefits Library. If you missed it or misplaced it, let me know.
Until next time…