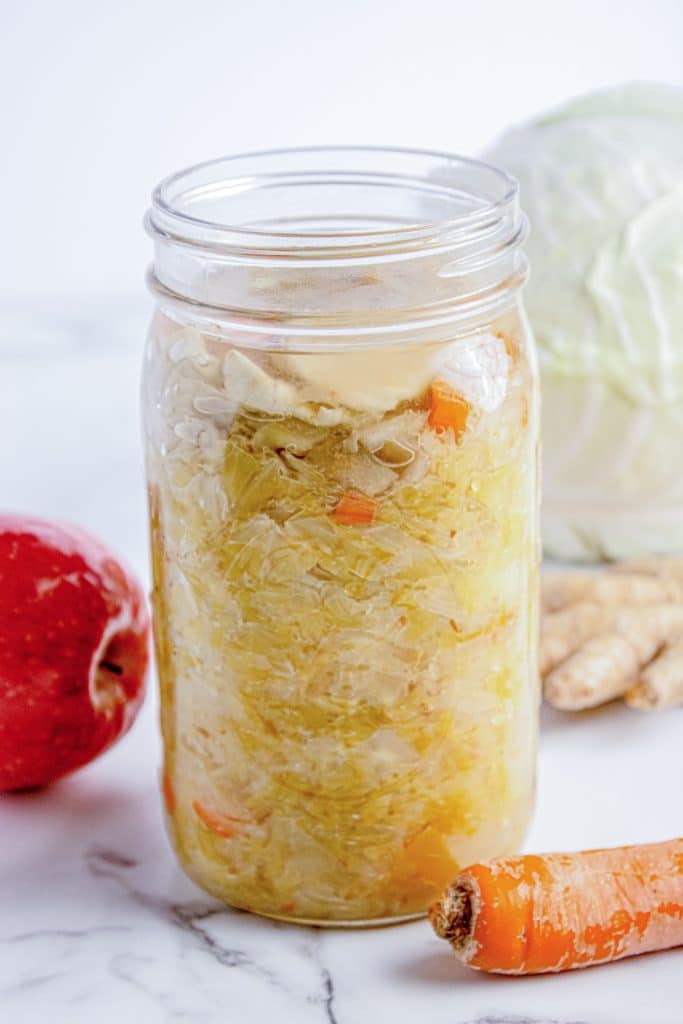
How to Make Sauerkraut
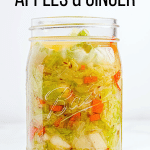
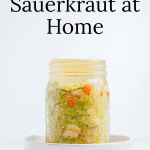
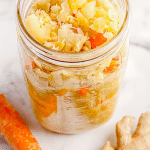
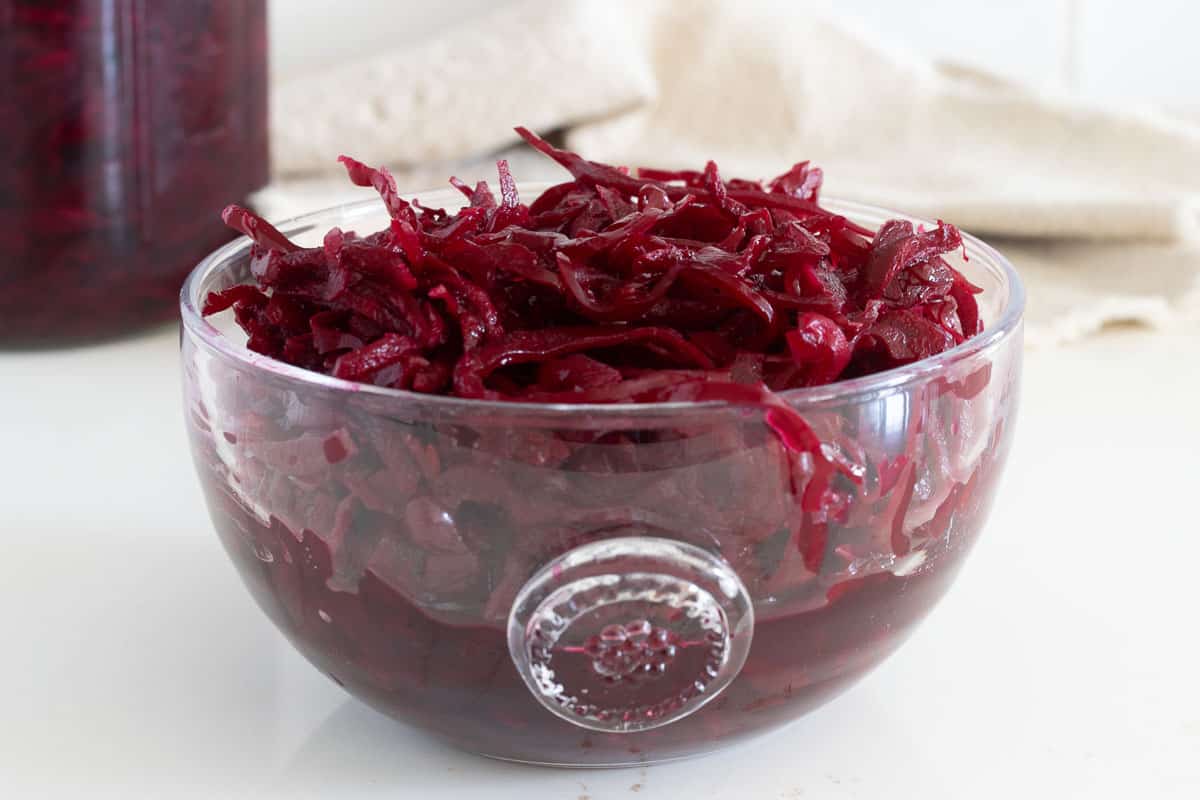
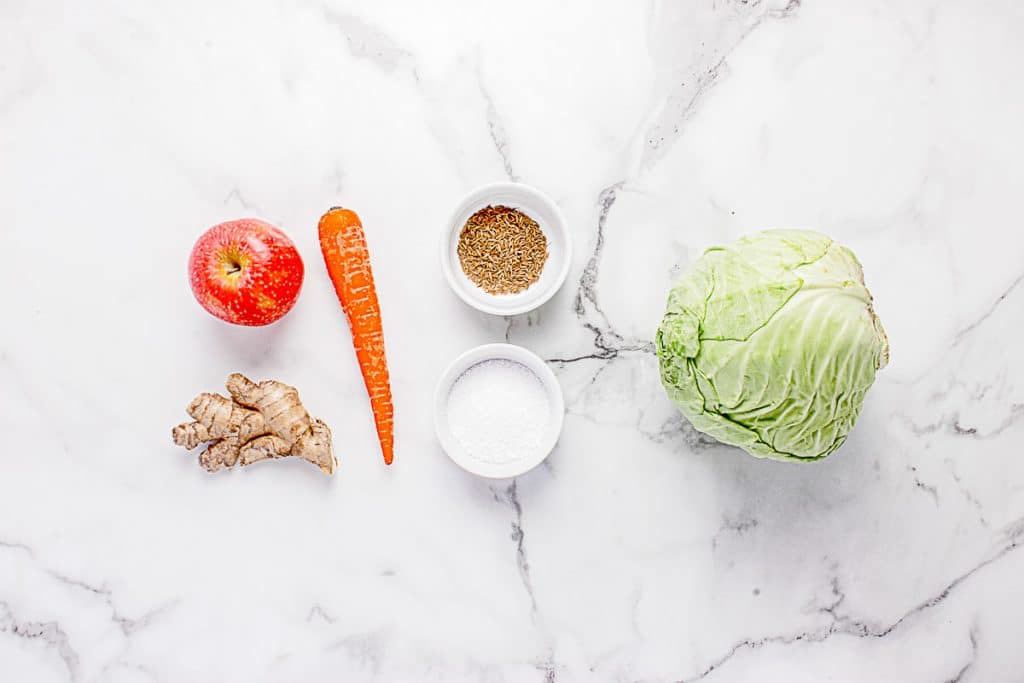
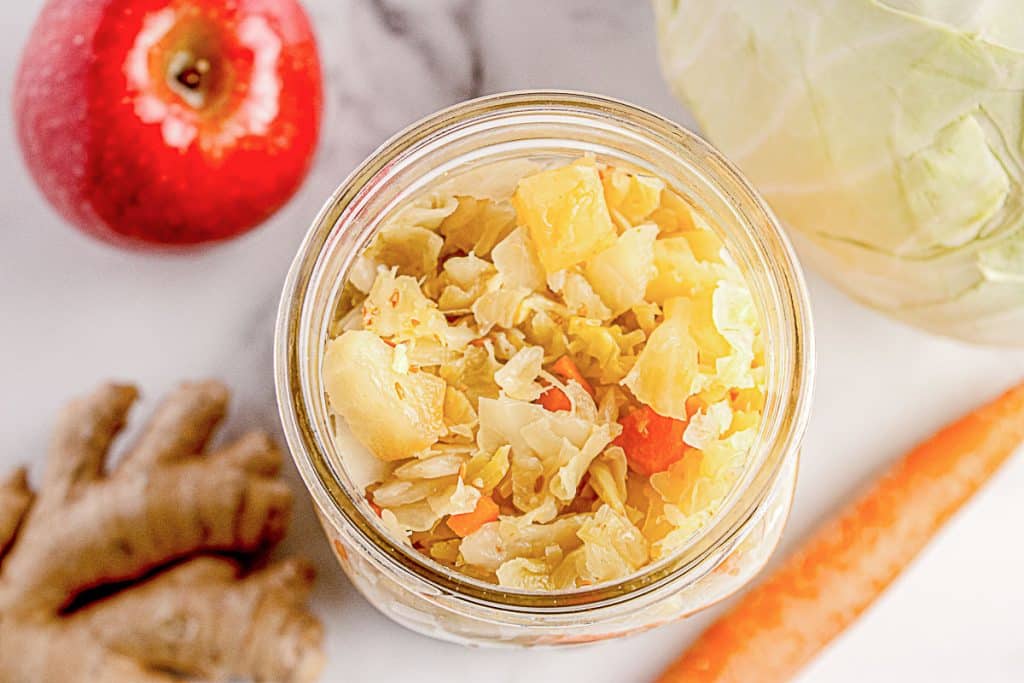
Several months ago, I started making my own sauerkraut to reap its probiotic benefits. I’m not particularly fond of the traditional version made solely with cabbage; I prefer to enhance its flavor with cumin. Occasionally, I also like to incorporate other vegetables. In this batch, I included carrots, apples, and ginger along with the cumin seeds. This post will guide you on how to make sauerkraut so you, too, can enjoy the advantages of these delicious fermented vegetables!
As I said, the main reason I started making sauerkraut is the probiotic benefit. When you ferment vegetables, you’re creating an environment where beneficial bacteria thrive. These are the same probiotics you’d pay good money for in supplement form, except they’re coming from real food. Your gut will thank you, and you’ll notice the difference in digestion and overall health. Store-bought sauerkraut runs anywhere from $6 to $10 a jar for the good stuff with live cultures, and honestly, homemade tastes better.
Another great part about making your own is that you can customize it. Once you understand the basic process, you can experiment with different flavors. The possibilities are endless, and you’re in complete control of what goes into your food.
The process takes time, anywhere from 7 to 30 days, depending on your taste preference and room temperature, but the actual hands-on work is maybe 25 minutes. Most of the time is just waiting while the fermentation does its thing. Warmer temperatures (closer to 75°F) will ferment faster, while cooler temps (around 65°F) take longer but often develop more complex flavors.
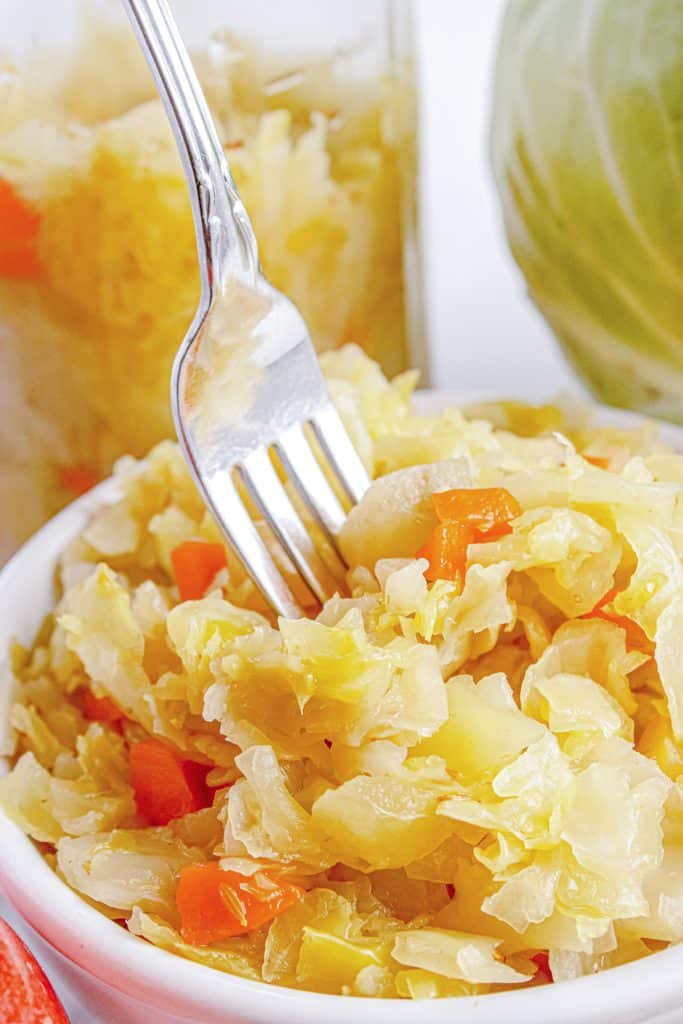
Table of Contents
Understanding Probiotic Development
If you’re making sauerkraut, or any fermented food, specifically for the health benefits, it helps to understand what’s actually happening in that jar over time.
Probiotic populations don’t increase steadily throughout the entire fermentation period. Instead, they peak during the most active fermentation phase, which is typically in the first 2-3 weeks. After that, the bacterial population stabilizes rather than continuing to multiply. So a 30-day ferment isn’t necessarily “healthier” than a 10-day ferment in terms of total probiotic count.
What changes over longer fermentation is the diversity of bacterial strains and the complexity of flavor. Different beneficial bacteria thrive at different stages of the process. Early on, you get more Leuconostoc bacteria, which are the first to colonize and start the fermentation. As the environment becomes more acidic, Lactobacillus bacteria take over and become the dominant strain. This succession of different bacterial species is what gives you a more diverse probiotic profile in longer ferments. At the end, you could end up with potentially 10-20 different species of beneficial bacteria in a typical batch of homemade sauerkraut.
The longer fermentation also makes the sauerkraut more acidic, which some people find harder to digest, even though it’s still loaded with probiotics. There’s a balance – you want enough time for good bacterial development and diversity, but not so long that it becomes unpleasantly sour or harsh on your stomach.
Bottom line: A 7-10 day ferment gives you plenty of probiotic benefit and a good population of beneficial bacteria. Longer fermentation is more about developing flavor complexity and bacterial diversity than dramatically increasing the total probiotic count. Choose your fermentation time based on what tastes good to you, knowing you’ll get health benefits at any stage.

How to Make Sauerkraut
Equipment
Other than a weight or something similar, you probably already have everything you need to make your first batch of sauerkraut.
- Large bowl
- Sharp knife
- Quart glass jar
- Tamper (optional, I use my hands/fingers)
- Fermentation weight (optional, but very helpful)
- Plate or shallow bowl (for overflow)
- Kitchen scale
Weight Substitutes
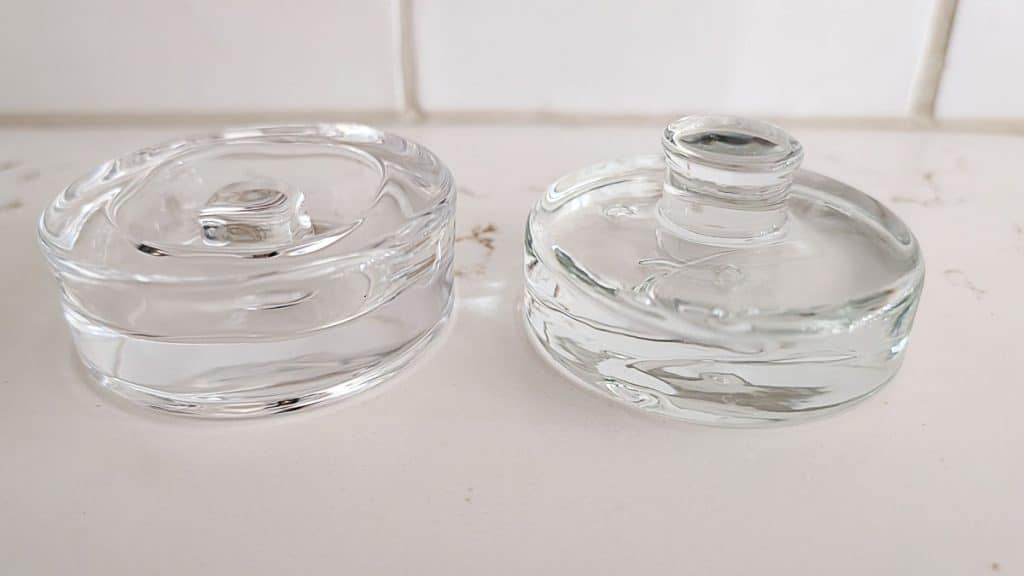
Keeping your vegetables submerged in brine is the most critical factor to prevent spoilage. To that end, having weights or something similar is important. When I first started fermenting, I tried a variety of these. They worked-ish, but for a small investment, I found the glass weights worth every penny. I have two types of weights, and I recommend you look for the ones with the knob on top (shown on the right, in the image below), not sunk down. I’m not sure who thought the sunken knob was a good idea.
- Small zip-lock bag filled with water: Fill a small bag with water, seal it, and place it on top of the cabbage. The water-filled bag molds to the jar’s shape and presses everything down. Just make sure the bag is small enough to fit inside the jar.
- Small jar or glass – A small jelly jar or shot glass that fits inside your fermentation jar works well. You can even fill it with water to add more weight.
- A clean rock or stone – Boil it first to sanitize it, then use it as a weight. River rocks work great because they’re smooth. You can put it in a ziplock for extra cleanliness.
- A small plate or saucer – If you’re fermenting in a bowl or crock instead of a jar, a small plate that fits inside the vessel works perfectly. You can even set something heavy on top of the plate for extra pressure.
- A cabbage leaf folded and wedged in – I mention this in the recipe. Sometimes, just tucking a couple of those outer cabbage leaves firmly across the top is enough to keep everything submerged, especially if the jar is packed tight.
- A piece of food-grade plastic cut to fit – Some people cut a circle from a plastic lid to fit inside the jar, though I prefer the other methods.
The key is that whatever you use needs to keep the cabbage below the brine. It doesn’t have to be fancy or expensive – it just has to work.
Prep Time: 25 minutes
Fermentation Time: 7–30 days
Servings: 1 (32-oz Mason jar)
Ingredients
- Cabbage: The main ingredient. It’s dense with natural sugars and water, which, when combined with salt, create a brine. The cell walls in the cabbage break down during fermentation, feeding beneficial bacteria and giving you a tangy crunch.
Substitutes: Napa cabbage for a softer texture; red cabbage for color and a slightly sweeter flavor. You could even do a mix – half green, half red – which looks beautiful in the jar and gives you a nice blend of flavors. - Salt: It draws moisture from the cabbage to create the brine. Substitutes: Avoid iodized table salt or salt with anti-caking agents. Pickling salt or sea salt works too.
- Fresh Ginger: Ginger adds aromatic heat, brightness, and digestive benefits. A pinch of ground ginger can be used instead. Substitutes: Fresh turmeric gives your kraut an earthy, slightly peppery flavor and adds a golden color. Garlic is another good option if you want something more savory – just chop it fine or use thin slices. You could also skip the ginger entirely for a more traditional sauerkraut.
- Apple: Apples add sweetness, a fruity flavor, and natural sugars that can slightly speed fermentation. Substitutes: Pears work well.
- Carrots: These add a subtle earthiness, color contrast, and sugar for fermentation microbes to munch on. Substitutes: Daikon radish, jicama, or fennel can be used for contrast and texture. You could also add shredded beets, though, they’ll color everything a deep magenta.
- Cumin Seeds: They add a warm, earthy flavor. Substitutes: Caraway seeds are the classic sauerkraut spice and what most people think of when they think of traditional kraut. Fennel seeds add a subtle licorice note. Coriander seeds give you a citrusy flavor. Mustard seeds add a nice bite. Juniper berries are traditional in some European recipes. Or skip the spices entirely for plain, simple sauerkraut.
What NOT to Add
While you have a lot of freedom with flavoring your sauerkraut, there are a few things that will interfere with fermentation and should be avoided:
Vinegar inhibits the growth of beneficial bacteria because it creates an acidic environment that is not conducive to their growth. You want the bacteria to create the acid themselves through fermentation, not have it added artificially. If you’re making sauerkraut, skip the vinegar entirely.
Sugar can interfere with proper fermentation and encourage the growth of unwanted bacteria or yeasts instead of the lactic acid bacteria you want. A small amount of natural sweetness from fruits like apples is fine, but don’t add white sugar, honey, or other sweeteners.
Iodized salt kills beneficial bacteria, which is why this recipe calls for kosher salt, sea salt, or other pure salts without additives.
Preservatives or anti-caking agents are designed to prevent bacterial growth, which is exactly what you don’t want when you’re trying to ferment something.
Beyond these few items, most herbs and spices are actually fine and won’t interfere with fermentation. Even garlic, which has natural antimicrobial properties, is used in fermentation without problems. The beneficial bacteria are hardy enough to handle these additions. The key is not to add anything that artificially creates conditions that fermentation is supposed to create naturally.
Why Choose Organic for Fermenting
When I’m buying vegetables for fermenting, I always go organic. Conventional produce is often treated with pesticides and fungicides that can interfere with or even kill the beneficial bacteria you’re trying to cultivate. You need those wild bacteria and yeasts that naturally live on the vegetables to kick off fermentation. If they’ve been destroyed by chemical residue, your veggies might not ferment properly, or it might take much longer to get going.
Organic produce also tends to have a higher population of beneficial bacteria right on the leaves. That’s exactly what you want. The more good bacteria you start with, the better your fermentation will be.
That said, if organic isn’t available or the price difference is significant, you can still make sauerkraut with conventional produce. Just give it a thorough rinse and be prepared to wait a bit longer for fermentation to start. Some people use a bit of brine from a previous batch as a starter to help things along when using conventional produce.
How to Clean Your Vegetables
This is where fermentation is different from regular cooking. You don’t want to scrub your vegetables clean or use any kind of produce wash. Those beneficial bacteria, or more specifically, beneficial microorganisms, live on the surface of the cabbage, carrots, and apples. If you scrub them off, you’re removing exactly what you need for successful fermentation.
For the cabbage, I peel off the outermost leaves if they look dirty or damaged and toss them in the compost. Those outer leaves usually have the most exposure to dirt anyway. The inner layers are typically clean enough as is.
For the carrots and apples, a gentle rinse under cool running water is plenty. Just rub them lightly with your hands to remove any visible dirt. Don’t use a vegetable brush, and definitely don’t use soap or produce wash. You want to remove soil and debris while leaving the invisible microorganisms intact.
You don’t need to peel the carrots or ginger. The skins are thin and contain beneficial bacteria that help with fermentation. Just scrub them gently under running water to remove dirt. For ginger, use a vegetable brush or the rough side of a sponge to clean around all those knobs and bumps. The skins will soften during fermentation, and you won’t even notice they’re there. If you’re using conventional carrots with a waxy coating, peel them, as that coating can interfere with fermentation.
If you’re using organic produce, you can be even more relaxed about cleaning. A quick rinse is really all you need. The microorganisms you’re preserving include various species of Lactobacillus bacteria and wild yeasts, and they’re the workers that transform plain cabbage into tangy, probiotic-rich sauerkraut.
Choosing the Right Salt and Using the Correct Proportion
Not all salt is created equal when it comes to fermentation. The most important rule is that your salt must be pure, without additives. You want salt that’s just salt – no iodine, no anti-caking agents, nothing else.
Kosher salt is my go-to for most fermentation projects because it’s reliable, affordable, and easy to work with. The flaky crystals dissolve quickly and evenly in the brine, ensuring consistent fermentation every time. Diamond Crystal is particularly good because the crystals are light and fluffy, making it easy to measure accurately. You can find kosher salt at any grocery store for just a few dollars, so you don’t need to make a special trip or spend a lot of money to get started with fermentation. It’s pure salt with no additives, which is exactly what you need for healthy bacterial growth.
I use Himalayan pink salt frequently as well, as it adds a little something extra to fermentation with its mineral content. It contains trace amounts of iron, magnesium, calcium, and other minerals that give it its distinctive pink color. The minerals also provide additional nutrients for the beneficial bacteria during fermentation. Himalayan pink salt tends to be more expensive than kosher salt, but if you enjoy the idea of those extra minerals, it’s a nice option. Just remember to measure by weight rather than volume, since the coarser crystals don’t pack as well as kosher salt does.
Sea salt is another good option, as long as it’s pure and additive-free. Read the label – it should just say “sea salt” in the ingredients, nothing else. Pickling salt also works beautifully because it’s designed specifically for preserving and fermentation. It has fine, uniform crystals that dissolve easily.
The salts to avoid are iodized table salt and any salt with anti-caking agents. Iodine can interfere with fermentation, leading to off flavors or preventing your sauerkraut from fermenting properly. Anti-caking agents can make your brine cloudy and affect the fermentation process.
Getting the salt proportion right is critical. Too little salt and you risk spoilage or mushy cabbage. Too much salt and fermentation slows down or stops entirely, plus it tastes overly salty. The salt ‘sweet spot’ for sauerkraut is about 2% salt by weight of the cabbage. Make sure you convert the cabbage weight to ounces or grams before calculating your salt.
If you want to scale this recipe up or down, the formula is simple: weigh your cabbage in grams, multiply by 0.02, and that’s how many grams of salt you need. For example, if you have 1000 grams of cabbage, you need 20 grams of salt. A kitchen scale makes this much easier and more reliable than measuring by volume.
When in doubt, check the ingredient list on your salt. If it says anything other than “salt,” find a different option. And if you’re serious about fermenting, invest in a simple kitchen scale. It takes all the guesswork out of getting your salt proportions right.
Step-by-Step: How to Make Sauerkraut
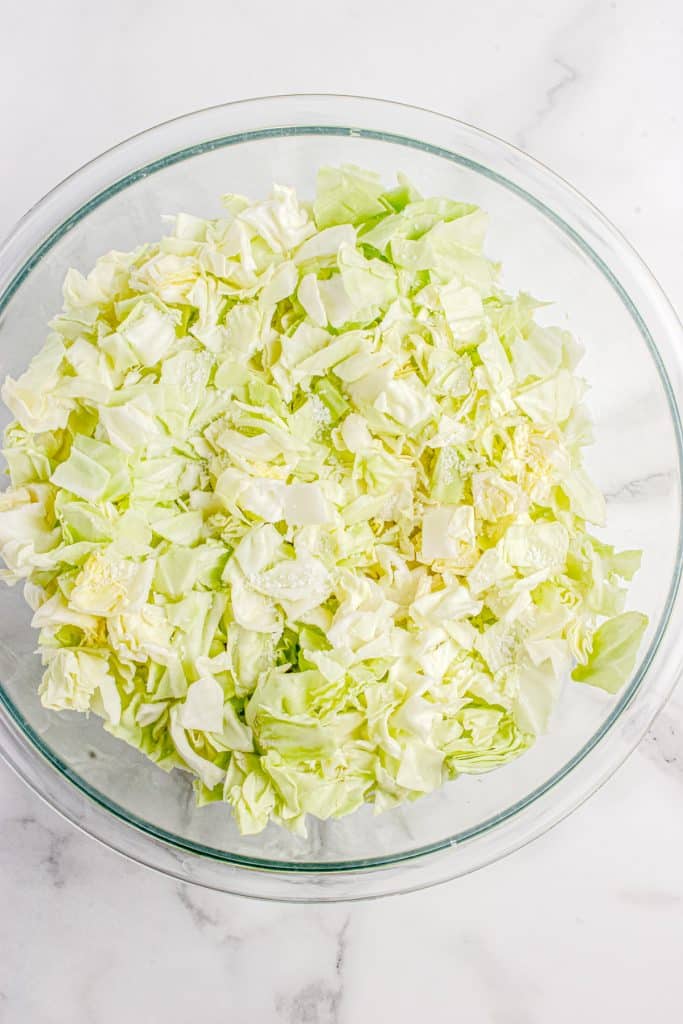
- Peel off two outer leaves and set them aside. Quarter the cabbage, then remove and discard the core. Roughly chop or shred the cabbage quarters.
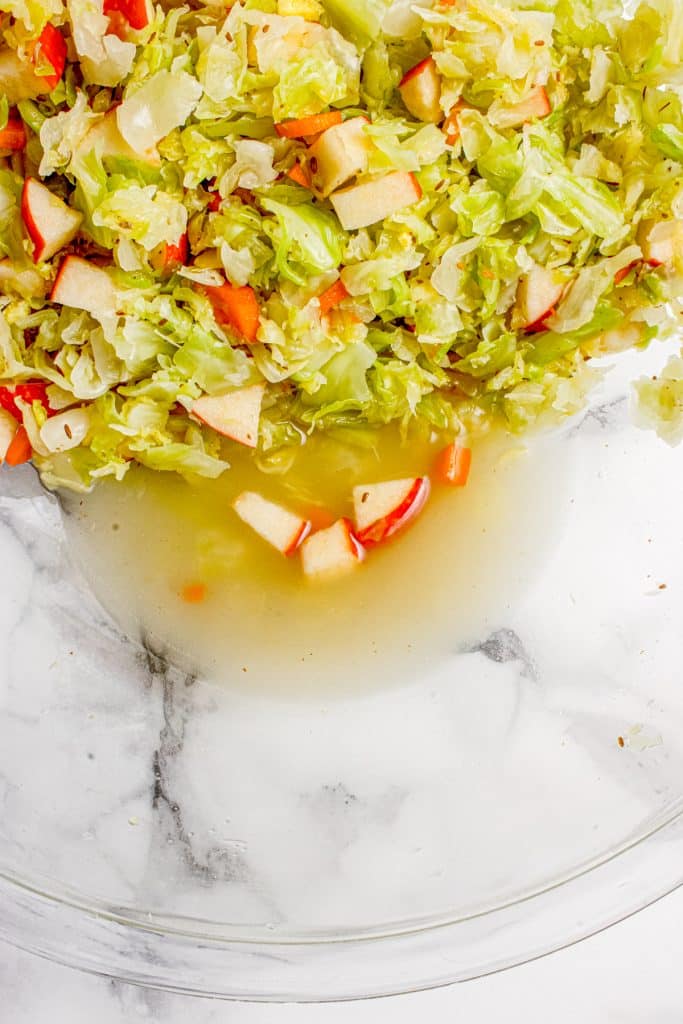
- Put the chopped cabbage in a large bowl and sprinkle all the salt over it. Mix it really well and let it sit for 5–10 minutes until it starts to sweat.
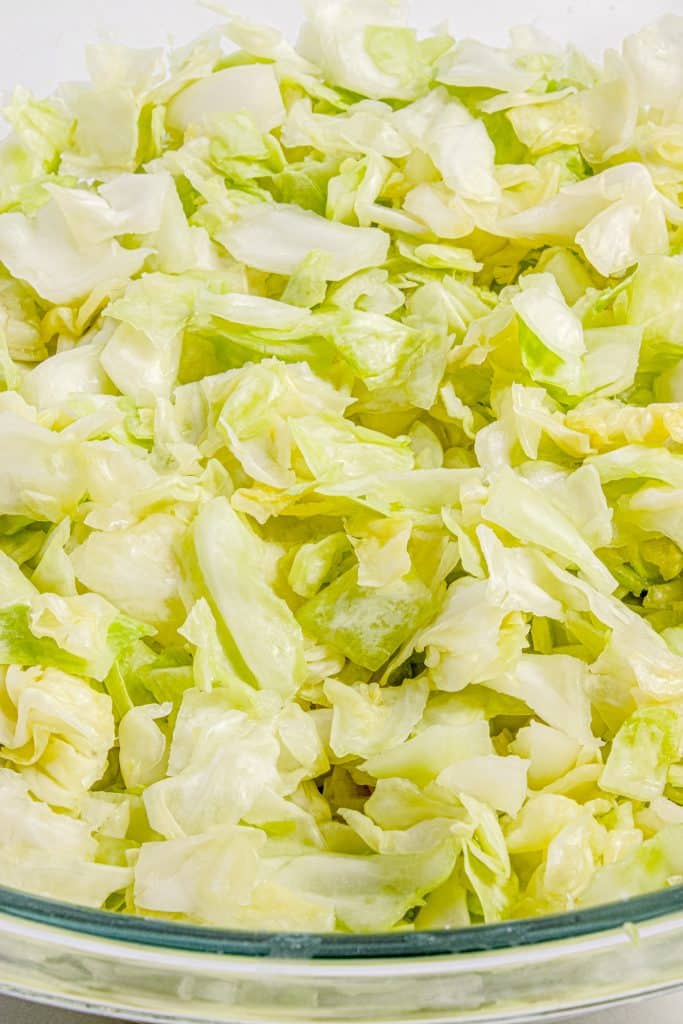
- Using clean hands, gently squeeze the cabbage until it releases liquid and shrinks down. You should see liquid collecting at the bottom of the bowl.
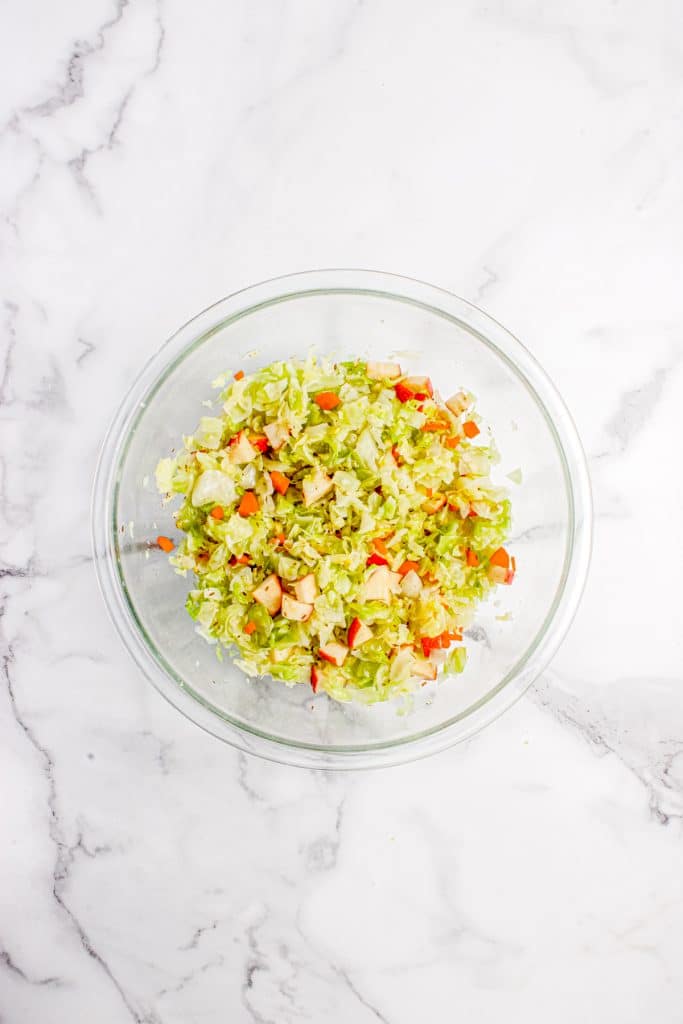
- Add the ginger, apples, carrots, and crushed cumin, and mix gently. Don’t squeeze at this stage, just combine them.
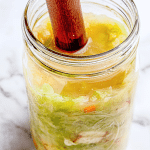
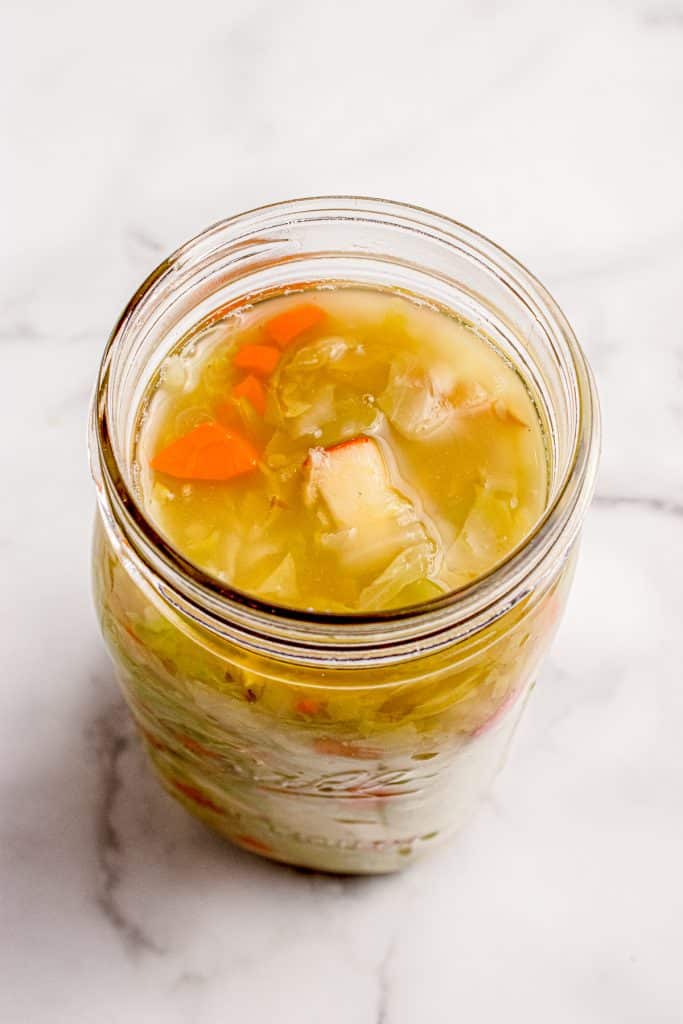
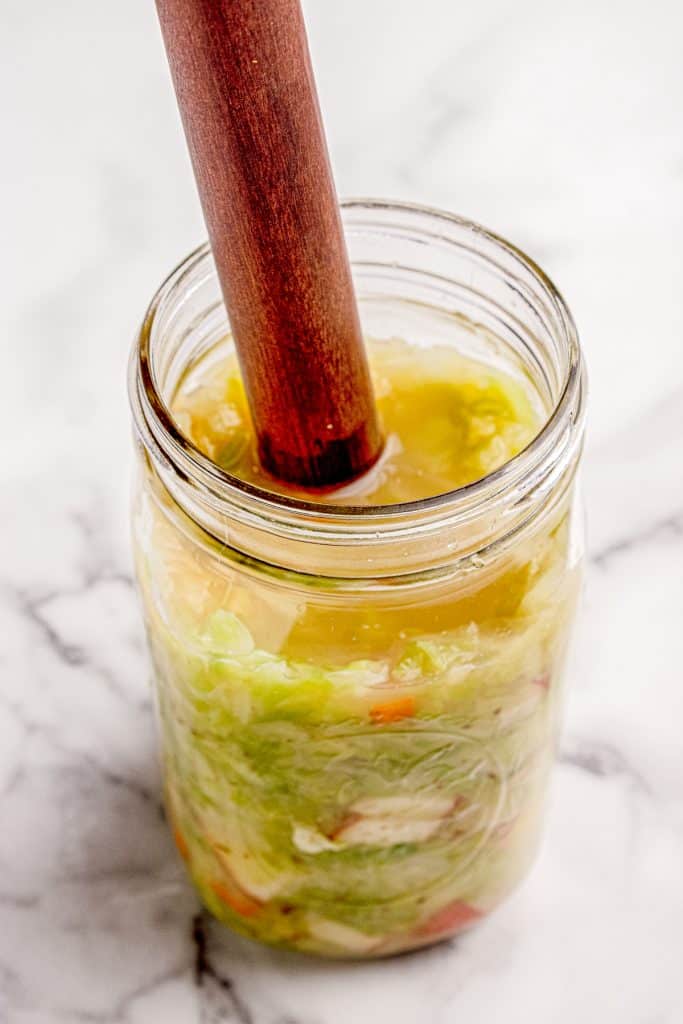
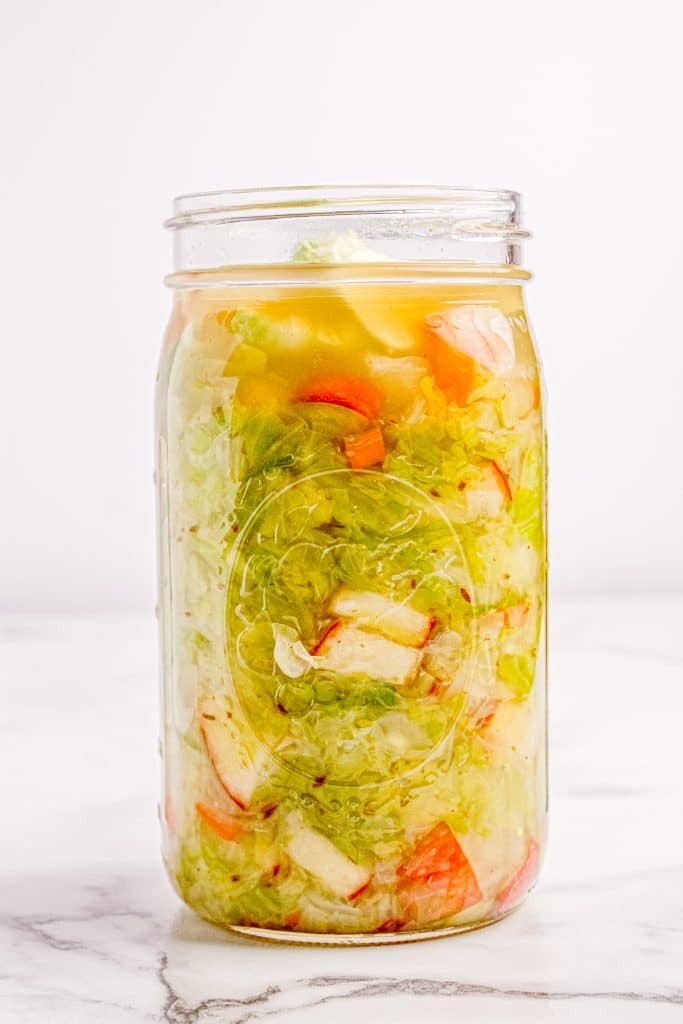
- Add the cabbage to the jar a little at a time, pressing it down after each addition. You can use your hands or a wooden spoon. As you press, the liquid will rise above the cabbage.
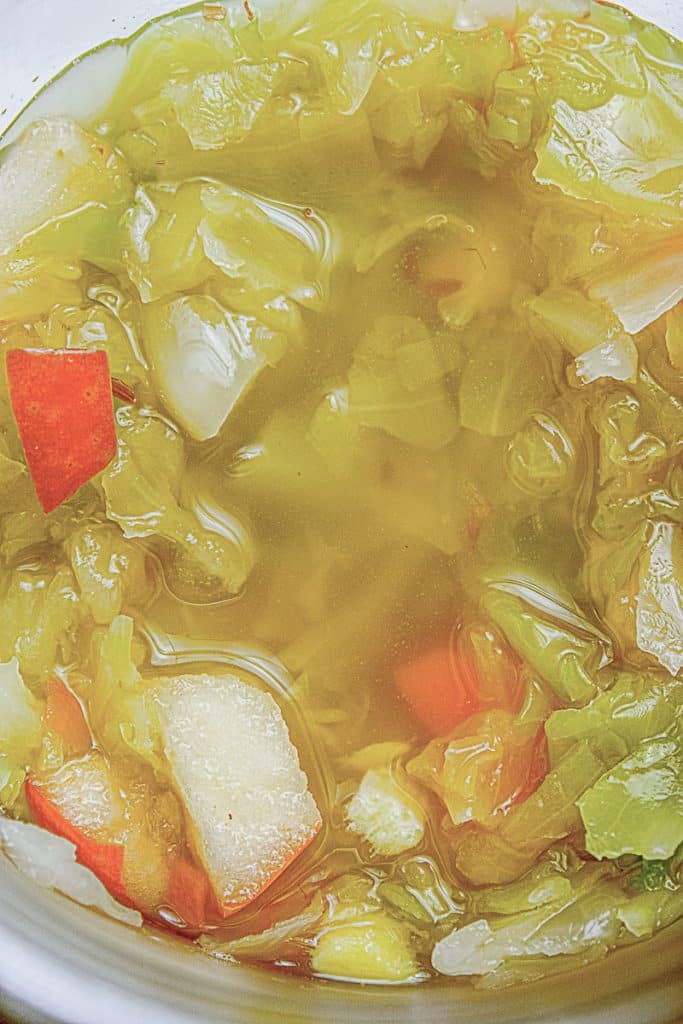
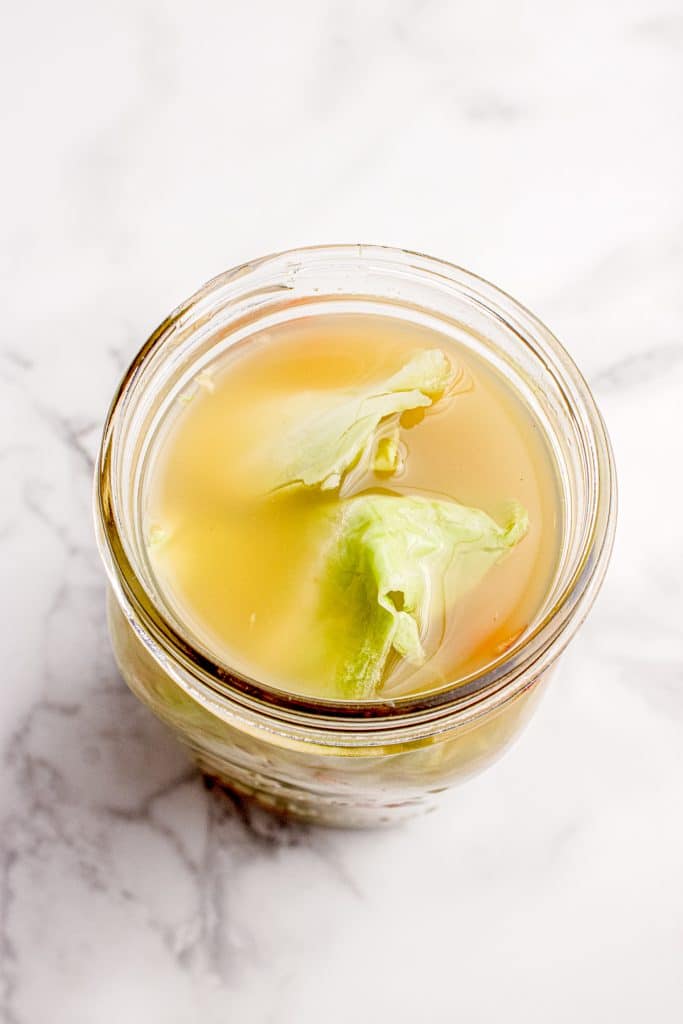
- Lay the reserved cabbage leaves on top to keep everything submerged in the liquid, then add your fermentation weight and press it down on the cabbage; the liquid should rise above the weight. If not everything is fully covered, mix ½ teaspoon of salt with 1 cup of filtered or boiled-and-cooled water, then add just enough to cover. Once again, chlorinated tap water can inhibit fermentation, so I recommend using filtered, bottled, or boiled-and-cooled water.
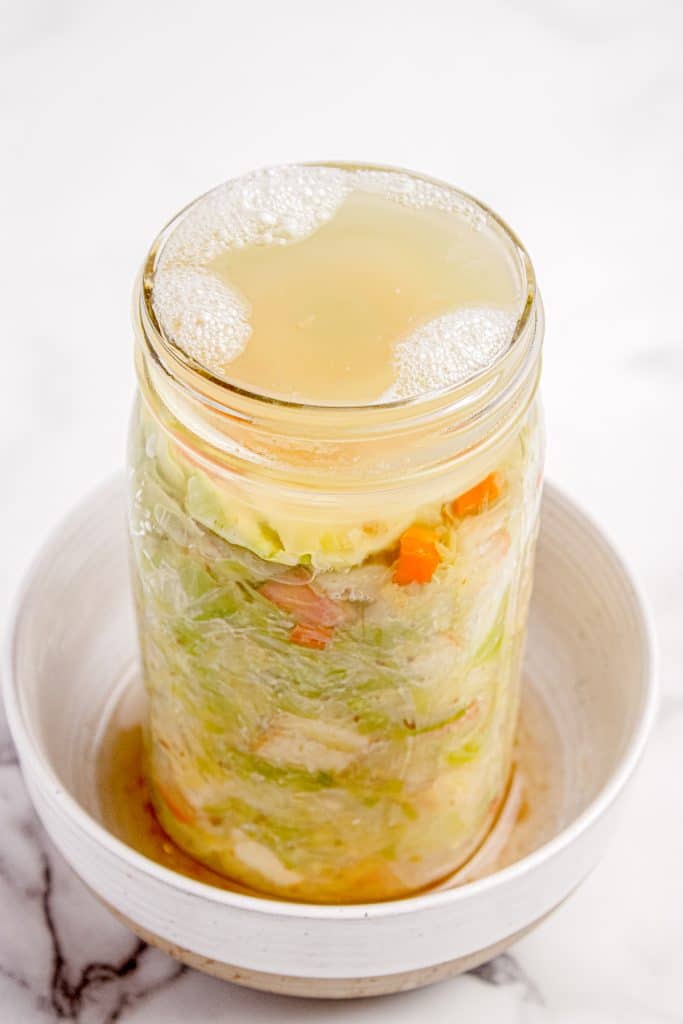
- Loosely cover the jar, but don’t seal it tightly. Set the jar on a plate or bowl in case it overflows, then keep it at room temperature (65–75°F) out of direct sunlight.
- Once your sauerkraut tastes the way you like it, which could be as early as day 6, put a lid on it and store it in your fridge. This timeline will guide you through what to expect and when.
What to Expect: A Fermentation Timeline
Knowing what’s normal at each stage of fermentation takes the guesswork out of making sauerkraut.
Temperature makes a big difference in this timeline. A warm kitchen (closer to 75°F) will move through these stages faster. A cool kitchen (around 65°F) will take longer at each stage. Both are fine – you’re just on a different schedule.
Here’s what you should see as your kraut develops:
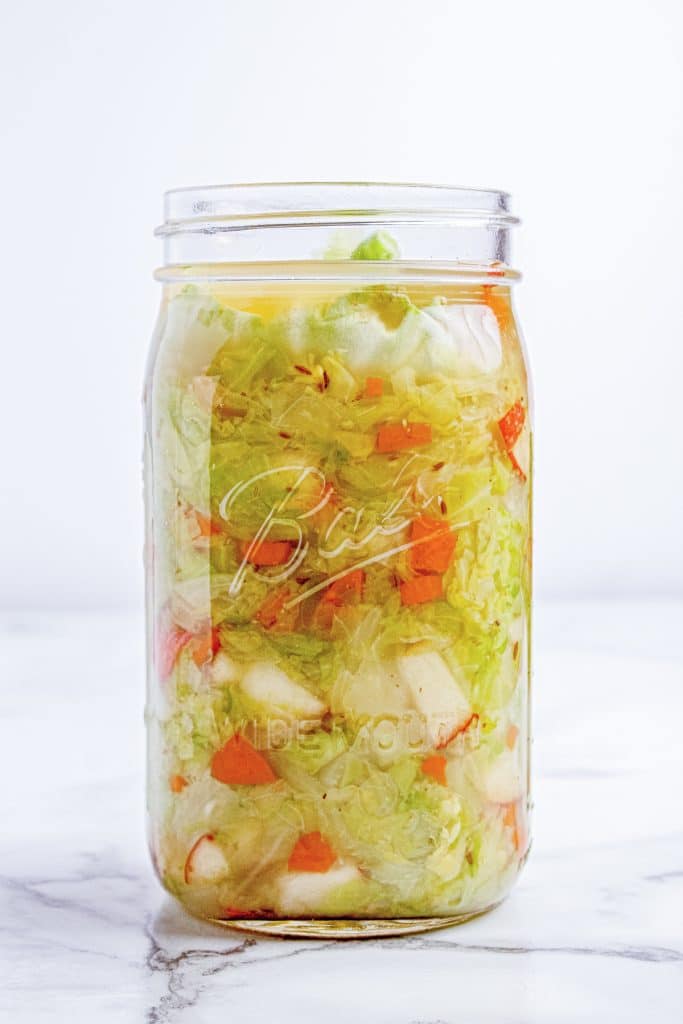
Day 1: After you pack the jar, the brine should be clear, and the cabbage should look fresh. You might see a few small bubbles as you press down, but not much activity yet. The cabbage will still be quite firm and crunchy.
Days 2-3: This is when things start to get interesting. You’ll begin to see small bubbles forming in the brine. The liquid might get slightly cloudy. If your kitchen is warm, you might notice a faint sour smell when you lift the cover. The brine level may rise as fermentation produces more liquid.
Days 4-5: Fermentation is in full swing now. You should see active bubbling – press down on the weight and watch bubbles rise to the surface. The brine will be noticeably cloudy. When you lift the cover, you’ll smell that characteristic tangy, pickle-like aroma. You might see white sediment starting to collect at the bottom of the jar. This is dead yeast cells and bacteria along with vegetable matter – completely normal and a good sign. The cabbage will have softened somewhat, but should still have a good crunch.
Days 6-10: The most active fermentation phase is slowing down. You’ll still see some bubbles, but not as dramatically as on days 4-5. The brine stays cloudy. The smell is definitely sour and tangy. More white sediment will accumulate at the bottom. This is when many people start tasting and deciding if they like the flavor, especially if your kitchen is on the warmer side.
Days 11-14: Fermentation continues but at a slower pace. Bubbling becomes minimal. The sauerkraut is developing deeper, more complex flavors. The cabbage continues to soften slightly, but should maintain good texture. If you prefer a milder kraut, this might be your sweet spot.
Days 15-30: The flavor gets more intense and sour as fermentation continues slowly. Different bacterial strains are taking over at this stage, creating more complexity. The cabbage will be softer than in week one, but shouldn’t be mushy. Less visible activity, but the bacteria are still working.
Throughout this process, keep an eye out for bad signs: pink, black, or fuzzy mold anywhere in the jar; a slimy texture; or a rotten smell (remember, sour is good, putrid is bad). If you see any of these, toss the batch and start over.
If You Remember Nothing Else!
In my experience, these are the most important factors to successful fermentation, in order of importance:
- Keep everything submerged in brine. This is the number one rule. If cabbage floats above the liquid, it will mold. Everything must stay under the brine at all times. This is more important than the amount of salt, the temperature, or anything else.
- Use the right amount of salt. Too little and you get spoilage or mush. Too much and fermentation won’t happen. The 2% ratio is the sweet spot. And you are weighing your cabbage after you’ve removed the core and outer leaves… weigh only what is going into the jar. Get this wrong, and your batch can fail completely.
- Don’t seal the jar tightly. Fermentation produces carbon dioxide that needs to escape. A tight seal can cause your jar to explode or create anaerobic conditions that favor bad bacteria. Loose cover only.
- Use pure salt without iodine or anti-caking agents. These additives can kill the beneficial bacteria or prevent fermentation from starting. This is non-negotiable.
- Room temperature matters, but there’s a range. Anywhere from 65-75°F works. Warmer ferments faster, cooler takes longer. Both are fine – this affects timing more than success.
- Clean but don’t sterilize. You need those natural bacteria on the cabbage. Gentle rinse only, no scrubbing or produce wash.
Storage
Once it tastes good to you, close the lid tightly and move the jar to the refrigerator. There’s no magic “done” moment – it’s ready when you like the flavor. Cold temperatures slow fermentation dramatically but don’t stop it completely. Your sauerkraut will continue to develop flavor very slowly over time.
Properly stored in the fridge, homemade sauerkraut will keep for several months, sometimes up to six months. The flavor will get more intense, and the cabbage will soften slightly, but it remains perfectly safe to eat as long as it smells good and shows no signs of mold.
Always use a clean fork or spoon when you scoop out sauerkraut. Introducing bacteria from your hands or a dirty utensil can shorten its shelf life.
The liquid is just as valuable as the cabbage. I drink it straight as a probiotic tonic, or you can use it as a starter culture for your next batch of sauerkraut. Just add a few tablespoons to your new jar to give the beneficial bacteria a head start.
Other Fermented Food
If you are looking for other Fermented Food recipes, I’m slowly adding them to the site, so check back. But, if you are looking to make the powerhouse of probiotic foods, this Milk Kefir recipe is what you want. Super simple to make, but it packs the most probiotic punch of all the fermented foods.
How to Make Sauerkraut
Ingredients
- 2 pounds green cabbage
- 15 grams kosher salt about 2½ teaspoons Diamond Crystal
- 1 tablespoon fresh ginger chopped very fine
- 1 cup red apple small dice
- ⅓ cup carrots grated or finely diced
- ½ – 1 tsp cumin seeds lightly crushed
- Filtered or boiled-and-cooled water if needed for brine
Instructions
- Prep the Cabbage: Peel off two outer leaves and set them aside. Quarter the cabbage, then cut out and toss the core. Roughly chop the cabbage quarters.
- Salt & Rest: Put the chopped cabbage in a large bowl and sprinkle all the salt over it. Mix it really well and let it sit for 5–10 minutes until it starts to sweat.
- Squeeze: Using clean hands, gently squeeze the cabbage until it releases liquid and shrinks down. If squeezing hurts your hands, put the cabbage in a freezer Ziploc bag and squeeze it there. You should see liquid collecting at the bottom of the bowl or bag.
- Add the Rest: Add the ginger, apples, carrots, and crushed cumin and mix them in gently. I don’t squeeze at this stage, just combine them.
- Pack the Jar: Add the cabbage to the jar a little at a time, pressing it down after each addition. You can use your hands or a wooden spoon. As you press, the liquid will rise above the cabbage.
- Keep It Submerged: Lay the reserved cabbage leaves on top so everything stays under the liquid, and then add your fermentation weight and push it down; the liquid should come up over the weight. If the cabbage isn't fully covered, mix ½ teaspoon salt with 1 cup filtered or boiled-and-cooled water and add just enough to cover it. Important: Chlorinated tap water can prevent fermentation so use filtered, bottled, or boiled-and-cooled water.
- Tip: If you don’t have a fermentation weight, you can use a clean rock (boiled first), or place a small ziplock bag in the jar, fill it with water, and seal it. The water-filled bag will press down on the cabbage.
- Cover and Ferment: Loosely cover the jar and don’t seal it tight. Set the jar on a plate or bowl in case it overflows, and then keep it at room temperature, 65–75°F, out of direct sunlight.
- Taste: Start tasting around day 5. See the notes for what you should look for at this time.
- Store: Once you are happy with the taste, put a lid on your jar and refrigerate.