How to Score Sourdough Bread: 5 Patterns From a Simple Ear to a Snowflake
Learning how to score sourdough bread isn’t complicated once you know the handful of things that actually matter. Get those down, and you can go from a basic slash to full decorative sourdough scoring patterns like wheat stalks and snowflakes. This Complete Guide to Scoring Sourdough walks you through the simple details of the process, the tools you need, and the mistakes that trip up most beginners.
Use our Easy Sourdough Bread recipe or your favorite sourdough bread recipe for any of these scoring pattern.
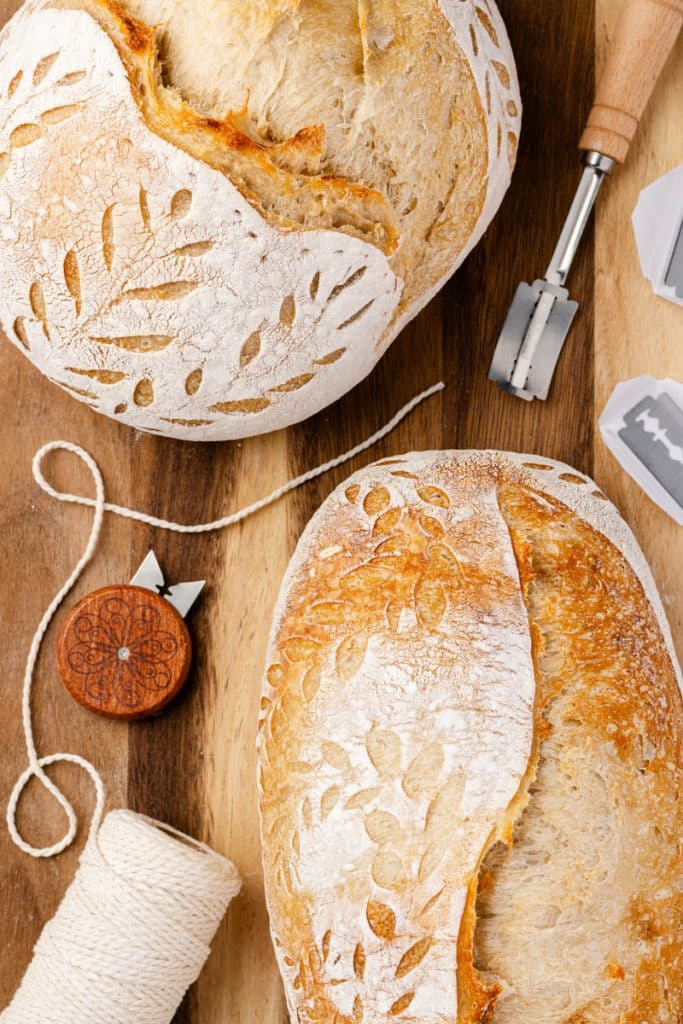
Table of Contents
Why You Need to Score Your Sourdough at All
When sourdough hits a hot oven, the gases trapped inside expand fast. That expansion is what gives you oven spring, the dramatic rise that happens in the first several minutes of baking. If you don’t give the dough a deliberate place to open up, it’s going to find its own weak spot, and that usually means a random blowout instead of the clean look you wanted.
Scoring lets you:
- Control exactly where the loaf expands
- Encourage a strong, intentional oven spring
- Create that classic ear or decorative opening
- Release pressure in a controlled way
- Add a design to your finished loaf
Supplies You’ll Need
Some of these links may be Amazon affiliate links and I may earn a small commission from the sale of these products to help defray the costs of operating this site, but the price you are charged is not affected. You can see my full disclosure policy here.
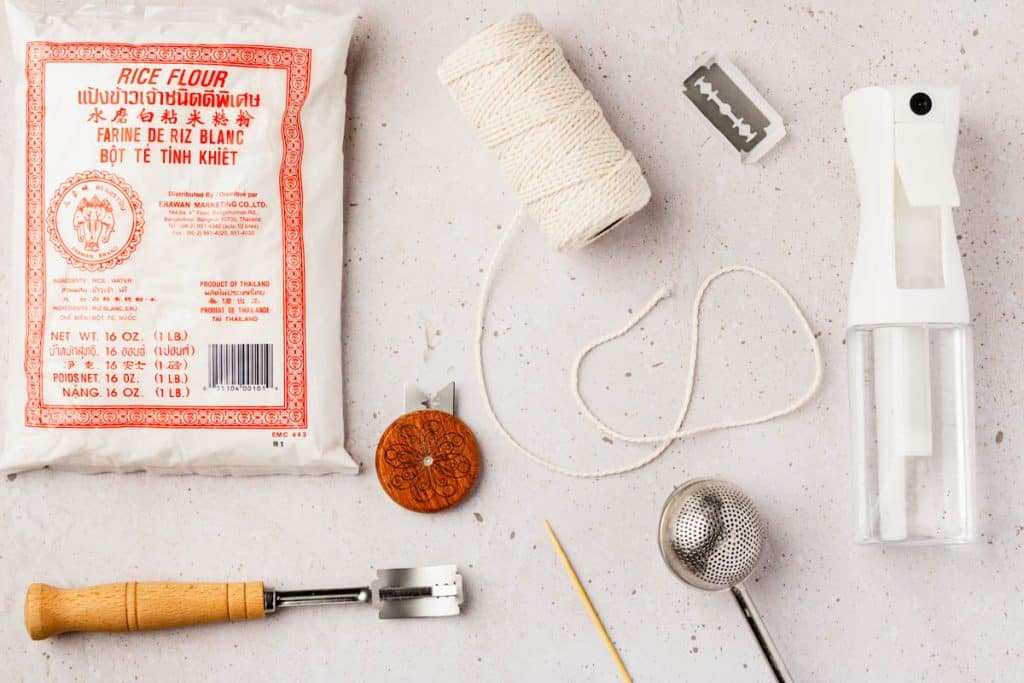
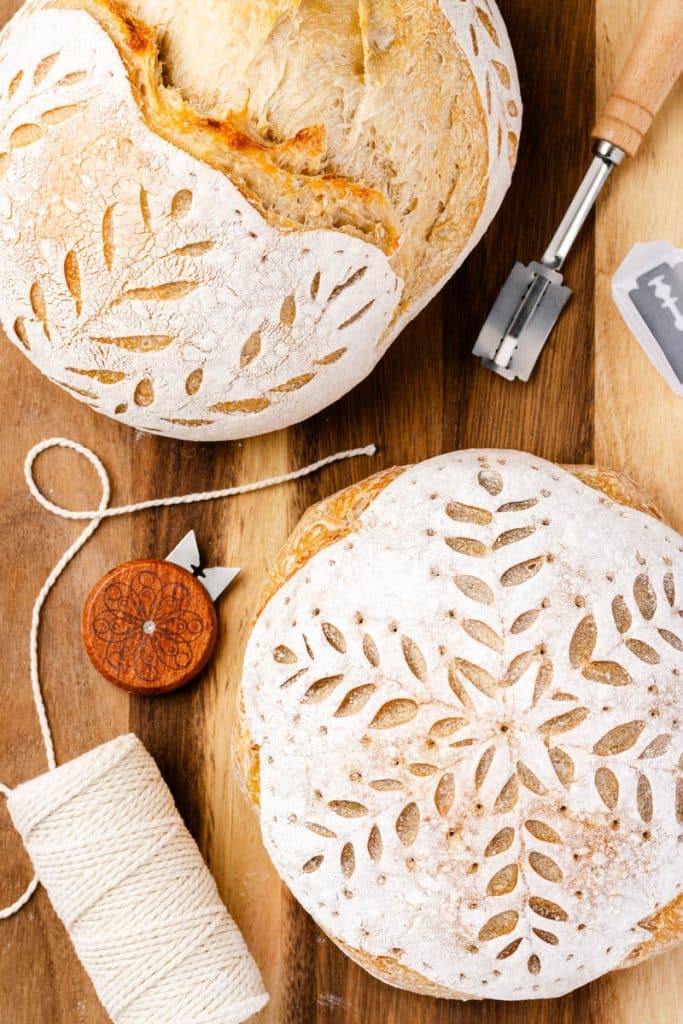
- Bread lame or a razor blade. I use these two lames: a circular lame and a long lame.
- White rice flour
- A misting spray bottle
- Kitchen twine (optional, for symmetrical designs)
- A toothpick or skewer (optional, for sketching designs first)
- Cookie cutters or anything circular (optional, for scalloped patterns)
Choosing a Lame
I use two different lames depending on what I’m scoring, and they’re built for different jobs.
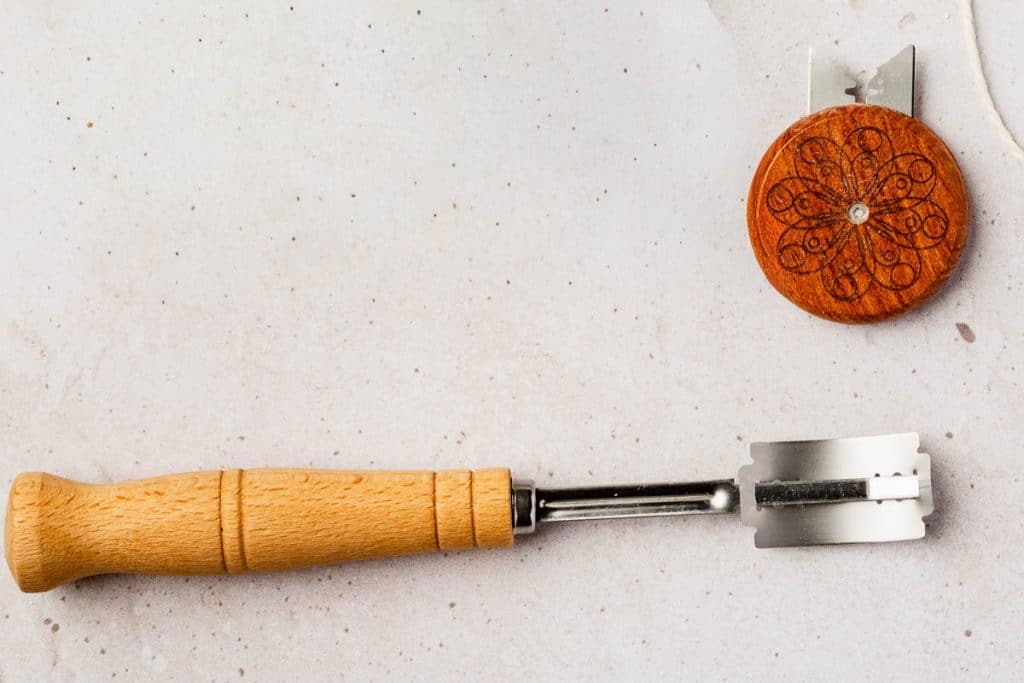
The handled lame, with the long wooden grip and the curved blade holder, is built more like a small knife. That extra length gives you leverage, which makes it a better choice for a single confident expansion score, especially on a larger loaf where you want one long, even line from end to end. It’s a little less nimble for detail work, but for a simple 45 degree slash or a straight center cut, the added control from the handle can actually make for a cleaner line. The larger one would be great for a ‘7-min score’ (detailed below) so that you don’t have to reach in as far.
The round wooden lame is the one you’ve seen in most of the photos throughout this guide. It’s small, disc shaped, and sits right in your fingertips, which gives you a lot of control for anything decorative. Because you’re gripping it close to the blade, it’s easier to make the small, precise cuts that go into designs like the vine or the snowflake. The tradeoff is that it takes a bit more hand strength and a steadier touch, since there’s no leverage working for you.
You can also cut the blade of the smaller lame, at an inward angle, on each side to create more of a point to work with. It’s not necessary, just a preference.
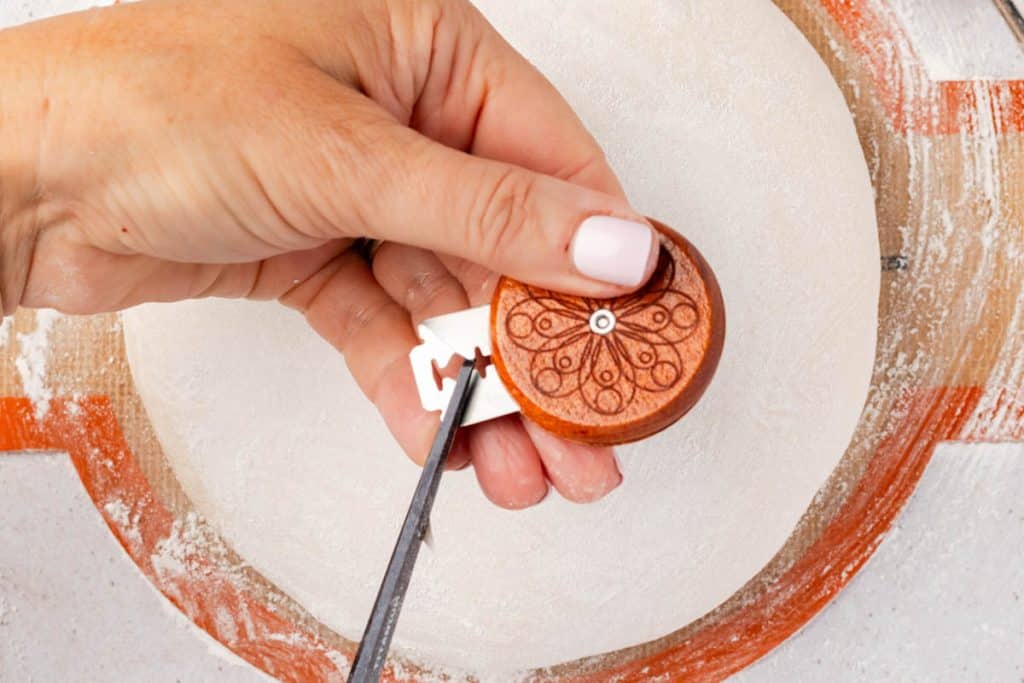
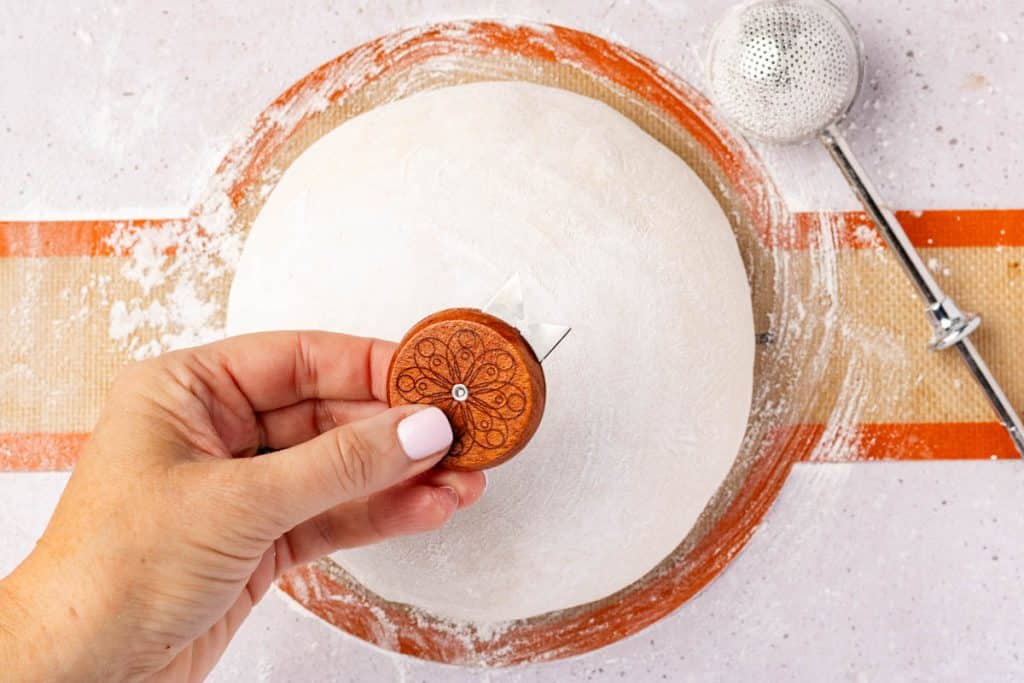
Either one will get you a clean cut when you’re just starting out. I’d reach for the round lame for decorative scoring and the handled one when I want a single, confident expansion cut on a bigger loaf.
Getting Your Dough Ready to Score
Make sure it’s properly proofed. Underproofed dough tends to expand aggressively and can tear in ways you don’t want. Overproofed dough is fragile and often doesn’t have the strength left for a good oven spring, no matter how nice your scoring is.
Keep it cold. If your recipe has a cold overnight proof, score straight from the fridge. If not, pop the dough in the freezer for about 30 minutes first. Firmer dough is so much easier to cut cleanly, especially if you’re attempting anything decorative.
Prep the surface. Lightly mist the top of the dough with water, then sprinkle white rice flour over it and brush or wipe it smooth so you’re left with an even white layer. I like rice flour here specifically because it won’t scorch at high oven temps the way regular flour can, and it stays visible instead of dissolving into the mist, which gives your design that nice contrast.
Use a sharp blade. A dull blade drags instead of slicing clean through, which is where a lot of ragged cuts come from. A fresh razor or lame lets you cut quickly without pressing down hard on the loaf.
Commit to the cut. Hesitating partway through is one of the most common reasons scores drag or tear. Make your cuts in one confident, fluid motion rather than sawing back and forth.
A Basic Score, Step by Step
Here’s what the single slash at 45 degrees looks like in practice, from proofed dough to finished loaf.
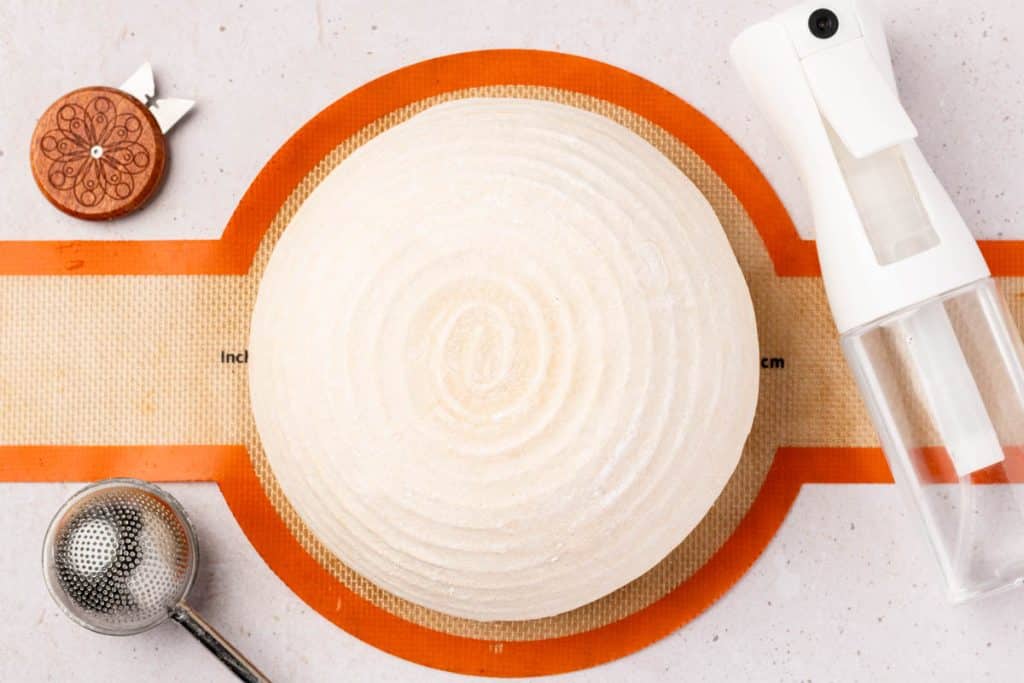
Dough fresh out of the banneton, ready to score.
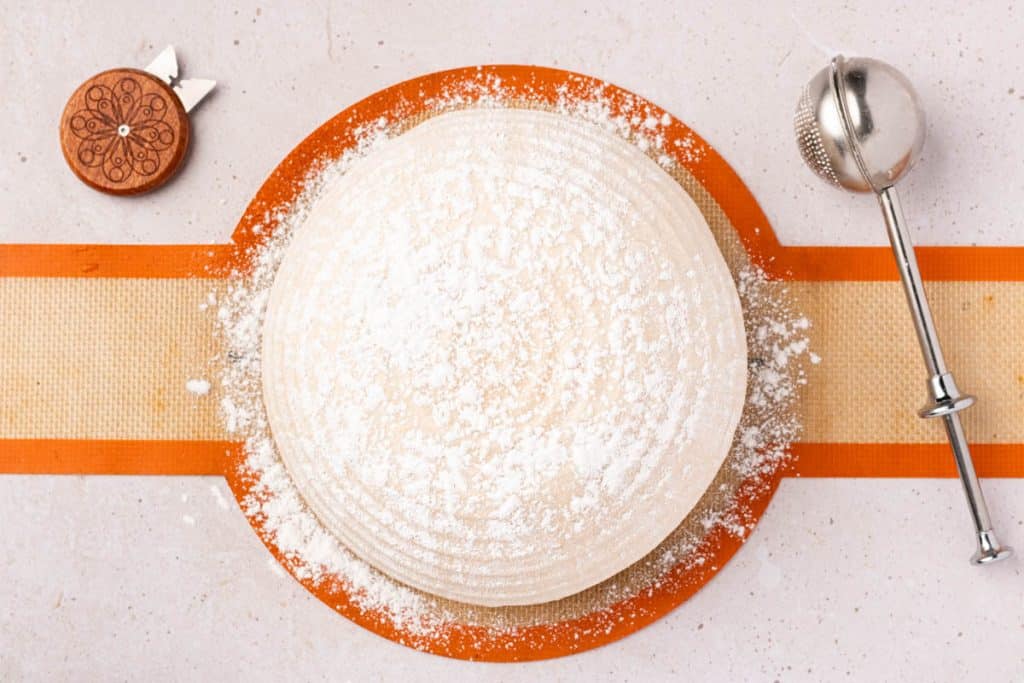
Misted with water, then dusted heavily with white rice flour.
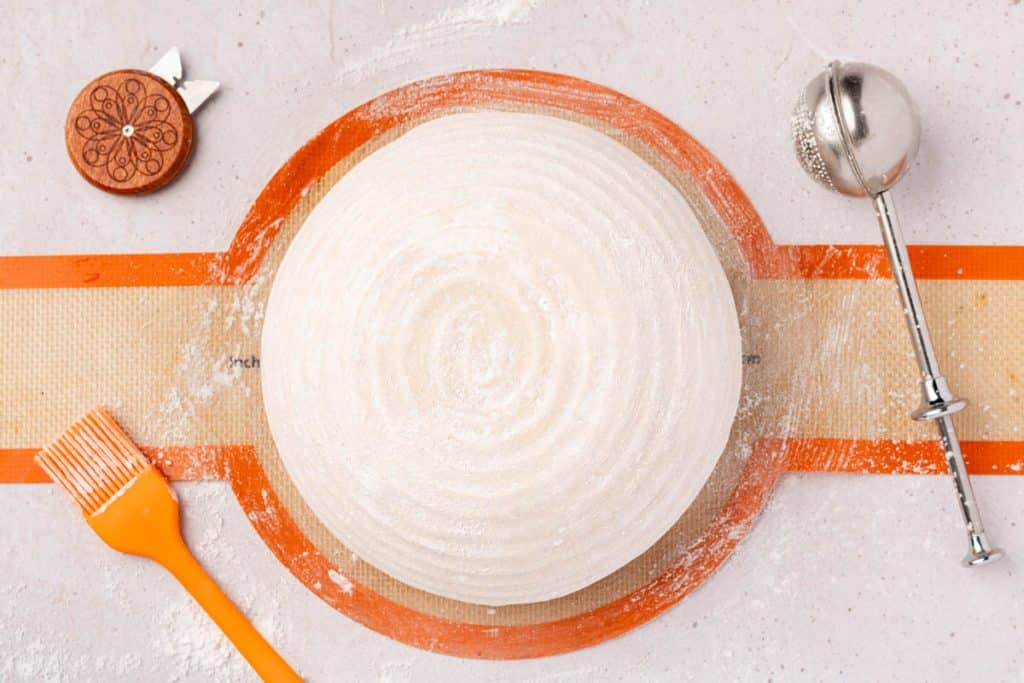
The excess flour brushed away, leaving a smooth, even layer to cut into.
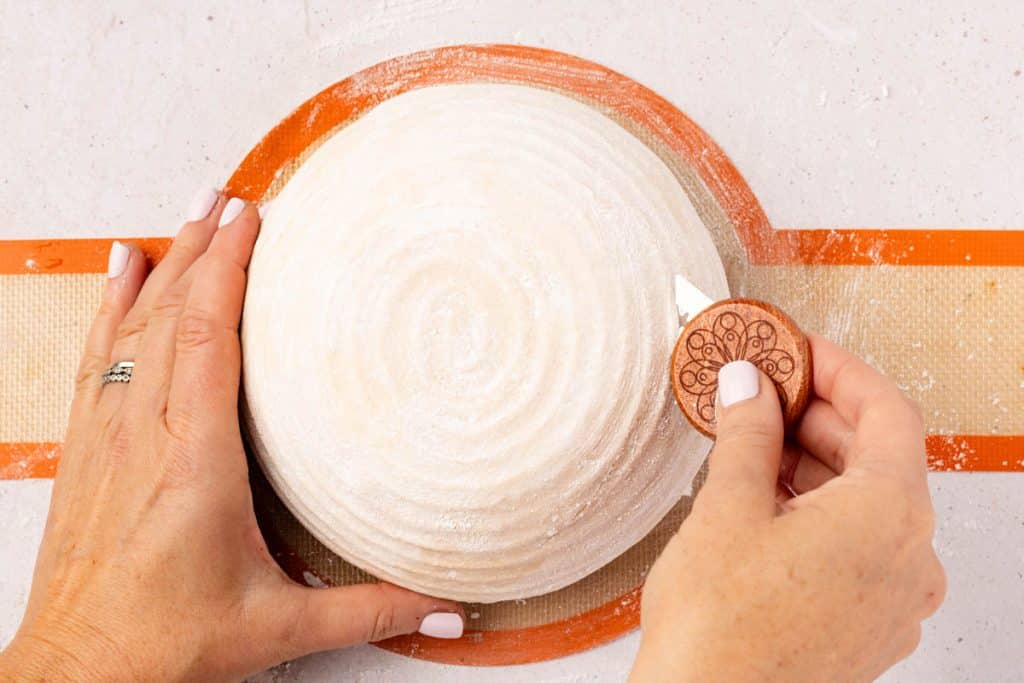
One confident cut at a 45 degree angle, no dragging or sawing.
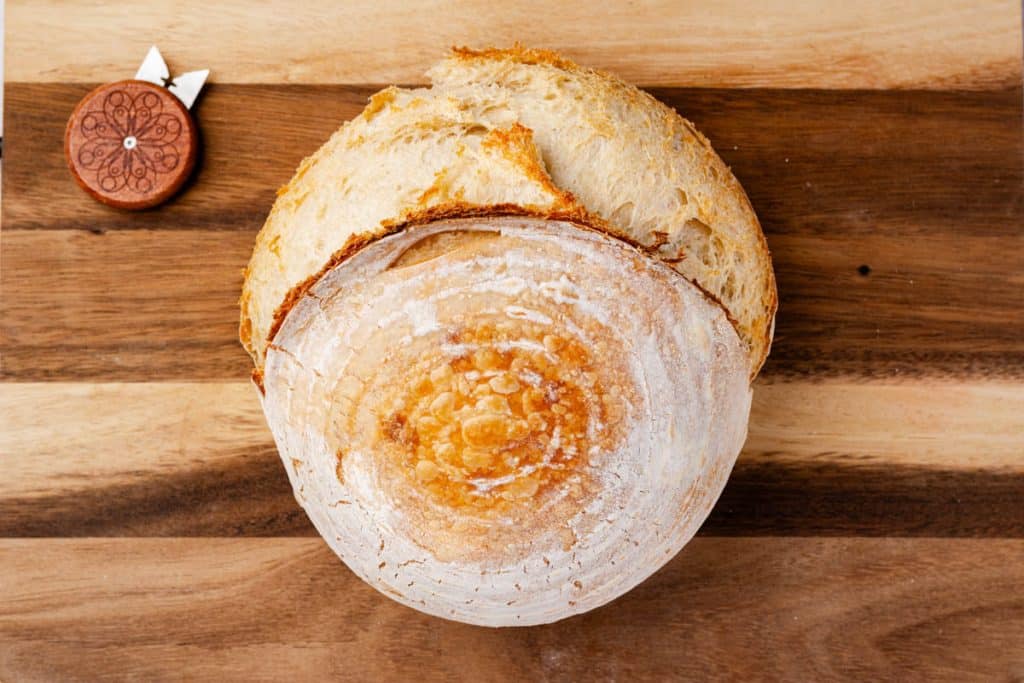
The finished loaf, with the ear standing up right where the score opened.
The Two Types of Scoring
1. Expansion Scores
This is the functional cut, the one that actually gives your dough somewhere to go during oven spring. It can be a straight line, an X, a curve, large scallops, whatever you like, but it needs to be there.
A few things that matter with expansion scores:
- The angle changes the result. A 90 degree cut splits the loaf down the middle with no ear or flap. A 45 degree cut is what creates that classic ear.
- Depth matters too. About half an inch is right. Any deeper and you risk deflating the whole structure.
- This cut typically happens right before the loaf goes into the oven.
- The line should run end to end across the loaf, in one quick, fluid motion.
A few classic expansion score styles to try:
- A single slash at 45 degrees along the side, which gives you one ear and is the easiest place to start if scoring is new to you
- A single slash down the center, angled for an ear or straight for a clean split
- An X or cross, which is simple and gives a round boule a rustic look
- An S or spiral score
- A French score, which is two parallel lines
- A square score, cut evenly on all sides
- A scalloped score, which you can do freehand or trace using something circular like a mason jar lid or biscuit cutter, overlapping the circles slightly and erasing the extra lines in the flour as you go
2. Decorative Scores
These are purely for looks. They’re shallow, around an eighth of an inch and never more than a quarter inch deep. Anything shallower than a quarter inch will heal and seal shut as it bakes, which is exactly what lets the design show without cracking apart during expansion.
Some decorative designs worth trying:
- Wheat stalk: Small overlapping cuts built along a central line to mimic a stalk of wheat
- Cross hatch or diamond cross hatch: A grid of parallel diagonal cuts spaced about a half inch to an inch apart, then a second set cut across the first to form small diamonds
- Leaves or vines: A central stem with small angled cuts branching off, kept shallow for a delicate look
- Snowflake: Use kitchen twine to divide the loaf into six equal wedges, meeting in the center like spokes on a wheel. Then work outward from the center in each wedge with small angled cuts, keeping the spacing even and mirroring the pattern across all six sections. A toothpick or skewer can add extra detail by poking a dotted line around the outer edge, with the expansion score cut just beneath it at an angle.
A Long Loaf with Vines, Step by Step
Here’s the vine design in action on a long loaf, alongside a side expansion cut instead of a top slash.
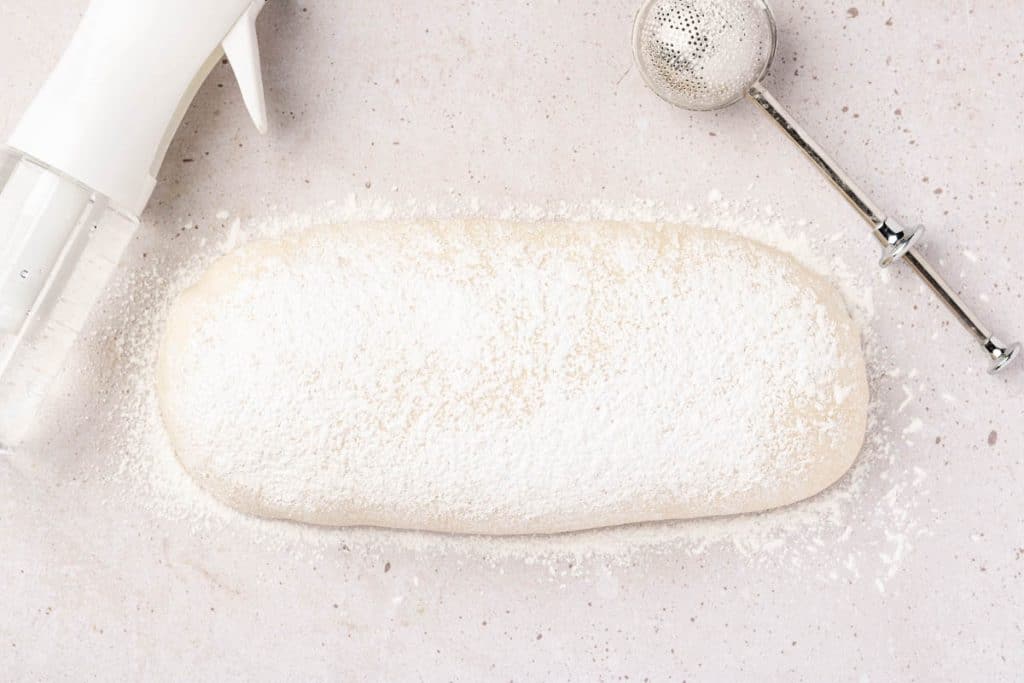
The shaped loaf, misted and dusted with flour, ready for the design.
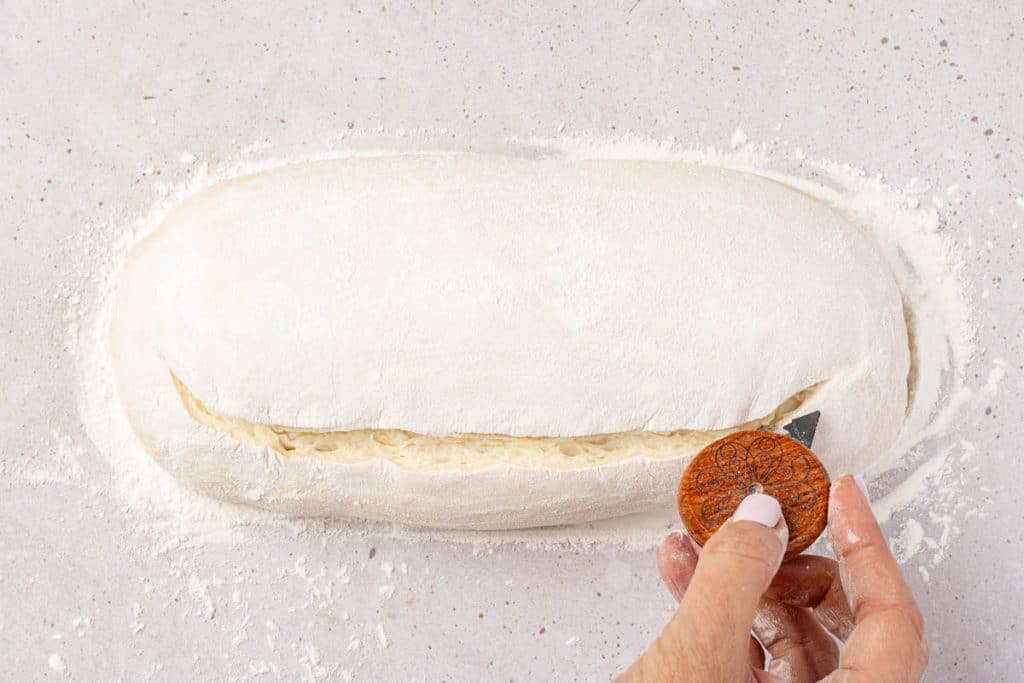
The expansion cut made first, along the side seam of the loaf.
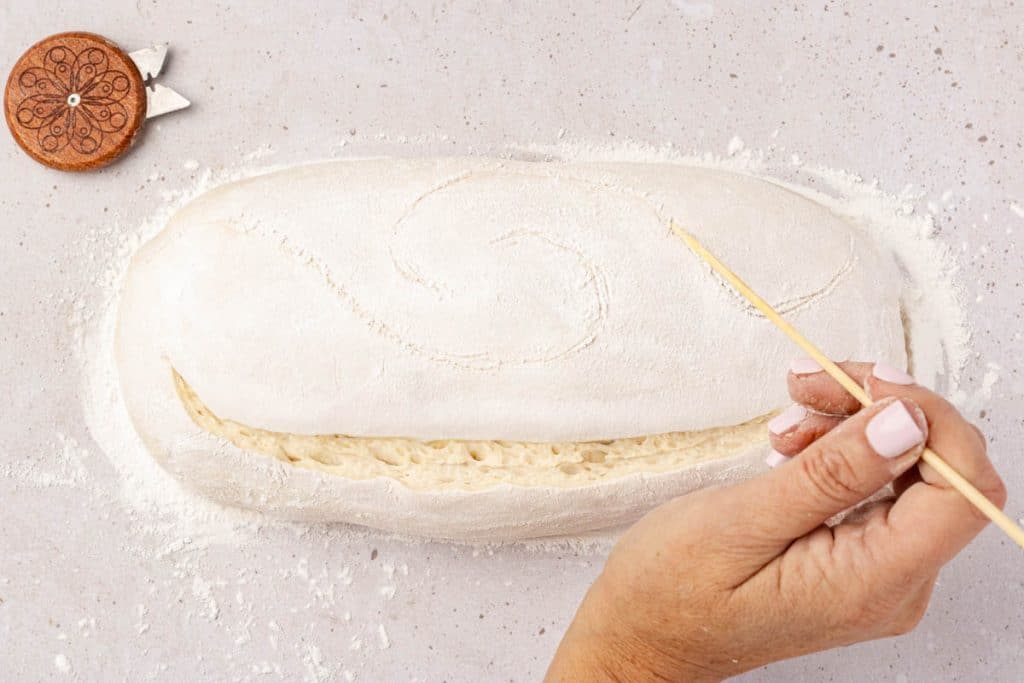
Sketching the vine’s shape into the flour with a skewer before committing to the cut.
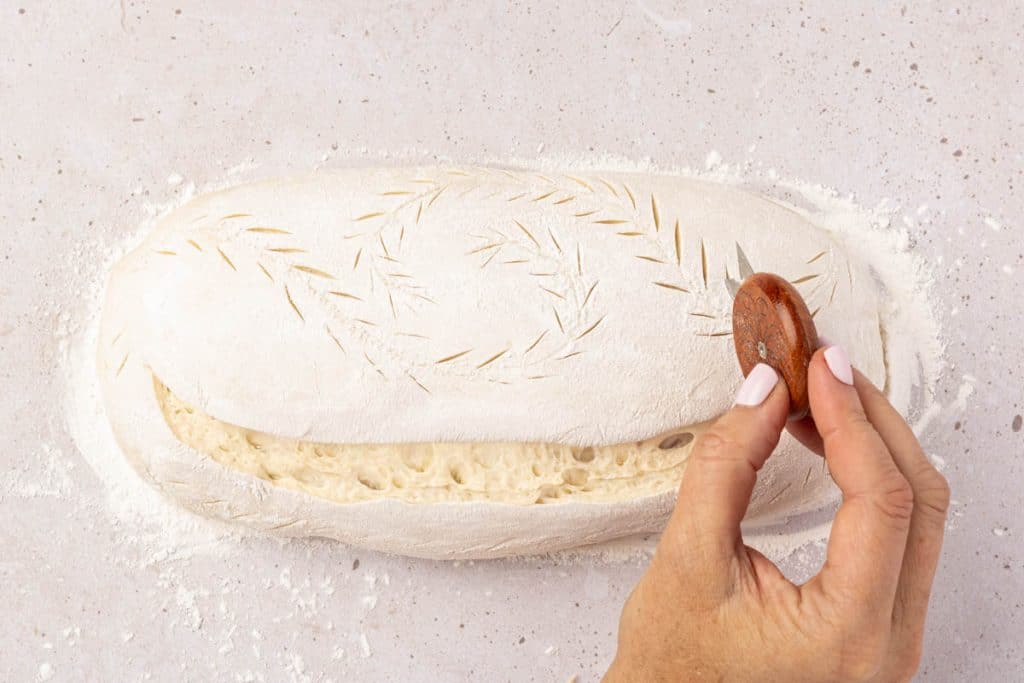
Cutting in the small, angled leaves along the vine.
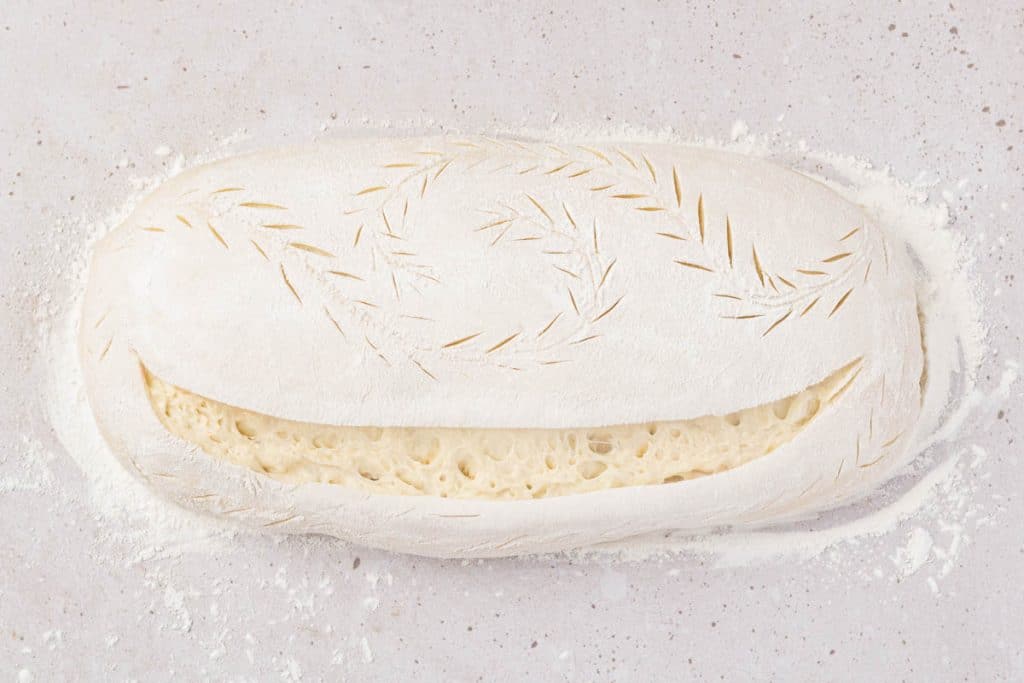
The finished design, ready to go into the oven.
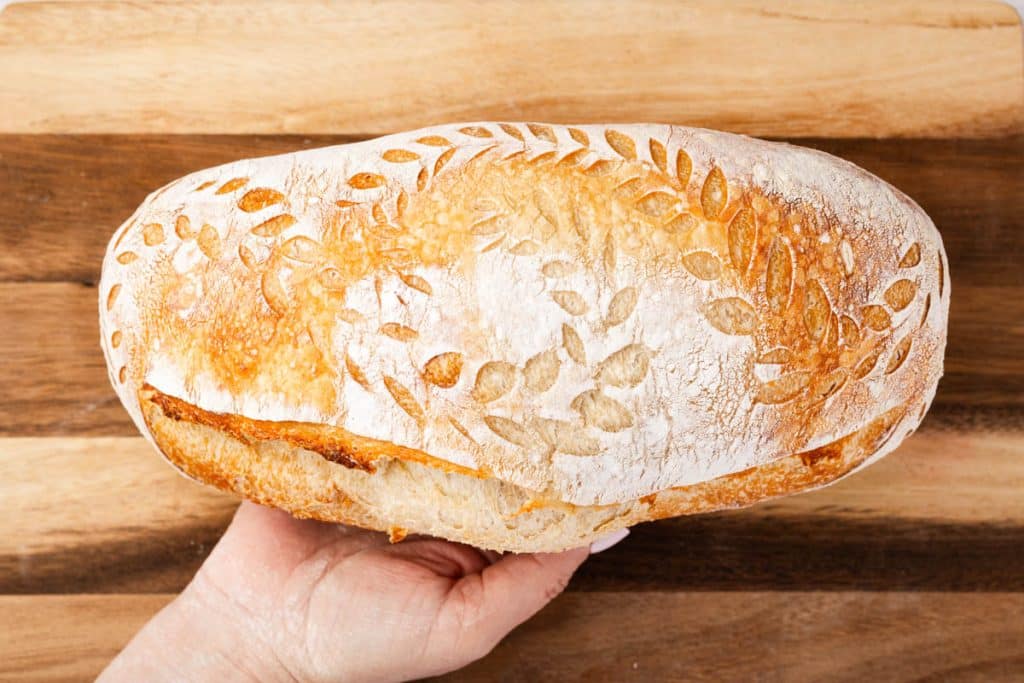
The baked loaf, with the leaf pattern standing out against the crust.
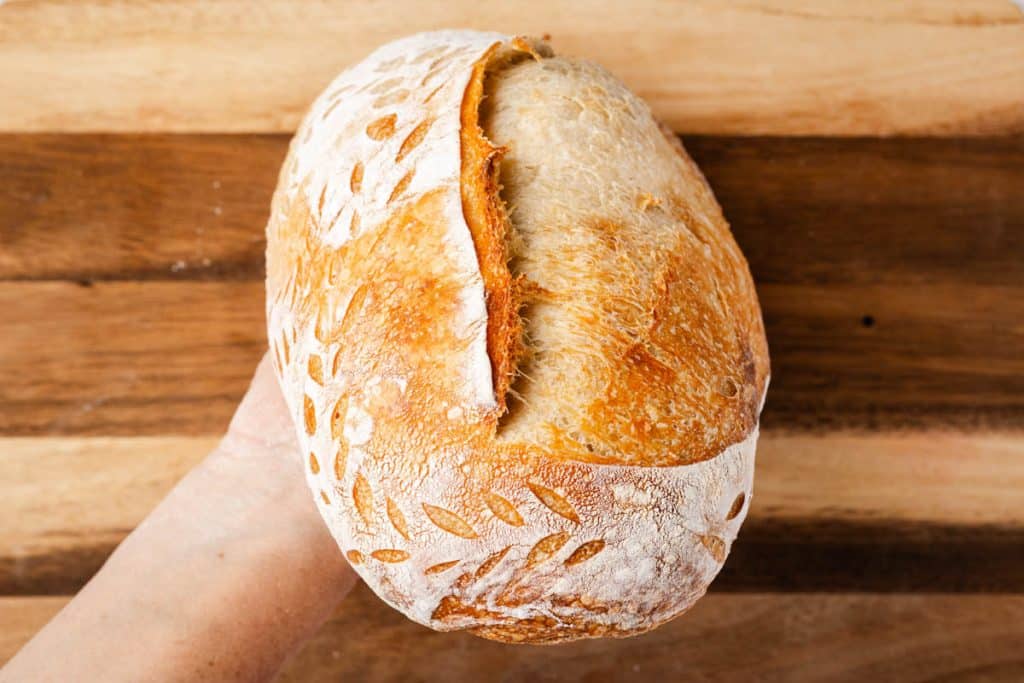
A closer look at the side cut, showing the ear against the vine pattern.
A Decorative Loaf with a Scalloped Cut, Step by Step
This one combines a scalloped expansion score with a leaf vine design above it.
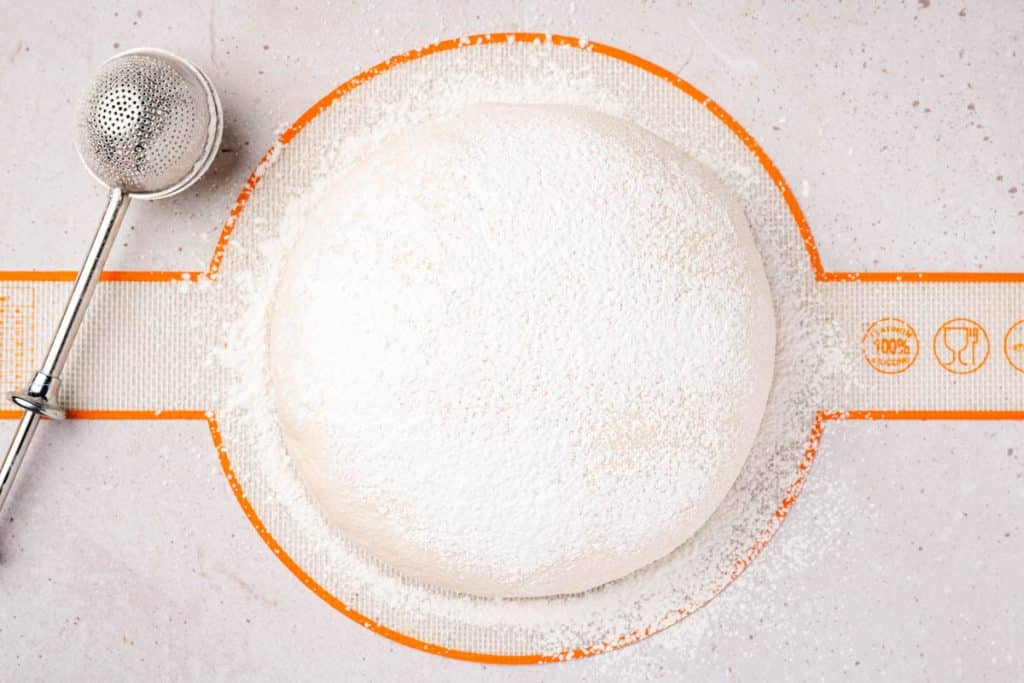
The dough dusted with rice flour.
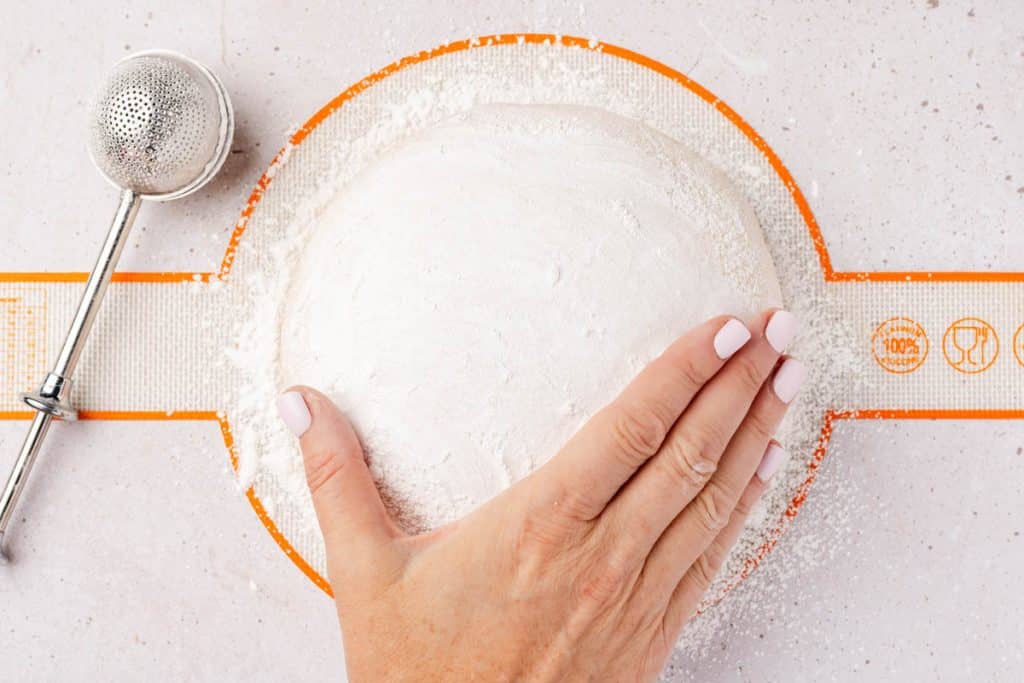
Flour brushed into an even, smooth layer.
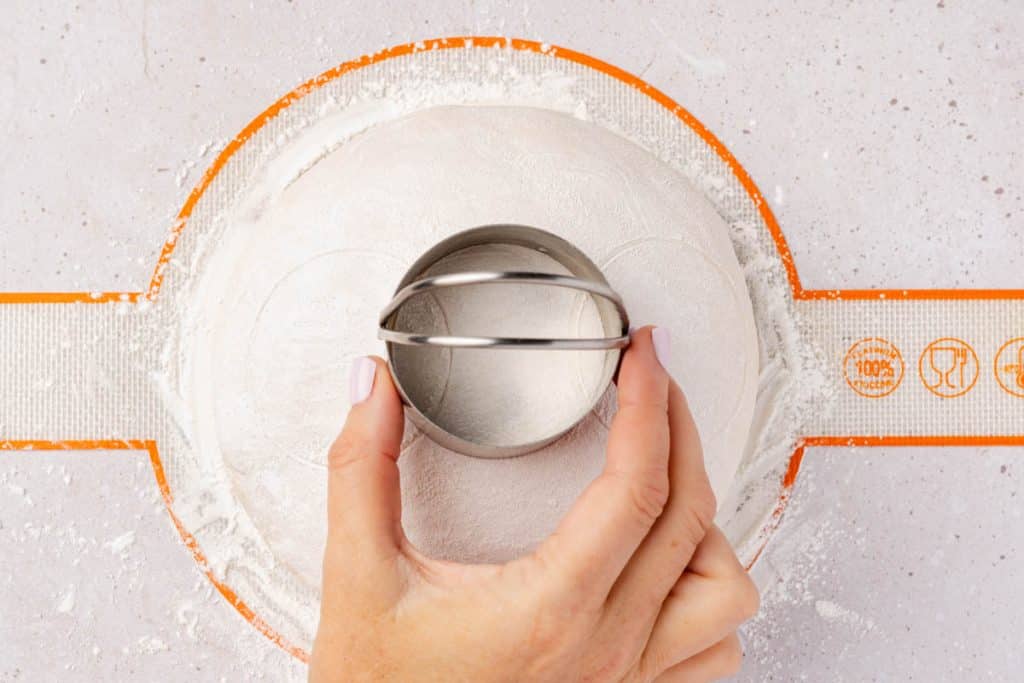
Using a round cutter to trace the circles for the scallop guide.
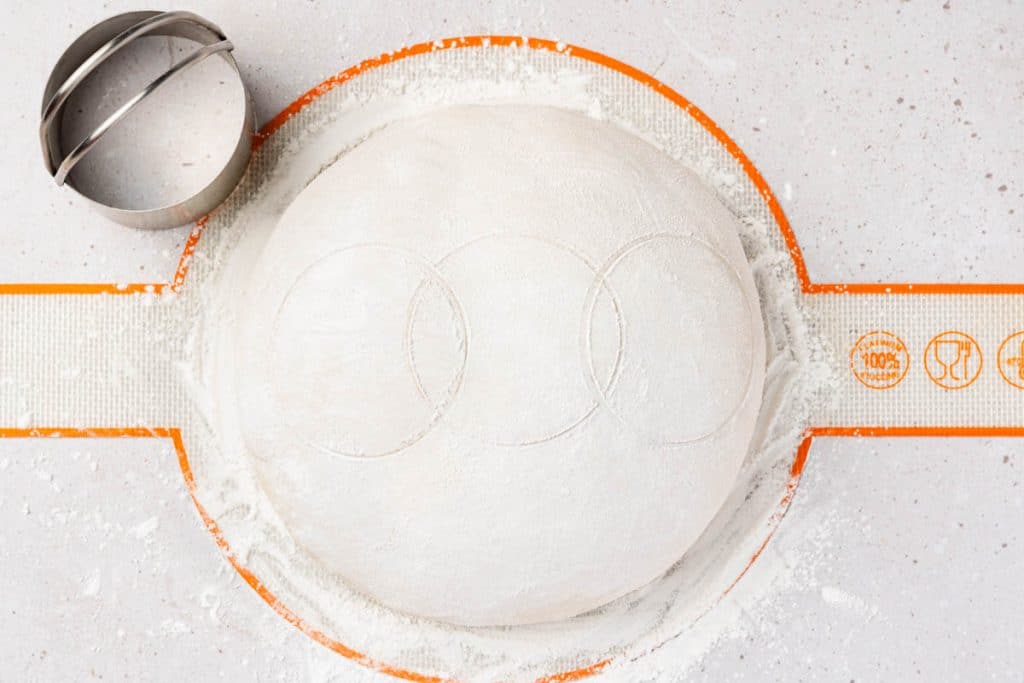
Three overlapping circles traced in the flour to sketch out the scalloped line.
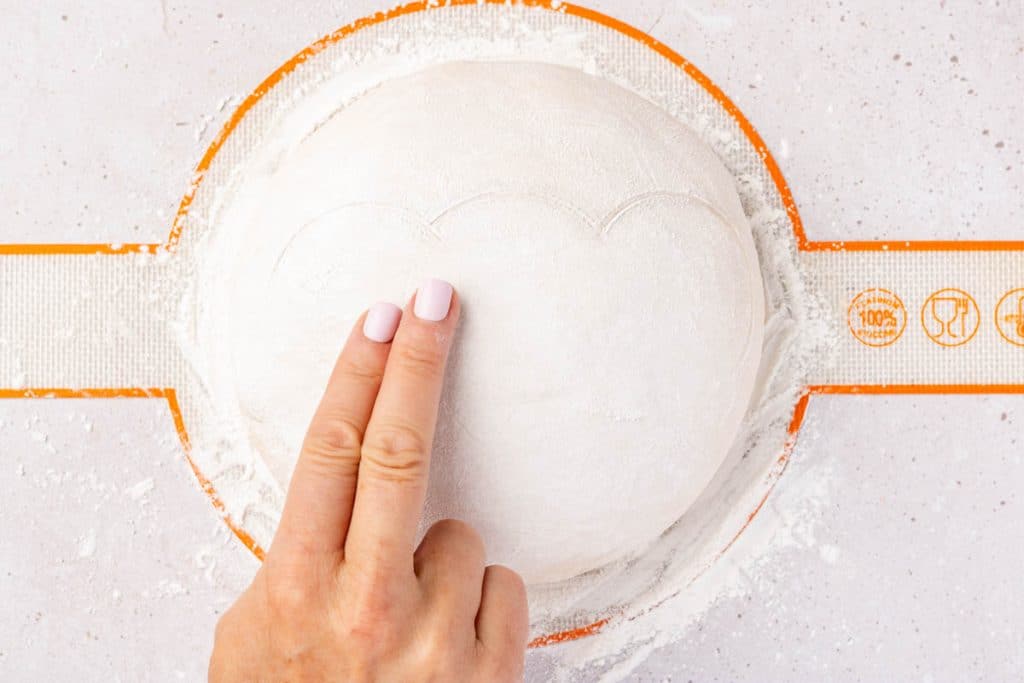
Brush out bottom half of circles.
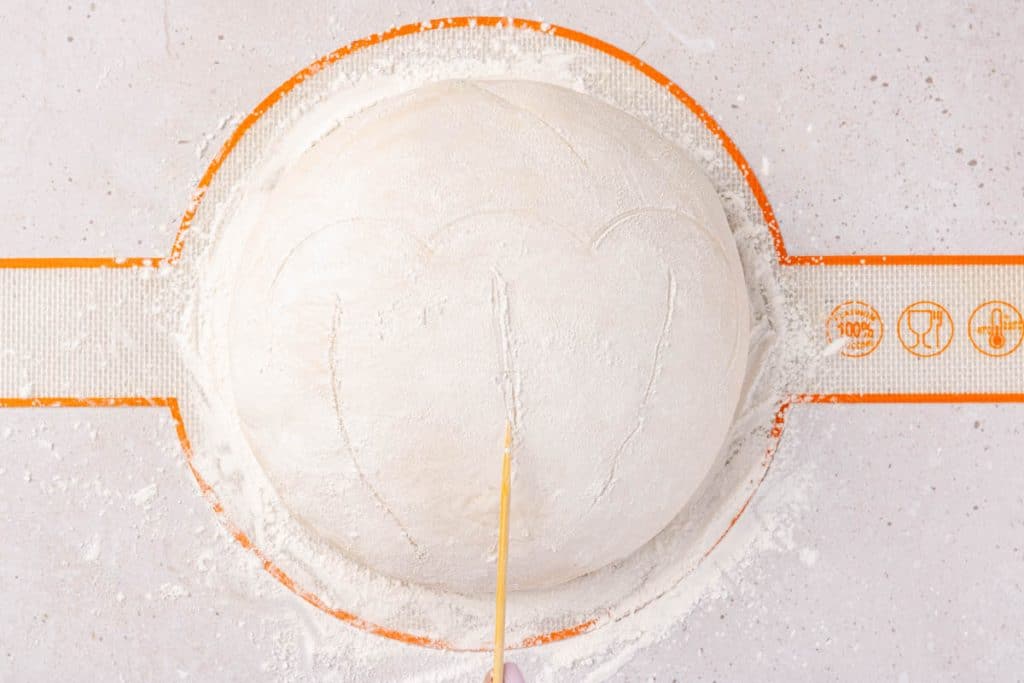
Sketching the vine’s shape below the scallop line with a skewer.
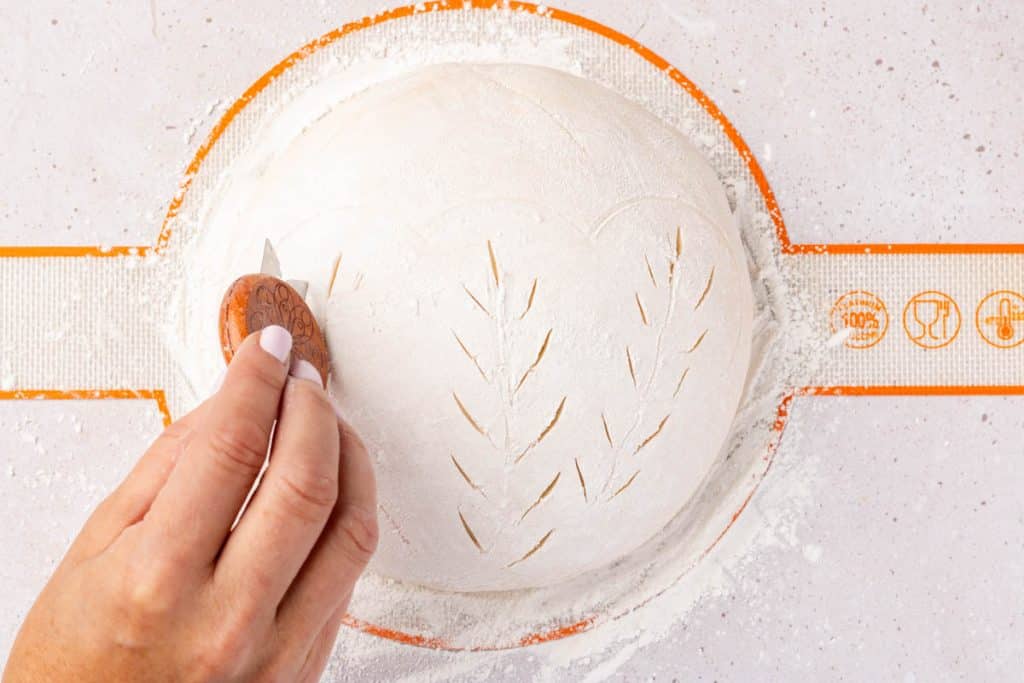
Cutting in the first leaves along the vine.
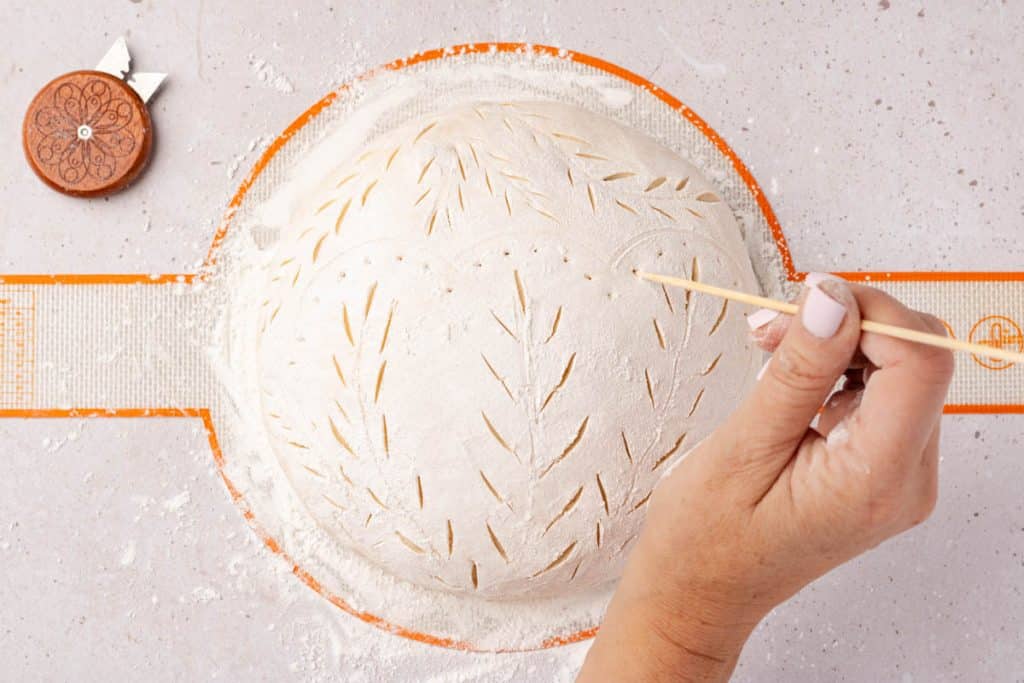
The vine pattern is filled in, now adding a dotted border below the scallop line.
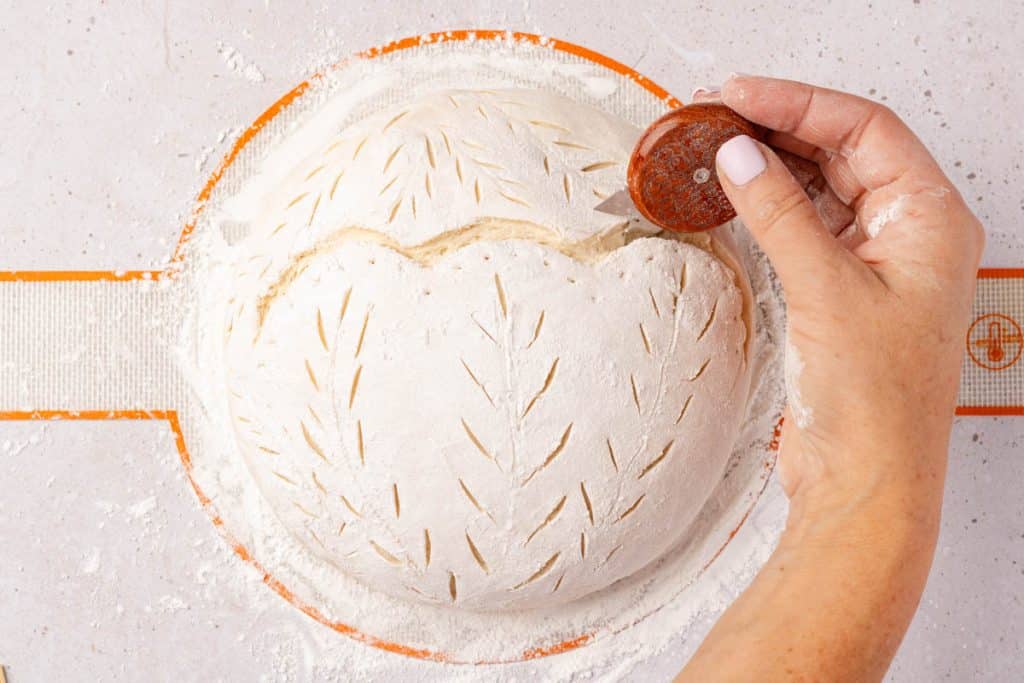
Finishing the expansion cut along the scalloped line.
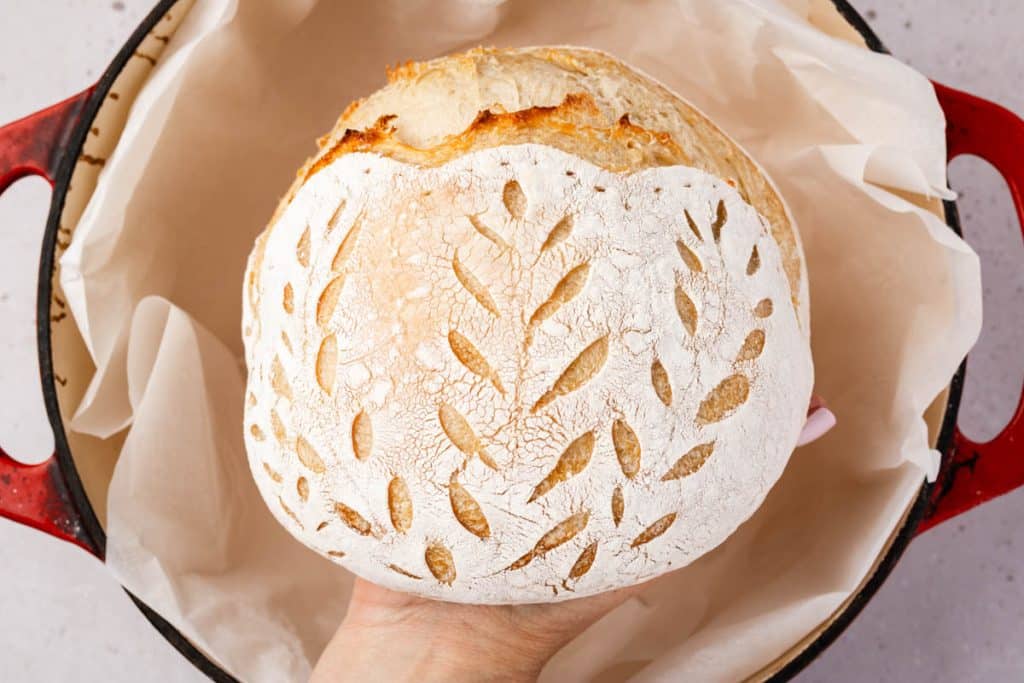
The baked loaf, with the leaf pattern and dotted border standing out against the crust.
The 90 Degree Center Cut (No Ear), Step by Step
This is the simplest expansion score there is: one straight line down the center at 90 degrees. Since it’s not angled, it splits the loaf clean down the middle instead of forming an ear.
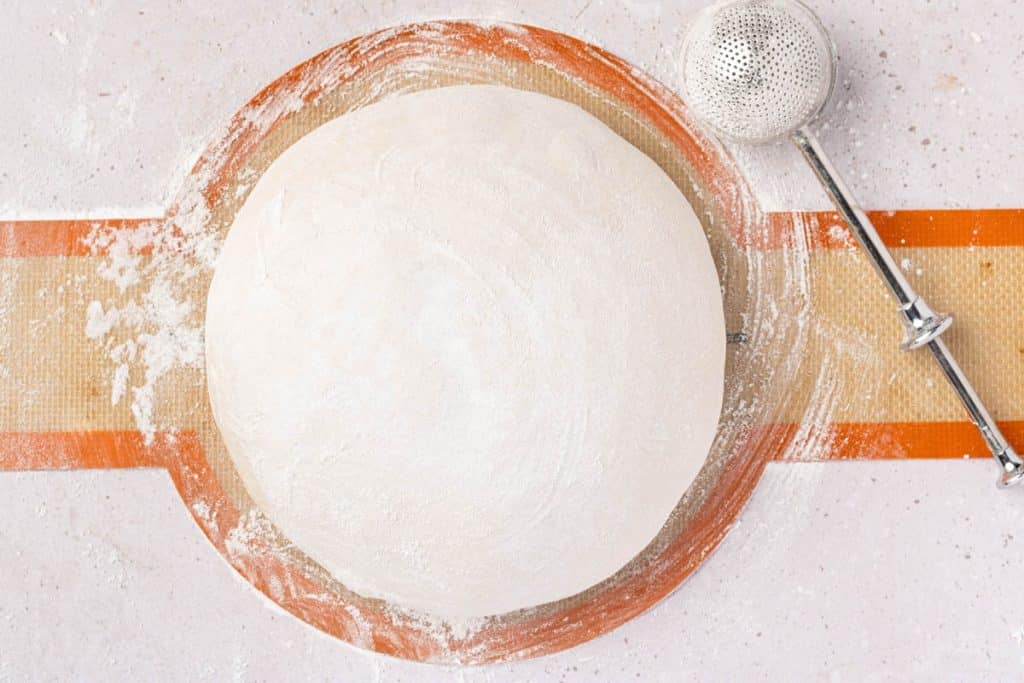
The dough dusted with flour, ready to score.
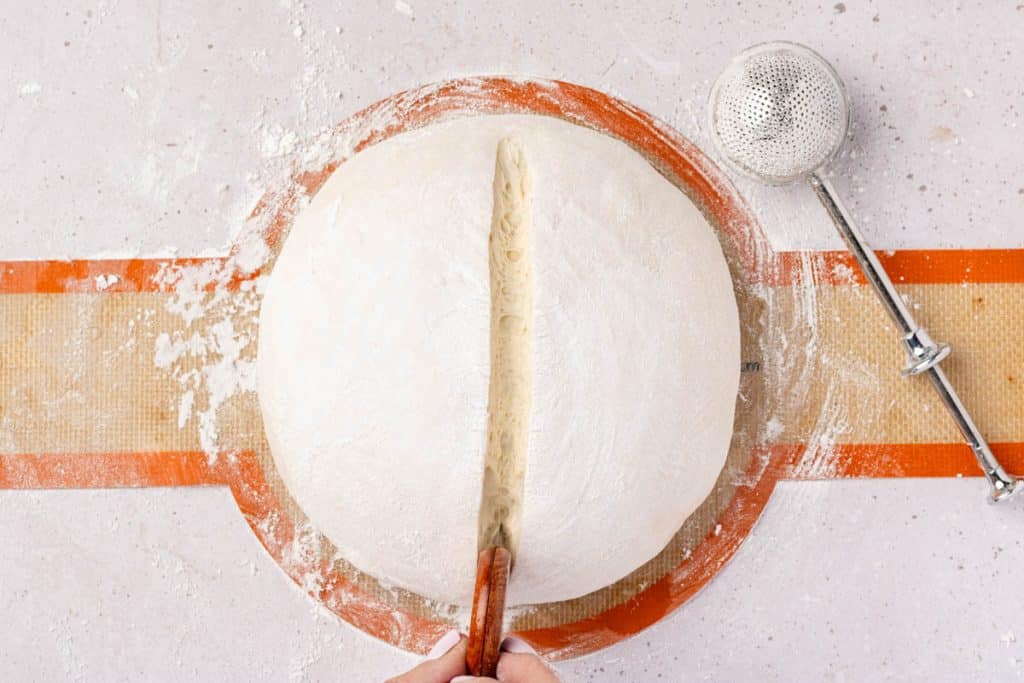
One straight cut down the center, held at 90 degrees rather than angled.
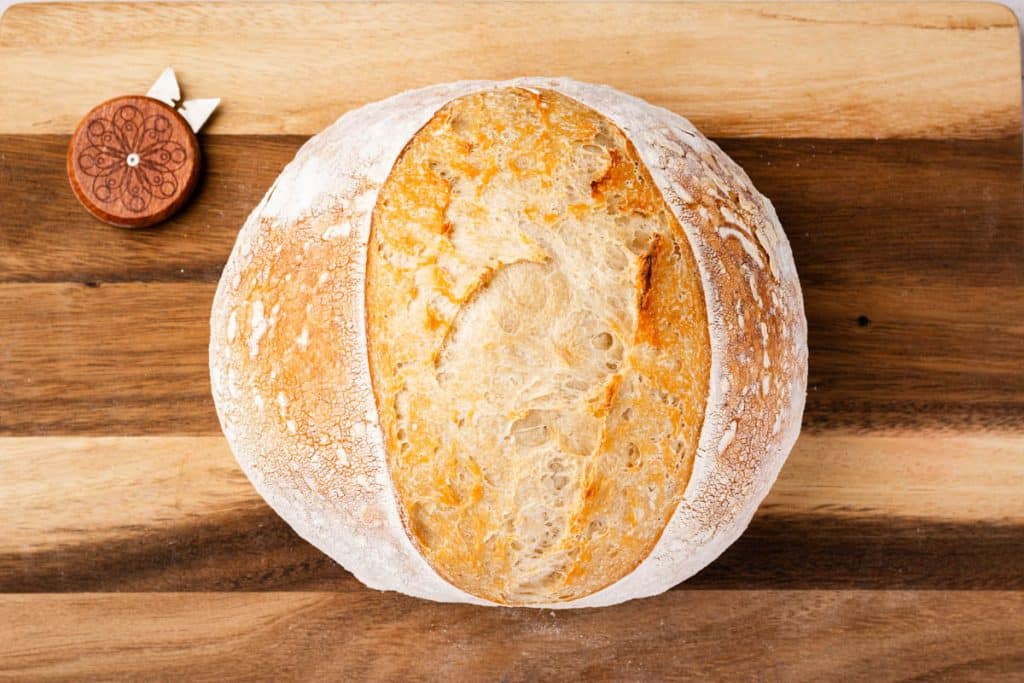
The baked loaf, split cleanly down the middle with no ear, just an even, rustic opening.
A Snowflake Design, Step by Step
This is the most involved decorative design in this guide, but it breaks down into simple, repeatable steps.
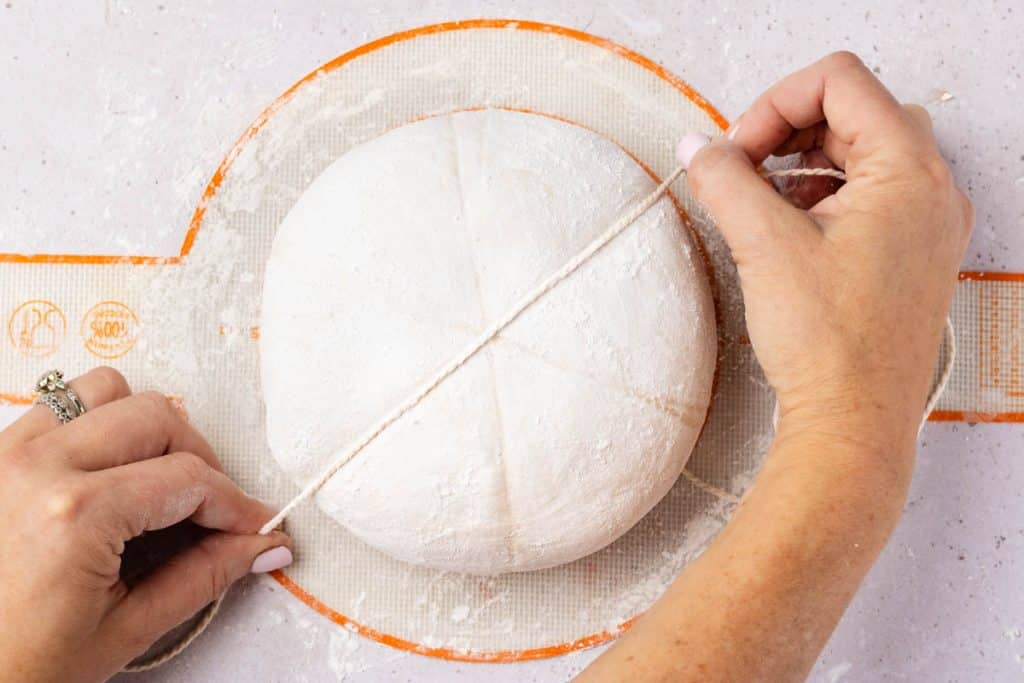
Using kitchen twine to lay out the six-wedge guide, meeting in the center like spokes on a wheel.
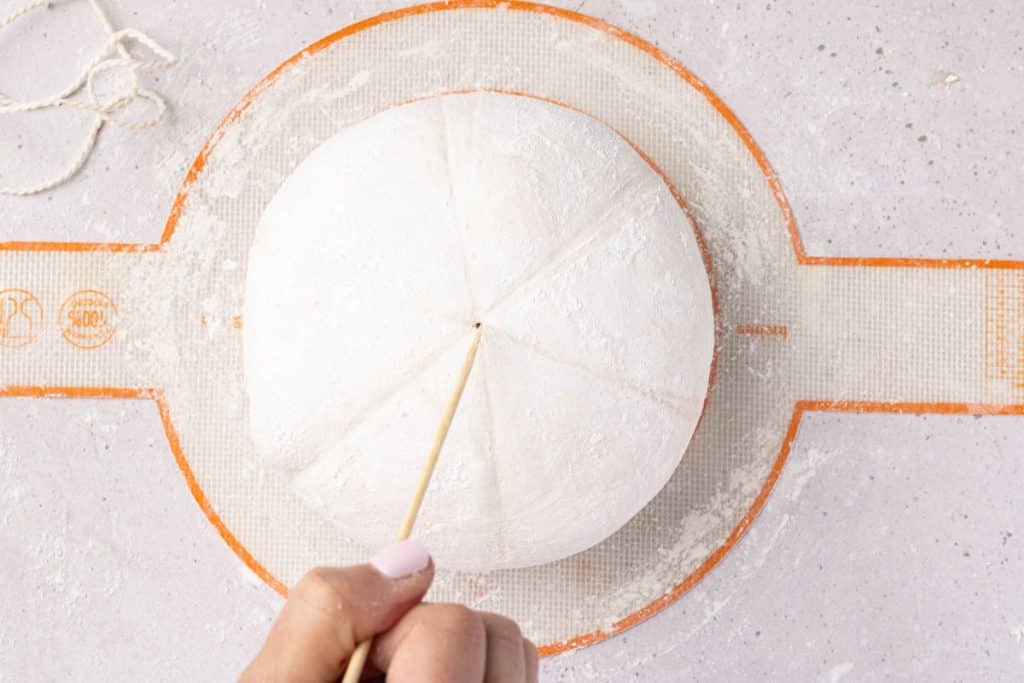
Marking the center point and tracing the spokes with a skewer before cutting.
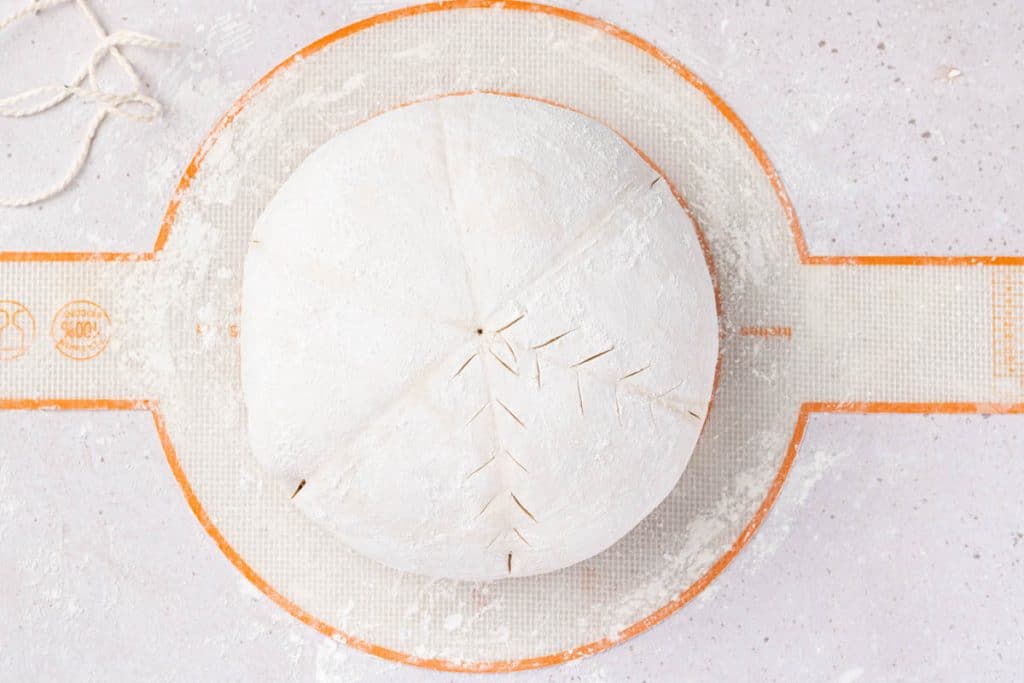
Cutting the first lines with small, angled cuts, working outward from the center.
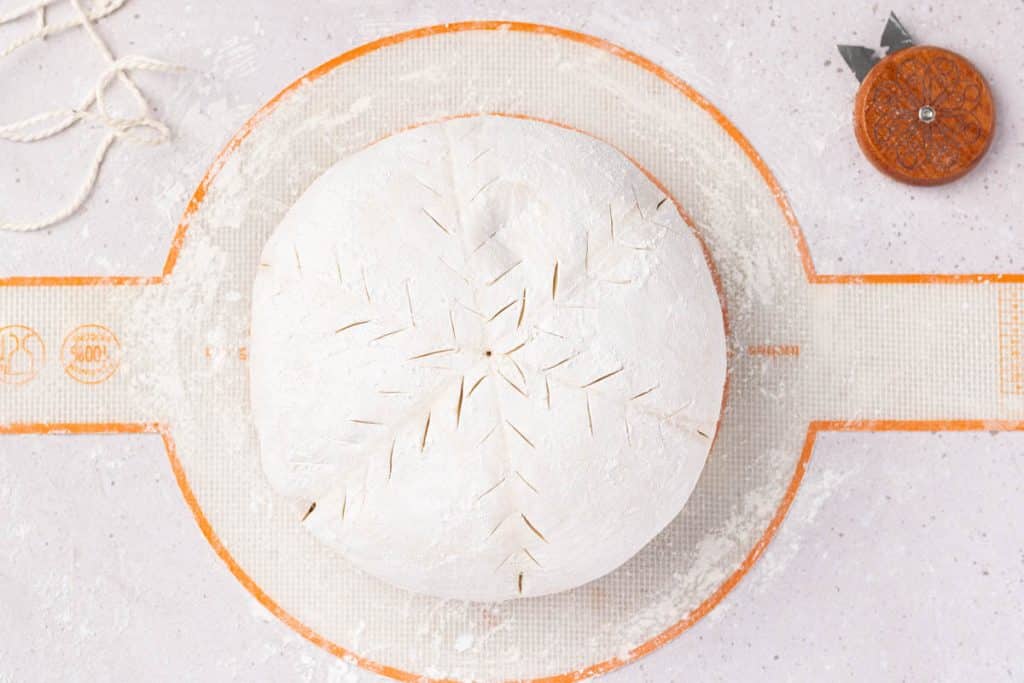
All six wedges cut and mirrored around the center point.
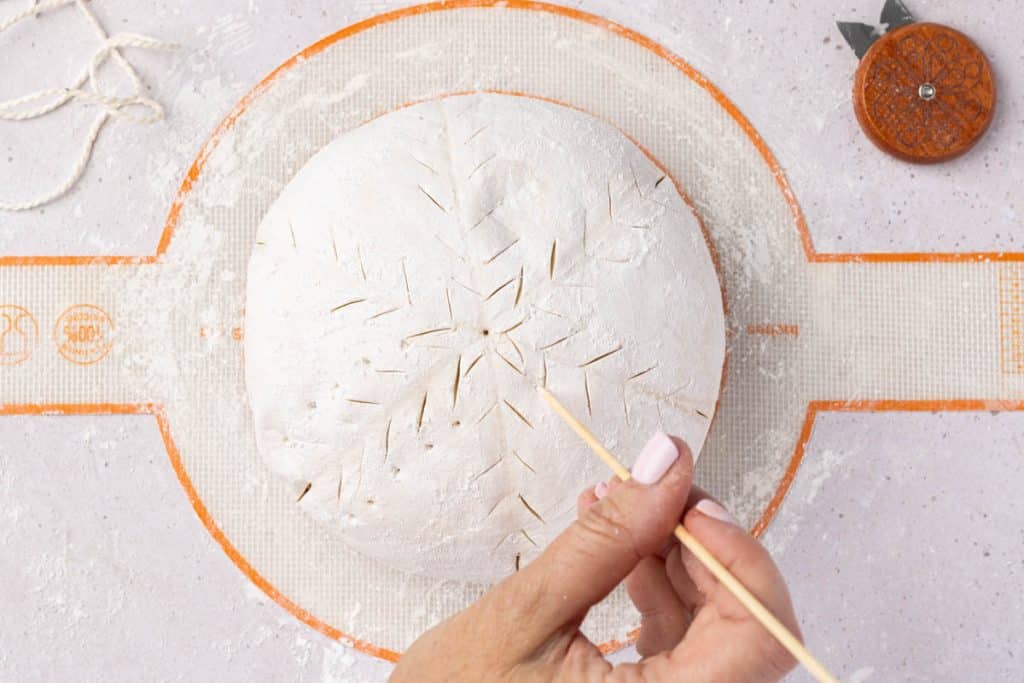
Adding dots at the edge of the snowflake with a skewer.
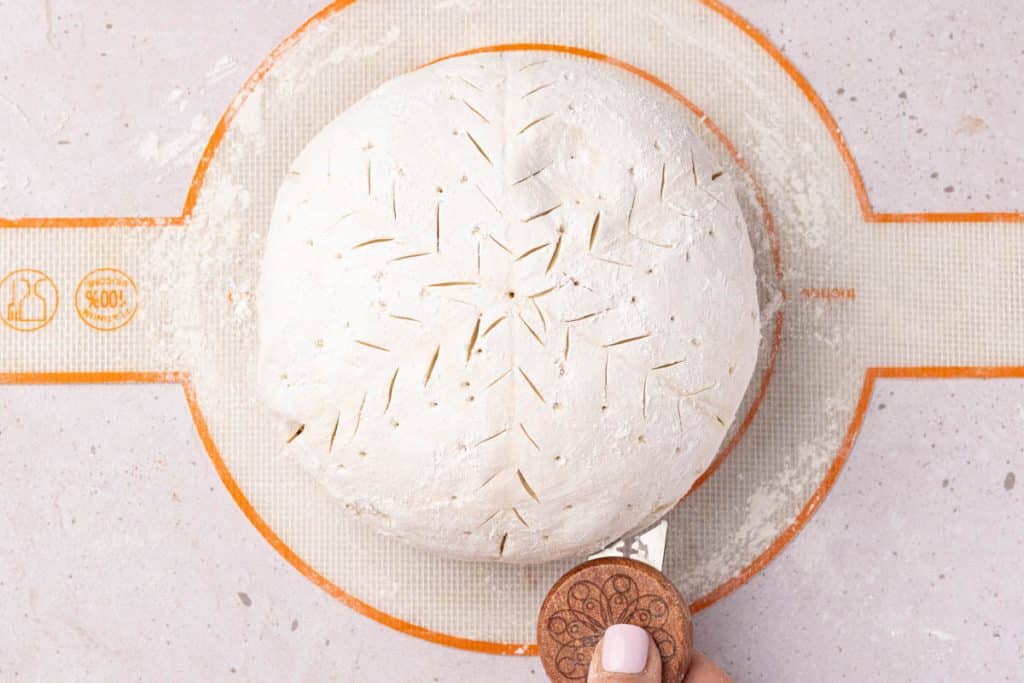
Making an expansion cut along the bottom of the snowflake design.
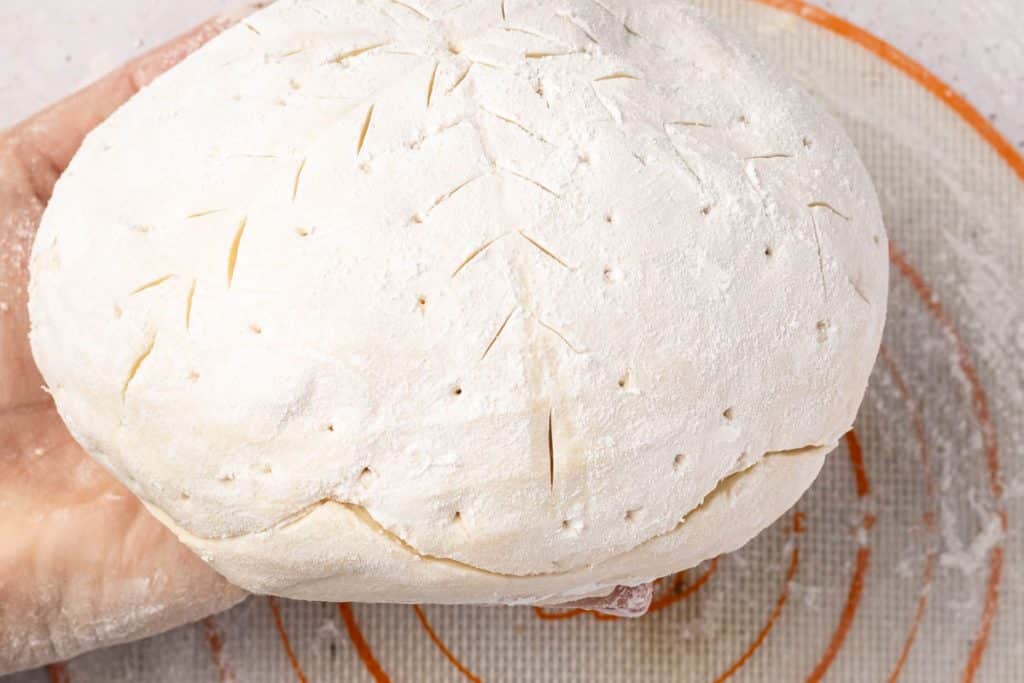
A closer look at the finished design, ready to bake.
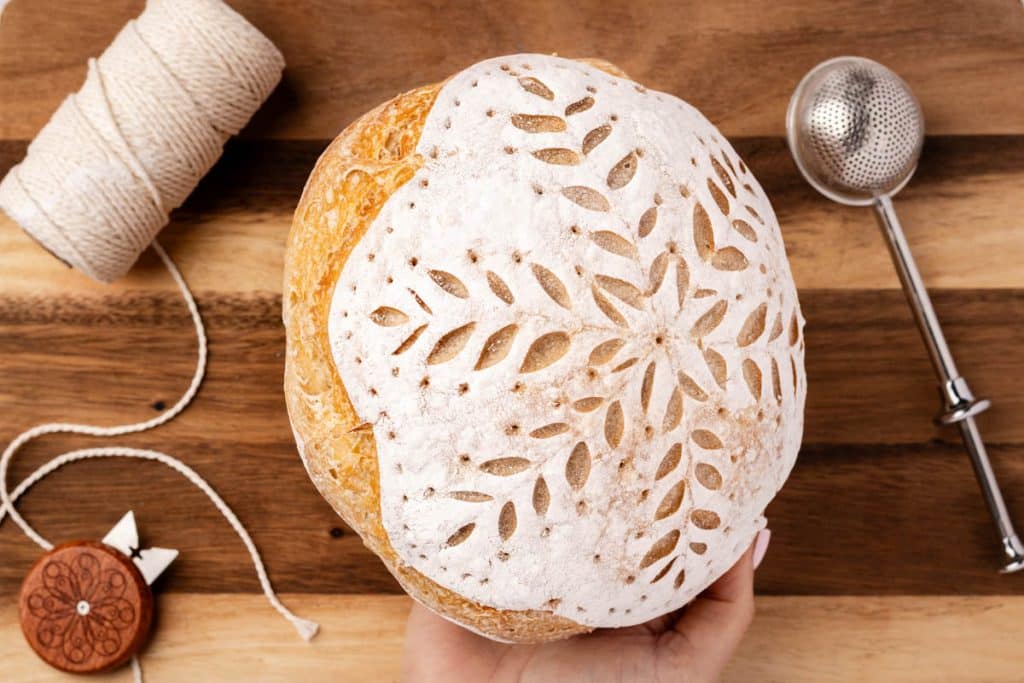
The baked loaf with the snowflake pattern.
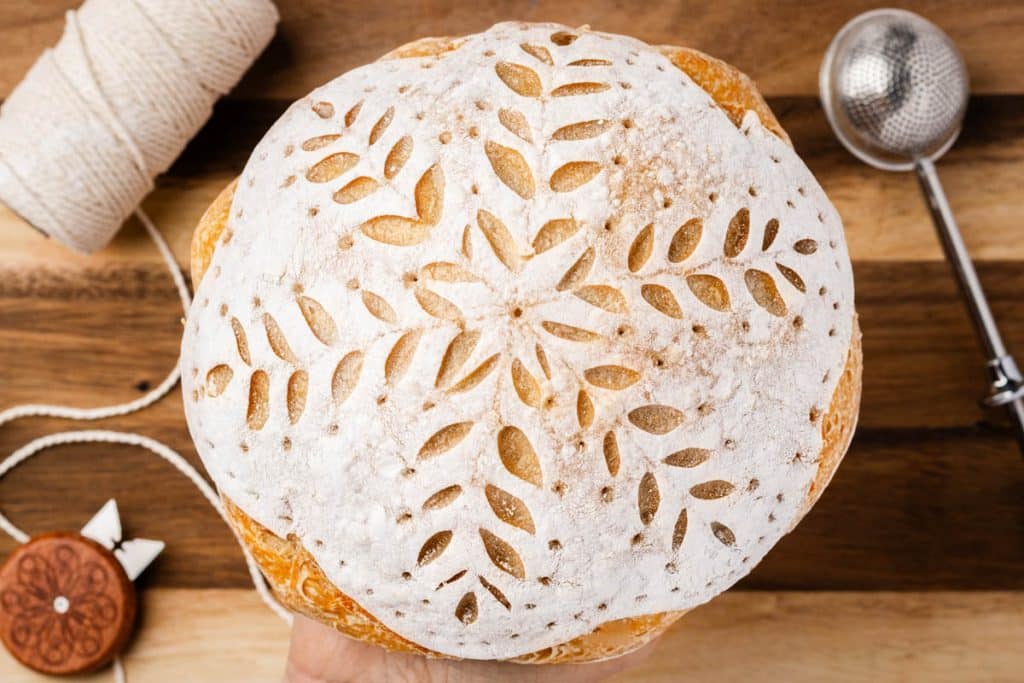
Another image of this gorgeous snowflake loaf!
Tips for Better Scoring
- Score right after cold fermentation if you can, or freeze the dough for 30 minutes beforehand if you’re not doing a cold proof
- Always use a fresh blade
- Mist lightly with water so the rice flour has something to stick to
- Keep your first few designs simple
- Move quickly and decisively, cutting in one motion rather than sawing
- Sketch designs into the flour with a toothpick first. If you make a mistake, you can wipe the line away and try again
- Practice complicated designs on paper before you commit to the dough
Common Mistakes to Watch For
- Scoring dough that isn’t cold enough, which causes sticking and tearing
- Cutting too deep or too shallow
- Hesitating mid cut, which makes the blade drag
- Using a dull blade
- Any cut at less than 45 degrees will still form an ear, but the flap tends to collapse back onto itself instead of standing up
- If your loaf spreads instead of rising, that’s usually about dough strength, hydration, or proofing rather than the score itself
- A score that barely opens can point to the same culprits: proofing, dough strength, hydration, or how the blade was angled
- If your design disappears in the bake, the cuts were probably too shallow, the dough spread too much, or there wasn’t enough flour contrast to begin with
- Random blowouts usually mean the loaf found a weaker spot than the one you intentionally scored
When Should You Score?
For most loaves, you’ll score right before baking, once the final proof is done. If you’re using a cold proof method, scoring straight from the fridge tends to work best since the firmer dough is easier to cut cleanly and less likely to drag.
The 7-Minute Score Method
This is a variation worth trying if your loaf tends to spread before the score has a chance to open, or if you want more control over decorative cuts. Instead of doing your expansion score right before baking, you do your decorative scoring ahead of time and skip the deep expansion cut. Bake the loaf in a Dutch oven as usual.
After 5 to 7 minutes of baking, carefully lift the lid and make your expansion score then, a long, deep cut at a 45 degree angle. Replace the lid and continue baking normally.
The timing matters here. By this point the dough has already started to expand, so you can actually see where the tension is building before you cut, which gives you a more controlled and dramatic ear. Wait too long, though, and the crust starts to set and can deflate. Too early and you haven’t gained much advantage over scoring at the start.
Other Sourdough Recipes
Our sourdough recipes are divided between sourdough discard recipes and active starter sourdough recipes. We also have a recipe and tutorial for making your sourdough starter.
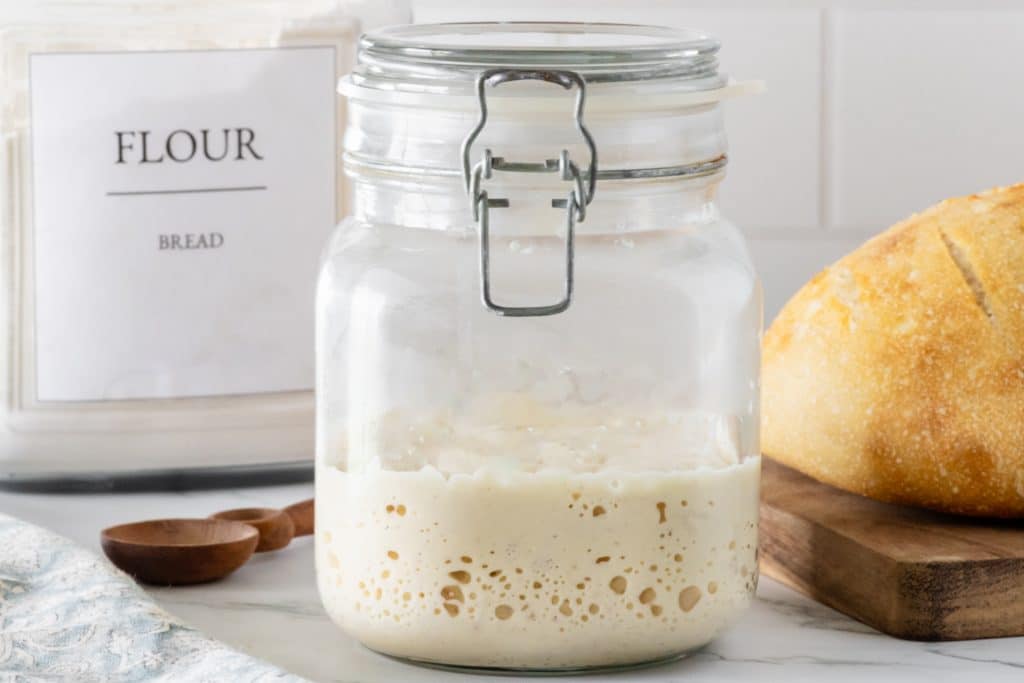
Sourdough Discard Recipes
Sourdough discard is the portion of sourdough starter removed during feeding to maintain a healthy and active culture. When you feed a sourdough starter, you typically add fresh flour and water, but before doing so, a portion of the existing starter is discarded to prevent it from growing too large and to maintain the right balance of yeast and bacteria.






- Sourdough Discard Pizza Dough
- Sourdough Discard Cheese Crackers
- Sourdough Discard Tortillas
- Fluffy Sourdough Discard Pancakes
- Sourdough Discard Banana Muffins
- Sourdough Discard Waffles
Sourdough Recipes
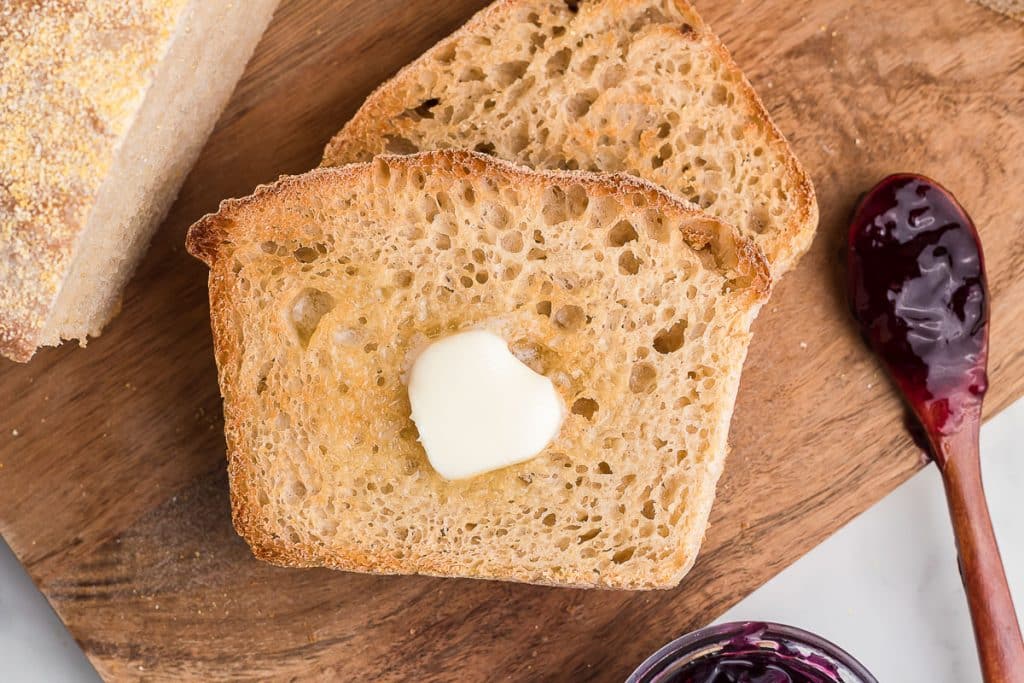


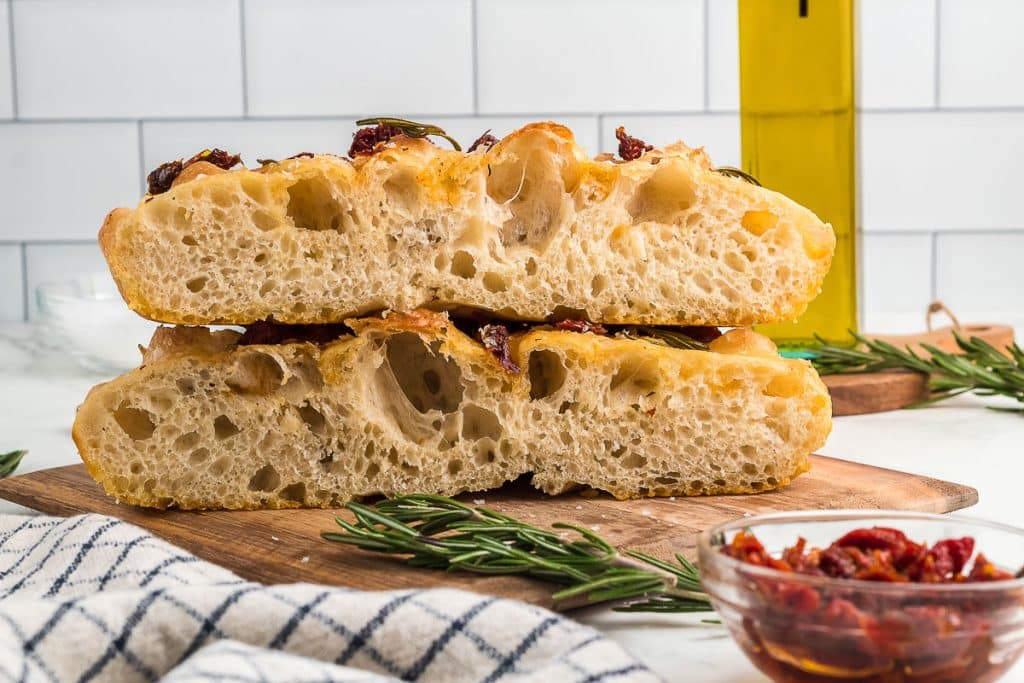
Thanks so much for spending a few minutes of your busy day with me!
To ensure you don’t miss future content, pop your email in the pale green box on the right or click here. I usually send one email weekly, so I won’t inundate your inbox. I’m sensitive to an overflowing email inbox!
We will only use your email address to send you emails, no more than 1-2 weekly. In addition, you will have access to my growing library of knit & crochet patterns and other printables. Check back often as this library will continue to grow. You can unsubscribe anytime by emailing me or clicking on the “unsubscribe” link at the bottom of all emails.
And you can access many of the products I refer to on my Nourish and Nestle Amazon Page. You can access it here.
So, if you’d like to participate in the ‘subscriber benefit’ action, simply subscribe to Nourish and Nestle here or use the form on the right sidebar. It’s slightly towards the top.
I have sent all my subscribers the link to the Subscriber Benefits Library. If you missed it or misplaced it, let me know.
Until next time…