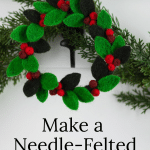
Needle-Felted Wreath

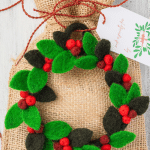
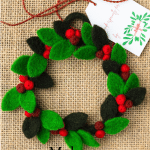

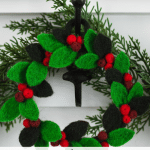
This little needle-felted wreath is an excellent introduction to the needle felting craft. The technique looks more complicated than it really is, and once you get the rhythm of it, you’ll find it oddly satisfying. There’s something wonderfully tactile about transforming wisps of wool into something structured and beautiful, and this wreath gives you practice with all the basic techniques without requiring any advanced skills. Plus, at about three hours from start to finish, it’s a project you can complete in an afternoon while catching up on your favorite show.
The best part is how budget-friendly this craft turns out to be. While you’ll need to buy full packages of wool roving, a little truly goes a long way. The wreath itself uses barely a tenth of an ounce, which means you can make several wreaths and you’ll still have plenty left over for future projects. Think ornaments, gift toppers, or even a whole collection of seasonal decorations. The initial investment in needles and foam pays for itself quickly, and you’ll find yourself reaching for these supplies again and again throughout the year.
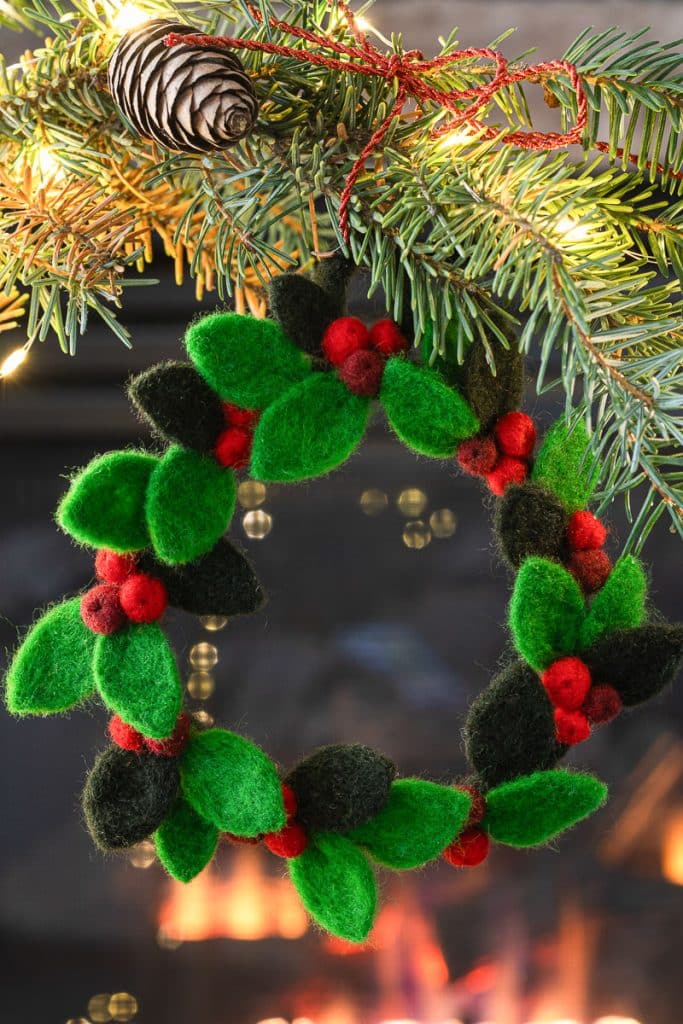
Table of Contents
Tips for Success
- Work on a stable surface at a comfortable height. Your arm will get tired if you’re hunched over, so prop your felting pad up to a good working level.
- Keep your fingers out of the way. Those needles are sharp and will poke right through the wool and into your finger if you’re not careful. Finger guards are worth using, especially when you’re working on small pieces like the berries.
- Roll and compress as you go. Don’t just rely on the needle to do all the work. Rolling pieces between your palms helps compact the wool and speeds up the felting process.
- Start with less wool than you think you need. You can always add more, but you can’t easily take it away. Small wisps build up quickly.
- Turn your work frequently. Felting from multiple angles creates a more even, professional-looking finish.
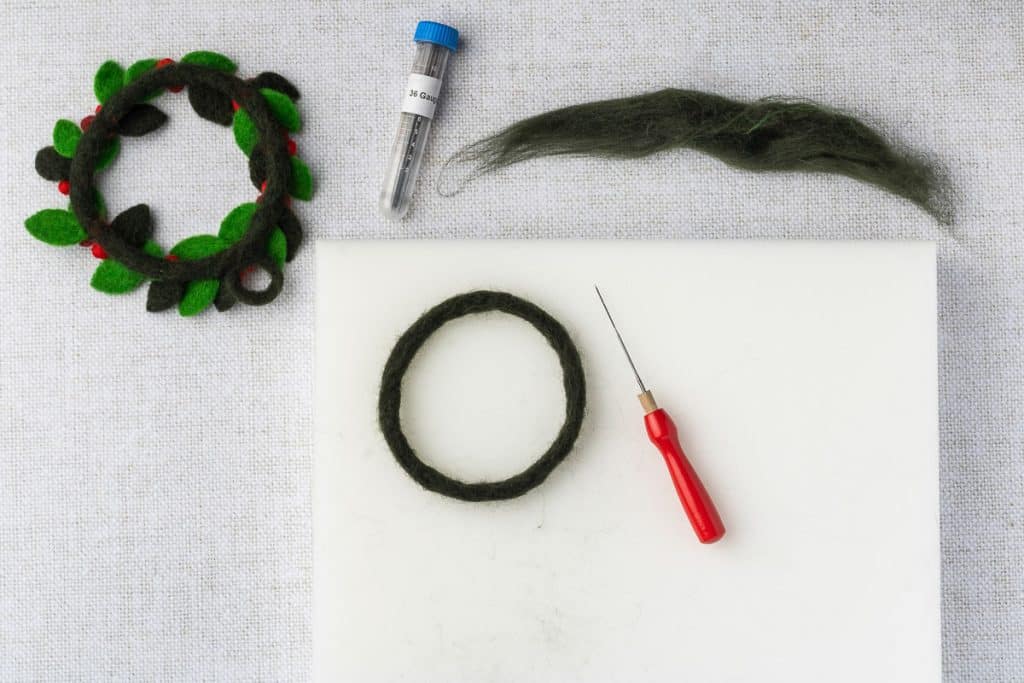
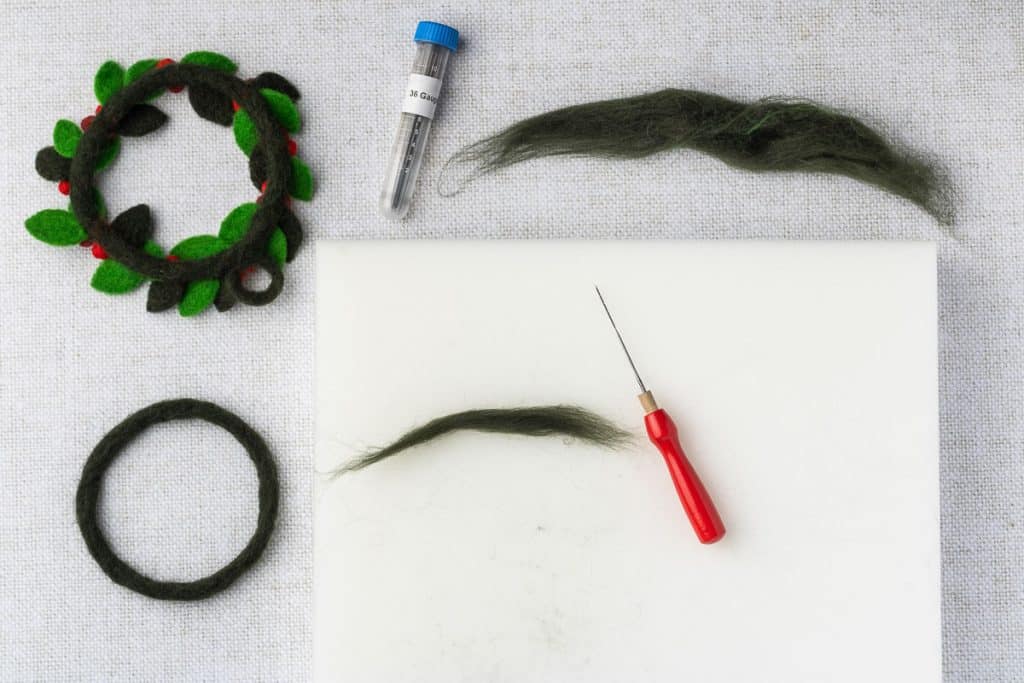
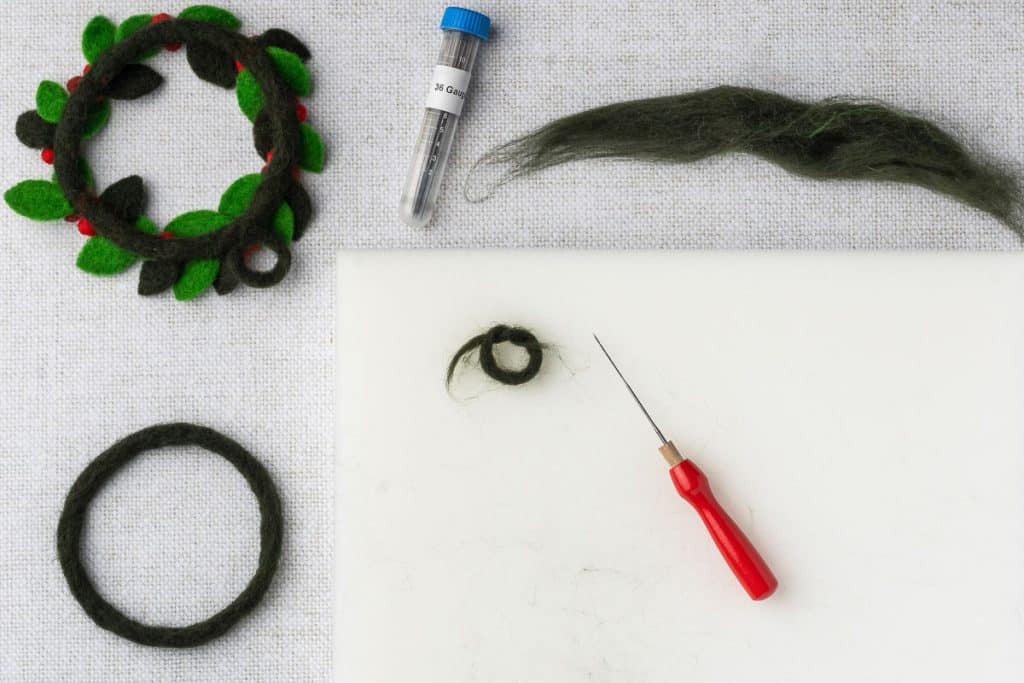
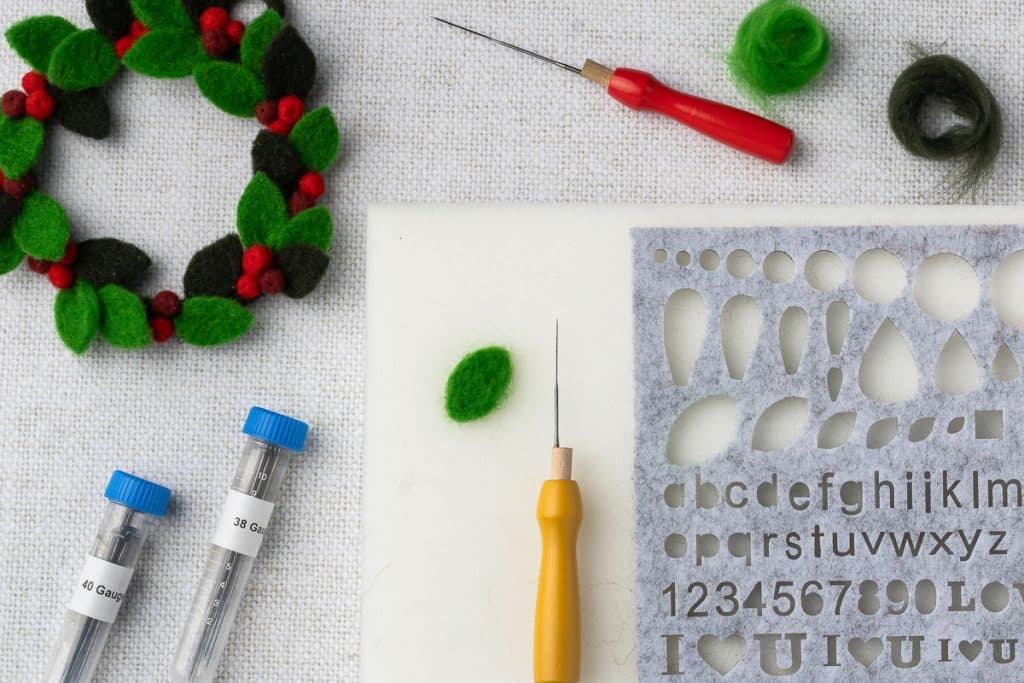
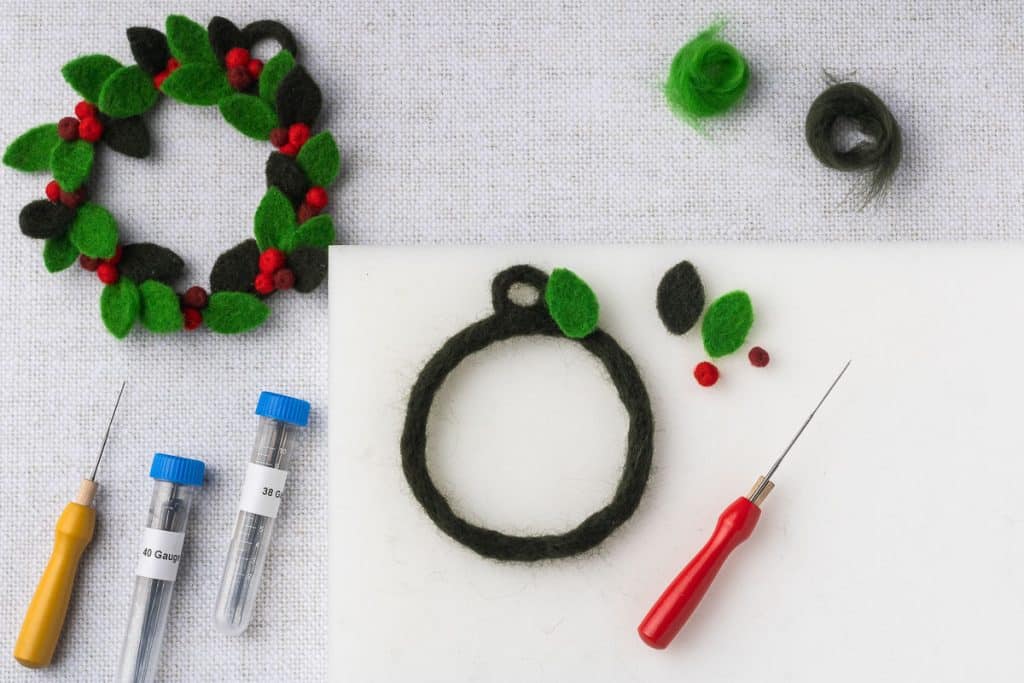
Material Needed
Some of these links may be Amazon affiliate links and I may earn a small commission from the sale of these products to help defray the costs of operating this site, but the price you are charged is not affected. You can see my full disclosure policy here.
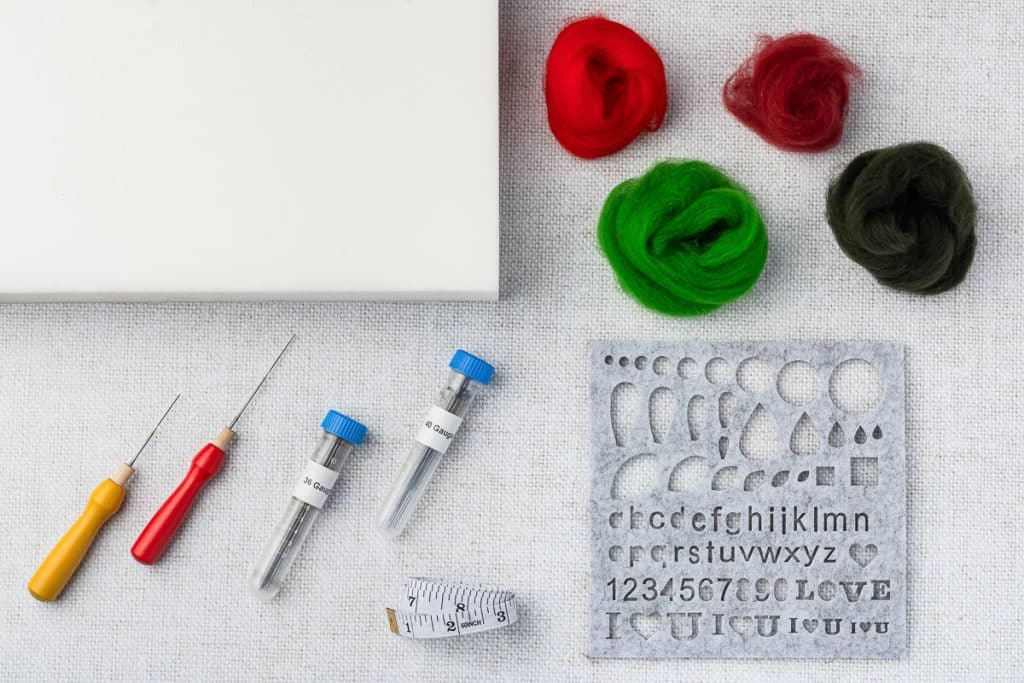
- Needle felting Foam or Pad
- Red Roving wool
- Red Brown roving wool
- Green roving wool
- Dark green roving wool
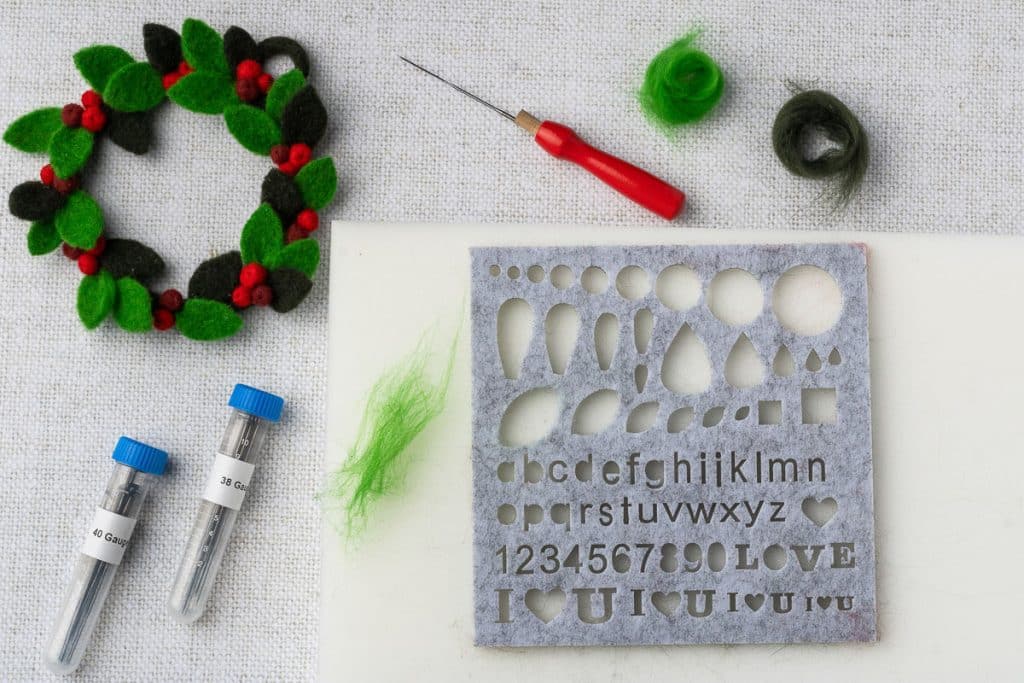
- 36 gauge needle felting needle (38 gauge will also work) and 40 gauge needle felting needle
- Leaf shaped mold, about ½ inch in a felt shaping mold (or metal shape cutters)
- Optional, but recommended: Finger protection
- Optional: Tweezers (for holding while jabbing small items)
- This free Needle-Felted Wreath pattern is available in this post below and as an ad-free printable PDF for subscribers. You can find the pattern in the Sewing section of the Library (your super secret password is included at the bottom of every Monday’s Newsletter email) or email me, and I’ll send it to you. Not a subscriber? C’mon—we’d love to have you. A subscription costs nothing and gives you access to all our printables and pattern PDFs. Click here to have the Free Needle-Felted Wreath pattern directly emailed to you.
How To Make The Needle-Felted Wreath
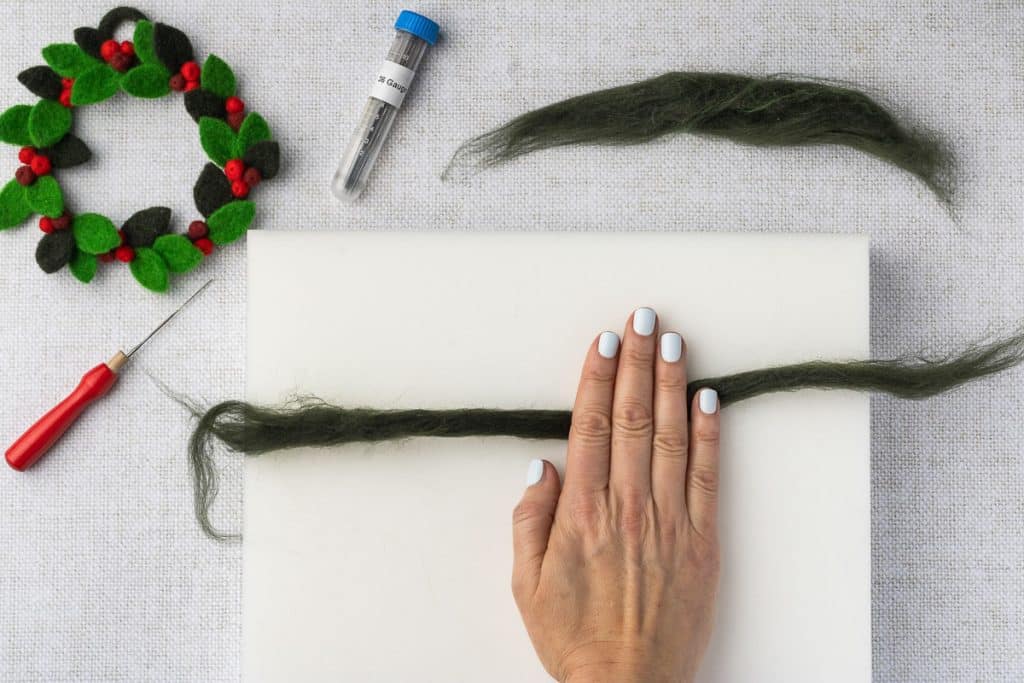
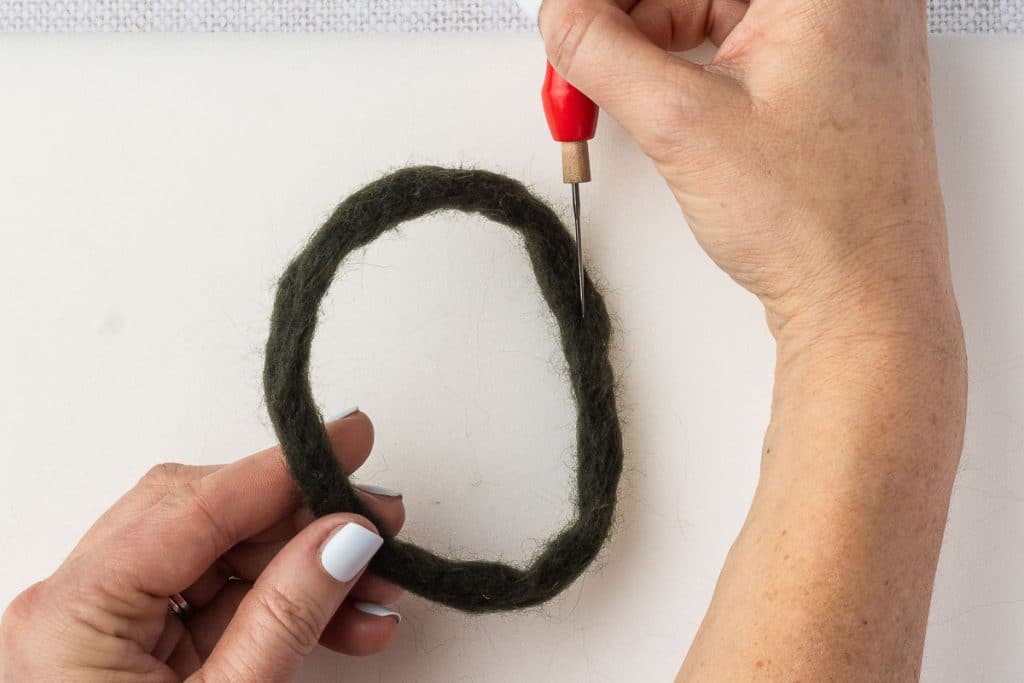
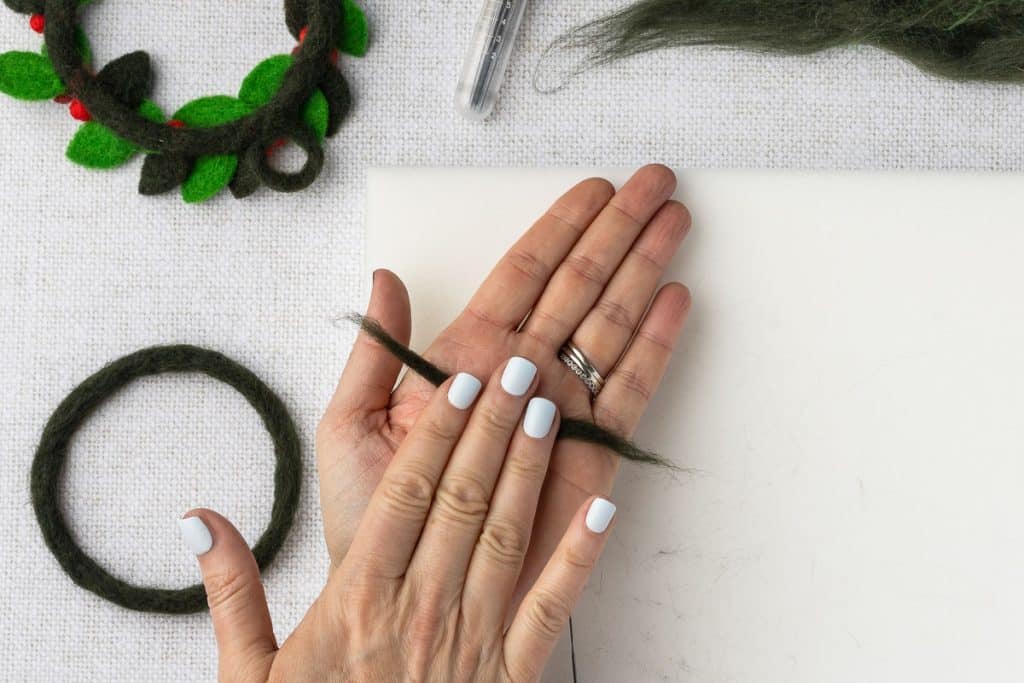
Start with the dark green wool. Pull apart and stretch enough wool to make a long strip approximately 14 inches in length. Never cut the wool, only pull it apart. Cutting separates the fibers unevenly, which makes them harder to felt.

Roll the wool back and forth on the foam pad with your hands to form a rope. Then, overlap the rope ends until you form a circle measuring 4 ½ inches.
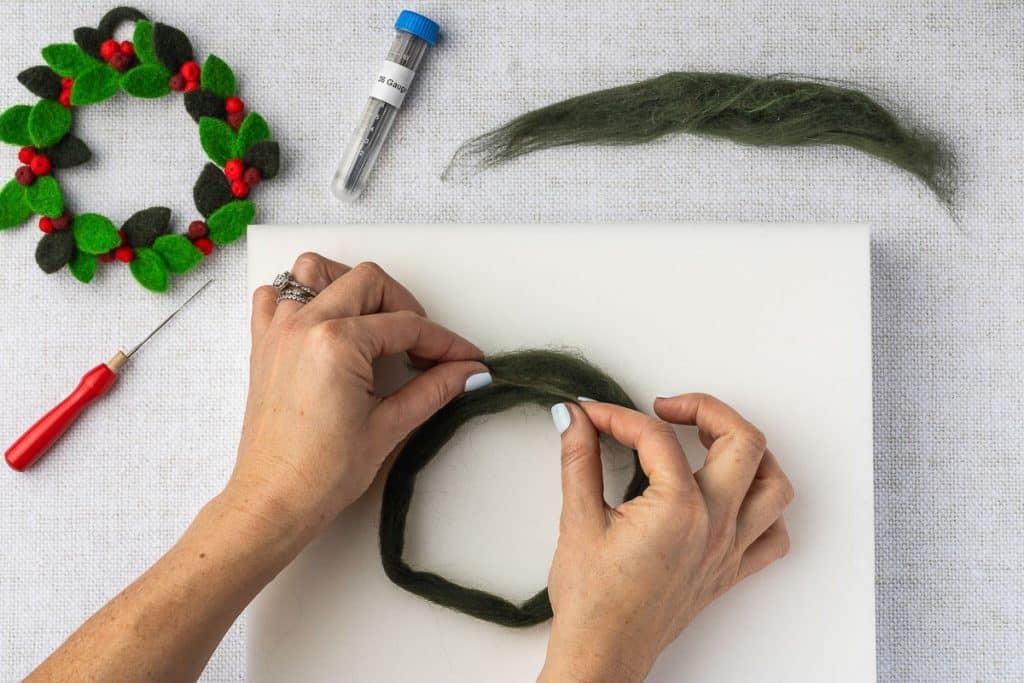
On your felting foam or pad, use a 36-gauge (or 38) felting needle to work the ends into the wool using an up-and-down jabbing motion until they are blended and secured.
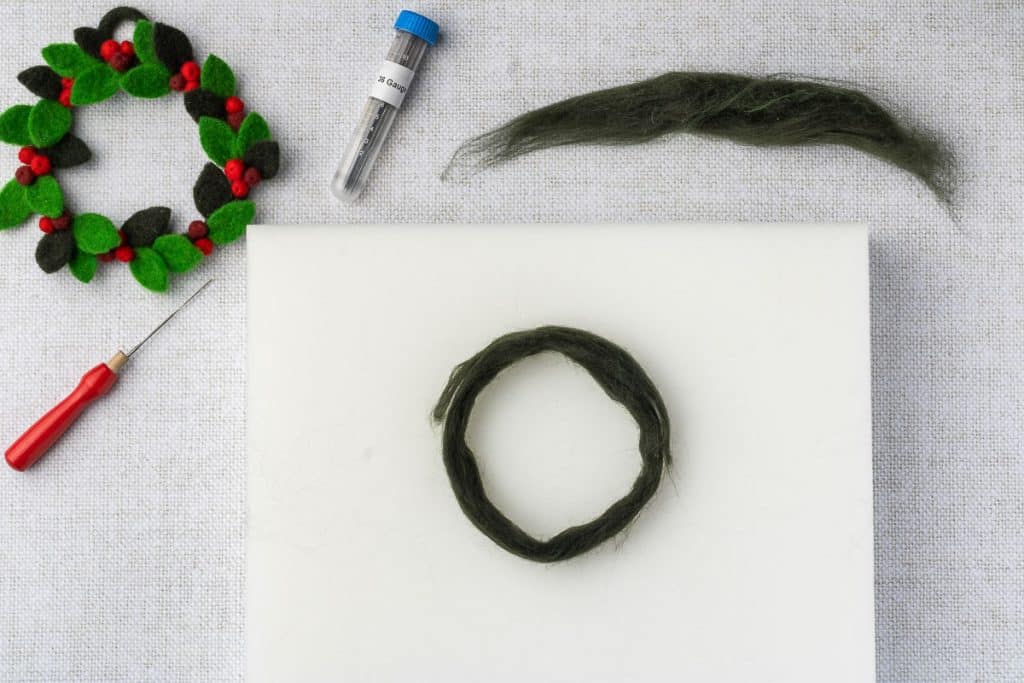
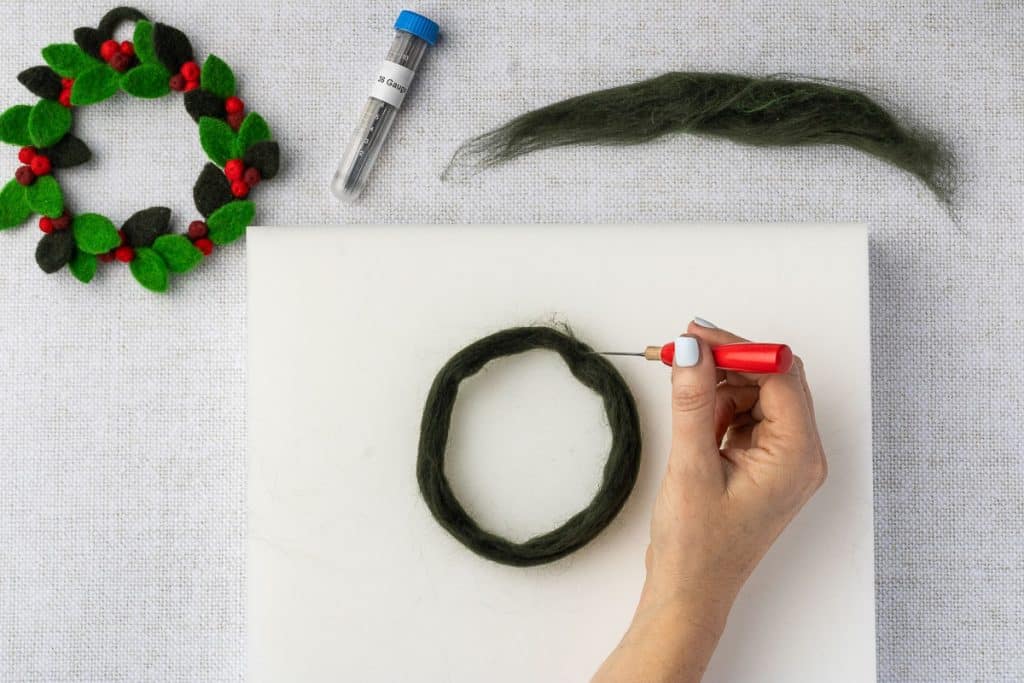
Jab the rest of the fibers in the circle with the up and down motion of the needle, making sure to work all the way around the circle evenly. Work the inside edges and outside edges as well as the center of the rope. It helps to occasionally roll the wool with your hand to compact and smooth the fibers.
Once the circle begins to firm up (it will feel more dense and it will hold its shape without slumping), look and feel to make sure the thickness is even. If there is a spot on the rope with less wool, take a small wisp of the dark green, lay it on the sparse spot, and jab it into the section until it is seamlessly blended.

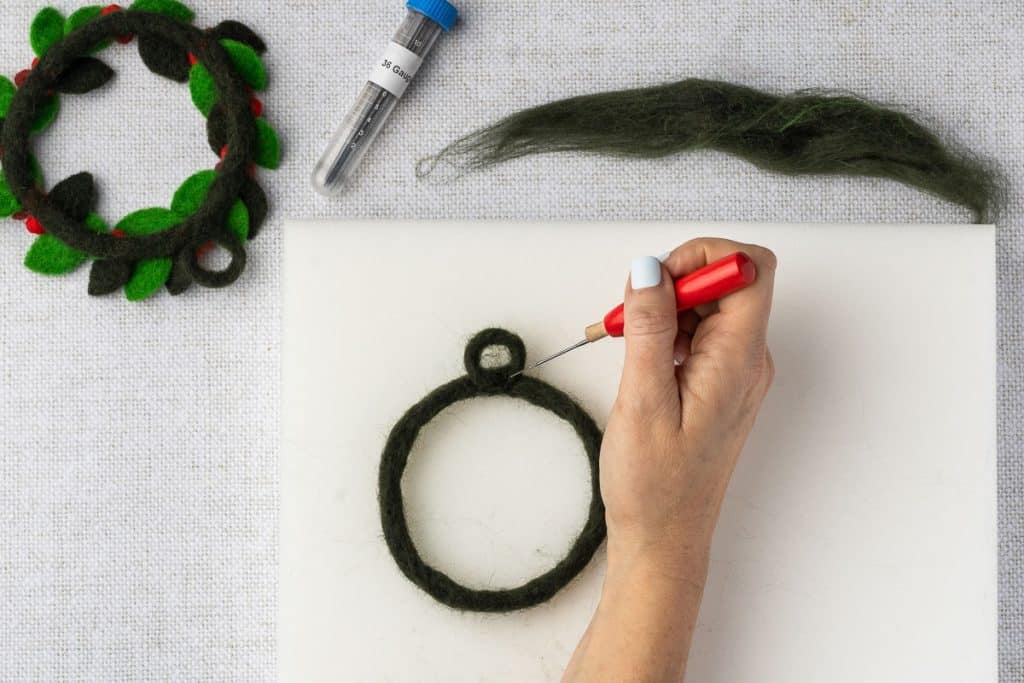
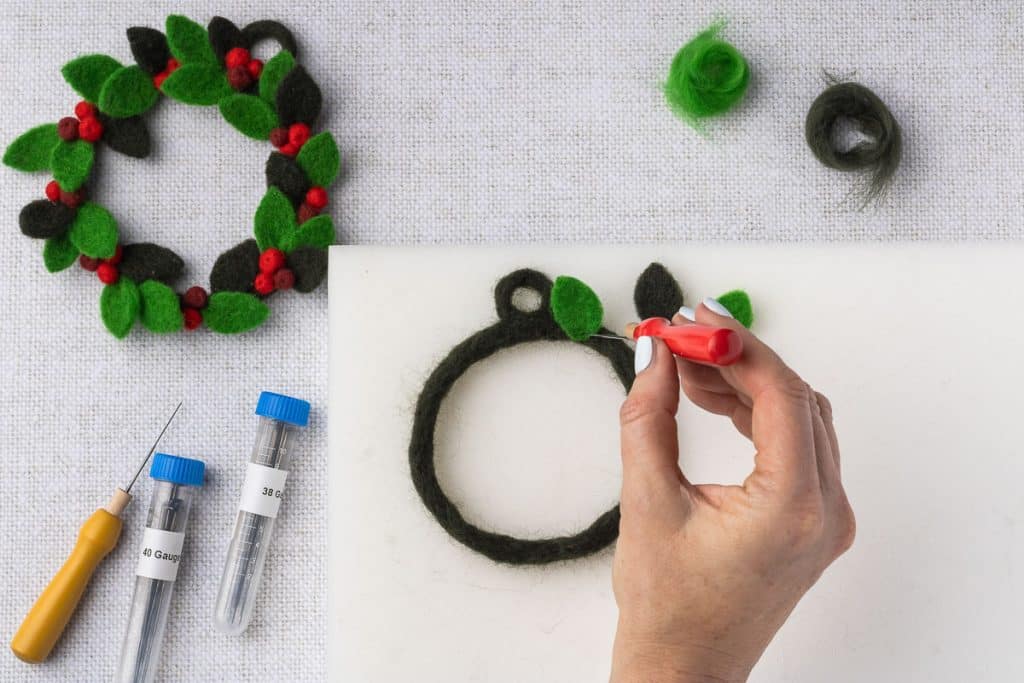
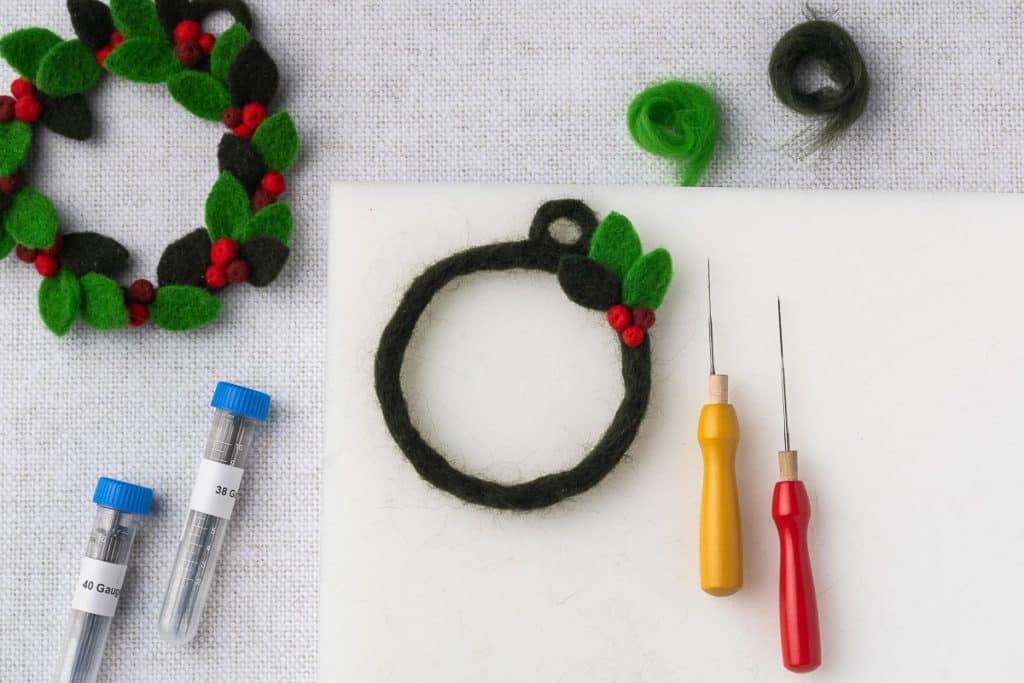
Top Loop
The top loop is done the same way as the wreath’s circular base. Repeat the same steps above until you have a ½-inch dark green loop.
To attach the small loop to the big, place it at the top of the wreath. Jab the base wool of the small circle into and through the wool of the large circle until the fibers combine. You may need to jab at an angle to ensure the surfaces of the two combine and adhere.
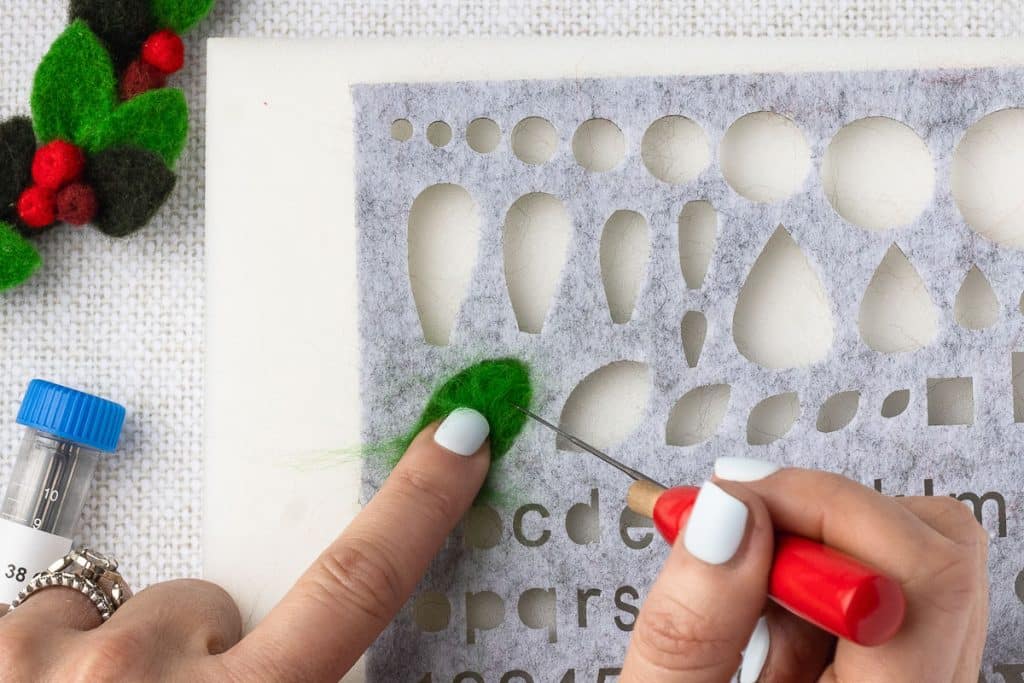
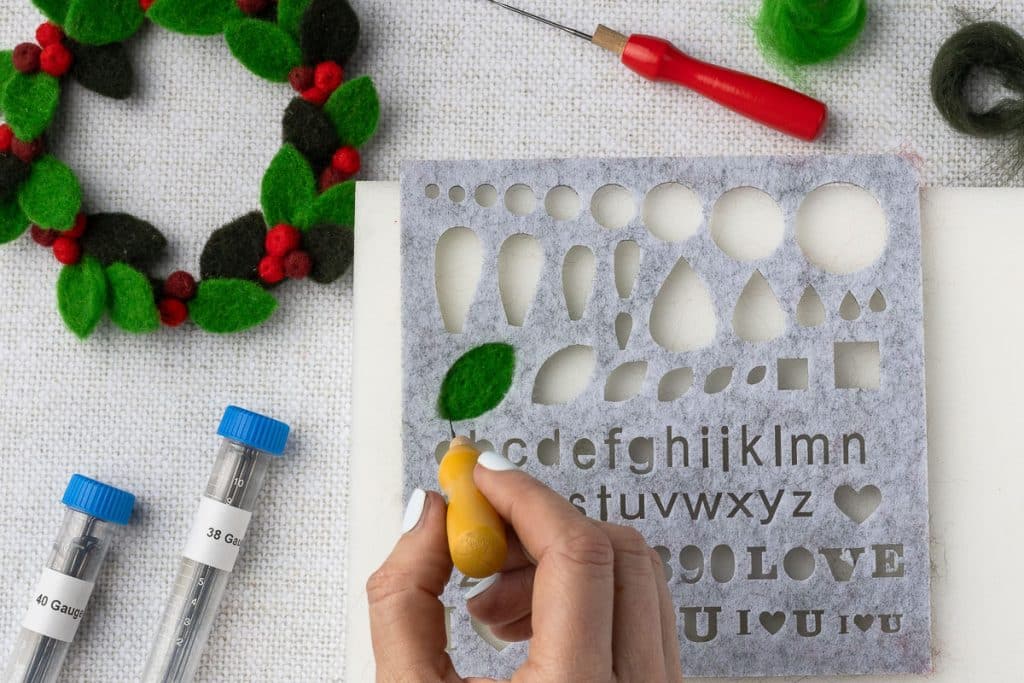
Making the Leaves
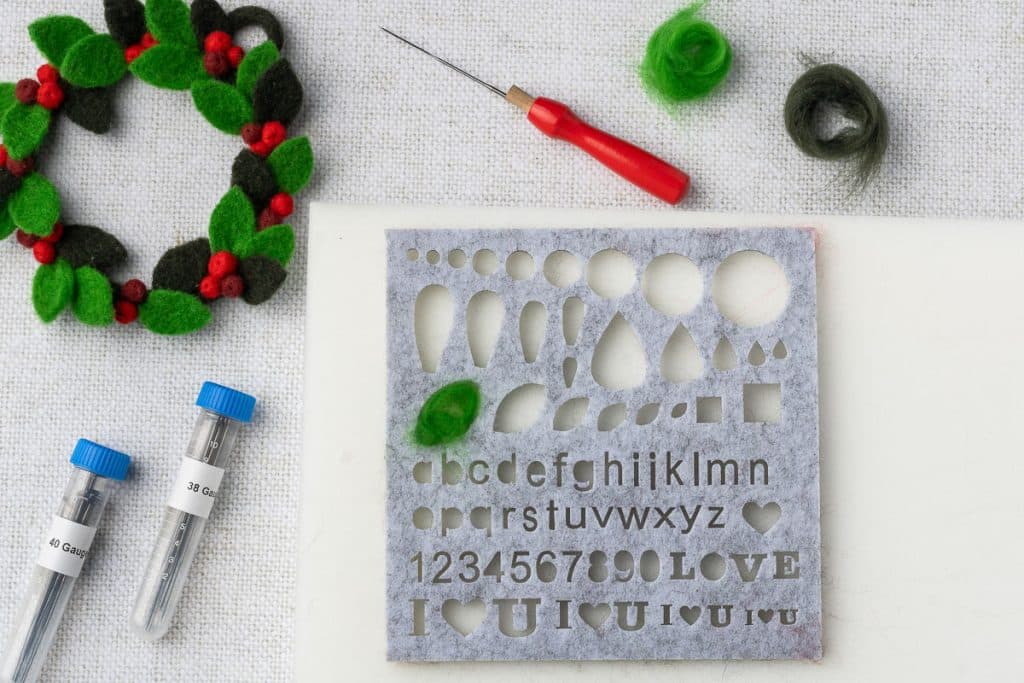
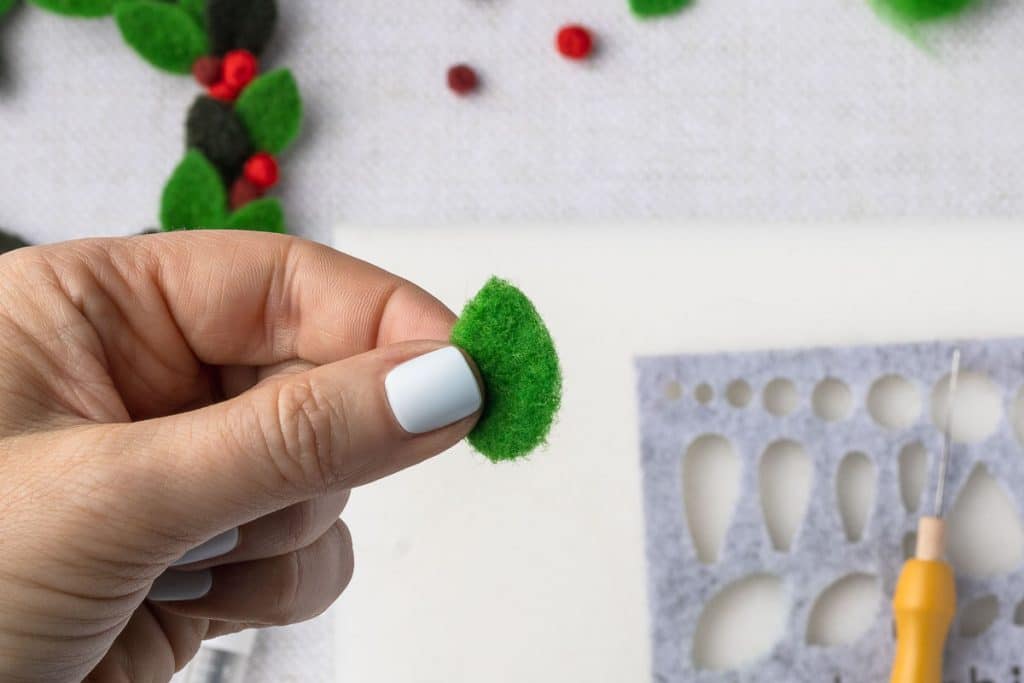
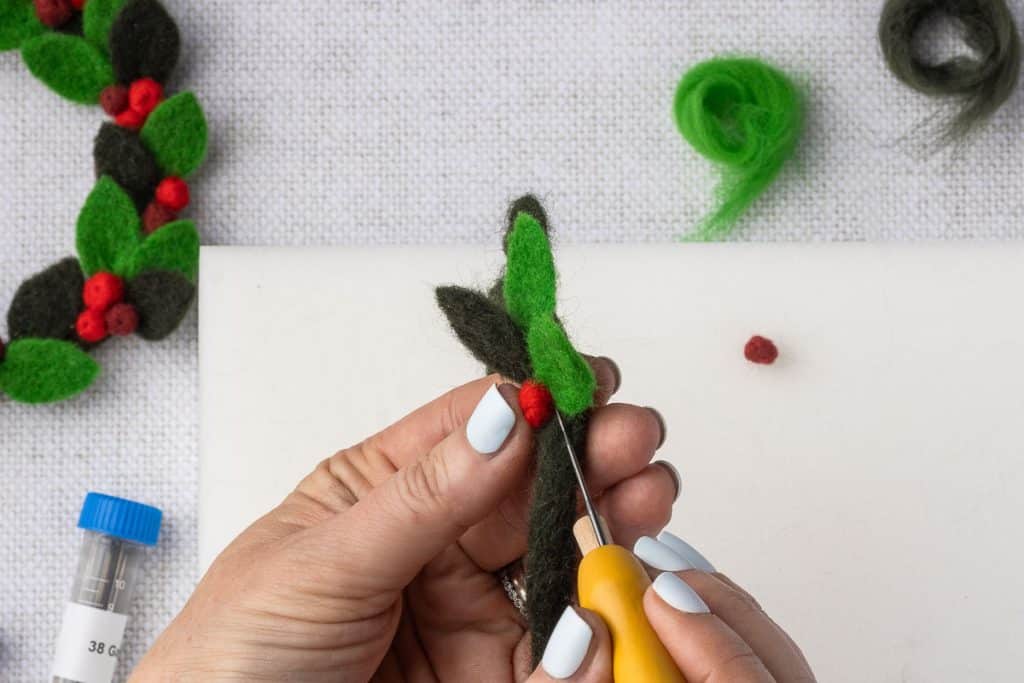
Pull a small amount of green wool and press it into the leaf mold as evenly as possible. Jab the wool around the edges and the center with the 36- or 38-gauge needle, using the up-and-down motion. A little wool goes a long way, and more can always be added!
Flip the leaf over and place it back into the mold. Continue jabbing until it’s firm and flat.
Press and rub the leaf in between your fingers to compress, smooth, and feel for weak spots. If there is a spot with less wool, add a small amount more and continue jabbing.
Switch to the 40-gauge needle once the leaf has an even thickness, is flat, and compressed together. Continue to jab, making sure to get the edges in particular, flipping at least once.
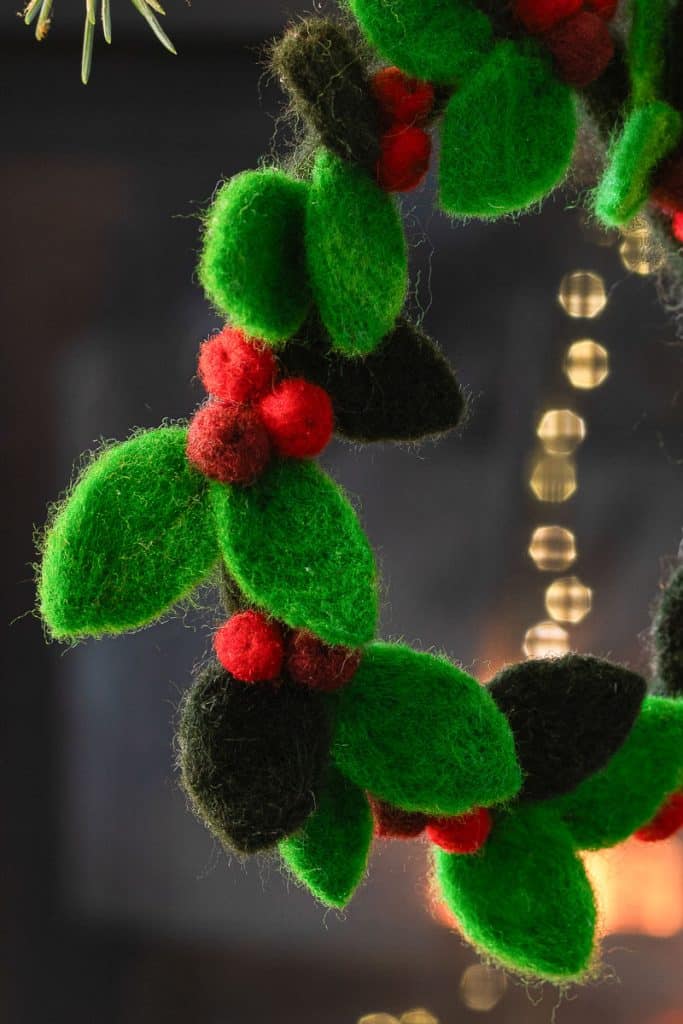
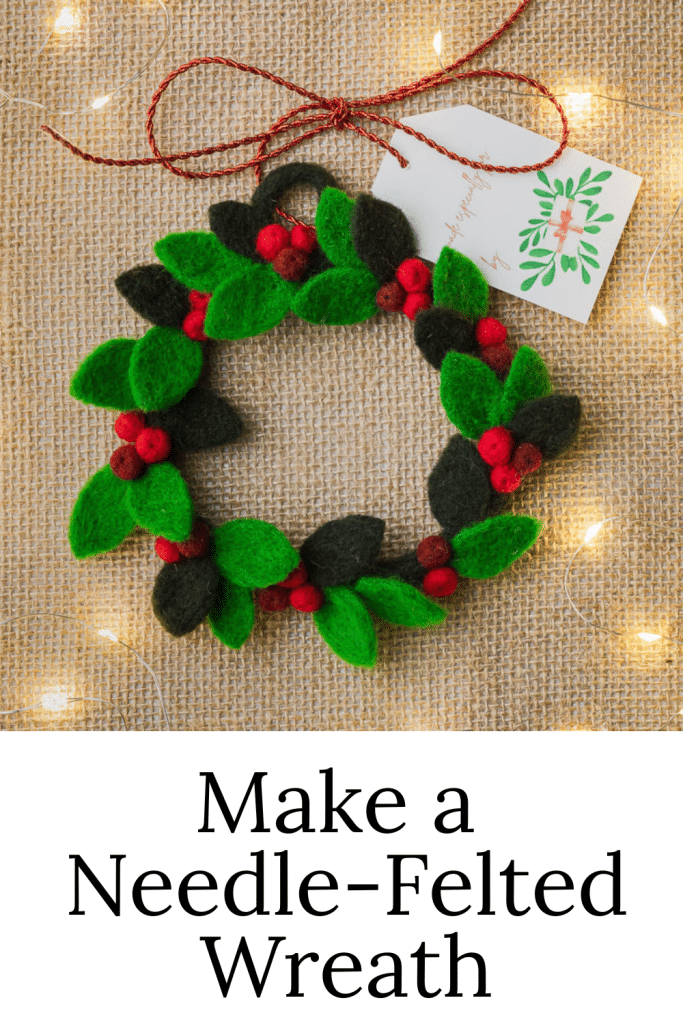
Repeat the process, making both green and dark green leaves. For reference, the example wreath has 16 green and nine dark green. I preferred to make 2-3 leaves at a time, then 2-3 berries, and adhere them to the wreath, rather than making them all at once.
You can trim the small wisps around the edges of the leaves for a more defined, clean look.

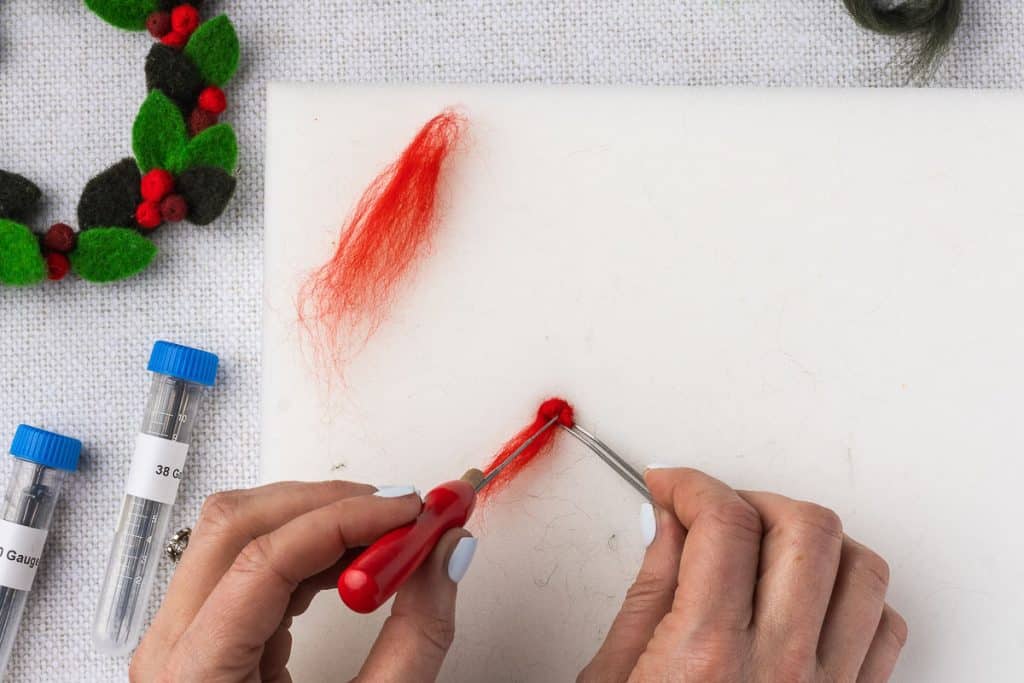
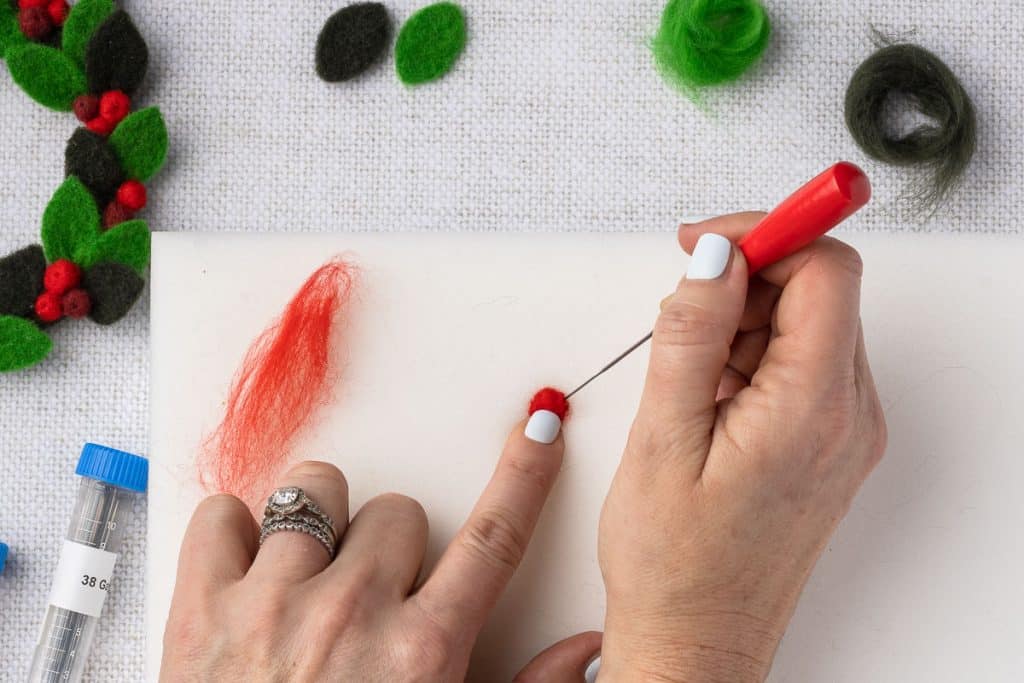
Making the Berries
Take a small wisp of red wool and the 36/38 gauge needle. Starting at one end, roll the red wool into itself, jabbing a few times mid-roll, to help keep the wool tight and together.
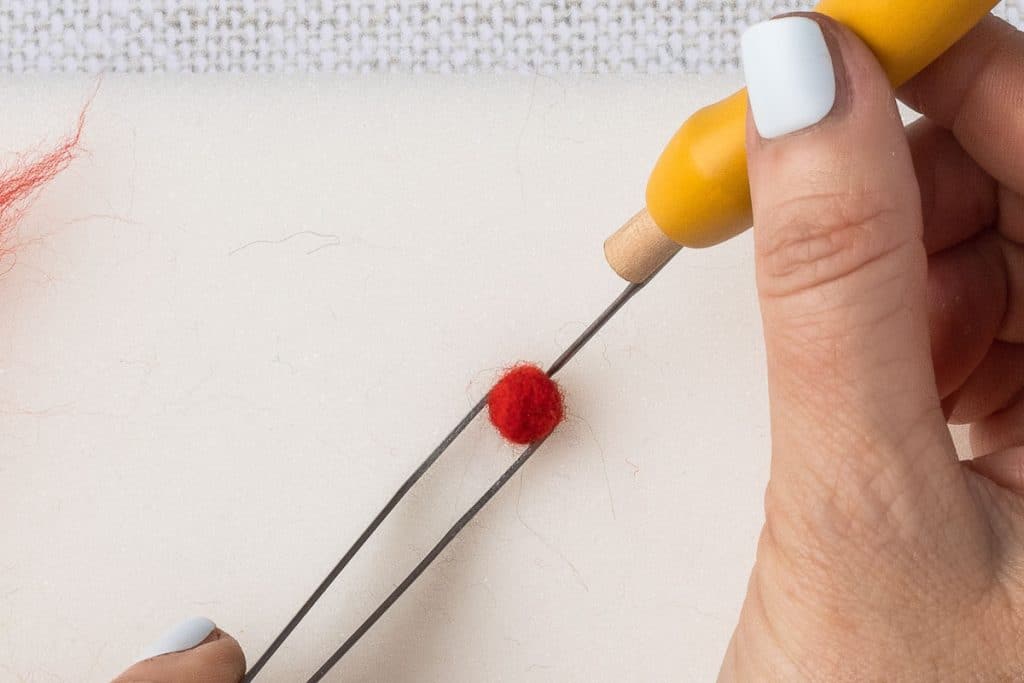
Continue rolling the wool all the way up. Carefully jab through the center and the loose end a couple of times.
Switch to the 40-gauge needle. Keeping the ball tightly together with fingers or tweezers, push and roll it forward while jabbing the front edge. Continue that push/jab combination until the ball is dense and the fibers are fully combined.
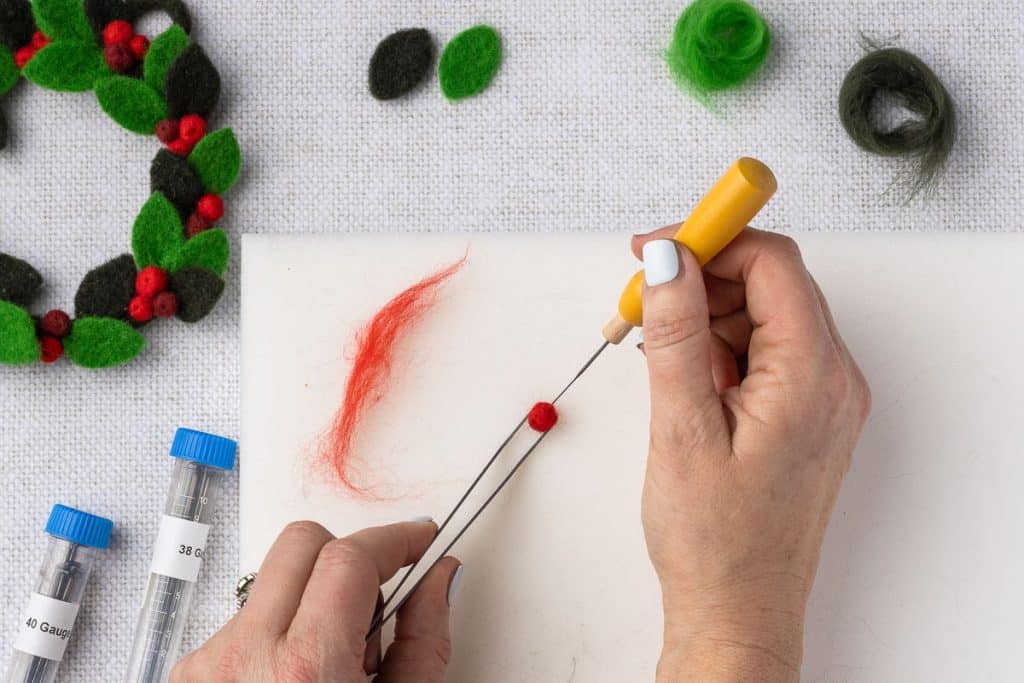
Roll the ball in the palm of your hand to compress and smooth. Continue jabbing until the berry is dense and smooth.
Optional Detail: Pick up the berry and place it between your thumb and pointer finger. Carefully insert a needle all the way through the center of the ball. Move the needle up and down the center without removing it until it creates a small dent. This can also be done by placing the ball on the foam or pad and running the needle up and down the ball’s center until a dent forms.
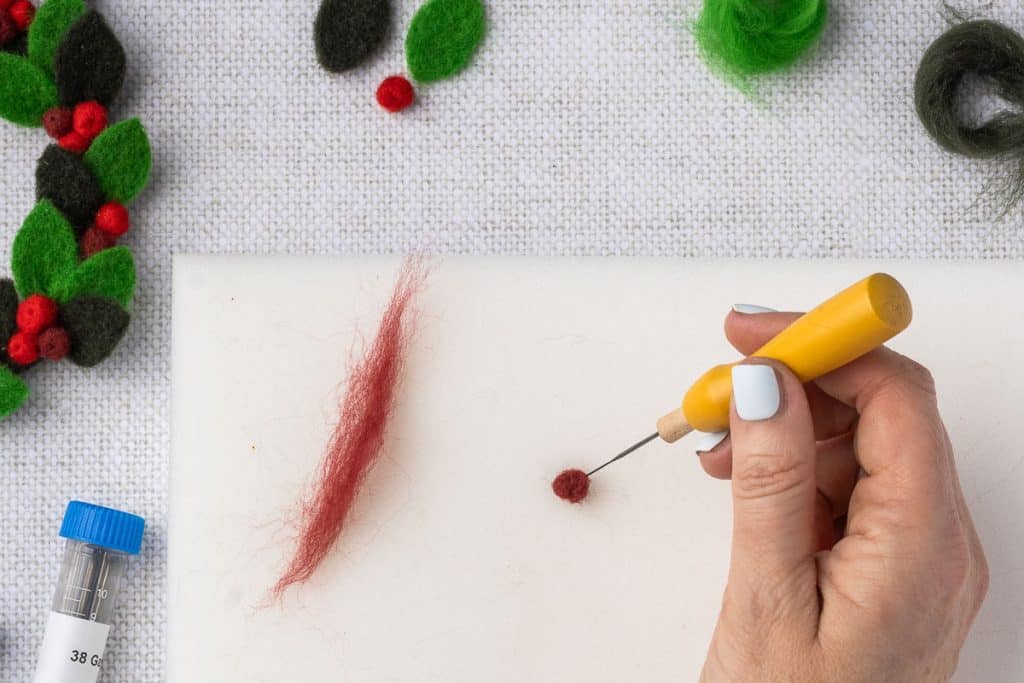
Continue the process of making berries using both red and dark red wool. For reference, there are 23 berries on the example wreath, 15 red, eight dark red. The berries are all around ¼ inch in size.

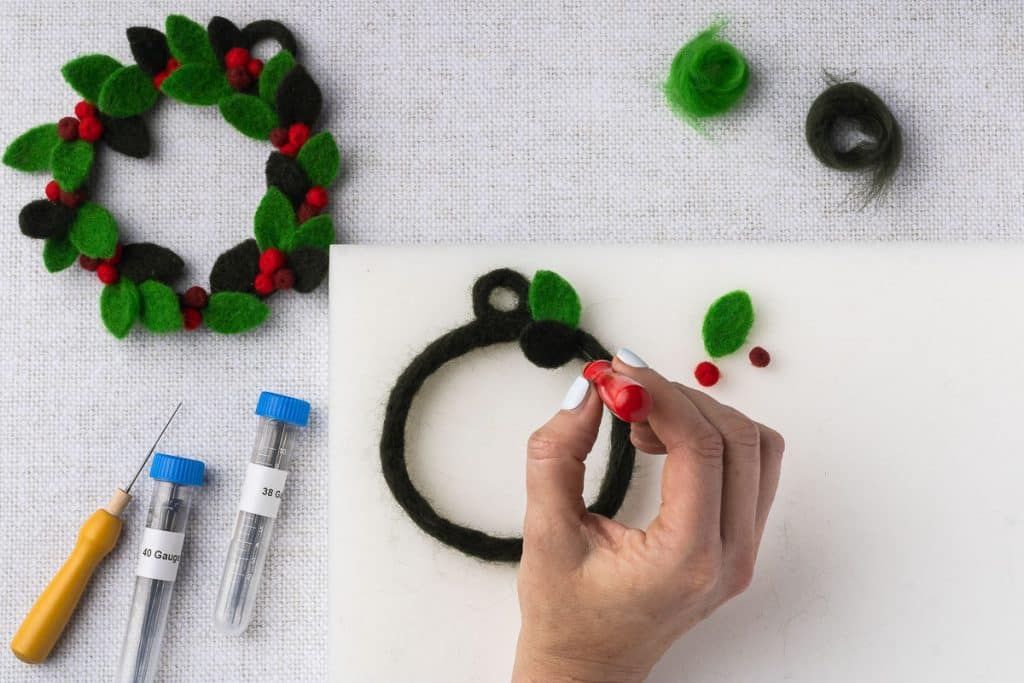
Putting the wreath together
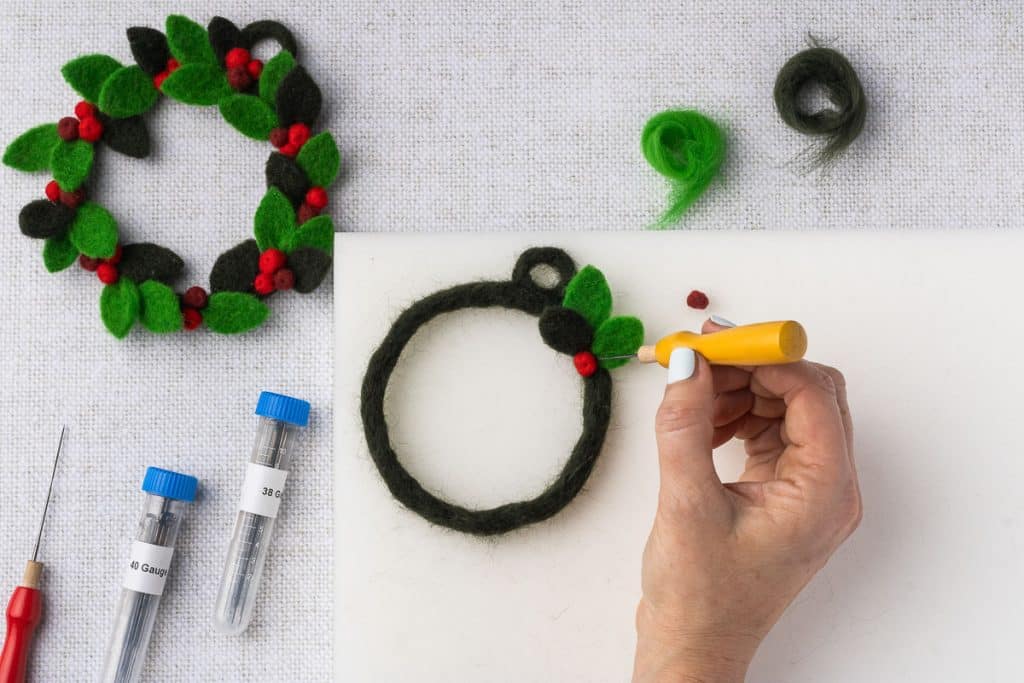
To adhere the leaves, start at the top of the wreath near the small loop. Place a leaf on the wreath and adhere by jabbing the bottom edge of the leaf into the dark green ring.
Stagger one or two more leaves and adhere to the wreath before adding berries.
To add the berries, adhere them to the wreath by jabbing at an angle. Jab down into the bottom portion on all sides of the berry and into the wreath until it attaches.
Alternate this pattern around the wreath until it’s full: 3 leaves (two green, one dark green) with three berries (two red, one dark red) then, 2 leaves (one green, one dark green) with two berries (one red, one dark red).
Troubleshooting
Wool feels loose or floppy: You haven’t felted it enough yet. Keep jabbing, turning the piece frequently, and compress it with your fingers between rounds of needling.
Berries won’t stay round: You’re not rolling and compressing enough between jabs. Use your palms to roll the berry smooth after every 20 or so pokes.
Leaves won’t stay flat: Press them firmly into the mold while needling, and don’t remove them until they hold their shape. Use the finer 40-gauge needle for the final passes.
Pieces won’t stick to the wreath: You need to jab deeper and at multiple angles. The fibers from both pieces need to interlock, so poke through the attachment point from several directions.
Wreath base is lumpy: Add small wisps of wool to the thin spots and felt them in seamlessly. Roll the wreath frequently to check for evenness.
Save For Your Future Reference
Bookmark this page or pin the following image to refer back to this Needle-Felted Wreath when you need it.
Thanks so much for spending a few minutes of your busy day with me!
To ensure you don’t miss future content, pop your email in the pale green box on the right or click here. I usually send one email weekly, so I won’t inundate your inbox. I’m sensitive to an overflowing email inbox!
We will only use your email address to send you emails, no more than 1-2 weekly. In addition, you will have access to my growing library of knit & crochet patterns and other printables. Check back often as this library will continue to grow. You can unsubscribe anytime by emailing me or clicking on the “unsubscribe” link at the bottom of all emails.
And you can access many of the products I refer to on my Nourish and Nestle Amazon Page. You can access it here.
So, if you’d like to participate in the ‘subscriber benefit’ action, simply subscribe to Nourish and Nestle here or use the form on the right sidebar. It’s slightly towards the top.
I have sent all my subscribers the link to the Subscriber Benefits Library. If you missed it or misplaced it, let me know.
Until next time…