Unclutter Your Nest 2017: Organized Office/Craft Room
How I transformed my hot mess office & craft room into an organized office & craft room.
We’re back for week 2 of the Unclutter 2017 challenge! Are you ready? I was busy in my office/craft room this week and I am so pleased to say that at the end of a week I do have an organized office and craft room.
But before we get into the nitty-gritty, just a reminder that I’m hanging with my gal pals from No Place Like Home again this week to bring you 6 times the unclutter ideas.
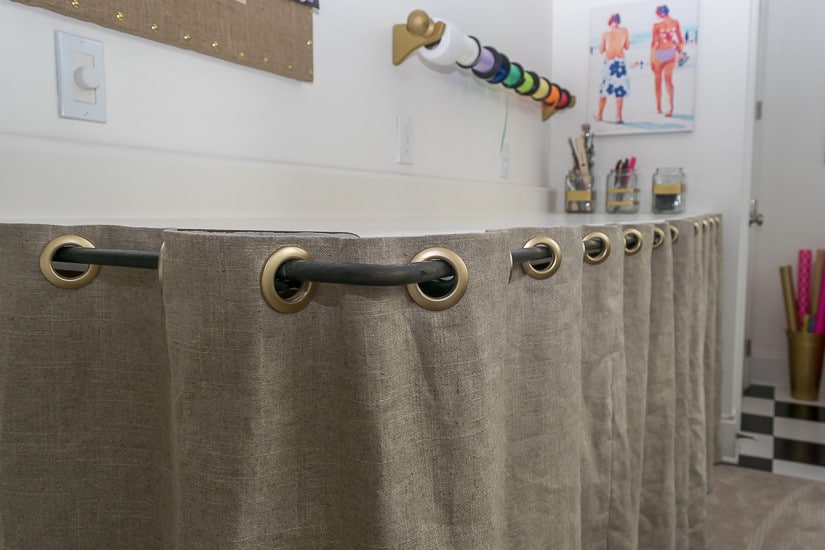
Table of Contents
So…I’m pulling back the curtains this week…literally. This past fall I redid my office as a part of the One Room Challenge, which included this spiffy curtain for the counter.
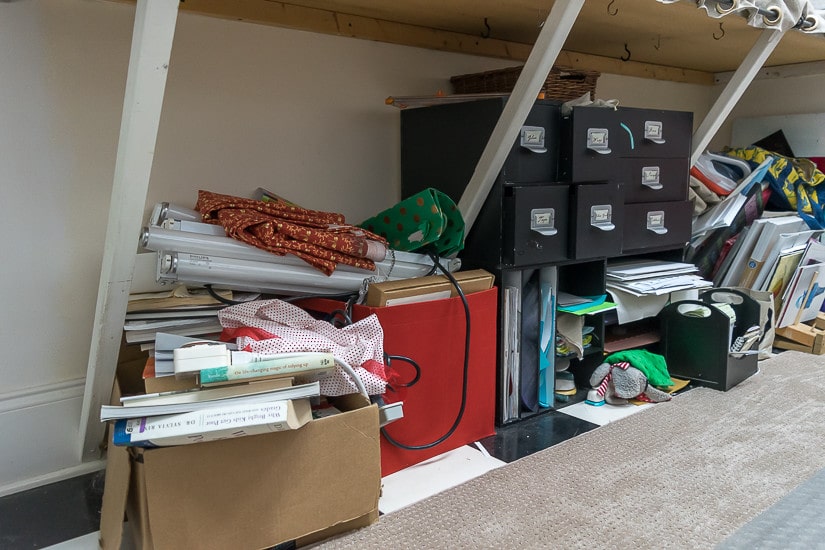
Not only does this curtain still make my heart skip a beat, but …it conceals a dirty little secret… (queue the soundtrack from Psycho, when the shower curtain is pulled back).
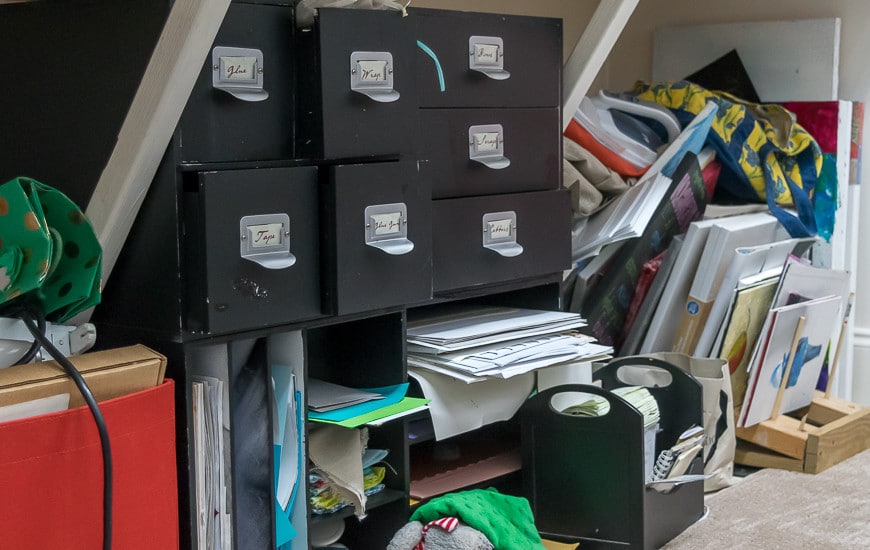
It’s been the dumping ground for everything I couldn’t find a better spot for…A BIG ‘No No’ for an organized home and it had to go. My grand plan was to get rid of as much as I could and transfer the rest to the cabinet I brought in when I redid my office this fall.This cabinet came with only 1 shelf, which left a good deal of wasted space.
For your convenience, this post contains affiliate links to products I use, love and highly recommend. If you purchase any product through this site, I may be compensated, but you do not pay one penny more. You can see my full disclosure policy here.
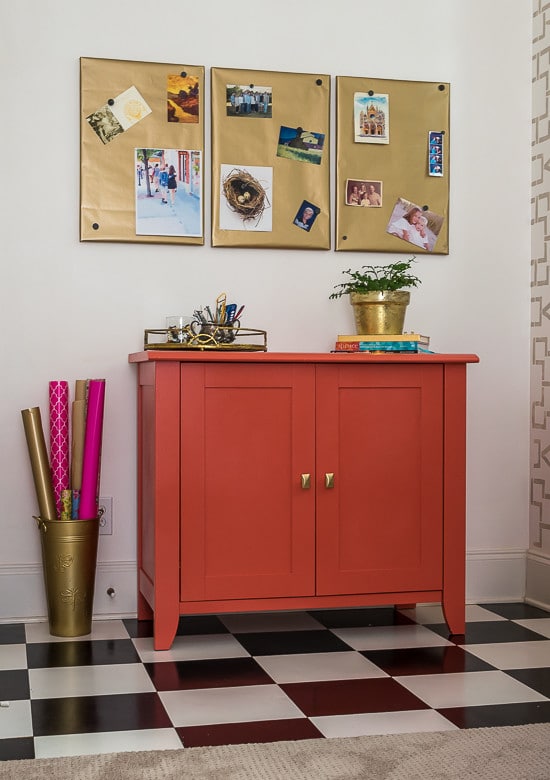
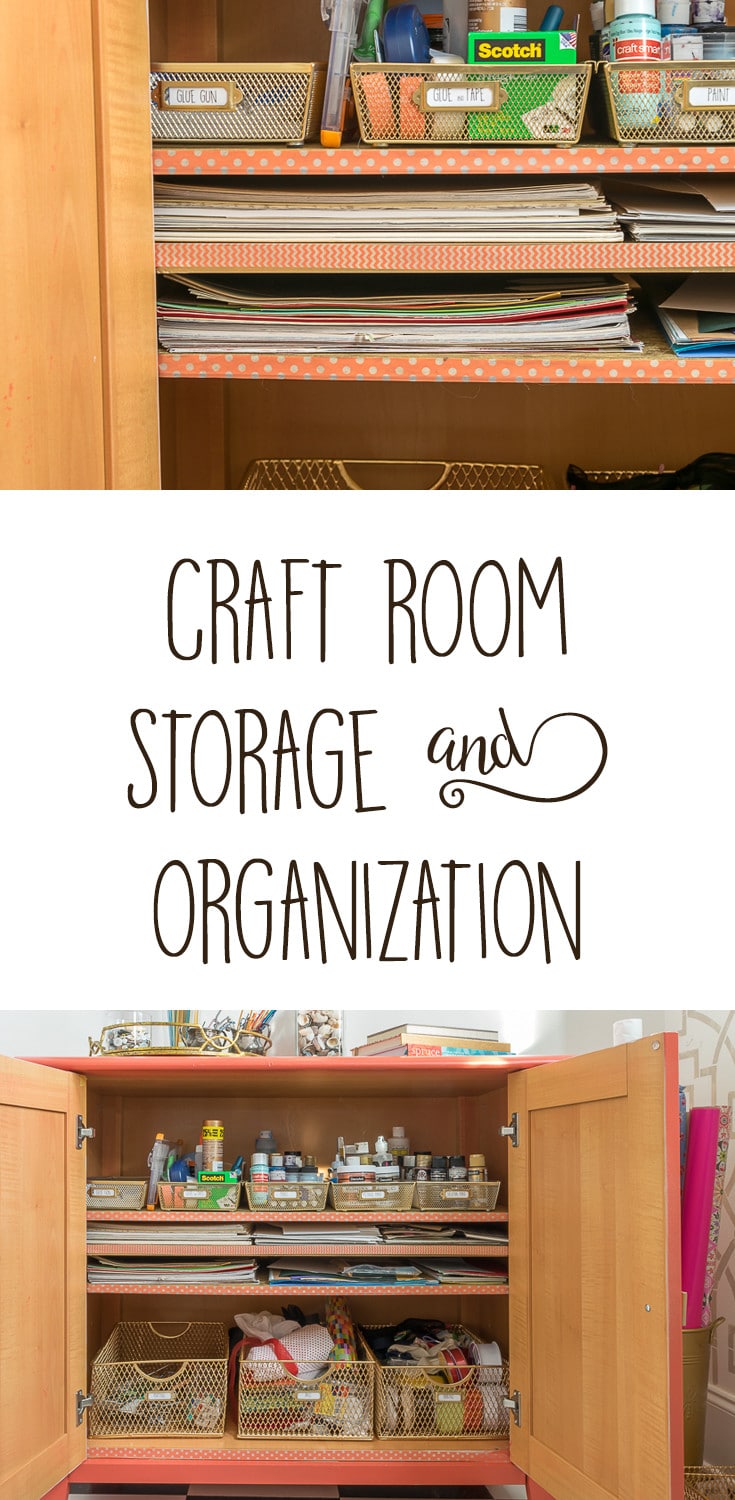
So I kindly asked my hubby to cut two more shelves from some spare plywood we had in the garage. I spray painted them gold to hide all the paint smudges that were on them, drilled a few small holes into the side of the chest, added some shelf support pins and voila…I made space for all my sheets of cardstock and paper.
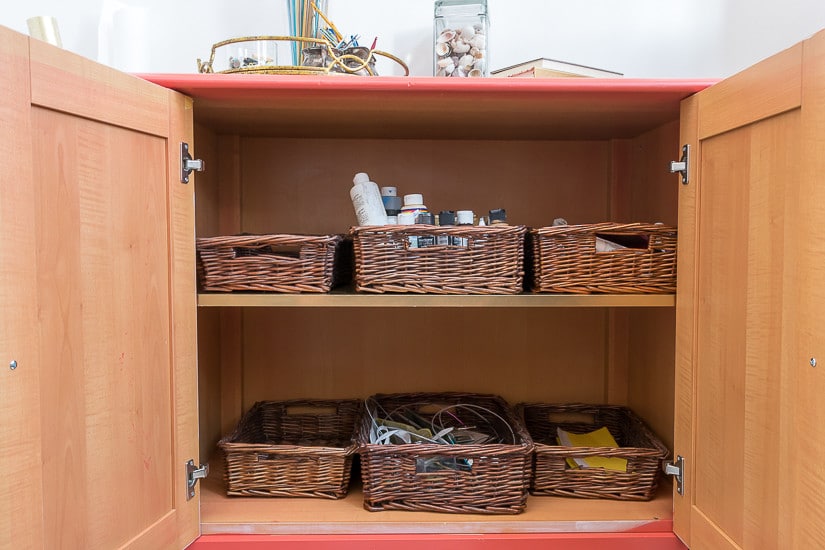
But, because I’m all about functional aesthetics (do the job but look good doing it), some washi tape on the edges of the plywood made them look more finished.
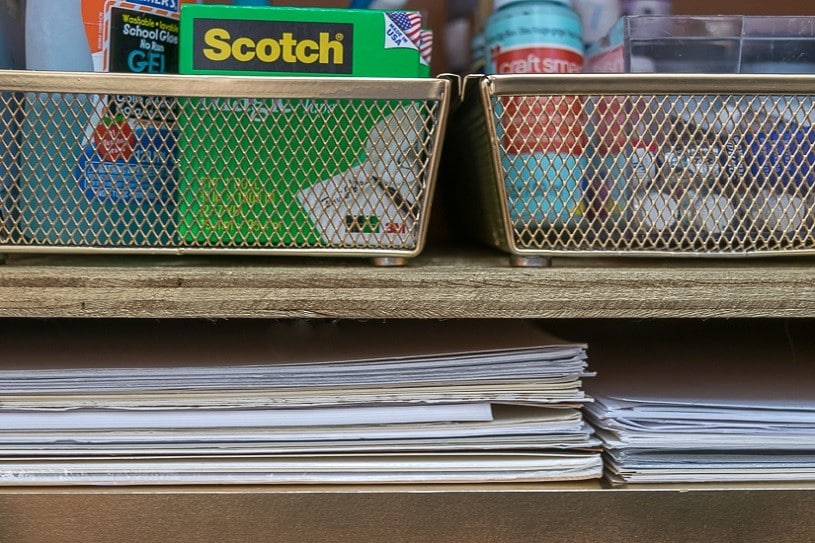
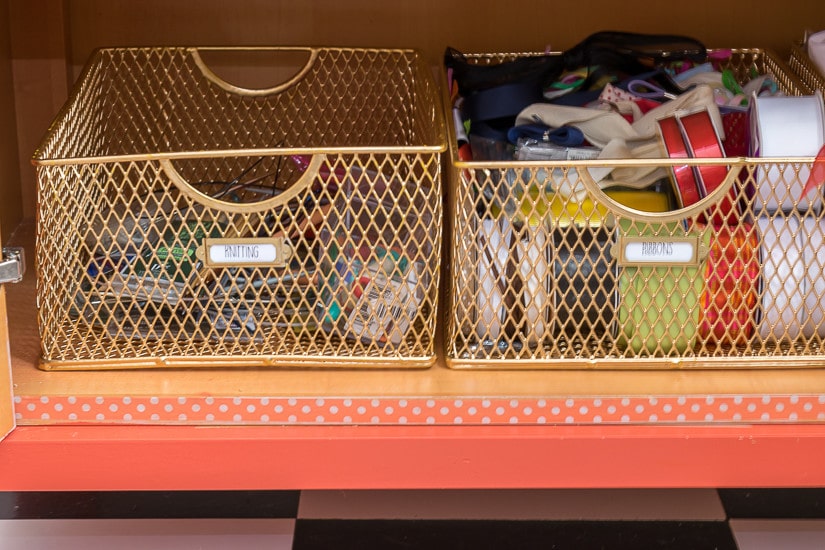
I picked up the small metal mesh boxes on the top shelf at Walmart and the larger ones on the bottom shelf at Michaels.
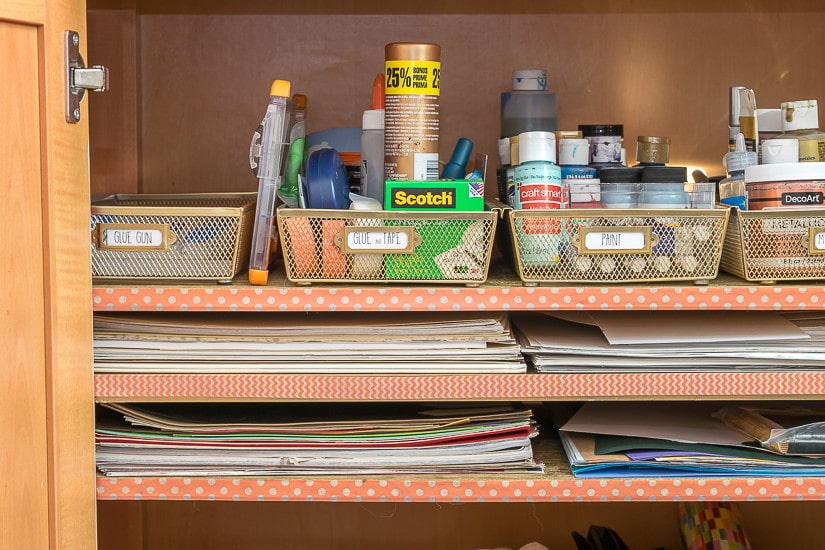
Labels and label holders finished the boxes perfectly.
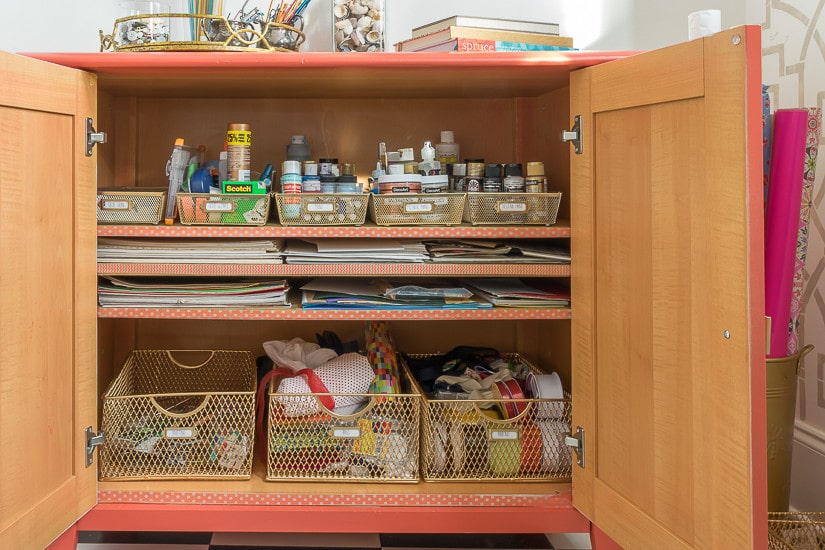
And with all my craft stuff moved from under my counter to my cabinet, I vigorously decluttered the rest of the stuff under my cabinet. I sent 50 pounds of books to the public library and gave oodles of gift bags to Goodwill.
And now this uncluttered space will hold my photography backdrops (which heretofore were stacked in a corner, against my beautifully stenciled wall) and my photography gear (which heretofore was just piled wherever I could find space in the room as there was no other place to put it).
I’m just tickled that the supports for the counter create the perfect storage solution for my flat backdrops!
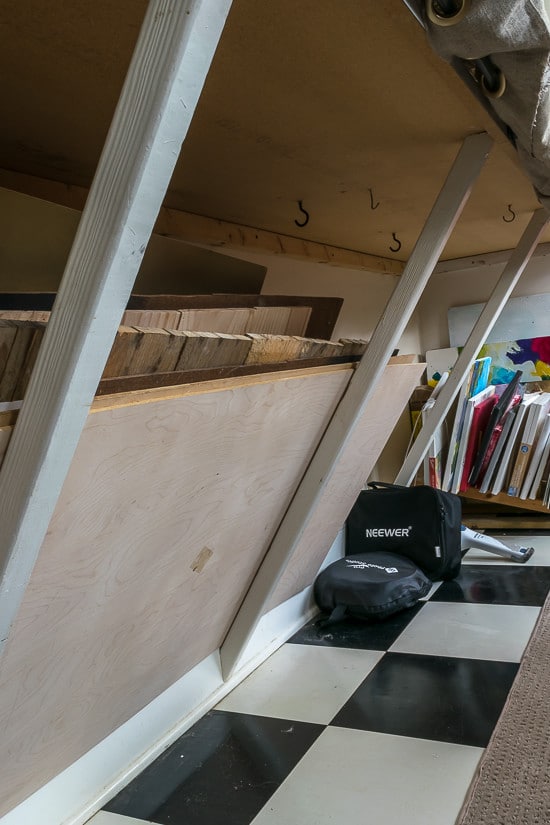

Do you need a little reminder of what it looked like before? I do, just so I can sit back and be amazed by myself.
And then…there was this closet…UGH. I truly couldn’t even fully shut the door (embarrassed face)
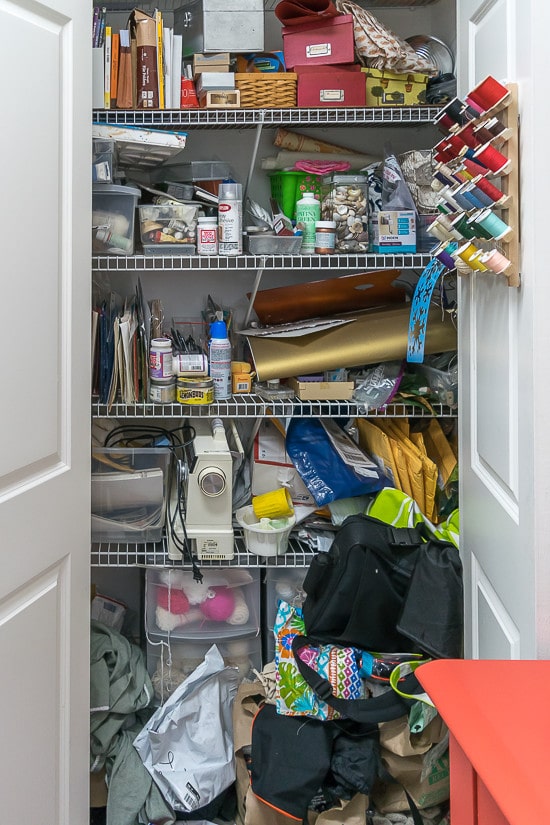
Once again, I needed to get rid of a good amount of stuff and better organize what I kept.
When one undertakes one of these ‘let’s all declutter together’ things, you really expose some things that you may have preferred to keep under wraps.
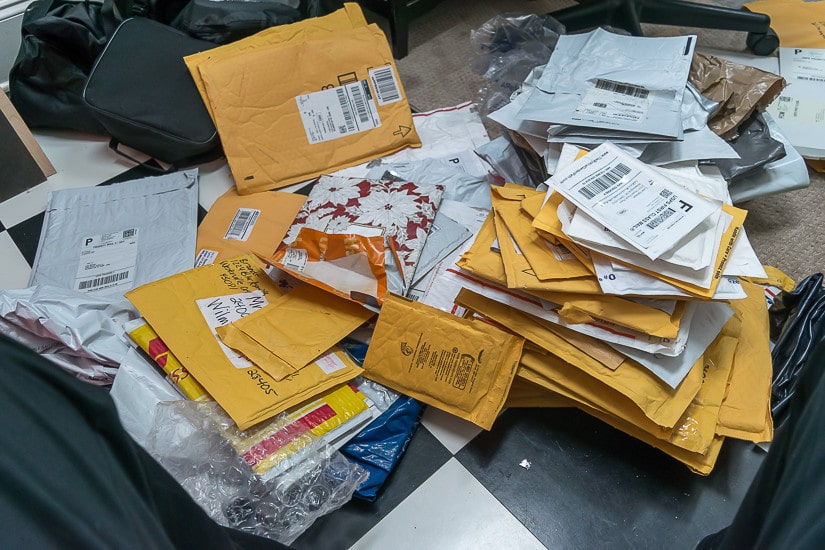
But…I’m all about transparency here, so it’s in that spirit of transparency that I am showing you my embarrassing stash of mailing envelopes.
So, I feel like I need to justify this hoarder-ish pile of mailing envelopes. I hate to pay for something that I don’t really need to, so I started stashing mailing envelopes in case I needed to mail something.
And I kept stashing and kept stashing and kept stashing, (74 times to be exact) until my stash kind of made me a hoarder. It was clearly time to get rid of my stash.
The good news is that I was able to donate all these mailing envelopes on Freecycle (check out all these suggestions for places to take your clutter). I imagine folks who ship stuff for eBay would love them.
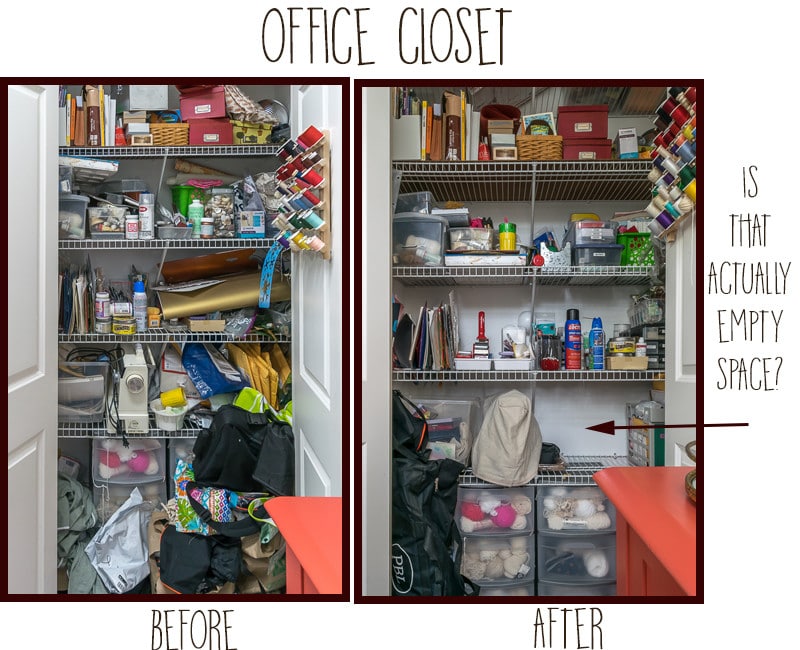
And shockingly, when all those mailing envelopes were removed from my closet, I actually had room to spare! (shock face!)
So there we have it, my friends, it was a busy but productive couple of days in my office and I couldn’t be happier with the results. Even though all the organization takes place behind closed doors/under curtained counters, I swear the room just feels lighter when I walk in it.
Plus, now I know what I have in there as I’ve touched just about everything over the week.
Interested in More Decluttering or Organizing Posts?
- Catch up on all 4 weeks of the Unclutter Your Nest Bootcamp here:
Week 1: Bedrooms and Bathrooms
Week 2: Kitchen and Craft/Office Space
Week 3: Den/Living Room/Play Room/Coat Closet/Laundry Room
- Other Decluttering and Organizing Posts:
Where to Donate and Recycle Your Discards
Personalized Kitchen Drawer Organization
Organizing and Storage Ideas for an Uncluttered Bathroom
Organized Closets and Cabinets
Organized Office and Craft Room
Clutter-Free Kitchen and Organized Linen Storage
Technology and Digital Declutter Ideas – Week 1
Make sure to pop through and see how others are bringing order to their chaos in the Inlinkz round-up
And for more inspiration, pop over to see how my friends are bringing order to their chaos:
A Home To Grow Old In | Hey Fitzy | Nourish and Nestle | Sweet Parrish Place
| The Red Painted Cottage | Savvy Apron |
That’s it for today my friends and thanks for stopping by to visit. I appreciate you more than you’ll ever know. And when you leave a comment…ah, it makes my heart sing!
I have published printable PDFs of several of my most popular knit patterns and printables and have made those available to all of my subscribers. Come back and check every now and again. I will continue to add patterns and printables to this page as we go along.
So, if you’d like to get in on the ‘subscriber benefit’ action, simply subscribe to Nourish and Nestle using the form on the right sidebar. It’s towards the top a bit. I have sent all my subscribers the link to the Subscriber Benefits Library, but if you missed it or misplaced it, drop me a line and I’ll get it right to you.
Until next time,






The office looks great! My office and photography gear are my big problem area – it’s just so tough to cut down on the books and the art supplies and get the photography gear organized! But I’m slowly getting the new house organized and I got a corner cabinet that I’m slowly filling (neatly!) with photography gear 🙂 I loved your updates to the cabinets and the cute touch with the washi tape!
Hi Lynn,
Thank you for pulling back the curtain and keeping it real!! I giggled at your mailer supply. I went through a phase where I was doing the same thing with same mailing boxes. Finally my husband said enough (with a giggle). We probably had a 5 year supply stored up. 🙂 Thank you for sharing. Pinned to organization.
Lynn, I love that you shared your honest “before” pictures. When I create and don’t put everything back, that’s how my space ends up looking. I’m tossing and organizing my craft room right now, so this is really encouraging. Thanks!
Lynn, I love that you have a place to store all your photography items. I just got a new tripod for Christmas, but it didn’t come with a cloth cover. I’m going to have to do something about that. I store what I can under my big folding table and also behind the art drawers and cabinet. I had to chuckle about your mailing envelopes, because I try to do the same. I just went through mine and pitched what I felt should be thrown out and not used again.
your crafty room looks wonderful, love the cabinet you repurposed.
I have converted a 3rd bedroom into my craft room & am constantly reorganizing it…some great ideas thanks
FYI, was able to print the Valentine tags too….ellen
Wow! You did some serious decluttering in this space! I love the room you made for your photography equipment, it’s awesome! And I love what you did with the cabinet as well, it is so much more useful now.
Lynn I know I commented here before. I don’t know what is going on! Your office looks so much better and with just the addition of a few shelves. Also love the under the counter space. Very smart use of it.
Hi Mary, I am thrilled about the storage for my photo backdrops! Now they don’t clutter up my space by leaning up against the walls. And my new shelves really accomodate all my craftiness!
Thanks for stopping by my friends
Hugs, Lynn