DIY ‘Copper’ Painted Tray and Painted Votives
For your convenience, this post contains affiliate links to products I use, love and highly recommend. If you purchase any product through this site, I may be compensated, but you do not pay one penny more. You can see my full disclosure policy here.
It all started with a trip to Target.
It was ‘errand running day’ and I was in search of a size 12-14 Carolina Panthers Zip Hoodie to finish out our Angel Tree gift for a young fella.
While I did not find the hoodie at Target, I did find charming little copper Moscow Mule ‘shot glasses’ that I knew would be perfect for an impromptu village on a shelf in my kitchen.
So, I left Target with my shot glasses and headed to the Habitat for Humanity Re-store in search of a window for a project I had in mind (that Santa’s Sweet Shoppe window).

Well, I didn’t find the window I was looking for, but I did spy these 6 little votives that had a flower pot shape to them (see a trend here?).
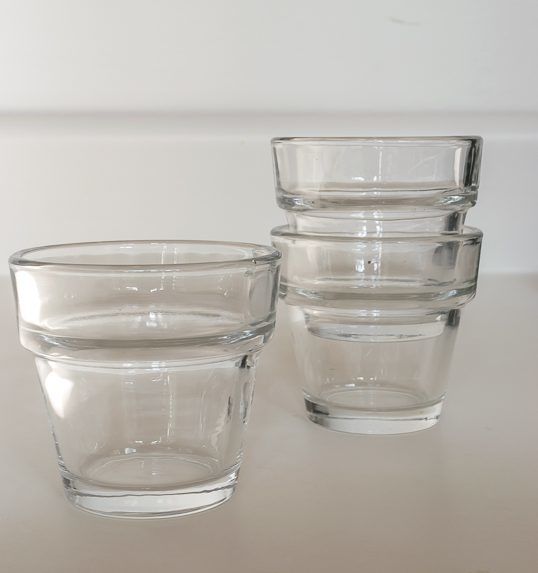
I knew they would come in handy sometime…I mean you can never have too many votives. Am I right? So I headed home without a hoodie or a window, but with copper Moscow Mule ‘shot glasses’ and glass votives shaped like flower pots.
And that, my friends, is what I call a successful ‘errand running day’!
And then… in the car, on the way home, all excited about my finds…the little crafting angels that live in my head started throwing out ideas.
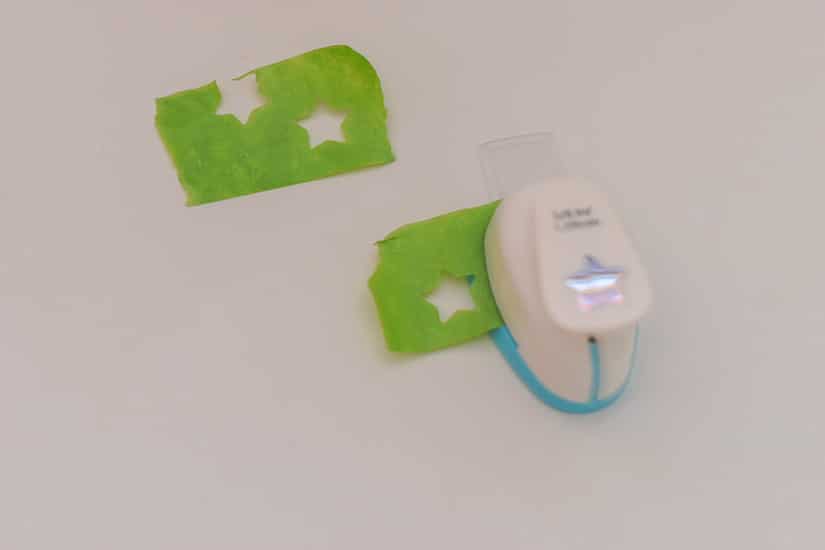
I followed one of those ideas, came home and started punching stars out of Frog Tape to stick to the sides of the votives. I mean, it was the beginning of December and I had nothing else to do. (roll my eyes)
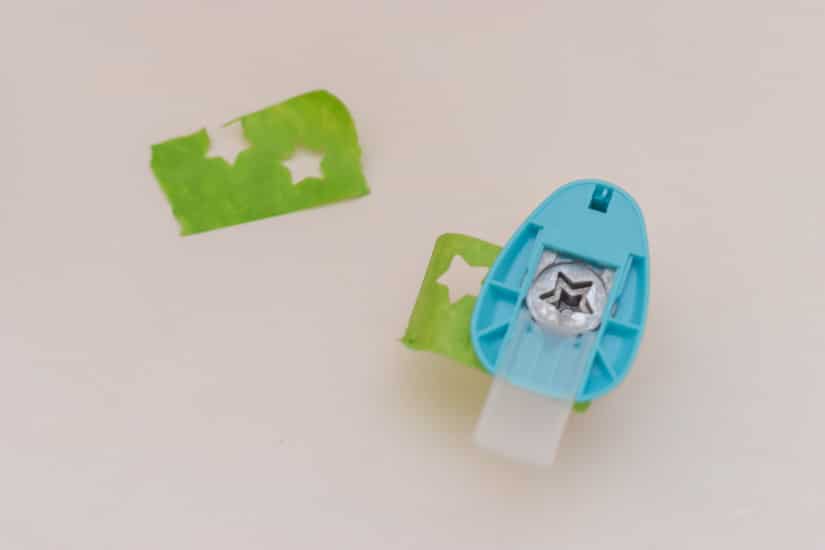
So, there is a little secret to punching shapes out of tape. When you slide your tape into your punch, do it so that the not-sticky side is pushed up against the top of the punch so that it doesn’t stick going in.

I put the tape stars on the votives and then spray painted the exterior of the votives in Krylon Premium Copper Metallic Brilliance Spray paint. I just stuffed paper inside of the votives when I painted them so that the paint wouldn’t drift inside as well.
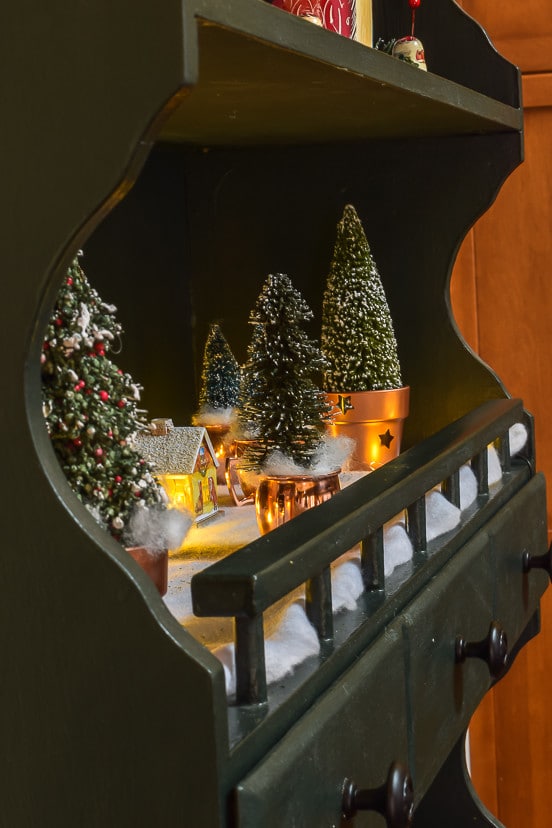
I should’ve called it a day after I painted those votives. But those of you who have a similar DNA makeup know that sometimes we just don’t know when to say when when it comes to making stuff.
I knew I had a little tray that I picked up at Michael’s earlier this year languishing in my closet. In my excitement, I didn’t get a before picture…but it was one of their ArtMinds trays and probably cost $5, give or take. I found it in their raw wood area.
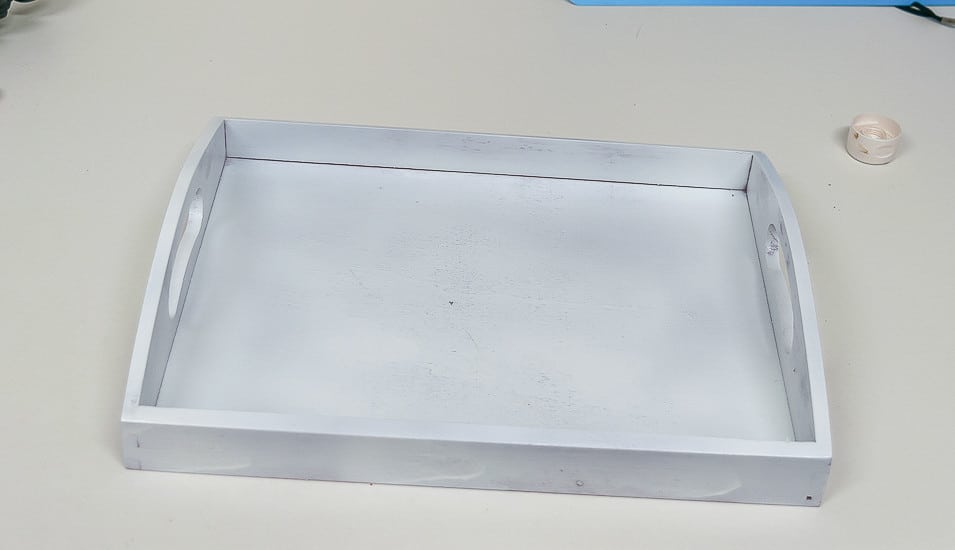
So after I sanded it, I spray painted the tray white…
…and stuck a few stars on it. I guess you call this ‘reverse stenciling’. Have you ever noticed that trying for a random pattern is almost as hard as going in a straight line?!
And I reused my stars. After I did the middle and it dried, I took them off and put them on the outside.
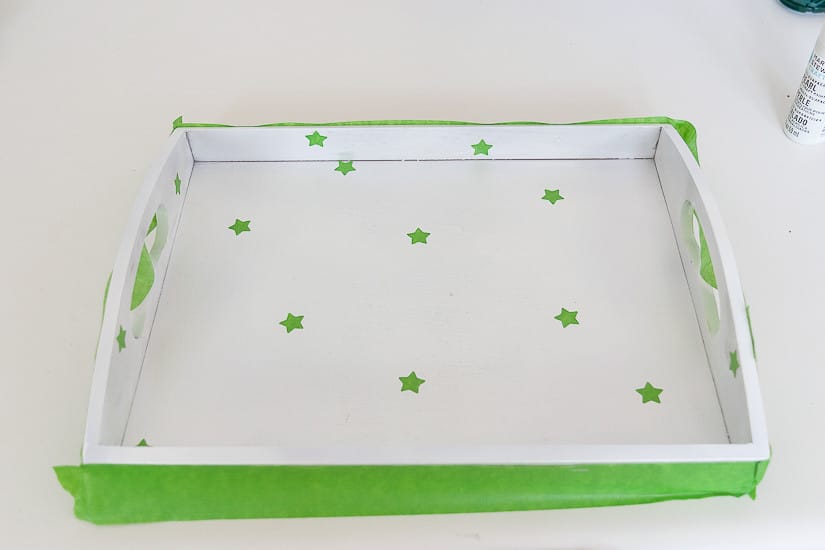
Then I spray painted the tray with the same Krylon Premium Copper Metallic Brilliance Spray paint.
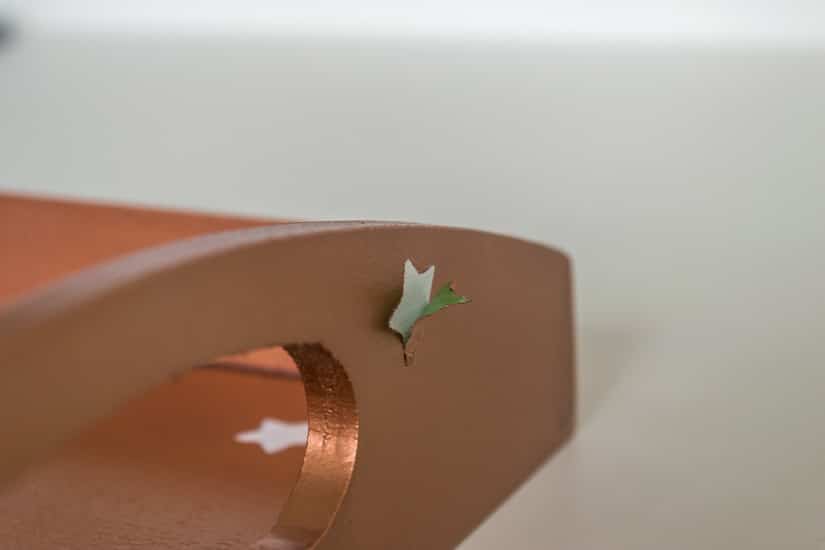
The frog tape makes the lines clean and crisp and easily pull off. Look at that gleaming copper!
Cocktails anyone?


Such a very simple project.

This tray will be used often during the holidays…but I think it will also be used year-round. I can easily make it work during the Fourth of July with the stars and all.
And so, a trip to Target started it all; without that trip, I wouldn’t have my copper painted tray and painted votives.
So, I do believe that this will be my last project of the year my friends. As much as I love ‘making stuff’ I have got to get to the grocery store and do a whole bunch of cooking… and eating.
I’ve got to figure out what puzzle we’re going to put together and I’ve got to get some Christmas cards ordered…Minted here I come!
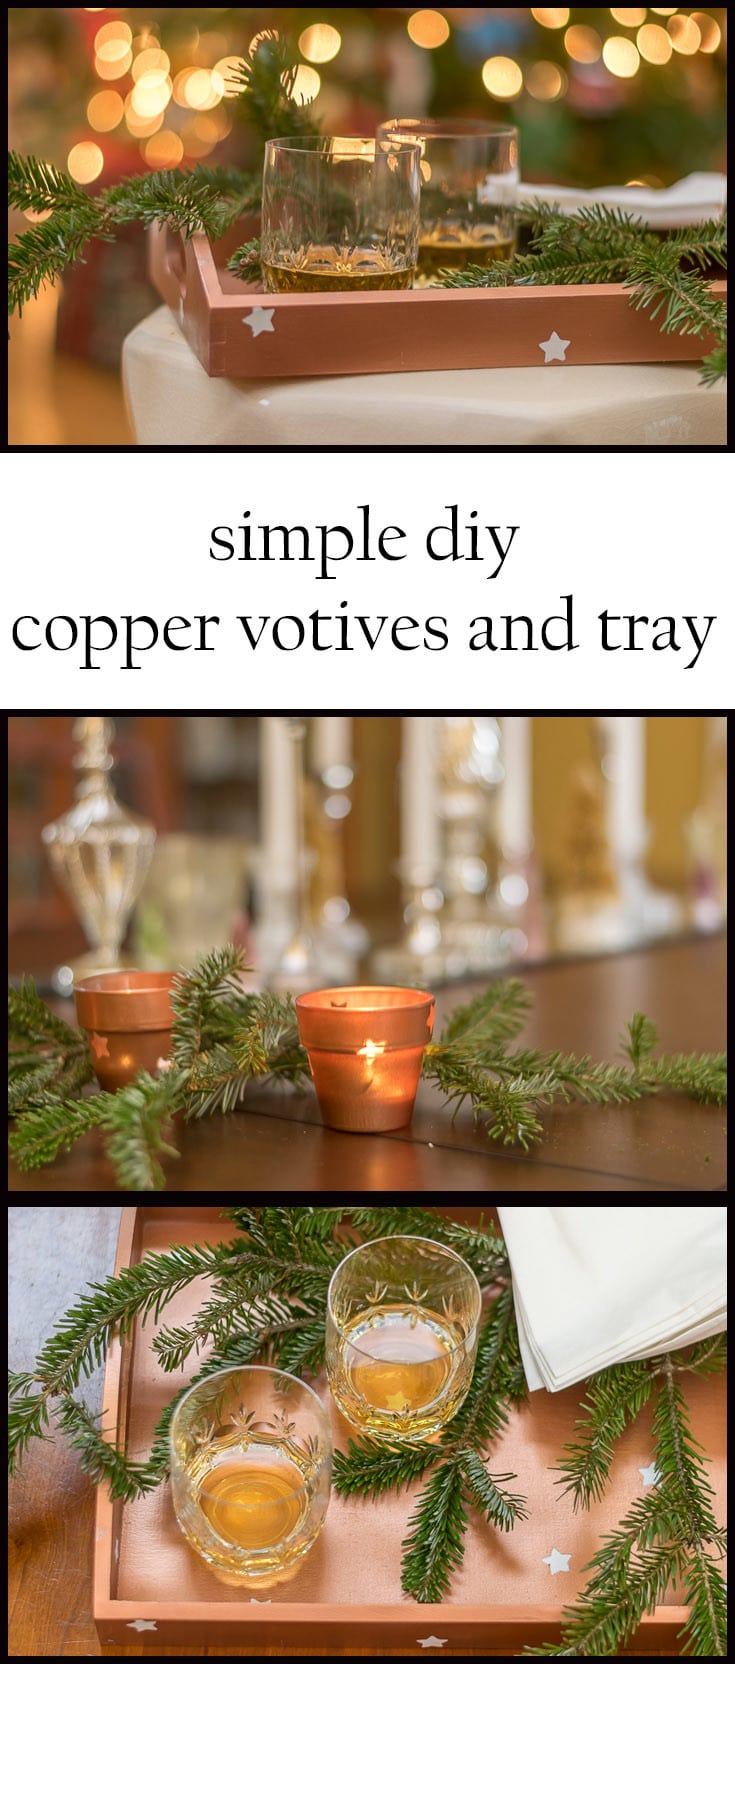
If you are loving copper this season as much as I am, check out these copper gift wrapping ideas.
Thanks for stopping by to visit today, I appreciate you more than you’ll ever know. And when you leave a comment…ah, it makes my heart sing!
I have published printable PDFs of several of my most popular knit patterns and printables and have made those available to all of my subscribers. Come back and check every now and again. I will continue to add patterns and printables to this page as we go along.
So, if you’d like to get in on the ‘subscriber benefit’ action, simply subscribe to Nourish and Nestle using the form on the right sidebar. It’s towards the top a bit. Or, you can subscribe by clicking the box right below. I have sent all my subscribers the link to the Subscriber Benefits Library, but if you missed it or misplaced it, drop me a line.
Until next time,



I have really enjoyed reading your blog. Even though everything you do isn’t easy, You are making a home, creatively. Keep it up… so enjoy your creativity with simple things. Thank you.
Aw, thanks so much Lori! Your kind and encouraging words mean so much. Comments like yours definitely keep me going.
Wishing you a very Merry Christmas and Happy New year.
Hugs, Lynn
Love the tray, copper is so popular this year! Your photographs are so lovely, you are a good photographer. I also did a tray today for a post on Monday!
Hi Maria and thanks so much for coming by today. I really do love the warmth of copper and so glad it’s getting its deserved love. And you can’t imagine how much I appreciate your compliment about my photography! I have been working on it so your compliment really means alot.
Thanks for taking the time to leave your kind comment and I’m looking forward to seeing your tray!
Hugs, LYnn
Lynn, this project has all my favorite things: random acts of DIY, punches, spray paint and DIY stencils. Both ideas are so cute. Thanks for sharing at Your Inspired Design.