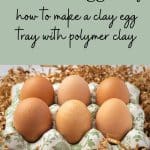
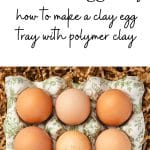
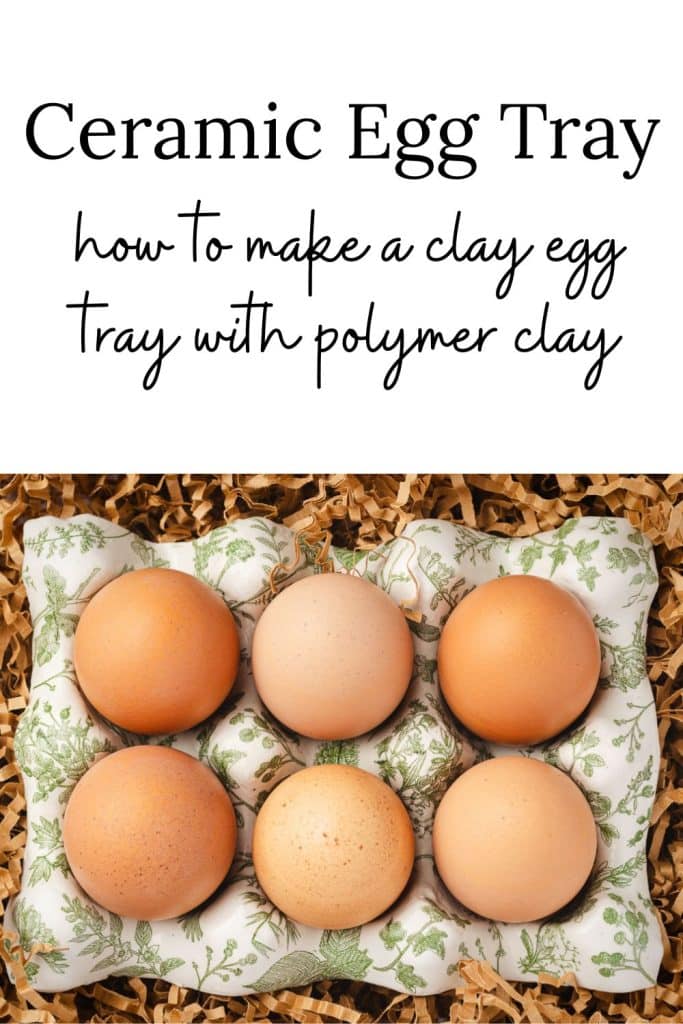
Ceramic Egg Tray: How to Make a Clay Egg Tray with Polymer Clay


If you’re looking for a creative way to make an egg tray, this ceramic egg tray project is simple and fully customizable with your favorite napkin designs. This guide will explore everything you need to know about making ceramic egg trays. We’ll discuss the necessary materials, how to make one, and how to care for your handmade clay egg tray. Whether you’re a cooking enthusiast or just enjoy organizational pieces, a ceramic egg tray can be a charming addition. In addition to displaying eggs, this little tray is perfect to hold trinkets and jewelry.
And, don’t let working with polymer clay intimidate you! This ceramic egg tray project is surprisingly easy and requires no advanced crafting skills. You can make this beautiful and functional piece by rolling out clay and using a paintbrush, all in an hour. Plus, the decoupage technique lets you get creative with designs and patterns — no two pieces will ever be alike!
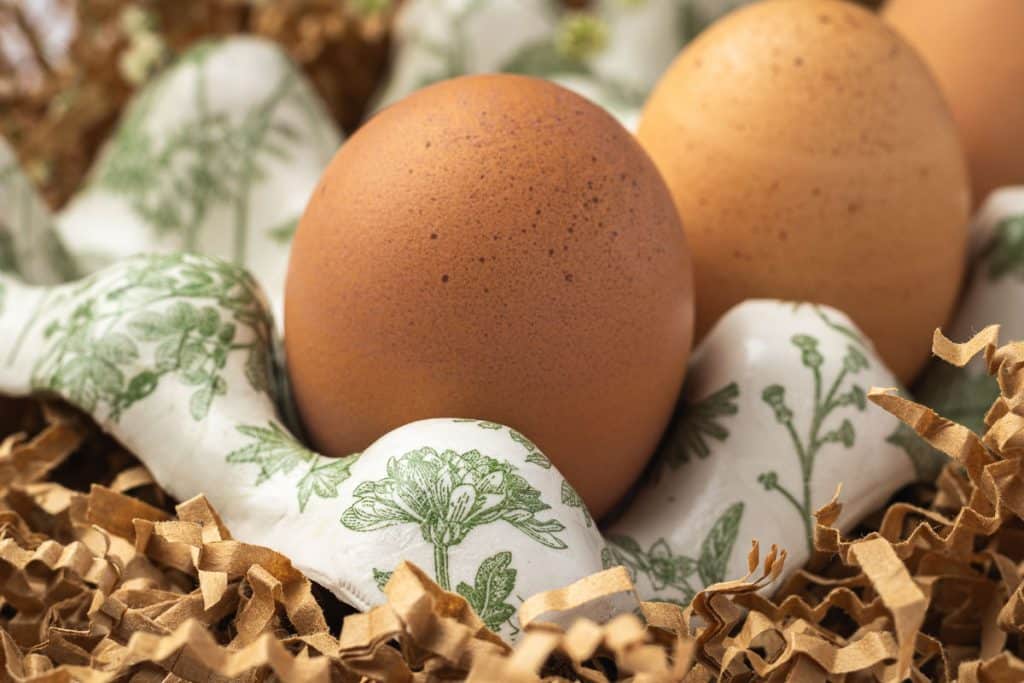
Table of Contents
Materials To Make A Ceramic Egg Tray
Some of these links may be Amazon affiliate links and I may earn a small commission from the sale of these products to help defray the costs of operating this site, but the price you are charged is not affected. You can see my full disclosure policy here.
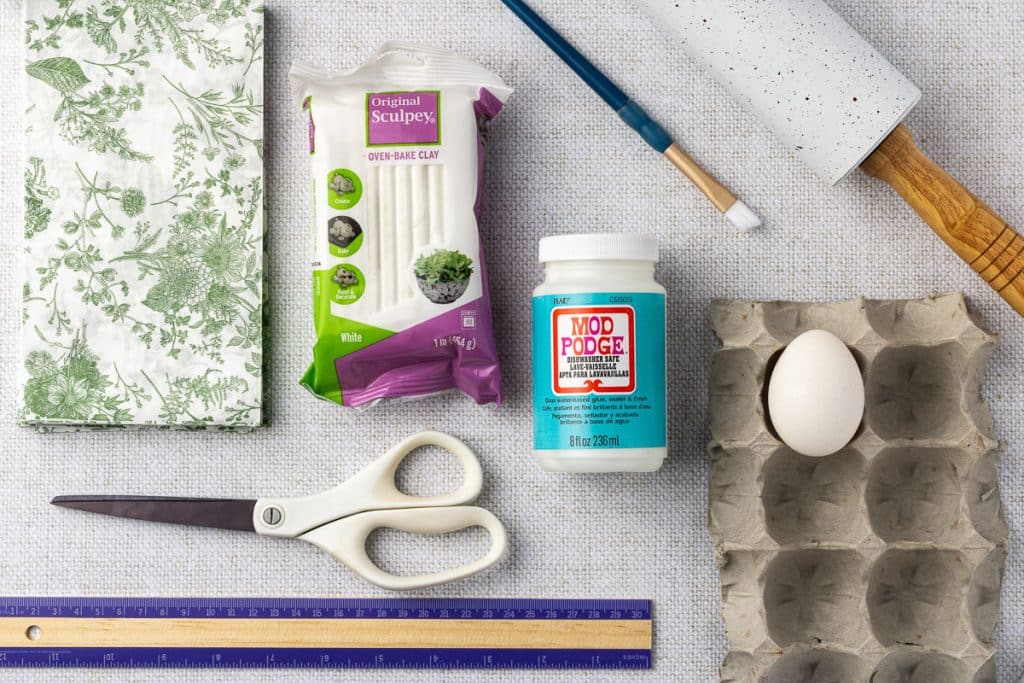
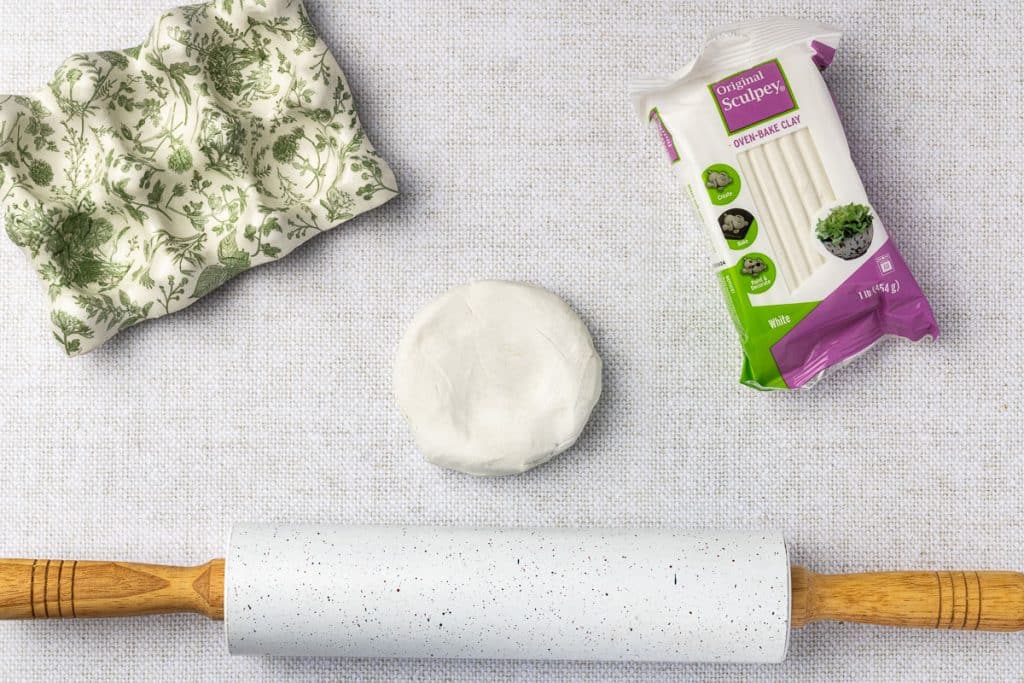
- 1 pound of white polymer clay, such as Sculpey
- Empty cardboard egg carton (don’t use foam as it cannot go into the oven)
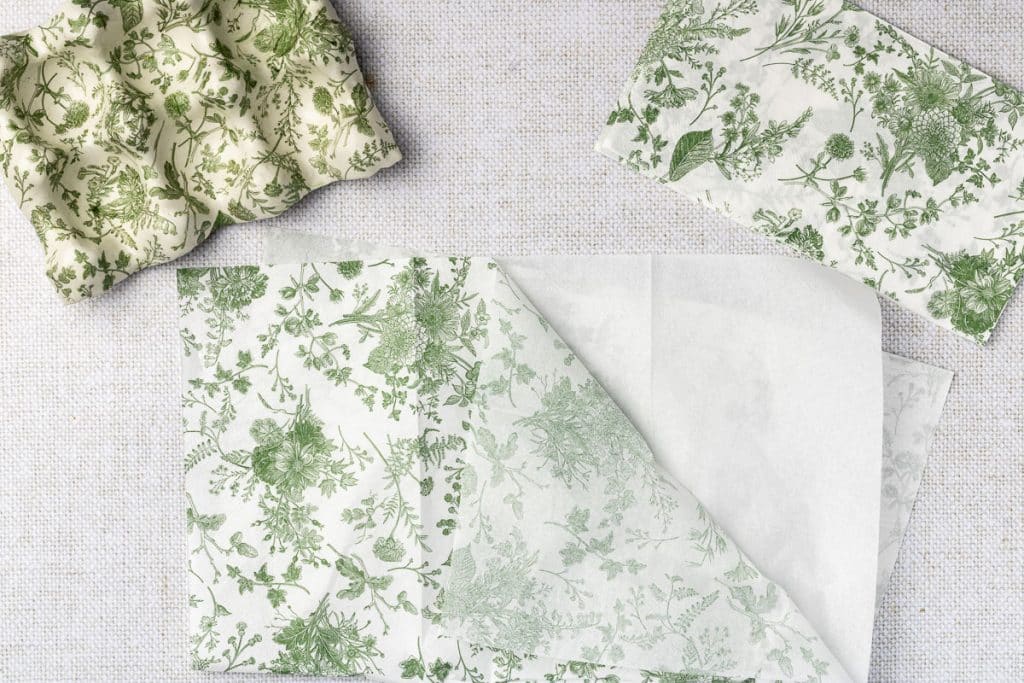
- Multi-ply Decorative napkins, 2-3 per carton, depending on design
- 1 Paintbrush
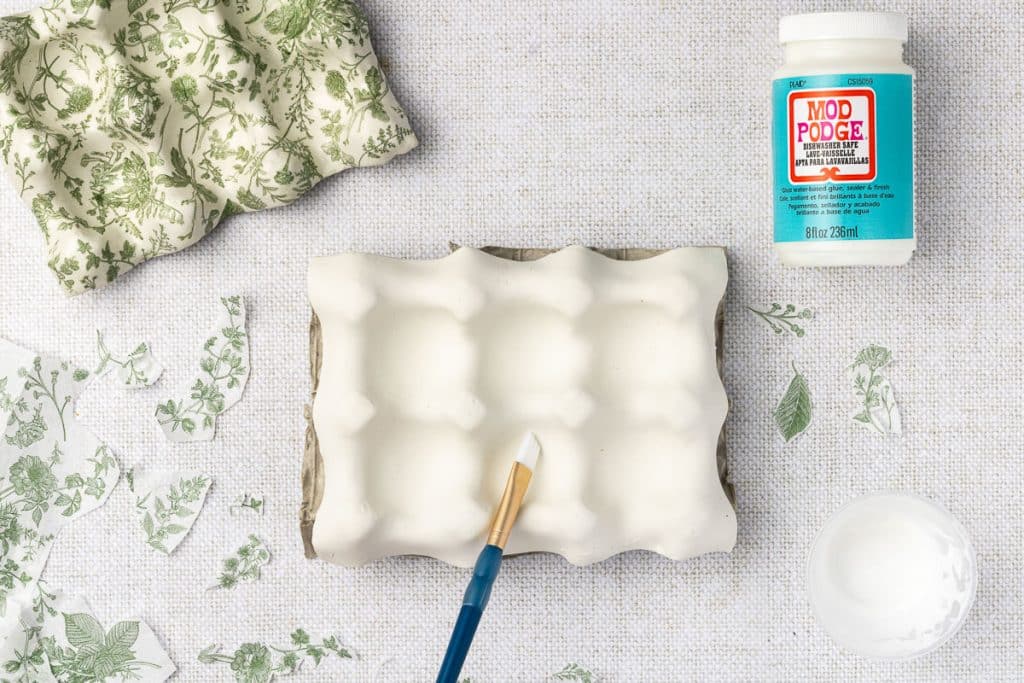
- 1 jar of Dishwasher Safe Mod Podge
- 1 egg for molding an egg shape
- Roller or rolling pin
- Scissors or a knife for cutting the edges
- Ruler or measuring tape
How To Make a Ceramic Egg Tray
- Preheat the oven to 275°F (135°C).
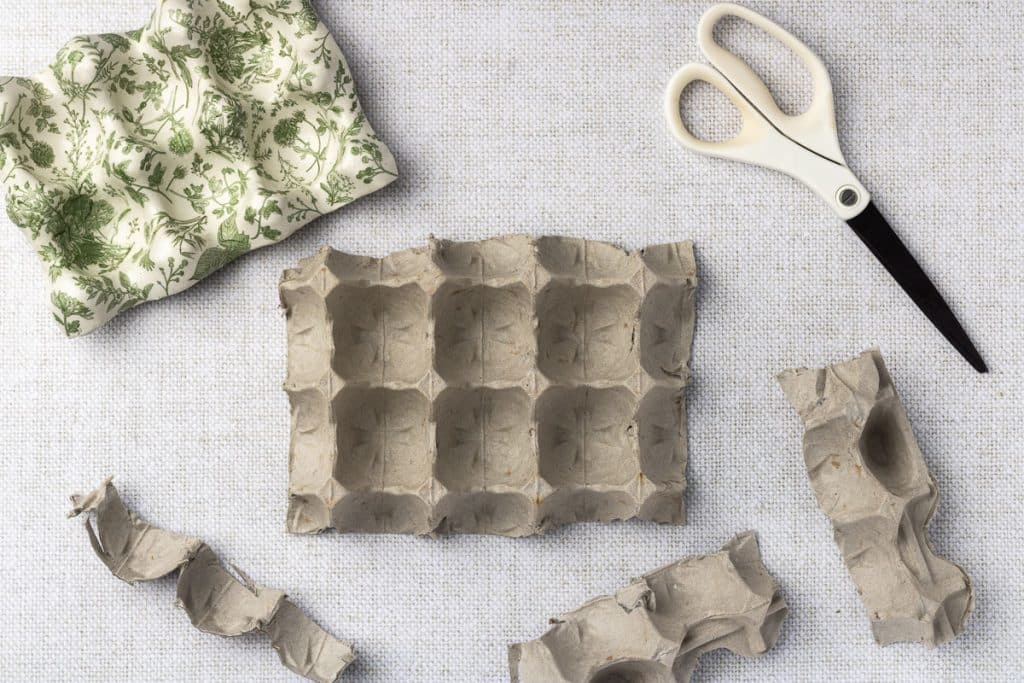
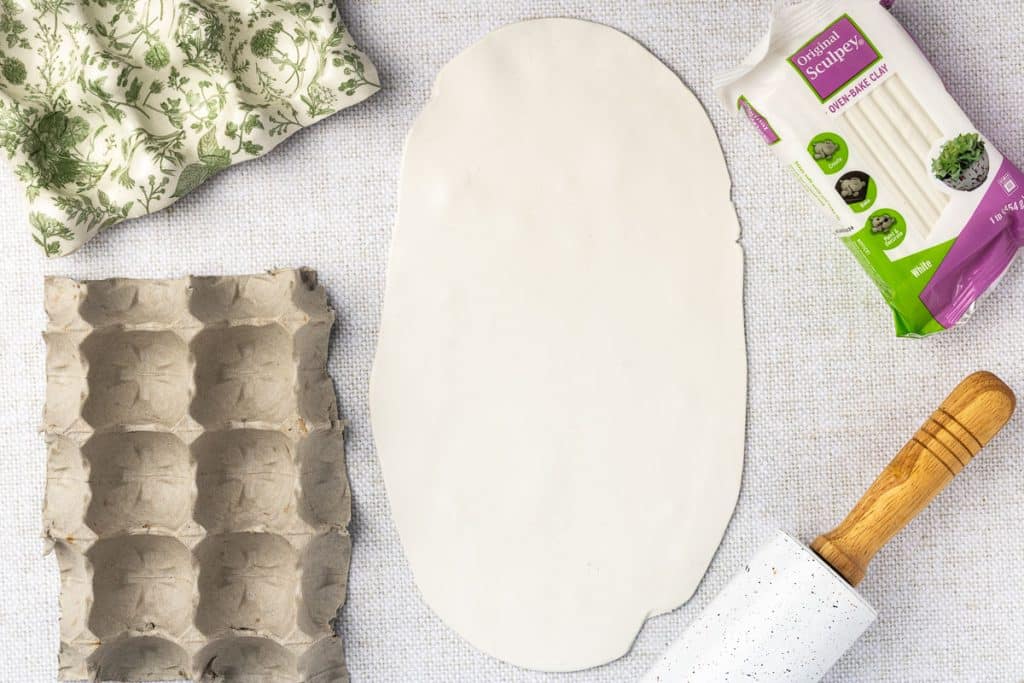
- Cut a cardboard egg carton to fit six eggs, two rows of three egg slots.
- Take half of the block of clay and roll it into an oblong or rectangular shape that fits over the cardboard carton. The thickness of the rolled clay should be about ¼ inch. You will only use ⅓ of the clay and end up with extra after cutting the excess.
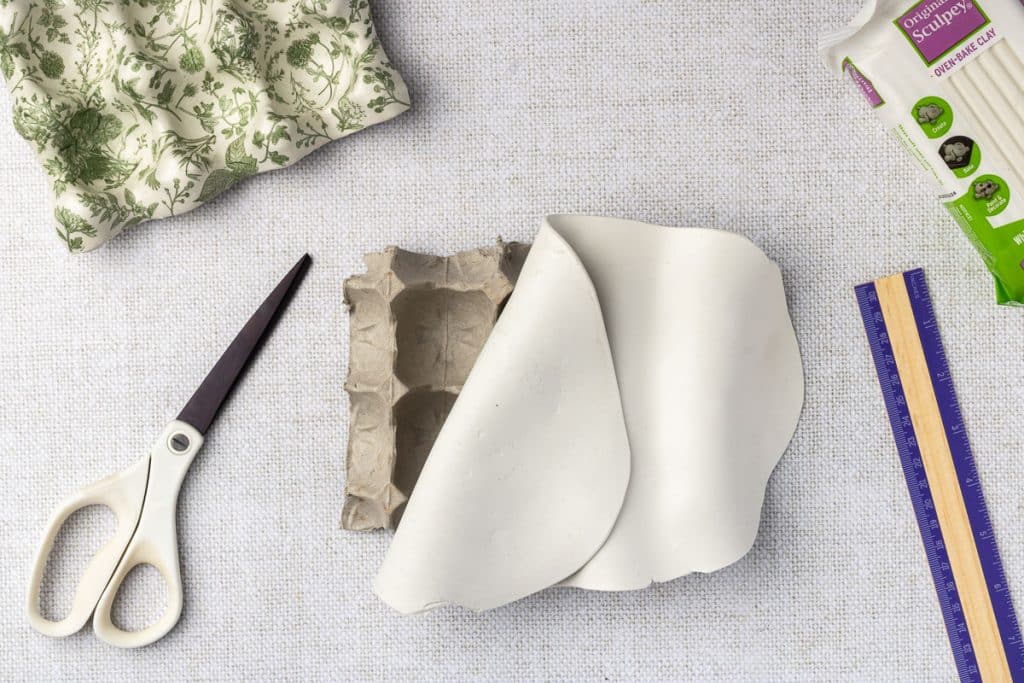
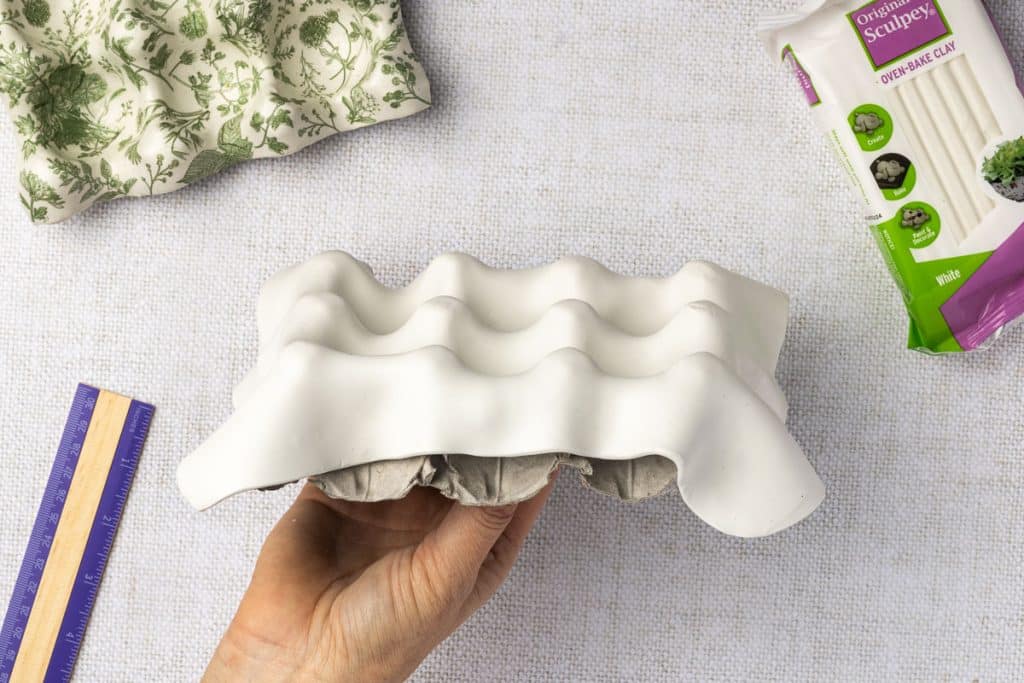
- Place your rolled clay evenly over the cardboard carton, ensuring at least ½ – 1 inch of the clay hangs over on each side. The overhang amount does not have to be even because you will cut the sides later.
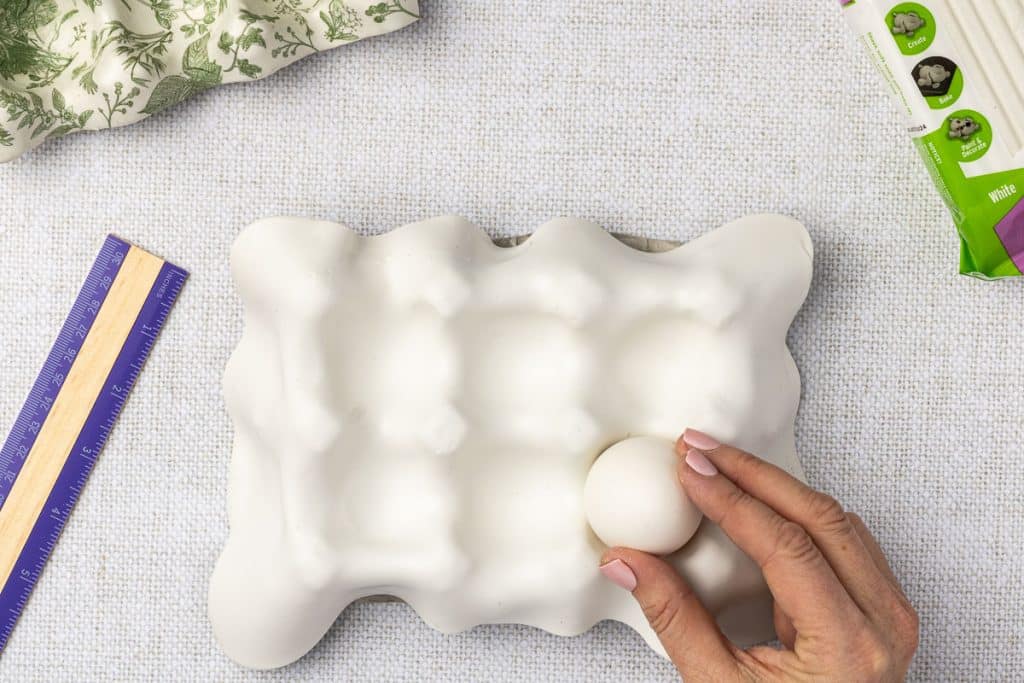
- Use your egg to gently create an indent in each of the six egg spots. Start with the two middle spots first and work out from there. You don’t need to press the egg to the bottom of the carton; you just need to create an indentation that is deep enough to hold the egg securely. Lifting the overhanging side of the clay nearest to the egg while pressing in the egg will make pushing and creating a nice, even egg indentation easier.
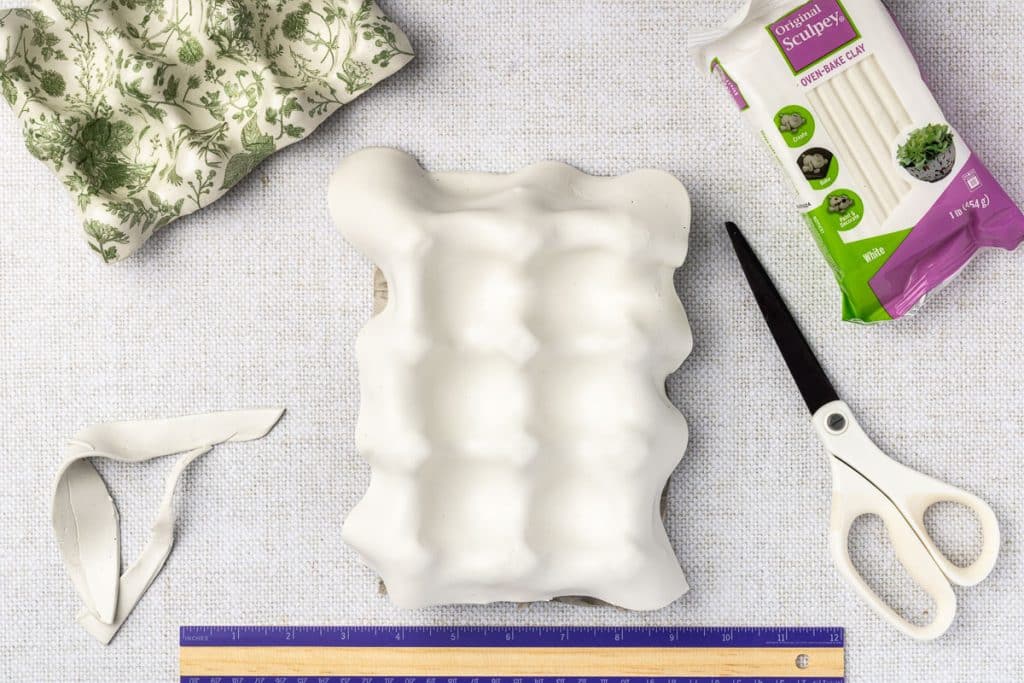
- If you want more definition, gently run your fingers over the tops, edges, peaks, and valleys.
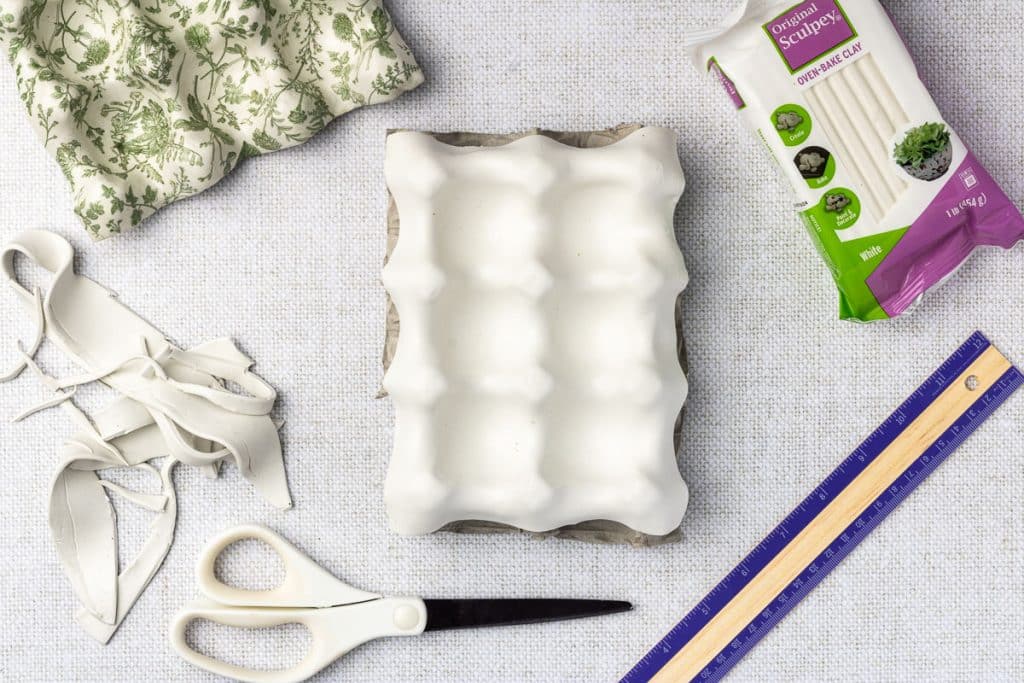
- Cut the excess edges so you are left with an even overhang on all sides. You can use a ruler, scissors, or a knife. Cut approximately a ½ inch overhang on each of the sides. It does not need to be exact; it just needs to look even all around.
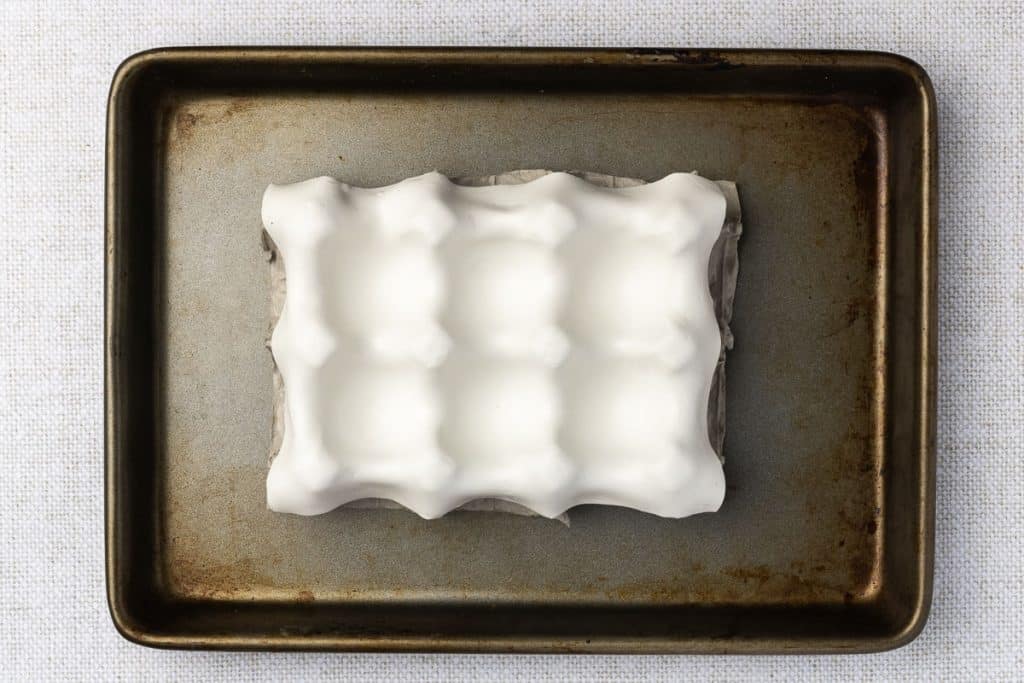
- Place the clay and cardboard carton on a baking tray. Bake the clay on the cardboard carton to hold its shape for 15-20 minutes. If the clay is thicker than ¼ inch, you must bake it longer; 15 minutes for each ¼ inch of thickness. When the clay is removed from the oven, it will harden as it cools.
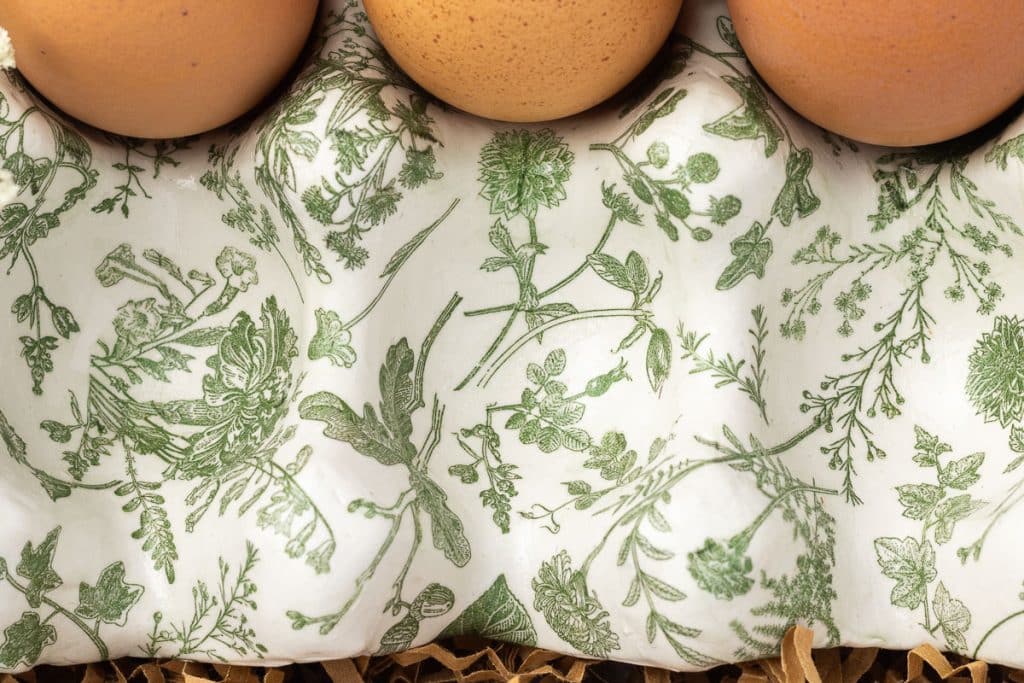
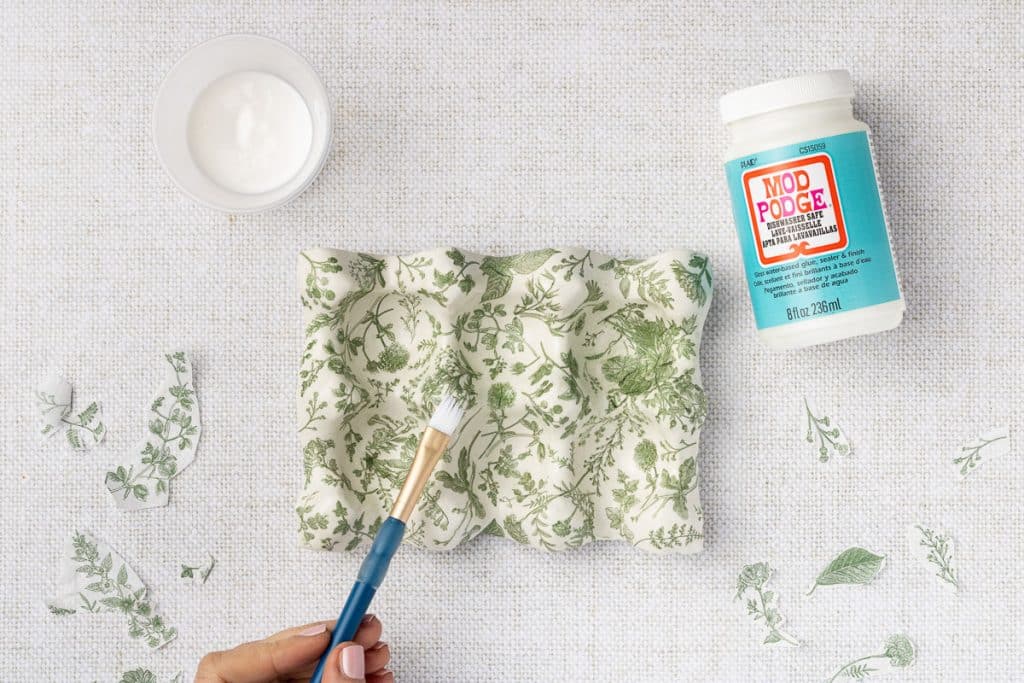
- While the clay is baking, separate the napkin’s top ply and discard the rest. You are only using the napkin’s top decorative portion. Cut out the designs you would like on your egg carton. You can leave white around the edges, as they will blend in once pasted onto the clay. Cutting notches between branches or leaves in white areas will help the napkin lie flatter, especially on curved areas.

- Once the clay is done baking, allow it to cool for about 10 minutes.
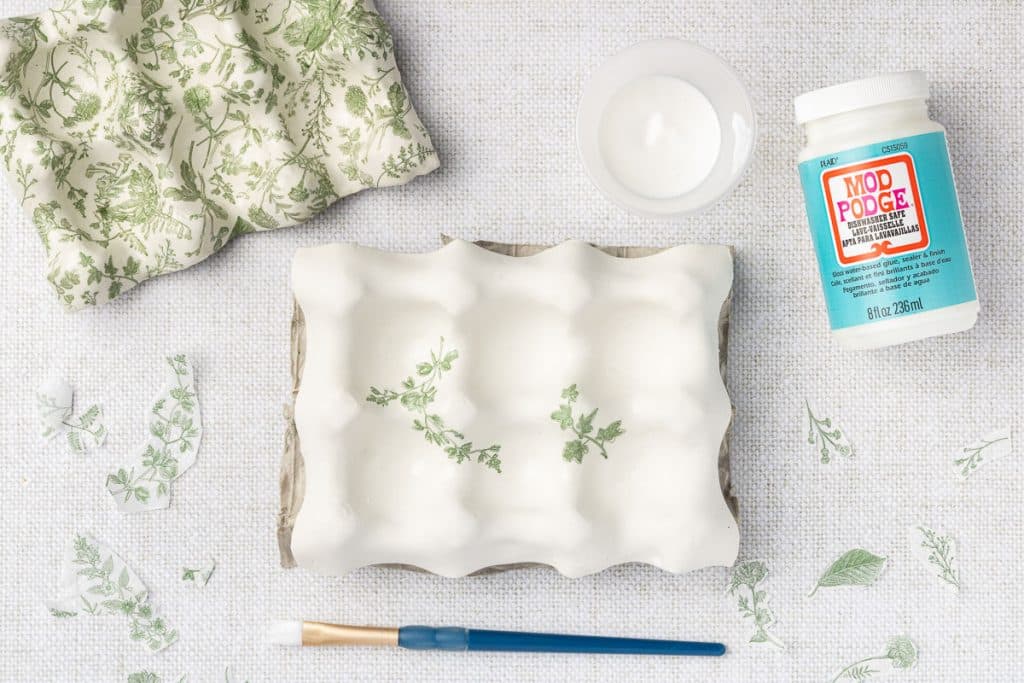
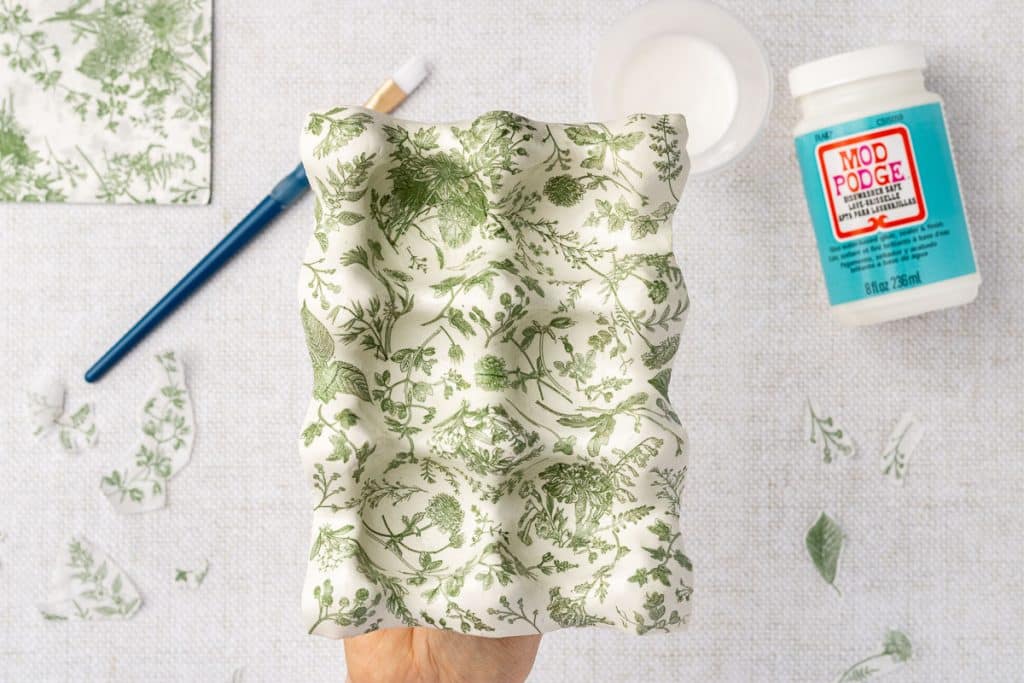
- Using a brush, apply a thin layer of Mod Podge to the clay, making it slightly larger than the size of your design. Place the cut napkin design onto the area and brush it flat onto the clay, applying another thin layer of Mod Podge on top. Repeat this process until your carton is covered with the design you like. Alternate working in different areas to give the Mod Podge time to dry. This will prevent accidentally brushing on an already pasted, but still wet area.
*Tip: Brush down a small section at a time, brushing from the center out to the edges, but never from the edges inward to prevent bunching or ripping.
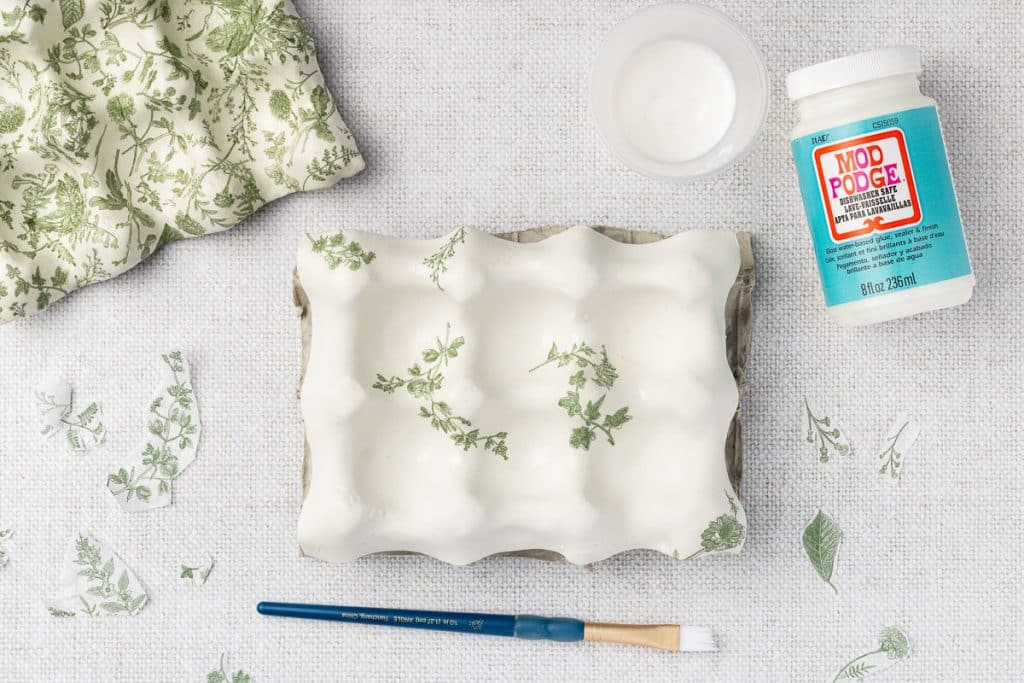
- After you cover your carton with your design, apply two additional coats of Mod Podge, allowing each coat to dry before applying the next.
How to Care for Your Ceramic Egg Tray
To care for this egg crate, once finished, wipe it with a damp towel, clean it when necessary, and allow it to air dry. While the Mod Podge used is “dishwasher safe”, the way it is used in this project makes this tray water resistant but not washable or dishwasher safe.

Tips for Success
Work on a Non-Stick Surface: Roll out the clay on a silicone mat or wax paper to prevent sticking. It also makes cleanup much easier.
Keep Your Hands and Tools Clean: Clay easily picks up lint, dust, and color. Ensure your hands and tools are clean to avoid specks or smudges on the final product.
Use a Light Hand When Pressing the Egg: You want to create an indentation, not break through the clay. A light but firm press is enough to form the egg spots.
Seal the Edges with Extra Mod Podge: After applying the final coat of Mod Podge, run a thin line along the edges and under a bit to prevent the napkin from peeling over time.
Test Clay Thickness Before Baking: Roll a small piece of clay and bake it to test how it cures. This will help you determine if you need to adjust the thickness or baking time.
Frequently Asked Questions
Yes, but air-dry clay will not be as durable as polymer clay and may be more fragile. If you use air-dry clay, allow at least 24–48 hours for it to fully cure before adding the decoupage. It may also need a clear sealer to strengthen it after drying
To prevent cracks in polymer clay, start by thoroughly conditioning it—knead it until it’s soft, pliable, and evenly textured. This helps eliminate dryness and brittleness, which are common causes of cracking.
Roll the clay to an even thickness, ideally around ¼ inch, to ensure it bakes uniformly; inconsistent thickness can lead to uneven curing and stress on the surface.
Always bake at the recommended temperature—typically 275°F for 15 minutes per ¼ inches of thickness—and use an oven thermometer, as most ovens aren’t accurate.
Once baking is complete, let the piece cool slowly in the oven with the door open to avoid sudden temperature changes that can cause cracks.
Be sure to support your piece properly during baking—lay it flat or bake it on a mold, like a cardboard egg carton in this case, to prevent sagging or warping.
Avoid using water to smooth the clay, as it can interfere with the polymer and cause cracking; instead, use a clay softener or rubbing alcohol to smooth the surface.
If small cracks appear after baking, you can fill them with wet clay and bake again for a few minutes. You can also use fine sandpaper to smooth the surface before applying Mod Podge.
Yes! If you want to add a colored background or additional design, use acrylic paint after baking and before applying the decoupage. Allow the paint to fully dry before adding the Mod Podge.
If you notice wrinkles or bubbles while the Mod Podge is still wet, gently smooth them out with a clean, dry brush or your fingertip. If they appear after drying, carefully sand them with very fine sandpaper and apply another thin layer of Mod Podge.
You can, but remember that fabric is thicker and may not conform to the egg tray’s curves as easily as a napkin. To make it work better, use thin, lightweight fabric and cut small notches around curved edges to help it lay flat.
After the final coat of Mod Podge dries, apply a clear gloss varnish or spray sealer. This will give the tray a shiny finish and add an extra layer of protection.
Bookmark this page or pin the following image to return to these instructions to make a ceramic egg tray in the future.
Thanks so much for spending a few minutes of your busy day with me!
To ensure you don’t miss future content, pop your email in the pale green box on the right or click here. I usually send one email weekly, so I won’t inundate your inbox. I’m sensitive to an overflowing email inbox!
We will only use your email address to send you emails, no more than 1-2 weekly. In addition, you will have access to my growing library of knit & crochet patterns and other printables. Check back often as this library will continue to grow. You can unsubscribe anytime by emailing me or clicking on the “unsubscribe” link at the bottom of all emails.
And you can access many of the products I refer to on my Nourish and Nestle Amazon Page. You can access it here.
So, if you’d like to participate in the ‘subscriber benefit’ action, simply subscribe to Nourish and Nestle here or use the form on the right sidebar. It’s slightly towards the top.
I have sent all my subscribers the link to the Subscriber Benefits Library. If you missed it or misplaced it, let me know.
Until next time…