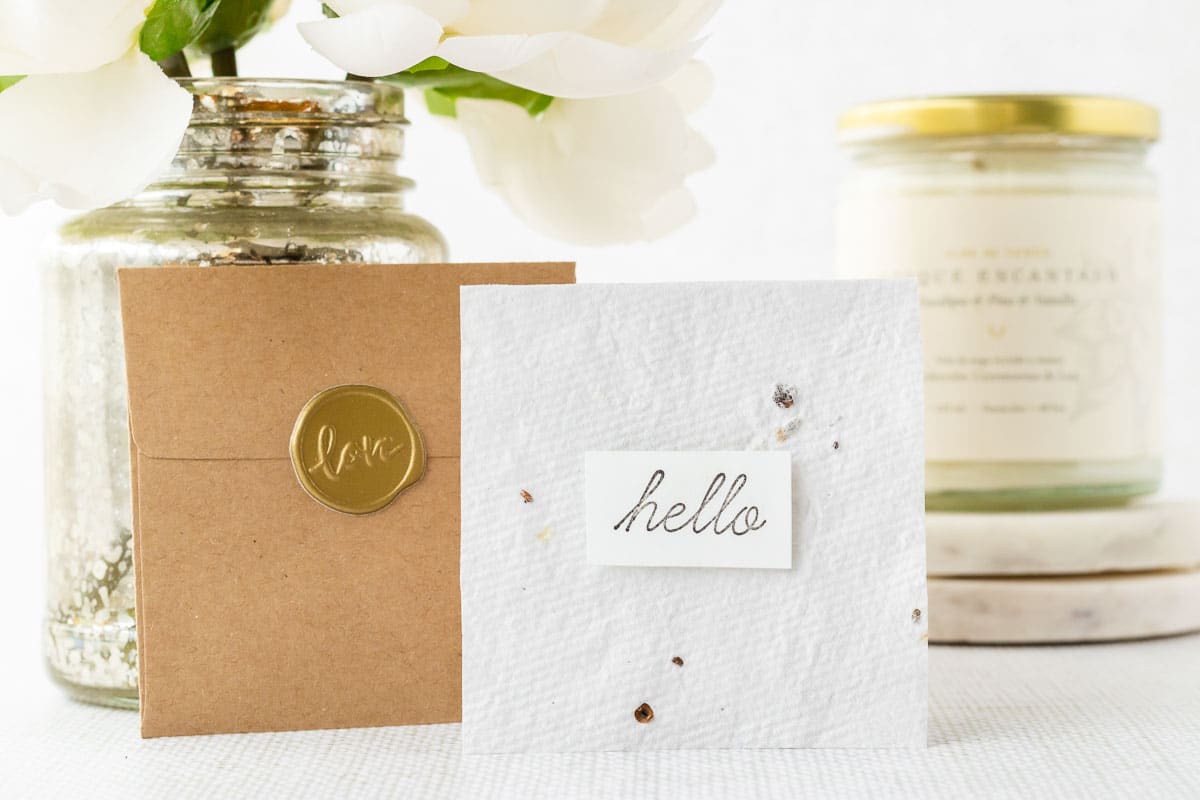
DIY Gift Bags for the Holidays
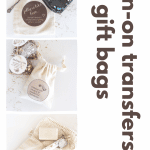


I was looking for a way to make my handmade gifts of food and washcloths/dishcloths just that much more special. Luckily, I came across Michael’s Halloween Gift Bags and the lightbulb went off! Tucking the gifts into a canvas bag with a label tailored to that gift was my solution. I couldn’t be more thrilled with how they turned out. I am sharing this tutorial for easy to make DIY Gift Bags using Iron-On Fabric Transfers, perfect for your handmade or purchased gifts.
Holy Cow! Did I struggle with what to call these! While I ended up with ‘DIY Gift Bags’, in fact, I did not ‘make’ the bag…I just ‘adorned’ it. I’m all about truth in advertising, but calling them ‘Purchased, but DIY Adorned Gift Bags with Iron-On Fabric Transfers’ just seemed like waaaaaay too much.
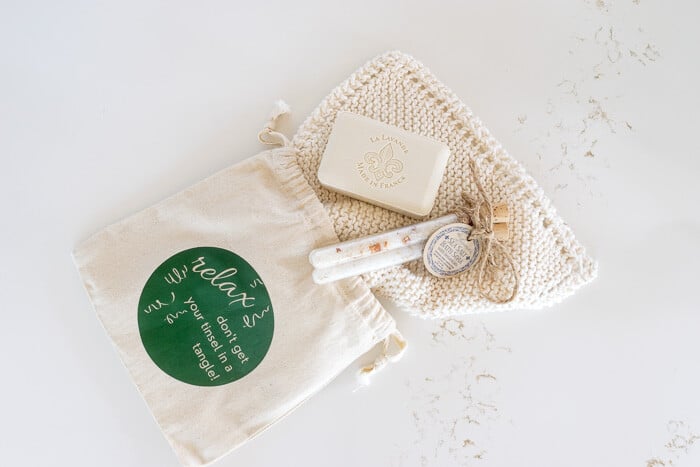
Table of Contents
Some of these links may be Amazon affiliate links and I may earn a small commission from the sale of these products to help defray the costs of operating this site, but the price you are charged is not affected. You can see my full disclosure policy here.
And while these drawstring gift bags would be easy to sew from scratch, it cost me about $1 per bag for the small ones and just a wee bit over $1 per bag for the larger ones. These canvas bags easily fell into the ‘cheaper to buy than to make’ category.
I will say that I did end up washing the bags before I really worked with them. They had a strong (to me) odor, but Terry says I have a nose like a bloodhound, so there’s that. I washed and dried them and the odor is completely gone.
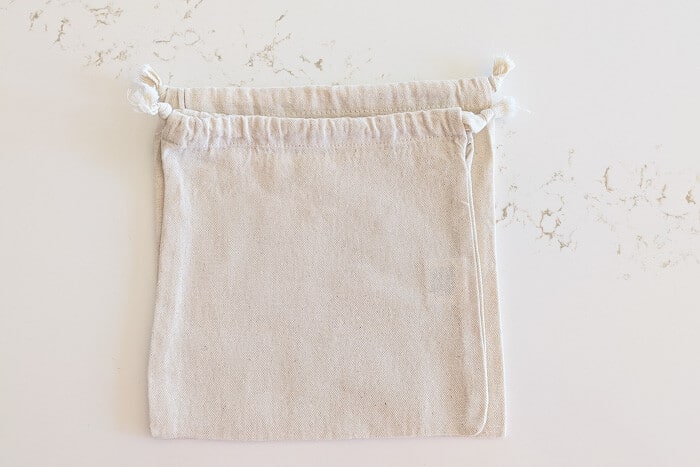
They did shrink a wee bit, as you can see by the comparison of the 8 by 10 bags below. But not enough that they won’t do what I need them to do.
What You Need to Make These DIY Gift Bags
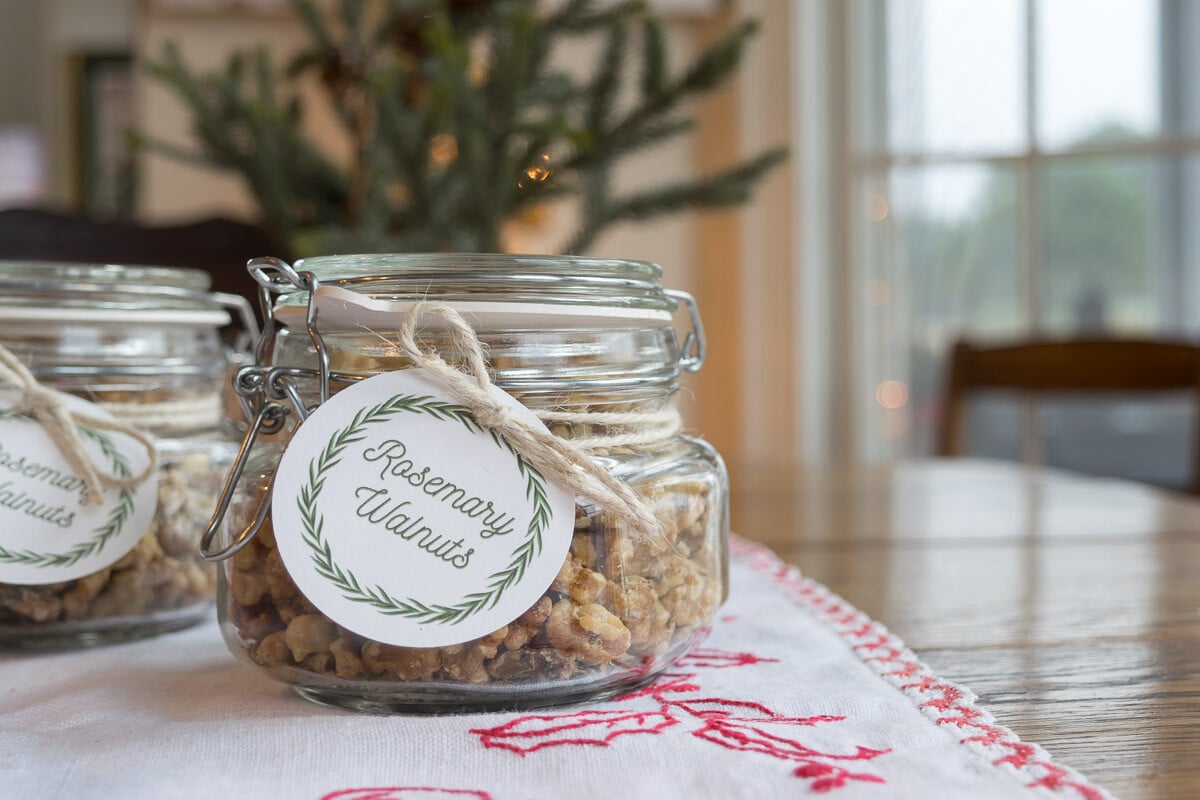
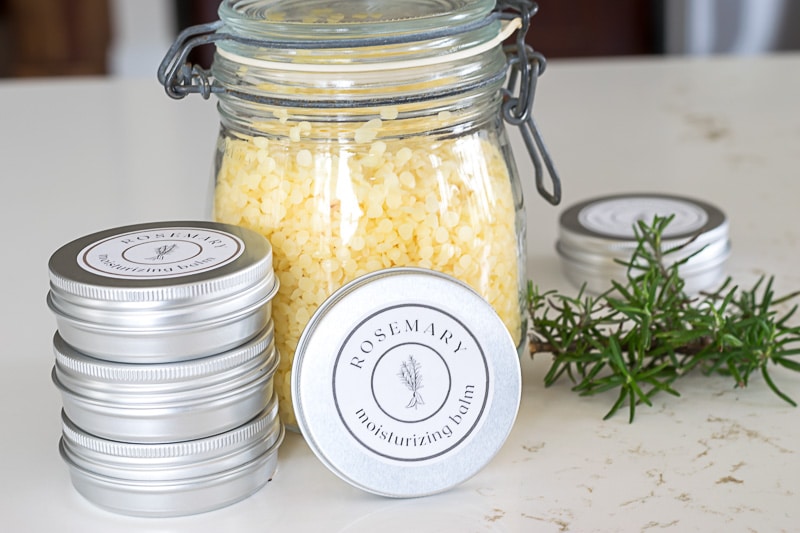
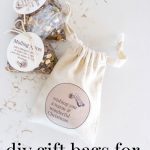
- Fabric Bags. I purchased both 5 x 7-inch and 8 x 10-inch canvas bags for my DIY Gift Bags, but feel free to make your own! The 5 x 7-inch bags are perfect for a bag of mulling spices and a small pint of jam or jelly or other food gift. The 8 x 10-inch bags work for a small loaf of bread, a bag of cookies, as well as a spa gift of a washcloth, bar of soap, and tube of bath salts.
- Iron-on Fabric Transfer Paper
- Inkjet Printer
- Iron You don’t want steam, so if you need to dump the water out of your iron, go ahead and do that.
- Scissors
- Ruler
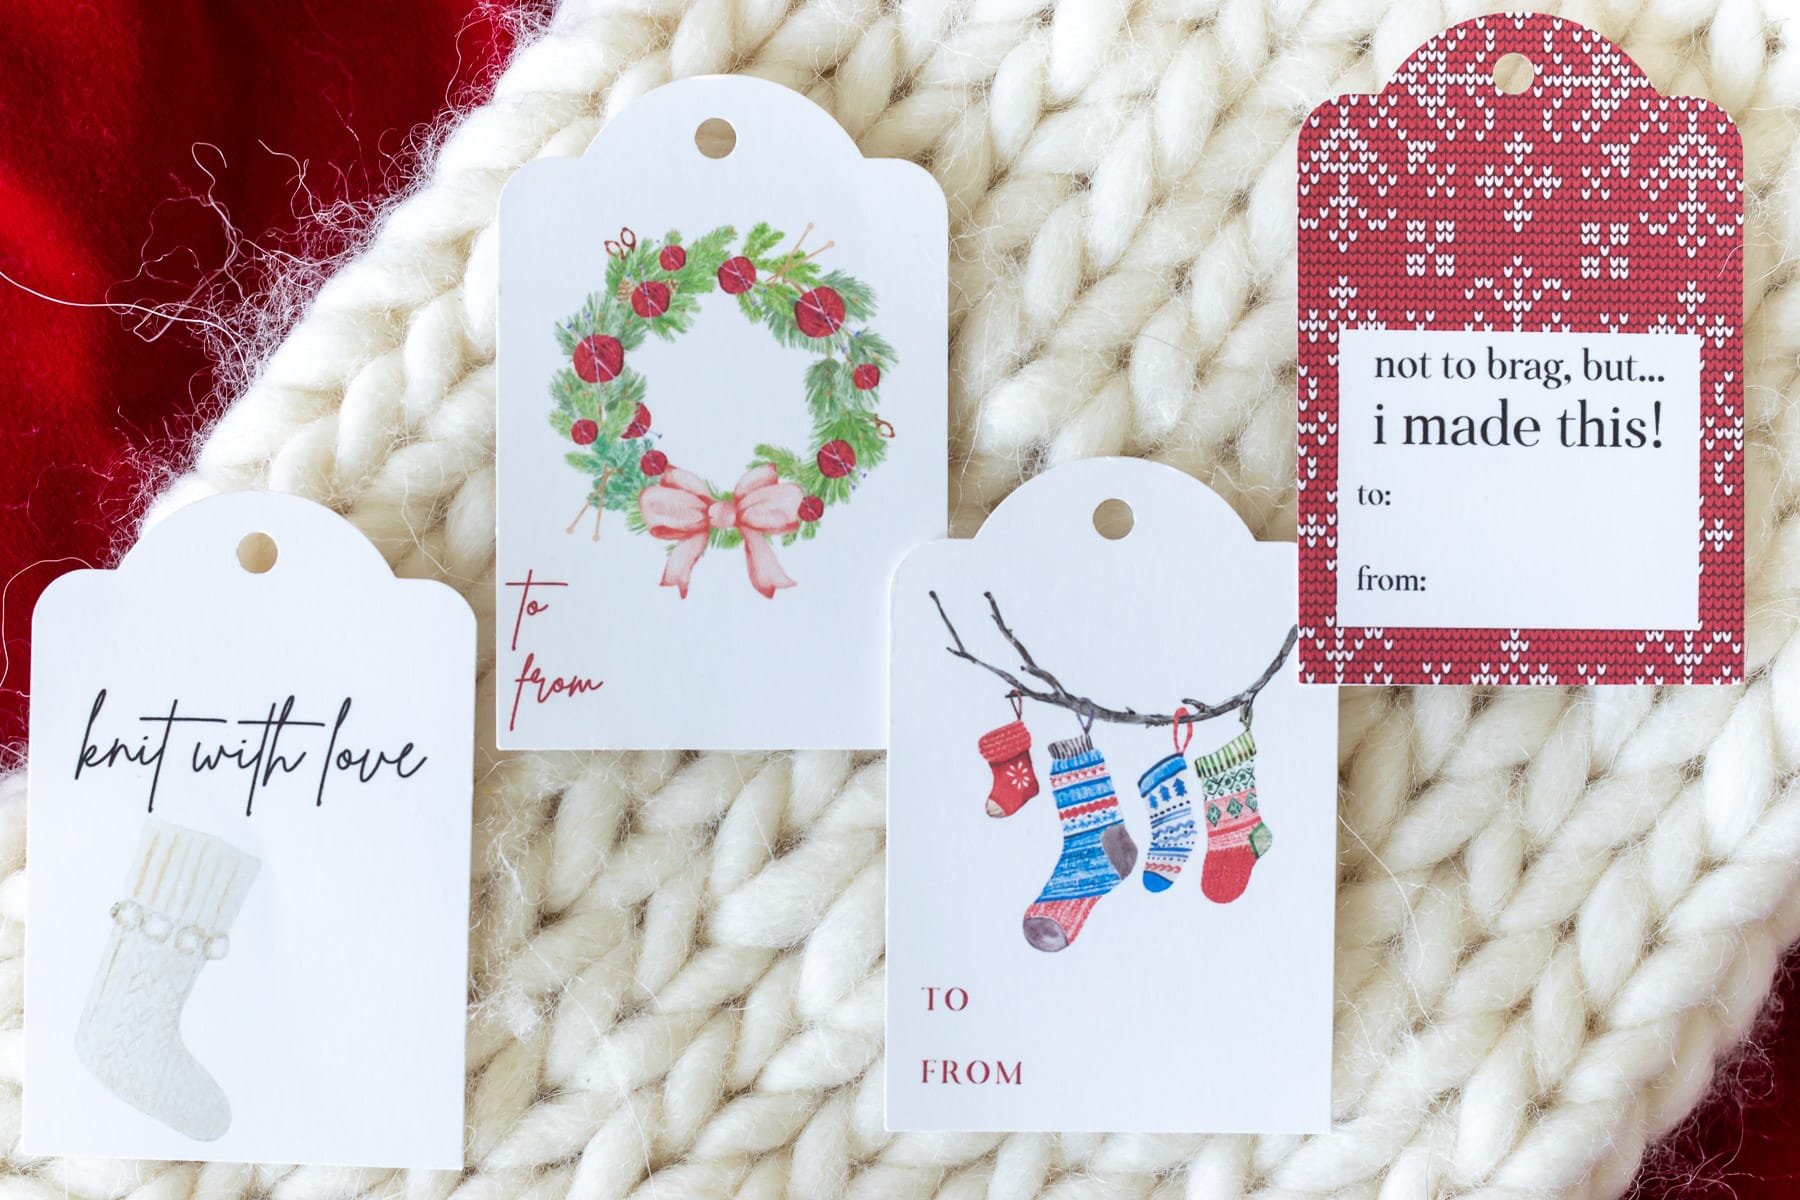
- Designs. I initially made 8 designs for you to use and will continue to add to the designs in the future. Subscribers can nab all the designs in the Subscriber Benefits Library. Or you can click the appropriate button below to have it sent right to your inbox.
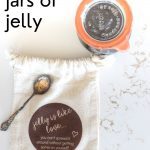
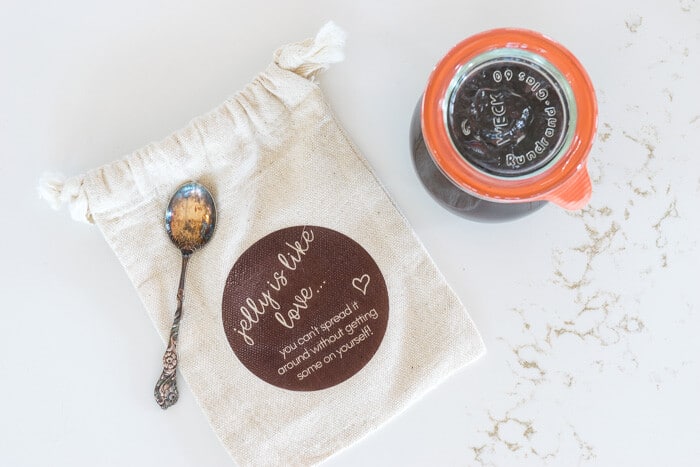
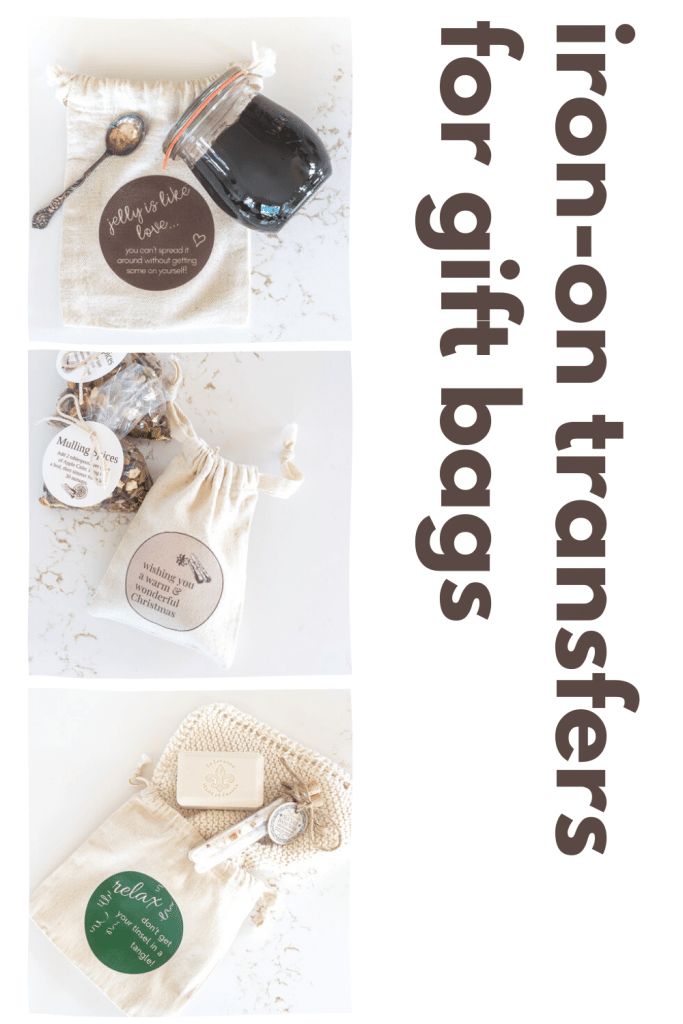
For the ‘Jelly is Like Love’ Iron-On Fabric Transfer Labels, click this button. Use this 5 x 7-inch bag for any of the preserve recipes found in my Canning and Preserving Library.
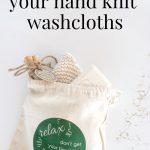
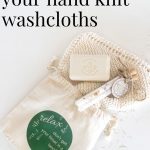
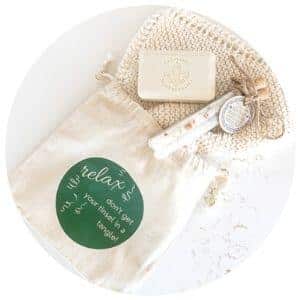
For the ‘Don’t Get Your Tinsel in a Tangle’ Iron-On Fabric Transfer Labels, click this button. I envision tucking one of my hand-knit washcloths, along with a bar of soap and maybe some bath salts into this 8 x 10-inch ‘spa’ themed gift bag. The image below shows the Bridget Washcloth, but do check out these other Hand Knit Dish Cloth patterns.
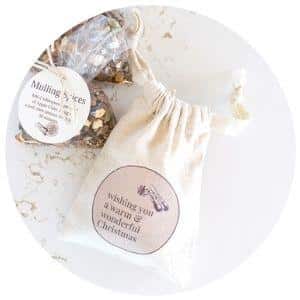
For the ‘Wishing You a Warm & Wonderful Christmas’ Iron-On Fabric Transfer Labels, click the following button. A bag of mulling spices or a jar of any of these diy gifts for cooks would be perfect in this 5 x 7-inch DIY gift bag.
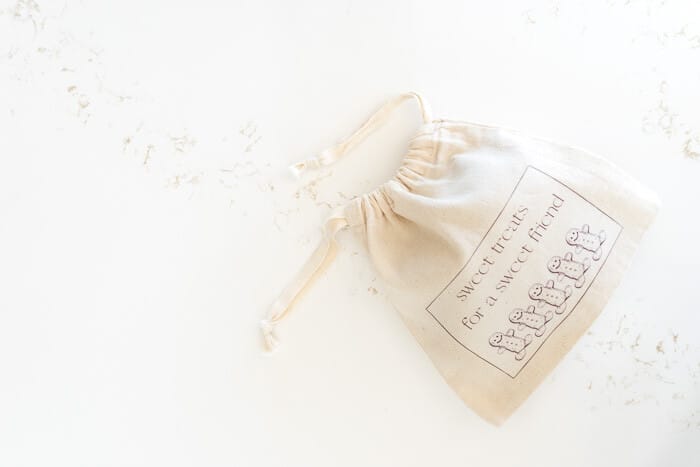
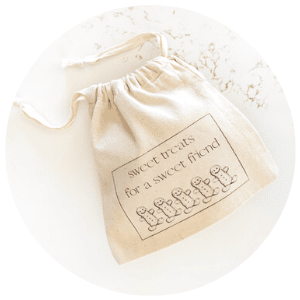
For the ‘Sweet Treats for a Sweet Friend’ Iron-On Fabric Transfer Labels, click this button. This label works for an 8 x 10-inch bag. A small loaf of bread, like this Spiced Apple Bread, or a bag of cookies like these Spiced Molasses Cookies, fits perfectly in these bags.
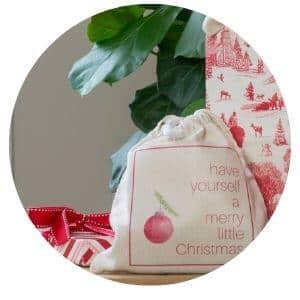
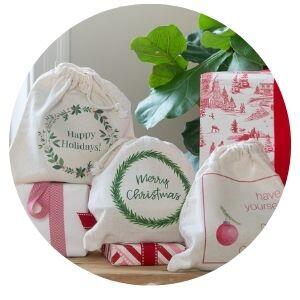
For the Have Yourself a Merry Little Christmas Iron-On Label for 8 x 10-inch bags, click the following button.
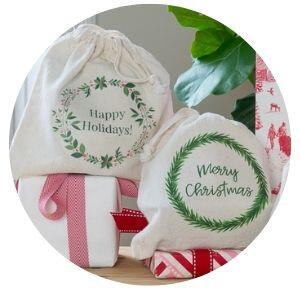
For the Merry Christmas and Happy Holidays Iron-On Labels for 8 x 10-inch gift bags, click the following button.
For these three Iron-On designs on one page, suitable for 5 x 7-inch gift bags, click the following button.
How to Apply the Iron-On Fabric Transfer
- If so inclined, wash and dry your gift bags (bear in mind there will be some modest shrinkage)
- Iron the bags so that there are no wrinkles
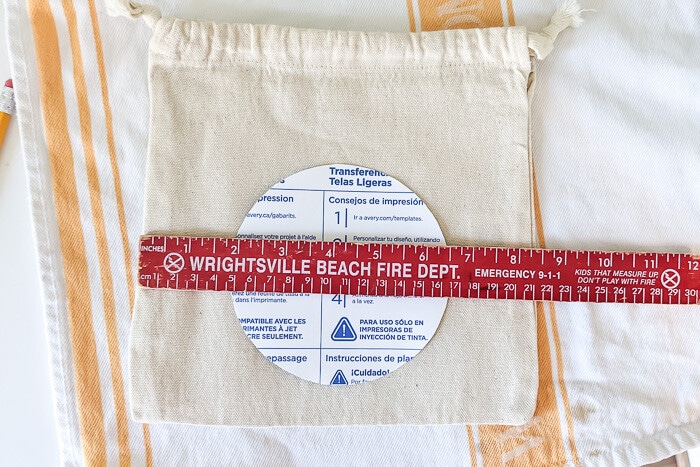
- Print off the design of your choosing. You will note when you download your design, that they are backward. That is the way they should be so that the mirror image is what is ironed on your bag. Do not set your printer to ‘mirror’ image…it is already done for you.
- Carefully cut around your image.
- Lay a cotton towel or pillowcase on a hard, heat-safe surface and iron the towel or pillowcase to remove any folds or wrinkles. (I used the top of my dryer…I wouldn’t do it on a wooden surface)
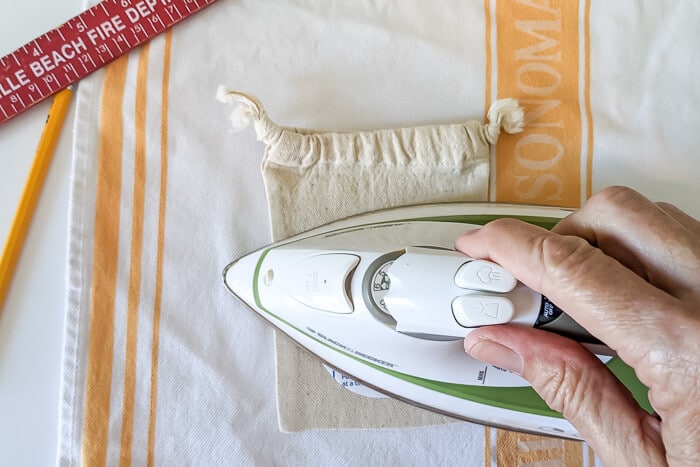
- With the steam setting OFF and all water removed, set your iron to ‘cotton’ setting and let it warm up for 5 minutes.
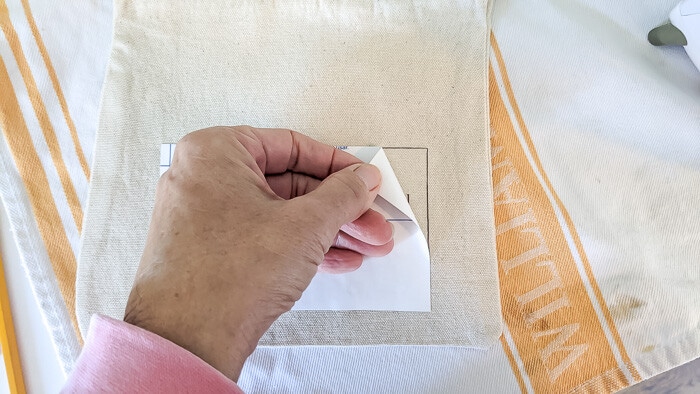
- Place your image, design facing down, on the bag. I centered mine, but feel free to place yours where you want them.
- Iron the transfer, using firm pressure and moving the iron slowly from one side to the other and then from the top to the bottom. Ensure that you sufficiently run the iron on the edge of your design. All told, you should iron the piece for about 45 seconds to 1 minute.
Make sure your let your bag cool for 2-3 minutes!
- Allow the bag to cool for 2-3 minutes before peeling back the surface. If the image begins to lift, use your iron to apply more heat. Focus on the area that wants to lift. Permit it to cool for 2-3 minutes again before trying to peel off the paper.
- If you are going to work on a second piece, allow the work surface to cool before you do so.
I sure hope you find some good uses for these diy gift bags! I’d love for you to share what you tuck in the gift bags; you can email me at [email protected].
Also, I do plan to make some more labels, so please leave a comment with some ideas. I have some “Merry Christmas” ones coming.
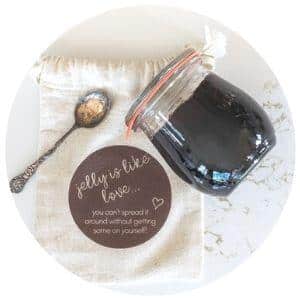
To refer back to this post showing how to make DIY Gift Bags with Iron-On Fabric Transfer Labels, bookmark this page or pin the following image.
Thanks so much for spending a few minutes of your busy day with me!
To ensure you don’t miss future content, pop your email in the pale green box on the right or click here. I usually send one email weekly, so I won’t inundate your inbox. I’m sensitive to an overflowing email inbox!
We will only use your email address to send you emails, no more than 1-2 weekly. In addition, you will have access to my growing library of knit & crochet patterns and other printables. Check back often as this library will continue to grow. You can unsubscribe anytime by emailing me or clicking on the “unsubscribe” link at the bottom of all emails.
And you can access many of the products I refer to on my Nourish and Nestle Amazon Page. You can access it here.
So, if you’d like to participate in the ‘subscriber benefit’ action, simply subscribe to Nourish and Nestle here or use the form on the right sidebar. It’s slightly towards the top.
I have sent all my subscribers the link to the Subscriber Benefits Library. If you missed it or misplaced it, let me know.
Until next time…