
How to Make DIY Painted Bowls
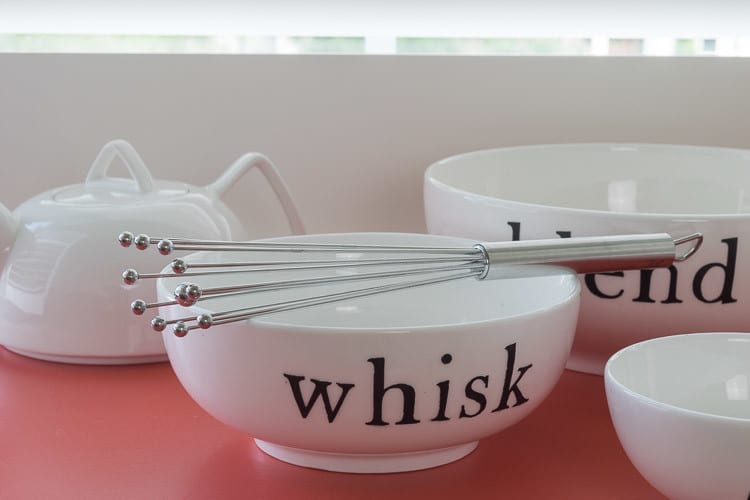
I am excited to share how to make these diy painted bowls! Specifically, a nested set of mixing bowls can be easily personalized for your own kitchen or for a gift recipient.
When I pondered this painted bowl project, I knew I needed to find bowls whose sides were more vertically plumb than tapered. Anytime you are applying a stencil, it is always easier the straighter and less curved the surface.
Some of these links may be affiliate links and I may earn a small commission off of the sale of these products to help defray the costs of operating this site, but the price you are charged is not affected. You can see my full disclosure policy here.
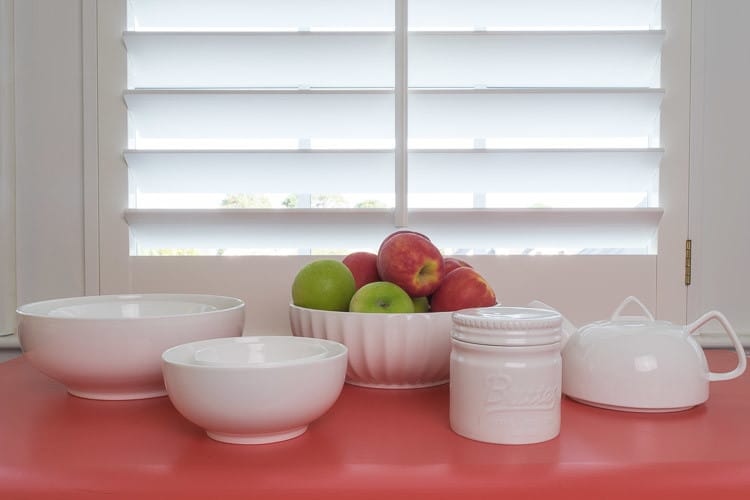
This porcelain microwave, oven and dishwasher safe nested mixing bowl set by Dowan was perfect and I was thrilled to be sent the mixing bowls, in addition to a teapot, butter keeper and lovely fluted bowls by Dowan. The sides of the teapot are equally straight and so would be easy to stencil as well.
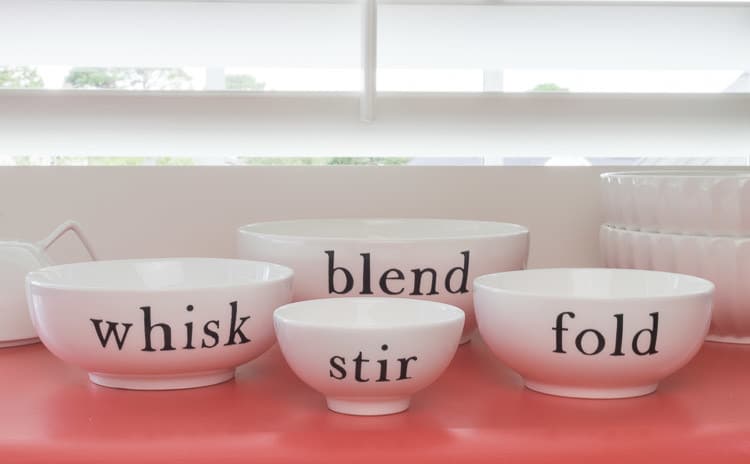
Table of Contents
While my Dowan mixing bowls are porcelain, this process will work for ceramic as well.
What is the difference between porcelain and ceramic?
While ceramic and porcelain are both made of clay and other elements, the clay used for porcelain is more refined. It is fired at a higher temperature and greater pressure, resulting in a product which is more harder and denser than ceramic. As such, porcelain has proven to be more durable than ceramic
What You Need to Make These Painted Bowls:
- Dowan 4-Piece Mixing Bowl Set (the Dowan Teapot, with its relatively straight sides, would be lovely stenciled as well.)
- Something to cut your stencils. I used my Cricut Explore Air and some scrap vinyl.
- Rubbing Alchohol
- Testor’s Enamel Paint, I used Black
- Paint Brush
- Oven
You can see the full video here.
How to Make Customized Bowls:
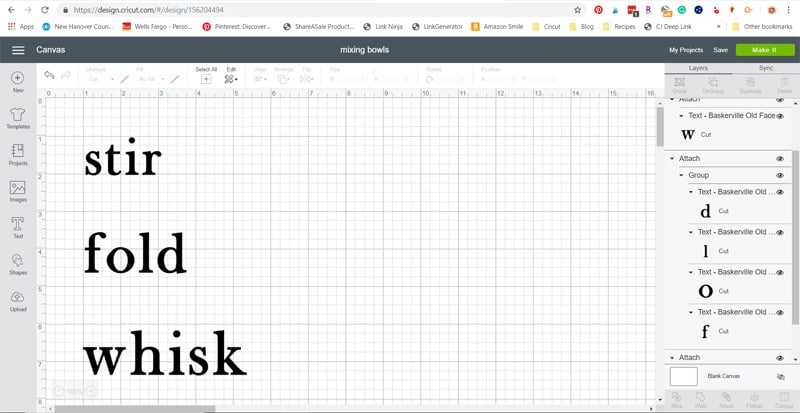
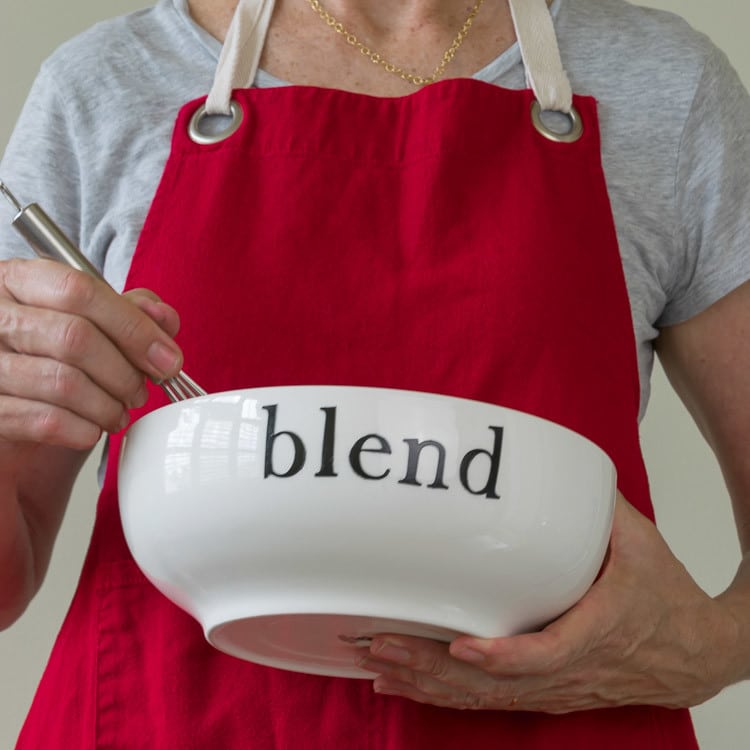
- You need your stencil. I used my Cricut Explore Air to make the stencils for these painted bowls. I looked for ‘action’ words associated with baking and narrowed it down to ‘Stir’, ‘Fold’, ‘Blend’ and ‘Whisk’. If you are looking for other baking terms to customize your bowls, here are some of the verbs that I also considered:
- mix
- beat
- combine
- whip
- cream
- knead
- I sized each word relative to the size of the bowl it was going on, so that ‘stir’, which went on the smallest bowl, is a smaller font than the other 3. I incrementally increased the size of the font for each larger bowl.

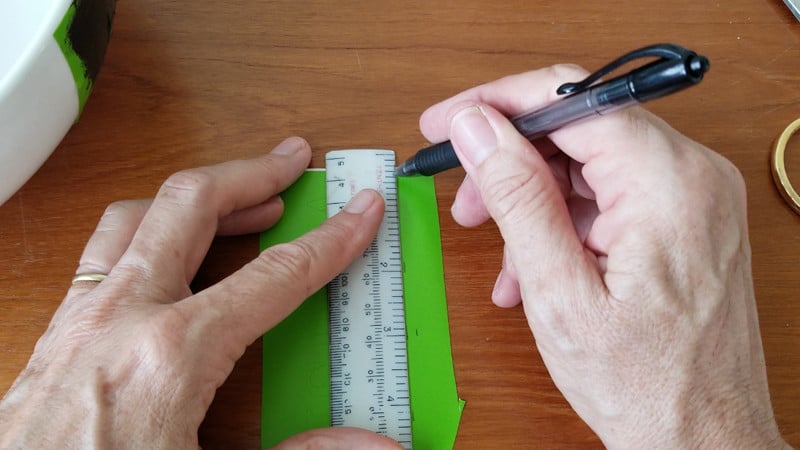
- After cutting the stencil using a piece of scrap vinyl, I determined how far down from the top of the bowl I wanted each word to be and measured 1/4″ from the top of the tallest letter on each stencil.

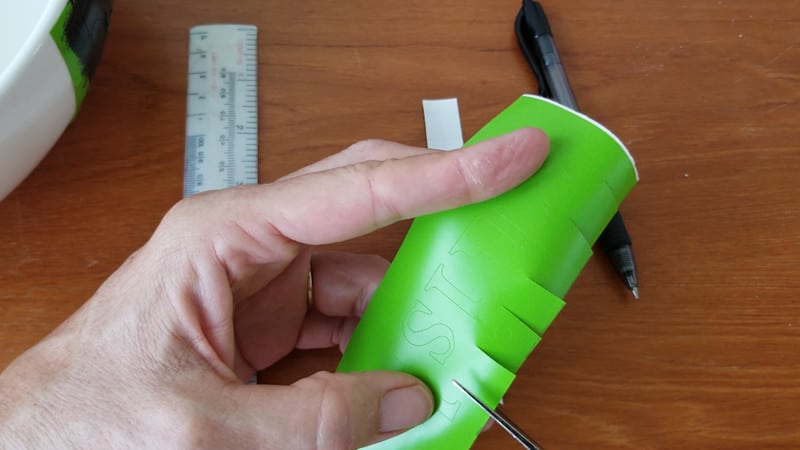
- Then I cut easings into each stencil so that it would form itself around the curve of the bowl a little better.
- Before you apply your stencil, wipe the bowl off with rubbing alcohol.
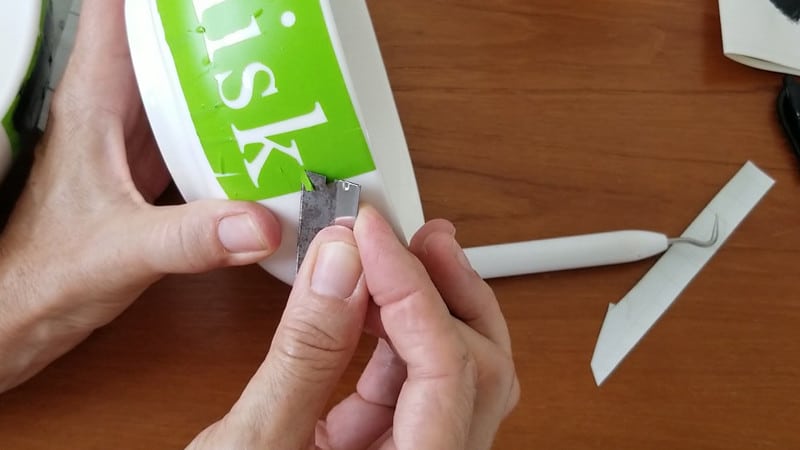
- Applying the stencil takes a little patience. You want to remove as many air bubbles and folds around the letters as possible…your Cricut weeding tool and razor blade come in handy.
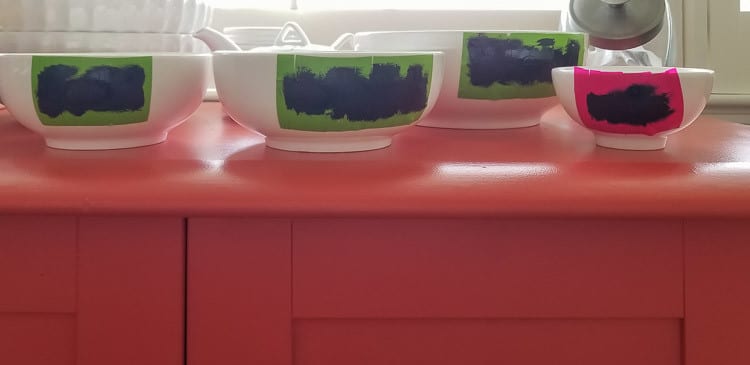
- I tried a couple of different paints and think that the Testors’ Enamel is the most durable if you want to be able to wash your personalized bowls in the dishwasher. I also tried both a sponge brush and a bristle brush; the sponge brush left a lot of little bubbles so do recommend a bristle brush. The key is to do light coats, waiting at least 3 hours between coats.

- Let your painted bowls sit for 3-5 days to partially cure.

- Remove your stencils. If you have any areas where the paint went under the stencil, use mineral spirits and a q-tip, your weeding tool wrapped in a cloth or something similar to carefully remove what you don’t want.
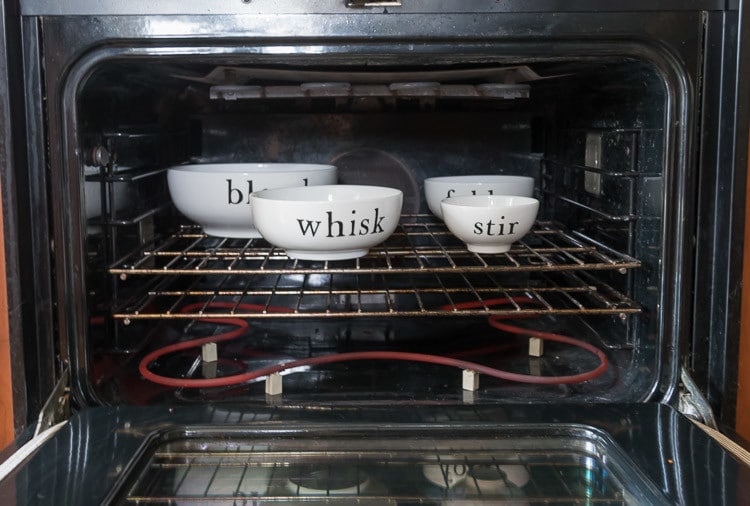
- Further set the paint in the oven. Put your bowls in a cold oven, turn the oven to 300° and bake for 1 hour. Turn the oven off and let the bowls cool in the oven.
Are painted bowls dishwasher safe?
I don’t think anyone can say that DIY Painted Bowls will be 100% dishwasher safe. I think with each repeated dishwashing, the paint is liable to start chipping. That being said, making sure your surface is clean before painting, using the Testors paint, letting the paint cure and baking will definitely prolong the life of your painted image.
- The longer you can let your stenciled bowls sit before running them through the dishwasher, the better. I let mine sit undisturbed for another 5-7 days. My bowls have successfully been run through the dishwasher, on the top shelf. That being said, to prolong the life of my painted bowls I think I will hand wash them.

I haven’t decided if I am going to keep these or give them to our daughter, who is starting out with her first apartment after graduation. Hmmm….decisions, decisions.

To refer back to this post on DIY painted bowls, bookmark this page or pin the following image:

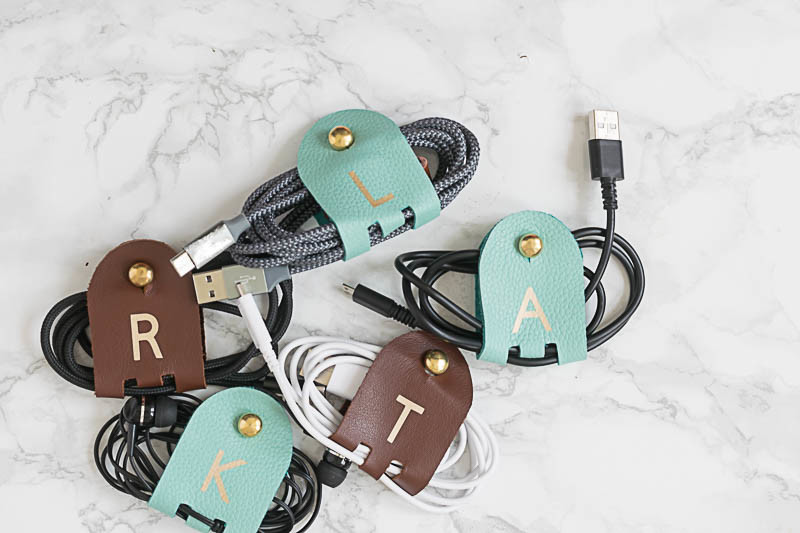
Lastly, if you are looking for more DIY Cricut projects, check out these leather cord keepers that I used my Cricut to make. They make fantastic gifts as well!
Thanks again for spending a few minutes of your busy day with me today. Please know that I welcome each and every comment that comes my way. If you want to make sure you don’t miss future content, pop your email in the beige box up on the right or click here. I usually send out 1 email a week, so I won’t inundate your inbox…believe me, I’m sensitive to an overflowing email inbox!
When you subscribe to Nourish and Nestle, be assured that we will only use your email address to send you emails that will keep you up to date with the latest news and content on the site. In addition, you will have access to my growing library of knit patterns, crochet patterns, as well as other printables. This library will continue to grow, so check back often.
Please know that you can unsubscribe at any time by emailing me or clicking on the “unsubscribe” link at the bottom of all emails.
Did you know that you can access many of the products I refer to in all of my posts on my Nourish and Nestle Amazon Page? You can access it here.
So, if you’d like to get in on the ‘subscriber benefit’ action, simply subscribe to Nourish and Nestle here or using the form on the right sidebar. It’s towards the top a bit. I have sent all my subscribers the link to the Subscriber Benefits Library. If you missed it or misplaced it, drop me a line.
Until next time…
Hugs,
Nourish and Nestle is a paid endorser for Dowan Porcelain Dinner. Nourish and Nestle receives compensation, including free product, for support of Dowan nd its products.

I love these bowls and the whole set, really beautiful on their own. But man are those custom stencils cute! I have a wedding shower coming up soon, I might need to include something like this with her gift. Thanks for the inspiration.
They’d be perfect for a wedding gift!
Lynn, I really love these bowls! This year our family is thinking about doing a DIY Christmas and I for one couldn’t be more excited! Someone in my family will be getting a set of these bowls!
OH good! And what a fun idea! May have to borrow that one!