
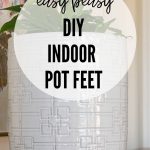
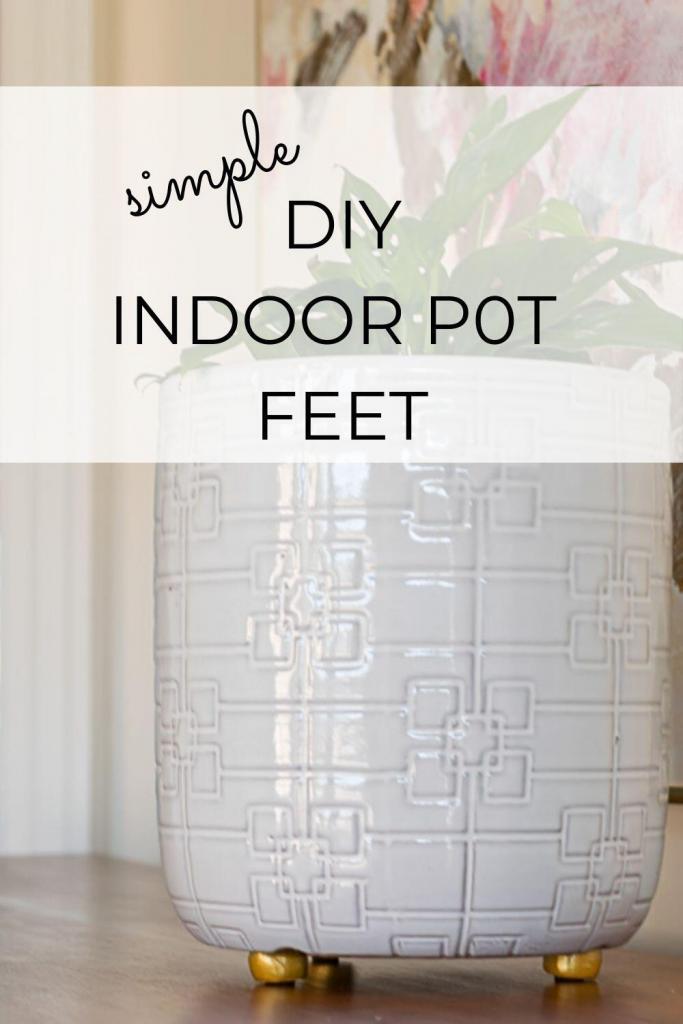
DIY Indoor Pot Feet: Quick & Easy
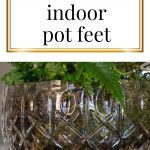
These DIY indoor pot feet keep your pots off of your good furniture thereby reducing the risk of water damage.
You know what my buddy Plato says…
Necessity is the mother of invention!
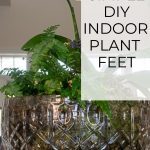
I made this living centerpiece last year, just about this time, and it is still going strong. I’ve changed out the orchids once or twice, but I’ve been lucky enough to have them re-bloom, so it’s been a simple and low-cost tabletop garden.
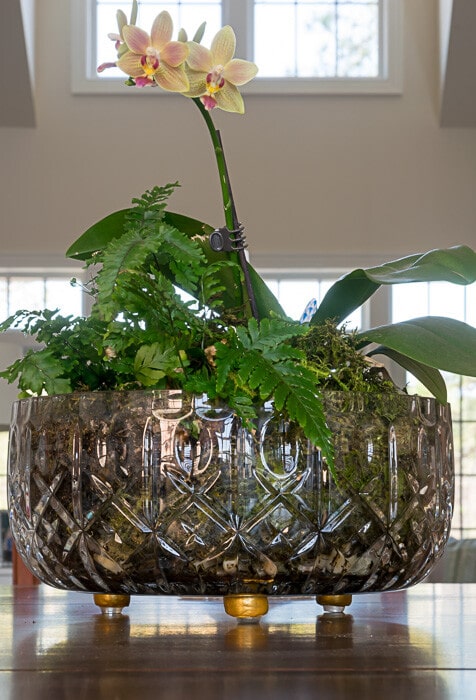
Table of Contents
The only issue is that sometimes, despite my best efforts, I would get a drip down the side of the bowl and not realize it. I do have a small mark on my table as a result of drop that sat there too long. My temporary solution was to use a kitchen trivet, but I felt it detracted from the crystal bowl.
I have terra cotta feet that I use to keep my pots up off of my deck and was wracking my brain for a similar solution.
The Lightbulb Moment! 💡
I finally settled on making my own indoor pot feet from polymer clay. This is an easy project that can be started and finished in an hour, if you do as I say and not as I do. 🤣
But, in my defense, I really didn’t have a choice as it appears that there is a run on all brands and colors of polymer clay, at my local craft store anyway. If I need more plant feet, I will use polymer clay in the final color and not worry about painting it. More on that in a bit.
Material Needed
Some of these links may be Amazon affiliate links and I may earn a small commission from the sale of these products to help defray the costs of operating this site, but the price you are charged is not affected. You can see my full disclosure policy here.
Polymer Clay Like I said, avoid having to paint your pot feet. My color options were limited to yellow, brown, and black and my local craft store. I know that polymer clay comes in metallic gold, which is what I wanted. But, when that wasn’t an option, I decided to buy the yellow and then paint it gold.
The painting wasn’t hard, but it took about 6 coats to fully cover and time between each coat to dry. FWIW, acrylic paint works fine on polymer clay but spray paint doesn’t.
So, if you want metallic gold, then absolutely order metallic gold clay. This site has great illustrations of the different colors of the metallic polymer clay.
Felt or rubber feet
Gorilla Glue Gel (or any gel super glue) I found that my E6000, which I love for many uses, just didn’t set up on the polymer glue.
Ruler
Aluminum Foil
Oven
How to Make Indoor Pot Feet
A little less than half of a brick of polymer clay made 6 pot feet.
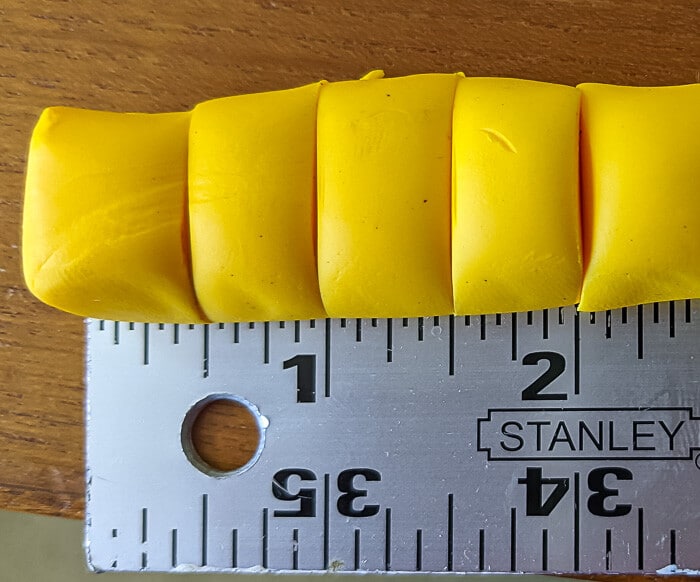
I rolled the clay into a tube, about 3/4 of an inch in diameter. You could easily make your feet wider, but not much narrower if you are putting rubber feet on them as the rubber feet are about 1/2″ in diameter.
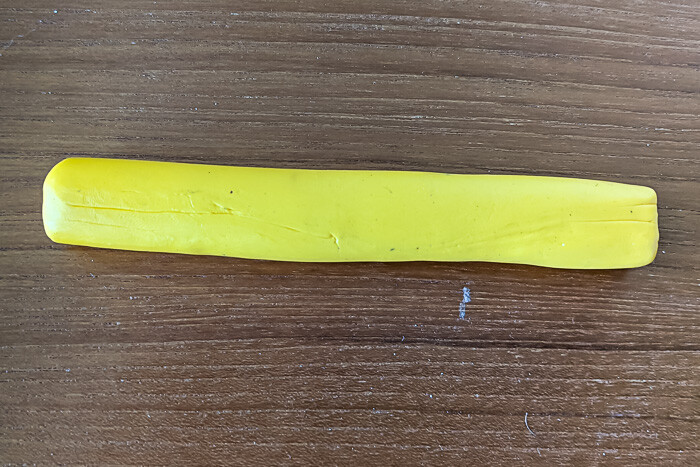
Make your tube as uniform as possible in terms of thickness.
Once you feel it is mostly uniform, use a sharp knife or razor blade to cut the clay into sections. I made mine 1/2″ thick.
The clay will ‘mash down’ a bit when you cut it, but you can easily re-form it.
Once you think you have them ‘re-formed’ look at them from eye-level to see if you have any that are a tad wonky and that need a little more attention.
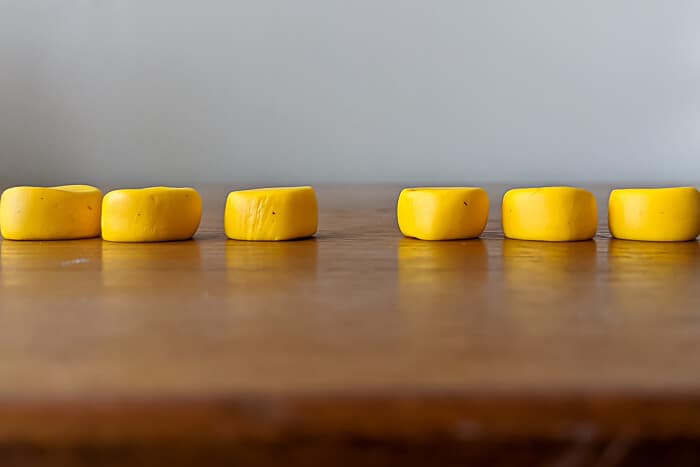
Most of these look good, but that one on the far left needed a little more TLC. You will use 3 feet for each pot, so you want them as much as possible to be the same height.
Once you are happy that they are mostly uniform in size, preheat your oven to 230°. Place your pot feet on a piece of aluminum foil on a baking sheet and bake for 30 minutes.
IF you need to paint your feet, wait until they are completly cool. I found it easiest to paint the sides first and then the top. In all honesty, no one should be able to see the top of the feet, but I had a hard time leaving them yellow! Just a personal issue, I guess.
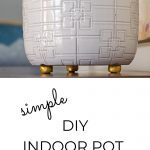
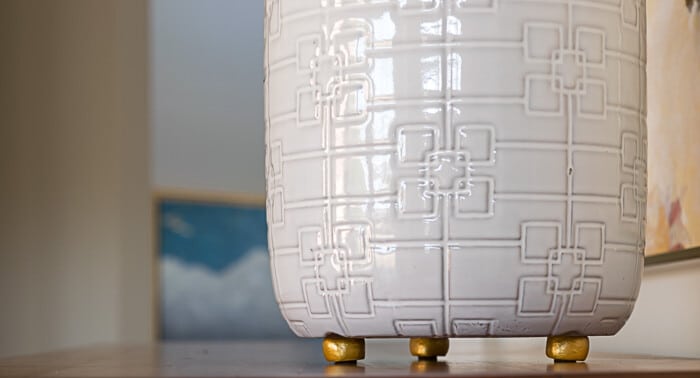
Use a little dollop of the Gel glue to adhere the rubber feet…I found that the adhesive on the feet wouldn’t stay adhered to the feet without the additional gel glue. I found that that the felt feet did not need additional glue. The white pot has the pot feet with felt, while I used the rubber feet on the crystal planter.
TADA! Easy peasy pot feet that keep your plant pots off of your furniture and add a little bit of bling!

To refer back to this simple DIY for indoor pot feet, bookmark this page or pin the following image.
Thanks so much for spending a few minutes of your busy day with me!
To ensure you don’t miss future content, pop your email in the pale green box on the right or click here. I usually send one email weekly, so I won’t inundate your inbox. I’m sensitive to an overflowing email inbox!
We will only use your email address to send you emails, no more than 1-2 weekly. In addition, you will have access to my growing library of knit & crochet patterns and other printables. Check back often as this library will continue to grow. You can unsubscribe anytime by emailing me or clicking on the “unsubscribe” link at the bottom of all emails.
And you can access many of the products I refer to on my Nourish and Nestle Amazon Page. You can access it here.
So, if you’d like to participate in the ‘subscriber benefit’ action, simply subscribe to Nourish and Nestle here or use the form on the right sidebar. It’s slightly towards the top.
I have sent all my subscribers the link to the Subscriber Benefits Library. If you missed it or misplaced it, let me know.
Until next time…


love your page
Thanks so much, Betty! Kind comments like yours keep me going.
Have a wonderful day! 🫶🏼