
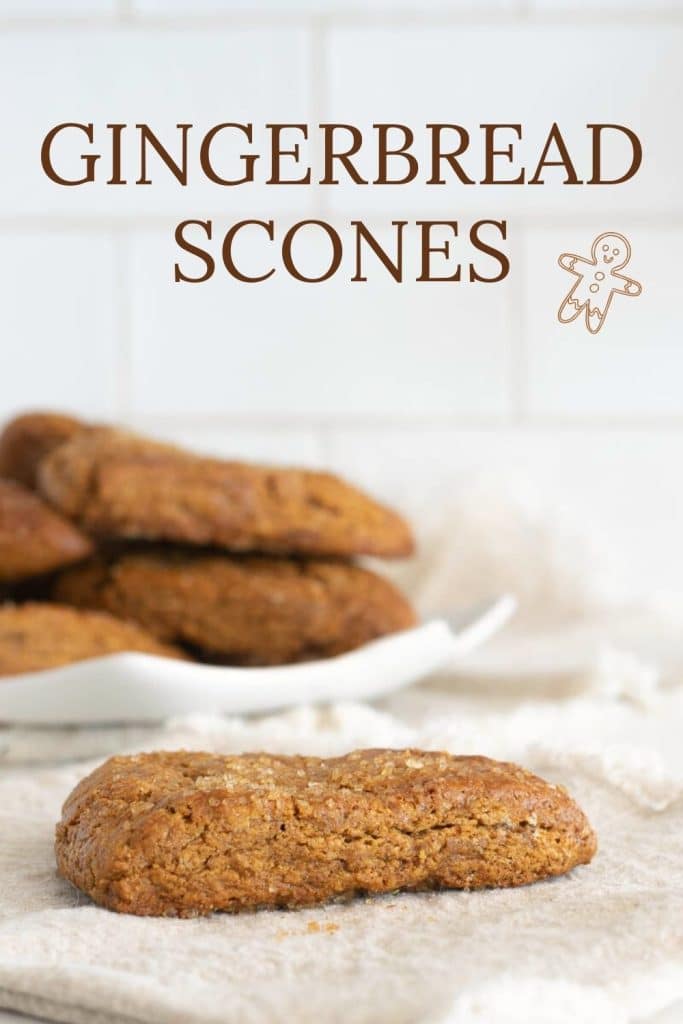
Gingerbread Scones Recipe


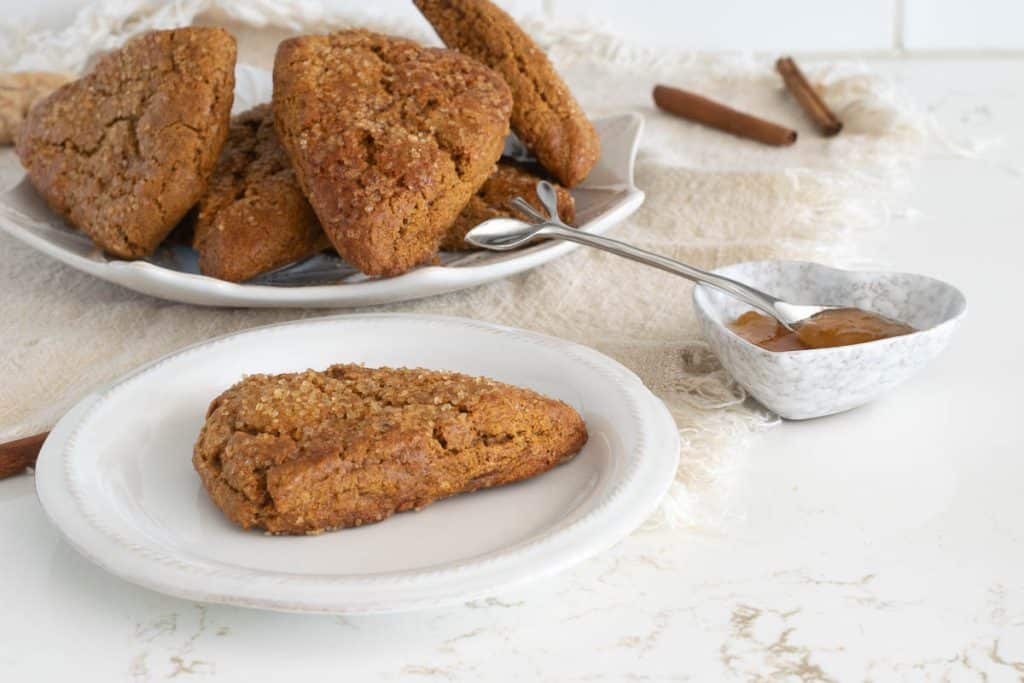
These Gingerbread Scones feature the trademark molasses/spice combination that makes gingerbread so irresistible. They are just sweet enough without being too sweet. In addition to the recipe, this article discusses several tips for making perfect scones with a crumb that is tender and moist, not gummy or dense.
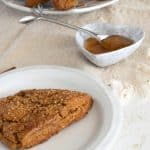
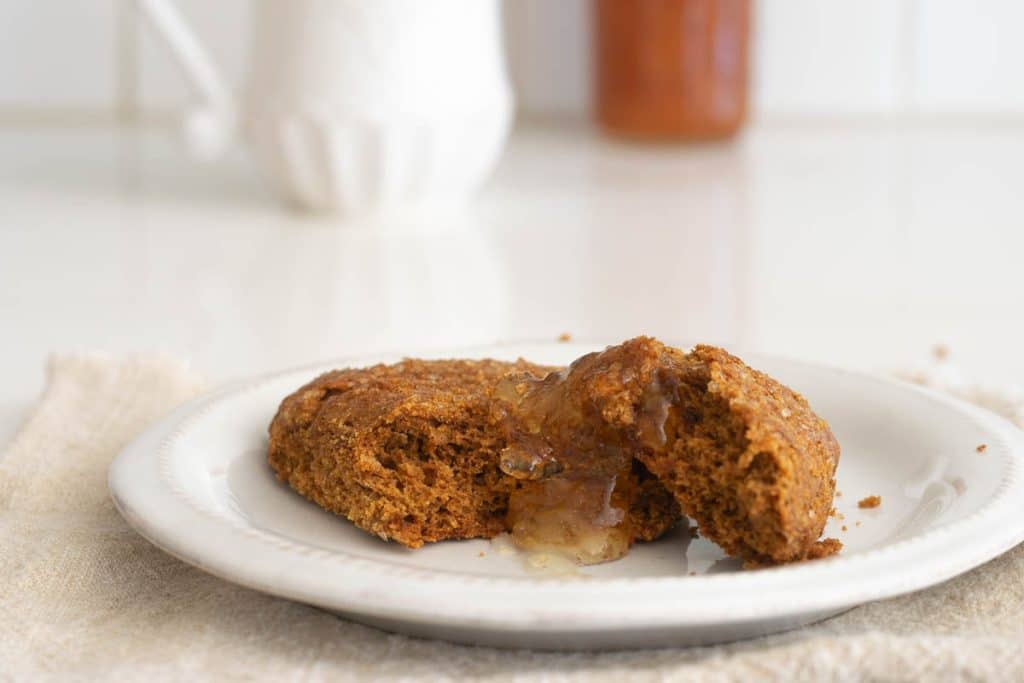
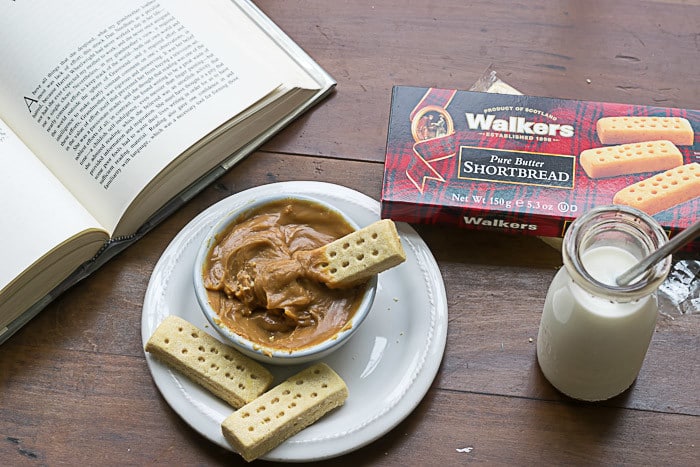
Much like the mouse who was given a cookie, these scones came into being because I made the most perfect pear jam that just cried out for a gingerbread scone for it to be slathered upon. The pairing of the two is similar to the pairing of Fred + Ginger, Tarzan + Jane, or…Taylor + Travis! 😂 In other words, they were meant to go together!
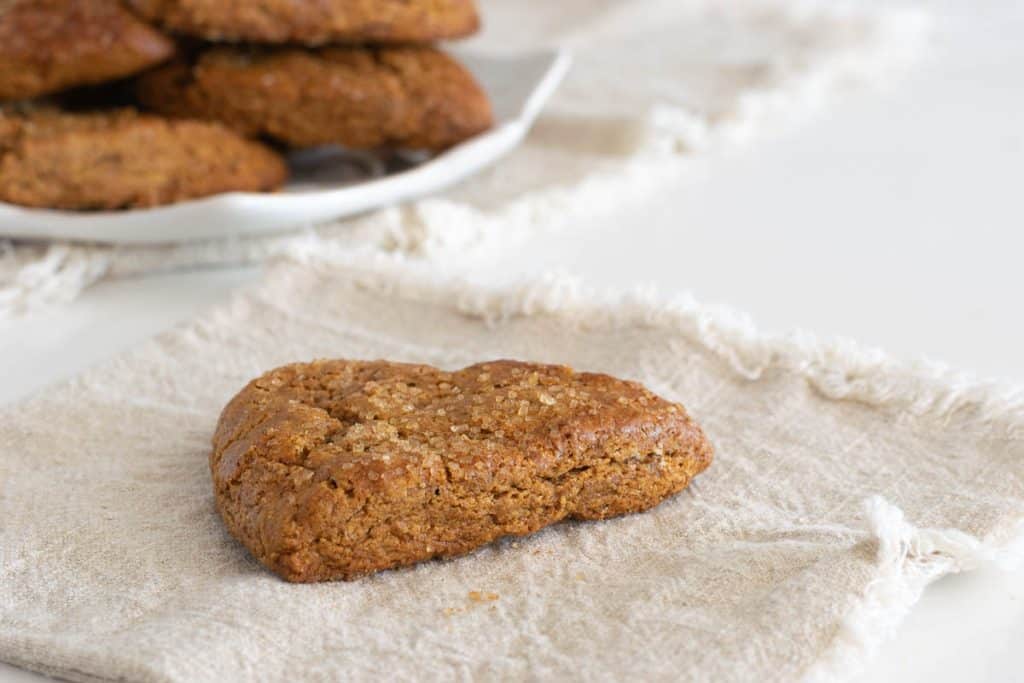
Table of Contents
That said, you don’t need jam to enjoy these scones. Enjoy them as is with your morning tea or coffee. Or, with your evening champagne! They are ever accommodating. We recently them after dinner, just as is. They have just enough sweetness to be a dessert, but not too sweet.
Ingredients in Gingerbread Scones
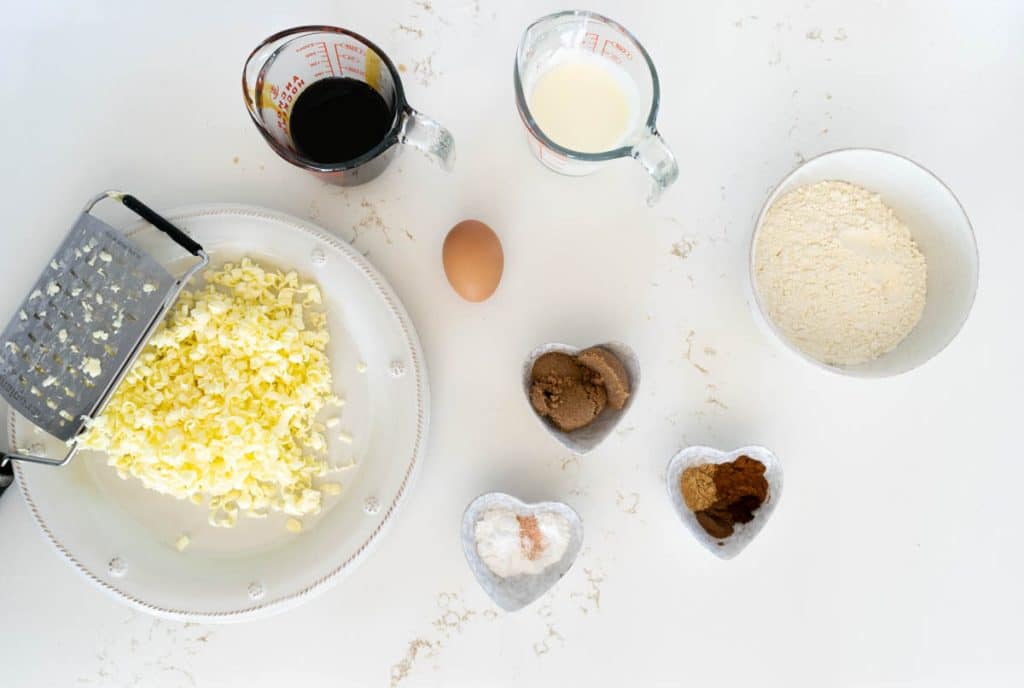
- Pastry Flour: Lighter than all-purpose flour, it gives your scones that crumbly, melt-in-the-mouth texture. Among other qualities, pastry flour has less protein compared to all-purpose or bread flour. Less protein means less gluten development, which translates to a more tender, delicate crumb.
- Dark Brown Sugar: It brings rich molasses undertones and a sultry sweetness that elevates your scones.
- Ground Ginger: This is what gives your gingerbread scones their gingerbread-ness. Aromatic, zesty, and with a mild kick.
- Allspice: While not a spice blend, you’ll get a whiff of cinnamon, cloves, and nutmeg. It’s warm, slightly peppery, and kind of sweet.
- Cinnamon: Sweet, woody, and familiar.
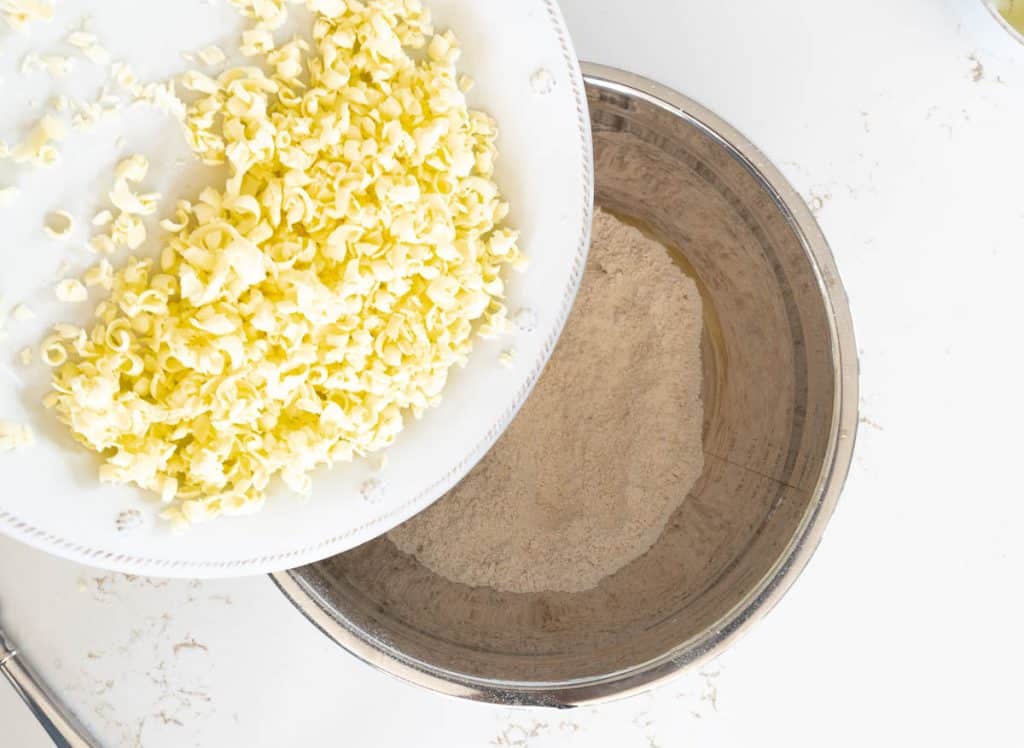
- Butter: This is where your scones get that rich, crumbly texture and heavenly mouthfeel. We use frozen and grated butter here and I strongly advise you to not skip this step. When butter is frozen, it’s less likely to fully incorporate into the flour. This means that when the scones are baking, those little pockets of butter start melting, creating steam. The steam lifts the dough so you get those delectably flaky layers we all crave. And when you grate your butter, it distributes more evenly throughout the mix, ensuring that each bite has that buttery goodness.
- Molasses: It lends depth and a complex sweetness that regular sugar just can’t and is a common ingredient in gingerbread.
- Egg Yolk: It holds everything together and contributes to a rich texture. Basically, the glue that still lets everyone shine.
- Cream: The cream gives your scones that lush, moist interior.
- Baking Powder: It’s what gives your scones the rise and makes them all puffy and glorious.
- Baking Soda: A bit of it goes a long way in balancing acidity and giving your scones just a tad more lift.
- Optional: For an even more gingery kick, add 3 tablespoons of chopped candied ginger when you add the wet ingredients to the dry ingredients.
Scoop and Level Method of Measuring Flour
The “scoop and level” method is a common way to measure flour accurately when baking, which is essential for achieving the best results. Here’s how to do it:
- Scoop: Use a spoon to fluff up the flour within the container. Then, use a scooping tool, like a spoon or a scoop, to overfill your measuring cup.
- Level: Once you’ve filled your measuring cup, take the back of a knife (or any straight-edged utensil) and level off the flour. This means you’ll sweep across the top of the measuring cup to remove the excess flour so the flour is even with the top edges of the measuring cup.
Resist packing the flour into the cup or tapping the sides of the cup, as this will lead to more flour than your recipe intends, potentially making your baked goods too dry or heavy. The “scoop and level” method aims for a light filling of the measuring cup for a more accurate measurement. By using the “scoop and level” method, you can ensure that you’re using the correct amount of flour for your recipes, improving the outcome of your baked goods.
Tips for the Best Gingerbread Scones
- Choose the Right Flour: The type of flour you use matters. Pastry flour’s your guy if you want lighter, softer scones.
- Use Scoop and Level of Measuring Flour: described in detail below.
- Cold Ingredients: This isn’t just about the butter. Your egg, cream, even your mixing bowl—keeping them all cold helps you get that divine texture.
- Frozen & Grated Butter: As we chatted before, this is the secret weapon. Grate it, and then freeze it for maximum flaky, crumbly goodness.
- Be Gentle: Overmixing is the enemy of tenderness. You want to handle the dough as little as possible.
- Preheat the Oven: A hot oven sets the structure of the scones quickly, ensuring they rise well. Preheat and give it time to get to the right temp.
- Don’t Grease the Sheet: A greased surface could encourage your scones to spread a little more than you’d like, messing with that ideal, slightly risen shape. Further, greasing can sometimes prevent the bottoms from getting that perfect, slight crunch and golden brown color.
- Space Out: Give your scone dough wedges plenty of room on the baking sheet. They need space to spread and rise.
- Brush the Tops: A little cream or egg wash on top will give your scones that appealing golden-brown finish.
- Watch the Clock: Every oven has its own personality, so keep an eye on the baking time. Those last couple of minutes can be the difference between “just right” and “just a touch too dry.”
- Cooling Rack is a Must: Once they’re out of the oven, transfer them to a cooling rack. This prevents them from getting soggy bottoms, and nobody wants a soggy-bottomed scone.
- Fresh is Best: Scones are best enjoyed immediately after baking. If you must store them, airtight containers are your friend.
How to Make Gingerbread Scones
Make-Ahead, Freezing + Storage Options:
Option 1: Freeze the Dough
- Make the dough as you normally would, then cut it into your preferred shapes.
- Place the unbaked scones on a baking sheet lined with parchment paper.
- Freeze them until they’re solid (usually an hour or so will do).
- Once they’re frozen, transfer them to a zip-top bag or an airtight container.
- When you’re ready to bake, no need to thaw! Just add a couple of extra minutes to the baking time and keep an eye on them.
Option 2: Refrigerate the Dough
- Prep the dough and shape your scones.
- Store them on a lined baking sheet, covered with plastic wrap, in the fridge.
- You can keep them chilled for up to 24 hours before baking.
Option 3: Bake and Freeze
- Bake the scones according to your recipe.
- Let them cool completely, then wrap each one tightly in plastic wrap.
- Store them in a zip-top bag or airtight container and freeze.
- To serve, you can thaw them at room temperature or give them a quick zap in the microwave or oven to warm them up.
Option 4: Bake and Store
If you’re just looking to get a head start on the next day, you can bake your scones and store them in an airtight container overnight. They’ll still be pretty tasty, though not as magical as fresh out of the oven.
Do You Love Gingerbread?
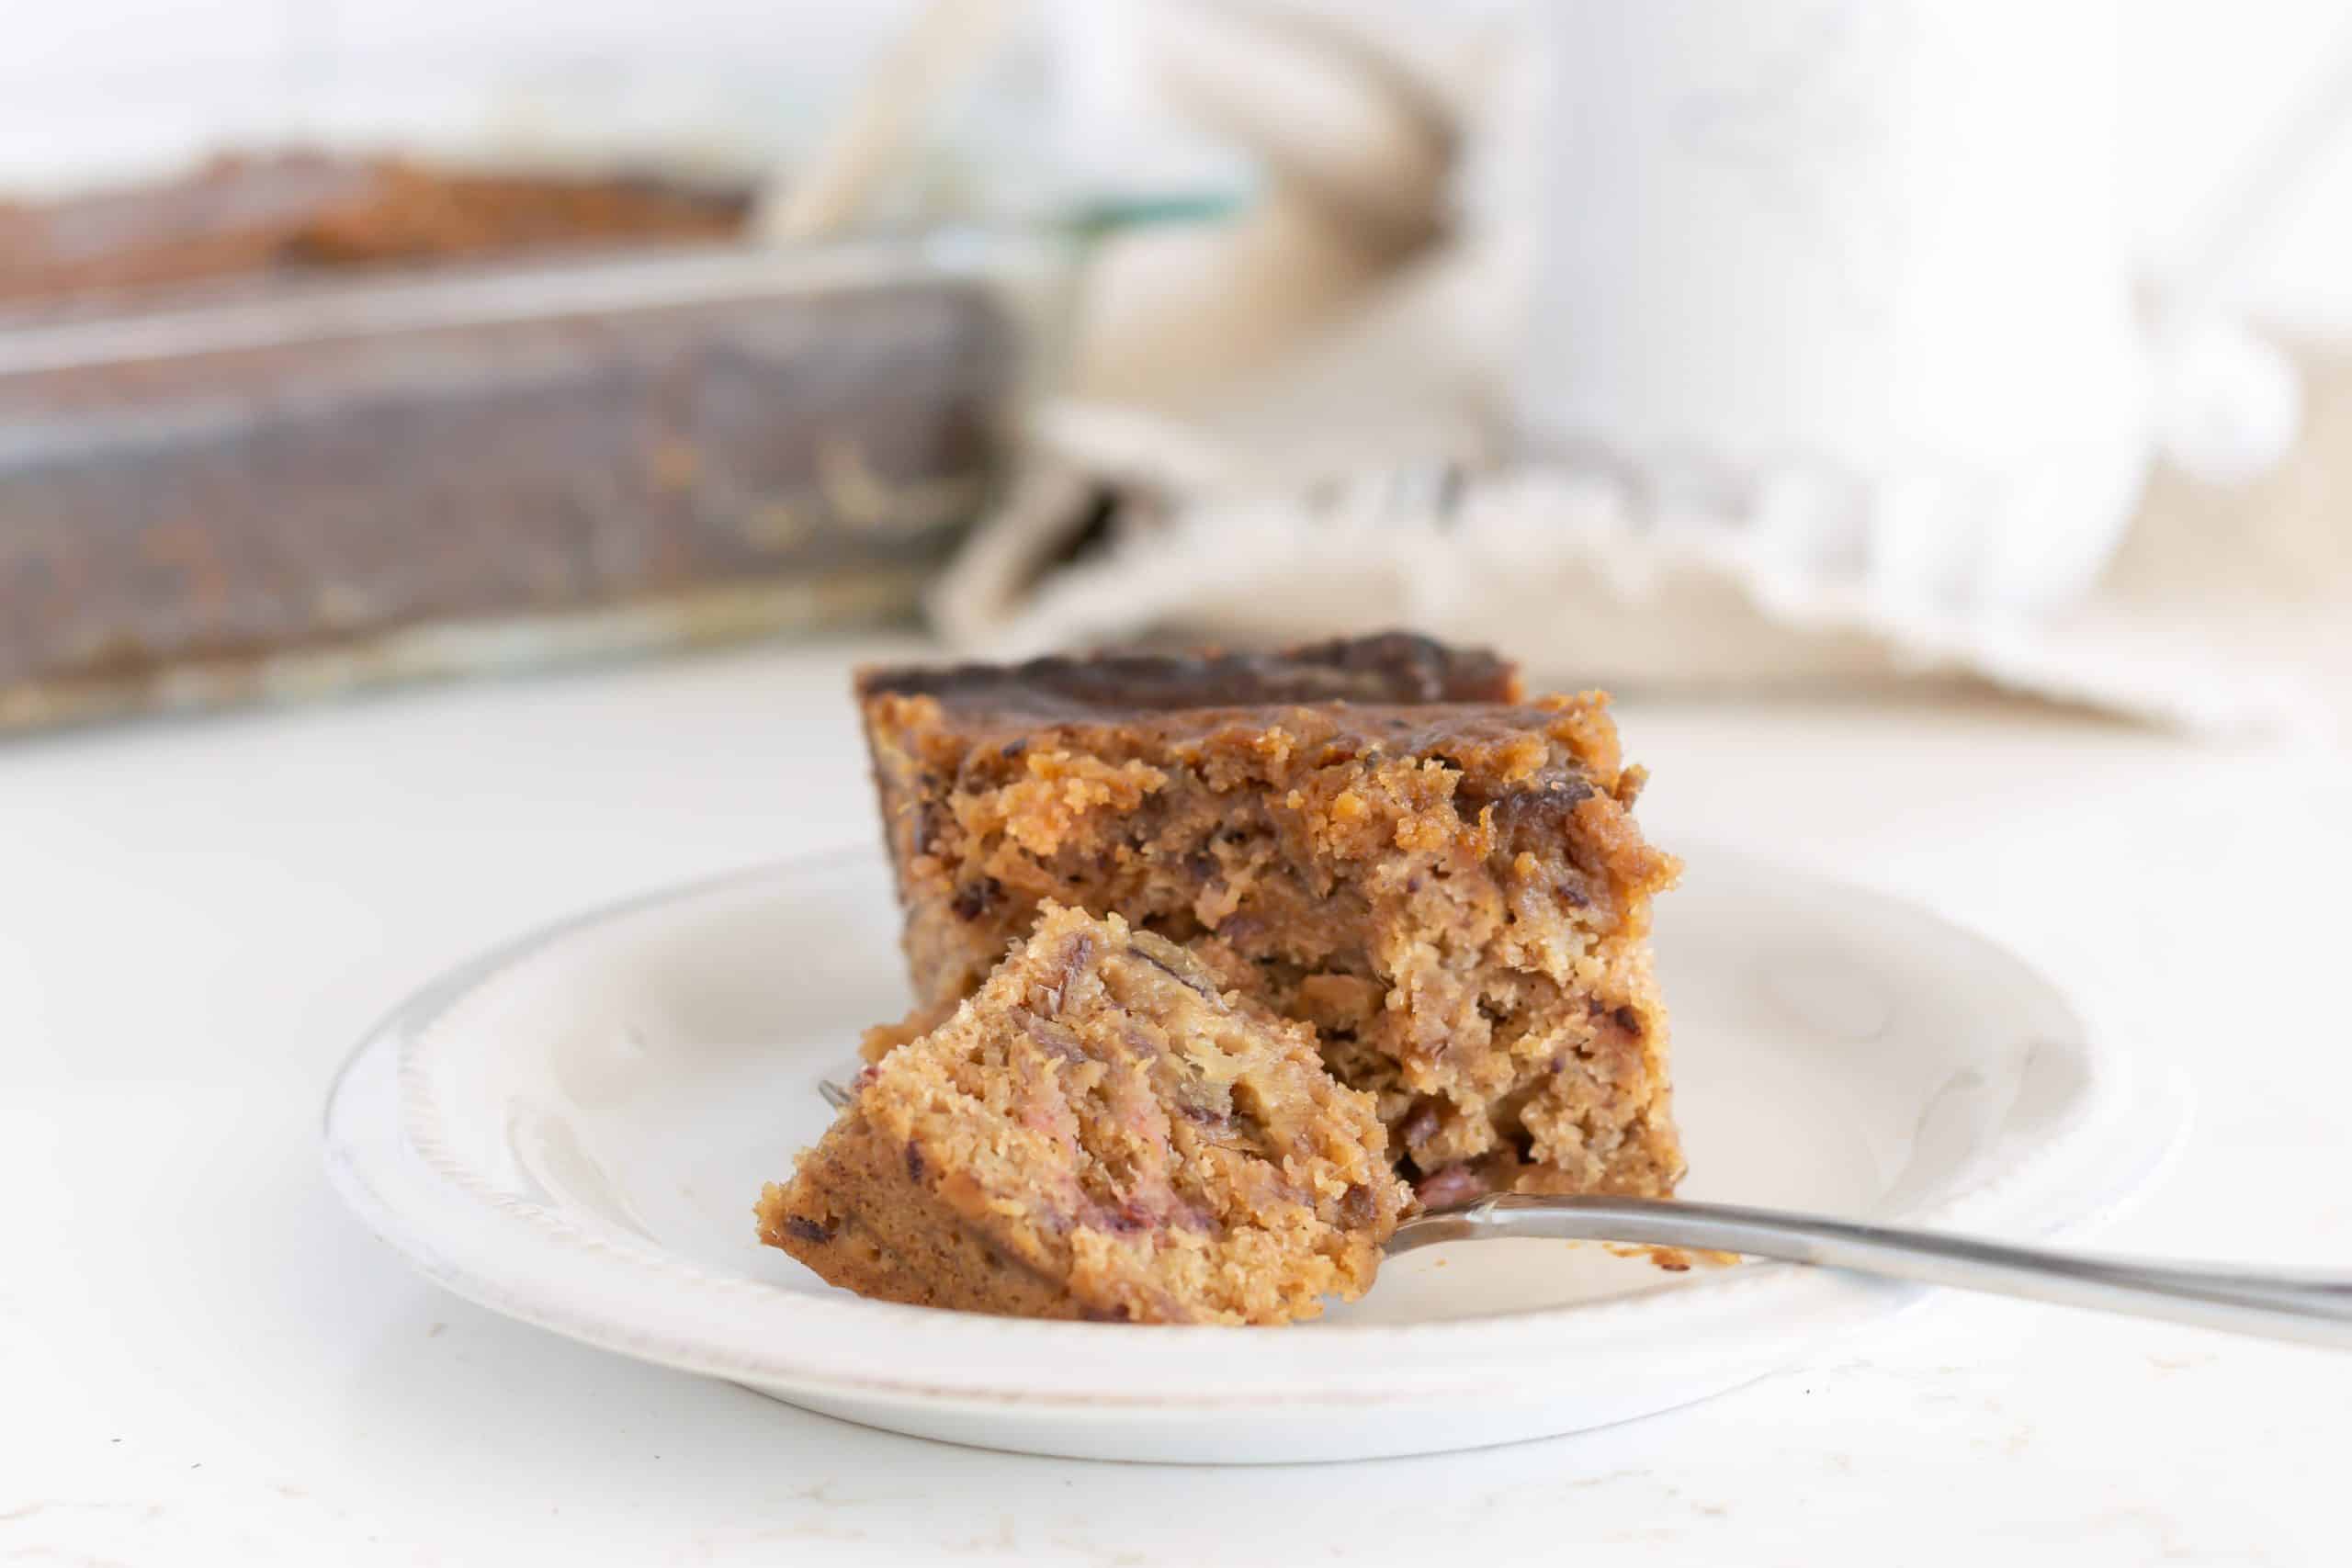
I could eat gingerbread year-round. In addition to these Gingerbread Scones, check out this Gingerbread Syrup, perfect for flavoring Coffee, Tea or Martinis. This Gingerbread Bundt cake has pears tucked in because of the aforementioned perfect pairing of pears and gingerbread. And these Gingerbread Cookie Buttons couldn’t be more adorable (and yummy) even if they tried.
Gingerbread Scones Recipe
Ingredients
- 2 cups pastry flour can substitute all-purpose Chilled is always good! Measure by scoop and level method. (Note 1)
- 4 tablespoons dark brown sugar
- 1 teaspoon cinnamon
- 2 teaspoons baking powder
- 1 teaspoon ginger
- 1/2 teaspoon baking soda
- 1/2 teaspoon salt
- 1/4 teaspoon allspice
- 1/4 cup frozen butter grated (keep grated butter in freezer until ready to use)
- 1/3 cup molasses
- 1/4 cup cold cream
- 1 large egg separated and cold
- Coarse sugar such as sanding sugar or Demerera sugar
Instructions
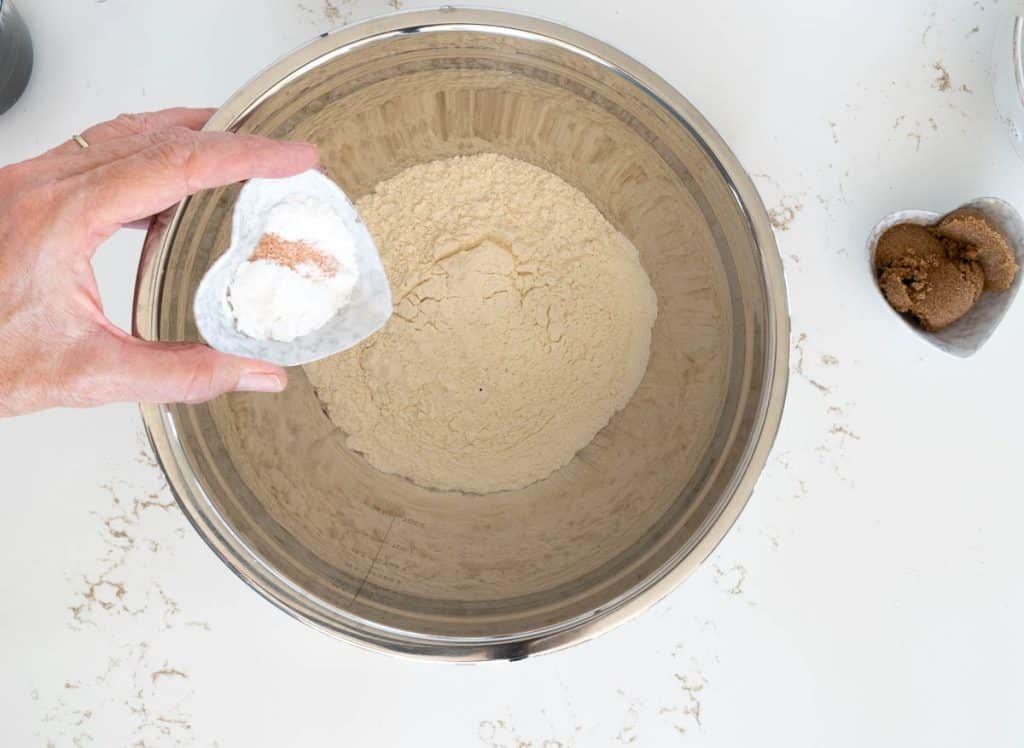
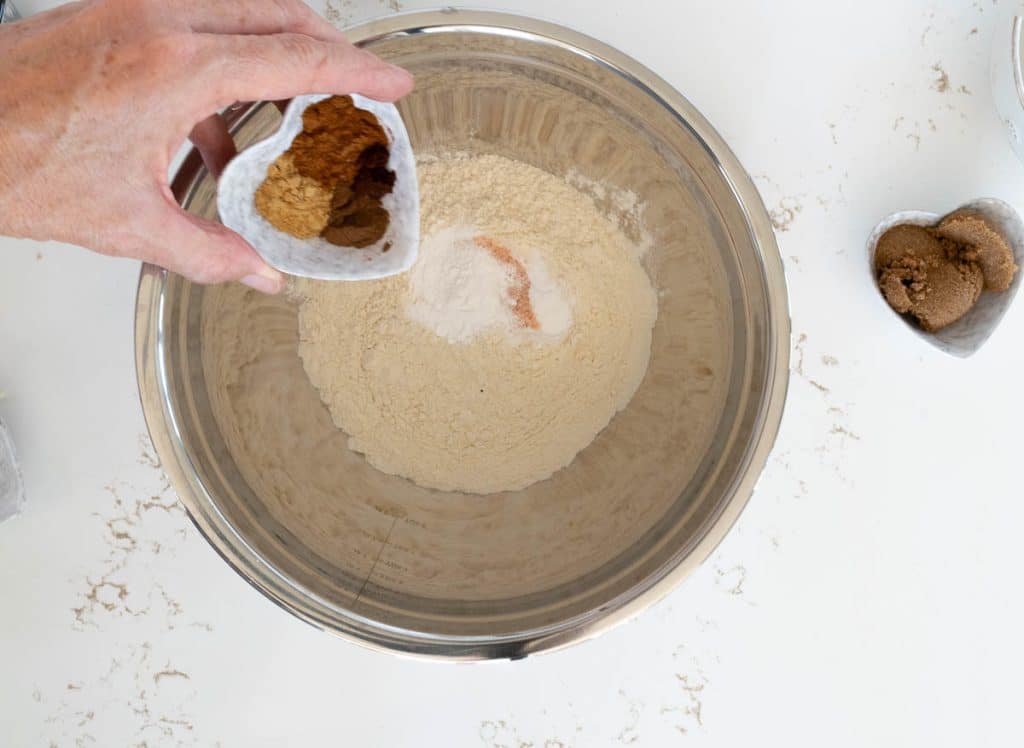
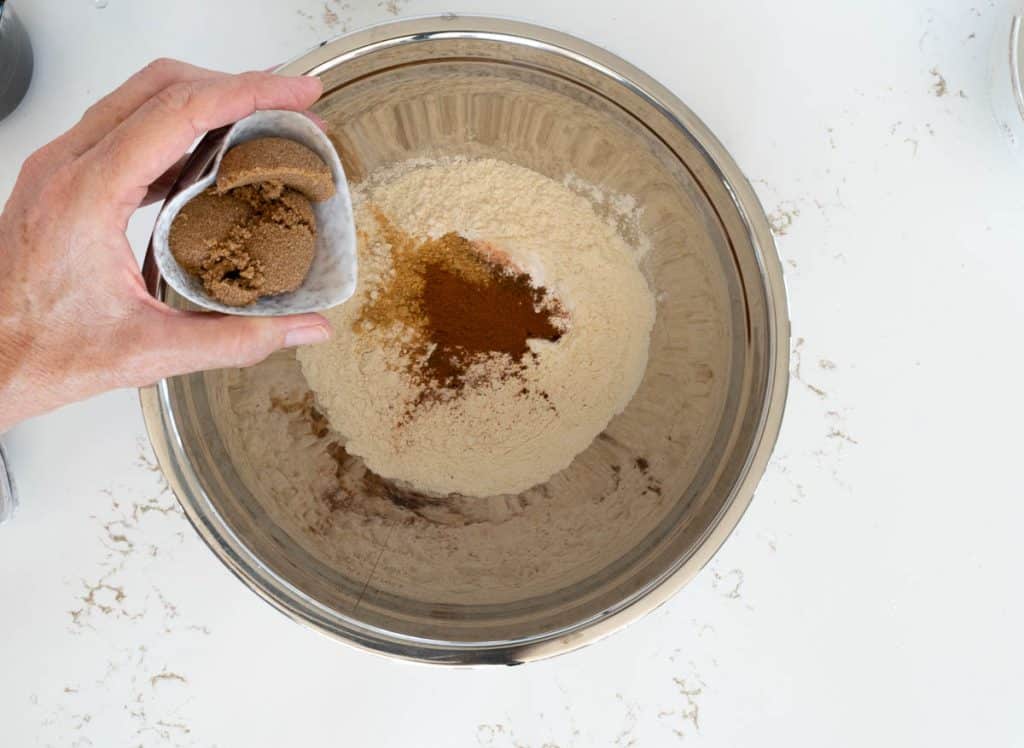
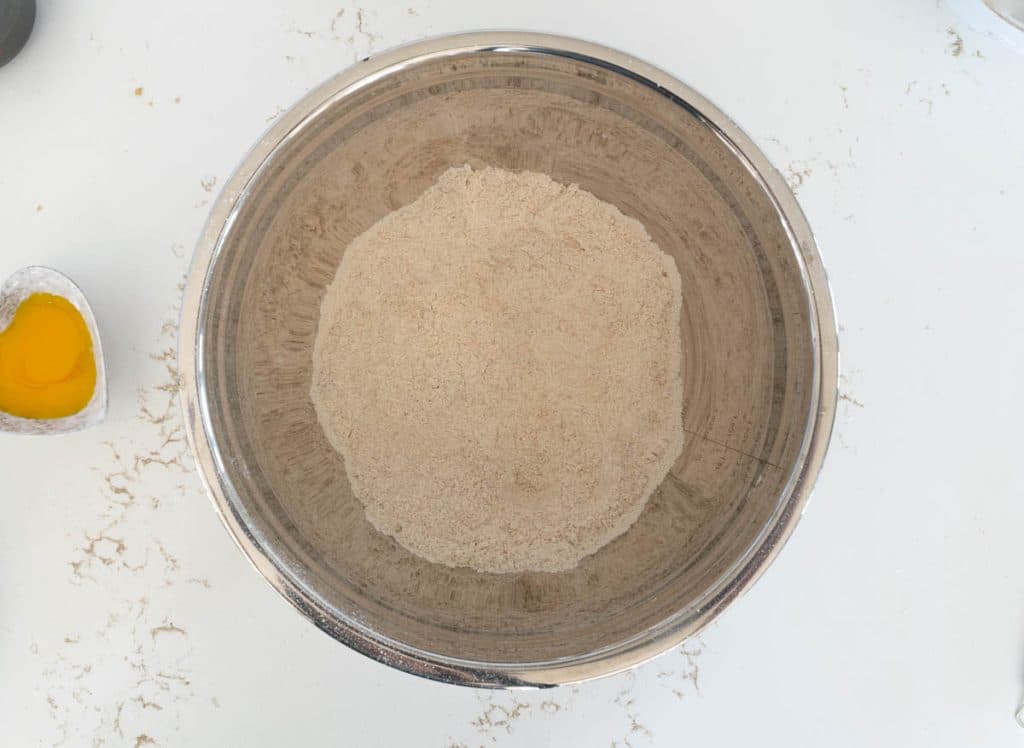
- In a large bowl, whisk the first 8 ingredients.
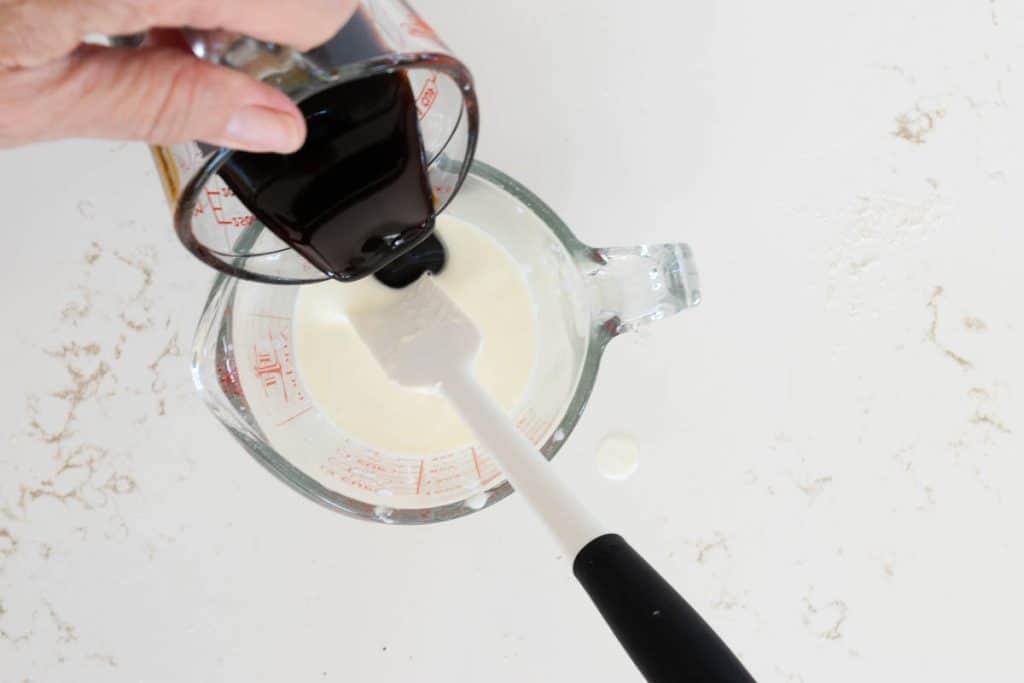
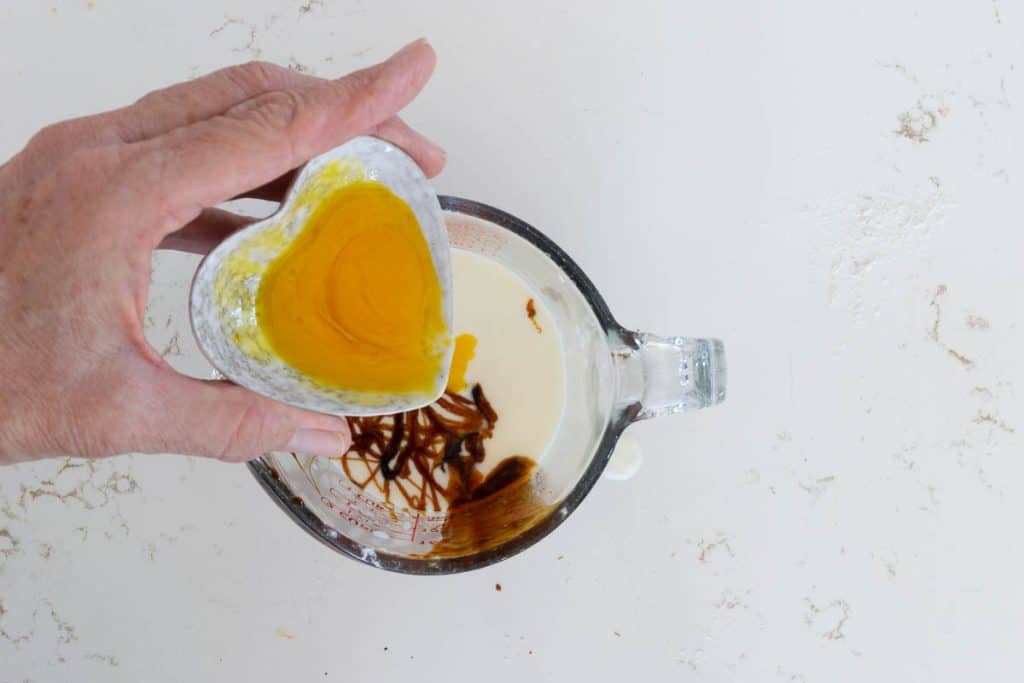
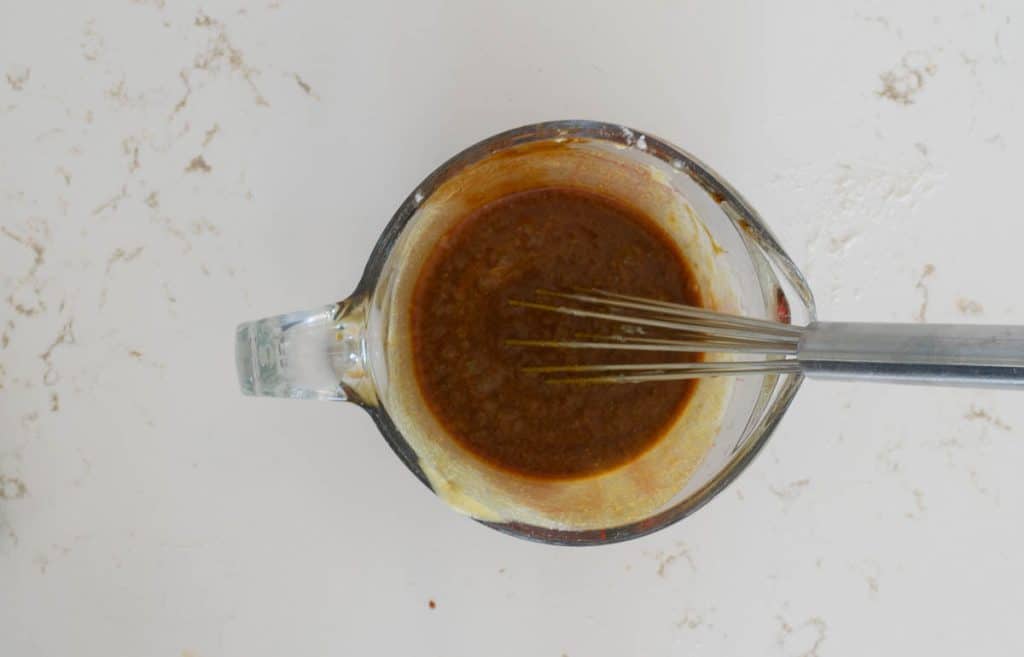
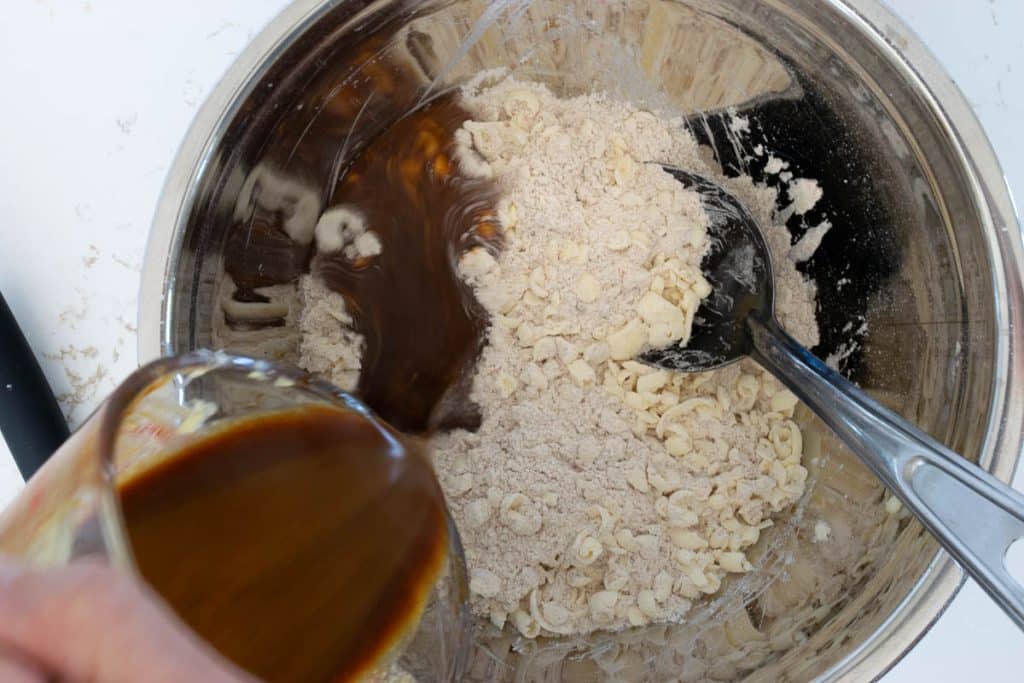
- Whisk cold cream, cold egg yolk, and molasses and set aside.
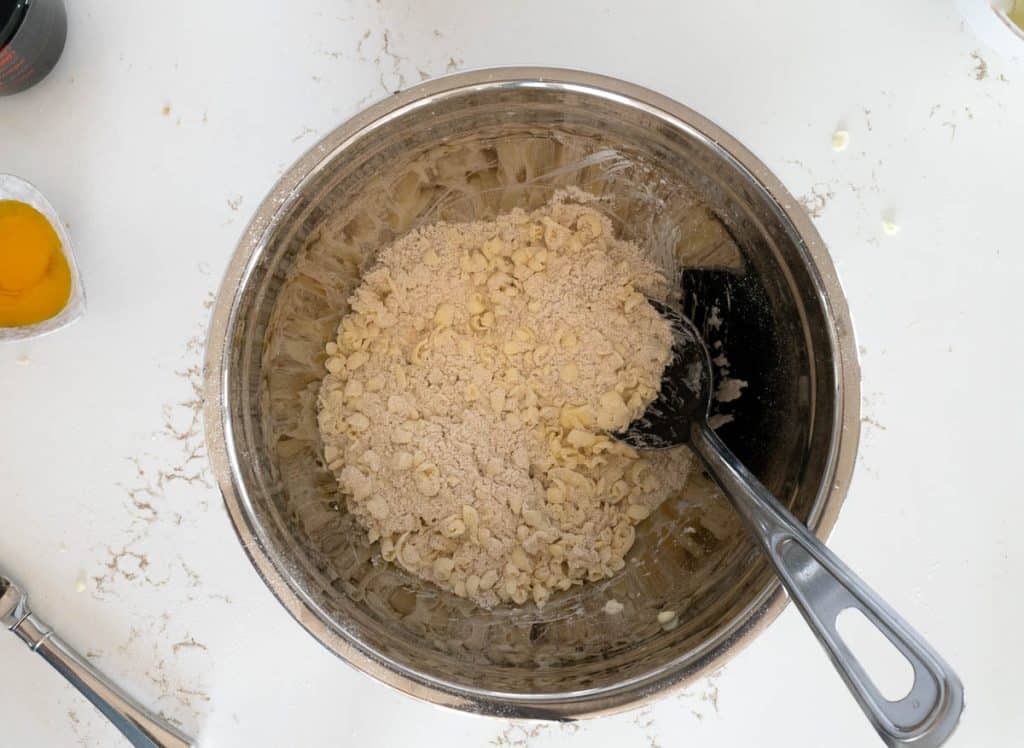
- Take grated butter from the freezer and toss it with the flour mixture.
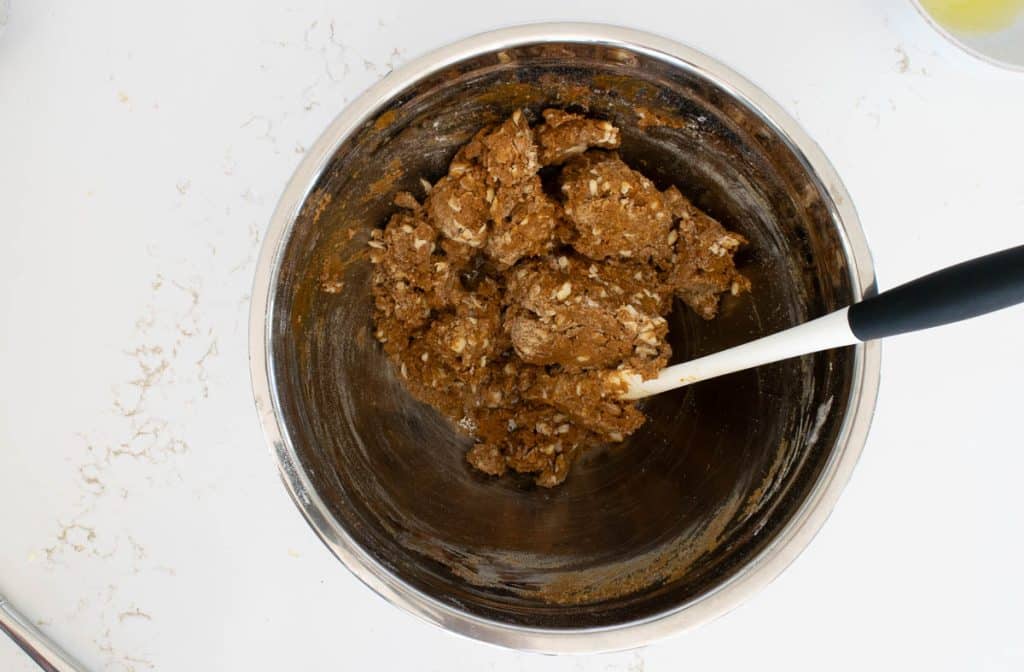
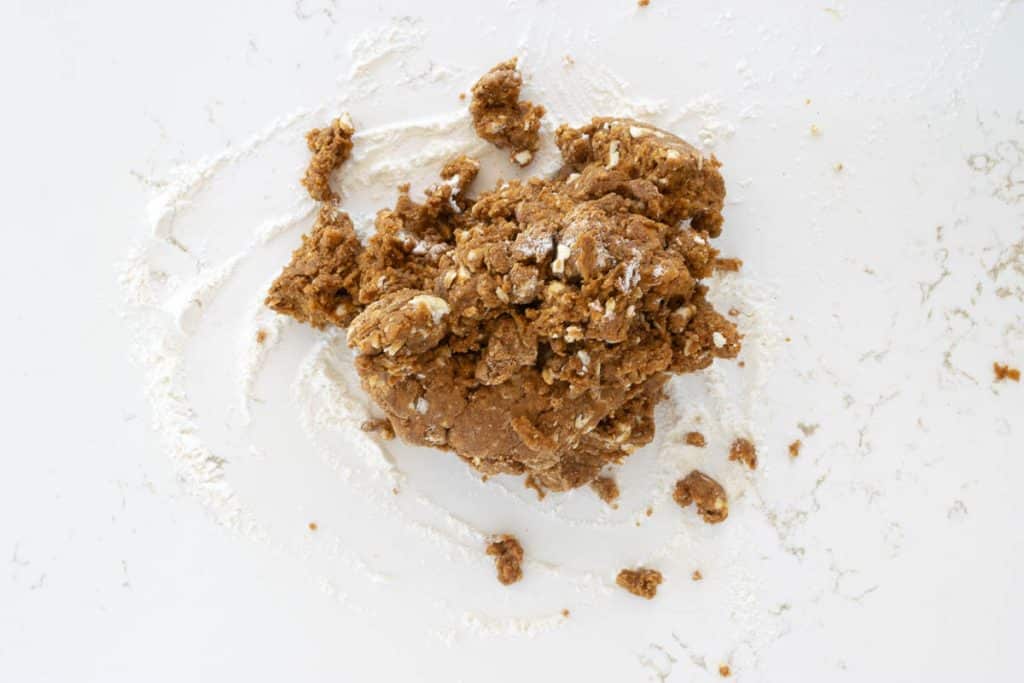
- Then mix in the cream mixture and combine until it just comes together…don't over-mix.
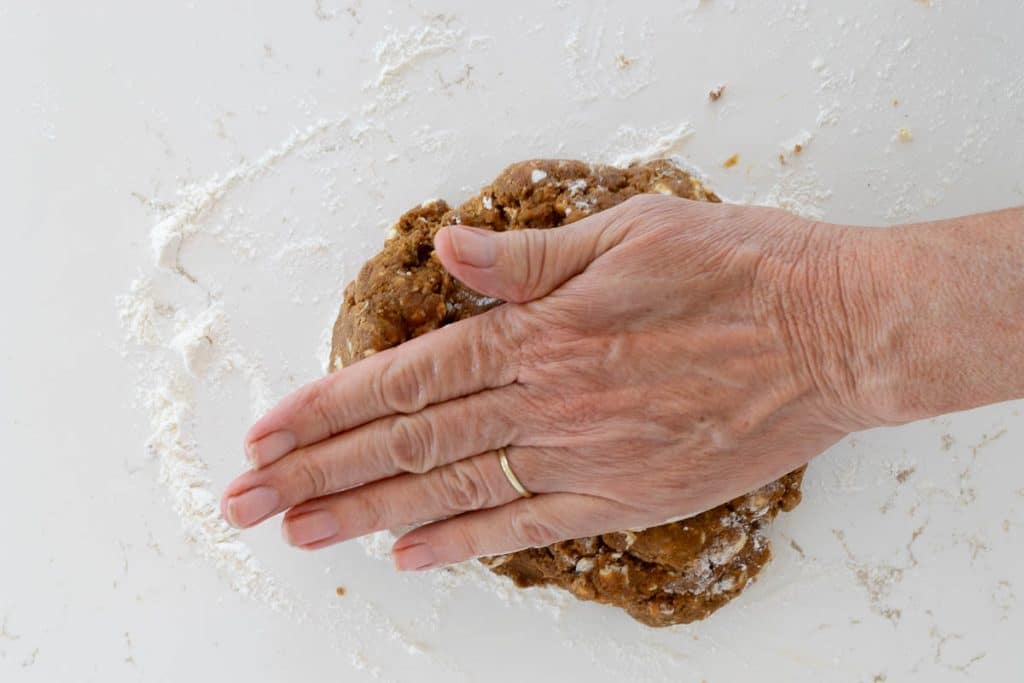
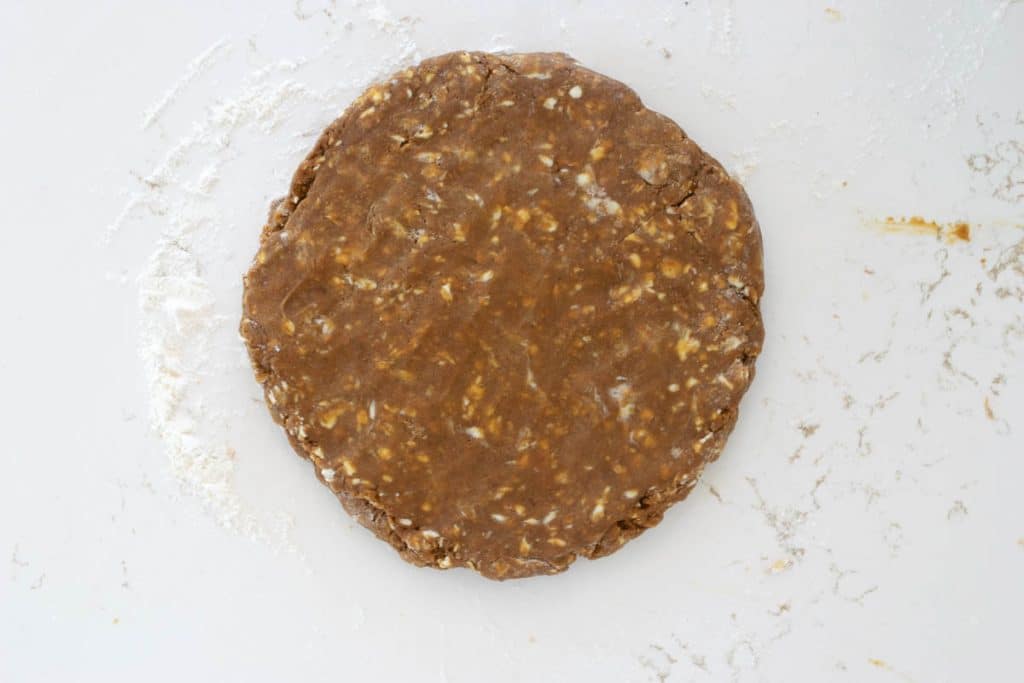
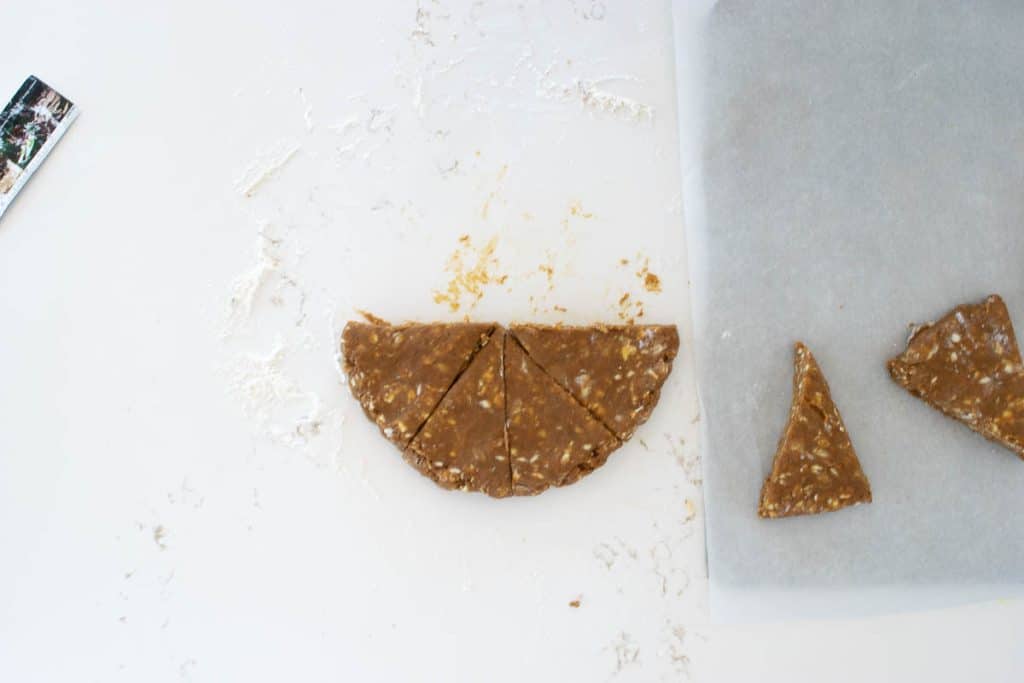
- Turn the mixture onto a lightly floured surface and with your hands, gently push the mixture together into a flat disk, about 6" in diameter. The more you work it, the tougher the scones will be.
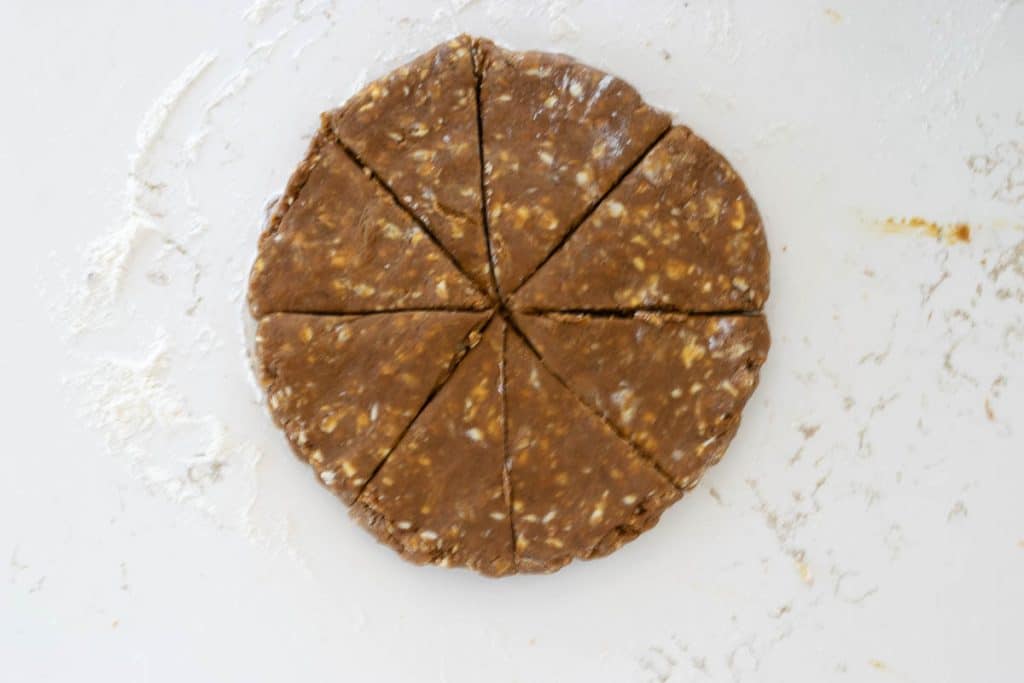
- With a sharp knife, cut the disc in half one way, and then in half again the other way. Then, cut each quarter in half, so you will have 8 wedges. When cutting, don't 'saw' back and forth. Instead, just press down and up.
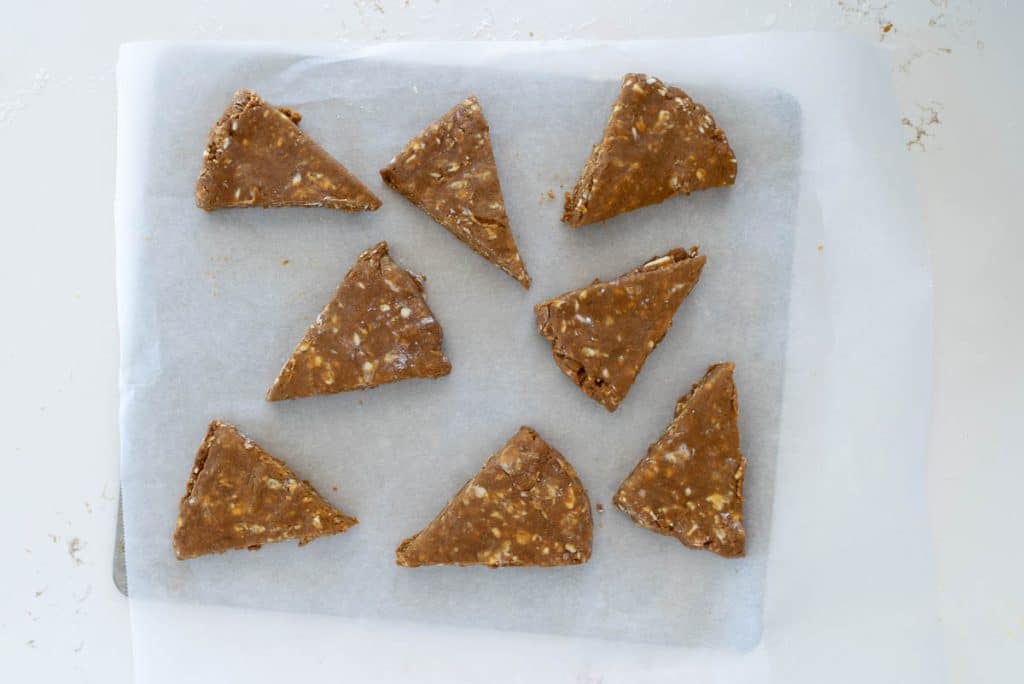
- Transfer the wedges to a parchment-lined baking sheet and refrigerate for at least 15 minutes.
- Preheat oven to 400°.
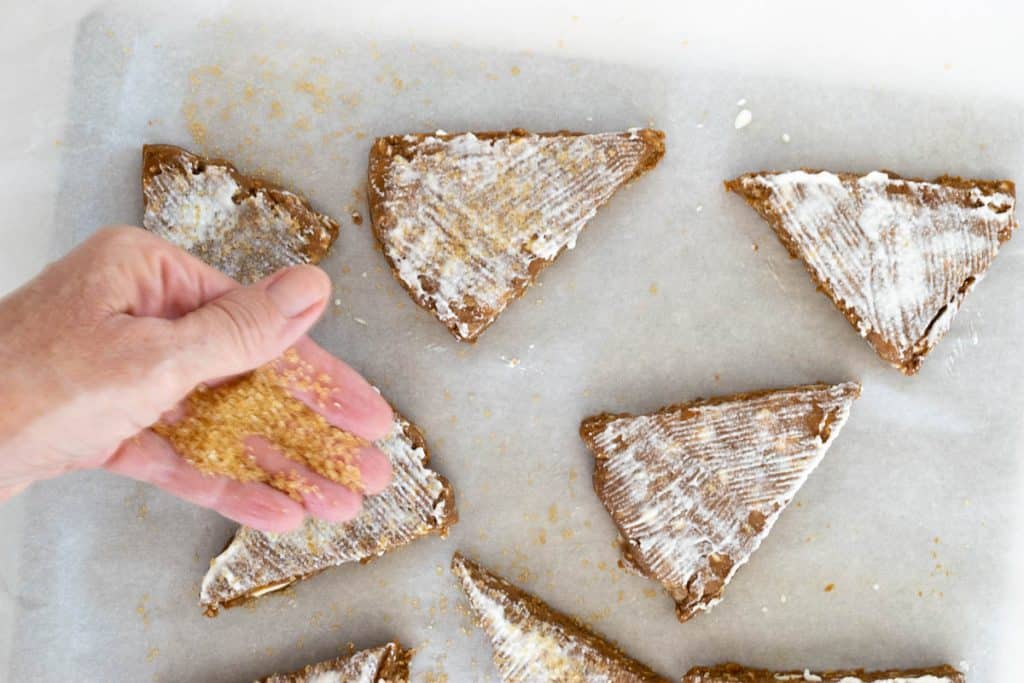
- When you are ready to bake your scones, remove them from the refrigerator and brush them with beaten egg white or cream. Then sprinkle sanding sugar or demerara sugar over top.
- Make sure that they are at least 1" apart on the baking sheet.
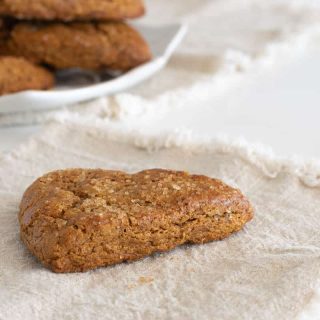
- Bake for 12-15 minutes or until done. You'll know your scone is done when it sounds hollow when tapped on the top or when you can move it on the parchment without it sticking. A toothpick poked in the middle of the scone will come out clean or with a few crumbs when it is done.
- Once they're out of the oven, transfer them to a cooling rack.
Notes
- Scoop: Use a spoon to fluff up the flour within the container. Then, use a scooping tool, like a spoon or a scoop, to overfill your measuring cup.
- Level: Once you’ve filled your measuring cup, take the back of a knife (or any straight-edged utensil) and level off the flour. This means you’ll sweep across the top of the measuring cup to remove the excess flour so the flour is even with the top edges of the measuring cup.
Nutrition
Bookmark this page or pin the following image to refer back to this Gingerbread Scone recipe in the future.
Thanks so much for spending a few minutes of your busy day with me!
To ensure you don’t miss future content, pop your email in the pale green box on the right or click here. I usually send one email weekly, so I won’t inundate your inbox. I’m sensitive to an overflowing email inbox!
We will only use your email address to send you emails, no more than 1-2 weekly. In addition, you will have access to my growing library of knit & crochet patterns and other printables. Check back often as this library will continue to grow. You can unsubscribe anytime by emailing me or clicking on the “unsubscribe” link at the bottom of all emails.
And you can access many of the products I refer to on my Nourish and Nestle Amazon Page. You can access it here.
So, if you’d like to participate in the ‘subscriber benefit’ action, simply subscribe to Nourish and Nestle here or use the form on the right sidebar. It’s slightly towards the top.
I have sent all my subscribers the link to the Subscriber Benefits Library. If you missed it or misplaced it, let me know.
Until next time…


Thank you Lynn!
You’re right. No one likes a soggy bottom! : )
You always give us such delicious recipes, and thorough instructions!
I appreciate that.
Have a great week!
Nancy
Hi Nancy,
Thanks so much for your kind words! I’m so lucky that I can call this my ‘job!’ amd always strive to provide good information. I really appreciate you taking the time to write in.
Have a great day!
Hugs, Lynn