
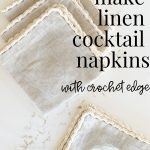
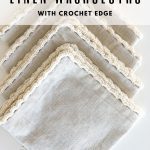
DIY Cocktail Napkins: Linen with Crocheted Edge
Hello friends! I’m sharing with you a tutorial for DIY cocktail napkins or any kind of napkin for that matter. But first, the backstory.
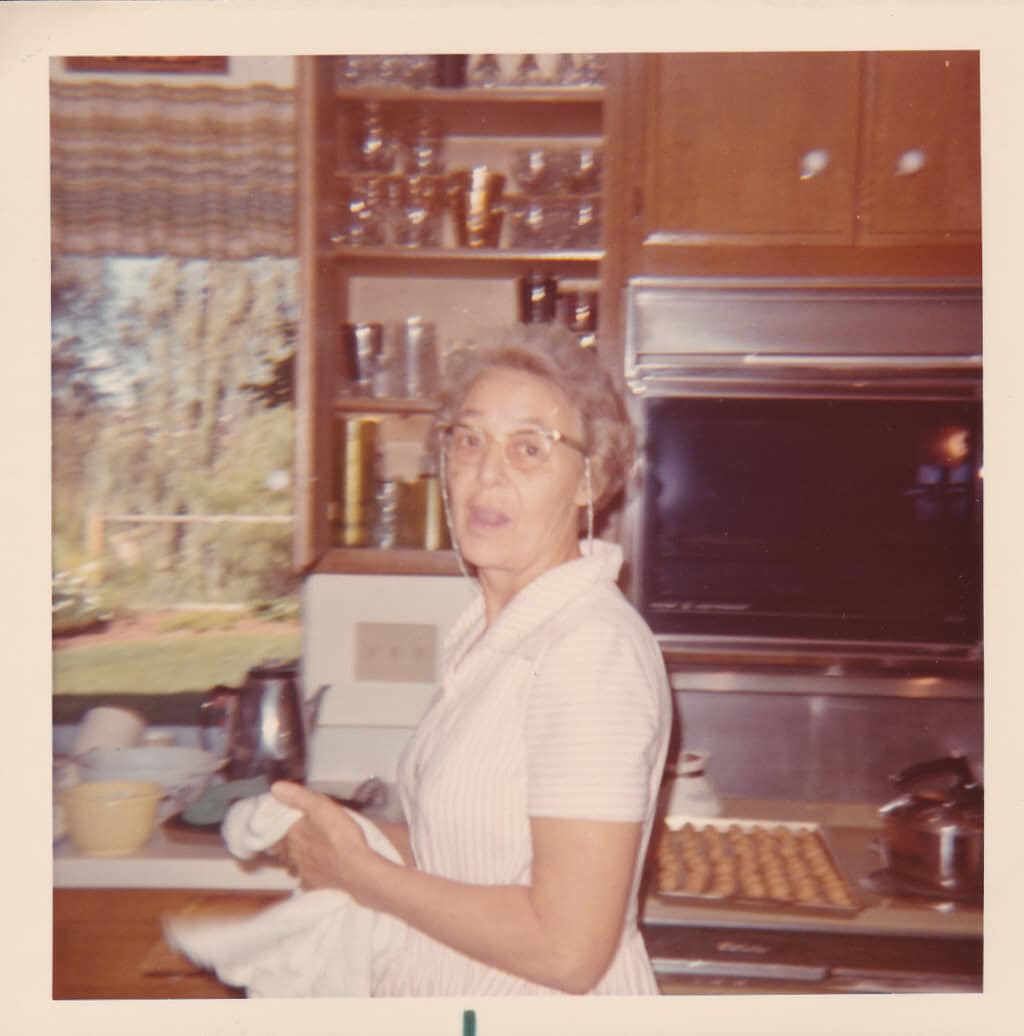
My grandmother moved in with my family when I was about 4 years old and spent the last 12 years of her life traveling the world with our Navy family. To say we were spoiled by having Grandma live with us is an understatement. Her never-ending passion was baking…enough said. It wasn’t until after her death, when I was 16, that we had store-bought bread in our home. Her pies, cookies, and baklava were legendary. The fierce combo of my mom and grandma ensured we had a kitchen devoid of processed foods.
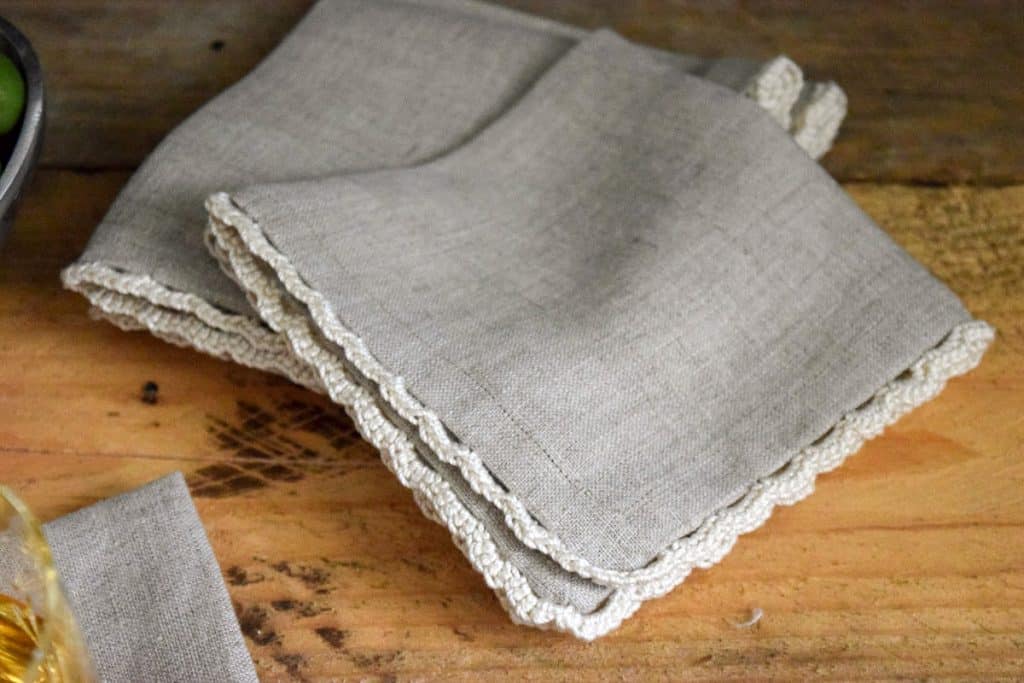
Table of Contents
Grandma’s other passion was embroidery and crochet. I filled my belly with her handmade goodies and laid my head down each night on pillowcases that she embroidered and sewed her crocheted lace on. We were a paperless kitchen well before it was an environmental issue. Grandma and Mom outfitted each kitchen with coordinating fabric napkins, and Grandma made and embroidered several of our tablecloths. Now that I think of it, they were Martha before Martha was Martha!
I am the logical extension of my mom and grandma. They instilled in me an appreciation of homemade, from food to linens, that whole functional aesthetics thing.
I have a great collection of cloth and linen napkins that we use instead of paper. Some I’ve bought locally, others I’ve picked up on our travels. I love sitting down to dinner with the napkins I bought at the Louvre Museum Shop, in a little village I passed through when hiking through Alsace-Lorraine, or at World Market, for that matter.
My fabric cocktail napkins stash has been looking a bit tired, so I decided to get busy and make some fabric napkins, including these DIY cocktail napkins. I found a nice neutral linen at my local JoAnn’s Fabric Store and went to work.
I’m not even close to a seamstress; if I can do this, so can you. I’m also working on my other Grandma’s 40+-year-old sewing machine, so while you do need a sewing machine, you don’t need a fancy one. And, since I’m still in my ‘put a crochet border on it’ phase, I did add a very simple border.
After figuring out the process, I spent some time cutting, ironing, and sewing the cocktail napkins, and then my napkin stash was portable, so I could do the hand-sewing and crochet anywhere. I timed the process, and you can produce a napkin from start to finish in about 2 and 1/2 hours.
How to DIY Cocktail Napkins:
What you need to make 4 10″ square linen/fabric cocktail napkins:
Some of these are affiliate links and I will earn a small commission off of the sale of these products, but the price you are charged is not affected. You can see my full disclosure policy here.
- 1/2 yard of washable linen (you will be able to get 6 napkins from the 1/2 yard)
- 1 spool of pearl cotton. I used DMC Ecru Pearl Cotton #8.
- 1 skein Coats Crochet Aunt Lydia’s Fashion Crochet, Cotton Size 3, Natural
- 2.75mm crochet hook, Susan Bates 5-1/2-Inch Silvalume Aluminum Crochet Hook, 2.75mm
- Disappearing Ink Pen
- Sewing Machine. As I said, I’m using a 40+-year-old hand-me-down from my Grandma, and many of the features don’t work (luckily, sewing a straight seam does!)
For the body of the napkins:
- Cut your fabric into 11.5″ squares. I don’t have a cutting board with gridlines, but I wish I had something like this after doing this little project. Straight lines make everything so much easier! I made a little gauge to help me fold down 1/4″ and 1/2″. It’s a simple thin piece of cardboard with markings where I need them. Here’s an image of one I’ve used for another project.

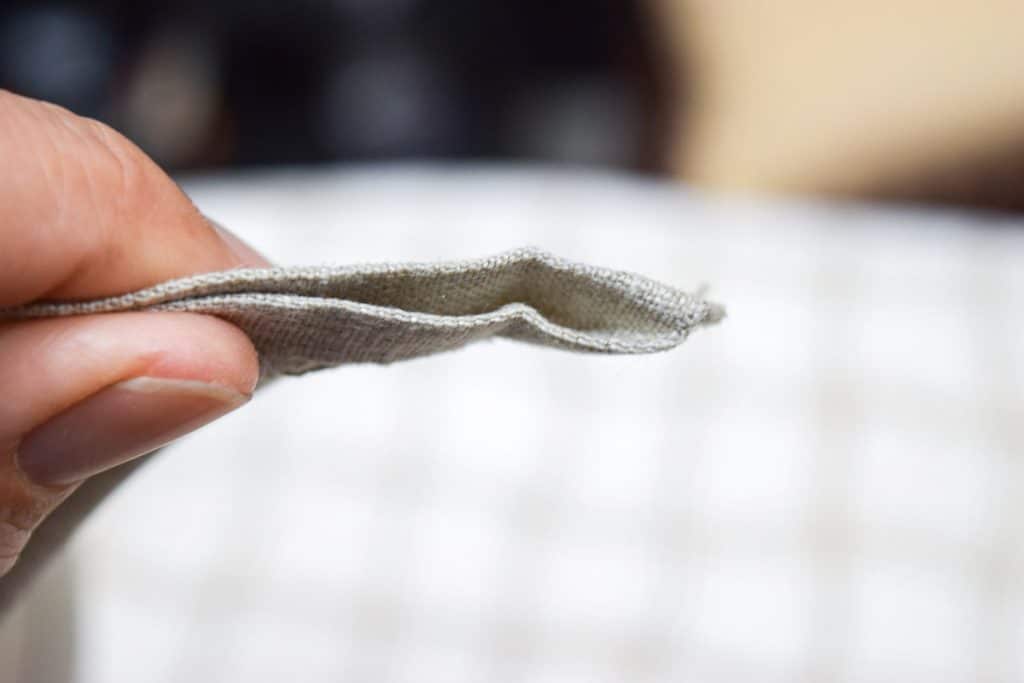
- Turn over 1/4 inch on each side and iron down. Using spray starch helps keep the fold pressed.
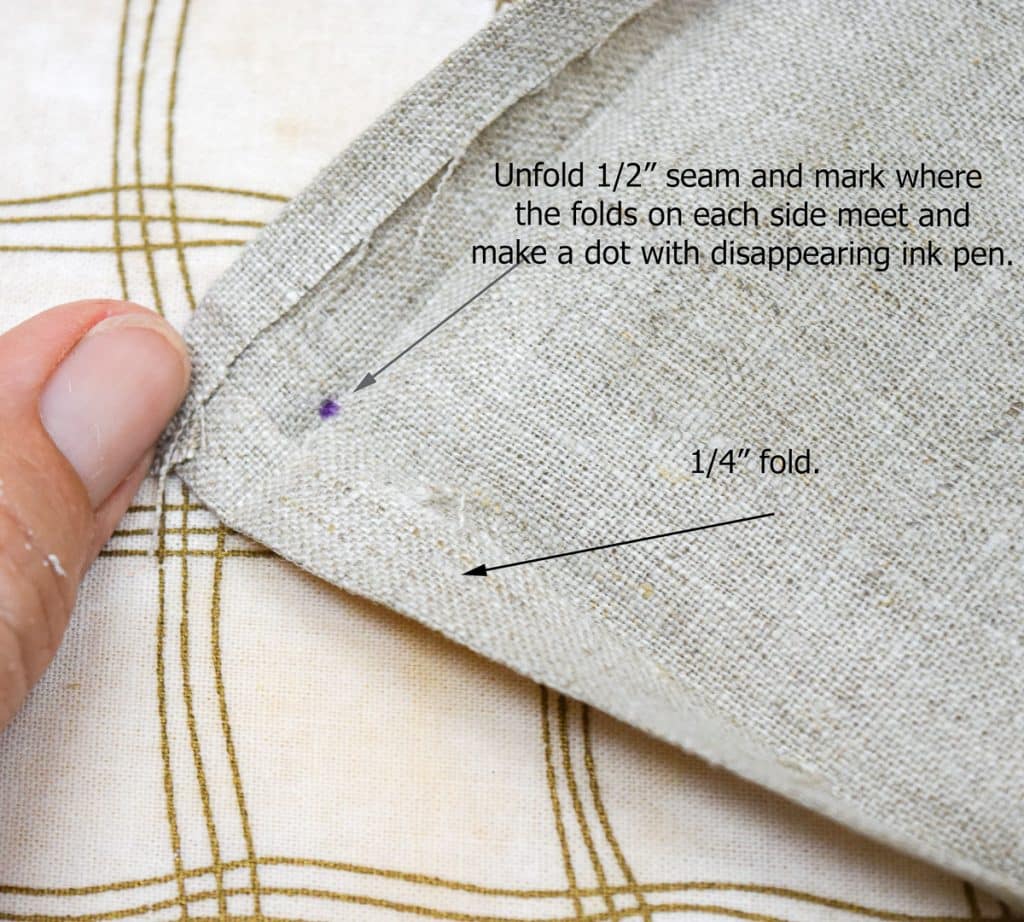
- Then turn over 1/2 inch on each side, pressing down with starch.
- Unfold your 1/2 seam and, using your disappearing ink pen, mark at the point of the fold.
- For each corner, fold your fabric with the right sides together, matching the folds made with your 1/2″ turn.
- Using your disappearing ink, mark along a fold line from the dot. Then measure 1/2″ from where the line meets the edge of your fabric and put a dot there. Draw a line connecting the 2 dots.

- Pin the fabric down and sew along the diagonal line, ensuring you reverse at each end to keep it secure.
- Starting at your original dot, cut your fabric as shown (sorry it’s a little blurry)
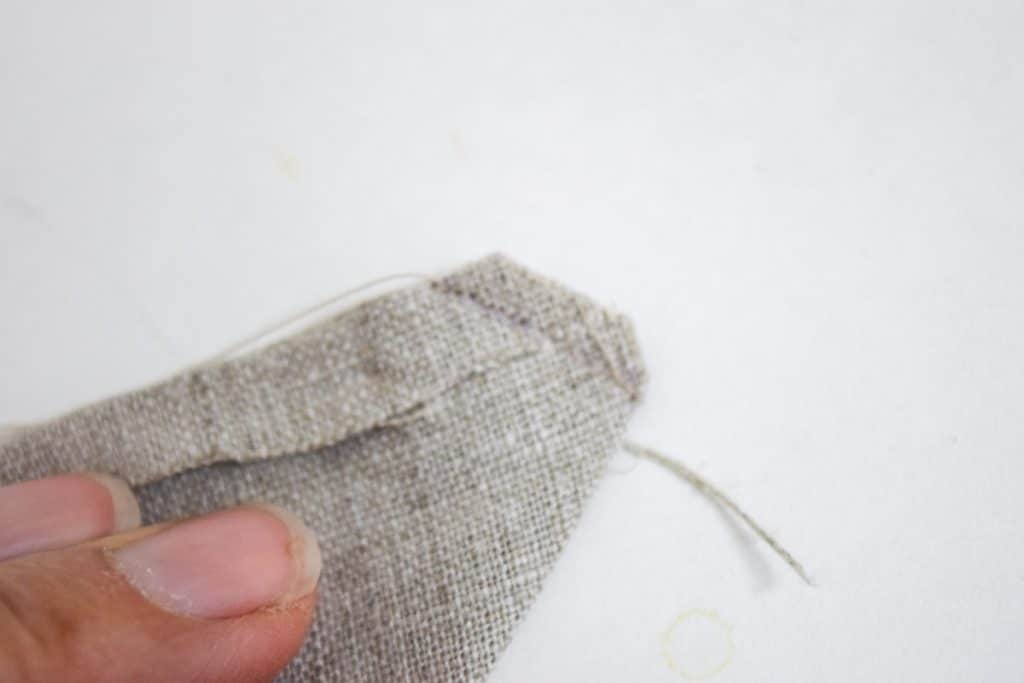
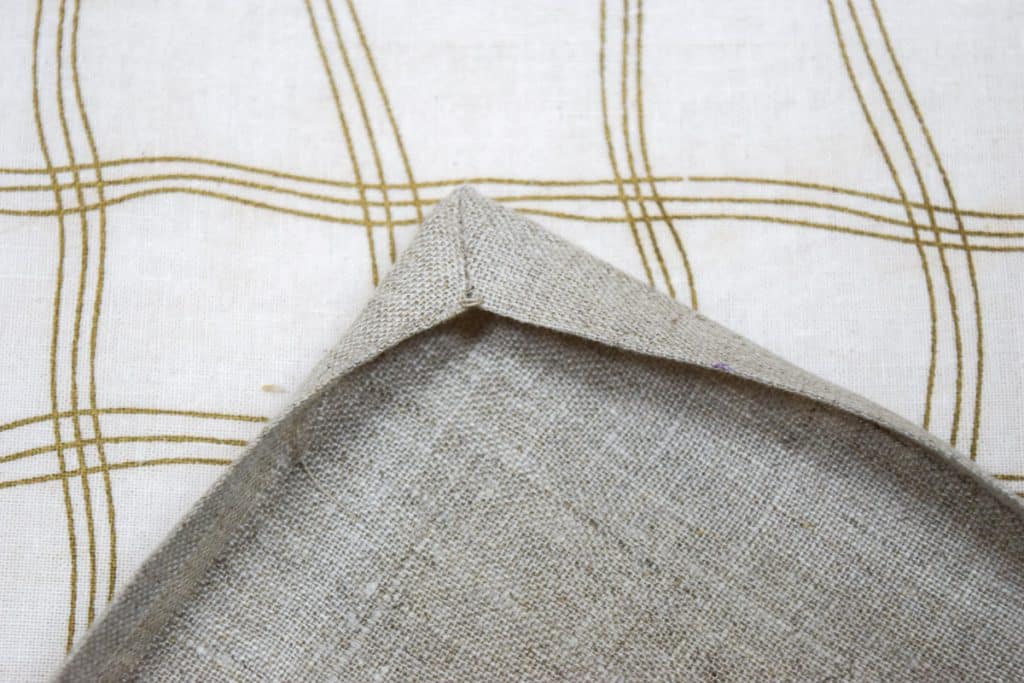
- Repeat for each corner. Unfold your corners. I use a letter opener to push my corner points out to make them crisp and sharp.
- For my first try at this, I sewed the folded edges down very nicely. DON’T DO THAT. I found that it was best to wait until you’ve put your backstitch in so that you can hide all your loose threads.
Add a backstitch to your napkins:
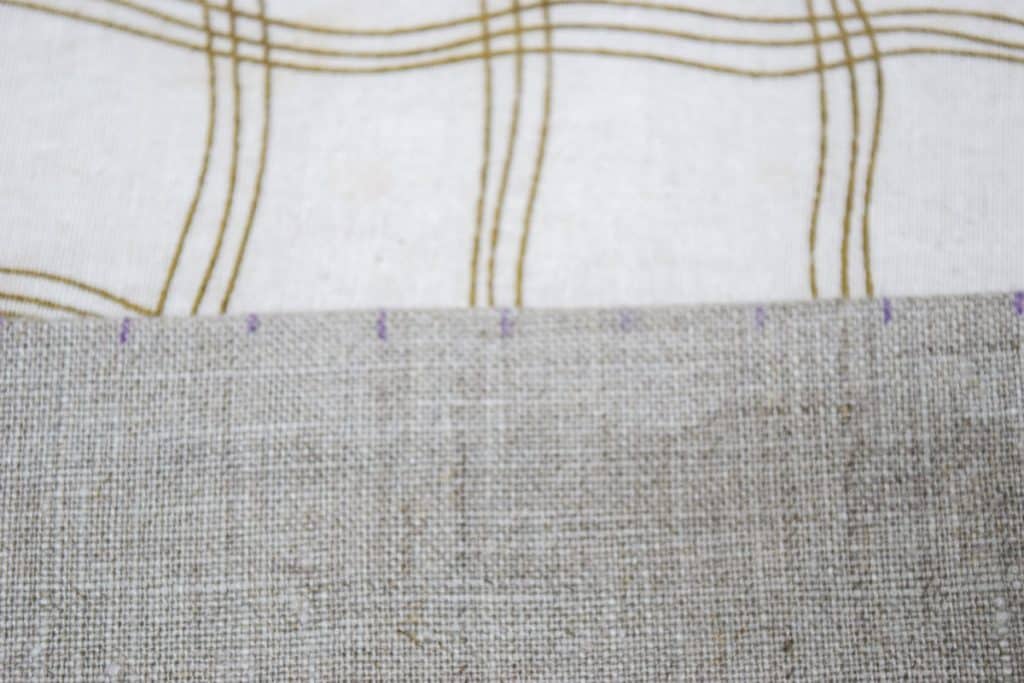
- Using your disappearing ink mark, mark every 1/2″ along one side of your fabric. This ink disappears quickly, so you can only do one side at a time.
- Thread your needle with about 2 3/4 to 3 yards of pearl cotton. You will want the thread to be double, so tie the 2 ends together. This thread length will allow you to put your backstitch along 2 of the edges. You’ll repeat for the other 2 edges, but the thread was too long to have just one piece.
- I put a backstitch along the folded edge of my napkin, but you could use a blanket stitch if you’d prefer that look.
- If you aren’t familiar with the backstitch, it’s very simple.
- Come up from the back of your fabric and out point number 1.
- Then go in point number 2 and out point number 3.
- You will then go back in point number 1 and out of point number 4.
- From point 4, you’ll go in at 3 and out at 5.
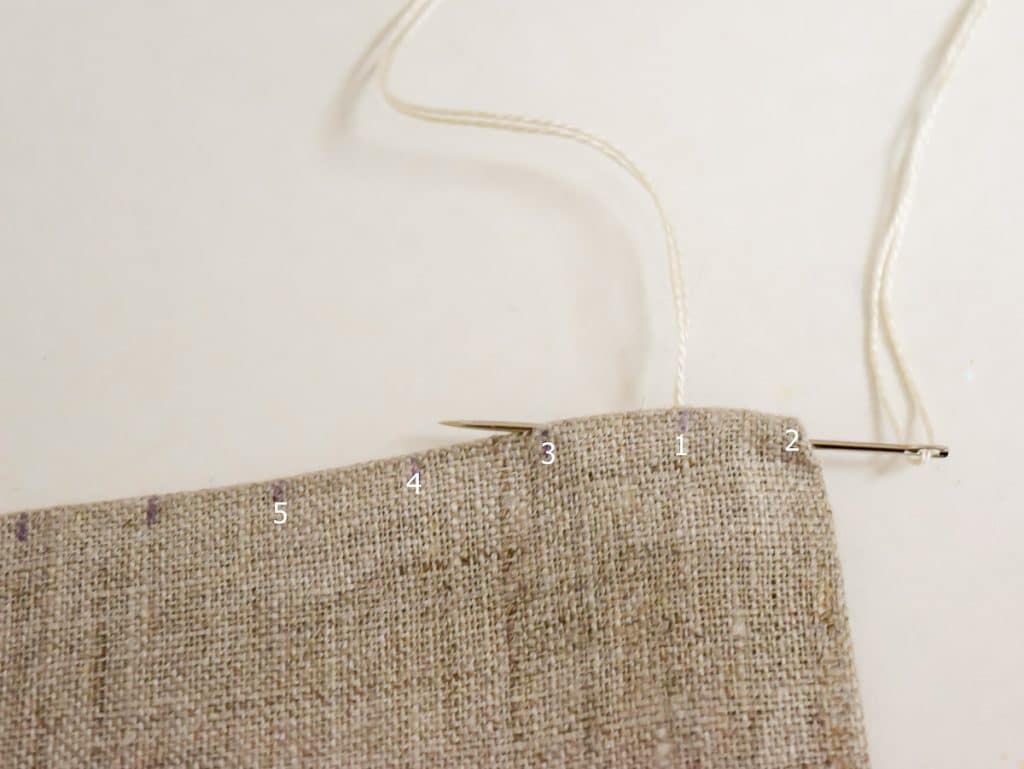
- When you reach the end of the thread, tie it off and start again until you’ve gone completely around the napkin.
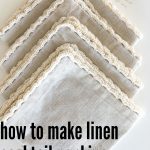
- The only stitch you’ll need to know for the edge I did is the single crochet.
- Work 5 single crochets (sc) in each 1/2″ section of your backstitch. By jamming the 5th one in there, you create a little scallop. My original plan was to work something a bit more detailed, but in figuring it out, I liked the look of the very simple scallop.
- If you’d prefer something other than this simple border, there are many variations of crochet edging out there and no rules, so get creative!
Finish your napkin with a crochet edge:
- Once done with your crochet edge, tie off and trim all your loose edges.
- Press the seam down and stitch a top stitch all the way around.
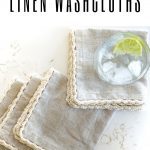
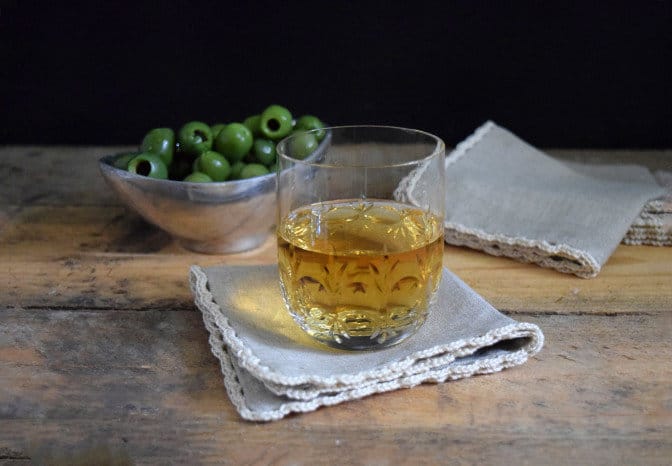
- Grab your prettiest tumbler and pour yourself a scotch, even if you don’t drink it, to see how pretty it looks!
- Embroidering an initial in the corner would be a great touch, especially if given as a gift.
I’m thinking of spending some time at my sewing machine and whipping up a bunch of these DIY cocktail napkins as gifts this year. We’ll be traveling overseas this summer, and doing the edge work will be a great way to spend the time on the long plane and train trips. So family…guess what you’re getting this year!
Looking for more knit and crochet patterns?
Pop over here for all my knit & crochet patterns in one place! And, if you want to be ‘in the knit know’ and you’d like to be notified of the publication of any knit or crochet pattern before the rest of the world, you can do that here.
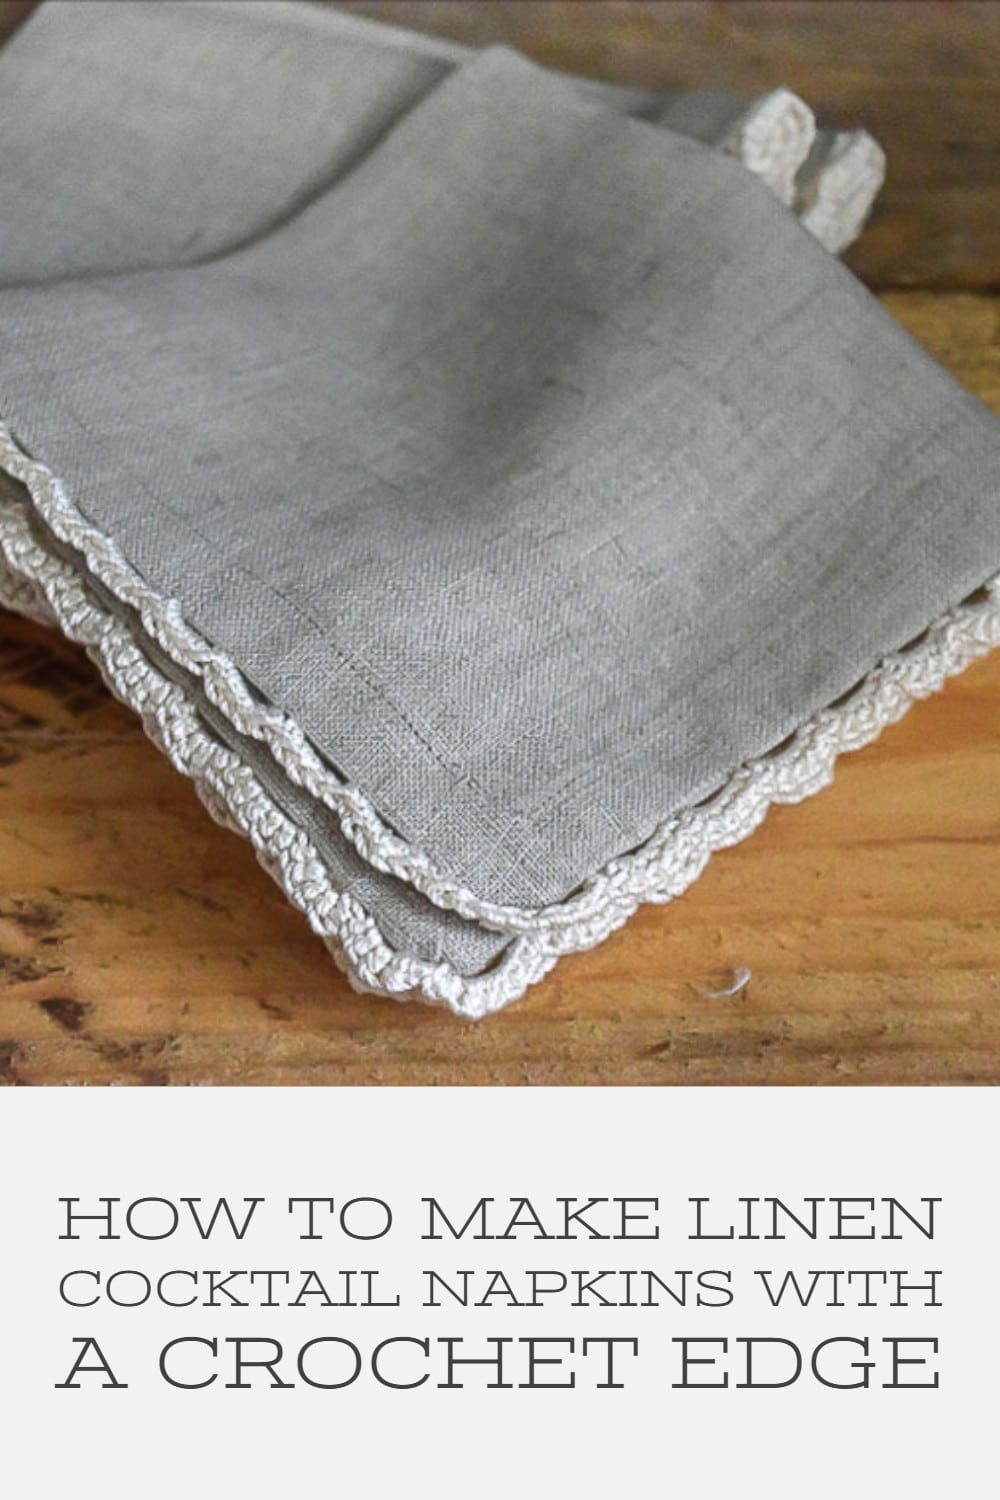
To refer to these instructions to DIY Linen Cocktail Napkins, bookmark this page or pin the following image.
Thanks so much for spending a few minutes of your busy day with me!
To ensure you don’t miss future content, pop your email in the pale green box on the right or click here. I usually send one email weekly, so I won’t inundate your inbox. I’m sensitive to an overflowing email inbox!
We will only use your email address to send you emails, no more than 1-2 weekly. In addition, you will have access to my growing library of knit & crochet patterns and other printables. Check back often as this library will continue to grow. You can unsubscribe anytime by emailing me or clicking on the “unsubscribe” link at the bottom of all emails.
And you can access many of the products I refer to on my Nourish and Nestle Amazon Page. You can access it here.
So, if you’d like to participate in the ‘subscriber benefit’ action, simply subscribe to Nourish and Nestle here or use the form on the right sidebar. It’s slightly towards the top.
I have sent all my subscribers the link to the Subscriber Benefits Library. If you missed it or misplaced it, let me know.
Until next time…


Thanks for sharing the story of your grandmother. It was very touching. Thanks for sharing your crocheted border pattern. I too make cloth napkins for my family and my son’s family. I usually make them to coordinate with the current holiday and now I can add a simple crocheted border. Thanks again.
Hi Susie Q! I’m so glad you enjoyed it. I miss my grandmother on a regular basis, but so glad I have this link with her. She left a strong impression on my family, even my children who never met her. I think I’ll follow your lead and make some napkins for Christmas this year! Hadn’t thought of that. Enjoy the day and thanks for taking the time to comment.
Lynn
These really are lovely! Thank you for sharing this tutorial at the #SmallVictoriesSundayLinkup!
Thanks Echo, I really enjoyed making them and am anxious to make more for gifts.
These are absolutely beautiful! Can’t wait to try it!!
Thanks Amy! I’d love for you to show what you make!
I always wondered how they attached the crochet edges to things like baby burp clothes (that one was popular when I had my kids), now I know. Great tutorial. Thanks for sharing with us at the #HomeMattersParty
Lovely! and thanks for sharing the detailed description. Unfortunately, you may not be able to do your handiwork on planes. All kinds of needles are forbidden! I used to make frills for towels during long flights. No more!!
I did just return from my international flights and am happy to report that I was allowed all my sewing stuff! I had purchased FAA approved scissors and had no issue with them. Funnily enough, my crochet hook caught the attention of the German security. They deferred to higher management and I was allowed the ever so dangerous crochet hook on the plane.So, don’t give up on doing your handiwork on long flights!
These napkins are so pretty! Thank you for entering this in #ThePinterestGame — good luck and we hope to see you next week!
Thanks Wendy and sorry for the delayed response. I just discovered my SPAM folder! Yikes.
This is a lovely project! I have my mother’s sewing machine and haven’t used it in years. Making napkins would be a great way to get started again.
Hi Sandra, I’m using my grandmother’s sewing machine that I’ve had for at least 25 years…makes me have a connection to her every time I use it. And since I really enjoy using cloth napkins, makes much sense for me to make my own. Thanks for stopping by to visit today.
Lynn
These napkins are so gorgeous, I am in love! Thanks for linking up with The DIY Collective, come back and visit us again next week! xo! Cassie
Hi Cassie, you are so sweet. They are truly one of my most favorite projects, but then again, I just really do love nice linen and fabric napkins. I’ll be back next week. Thanks for visiting and enjoy your Thursday evening.
Hugs, Lynn
Lynn, like I said, you’ve got mad skills! From commandeering the broken bench, redoing it, knitting, crocheting, sewing (even if it’s on an old machine), baking, cooking, bartending! LOL My friend you amaze me. I love these cocktail napkins and the crochet edging really sets them above the norm! Gorgeous!
Once again Nikki, your words seem to give me super powers! But hey, I’ll always take them. It’s that whole “mind over matter” thing…right? And I must tell you that these napkin rank up there with some of my favorite creations…so simple, yet the edging add a little ‘je ne sais quoi’ (high school French coming in handy!).
Wishing you a happy Sunday!
Hugs, Lynn
I love this post as I enjoy sewing but can’t crochet for the life of me. My mother and aunt did all of those things so your photo caught my eye. Your napkin tutorial is right on target. .
Hi Debra, I taught myself to crochet solely to be able to do this border. It really is quite easy. I encourage you to give it a try…you’ll love the result!
Your napkins might have caught my eye, but your story touched my heart:) Those napkins are gorgeous, and I wish I would’ve learned how to crochet. My grandmother is 92 years old, and she’s been crocheting since she was 6! I so envy your beautiful handiwork:) Have a marvelous day, Lynn!
Hi Cindy, thanks so much for your sweet words. No doubt you have also been blessed by having your grandmother in your life. Really appreciate you stopping by today and wishing you a great weekend.
Lynn
These are SO pretty – I just love beautiful cloth napkins. Even though I could never make these I really enjoy reading your tutorial on how to make these. Found you at Share it, thanks for posting this!
Hi Katie…If I can do it, I know you can too. Thanks for stopping by and sharing your kind words. Best wishes for a great Tuesday!
Lynn
Once again you amaze me, is there anything you cannot do? I think I want to be you when I grow up! I adore these napkins and would love to learn how to make them! They are on my “someday” list!
Added to our list!
I am a beginning knitter and a “want-to-be” crocheter, but I’m left handed and scared to jump in. (I knit right handed and will crochet…very slowly…the same!) I thought these might be an easy start as I have some idea of how a single stitch works. However, I can’t figure out how to get the crochet on the back-stitch loop. Can you refer me to a video to show me how this is done? I may just have to play with a sample, but I’d rather learn the “right way” than do something veterans realize isn’t correct.
Hi Holly, I apologize! I thought I had answered your question already.
I tried to send photo from another project that I hope will help you see where to put your crochet hook under the backstitch, but the email keeps getting returned. Email me at lynn@nourishandnestle and I’ll reply with the photo. If that doesn’t help, let me know and I’ll see if I can help more. That was one of my very early projects and I am afraid I didn’t take as many photos as I should have.
But in a nutshell, you slip the crochet hook under the long back stitch across the top of your work.
Let me know if this works,
Hugs,
Lynn
Hi Lynn,
I look forward to your blog each week.
You amaze me with all your talents and projects.
Would you think about making linen bread storage bags. They keep bread fresh longer and are better than using plastic bags.
Thanks again for all your creativity.
Hi Lynn, I so enjoy your comments reference animal family. I love it when I hear that we humans do treat pets as family as there is so much cruelty in this world today. As to the linen napkins, I can’t wait to get started on them; but first a visit to get the linen material. I have a group that plays cards and bunko frequently and occasionally I do put out real napkins. They seem shocked and hesitant to even use them. I will definitely make a stash and give out as gifts during the year. You are truly a blessing.
Hi Barbara! Our pets are our family and we need to treat them that way! Like you, I cannot tolerate animal cruelty, and sadly there is much too much of it. 😞 We can do our wee bit, by treating them the way they deserve.
And regarding the linen napkins, you and I are of the same mind as well. In fact, I mostly use fabric napkins. I like treating everyday like it is something a little special!
Thanks so much for your kind words, I always enjoy hearing from you.