Perfectly Adorable Pillowcase Tutorial
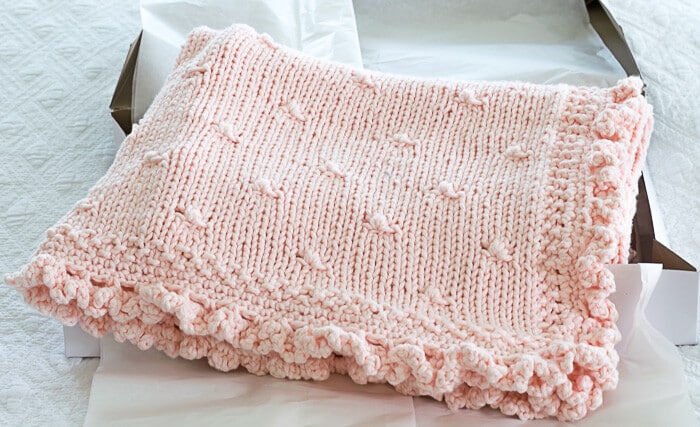
Meet my new hobby…
Here you’ll find a step-by-step illustrated pillowcase tutorial on how to make adorable pillowcases. I’ll also provide you a link to instructions on how to crochet a lace border.
After knitting for the past 28 years, I’m running out of projects. I love to knit, but realize that I really don’t need any more sweaters, neither does my husband, my kids, the dog, etc…
But, that realization creates a bit of a quandary for me…what do I do to occupy myself on car trips, in front of the TV, waiting in the carpool line at school, etc…
This new hobby was discovered while Pinterest surfing, of course. It is a combination of sewing and crochet, both of which I have had very minimal interest in in the past. But, this project spoke to me. I taught myself to crochet, worked on my sewing skills and …TA DA! (I also discovered the TV show ‘Damages’ in the process! Wowza! How did I miss this? It’s been pure bliss locking myself in my workroom to sew and crochet while being so very entertained by this show)
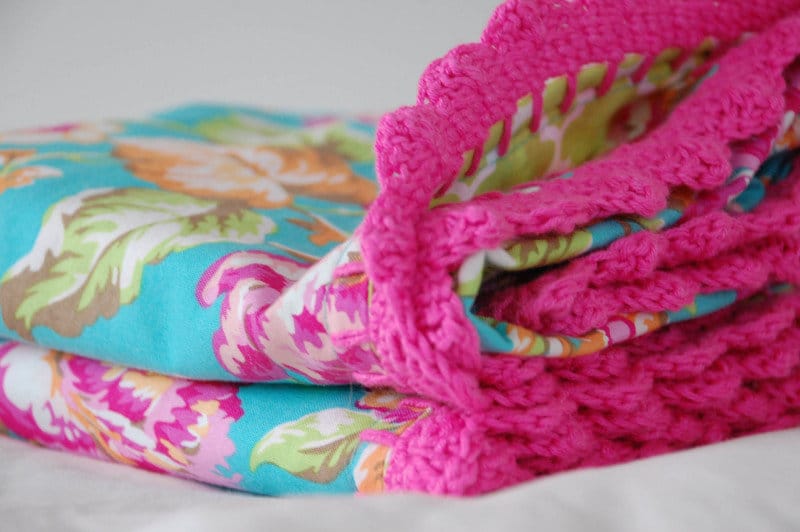
Table of Contents
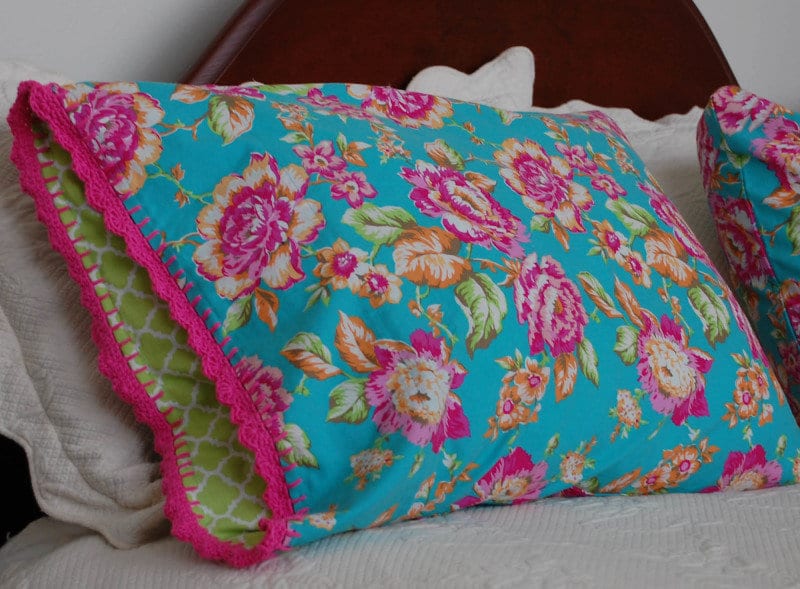
So, I’m here to teach you how to make the most adorable pillowcase. I have scoured the internet and adapted several methods to suit my tastes. I will show you how to make these pillowcases in 2 posts. This first post will focus on making the pillowcase. Next week I’ll tell you how to crochet the border
Perfectly Adorable Pillowcase Tutorial
What you’ll need to make the pillowcase:
Some of these are affiliate links and I will earn a small commission off of the sale of these products, but the price you are charged is not affected. You can see my full disclosure policy here.
1 yd of 100% cotton fabric for your main fabric (note: take the time to feel the fabric before you buy it. I found that while they all said 100% cotton, some just felt better than others.)
1/3 yd of 100% cotton fabric for your contrast color.
Tape and marker
How to make the pillowcase:
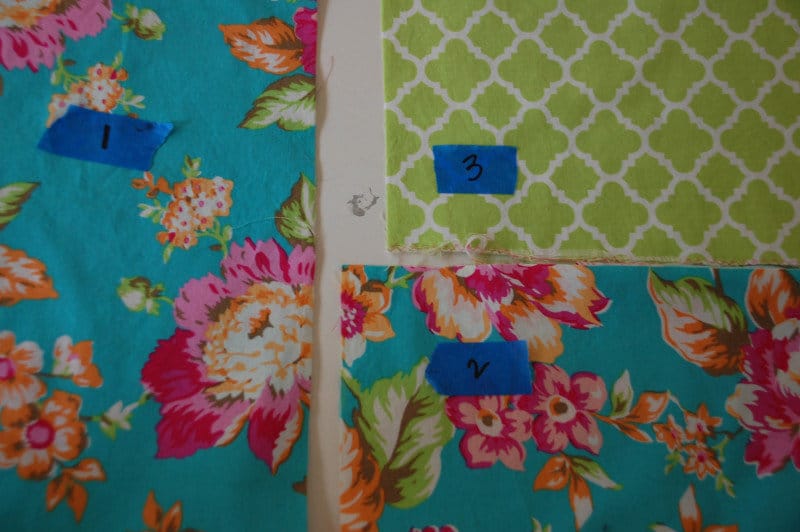
To try to simplify the process, I used three pieces of painters tape that had written the numbers 1, 2 and 3 on. This made it easier for me not to get confused and it will make it easier for me to explain to you what you need to do. You may move the tape around on the piece depending on what side you’re working on, but I promise you it’ll make it easier until you’ve done it once or twice.
- Sew your raw edges with a quick zig zag to prevent raveling/fraying.
- Wash and dry your fabric.
- Fold your fabric selvage edge to selvage edge (lengthwise). At this time I find it best to iron my fabric to make sure everything is straight.
- Cut this fabric in 2 lengths and put the appropriate piece of colored tape on each piece:
- #1: 36 inches by 20 inches
- #2: 30 inches by 20 inches
- Cut your contrast piece 12 inches by 20 inches and put the piece of tape with #3 on it.
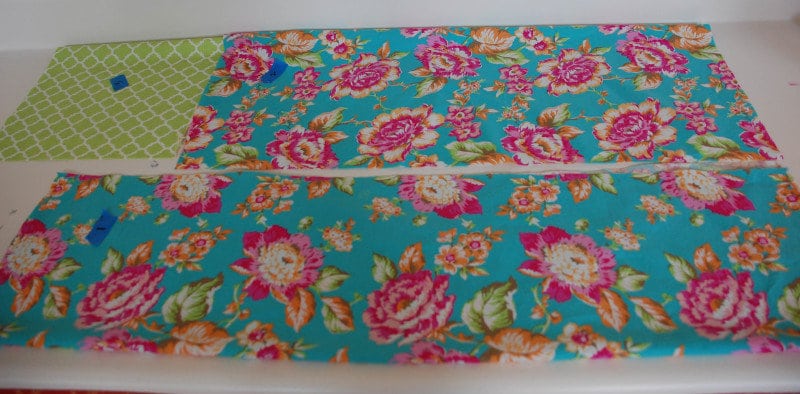
- Lay #3 on the edge of #2 and run a 1/2″ seam across it, right sides together, short end to short end.
- Zig-zag down the remaining raw edges of #1 and the seamed #2+#3.
- Hem the top edge of #3 and one of the short edges of #1. ( turn over 1/2 “, press, then turn over another 1/2”, press, and sew)
- Measure #2 up to where it is seamed with #3. That should be around 29.5″. Fold the wrong sides together and press that seam so that it is straight.
- Take that number and measure from the un-hemmed edge of #1. Put a pin on either side of the fabric at that measurement, fold wrong sides together and iron. You should have approximately 6′ turned over, wrong sides to the wrong sides. Double-check your measurements just to be sure.
- Run a seam to hold that down about 6 ” from the folded over top of #1.
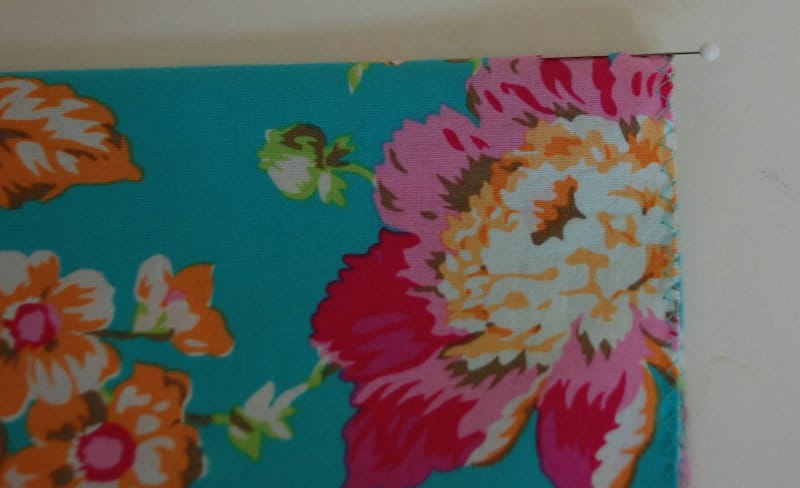
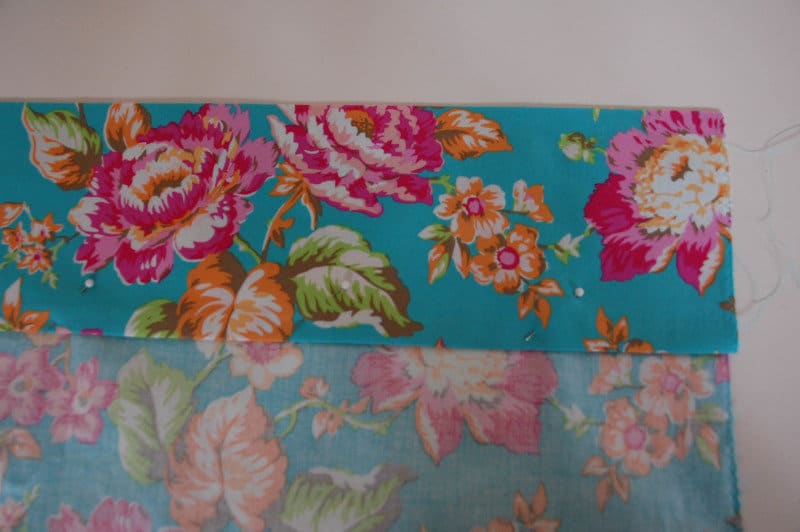
- Lay #2+#3 and #1 right sides together, lining up all edges very carefully. Pin those pieces together.
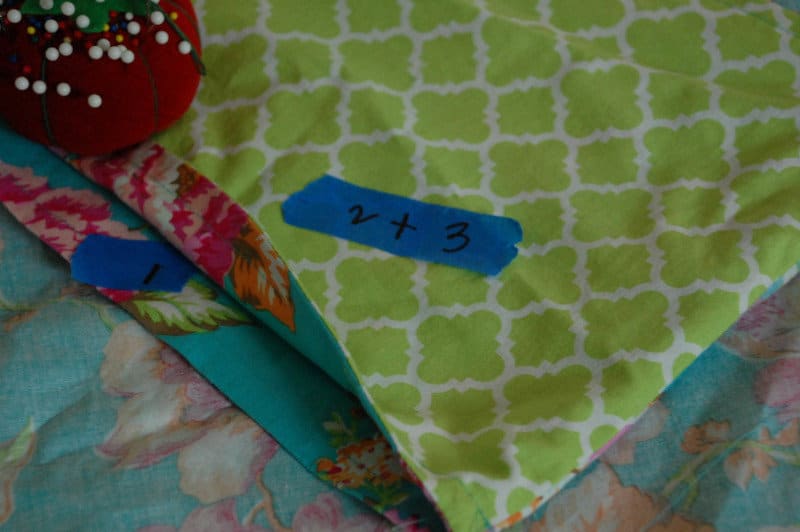
- Fold #3 over #1 and pin. #3 will be the wrong side up. Ensure the seam between #2 and #3 line up exactly with the top of #1.

- Run a 1/2″ seam to sew all these pieces together, reinforcing where #3 meets number #1. It is important that you use a 1/2″ seam for the crochet portion of the pillowcase.
- Turn your pillowcase case out and press
- Run a topstitch 1/2″ around the opening of your pillowcase.
You’ve done it!!!! Pat yourself on the back. See you next week for the crochet ‘lesson’.
Looking for other knit and crochet patterns? Pop over here for all my knit & crochet patterns in one place! And, if you want to be ‘in the knit know’ and you’d like to be notified of the publication of any knit or crochet pattern before the rest of the world, you can do that here.
Thanks again for spending a few minutes of your busy day with me today.
Please know that I welcome each and every comment that comes my way. If you want to make sure you don’t miss future content, pop your email in the beige box up on the right or click here. I usually send out 2-3 emails a week, so I won’t inundate your inbox…believe me, I’m sensitive to an overflowing email inbox!
By subscribing to Nourish and Nestle, we will only use your email address to send you emails (no more than 2-3 per week) that will keep you up to date with the latest news and content on the site. In addition, you will have access to my growing library of knit & crochet patterns, as well as other printables. This library will continue to grow, so check back often.
And please know that you can unsubscribe at any time by emailing me or clicking on the “unsubscribe” link at the bottom of all of our emails.
You can access many of the products I refer to in all of my posts on my Nourish and Nestle Amazon Page. You can access it here.
So, if you’d like to get in on the ‘subscriber benefit’ action, simply subscribe to Nourish and Nestle here or using the form on the right sidebar. It’s towards the top a bit. I have sent all my subscribers the link to the Subscriber Benefits Library. If you missed it or misplaced it, drop me a line.
Until next time…
Hugs,


