
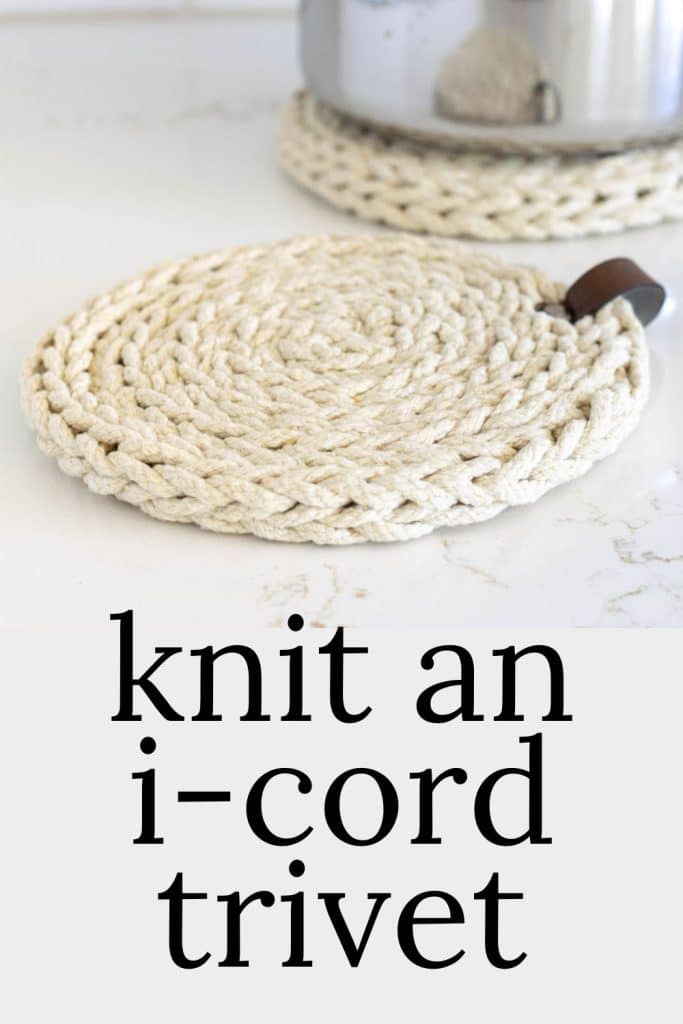
I-Cord Knit Trivet Pattern
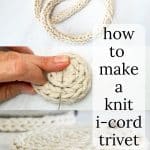

This tutorial shows you how to knit an i-cord with double-pointed needles and then how to coil the knit i-cord to make a lovely and useful trivet. This Free I-Cord Knit Trivet Pattern features step-by-step and illustrated instructions to ensure your i-Cord success!
I love a good i-cord knit project! I use applied i-cords to finish washcloths or dishcloths and show you how to do that in this post. The same applied i-cord method adds a faux fur trim to this blanket! (major starry eye action here!)
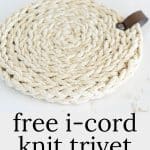
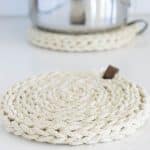
This time, we will knit a stand-alone i-cord and then coil it upon itself for a super sturdy and attractive trivet. Sure, you’ll want to knit a couple of these trivets for your own kitchen, but let’s talk about making them as gifts! I don’t know anyone who couldn’t use a nice trivet or two for their kitchen.
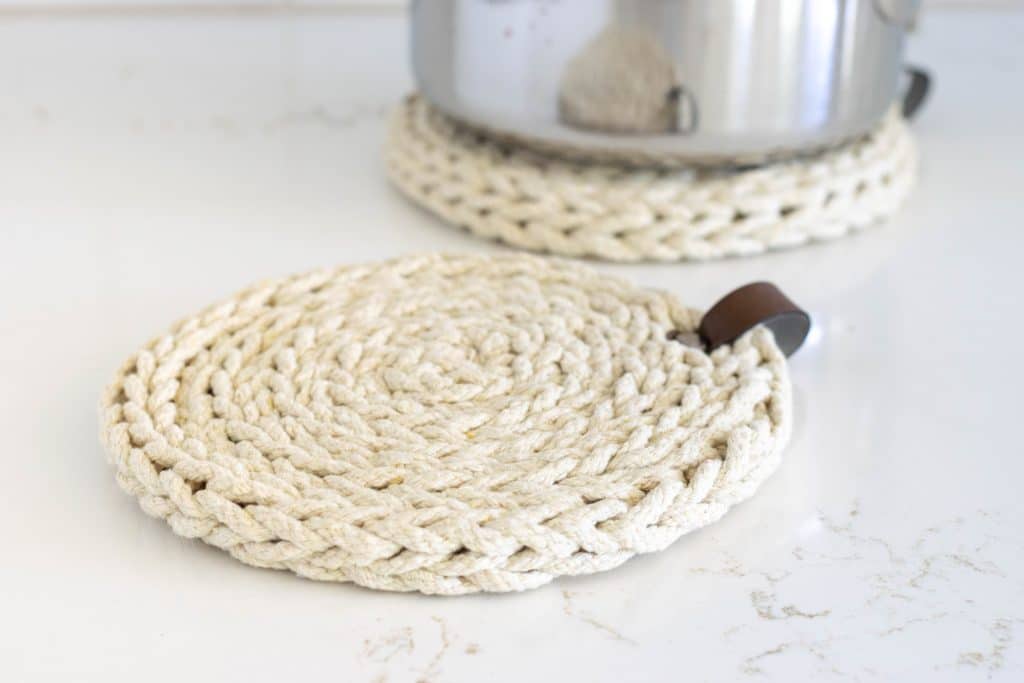
Table of Contents
Abbreviations Used
- dpn: double-pointed needed
Materials Needed to Make These I-cord Knit Trivets
Some of these links may be Amazon affiliate links and I may earn a small commission from the sale of these products to help defray the costs of operating this site, but the price you are charged is not affected. You can see my full disclosure policy here.
The instructions are provided below. But if you would like a printable, ad-free version, you can find that in the Subscriber Library (the password is included at the bottom of our News from the Nest newsletter every Monday) or click here to have it automagically appear in your email inbox.
US 15 (10mm) Double Pointed Knitting Needles
95 feet of 100% cotton 5mm Rope. The rope I used comes in a 295-foot spool so that you can get 3 trivets from a $15.00 spool of rope! If you consider another rope, make sure you use 100% cotton as polyester, acrylic, nylon, etc…could melt if heated.
2- 2.5″ (5-6 cm) Darning Needle
Thread in a color to blend with the rope you are using.
Thimble (optional)
Faux Leather Tabs (optional) I didn’t get my tabs engraved, but it would be a lovely idea! The next time I order, I will think of something darling to add to the tabs.
While these tags are technically washable, I found that the first time I washed them, the lining on the inside came off. That doesn’t bother me, as I don’t see it as necessary. If it is important to you, you could unscrew them before washing.
What is a Knit I-cord?
Knitting i-cords is a very simple technique. A knit i-cord is a tube or cord made by always pulling the working yarn from behind. You will only work on front of your work, so you will never turn your work over. Most i-cords are made using between 3-6 stitches and can be made any desired length. Double-pointed needles are typically used when knitting an i-cord, though it is possible to use circular needles in a pinch.
We will make a knit i-cord, though it is also possible to purl i-cords.
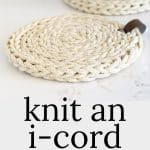
How to Knit the I-cord
First, we will give instructions for knitting a long (54″) i-cord. Then, we will give instructions on how to coil the i-cord to make the trivets.
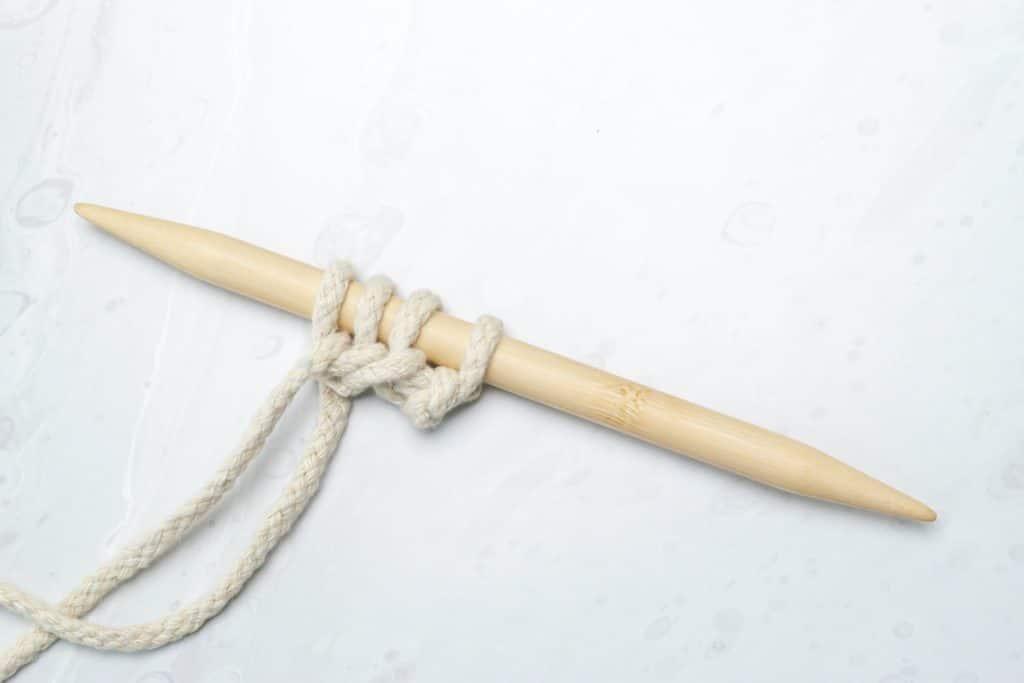
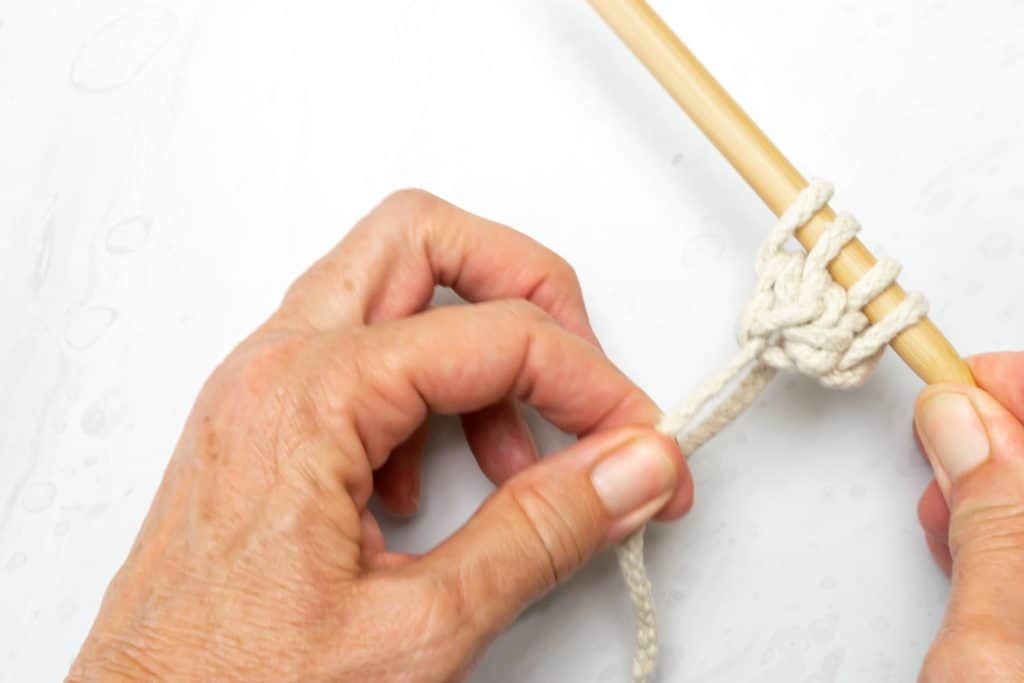
Cast four stitches onto a US 15 (10mm) dpn.
Move the four stitches to the tip of the needle so that the working yarn and the tail cast-on end are to the left of your four cast-on stitches.
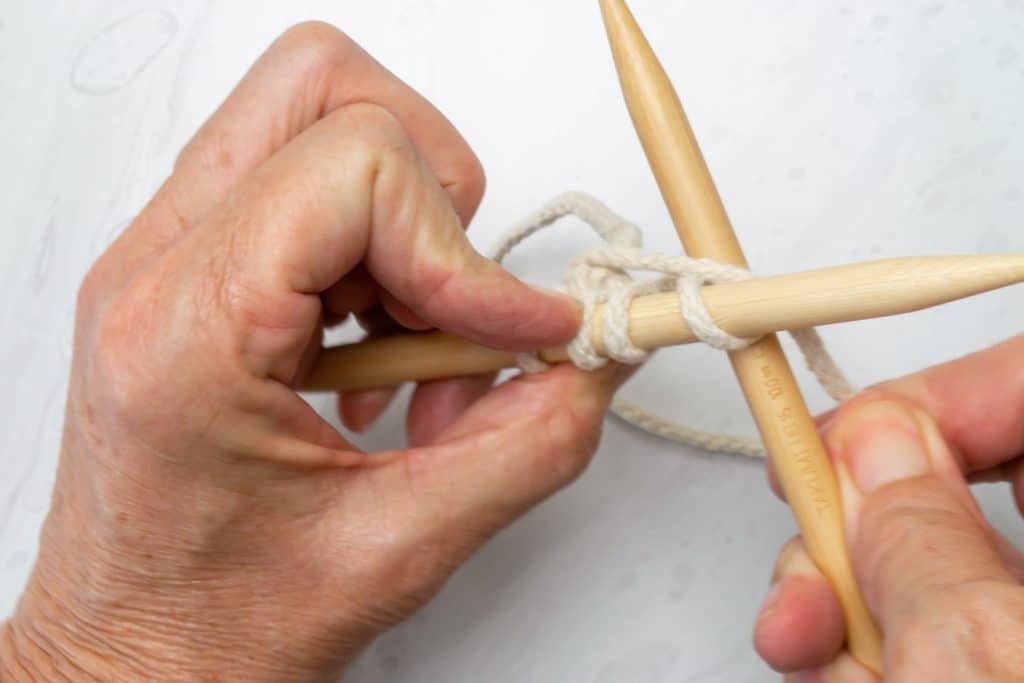
You will ALWAYS pull the working yarn from the left as you knit, creating a tube or cord.
Start knitting the four stitches.
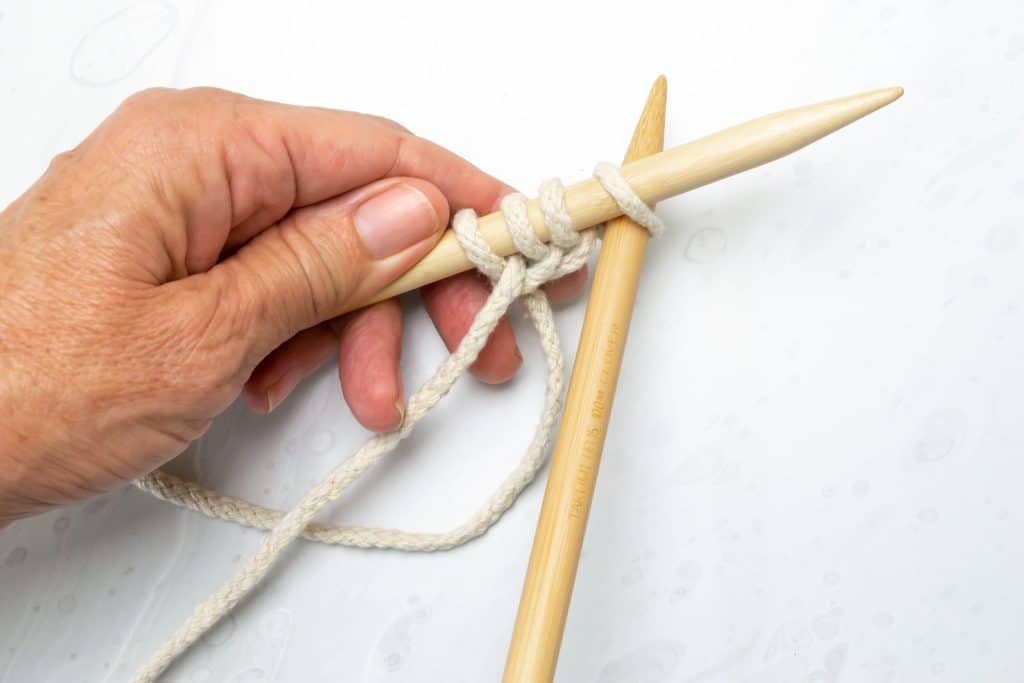
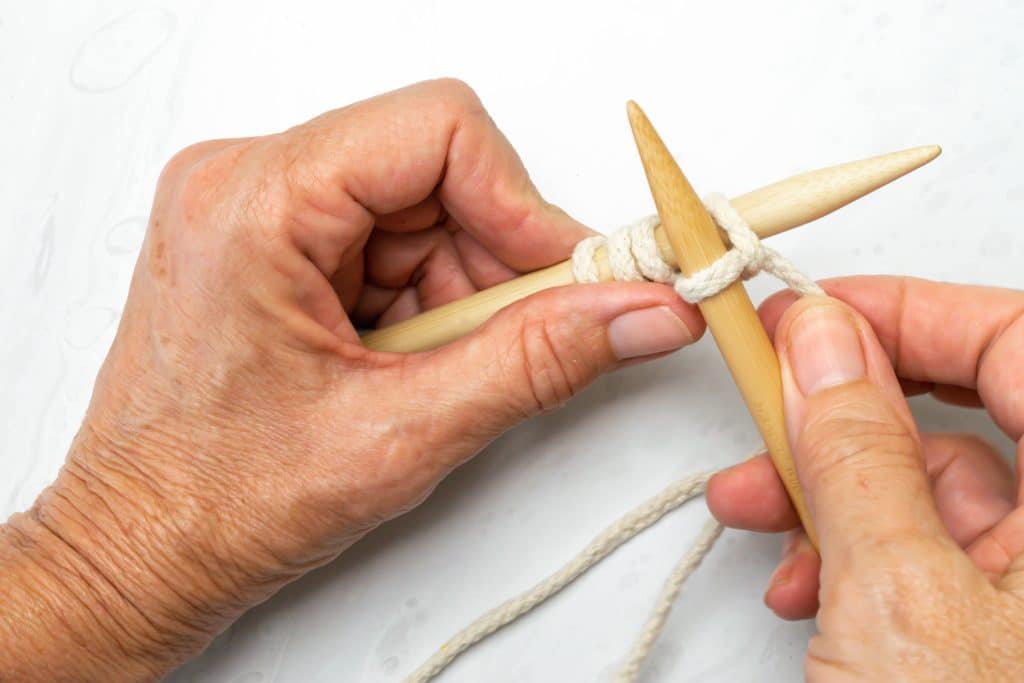
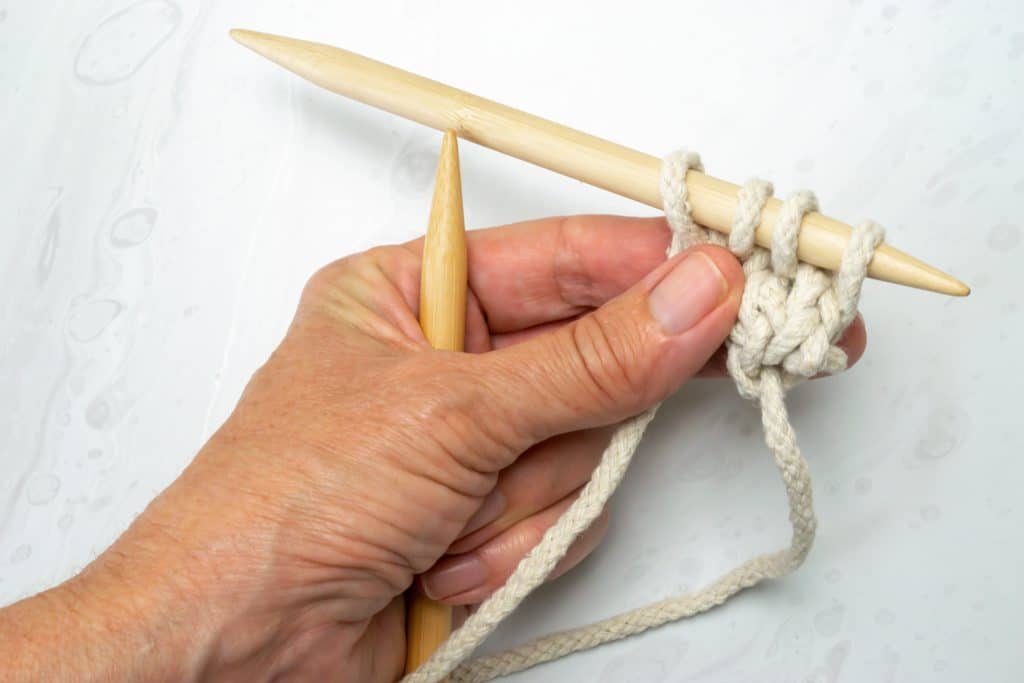
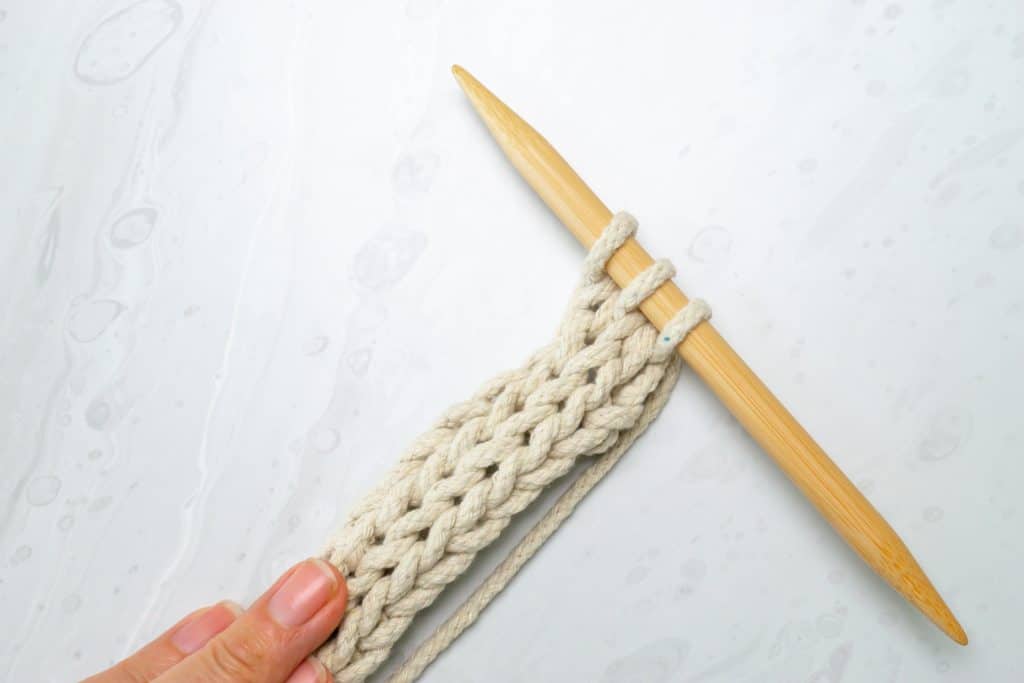
When you have knit the four stitches, push them back to the right side of the dpn, ensuring that the working yarn is on the left side and in the back.
Note that you will NEVER turn your work as you usually do while knitting.
Gently pull down on the tail, cast-on end of the yarn; this will help form the cord or tube. You will want to do this occasionally as you knit your i-cord.
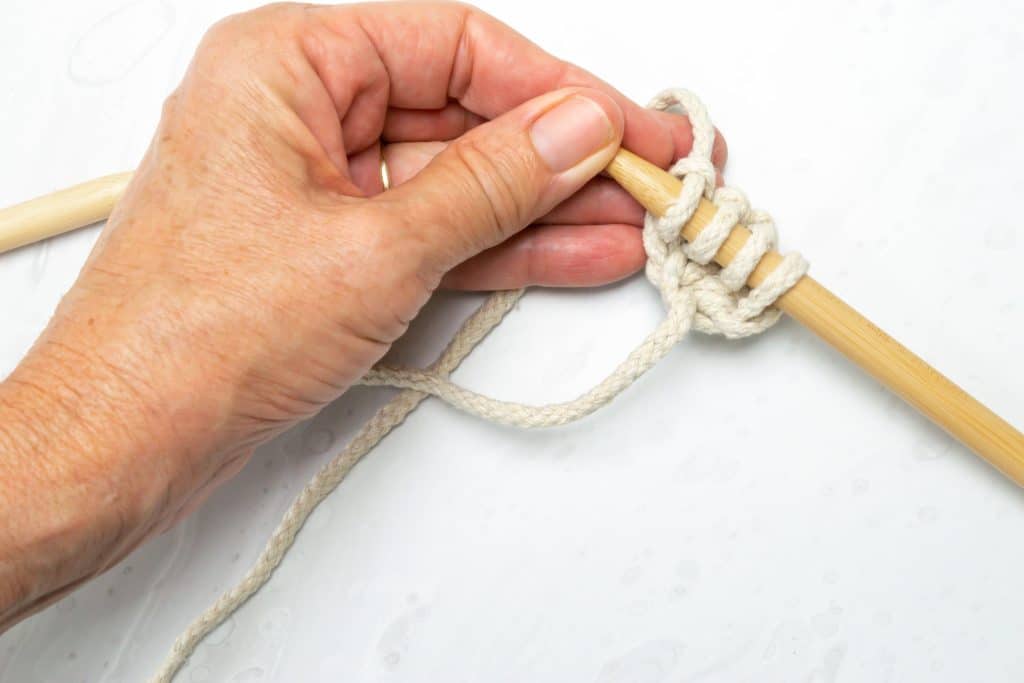
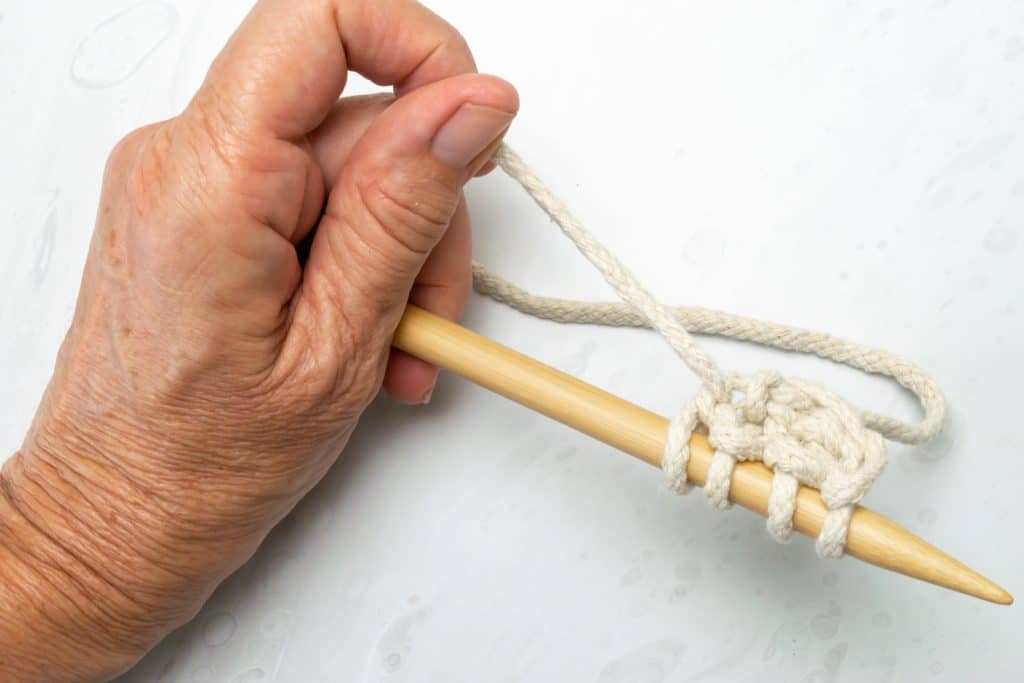
Knit the four stitches again.
After you have knit them again, slide them back to the right side of the needle and repeat.
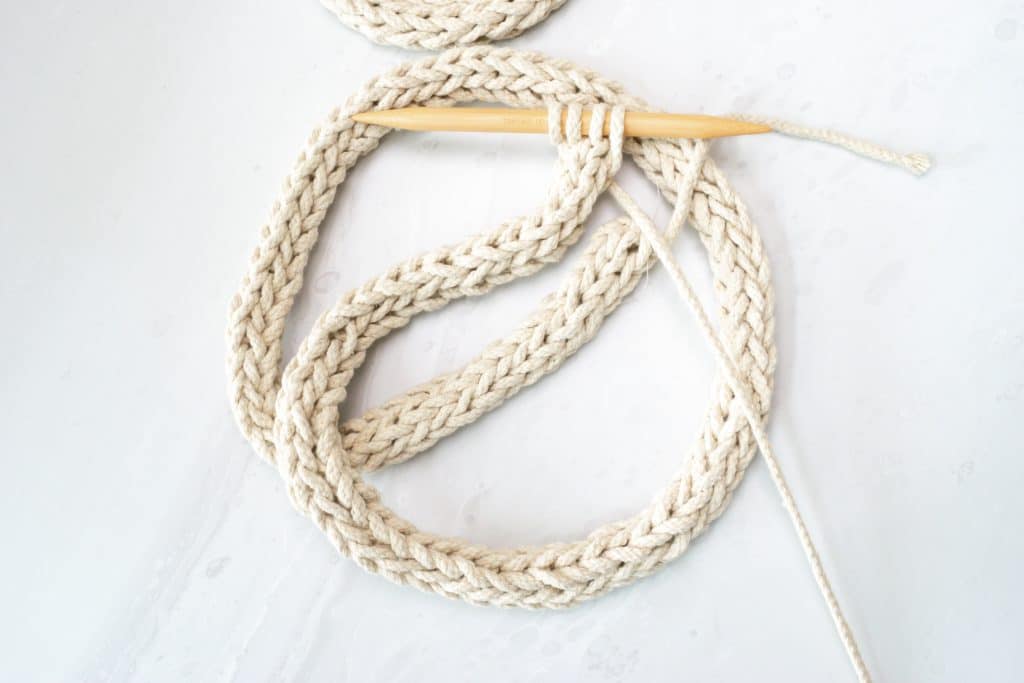
Continue until your cord measures 48″ (122 cm).
Gradually Bind Off
Now, we will slowly bind off, tapering so that when we coil the i-cord, the end will blend in better.
When your work measures 48″ (122 cm), you will slowly cast off over several rows.
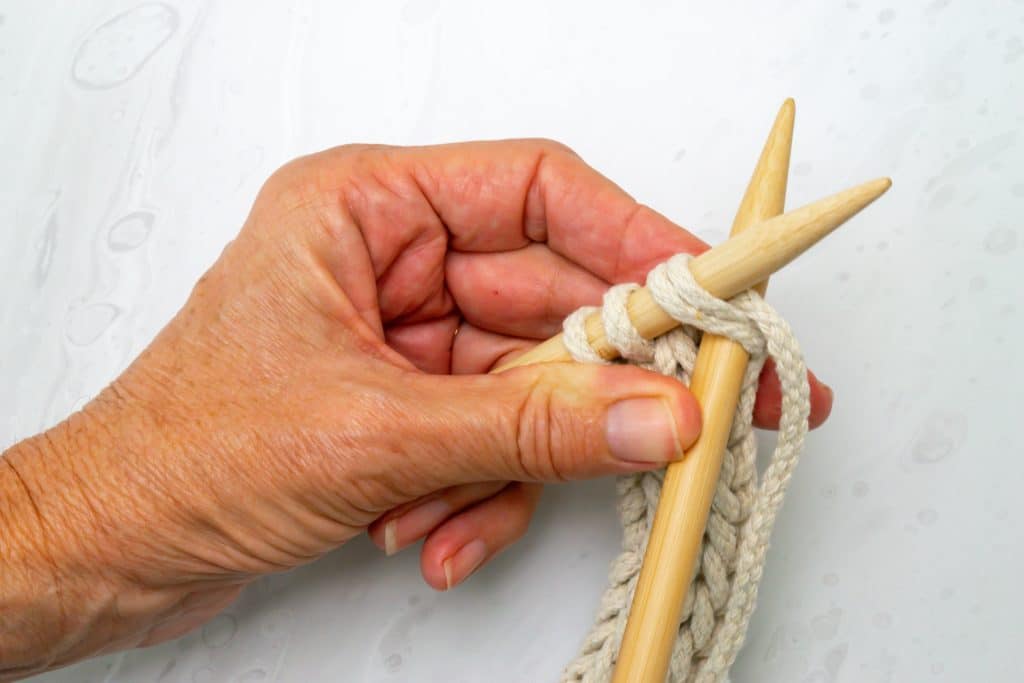
First, k2t and knit the following two.
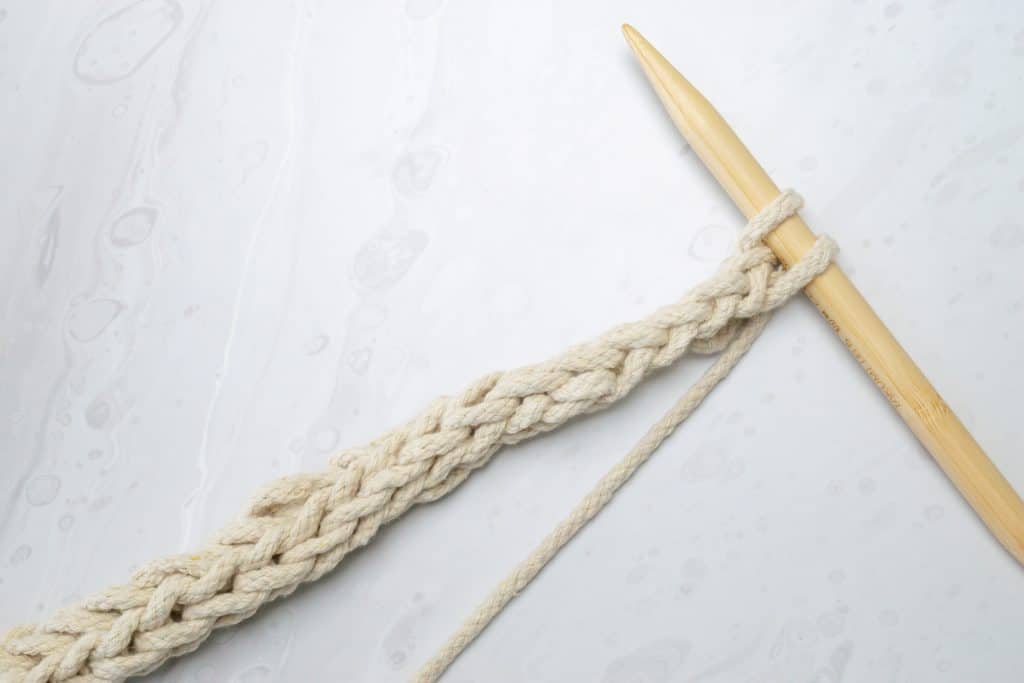
Work the i-cord over three stitches for three rows.

K2t and knit the following one.
Work the i-cord over two stitches for three rows.
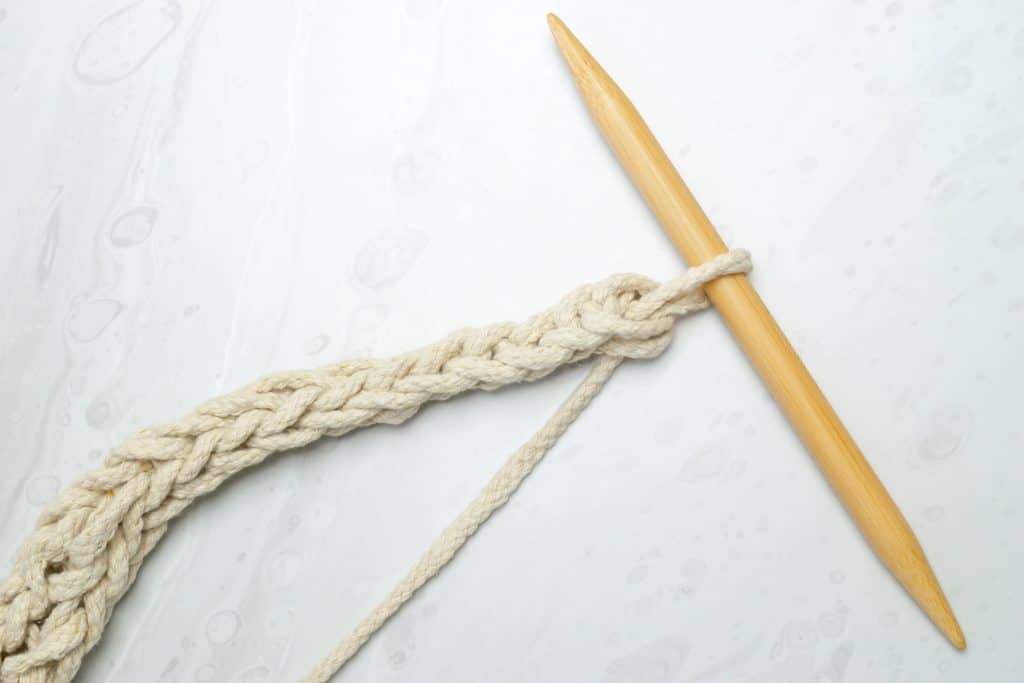
Knit the last two stitches together.
Snip the working yarn about 3-4″ from the last stitch and slip it through the loop on the needles, binding your i-cord off.
Use the Cord to Make the I-cord Knit Trivet
tips:
- Keep even tension as you sew your coils. If you make the center tighter than the outer rings, the coil will pop up a bit and not lay as flat as you might like.
- You need four sides to make this work and be nicely finished on all four sides, so you can’t make a 3-stitch i-cord or a 5-stitch i-cord.
- Don’t twist your coils.
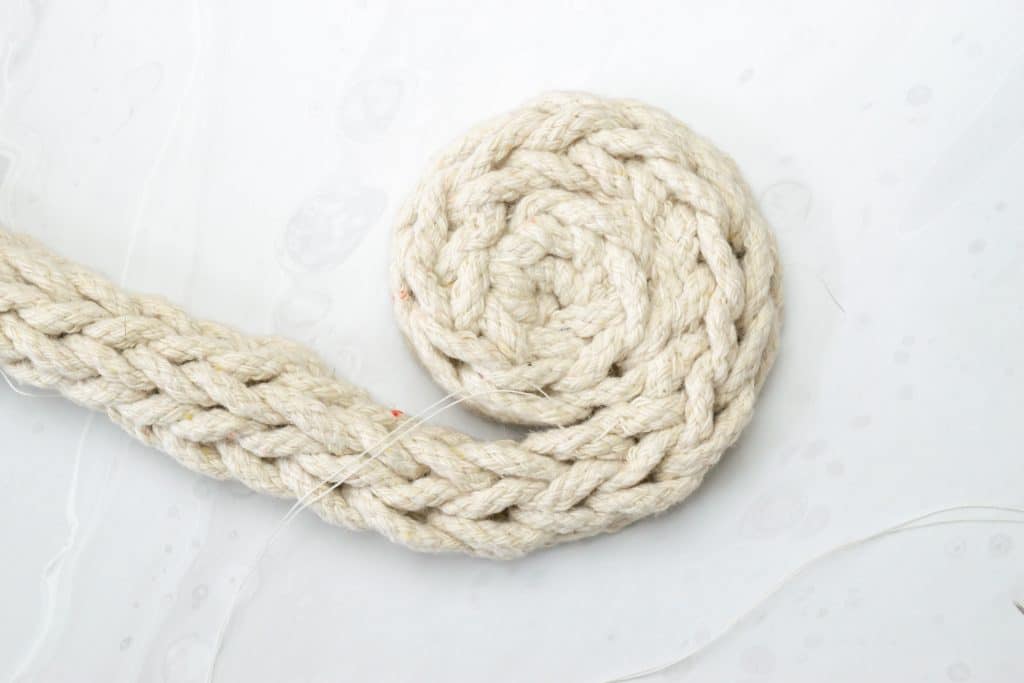
- Lay your cord out and notice that there are four sides.
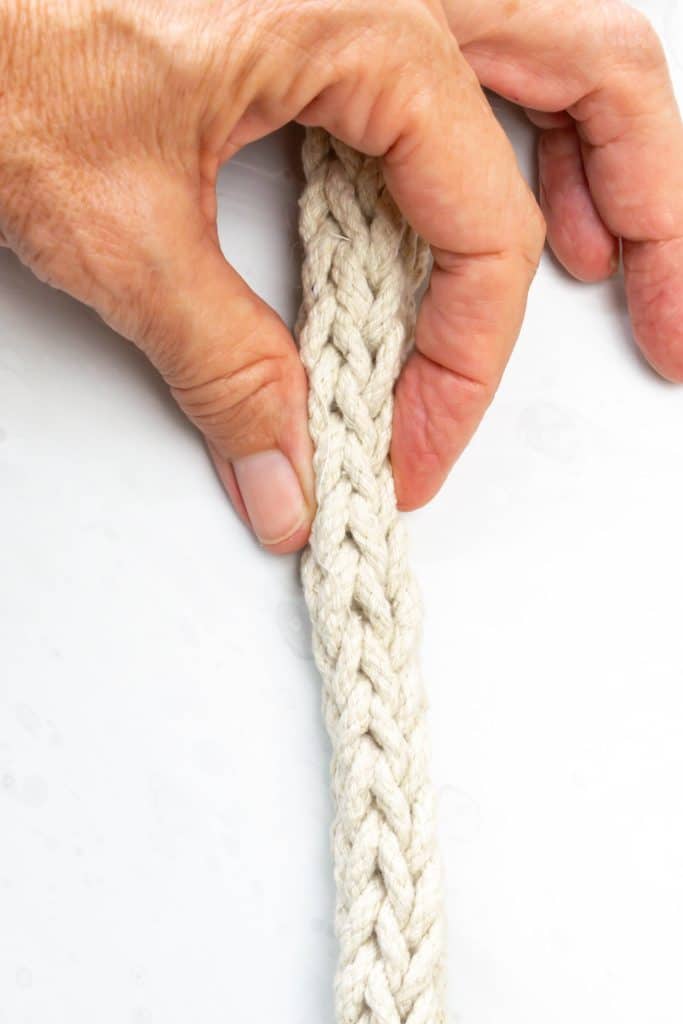
- You want to ensure you don’t twist the i-cord as you coil. Keep the same side facing up the whole time.
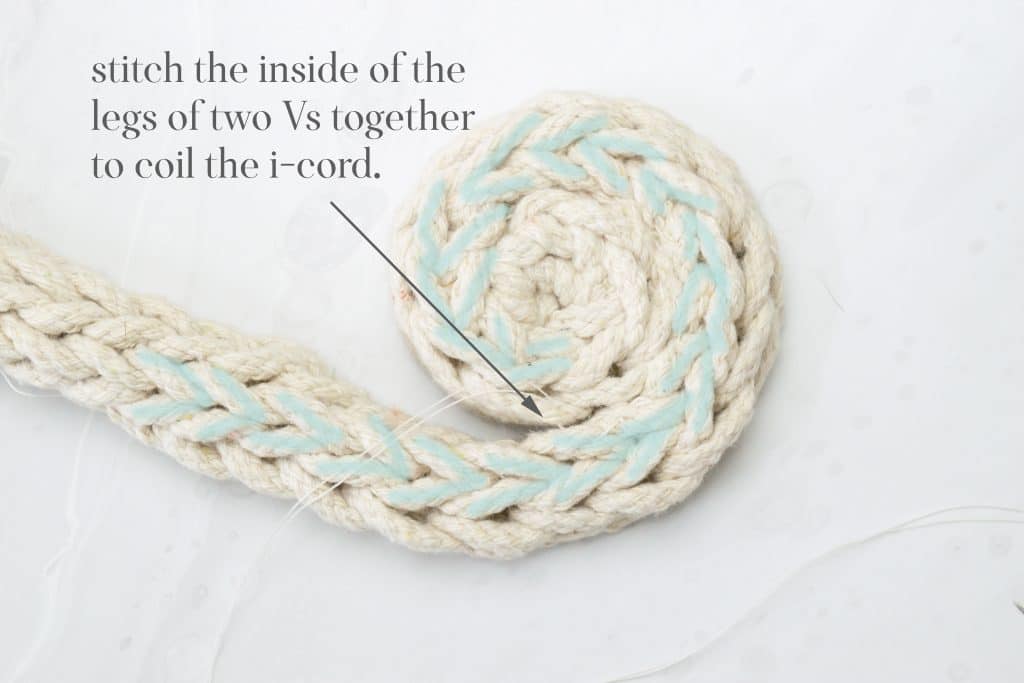
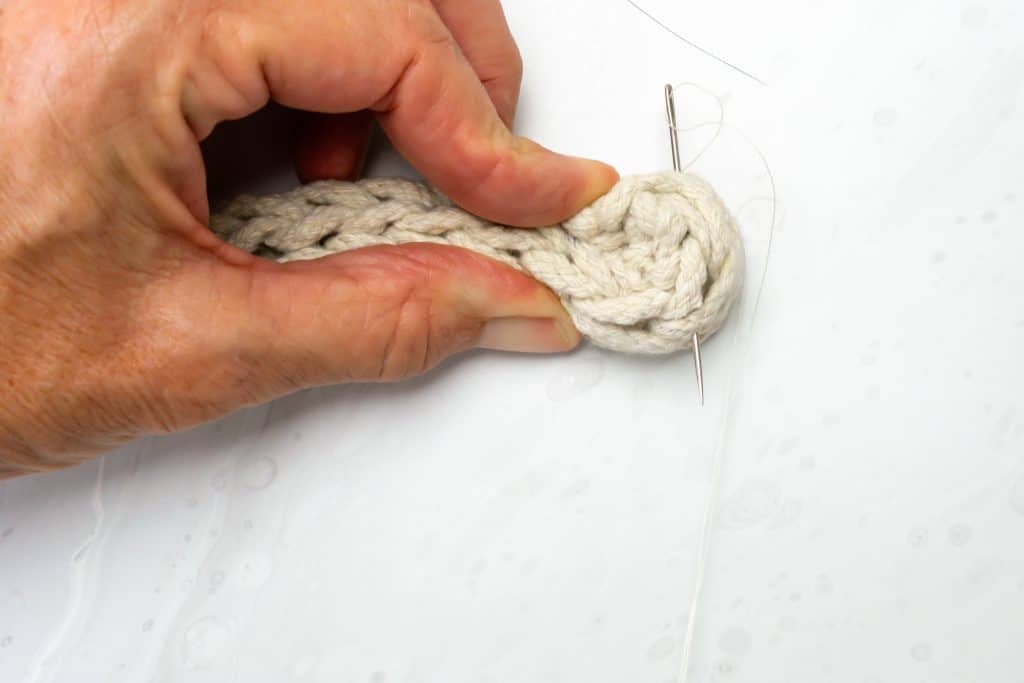
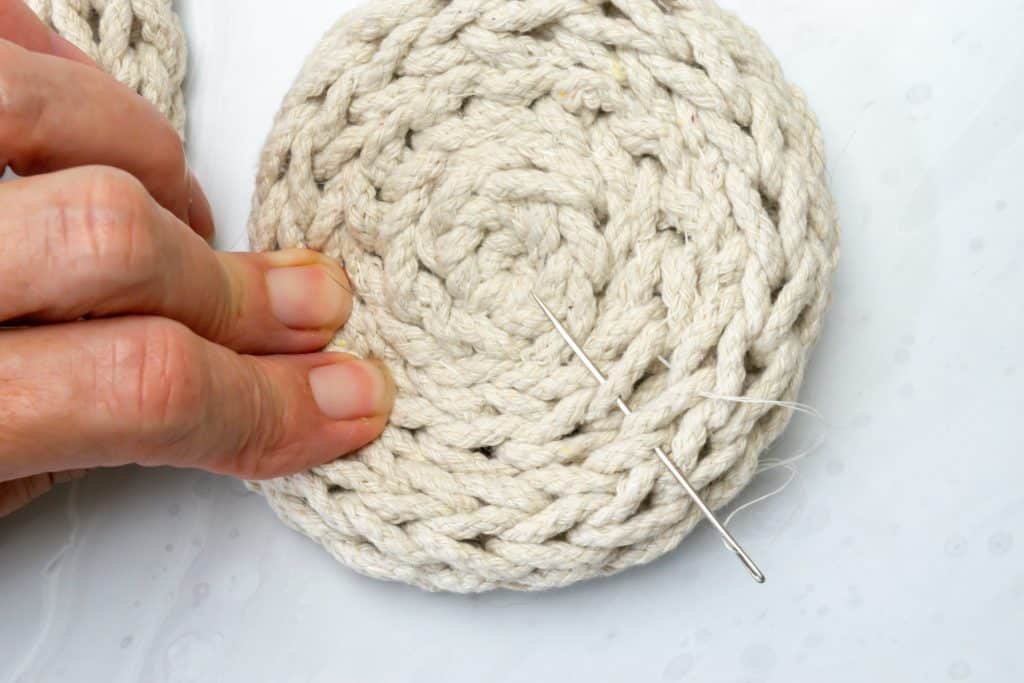
Starting at the cast-on end (not the end where you worked down to one stitch), bend the end over about 1″ and secure with a needle going through all layers.
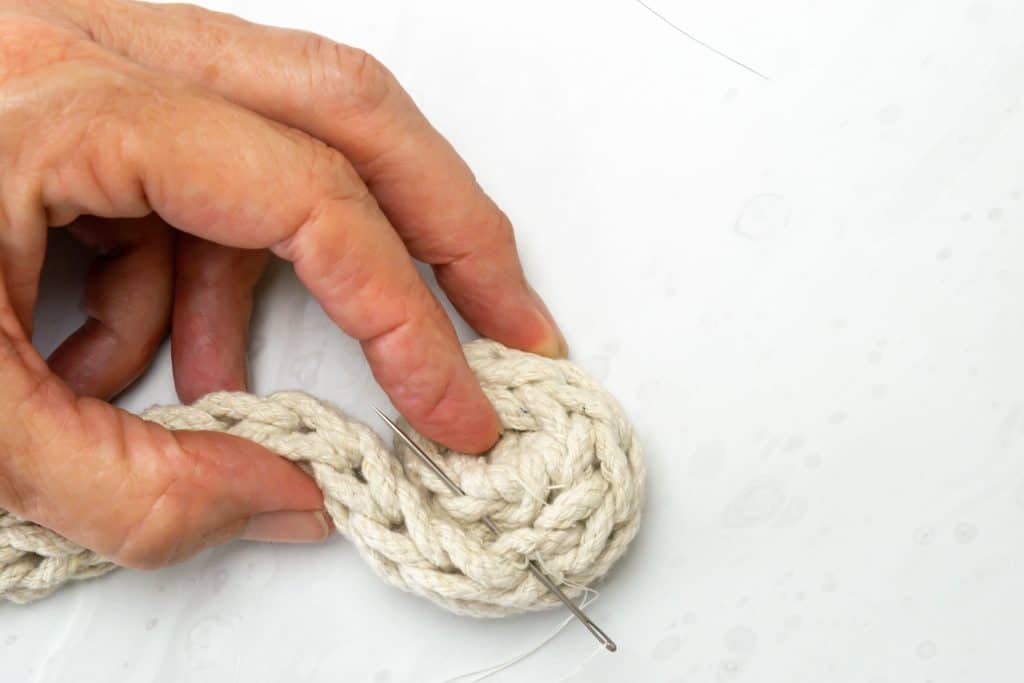
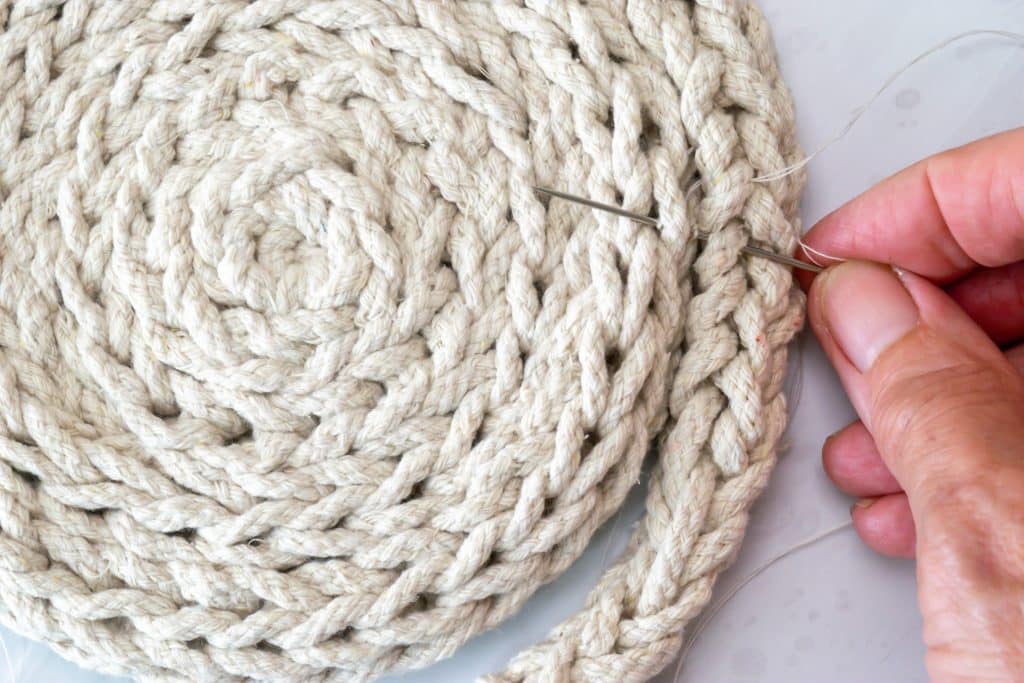
Then, continue to stitch the inside of two legs of the Vs to coil the i-cord. Where you stitch doesn’t matter as much as keeping the track of Vs from not twisting.
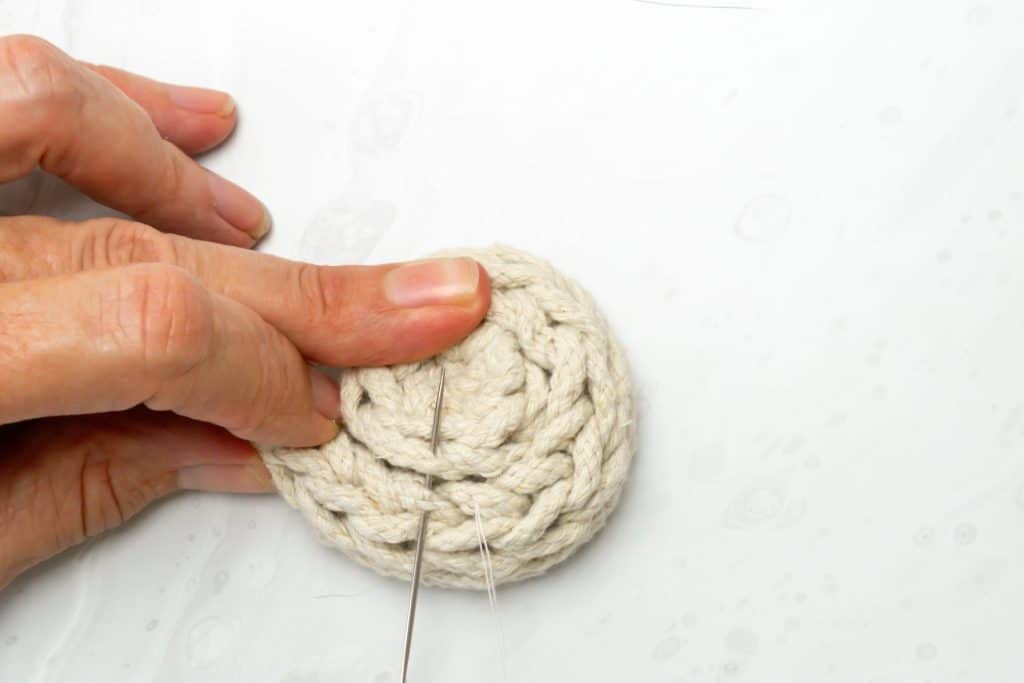
My eyes would go a little wonky at times, so I found it helpful to trace the Vs with my finger to ensure I wasn’t twisting.
Another way to double-check that you haven’t twisted your i-cord is to turn your work over…it should look as flat on the bottom as it does on the top.
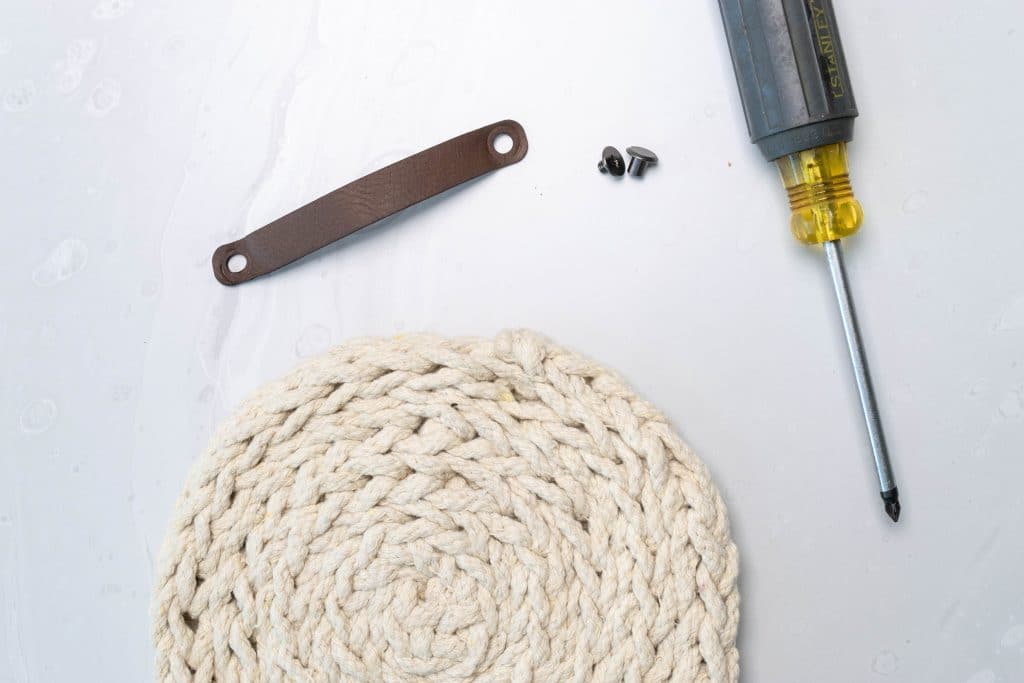
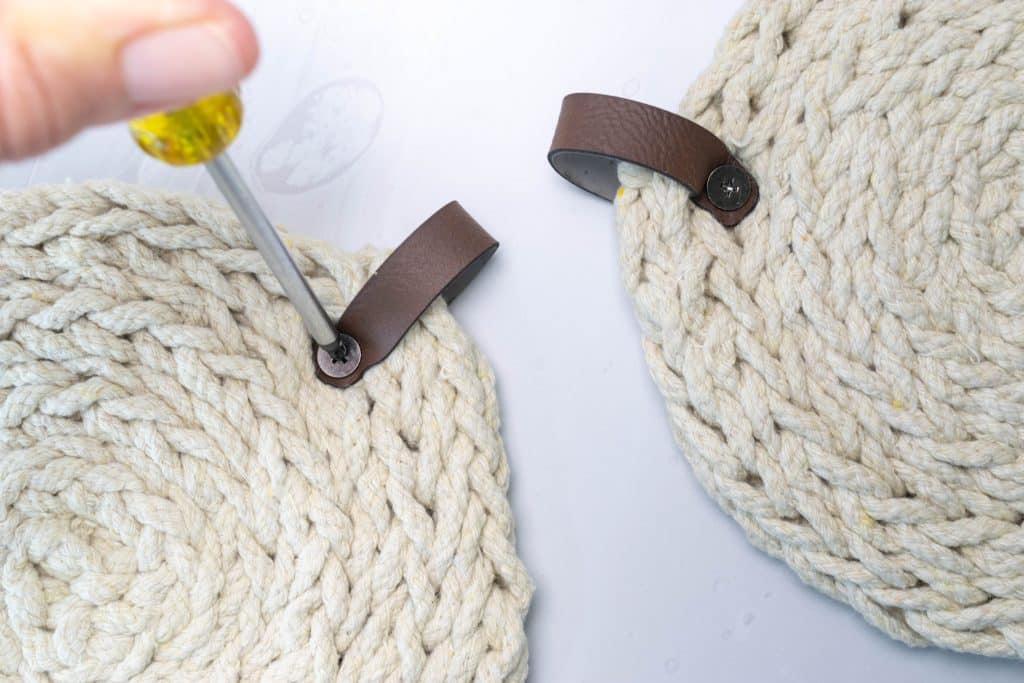
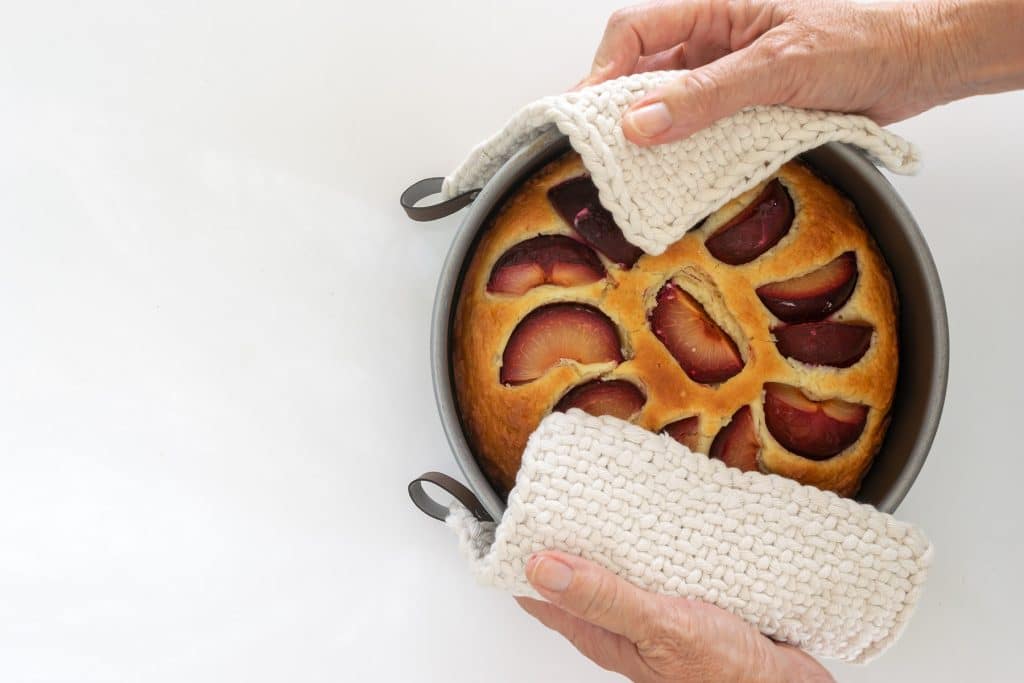
When you’ve finished sewing the coil, you can add a leather tab to cover the end of the project if you choose. However, the way we slowly cast off makes the end of the coil less obvious.
The faux leather tags I linked to come with the screws that attach the tags to your work.
Washing your Knit I-Cord Trivet
I have washed these trivets but haven’t dried them in the dryer. As they are 100% cotton, I’m sure they will shrink. They are dense, so I placed them over my air vent to speed up the drying process.
More Useful Handknit Patterns for the Kitchen
If you are looking for additional hand-knit projects that would be useful in the kitchen, you’ve come to the right place!
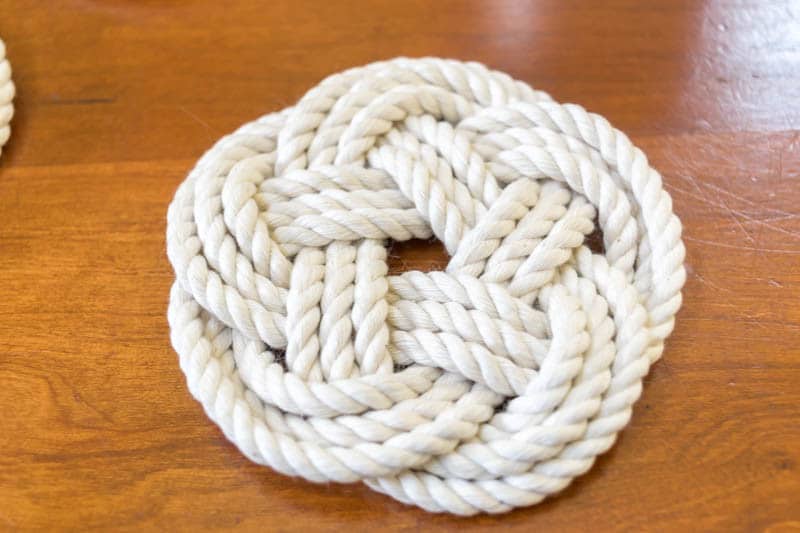
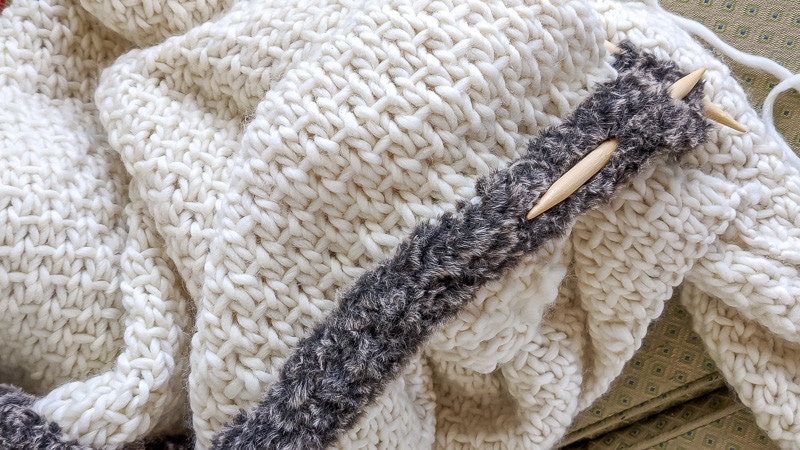
Trivets
In addition to this Knit I-Cord Trivet, I have two other trivet patterns: a Chunky Garter Stich Knit Trivet and a Turk’s Head Knot Trivet.
other trivet patterns
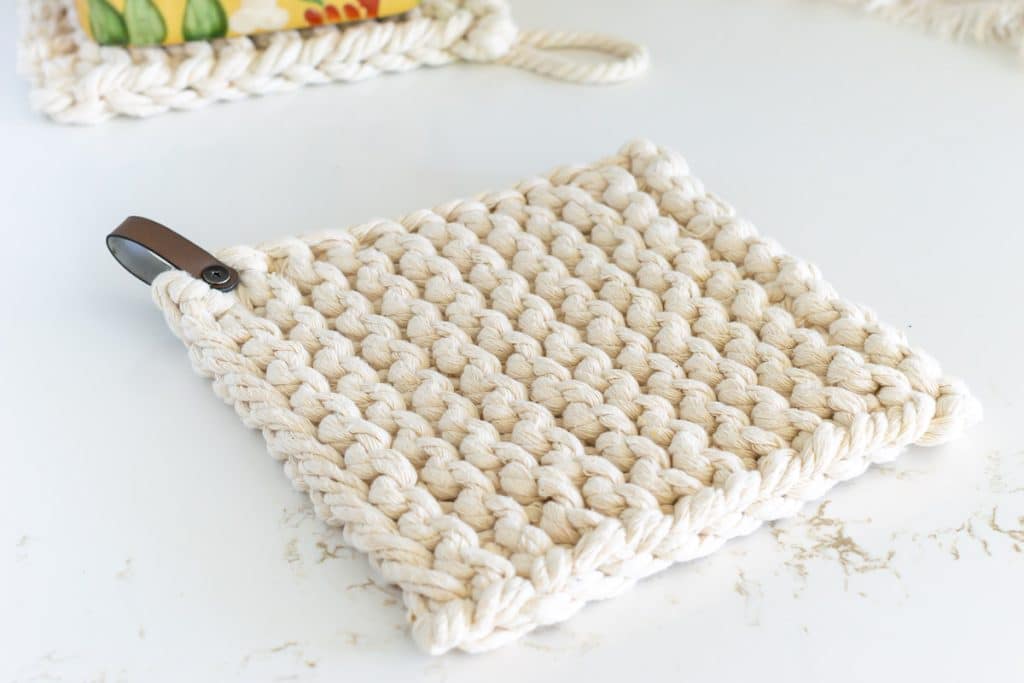
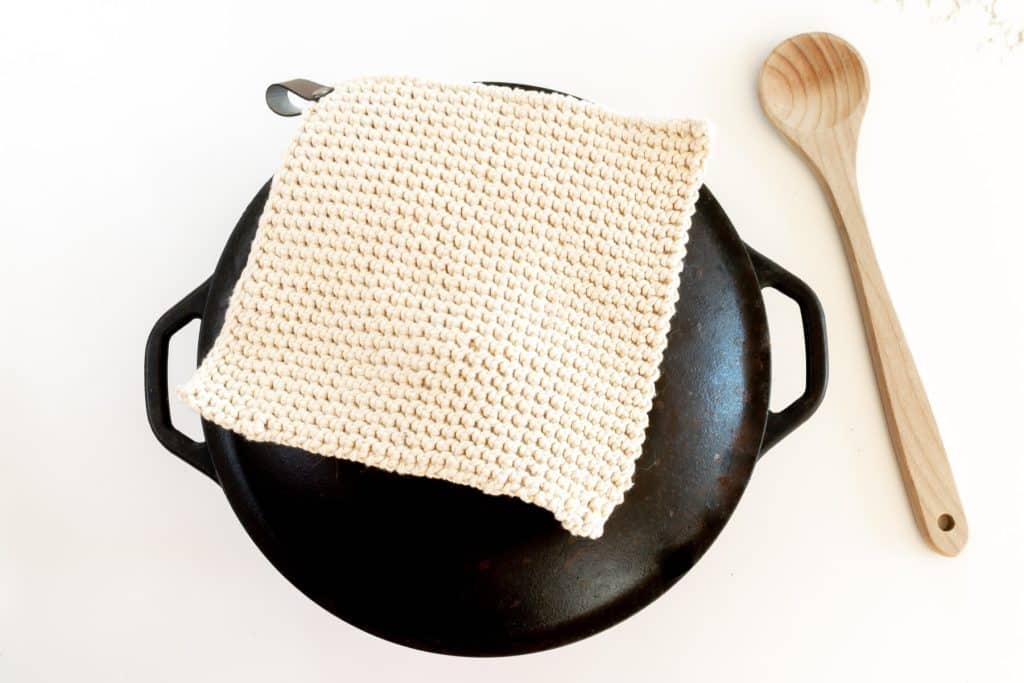
Pot Holders
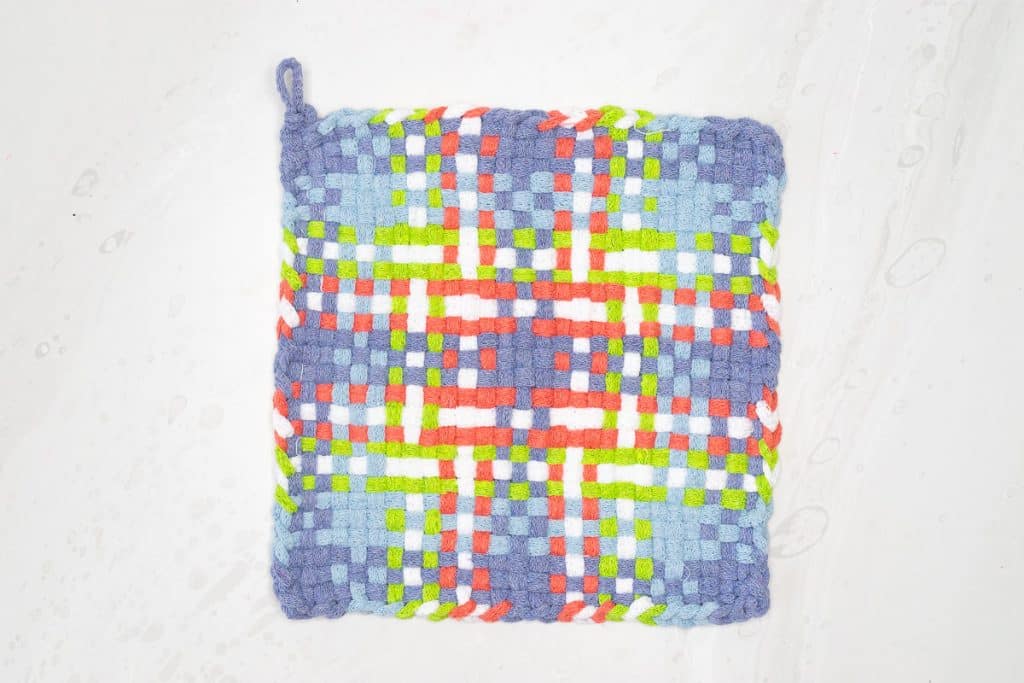
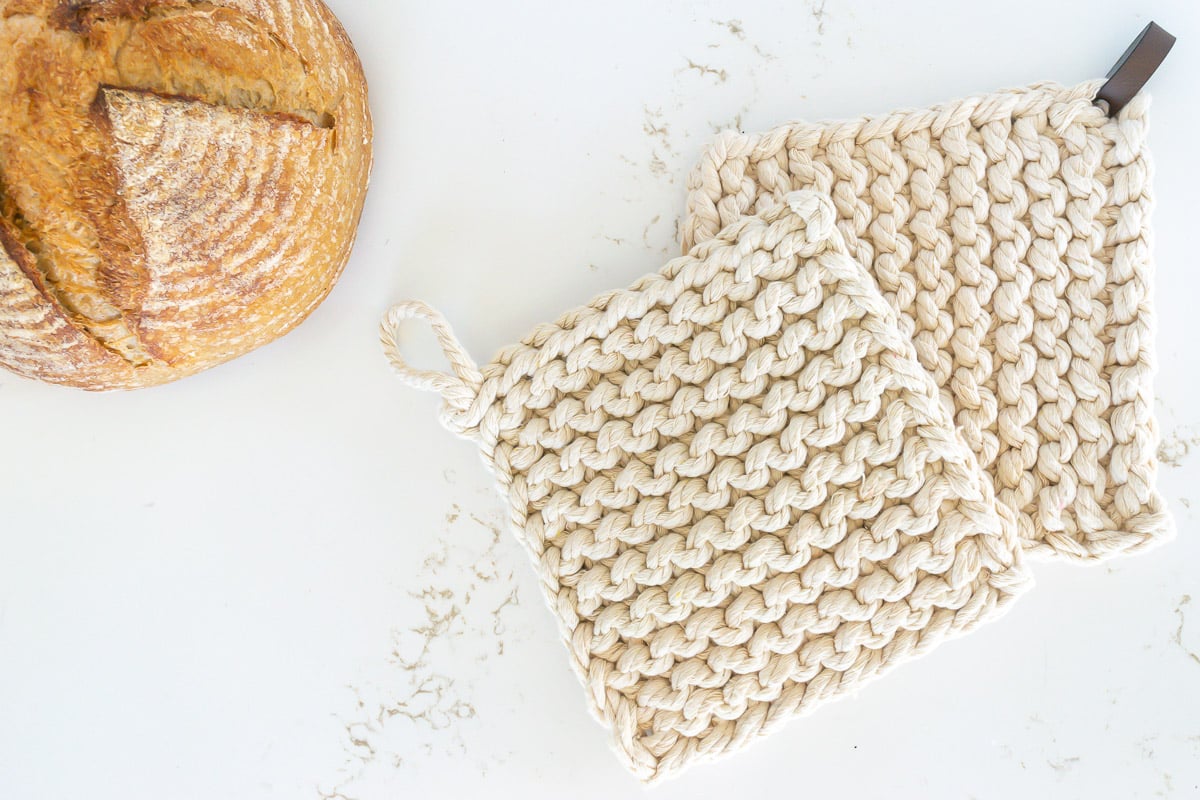
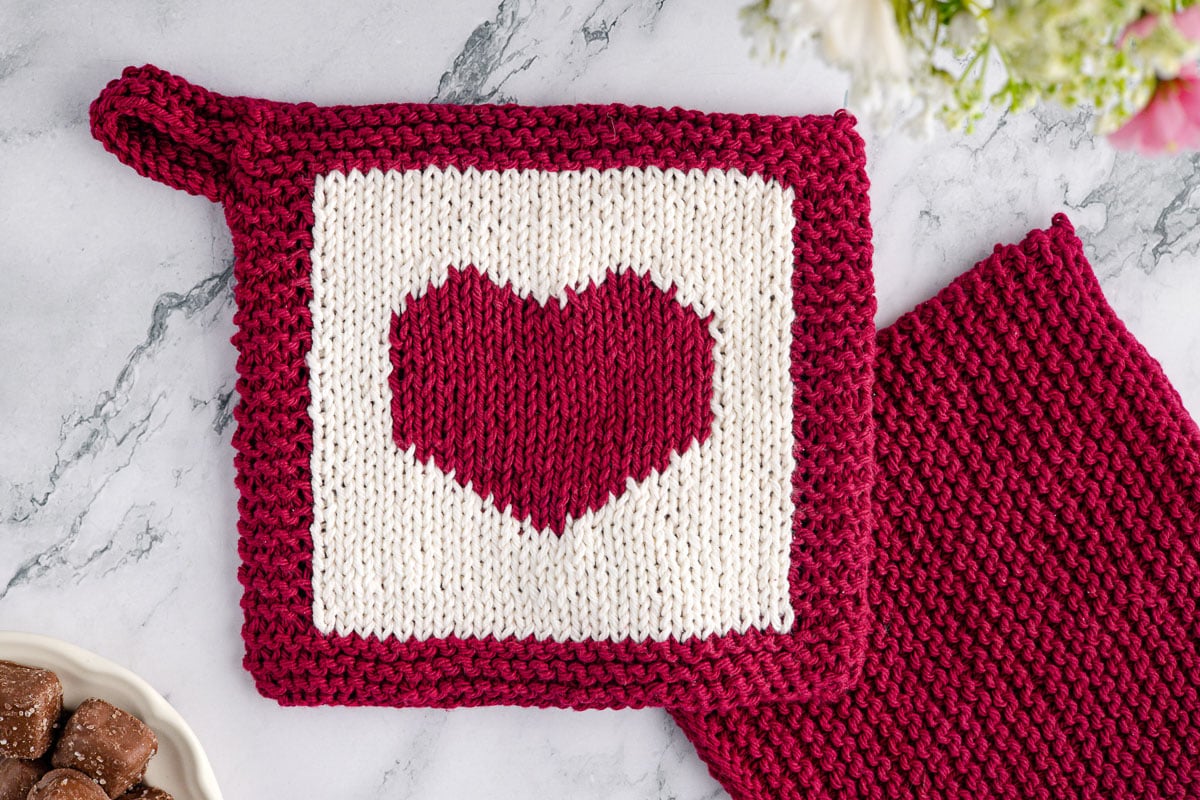
I have published four potholder patterns: a Knit Linen Stitch Potholder, a Crochet Thermal Stitch Potholder, a Knit Heart Potholder, and a look back at Loom Potholders.
Potholder Patterns

Bookmark this page or pin the following image to refer back to this Knit I-Cord Trivet Pattern in the future.
Thanks so much for spending a few minutes of your busy day with me!
To ensure you don’t miss future content, pop your email in the pale green box on the right or click here. I usually send one email weekly, so I won’t inundate your inbox. I’m sensitive to an overflowing email inbox!
We will only use your email address to send you emails, no more than 1-2 weekly. In addition, you will have access to my growing library of knit & crochet patterns and other printables. Check back often as this library will continue to grow. You can unsubscribe anytime by emailing me or clicking on the “unsubscribe” link at the bottom of all emails.
And you can access many of the products I refer to on my Nourish and Nestle Amazon Page. You can access it here.
So, if you’d like to participate in the ‘subscriber benefit’ action, simply subscribe to Nourish and Nestle here or use the form on the right sidebar. It’s slightly towards the top.
I have sent all my subscribers the link to the Subscriber Benefits Library. If you missed it or misplaced it, let me know.
Until next time…

Does this give a similar type cord to the old children’s french knitting dolls?
I’ve dug mine out to teach my twins over the summer holidays.
Hi Angie,
Yes it does! The French Knitting doll cords are thin, but you could make a thin one depending on the yarn and needles you choose.
I’ve never worked with this type of rope/cord before. What’s the best way to deal with the ends? Do thy get woven in, glued, burned? How do you keep them from fraying?
Hi Kate,
I wove the ends in, but glueing them is a good idea too!
I wonder instead of rope I could hold a number of strands of cotton together
I have so much cotton yarn ! Thanks for the pattern – its great !
I think you probably could, Liz! Try it and let me know, if you don’t mind!