How to Paint Wood Furniture
In describing myself, I would have to add that there are few things in this world that I wouldn’t slap a coat of paint on to suit my ever-evolving taste. That said, it’s only fitting that I would want to write about how to paint furniture. I mean after all, it seems like I’m busy at it on a regular basis. By the way, for those afraid of the fuss, work and mess of sanding, it is quite easy to paint wood furniture without sanding.
That being said, I won’t paint over a fine piece of furniture or quality art…I’m not altogether crazy. I’m an equal opportunity paint user in that I’ll use spray paint, Rub n Buff, as well as traditional ‘use a brush’ kind of paint.
Right now, I’m very much in a metallic mode and have spruced up several pieces of furniture that just weren’t cutting it in their past state.
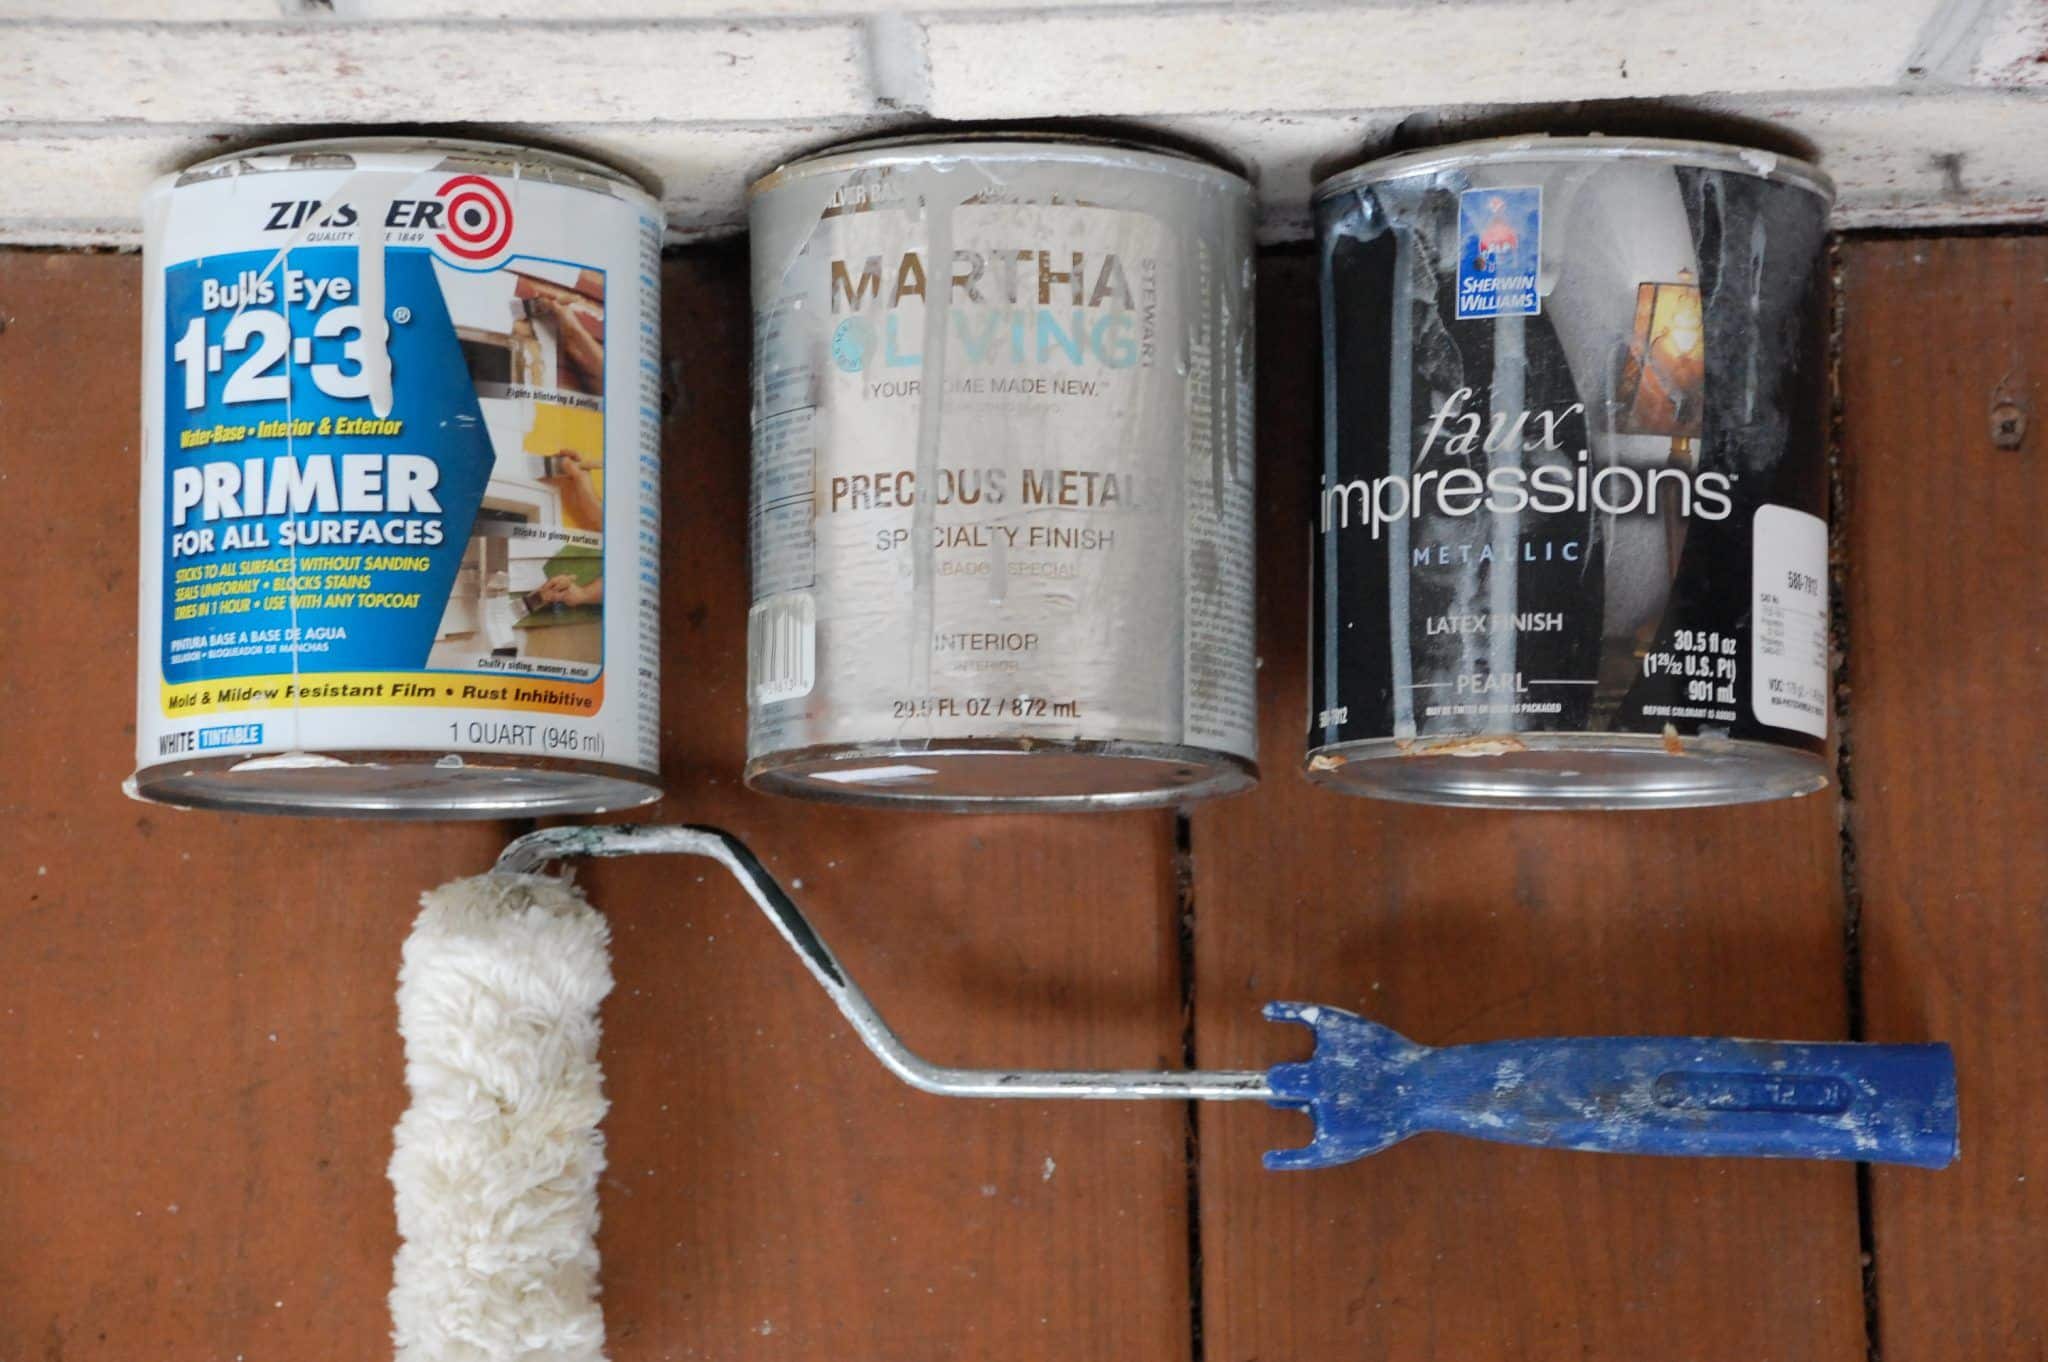
Here’s what I used:
And here are the most pieces that were nominated for a little sprucing up.
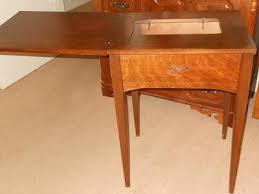
This sewing cabinet has history as it belonged to my Grandma, but it was in pretty bad shape and just not cutting it. I don’t have a before photo of the sewing cabinet but found one almost identical on line.

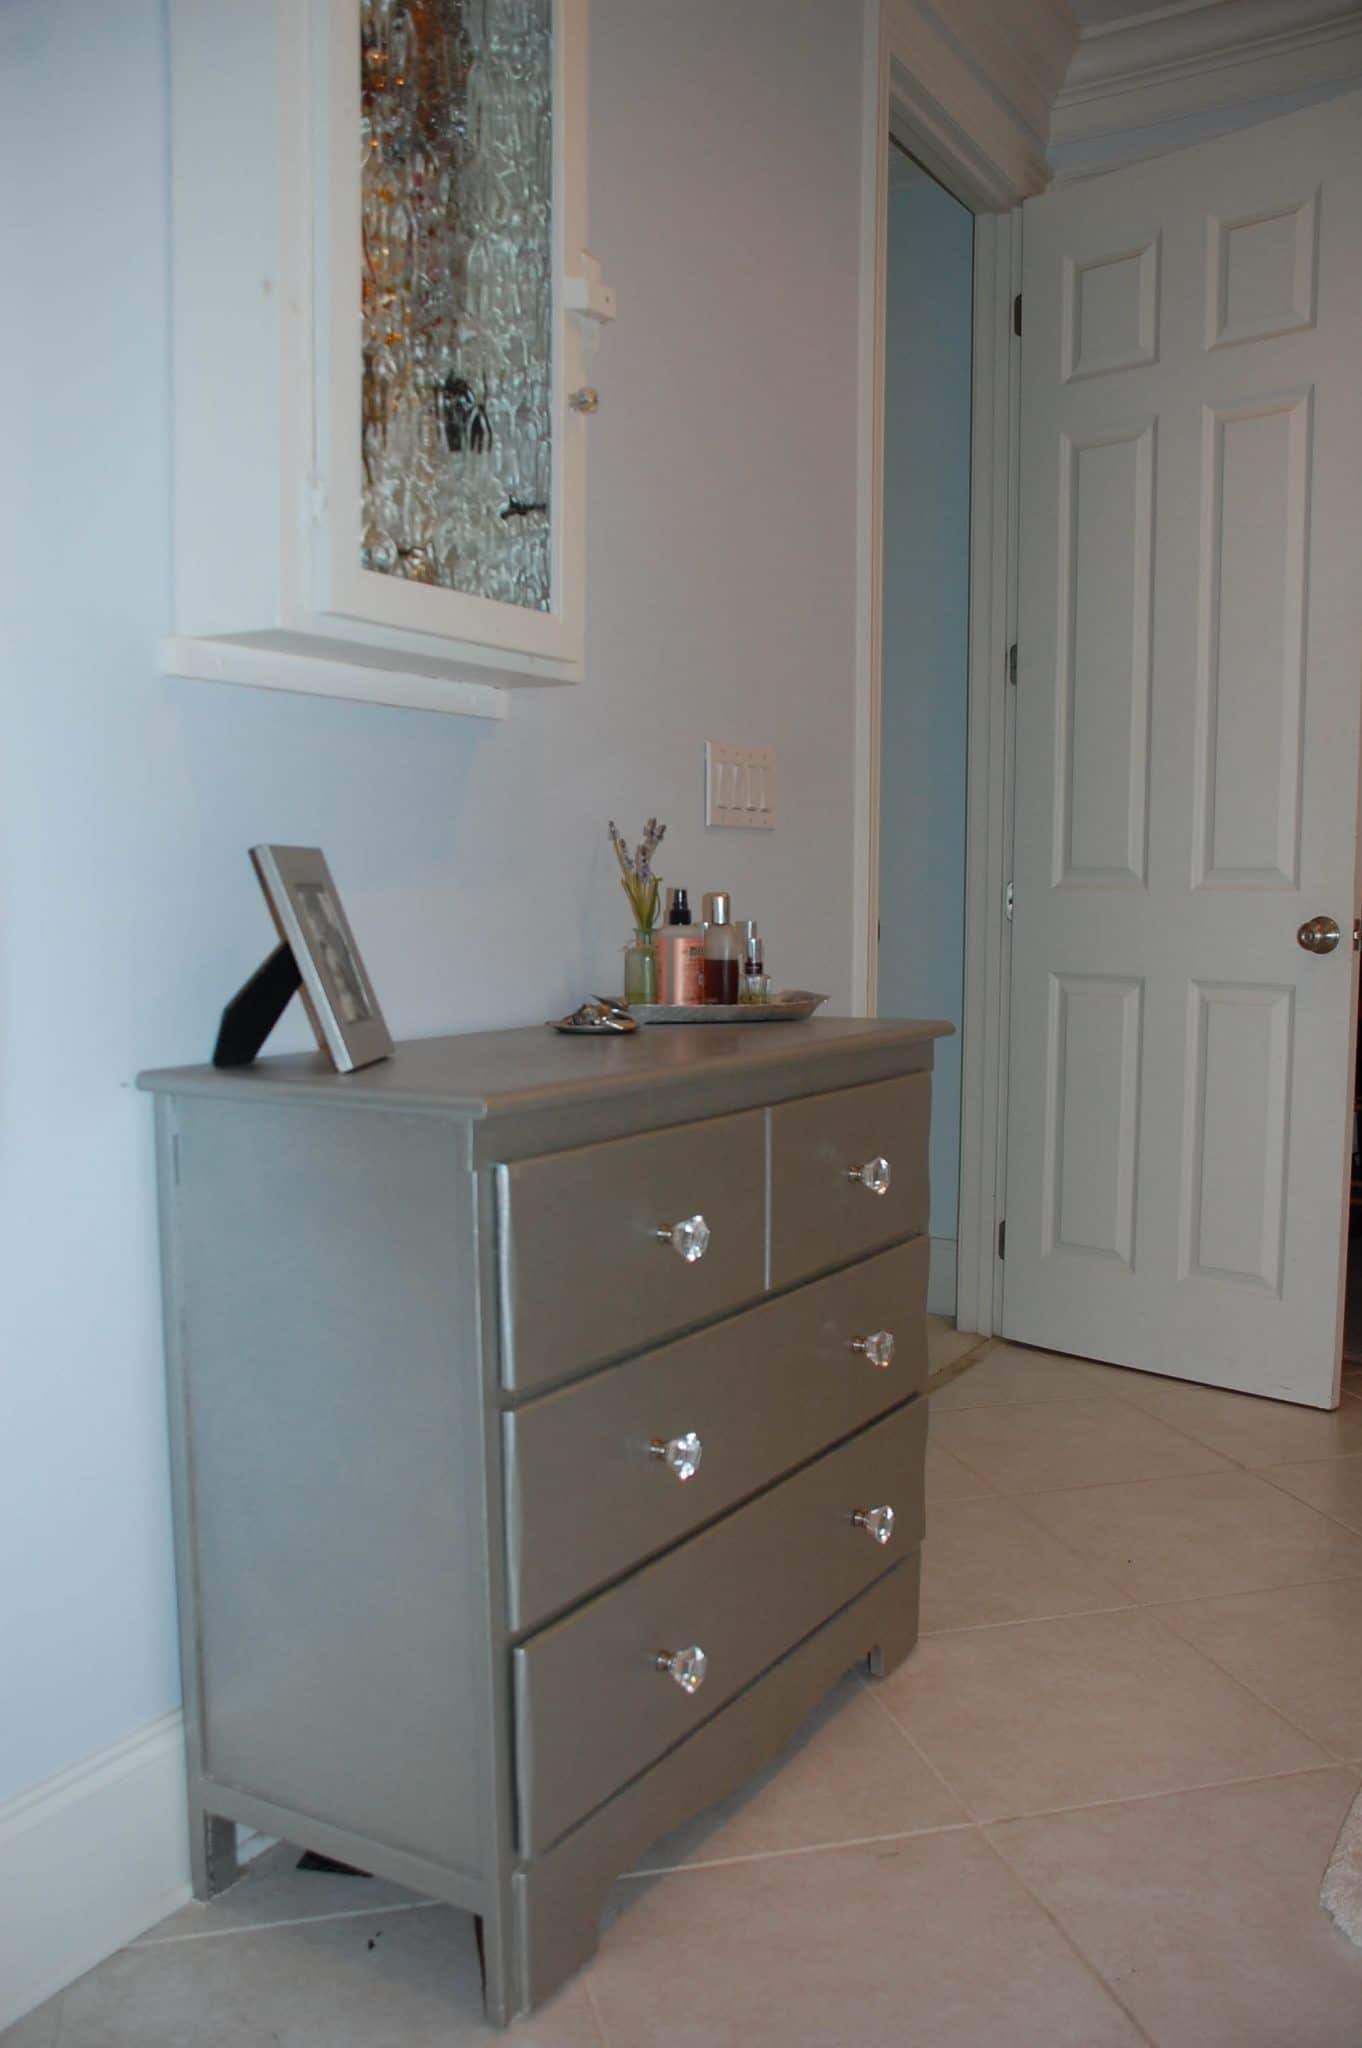
This piece in my bathroom came with husband when we were married 28 years ago. It is really a very cheap piece of furniture and was in BAD shape…think ‘right-out-of-college-bachelor apartment furniture’. If ever there was a piece of wood furniture that needed painting, it was this one. The drawer handles had been removed before I ever laid eyes on it and I had ‘decoupaged’ it years ago. I found that I didn’t need to sand them, but I did wipe them down well with a damp rag before applying the primer. After painting, I added the fun little knobs. It’s nice to have the extra storage in our bathroom.
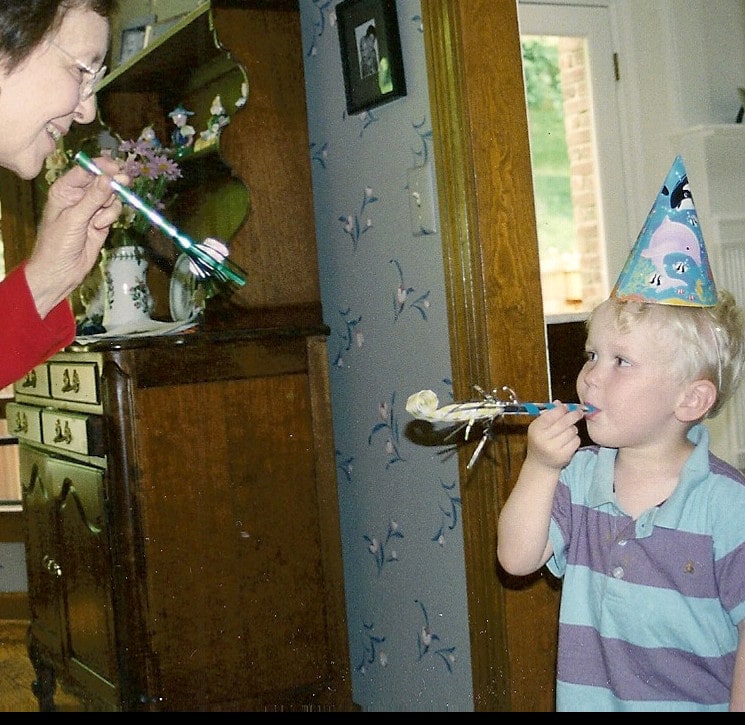
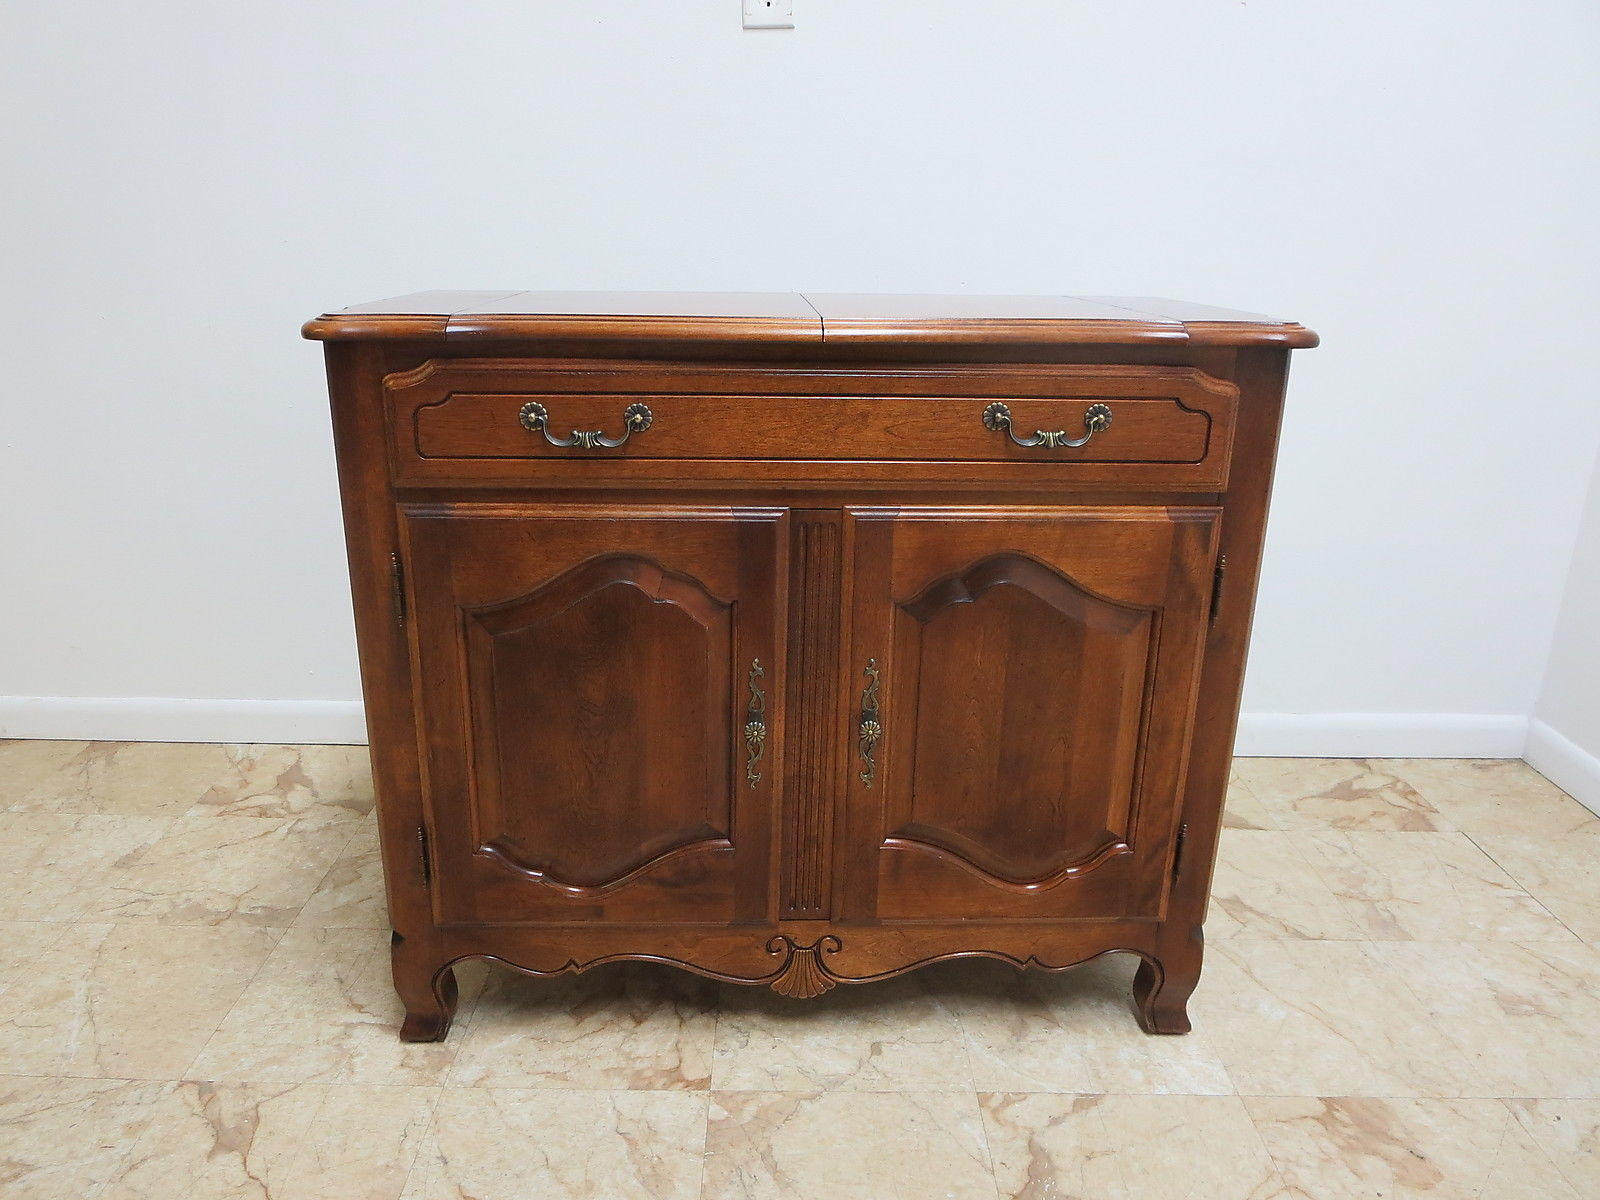
This hutch was given to us as a wedding gift many moons ago. While a very nice, solid piece of wood furniture, my style has changed over the past 28 years. Plus, it is currently needed at the top of our stairs in an area in our home that doesn’t get much light. I very much wanted to ‘brighten’ up the area and my trusted metallic paint didn’t let me down. Here’s a rather wonky picture of the hutch (note cute little boy who is now (gulp) 15!). I also found one on the Googler that very closely resembles what the hutch originally looked like. One difference is that my hutch has 2 drawers and we had removed the top part of the hutch several years ago, using just the bottom piece.
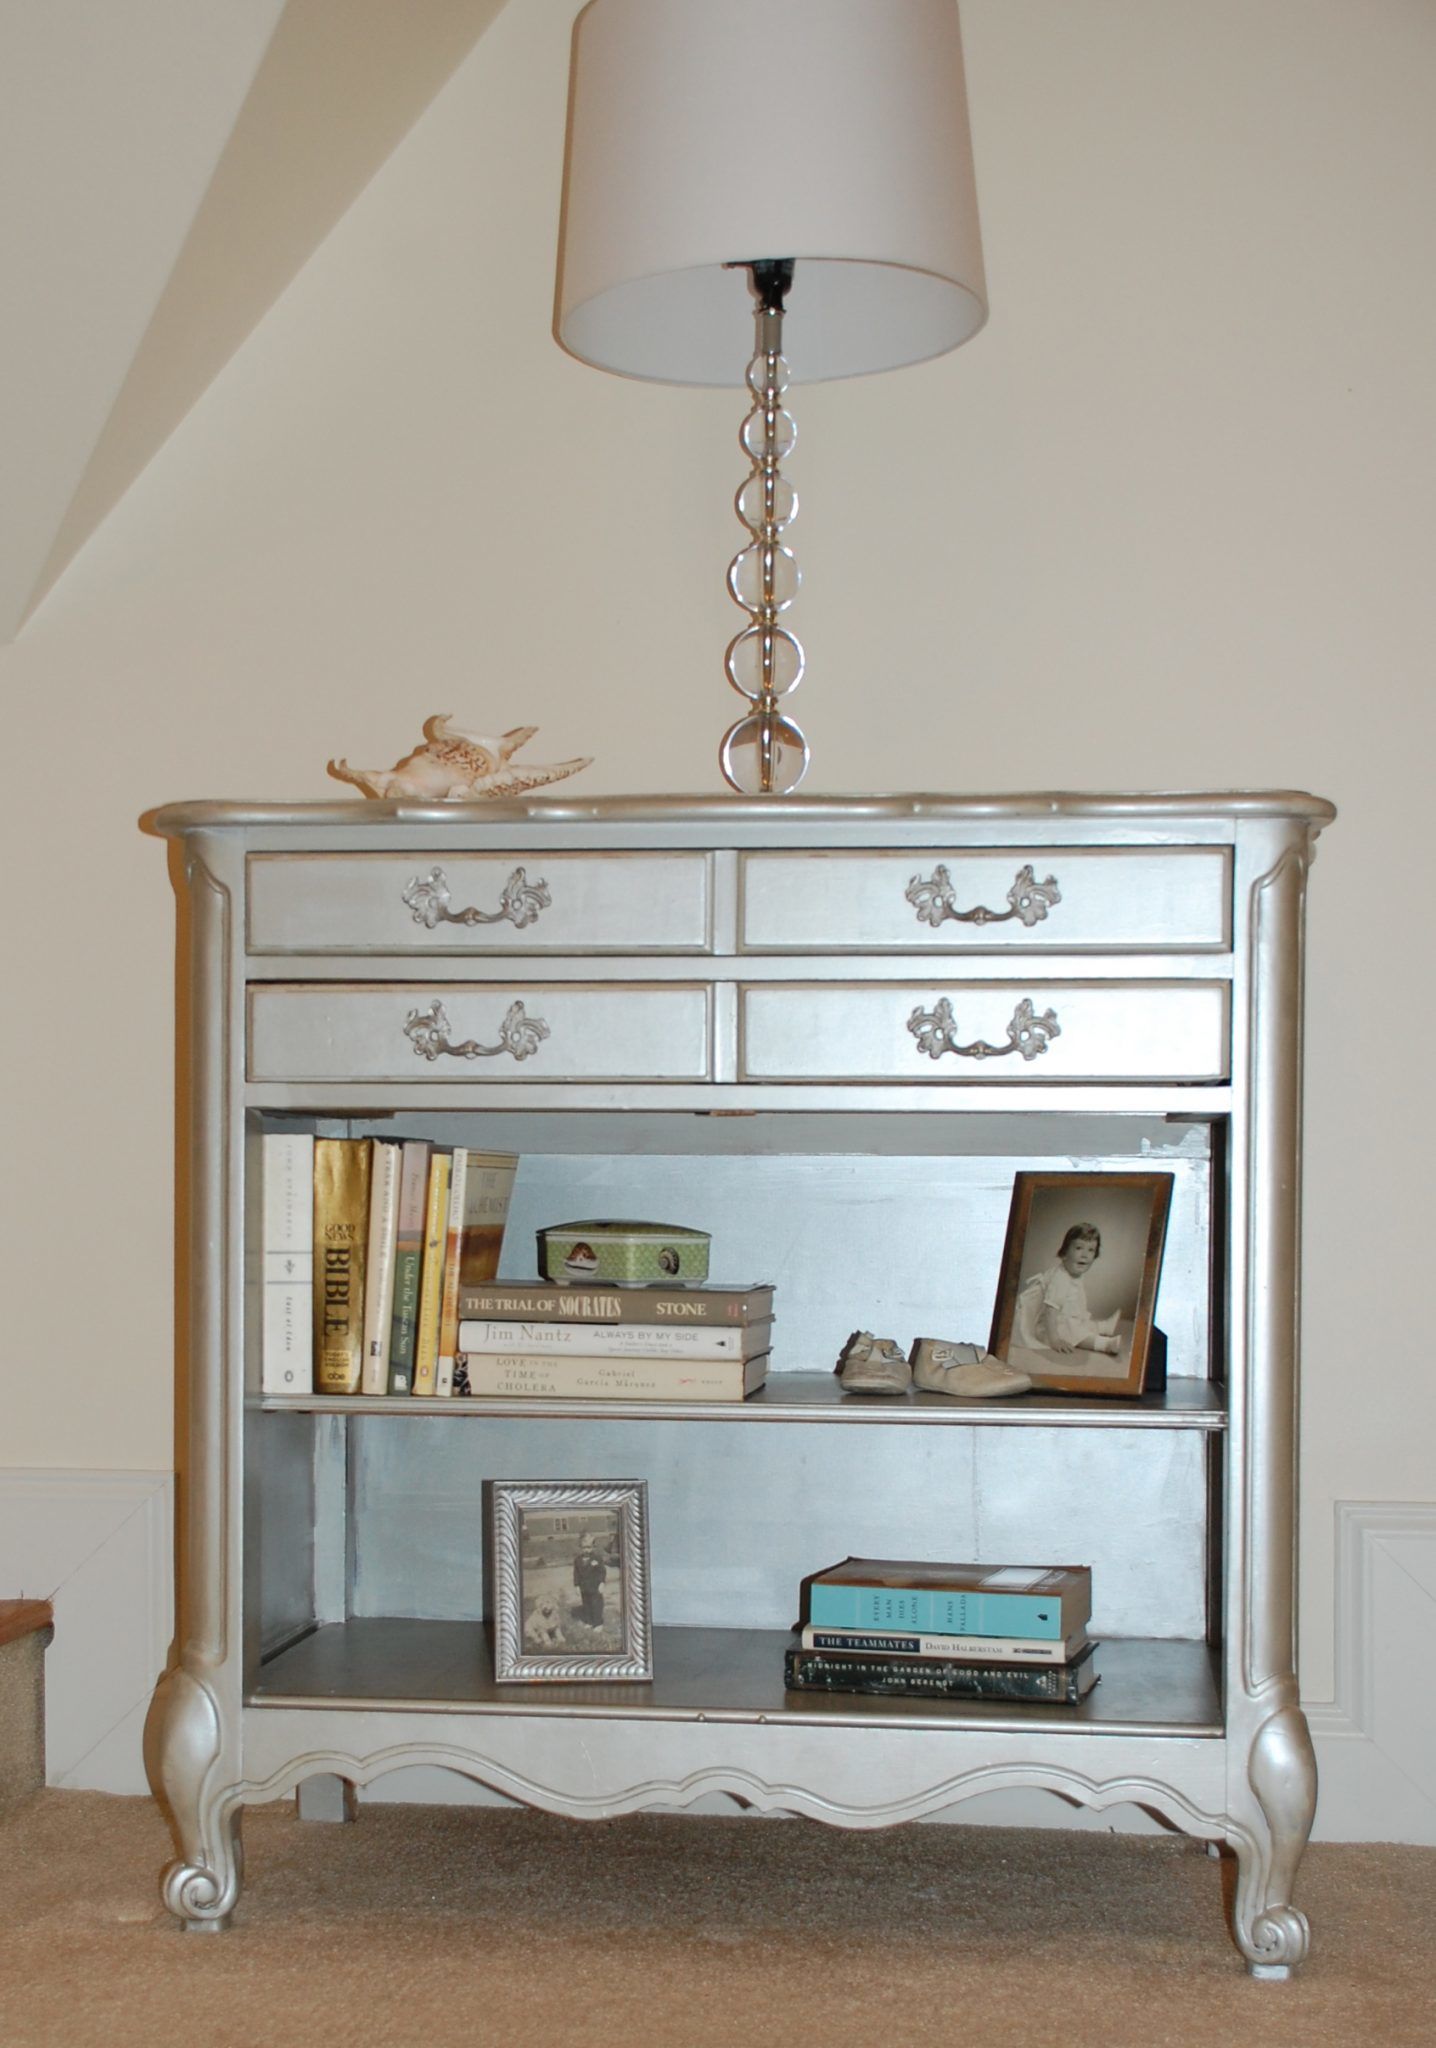
I hadn’t considered removing permanently removing the doors until I was taking them off to the paint them. Once I did, I realized that I like the piece much better without the doors, so then I painted the shelves and the entire inside. It really was a relatively quick, one day project. Once again, I didn’t need to sand them, but I did make sure to wipe them down well with a damp rag before priming. I could put on a coat and walk away to do other stuff while it dried.
Here’s the final. Keep in mind that the area is still quite dark so I had to use the flash, but it is MUCH improved with a bright and shiny piece of furniture that reflects the light as opposed to absorbing it. I considered glazing the piece to make the scroll work pop but was hesitant to ‘darken’ the piece at all. I can always go back and do it later. I painted the original pulls with rub n buff. I am considering exchanging them out altogether. Looking for inspiration.
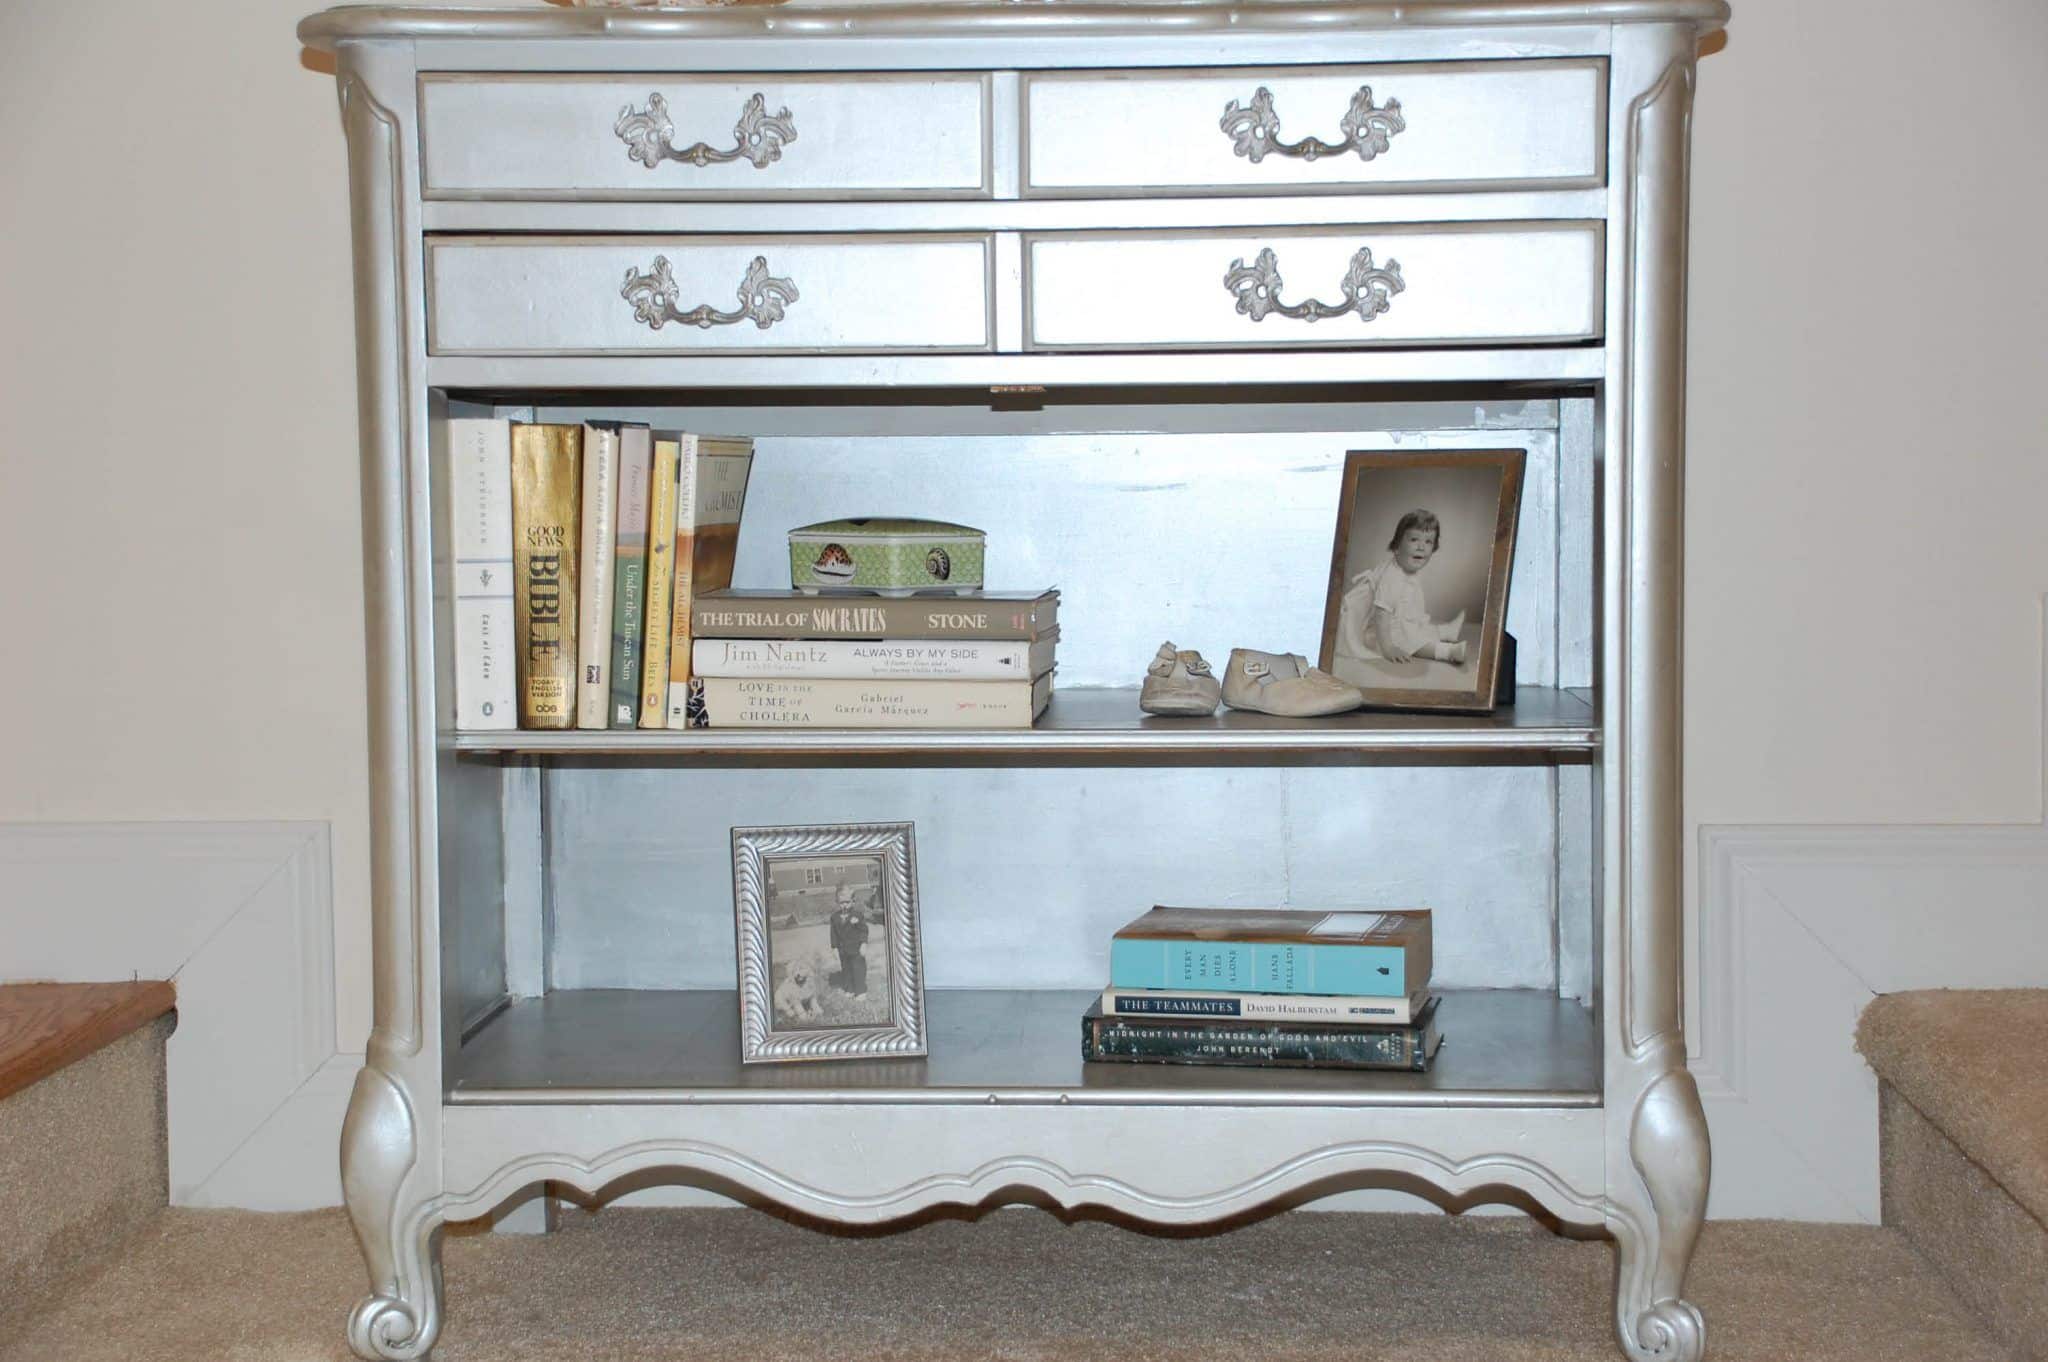
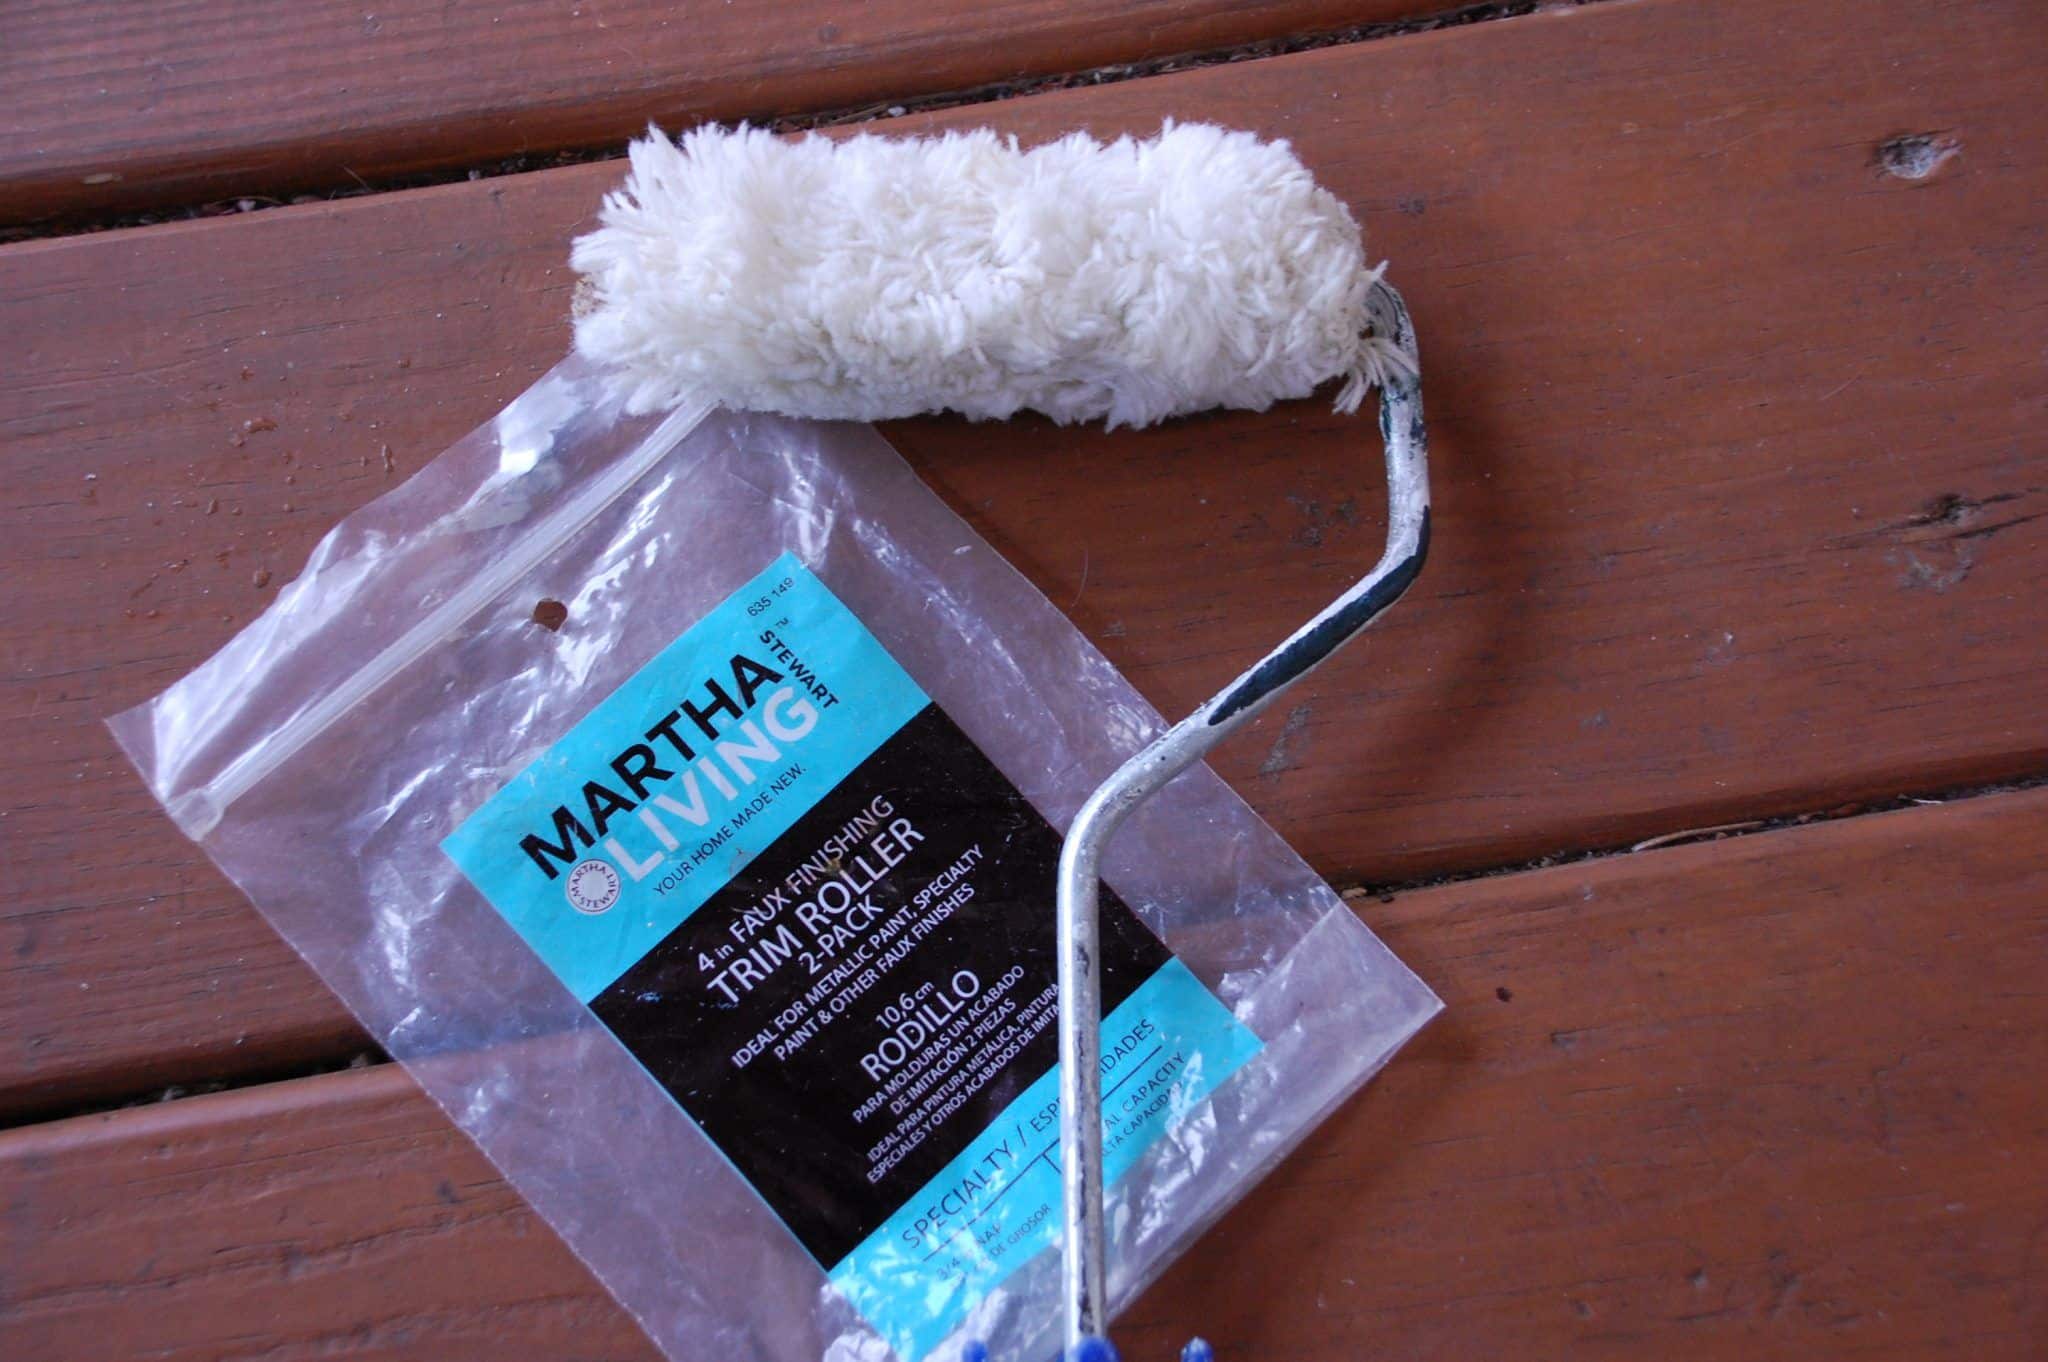
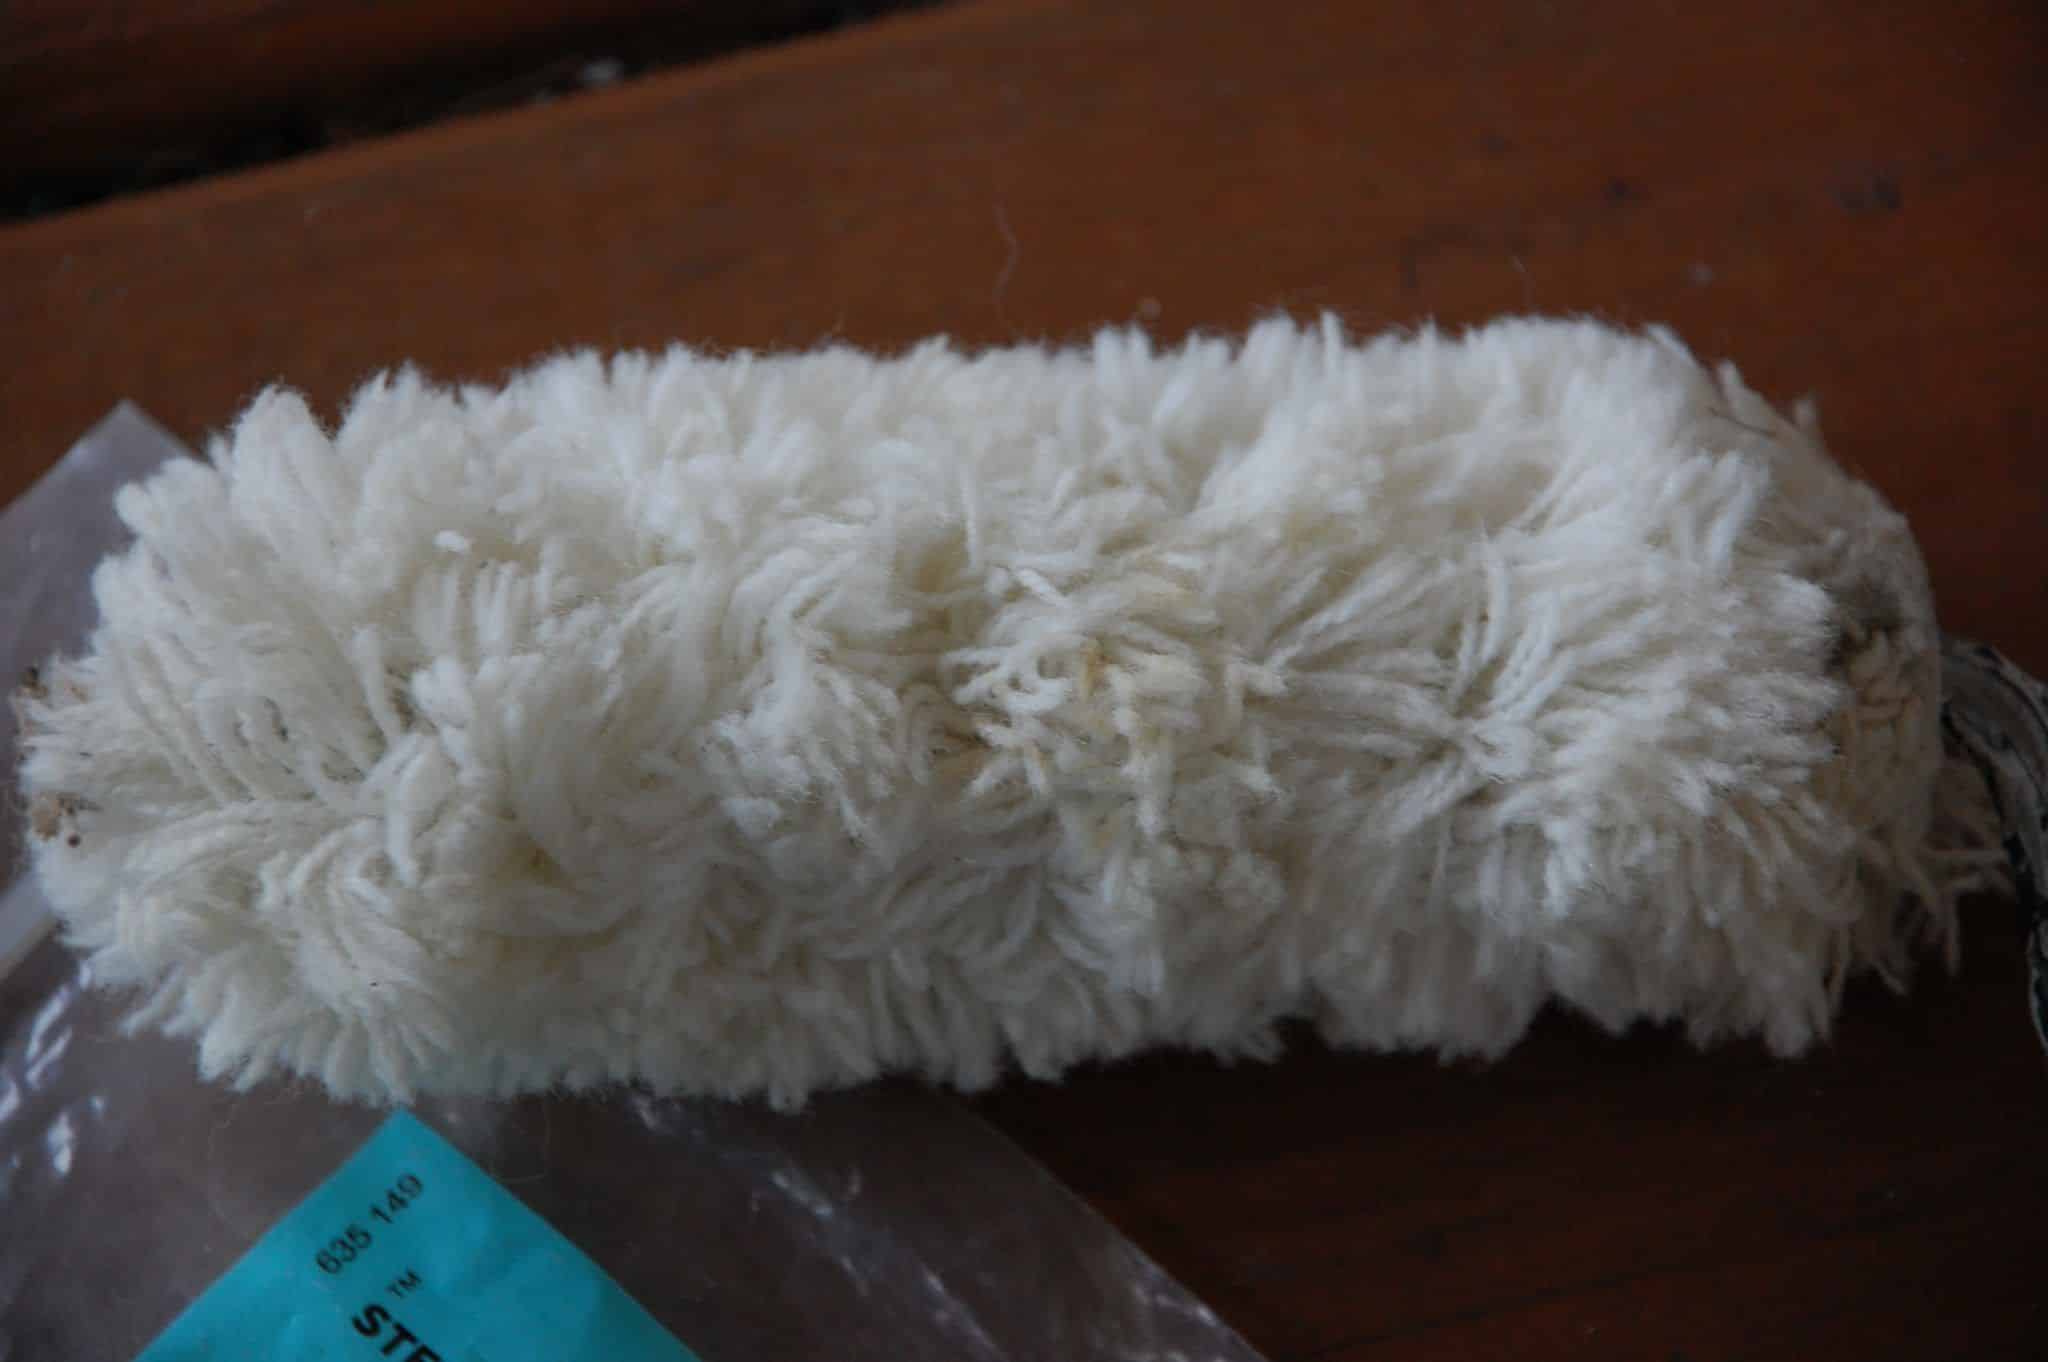
I did use a foam roller on this piece instead of the high nap roller shown above. It definitely gave a smoother finish, but I also like the dimension given by seeing where I rolled. This is completely a personal preference, so if you don’t want to see the brush strokes, I’d use the nappier roller.
Some of these are affiliate links and I will earn a small commission off of the sale of these products, but the price you are charged is not affected. You can see my full disclosure policy here.
I was able to use one quart of primer and one quart of the metallic glaze for almost all three of these projects. For the undercoat, I used Zinsser Bulls Eye 1-2-3 Water Base Primer in Benjamin Moore Classic Gray (OC-23) and Martha Stewart Living Precious Metals Specialty Finish in Tin ((MSL374). I also had a can of Sherwin Williams faux impressions Metallic Paint in Pearl. As I wasn’t sure I’d have enough of the Martha Stewart for the last project (which was the hutch), I did mix the two metallics just to be sure. The Martha brand is a little more opaque than the SW brand, but they mixed well.
I did not sand any of the three pieces. Just wiped them down well with a damp rag and proceeded to the primer.
Each piece was a little different in terms of how many coats of primer. The decoupaged piece needed a little more, but in general, used just enough to get even coverage with the primer. It dries fairly quickly. I did use a foam/low nap roller so that the coverage was even.
Once the primer was dry, the fun started. Using a 3/4″ nap Faux Finishing roller, I started laying on the metallic paint. The directions on the Martha Stewart Paint advise you to wait 24 hours between coats. Patience is not one of my many virtues, so I didn’t wait that long. I used the touch test. The SW paint advises that you wait 4 hours between coats…fits my modus operandus much better!
I am very pleased with how the metallic paint brightened these pieces and added just a little ‘oomph’ to them. Are there some pieces in your home that need sprucing up? Go forth and paint!
Thanks so much for spending a few minutes of your busy day with me!
To ensure you don’t miss future content, pop your email in the pale green box on the right or click here. I usually send one email weekly, so I won’t inundate your inbox. I’m sensitive to an overflowing email inbox!
We will only use your email address to send you emails, no more than 1-2 weekly. In addition, you will have access to my growing library of knit & crochet patterns and other printables. Check back often as this library will continue to grow. You can unsubscribe anytime by emailing me or clicking on the “unsubscribe” link at the bottom of all emails.
And you can access many of the products I refer to on my Nourish and Nestle Amazon Page. You can access it here.
So, if you’d like to participate in the ‘subscriber benefit’ action, simply subscribe to Nourish and Nestle here or use the form on the right sidebar. It’s slightly towards the top.
I have sent all my subscribers the link to the Subscriber Benefits Library. If you missed it or misplaced it, let me know.
Until next time…