
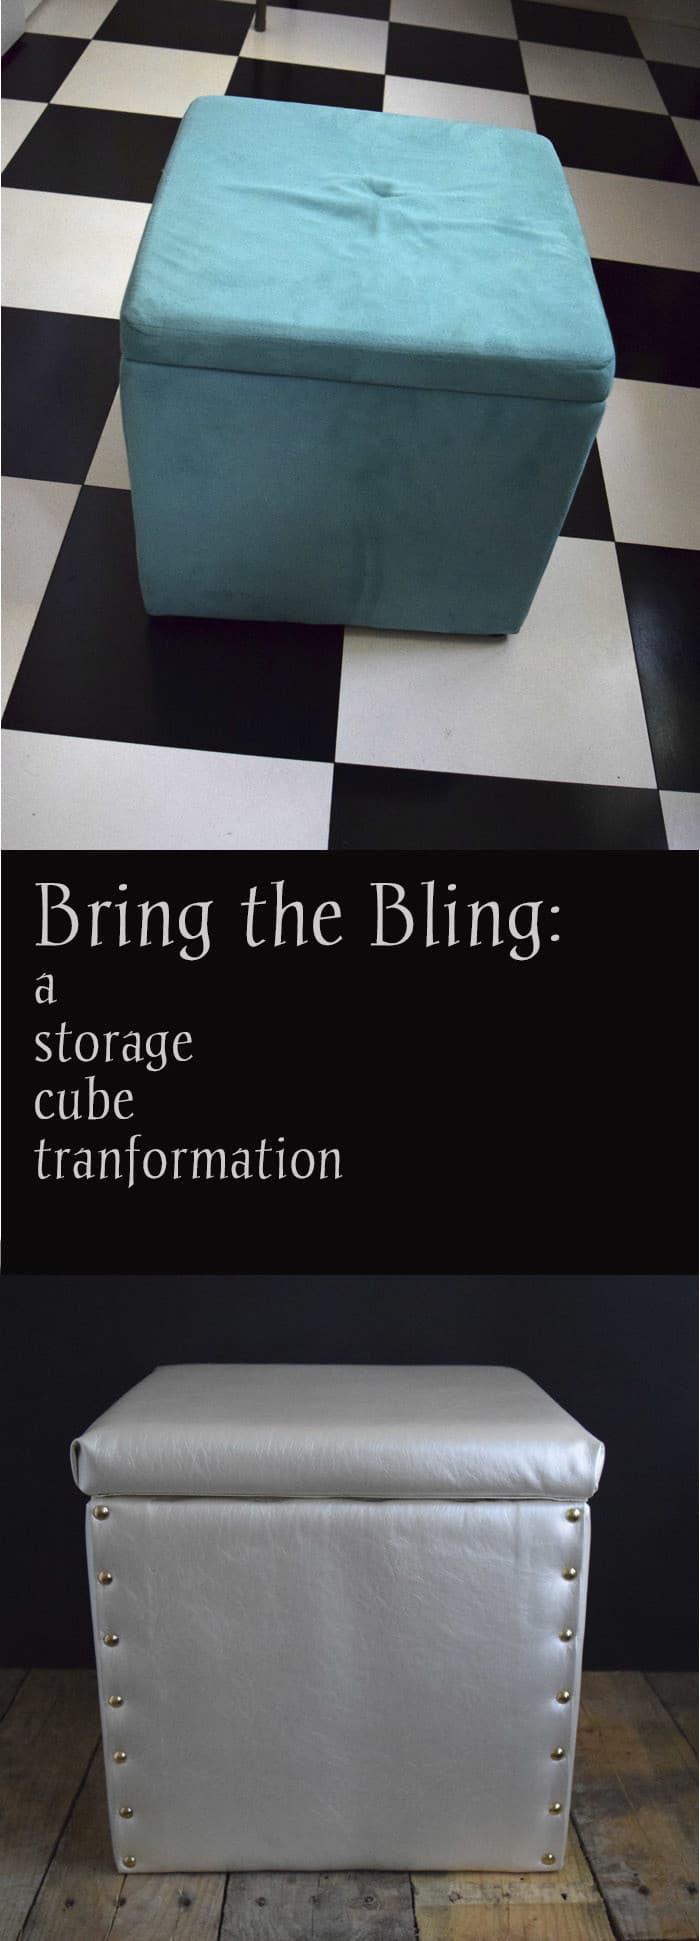
How to Recover a Storage Cube Tutorial
Sharing the tips and techniques we used to recover a storage cube.
So, I’ve mentioned in past posts that my oldest, my baby, my sweet daughter will be heading off to college this fall…in 16 days to be exact! YIKES!
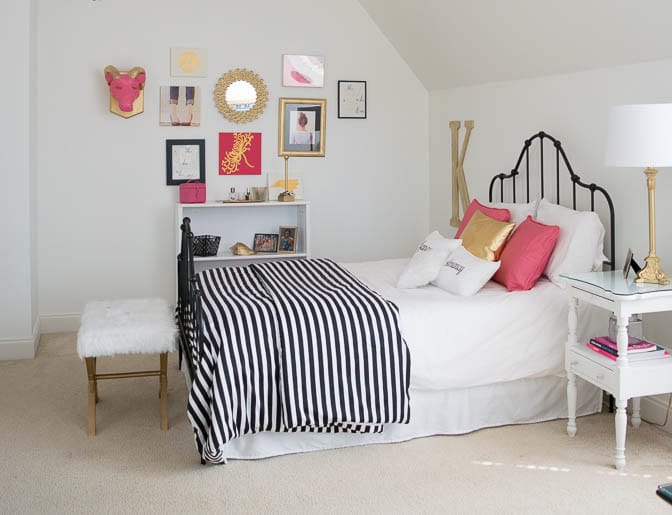
She and her roommate have worked together to design their room and it’s going to be quite lovely. When I went to school my roommate and I decided we would get bedspreads in some shade of brown/beige and that was the extent of our planning. These two have planned a dorm room in white and metallic gold with shots of hot pink and navy…I can’t wait to see it when it comes together.
To that end, we’ve been re-purposing, making and purchasing all sorts of stuff. Let’s just say that the gold spray paint has been flying and it’s amazing what a coat of metallic gold spray paint can do to a clipboard, previously blue wooden initials, a swing arm desk lamp and other dorm room essentials (or non-essentials as the case may be).
It’s been fun to be part of the process. I made a Block Monogram Pillow in gold metallic thread for her bed that is just so darned cool that I think I need to make one for me as well!
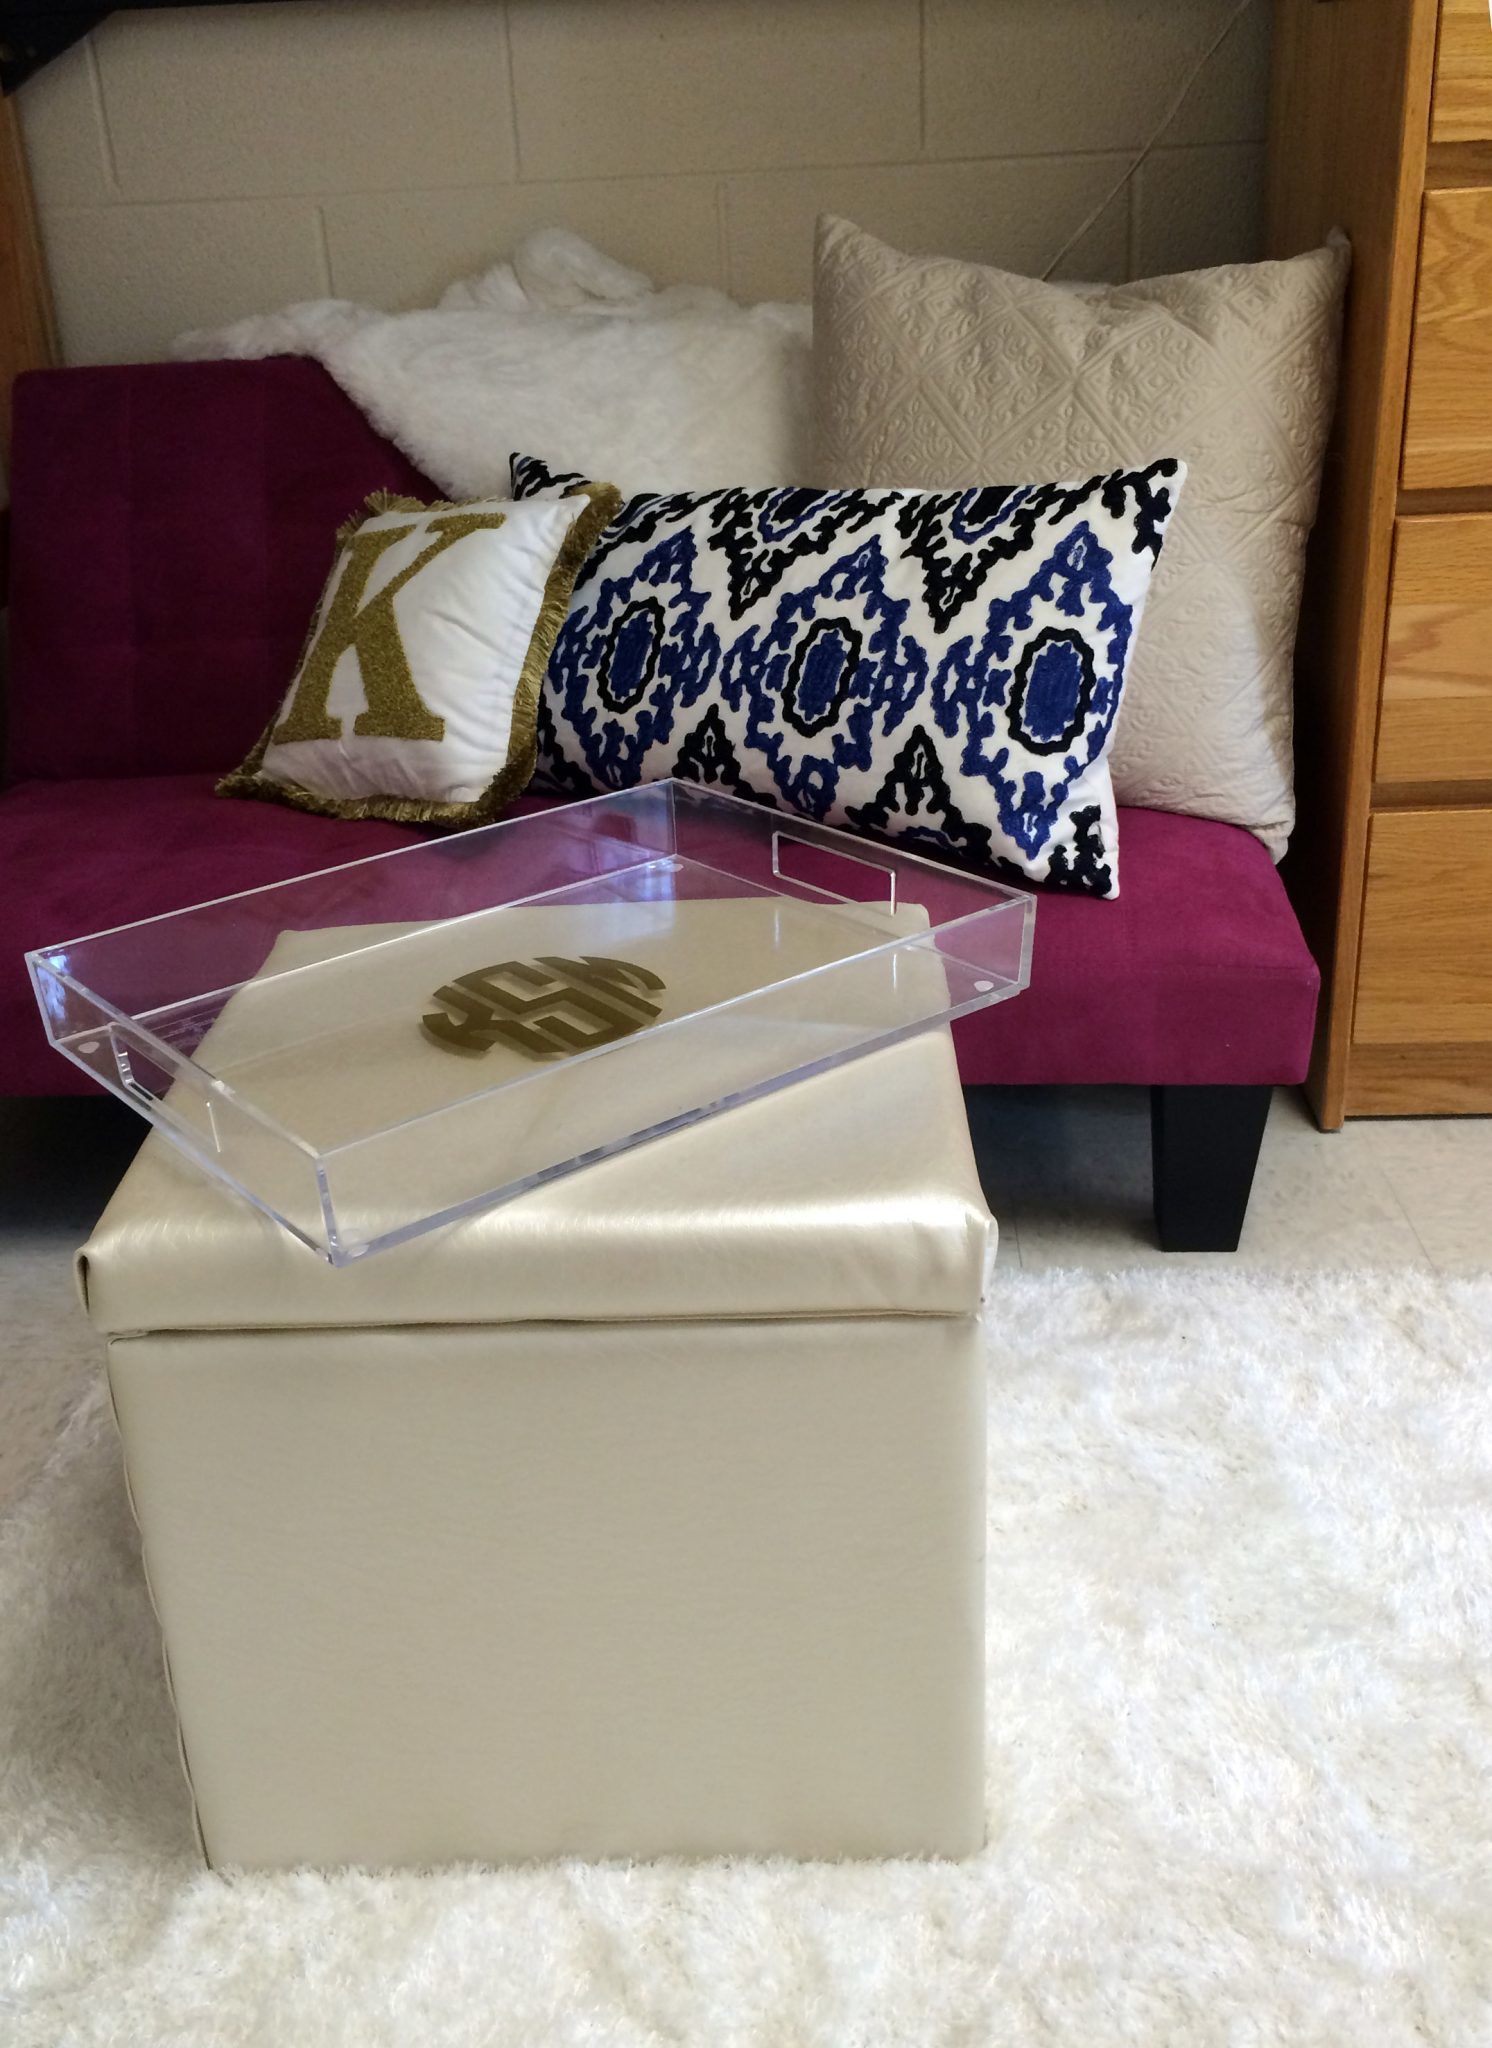
Another one of our projects was to recover a storage cube that was purchased during the middle school years and has been very useful both as storage and as a seat. Given the 12′ x 18′ dimensions of their dorm room, pieces that will double as both storage and furniture are essential.
We found this great champagne gold vinyl leather at JoAnn’s and went to work this weekend.
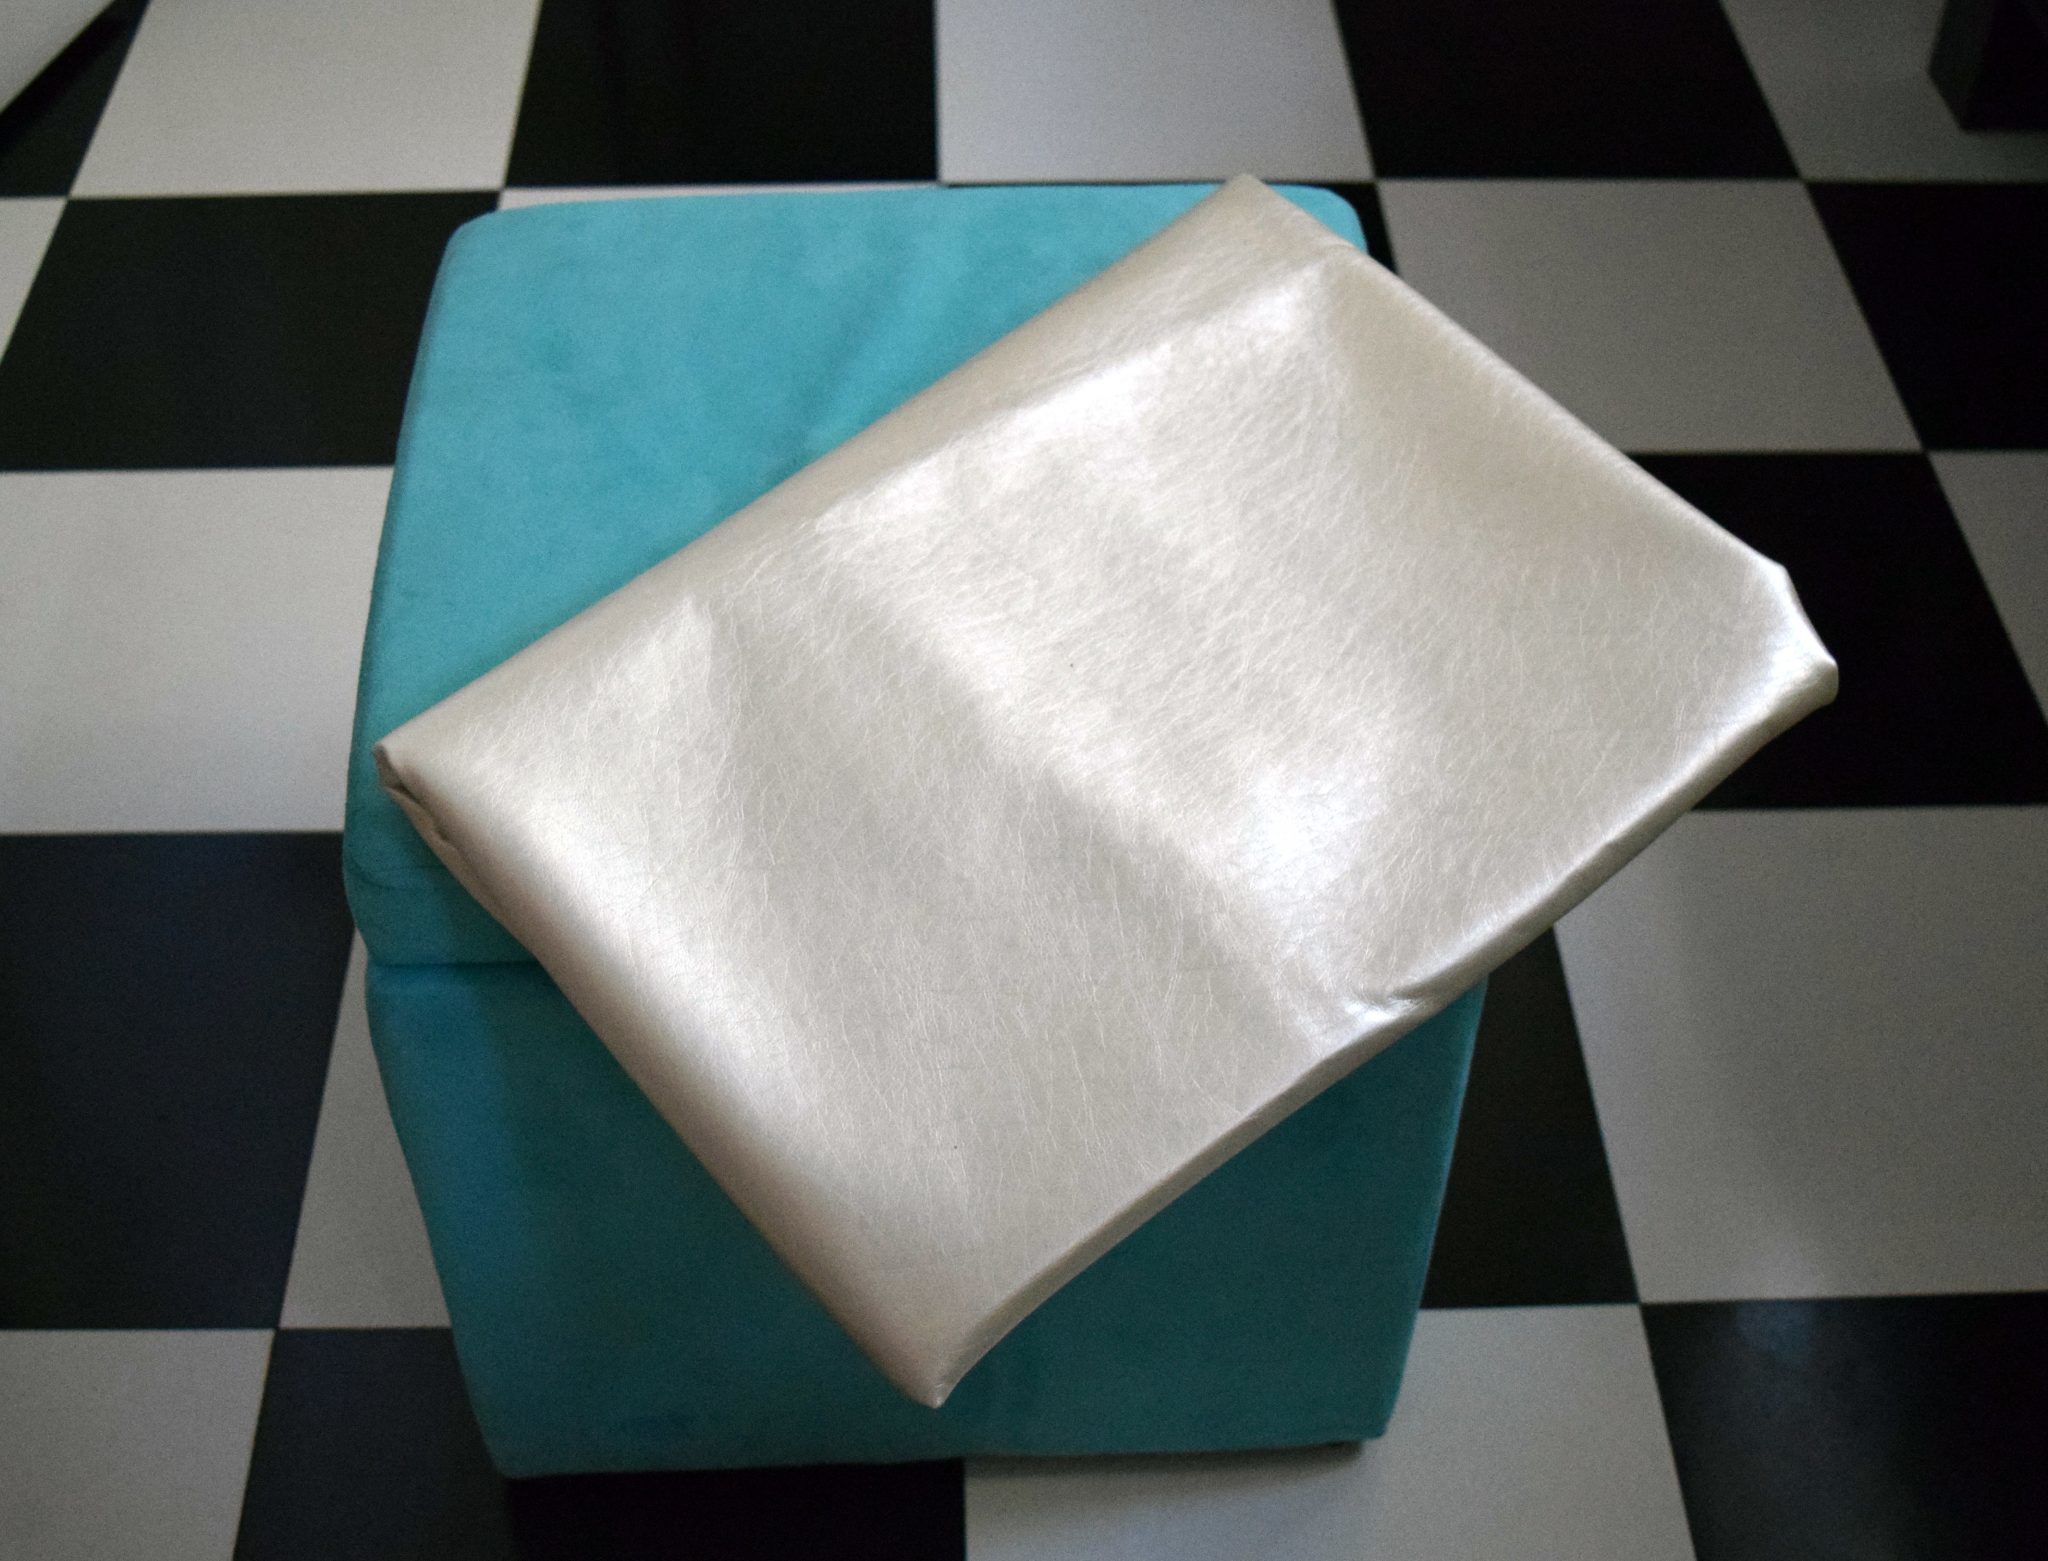
Table of Contents
What we needed to recover a storage cube
Some of these links may be affiliate links and I may earn a small commission off of the sale of these products to help defray the costs of operating this site, but the price you are charged is not affected. You can see my full disclosure policy here.
- Our cube has 16″ sides, so we bought 1 yard of the vinyl (our fabric was 60″ wide, so I’d be able to get 3+sides (48″) from one width and the other 2 sides (32″) from the second width)
- Staple Gun and staples, we ended up using both 1/4″ and 9/16″ staples. Definitely need the deeper ones when dealing with folds of vinyl ‘leather’.
- Scissors
- Yardstick
- Decorative Nails The brass looked great with the champagne vinyl.
- Glue E6000® Craft Adhesive, Clear, 2 oz
- Tape, we used packing tape
How we recovered our storage cube
- I unscrewed the feet from the bottom of the cube. I thought we would put them back on, but Kate decided she didn’t want them on at all.
- I first cut the fabric for the lid. I measured so that it would cover the lip by 1″

- We measured the fabric to cut the body of the cube. The ‘leather’ wasn’t cheap, so to minimize the cost, I wanted to use the 60″ width of the fabric instead of buying 2 yards and cutting what we needed from the length…make sense? By using the width, it meant that we would not be able to cover the sides of the cube in one length of fabric, but would have to piece one side. If I was doing this for my home, I would’ve spent the extra money…but this is a dorm room after all. Given the width of our fabric, we had two options for covering the base of the cube:
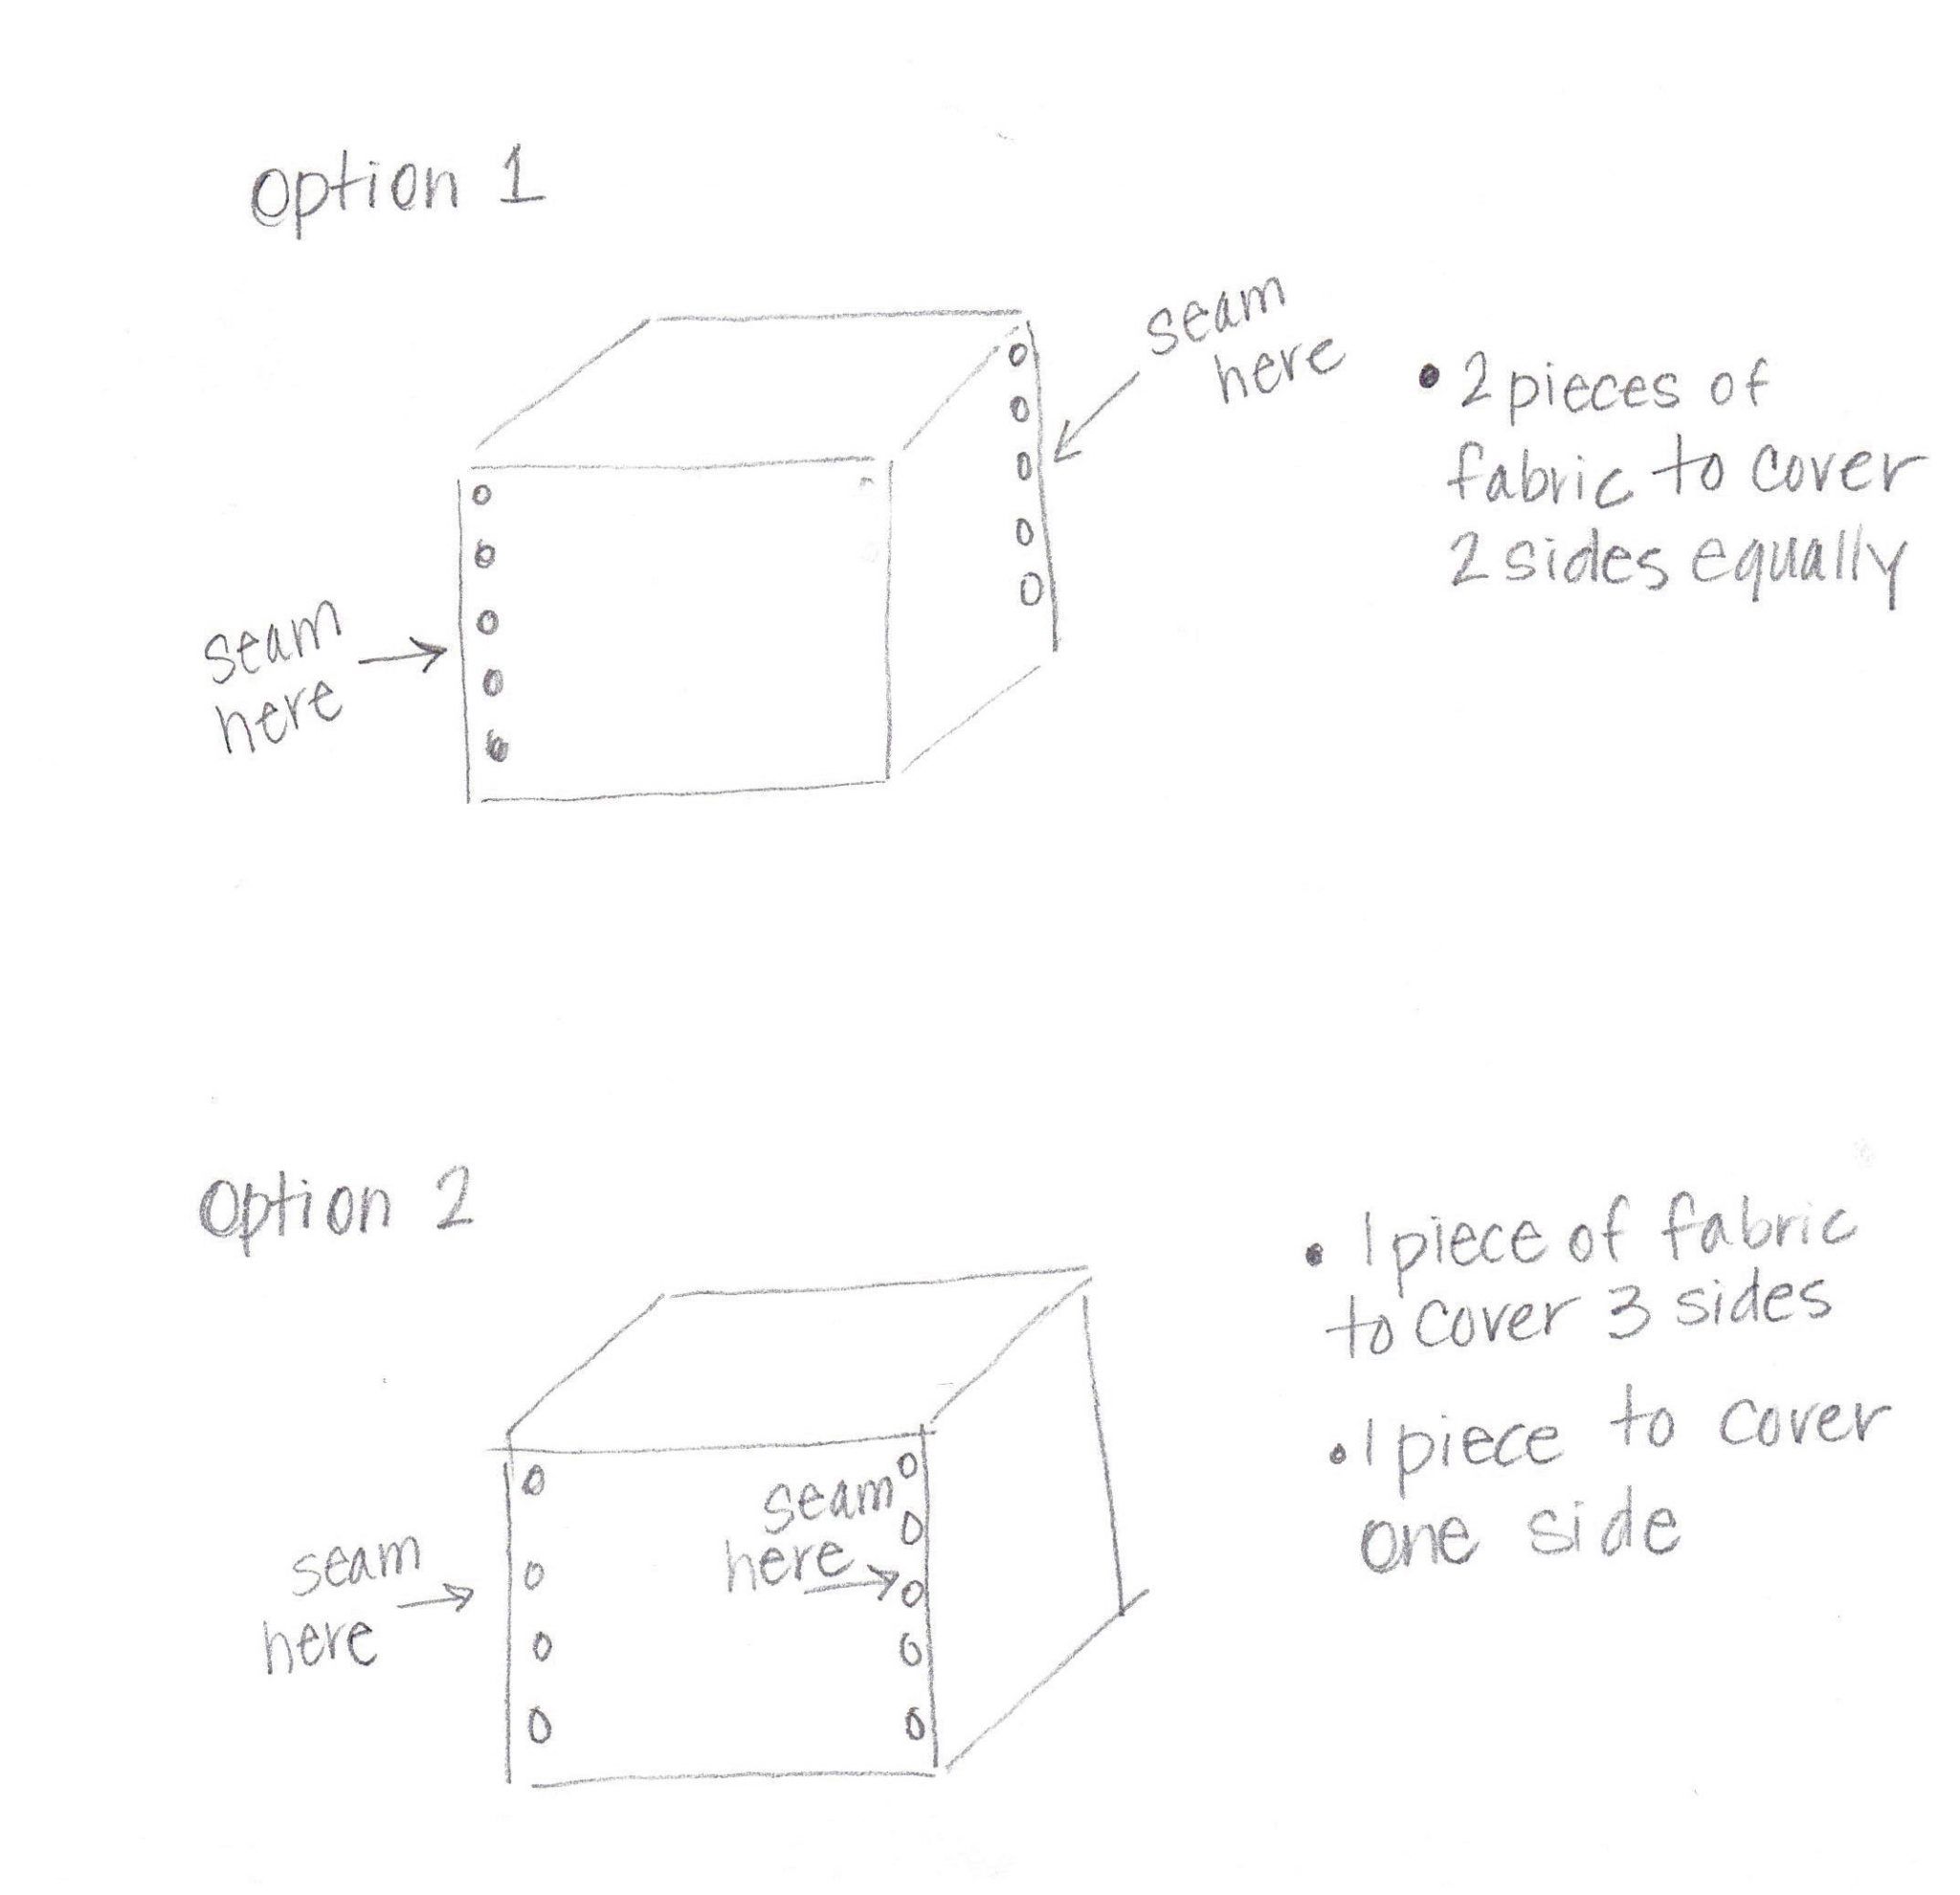
I would have gone with Option 1 to recover the storage cube, but it’s not my cube and Kate chose Option 2. My inner control freak was getting a bit nervous, but...it’s not my cube.
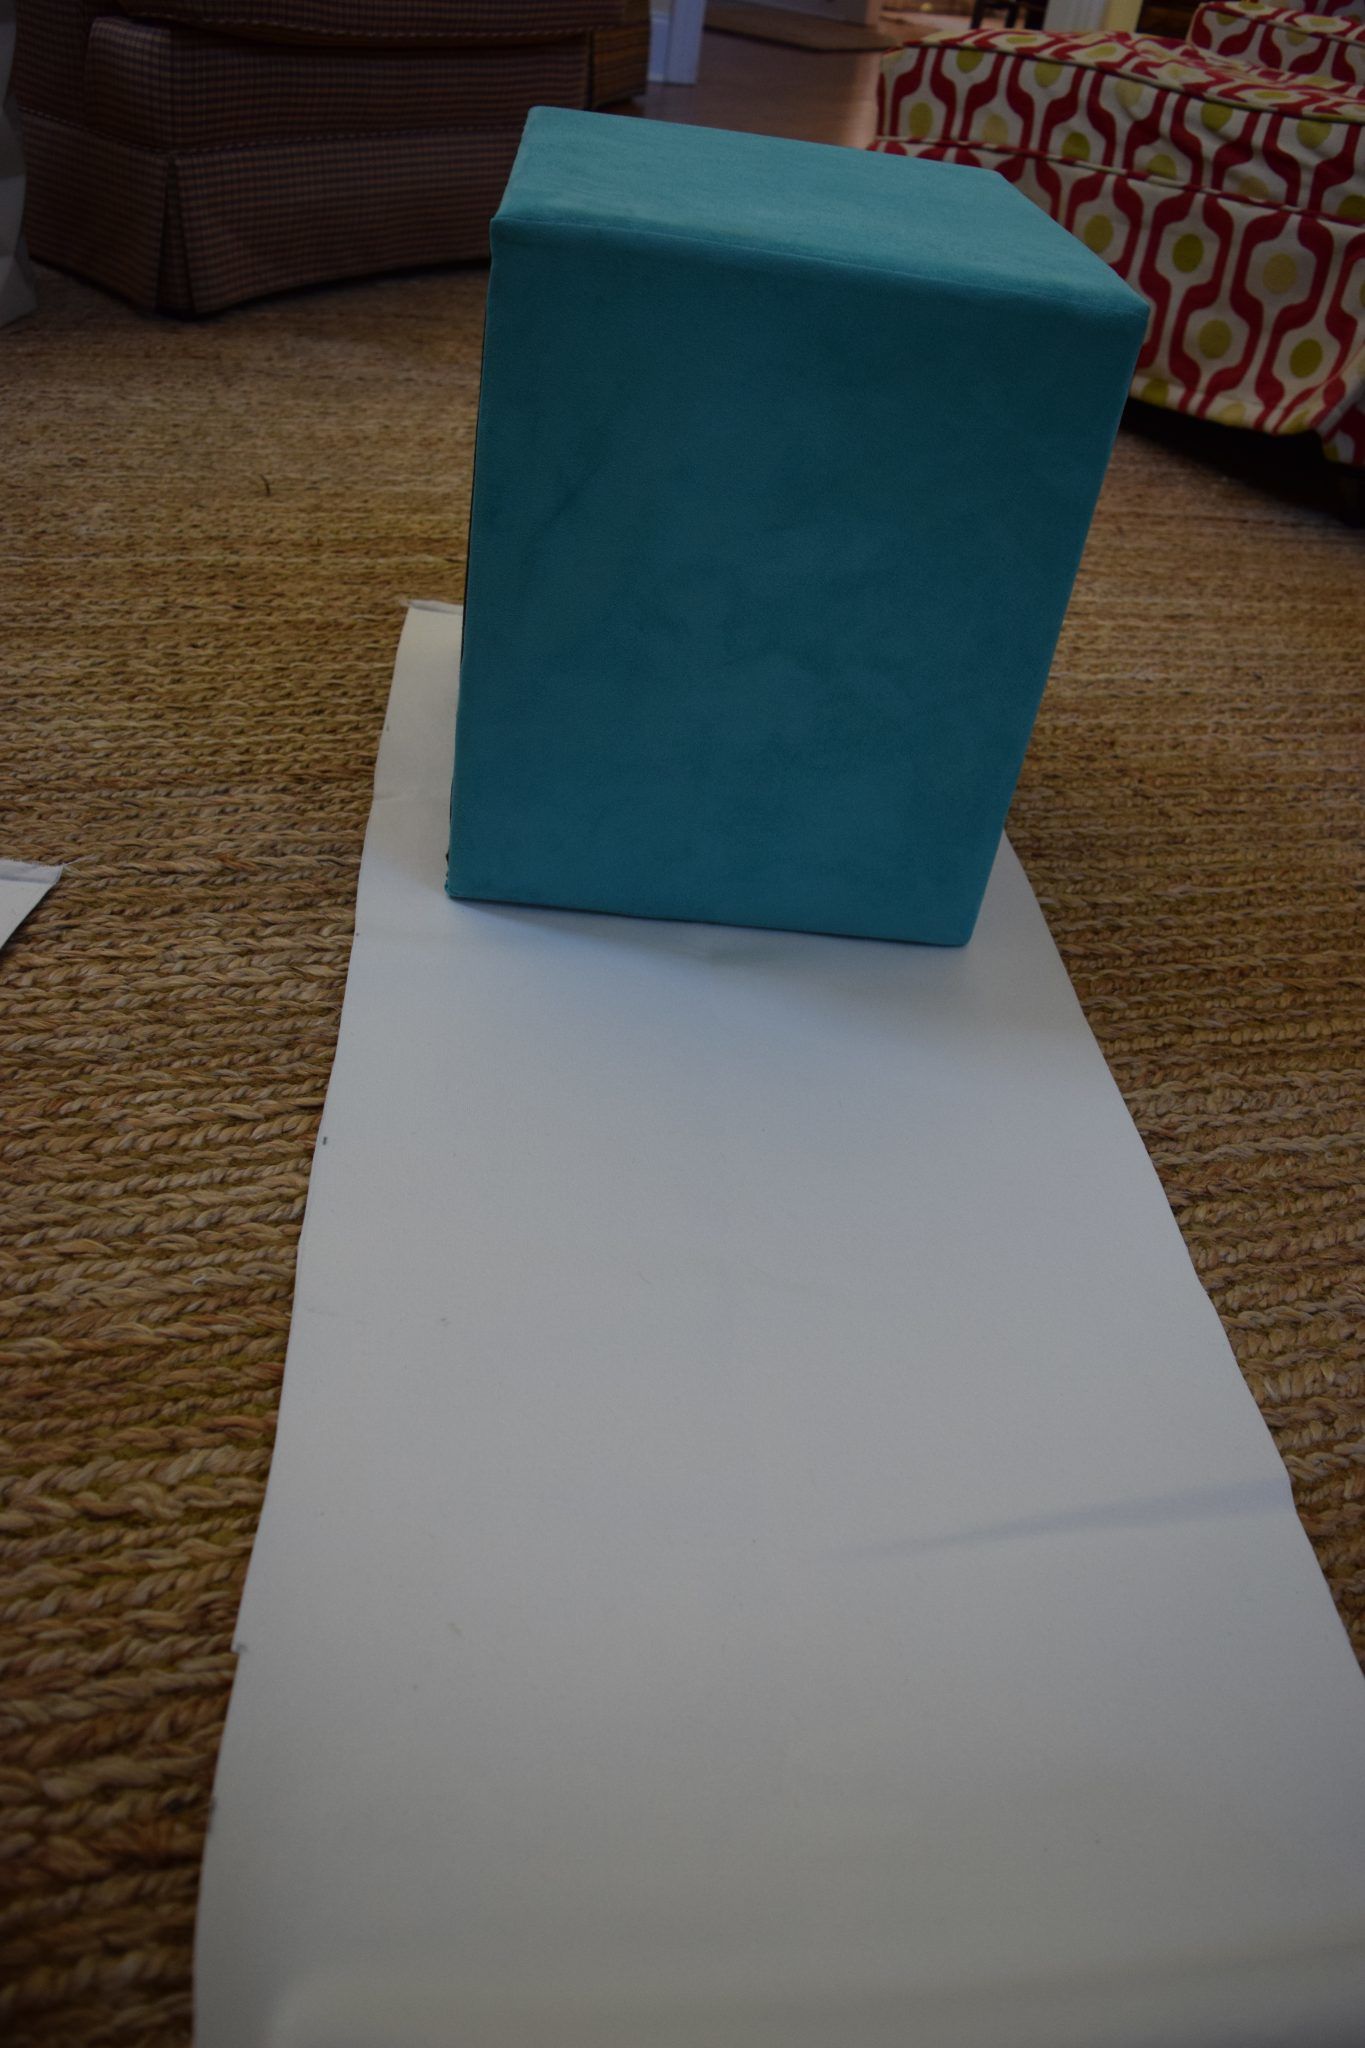
- Once we lined up the body of the cube on the length of fabric, we made sure it was straight and taped the ends securely together so it wouldn’t budge when we were stapling.
- Then began the stapling. We were very conscious about keeping it straight so that we didn’t get any puckers. This part was really pretty easy.
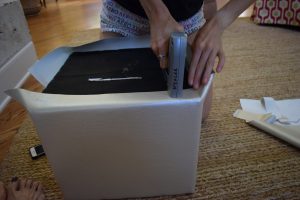
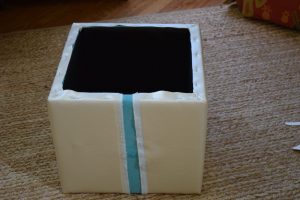
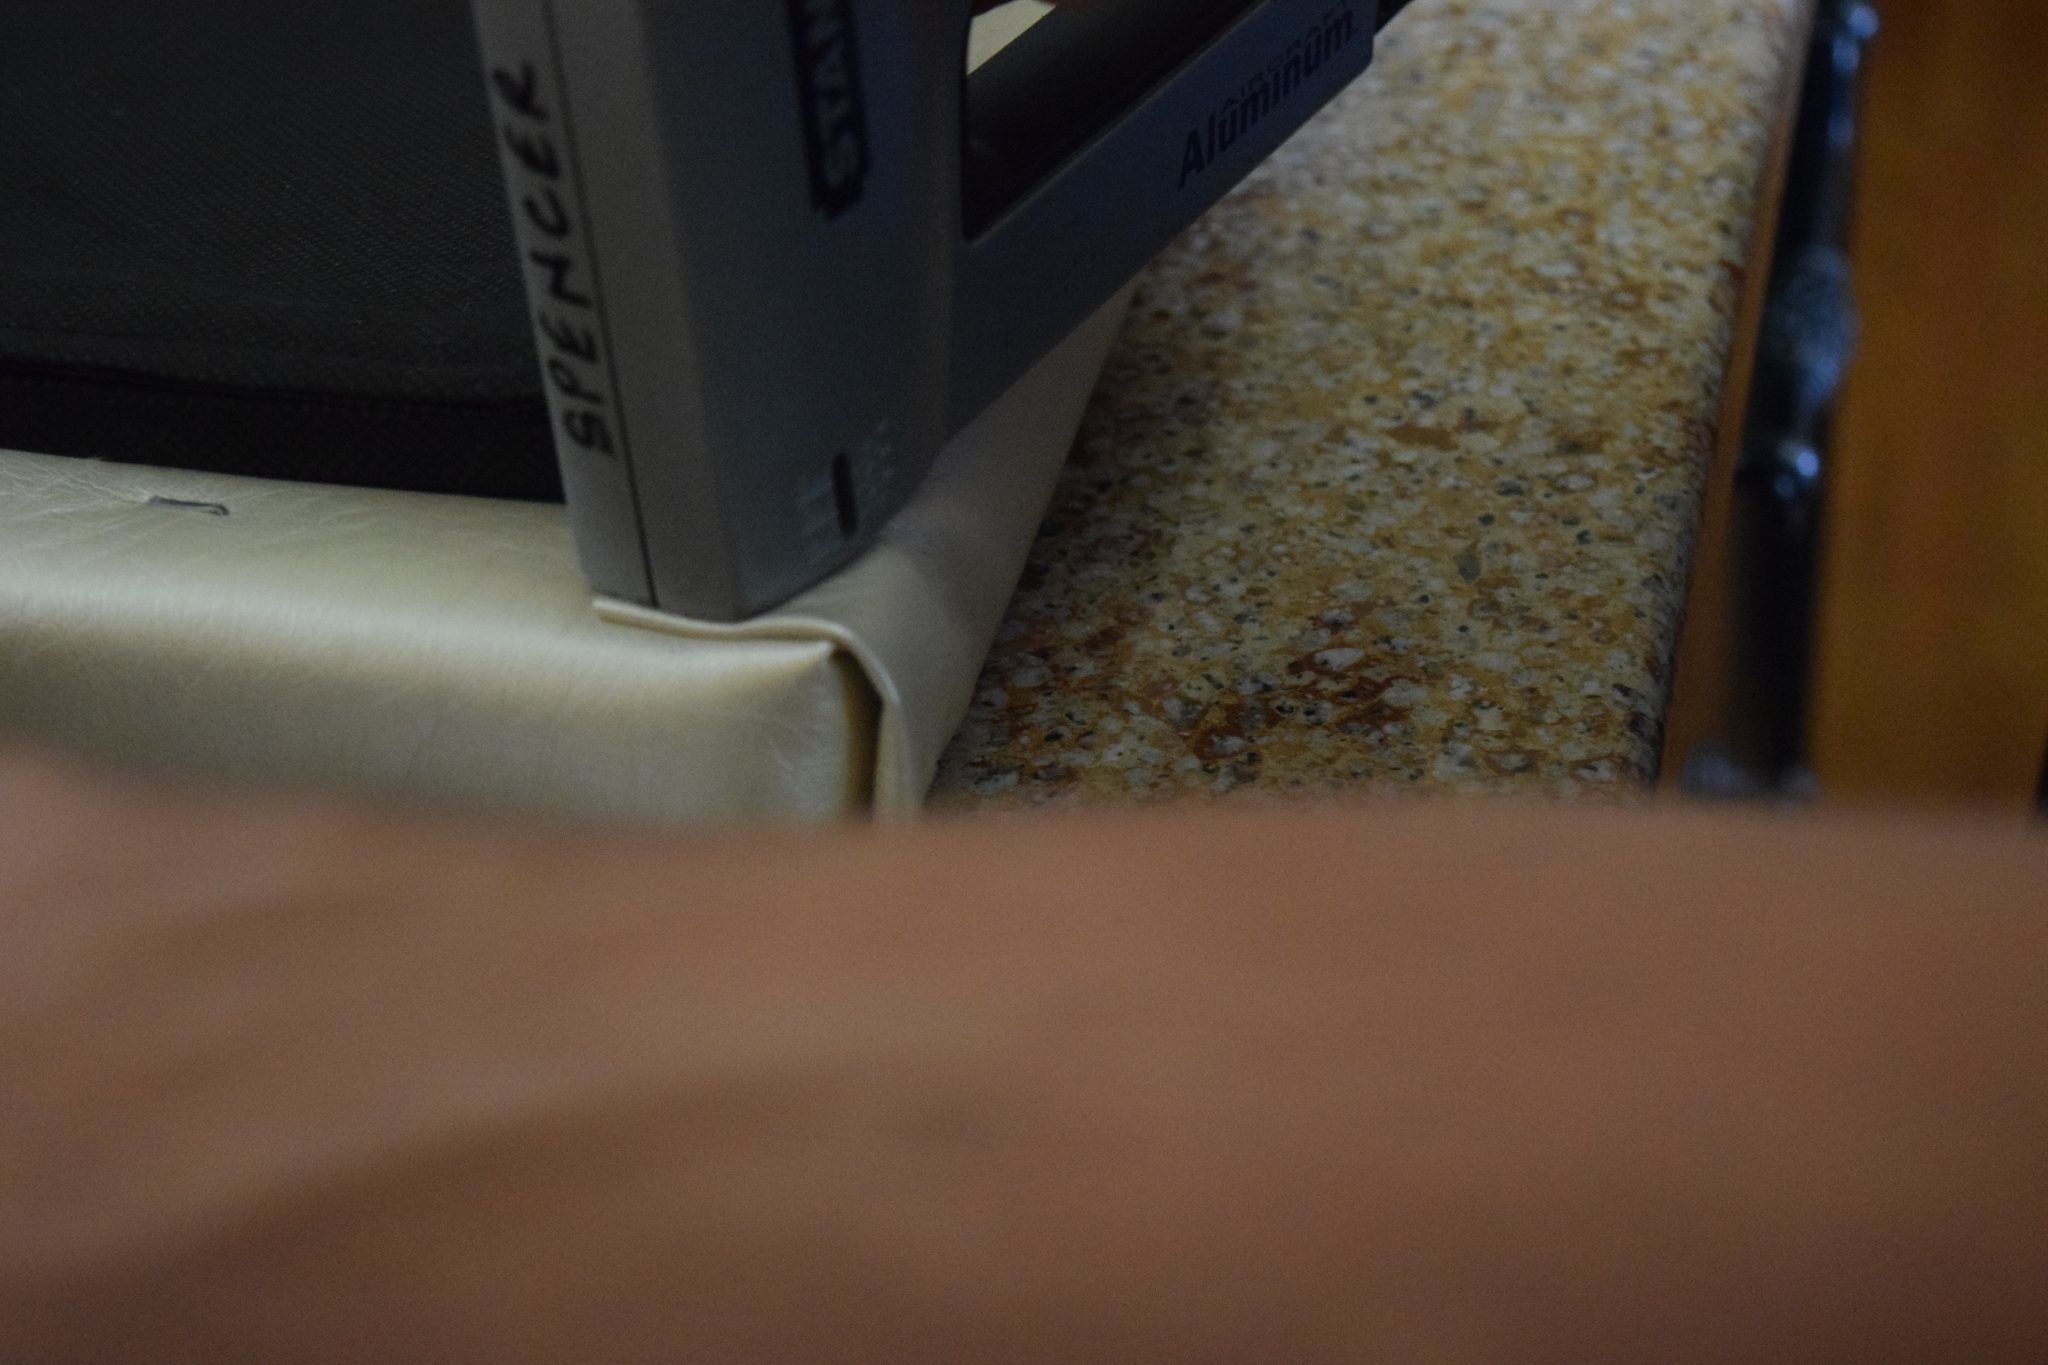
- Doing the lid was not so easy. I think much of the difficulty arose as a result of the thick fabric we used. I’ve covered plenty of dining room chair cushions in my life and so felt very confident that this process would be equally easy…guess again. After trying many different corners using a piece of scrap vinyl, I figured out that this way was the one that would give us the fewest folds/puckers. First I stapled all the straight edges so that they would remain straight. I double-checked that the fabric wasn’t getting crooked on me.

- I cut the corner to reduce the bulk

- I stapled one side very close to the edge to keep it secure and straight
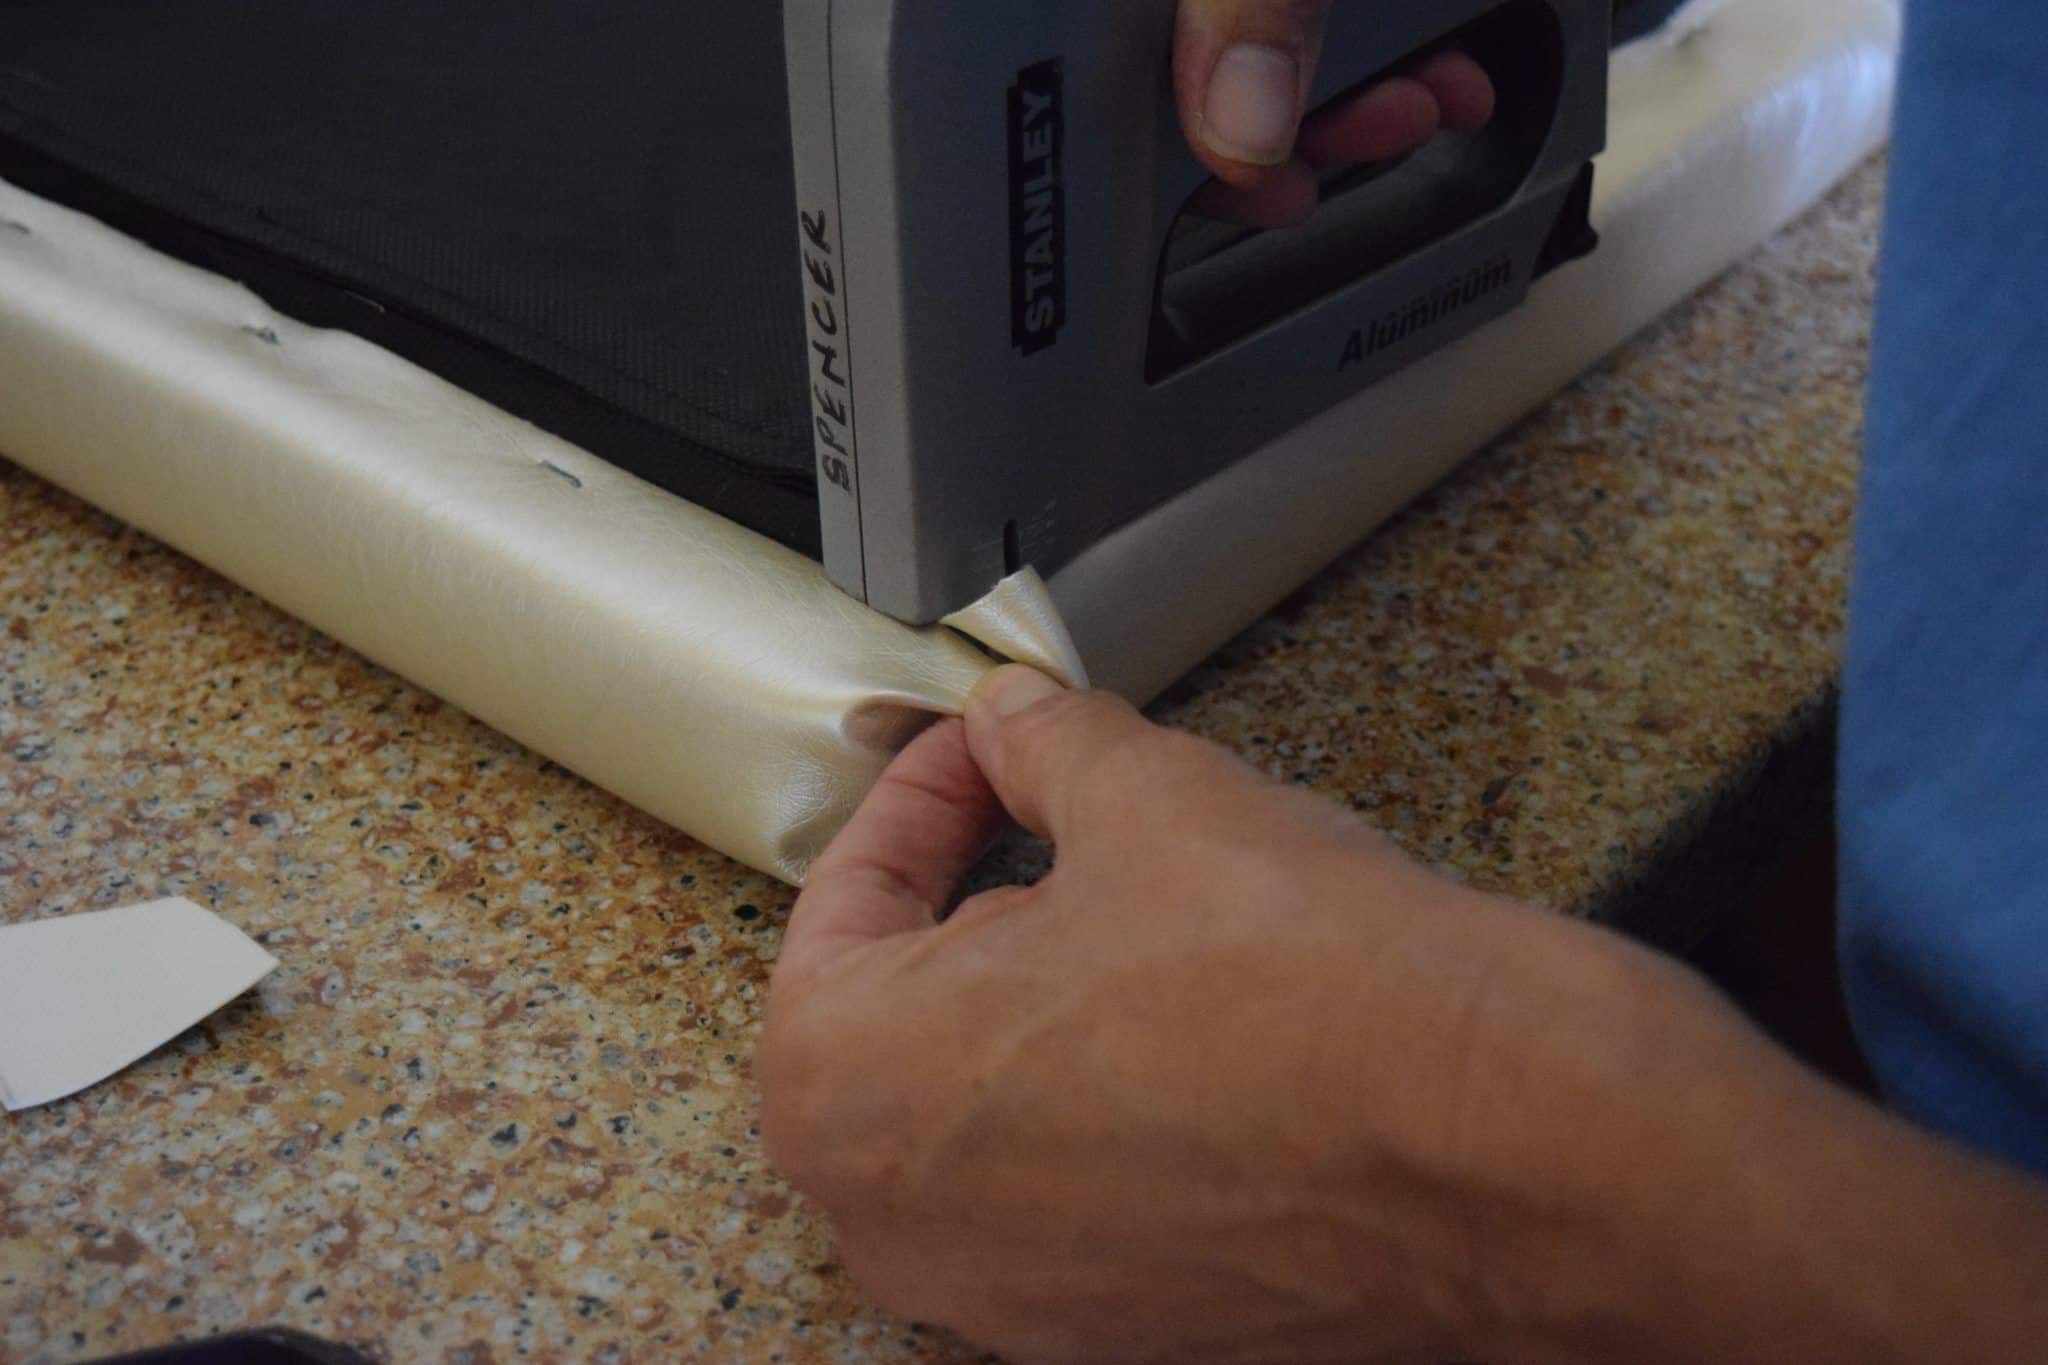
- And then folded the rest in…rather like I do when I wrap a present, only on one side.
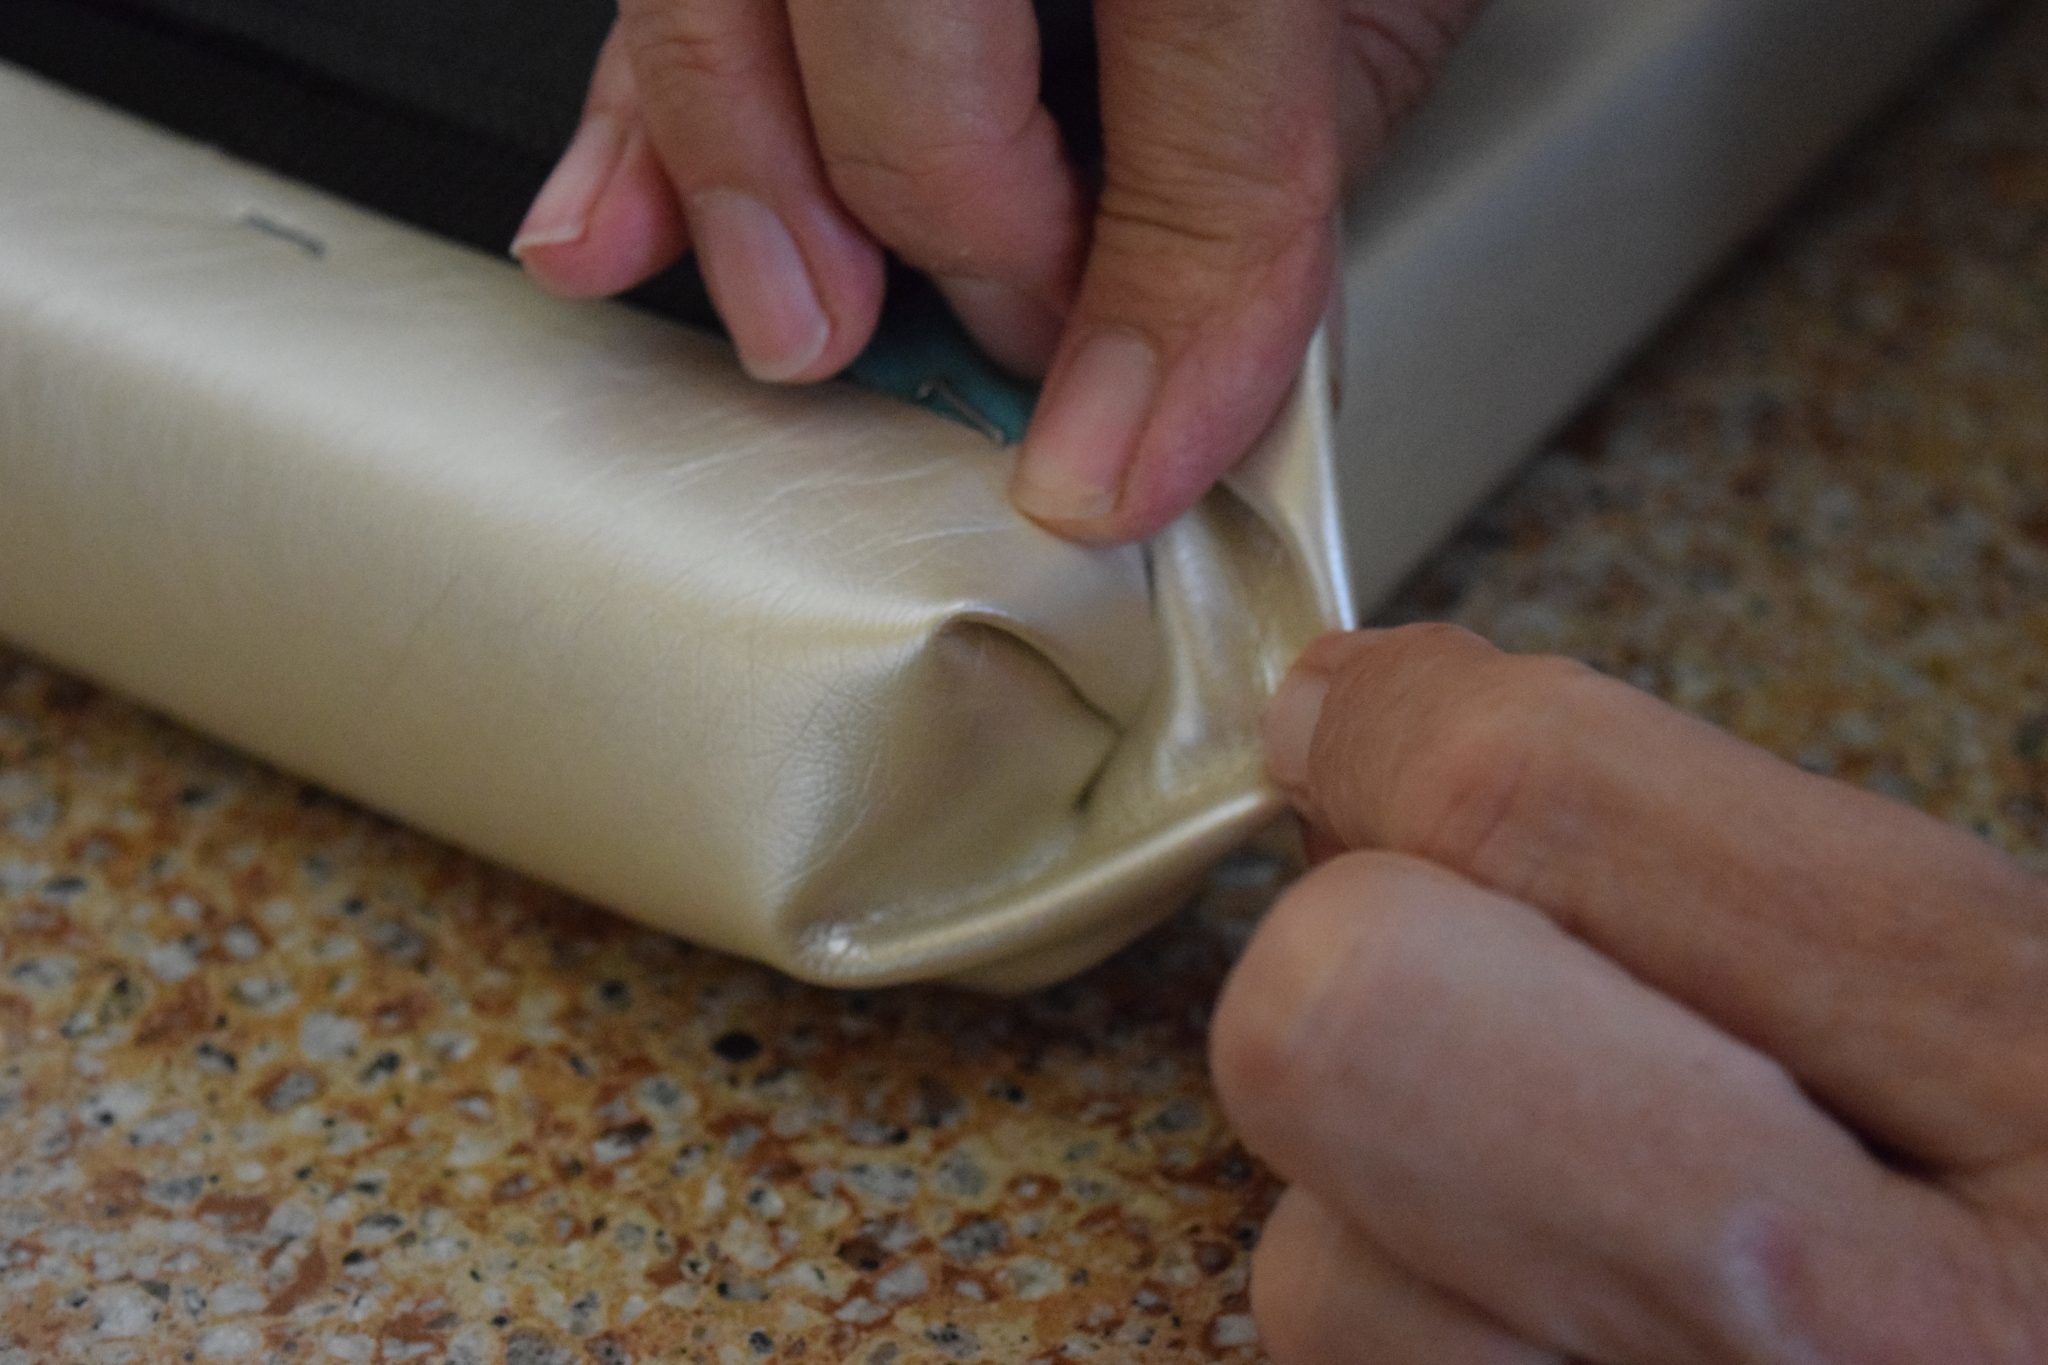
- Stapled the whole thing down
Kate was fine with the raw edges (it is her cube after all), but I couldn’t leave well enough alone so when she went to the gym, I glued some ribbon over the staples and raw edges and it made me happy.
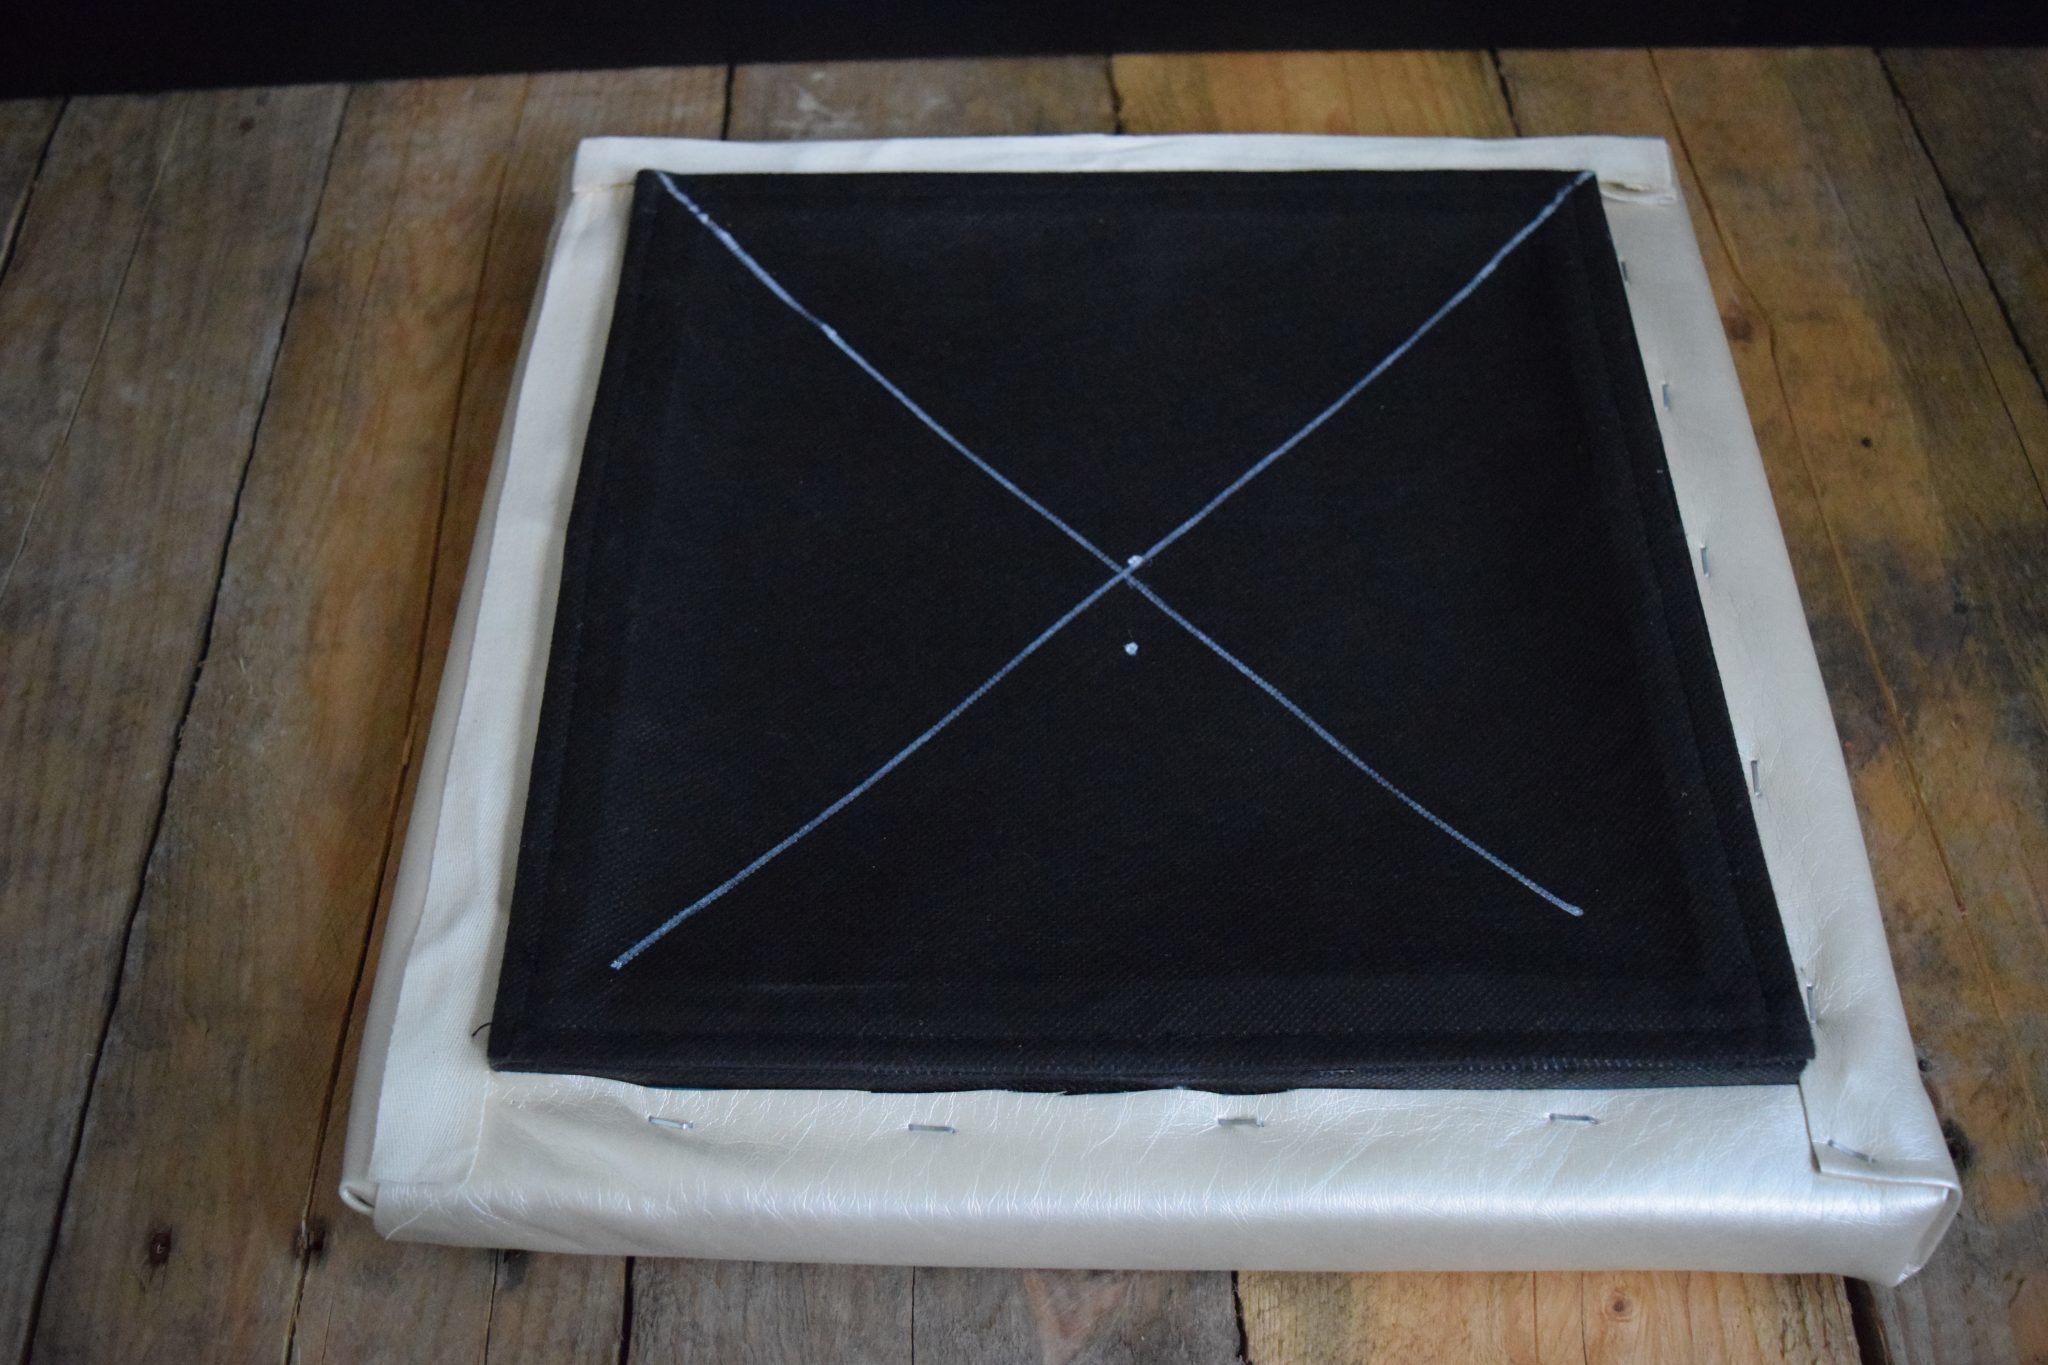
The ribbon (on the left side and back of the photo) is the perfect color. We had originally planned to put a button in the middle of the top, thereby creating a ‘tufted top’, which is why we have the diagonal lines to mark the center. We planned to drill through the bottom, and attach a decorative button on the outside with a utilitarian button on the inside, held together by some strong thread.
Much to my chagrin, Kate dismissed that idea after we finished recovering the cube. Are you kidding me? My inner, and not so subtle control freak is blowing gaskets…but, it’s not my cube.
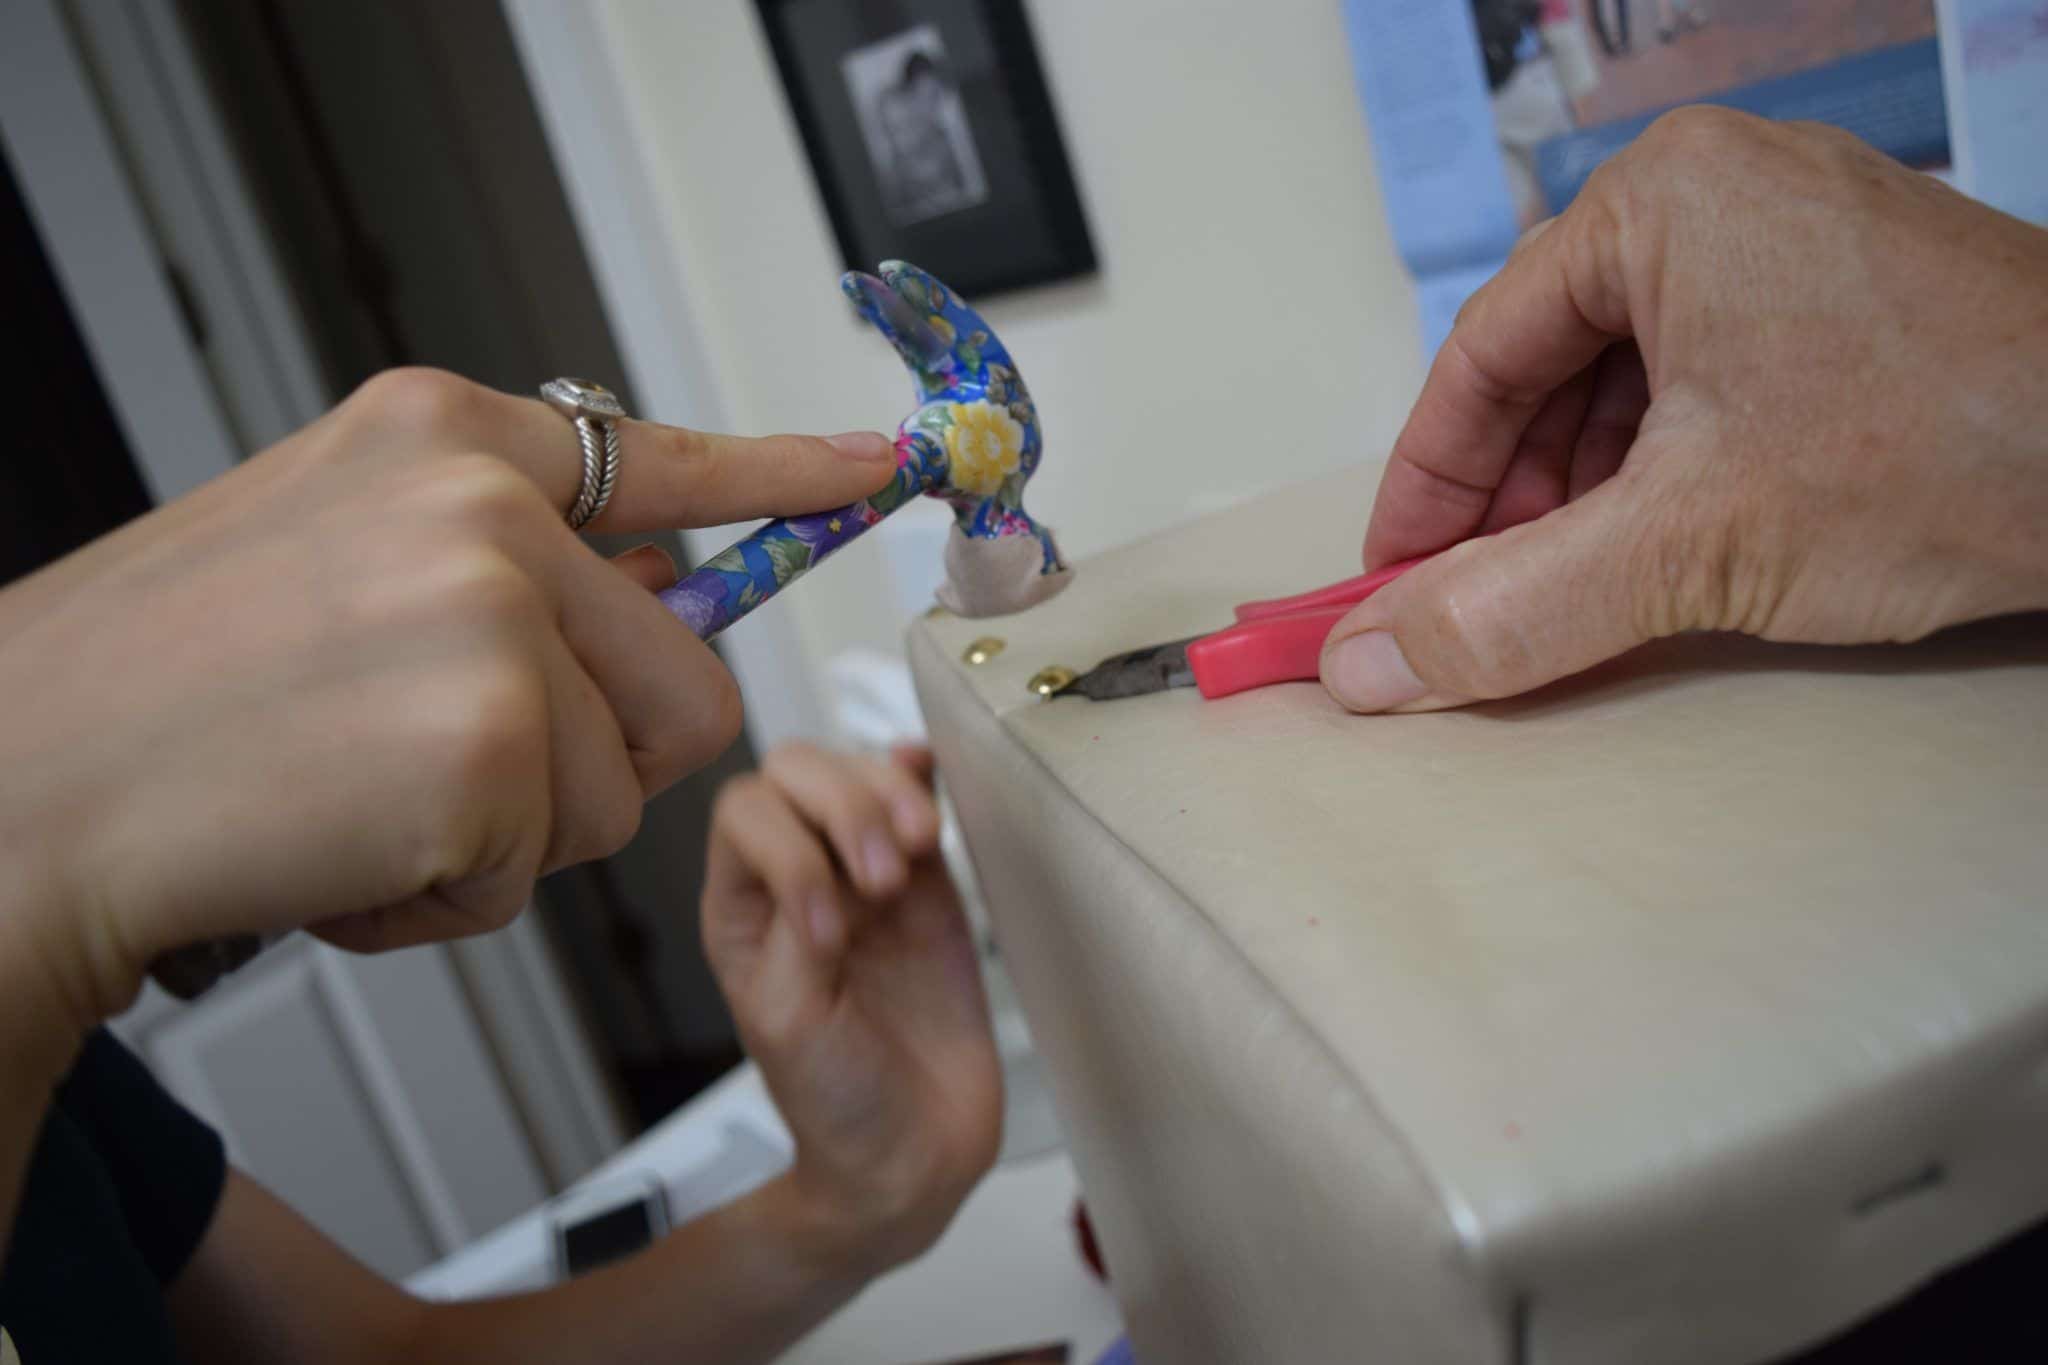
- The final step was putting some decorative nail trim on the cube. I used really small pliers to hold the nail in place while Kate whacked it in. She made a really great suggestion to put adhesive moleskin on the hammer so that it wouldn’t scratch the nail…my brilliant girl.
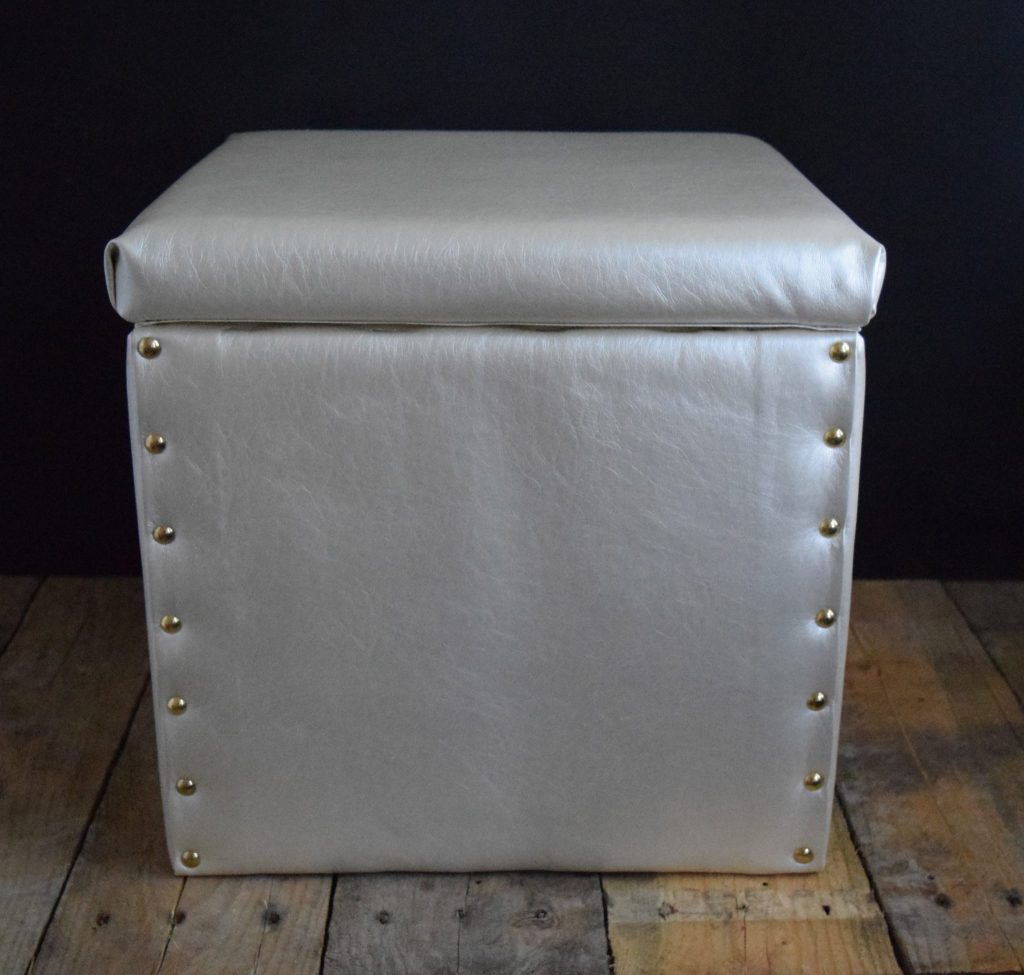
- Given the way we attached the fabric (1 long piece covering three sides and one piece to cover just one side) we really only needed to put the nail trim on the side that had the single piece as the glue really didn’t do a great job of adhering to the vinyl. This was quite fun and made a huge difference.
I would’ve gone ahead and repeated the nail trim on all sides, but… all together now…it’s not my cube and for reasons that escape me, she only wanted it on one side. In her defense, her reasoning is that that one side will be against the wall and so no one will see the nail head, but my reasoning is…but it looks so great so why wouldn’t we??!! C’est la vie…nail head trim all around the cube just wasn’t in the cards.
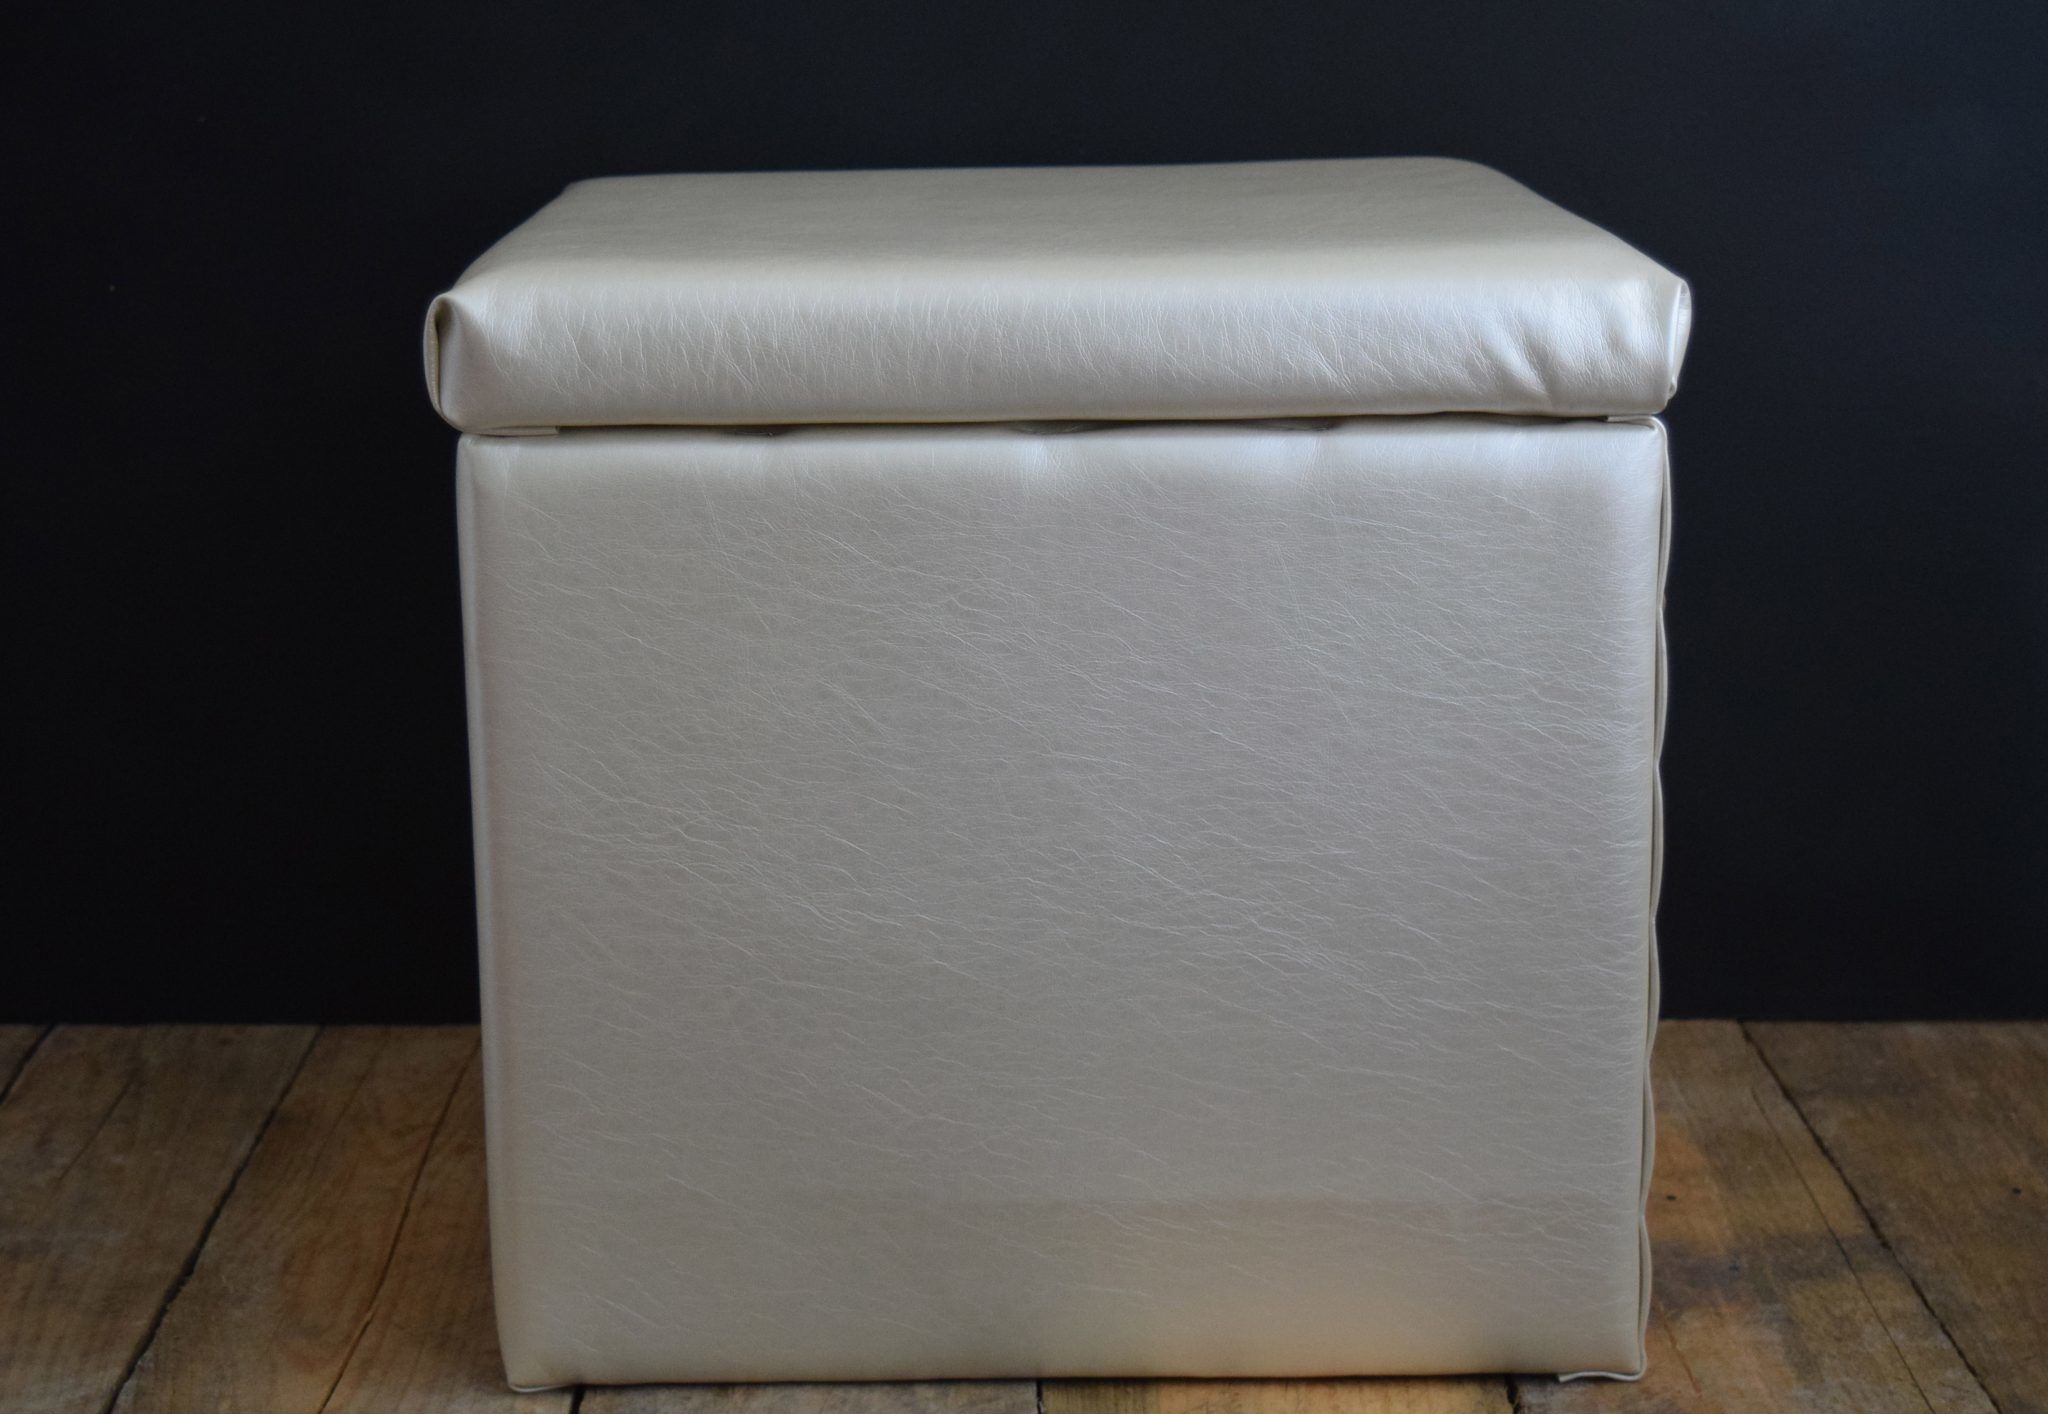
She is very pleased with her cube and I’m pleased that she is pleased…so it’s a win-win. But…if I did one for myself, here is…
What I would do differently to recover a storage cube
- I’d have enough length to wrap around the base without piecing, OR (if trying to save money and use the fabric width instead of length), I’d use 2 pieces of the same length, each piece covering 2 sides.
- Then, I would put the trim on each vertical side of each of the cube’s 4 sides
- I might also put the tuft on top…depending on how busy it looked.
If you like nailhead trim stuff, check out this post and make a nailhead trim/burlap bulletin board.
UPDATE (8/16/2015):
Here is it in her dorm room. Perfect as a stool, storage, and a mini-coffee table.
I love before and afters…here’s one for this project.
Thanks again for spending a few minutes of your busy day with me today.
Please know that I welcome each and every comment that comes my way.


You girls are amazing! I am looking forward to visiting Kate at school!
Thanks Pam! We had fun and Kate will love to see you and Frank at school THat’d be fun.
I love this! I have a black cube just like this, that was used to hold video game whatnots and now I could recover it for my daughter’s dolls! Great idea! Thank you for linking up at the Simply Sundays link party!
It was pretty darn easy. Give it a whirl!
It’s so cute Lynn! How sweet of you to do this project with her the way she wanted to 🙂
Thanks for sharing at Something to Talk About!
Karen
Thanks for visiting Karen. So, I’m a little bit of a control freak (ok..alot!) but I’ve learned (kinda) to just roll on some things. Not that it’s easy!!