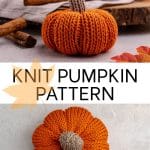
Knit Pumpkin Pattern
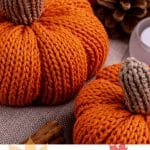

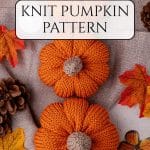

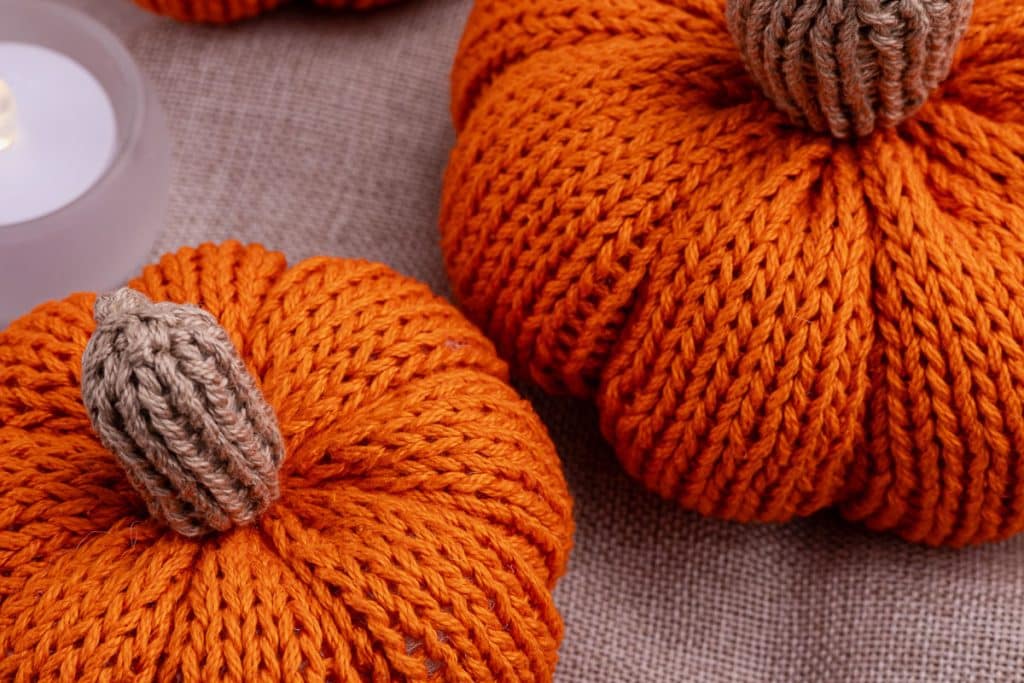
This knit pumpkin pattern is the perfect project to bring a touch of handmade warmth into your fall decorating. With simple stitches and easy shaping, you can create pumpkins in a variety of sizes that look just as charming on a mantel as they do gathered in a centerpiece. Whether you’re using up leftover yarn or choosing colors to match your autumn décor, these knitted pumpkins are quick to make and add cozy personality to your home.
Once you’ve made one, it’s fun to experiment with colors and textures—think neutrals for a farmhouse look, bright tones for a cheerful pop, or variegated yarns for added interest. Each one will feel unique, even if you follow the same steps.
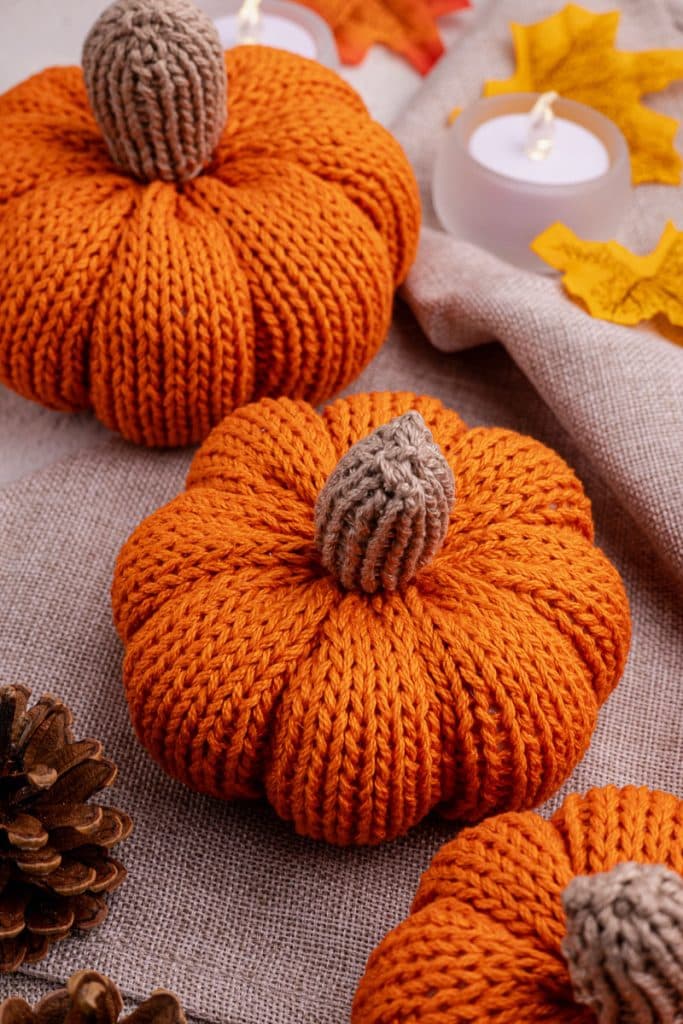
Table of Contents
Tips for Success
- Leave extra-long cast-on and bind-off tails to use for closing and shaping.
- Stuff firmly enough to hold the shape, but not so much that stitches stretch.
- Align the ridge-shaping with the purl columns to keep the yarn nearly invisible.
Materials Needed for this Knit Pumpkins Pattern
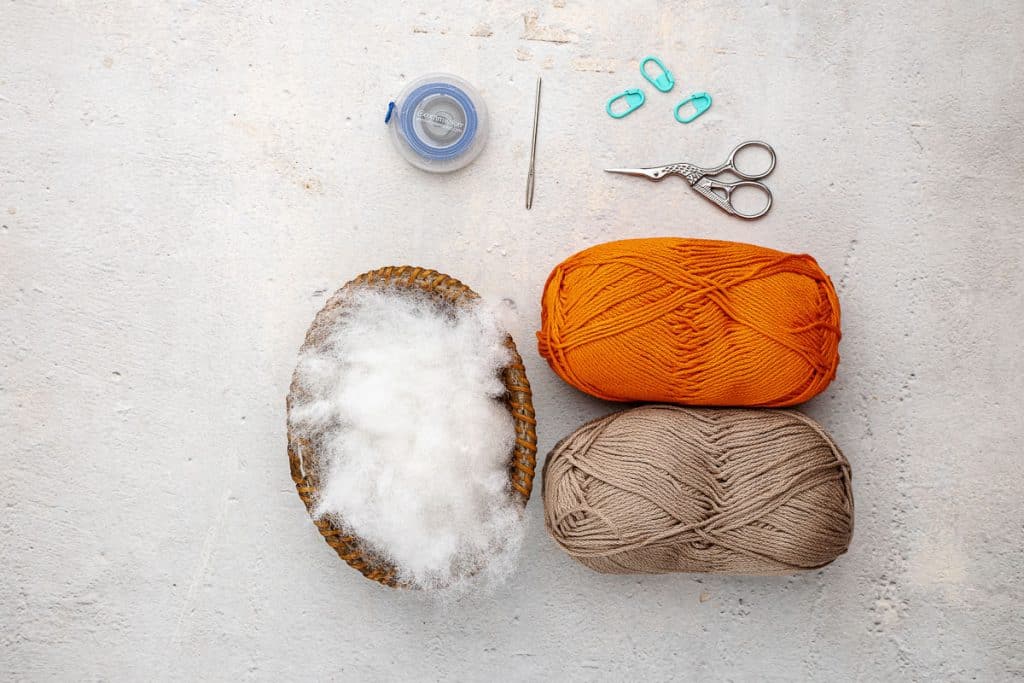
- Worsted weight yarn, 180 yards (sample shown in Lion Brand 24/7 Cotton, Taupe and Tangerine. You can knit one small, one medium, and one large pumpkin from 180 yards.
- US6 (4mm) circular needle
- Polyester fiberfill (Polyfill)
- Tapestry needle
- Stitch markers
- This free Knit Pumpkin Pattern is available in this post below and as an ad-free printable PDF for subscribers. You can find the pattern in the Library (your super secret password is included at the bottom of every Monday’s Newsletter email) or email me, and I’ll send it to you. Not a subscriber? C’mon—we’d love to have you. A subscription costs nothing and gives you access to all our printables and pattern PDFs. Click here to have the Knit Pumpkin Pattern emailed to you.
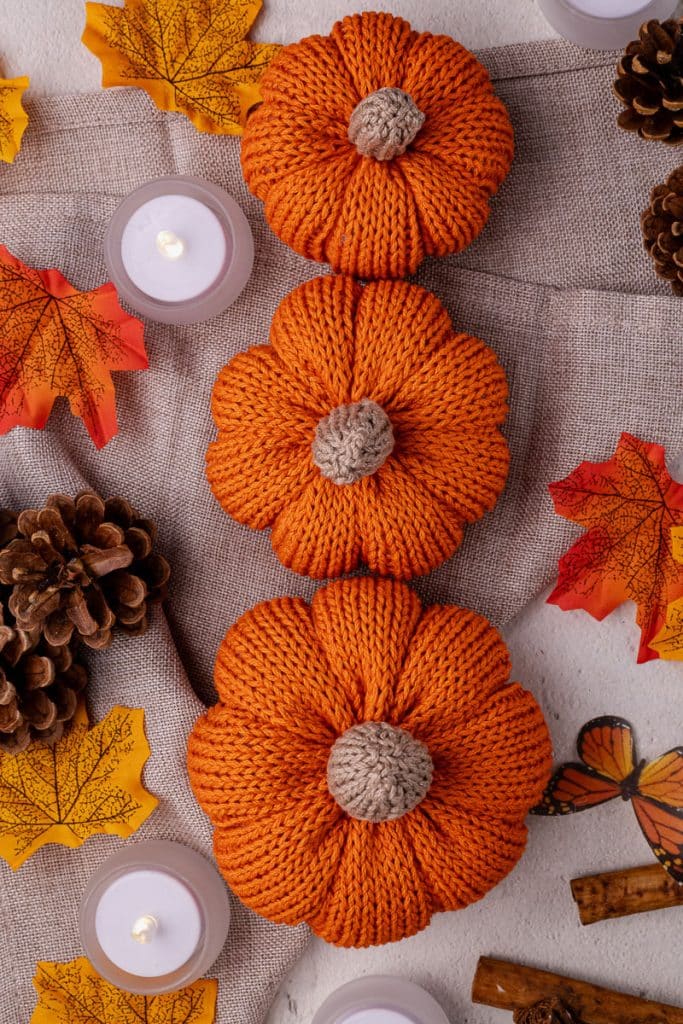
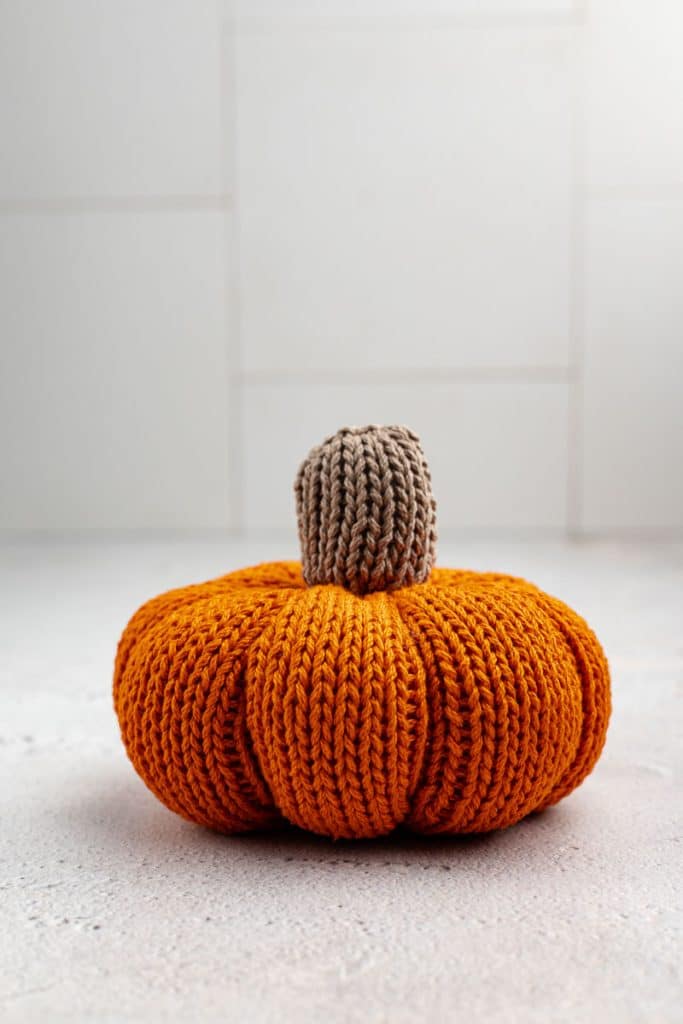
Finished Pumpkin Sizes
- Small: 2″ tall, 3.5″ wide
- Medium: 2″ tall, 4″ wide
- Large: 3″ tall, ~4.5″ wide
(Measurements don’t include the stem — that adds about 1.75″).
Yarn Substitutions
- Cotton yarn gives crisp stitch definition and sturdy ridges.
- Wool or wool blends add warmth and a slight stretch, making shaping easier.
- Acrylic is budget-friendly and comes in a wide range of colors.
- Try chunky yarn with larger needles for oversized pumpkins.
Instructions for Knit Pumpkin Pattern
This pattern creates a pumpkin in three sizes. All sizes are worked the same way; the difference is in the number of cast-on stitches and rows.
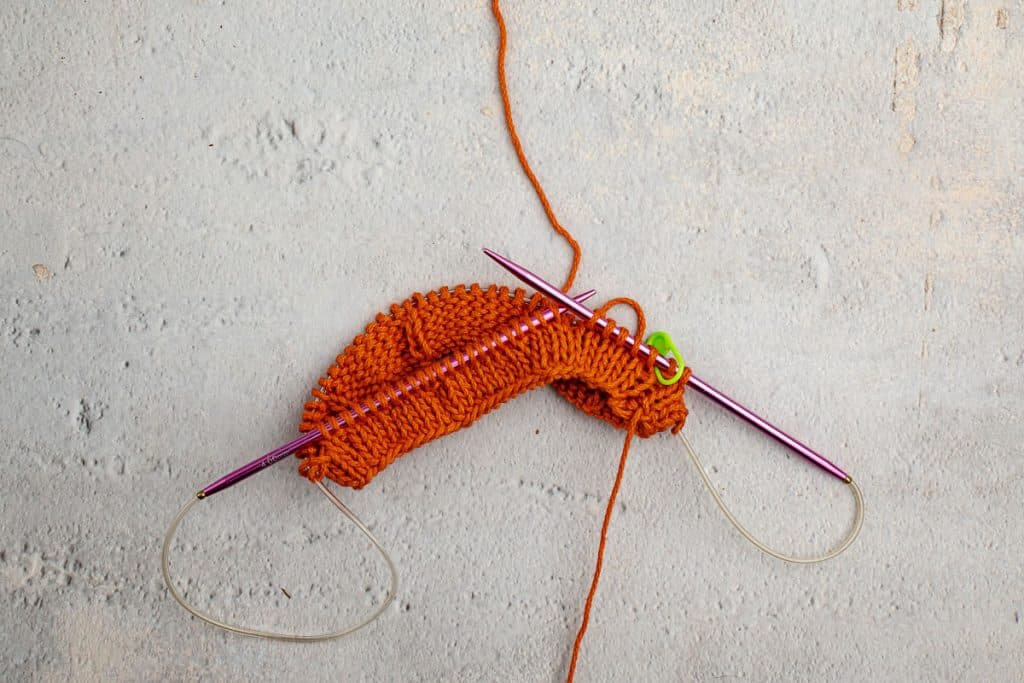
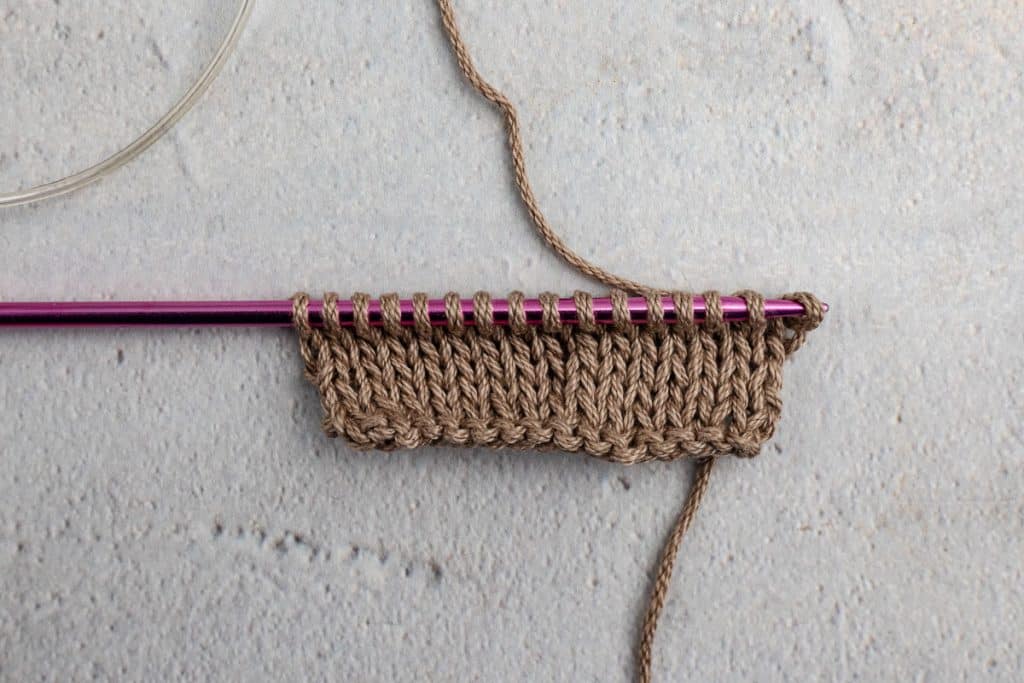
- Cast on 48 (64, 72) stitches + 1 stitch to join in the round. Place a stitch marker (SM) to mark the beginning of the round.. Leave a long tail for seaming and shaping later.
- Join by slipping the first stitch on your left needle onto your right needle and then passing the next stitch on your right needle over the stitch you just slipped. Place a stitch marker (SM) to mark the beginning of the round. You should have 48 (64, 72) stitches once the pieces are joined.
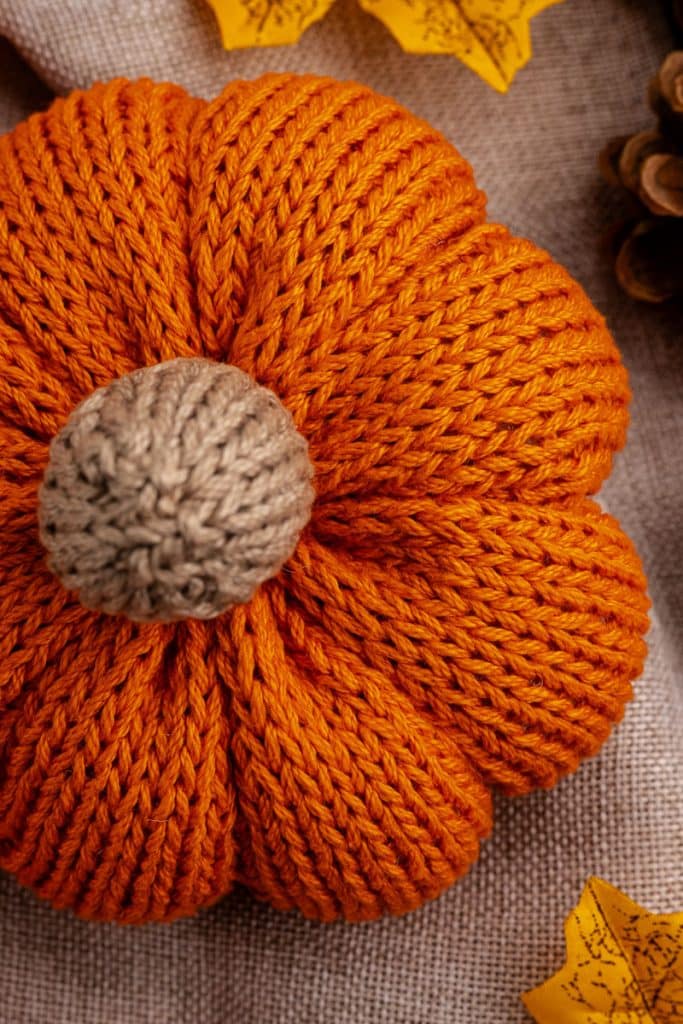
- Small: *K5, P1* repeat to end of round, Medium: *K7, P1* repeat to end of round, Large: *K8, P1* repeat to end of round. The purls will create eight pumpkin ridges.
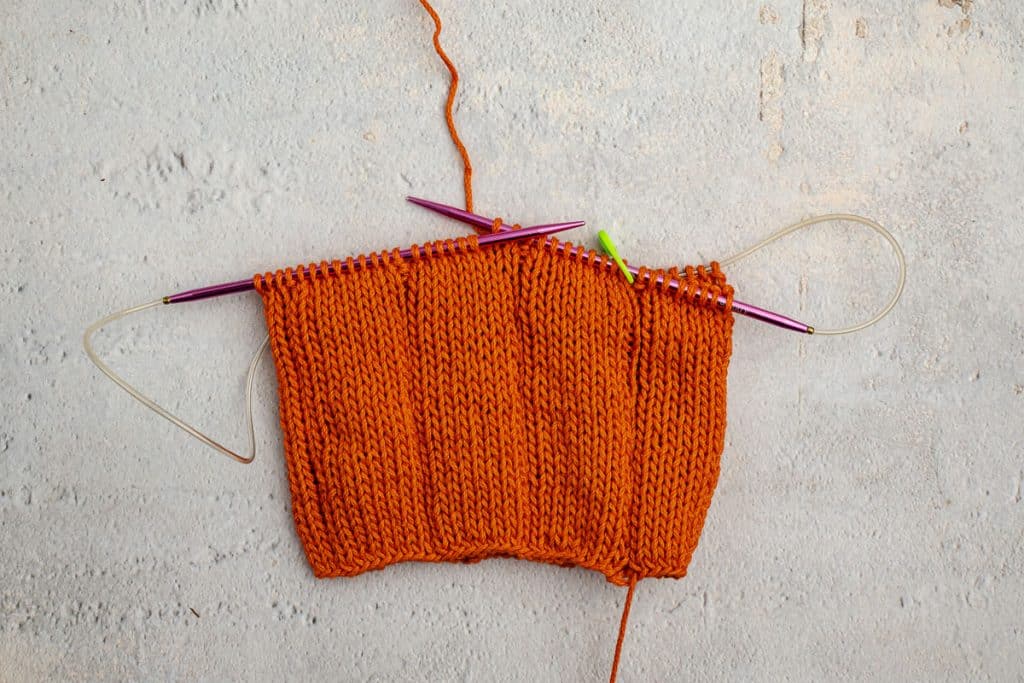
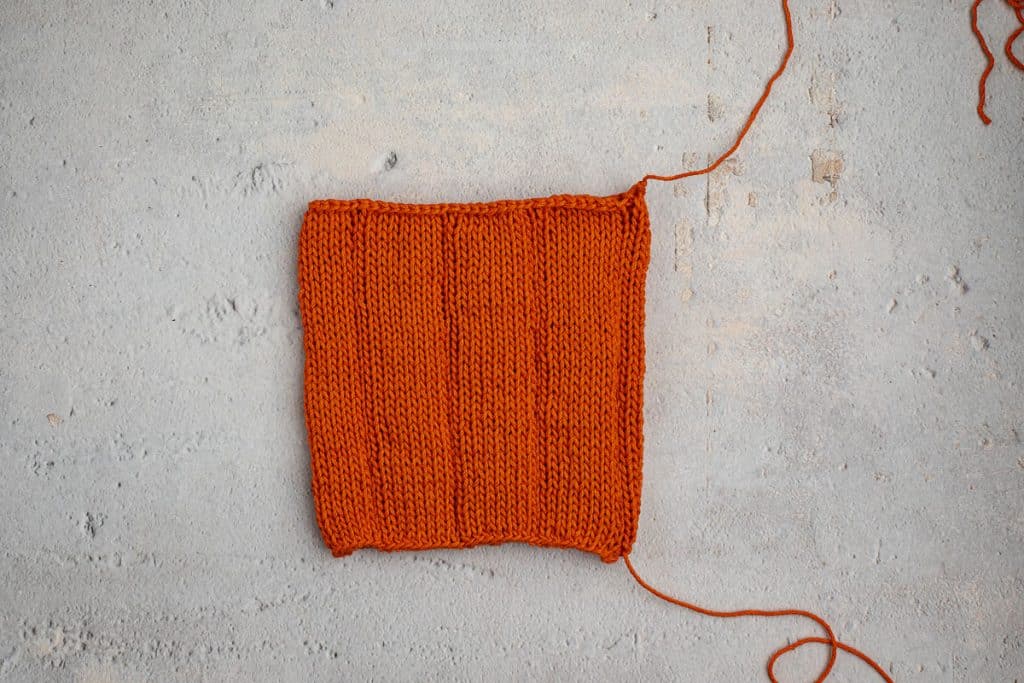
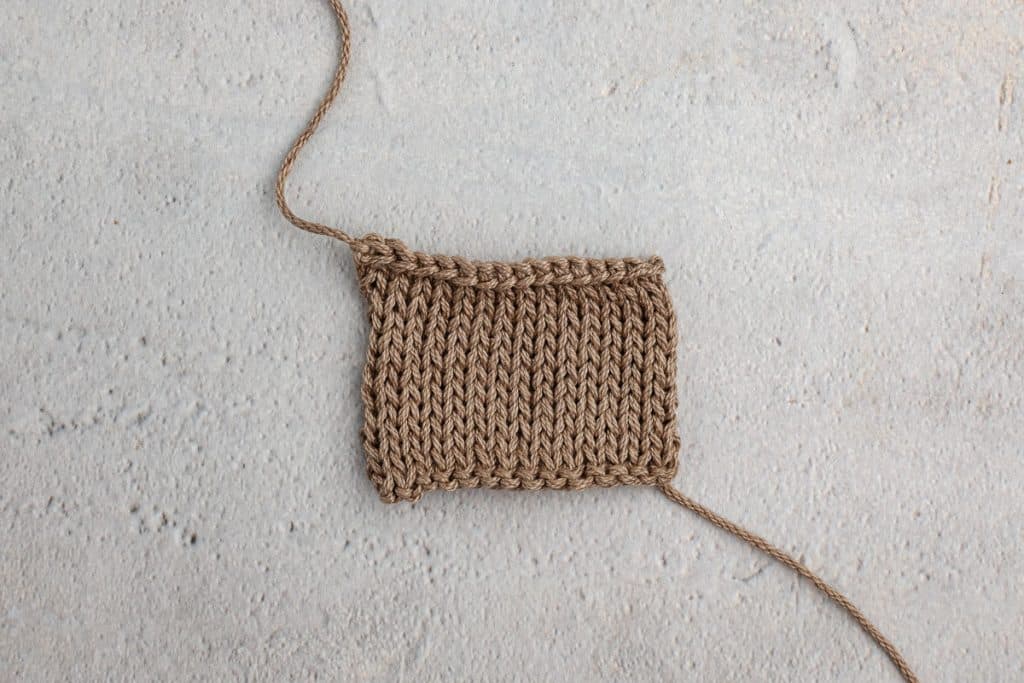
- Continue in rib pattern for 26 (32, 40) rounds. Bind off in pattern (knit the knits, purl the purls). Leave a long tail.
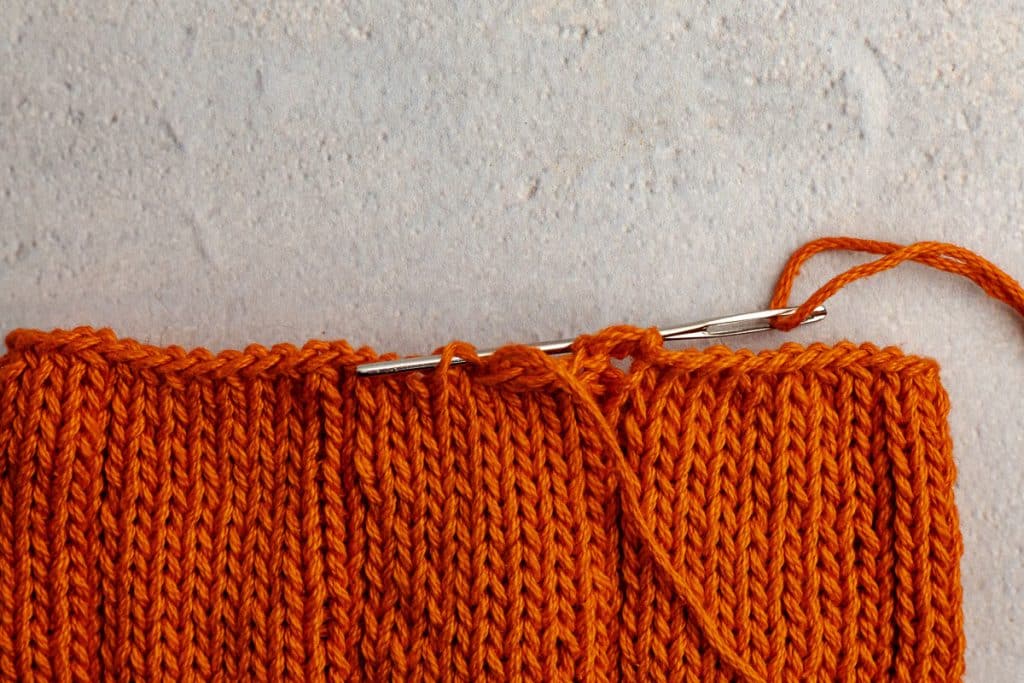
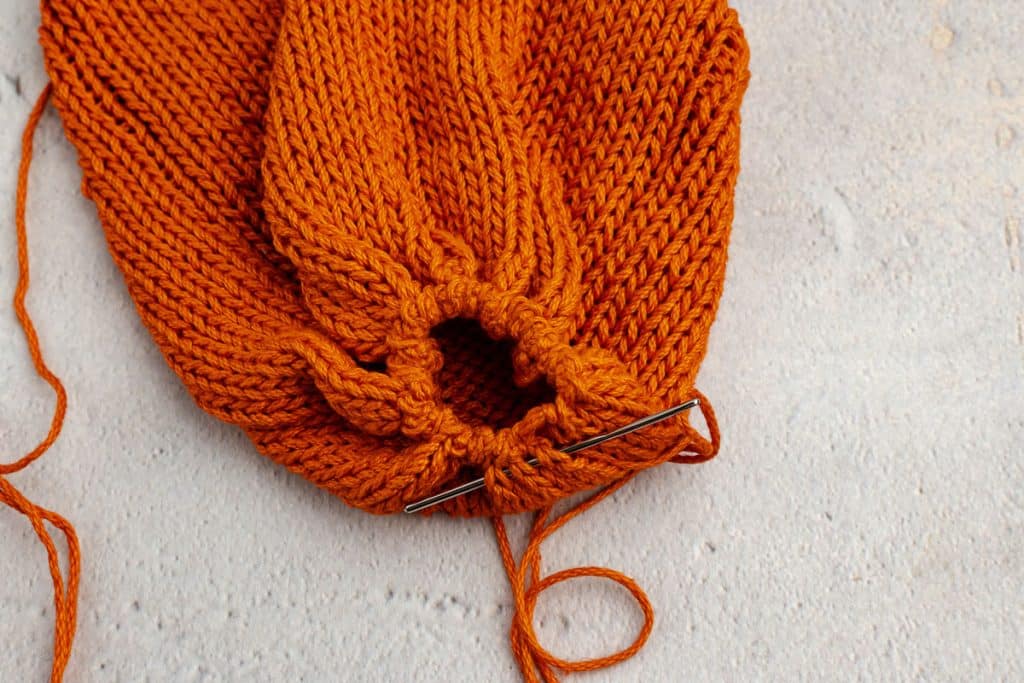
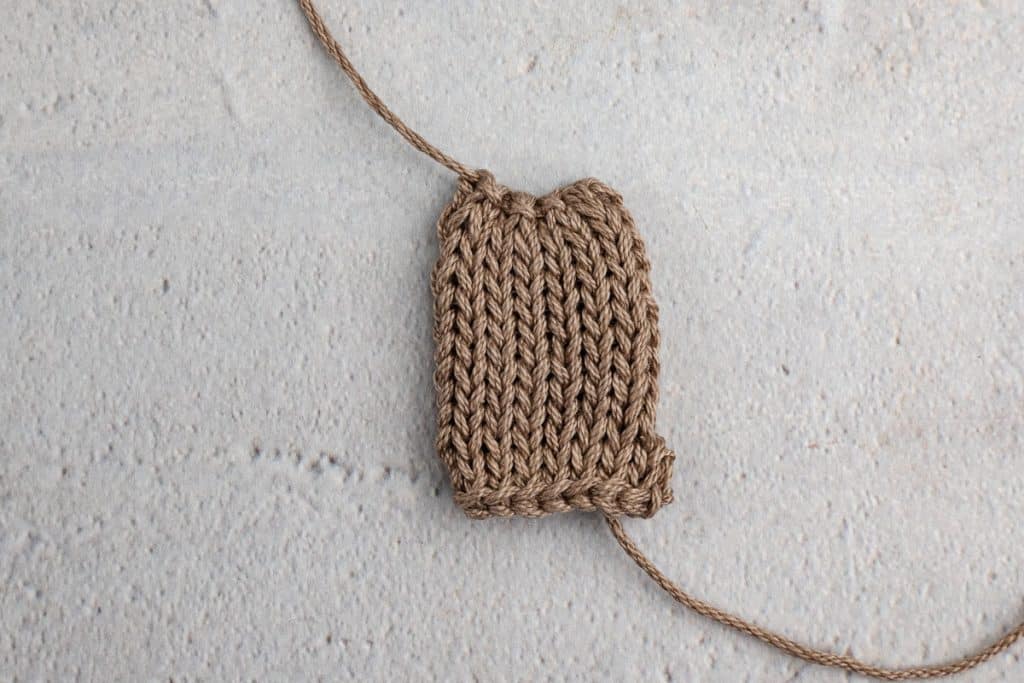
- With cast-on tail, weave through the cast-on edge stitches and pull tightly to close into a pouch.
- Repeat weaving if needed for a secure closure.
- Cut tail.
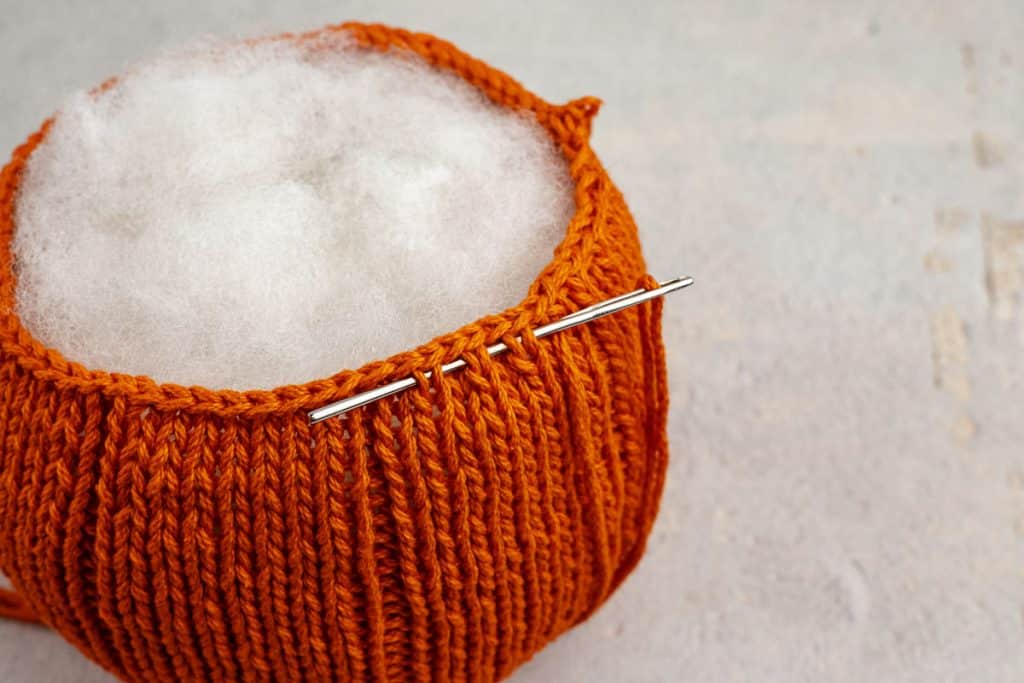
- Firmly stuff the pumpkin as desired.
- With bind-off tail, weave through edge stitches and pull to close. Repeat this process as needed to close the top completely. Do not cut yarn.
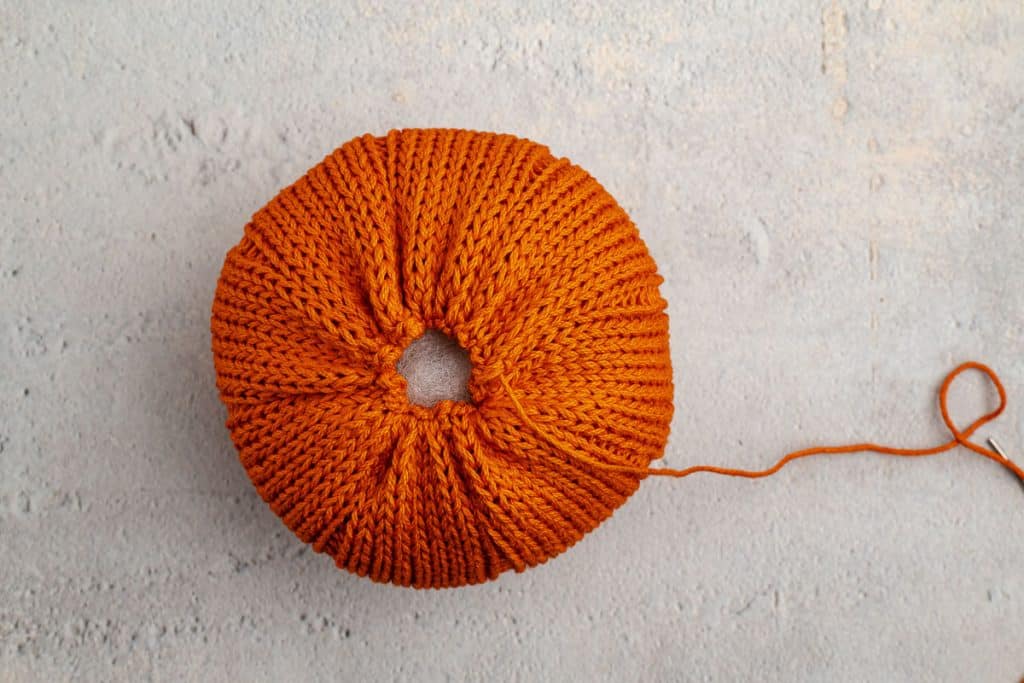

- Using the remaining tail, thread a tapestry needle through the center of the pumpkin and pull through to the bottom.
- Wrap the yarn around the outside of the pumpkin, aligning it with a purl column to conceal the yarn.

- Pull snug to create a ridge.
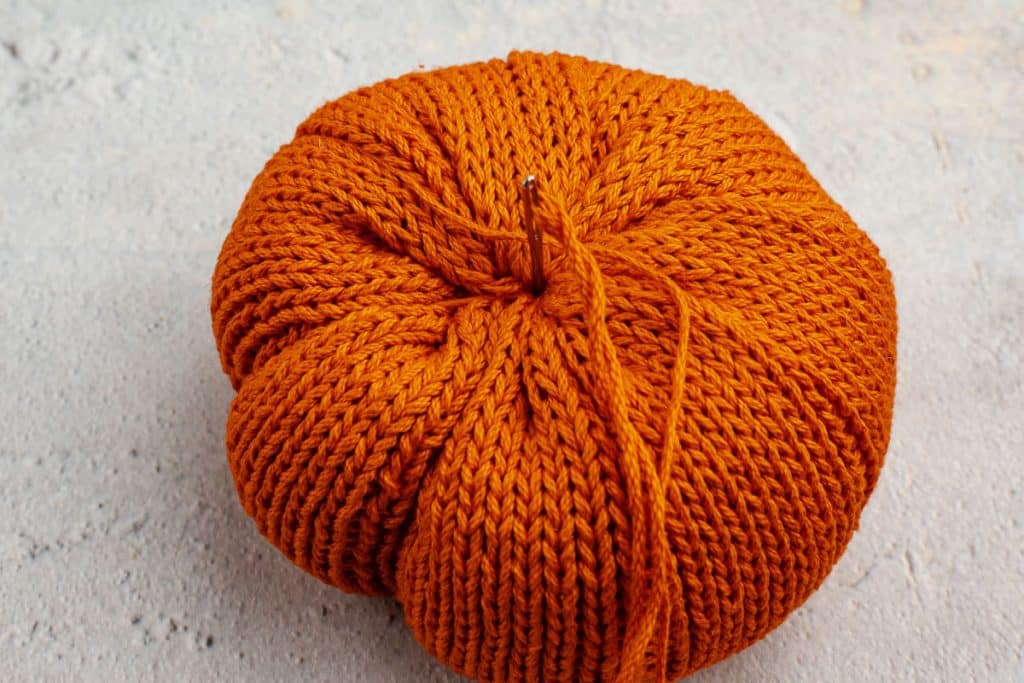
- Repeat 8 times, spacing evenly around the pumpkin.
- Secure tail and weave in ends.
Knit the Stem
- Cast on 8 (10, 16) stitches.
- Work in stockinette stitch for 10 (10, 12) rows.
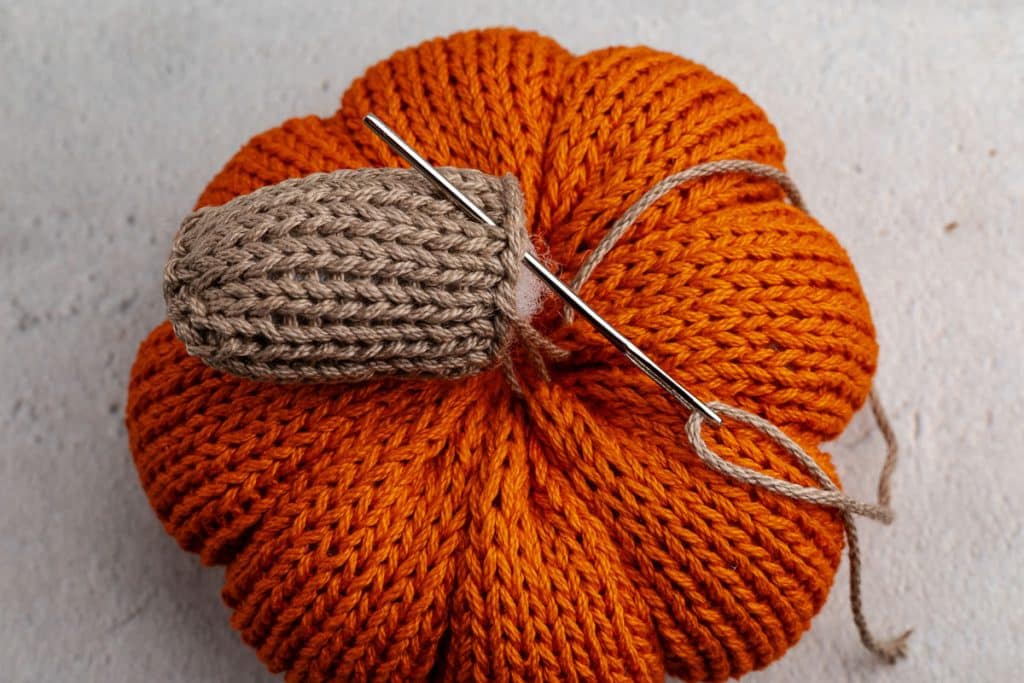
- Fold in half lengthwise and seam side edges together, leaving the bottom open.
- Lightly stuff and sew to the top of the pumpkin using a tapestry needle and taupe thread.
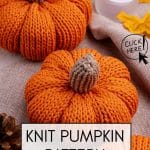
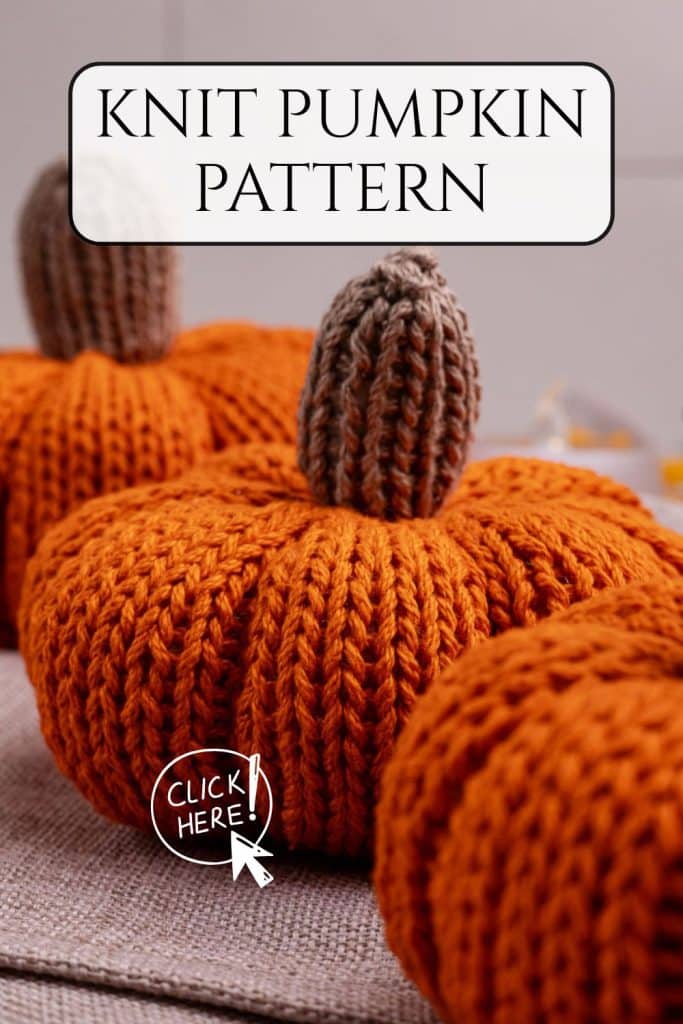
Bookmark this page or pin the following image to return to this free Knit Pumpkin Pattern in the future.
Thanks so much for spending a few minutes of your busy day with me!
To ensure you don’t miss future content, pop your email in the pale green box on the right or click here. I usually send one email weekly, so I won’t inundate your inbox. I’m sensitive to an overflowing email inbox!
We will only use your email address to send you emails, no more than 1-2 weekly. In addition, you will have access to my growing library of knit & crochet patterns and other printables. Check back often as this library will continue to grow. You can unsubscribe anytime by emailing me or clicking on the “unsubscribe” link at the bottom of all emails.
And you can access many of the products I refer to on my Nourish and Nestle Amazon Page. You can access it here.
So, if you’d like to participate in the ‘subscriber benefit’ action, simply subscribe to Nourish and Nestle here or use the form on the right sidebar. It’s slightly towards the top.
I have sent all my subscribers the link to the Subscriber Benefits Library. If you missed it or misplaced it, let me know.
Until next time…