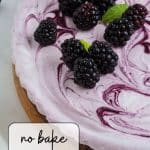
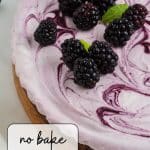
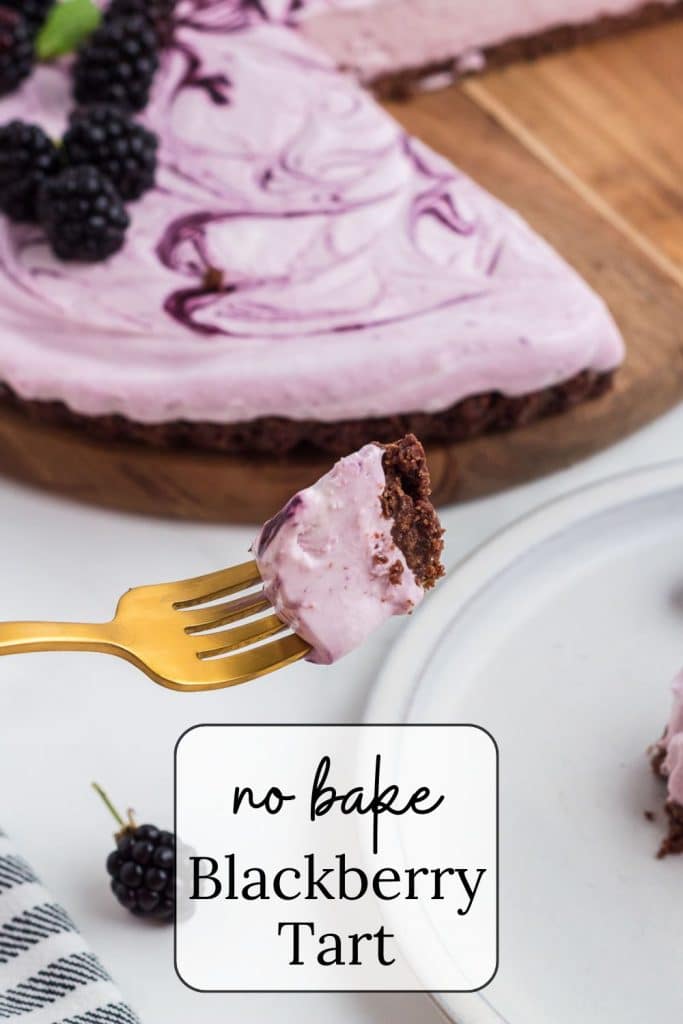
No-Bake Blackberry Tart
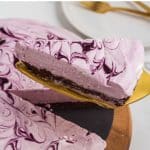

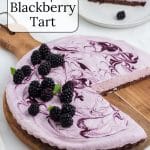
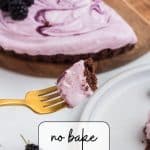
Indulge in the blackberry’s sweet and tangy flavors with this No-Bake Blackberry Tart, a delightful dessert that’s as easy to make as it is delicious. Featuring a rich chocolate crust and a creamy filling infused with fresh blackberry puree, this tart is a perfect blend of fruity freshness and decadent sweetness.
Whether you’re hosting a gathering or simply treating yourself, this elegant dessert, which can be made ahead of time and requires no oven time, is sure to impress with its vibrant color and luscious taste. Ideal for those who crave a simple yet sophisticated treat, this blackberry tart is a must-try for any dessert lover.
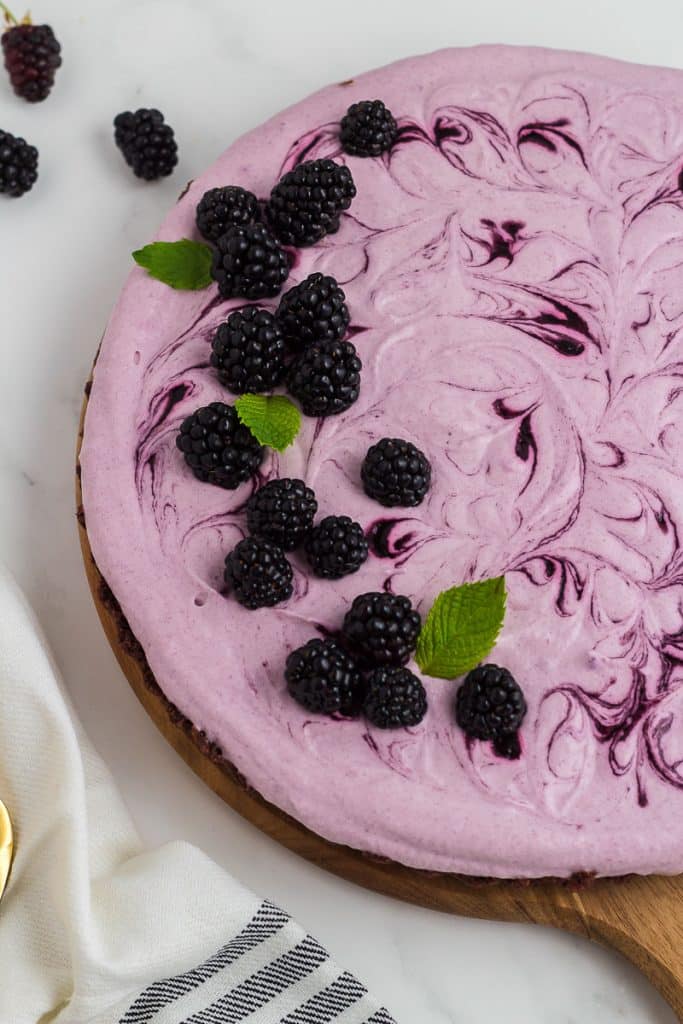
Table of Contents
Tips for the BEST No-Bake Blackberry Tart
Here are some tips to ensure your blackberry tart turns out perfectly:
- Choose the Best Blackberries: Whether you’re using fresh or frozen blackberries, make sure they are ripe and flavorful. Fresh blackberries are ideal for a more vibrant taste, but frozen ones can work just as well—thaw them properly before use.
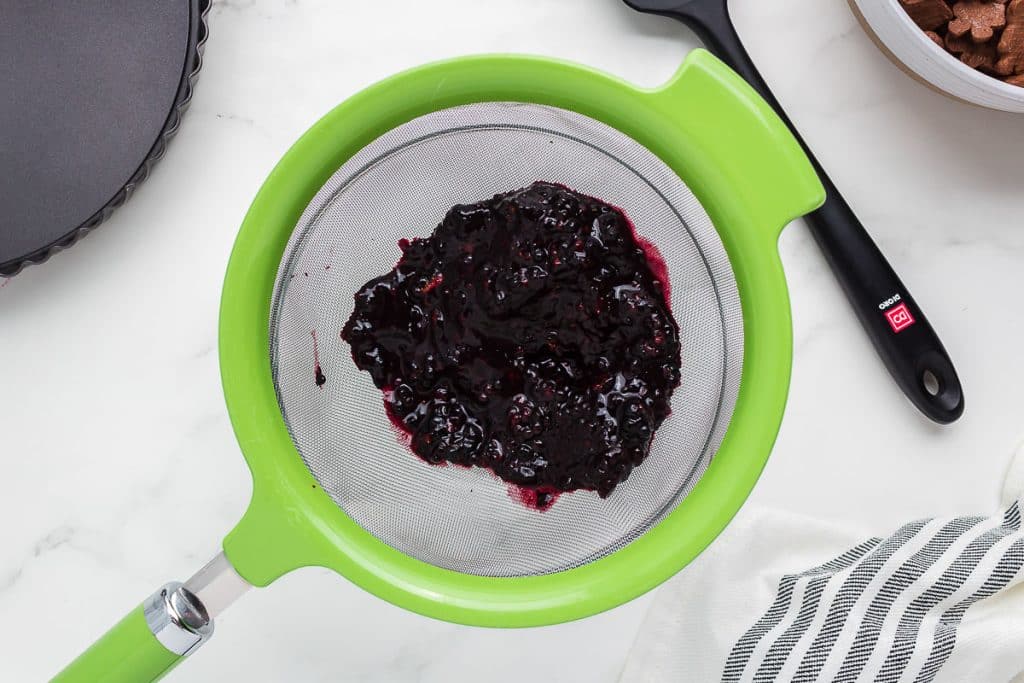
- Strain the Puree Well: When making the blackberry puree, be sure to strain it thoroughly to remove seeds. This ensures a smooth, silky filling without any unwanted texture.
- Firm Up the Crust: Press the crust mixture firmly and evenly into the tart pan. This helps prevent the crust from crumbling when you slice the tart. You can also chill the crust for a bit longer before adding the filling to make it sturdier.
- Whip Cream to the Right Consistency: Ensure your whipped cream reaches stiff peaks for a light and airy filling. This gives the tart a stable yet fluffy texture.
- Chill the Tart Properly: Allow the tart to freeze for at least 4–6 hours, or overnight if possible. This helps the filling set completely and makes it easier to slice cleanly.
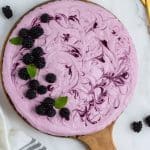
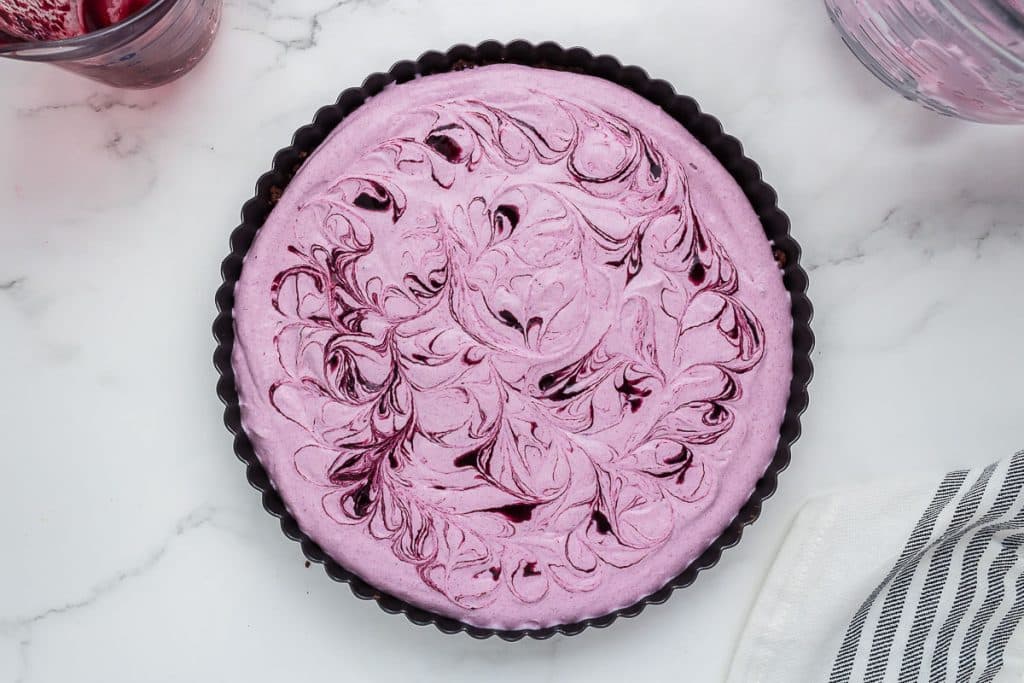
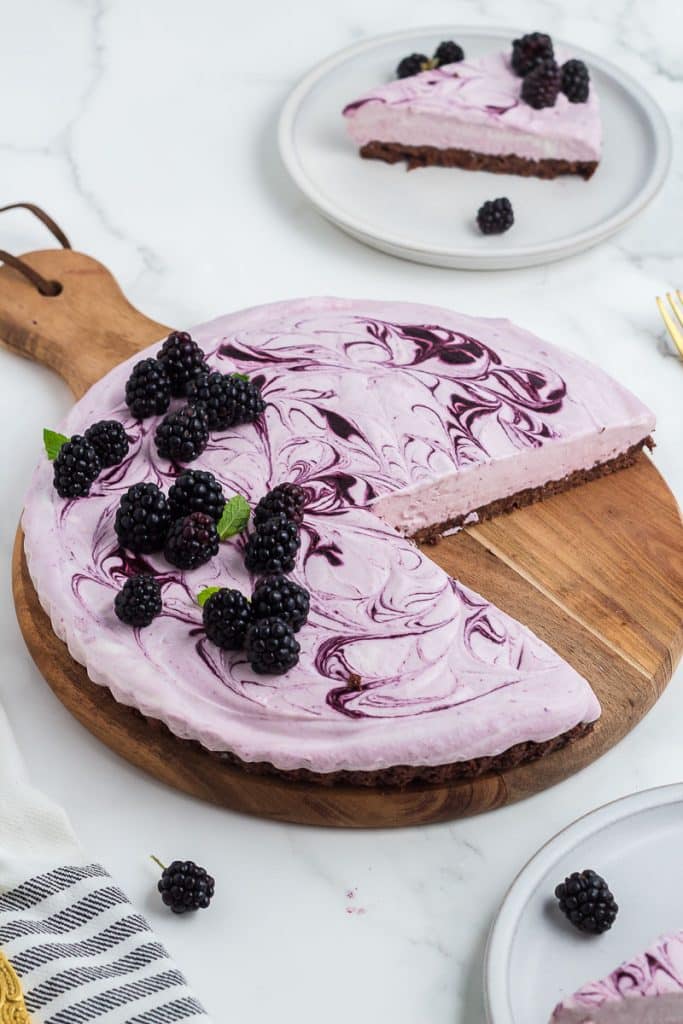
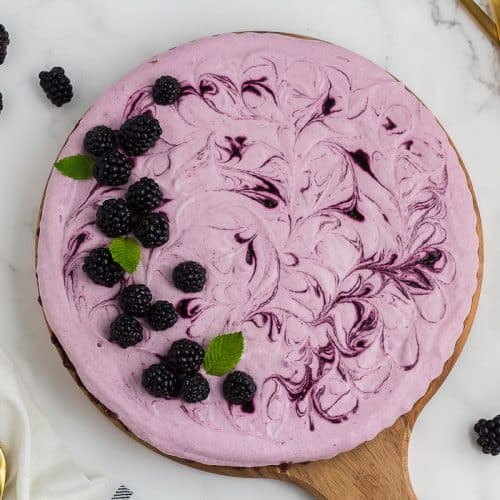
- Add a Decorative Touch: Use the reserved blackberry puree to create a swirl pattern on top of the tart for an elegant presentation. You can also garnish with fresh blackberries, mint leaves, or chocolate shavings right before serving.
- Serve at the Right Temperature: Remove the tart from the freezer for about 5–10 minutes before serving to allow it to soften slightly. This will make it easier to cut and enhance the flavors.
- Store Leftovers Properly: Any leftover tart should be stored in the freezer to maintain its texture. When ready to eat, let it thaw for a few minutes before enjoying it.
Following these tips will help you create a blackberry tart that’s not only delicious but also visually stunning.
How to Make This No-Bake Blackberry Tart


Make the Tart Gluten-Free and/or Dairy-Free!
Making a Gluten-Free Blackberry Tart
To make this blackberry tart gluten-free, the primary adjustment you’ll need to make is with the crust. Here’s how:
Substitute the chocolate Teddy Grahams or chocolate graham crackers with a gluten-free version. Some gluten-free cookies, such as gluten-free chocolate wafers or graham crackers, are available. Use these in the same quantity as the original recipe.
Ensure that any other ingredients you use, like the chocolate for garnishing or any added toppings, are also gluten-free. While most ingredients like butter, cream, and blackberries are naturally gluten-free, it’s always good to double-check the labels for any hidden gluten.
Making a Dairy-Free Blackberry Tart
You’ll need to replace the dairy ingredients with plant-based alternatives for a dairy-free version of this tart. Here’s how:
The crust can be made dairy-free by using dairy-free butter substitutes, such as vegan butter or coconut oil. Melt the dairy-free butter or coconut oil and mix it with the gluten-free or regular dairy-free cookies as per the original recipe.
Replace the heavy whipping cream with full-fat coconut cream. Coconut cream whips up nicely and provides a rich, creamy texture. Chill the coconut cream beforehand to ensure it whips well.
Use a dairy-free cream cheese, such as those made from almonds or cashews. These plant-based cream cheeses are widely available and work well in desserts.
Use a dairy-free, sweetened condensed milk alternative. Many stores sell this, or you can make your own by simmering coconut milk with sugar until it thickens to the desired consistency.
Be sure to verify that all your ingredients, including vanilla extract, chocolate shavings, and any other additions, are dairy-free. Some chocolate products, for example, may contain milk or milk derivatives.
Combining Gluten-Free and Dairy-Free Adjustments
You can combine the substitutions if you need the tart to be gluten- and dairy-free. Use gluten-free cookies for the crust and dairy-free alternatives for the filling and toppings. The process remains the same, and with these adjustments, you’ll still end up with a delicious and satisfying blackberry tart that’s suitable for those with gluten or dairy sensitivities.
By making these simple ingredient swaps, you can enjoy this delightful dessert while accommodating dietary needs without sacrificing flavor or texture.

What Are Some Frequently Asked Questions About Making this No-Bake Blackberry Tart?
You can substitute the blackberries with other berries like raspberries, blueberries, or strawberries. Keep in mind that different fruits may have varying levels of sweetness and tartness, so you might want to adjust the sugar in the puree to suit your taste.
Absolutely! This tart can be made a day or two in advance. Just keep it covered in the freezer until you’re ready to serve. Allow it to thaw for about 5-10 minutes before serving for the best texture and flavor.
If you don’t have a tart pan, you can use a pie dish or a springform pan as an alternative. Just make sure to press the crust evenly and adjust the filling accordingly based on the size and shape of your pan.
You can make this tart gluten-free by using gluten-free graham crackers or cookies for the crust. Ensure that the other ingredients, particularly the chocolate or any toppings you choose, are also gluten-free.
To prevent the crust from sticking, grease the tart pan well before pressing it in the crust mixture. You can use cooking spray or butter or even line the bottom with parchment paper for easy removal.
Yes, you can substitute the heavy whipping cream and cream cheese with non-dairy alternatives such as coconut cream and vegan cream cheese. The texture and flavor might vary slightly, but it will still make a delicious dairy-free tart.
Use a sharp knife to make clean slices, wiping the blade between each cut. If the tart is very firm, let it sit for a few more minutes at room temperature before slicing.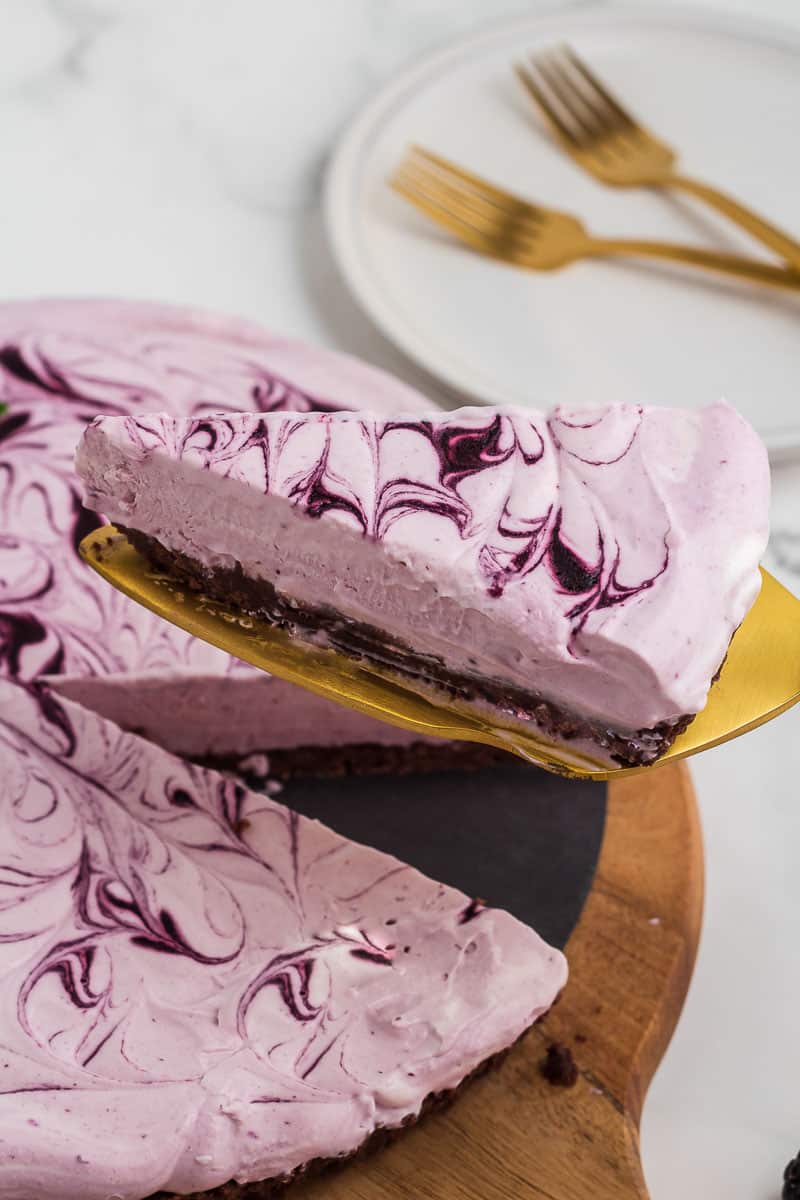
If the filling doesn’t set, it might be because the whipped cream wasn’t whipped to stiff peaks or the tart didn’t freeze long enough. You can return the tart to the freezer for a few more hours to fix it. If the issue persists, consider adding a bit of gelatin to the filling mixture next time for added stability.
How to Store the Tart
Properly storing your no-bake blackberry tart is key to maintaining its texture and flavor. Here’s how to do it:
Short-Term Storage (Up to 2 Days)
The best way to store this tart is in the freezer. After making the tart, cover it tightly with plastic wrap or aluminum foil, ensuring it’s sealed well to prevent any freezer odors or ice crystals from forming on the surface.
Before serving, remove the tart from the freezer and let it sit at room temperature for 5-10 minutes to soften slightly. This will make slicing easier and enhance the flavor.
Long-Term Storage (Up to 1 Month)
If you’re storing the tart for more than a couple of days, you’ll need to take extra steps to protect it. After covering it with plastic wrap, place the tart in an airtight container or a large ziplock freezer bag. This will provide an additional barrier against freezer burn and help maintain the tart’s freshness.
Individual Slices
If you don’t plan on serving the entire tart at once, consider pre-slicing it before freezing. Place pieces of parchment paper between each slice, and then wrap the whole tart or individual slices in plastic wrap before placing them in an airtight container or freezer bag. This method allows you to take out and thaw just as many slices as you need without defrosting the entire tart.
Thawing and Serving
When you’re ready to enjoy the tart, remove it from the freezer and let it thaw for about 5-10 minutes at room temperature. This short thawing period softens the tart just enough to make slicing and serving easier while keeping the filling firm and refreshing.
Leftovers
If you have leftovers after serving, return them to the freezer as quickly as possible to avoid the tart getting too soft. Wrap them tightly to maintain freshness and store them as you did initially.
No Bake Blackberry Tart
Equipment
- 1 9 inch tart pan
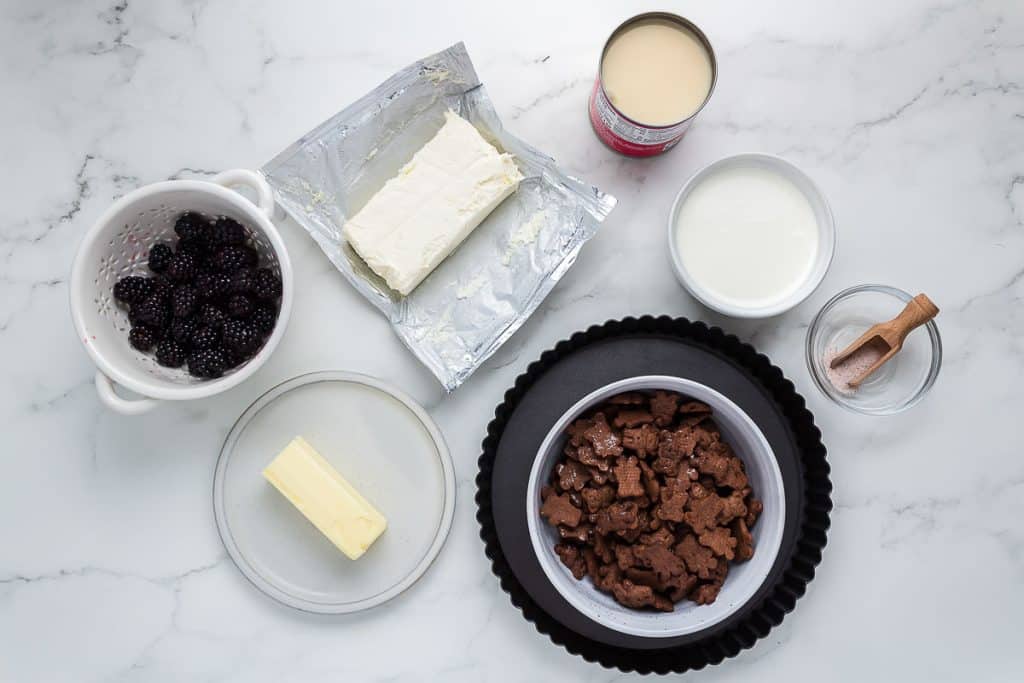
Ingredients
Blackberry Puree
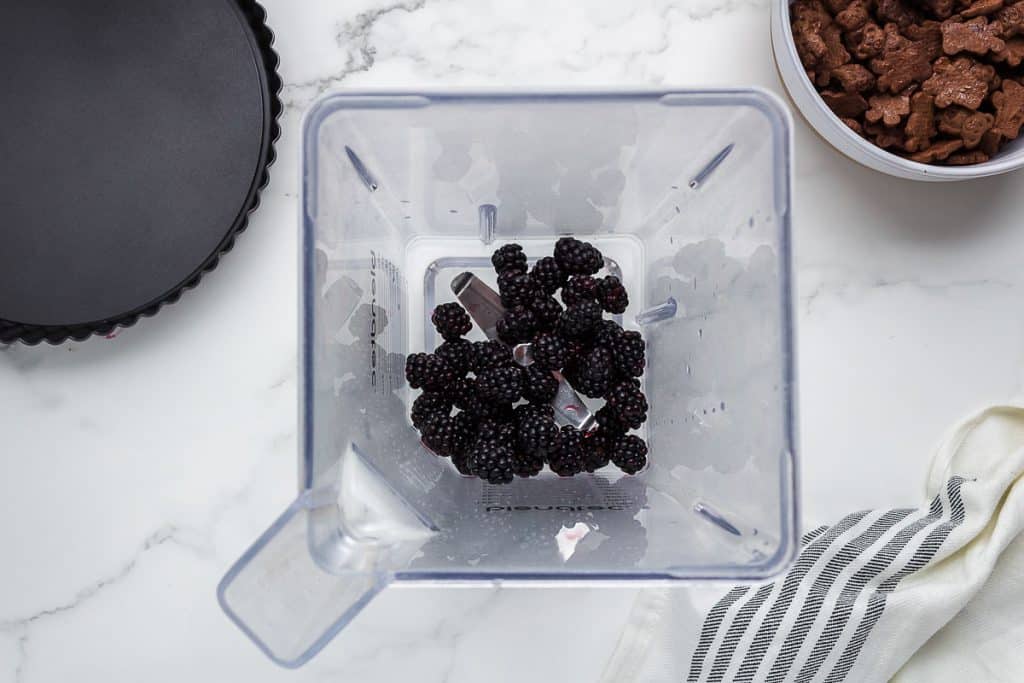
- 1 cup blackberries, fresh or frozen, plus more for garnish see note 1
- 1 tsp lemon juice, fresh
- baking release spray or butter
Chocolate Tart Shell
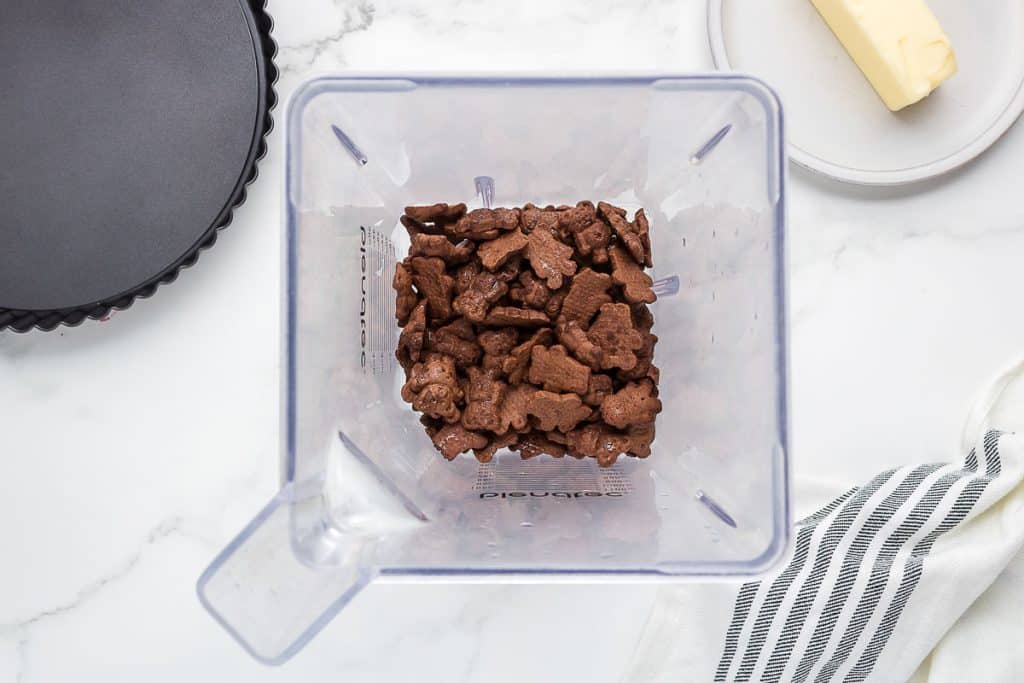
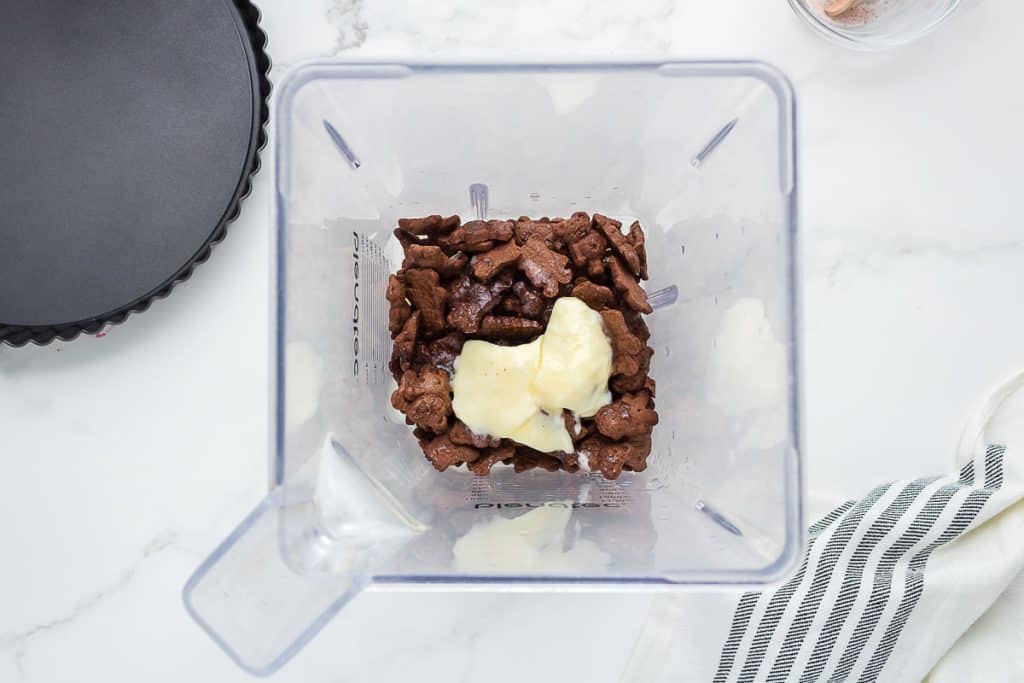
- 2 cups chocolate Teddy Grahams or chocolate graham crackers see note 2
- 6 tbsp unsalted butter melted
Blackberry Filling
- 1 cup heavy whipping cream
- 7 ounces sweetened condensed milk
- 4 ounces cream cheese softened
- 1/4 cup blackberry puree
- 1 tbsp powdered sugar
- 1 tsp vanilla extract
- 1/4 tsp salt
Garnishing
- Chocolate shavings optional
- Mint Leaves optional
- Fresh Blackberries
Instructions
Chocolate Tart Shell
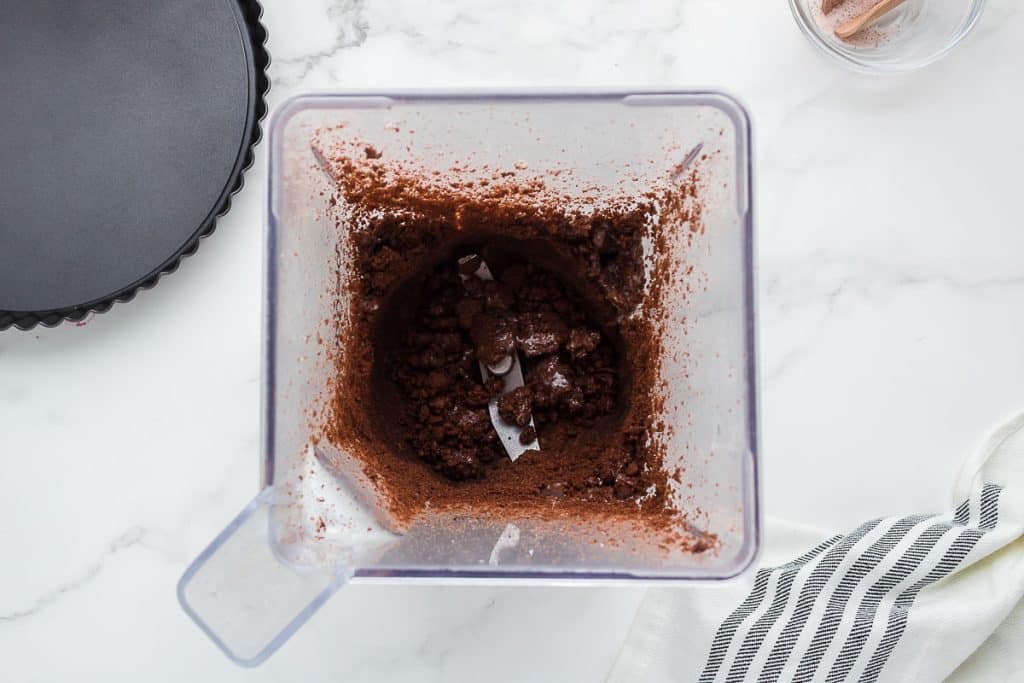
- Add the Teddy Grahams to a food processor or blender and pulse until the cookies have turned into fine crumbs. Add the melted butter and pulse together to mix.
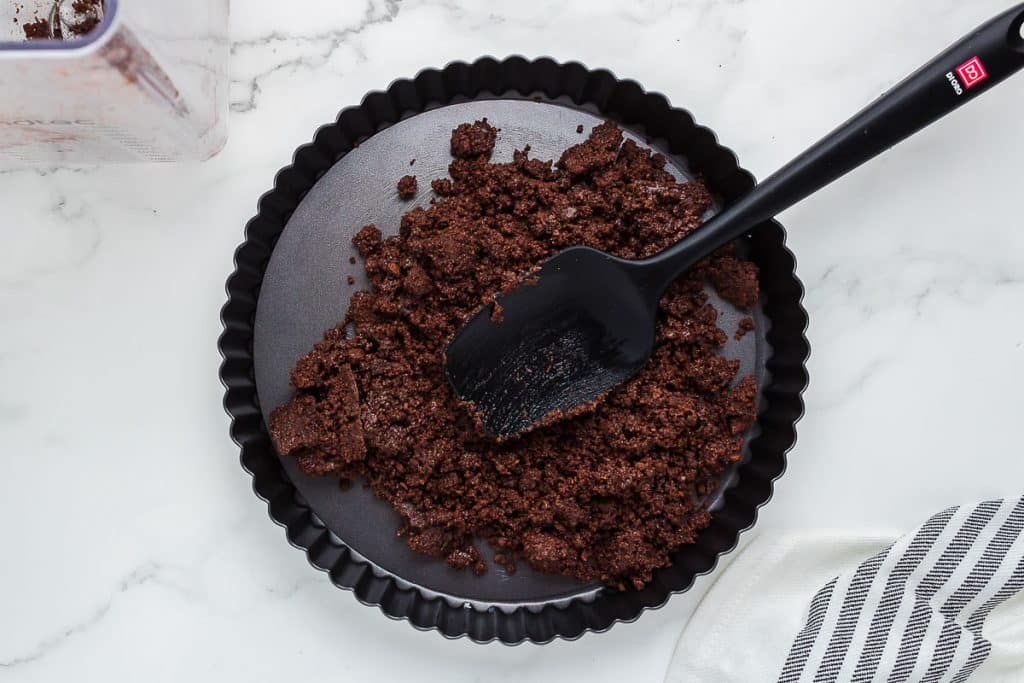
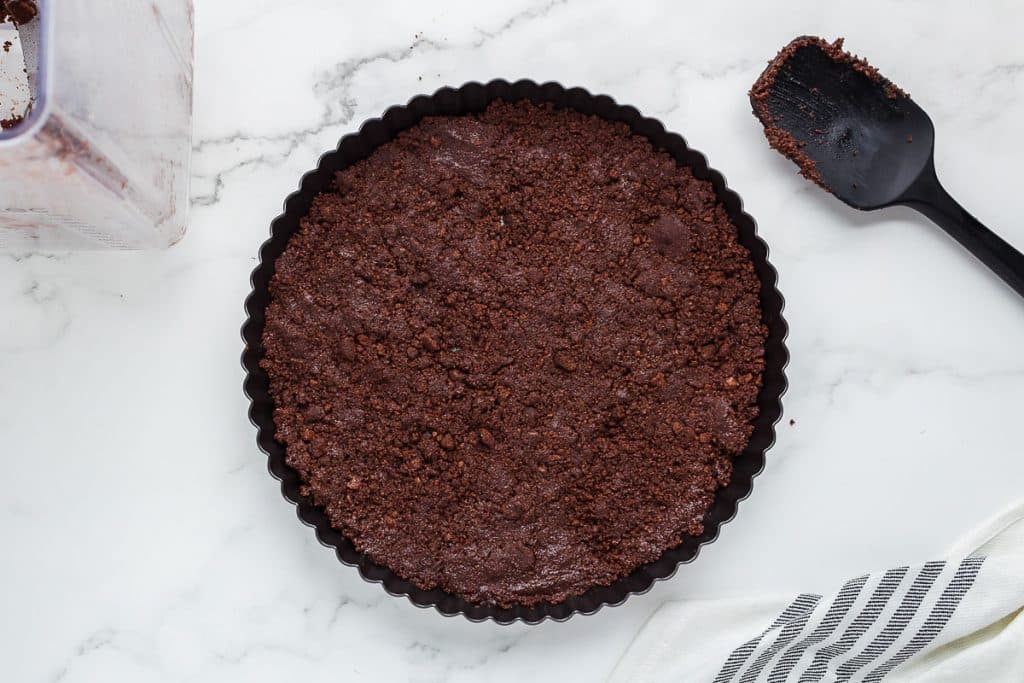
- Press the cookie mixture into a greased tart pan until the bottom of the pan is covered and the mix is evenly distributed.
- Place the tart shell in the fridge while you prepare the filling.
Blackberry Filling
- In a food processor or blender, add the fresh blackberries and lemon juice. Blend until the berries are broken down (about 10-15 seconds).
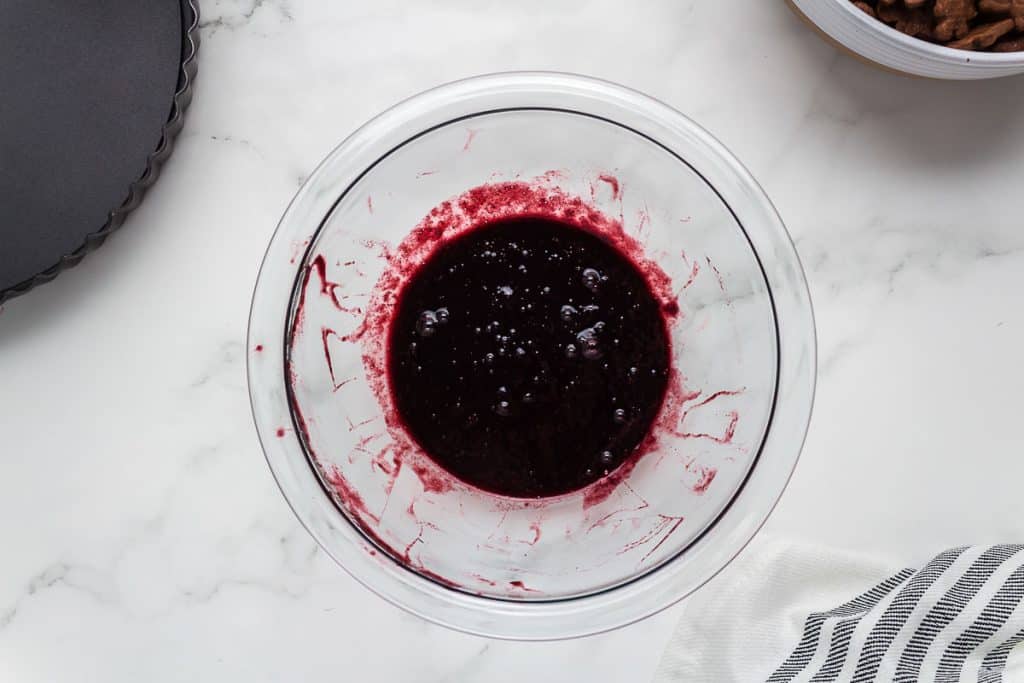
- Use a rubber spatula or metal spoon to push the blackberries through a mesh sieve over a bowl until as much of the puree goes through as possible (this will yield ¼ cup of blackberry puree.) Set the puree aside.
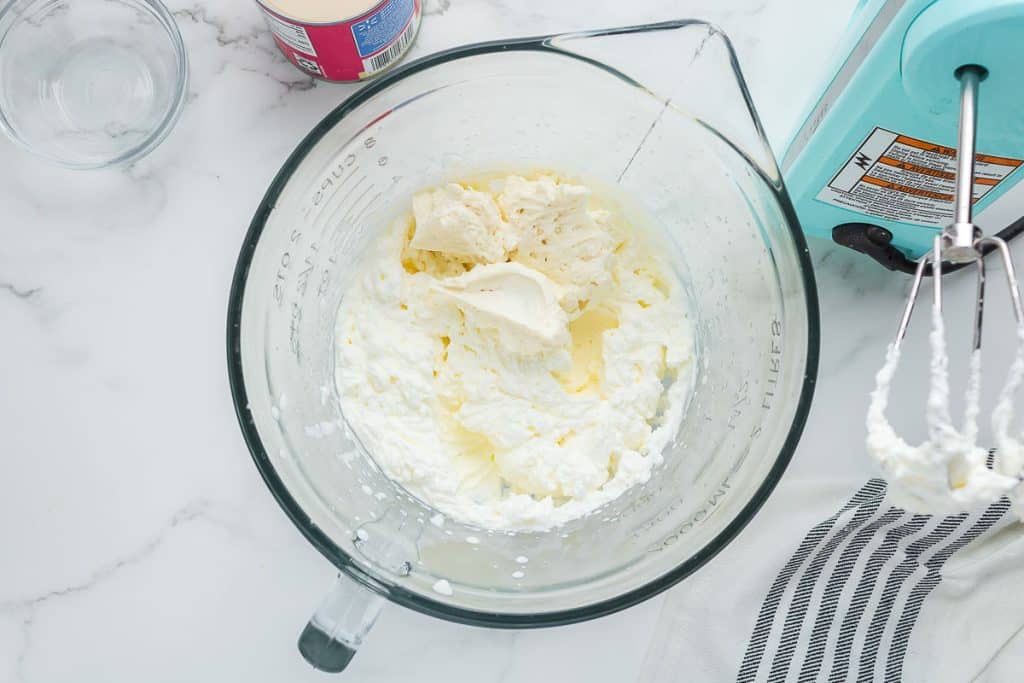
- In a medium bowl, use a hand mixer to whip the cream cheese and vanilla extract until fluffy (about 2–3 minutes on medium speed).
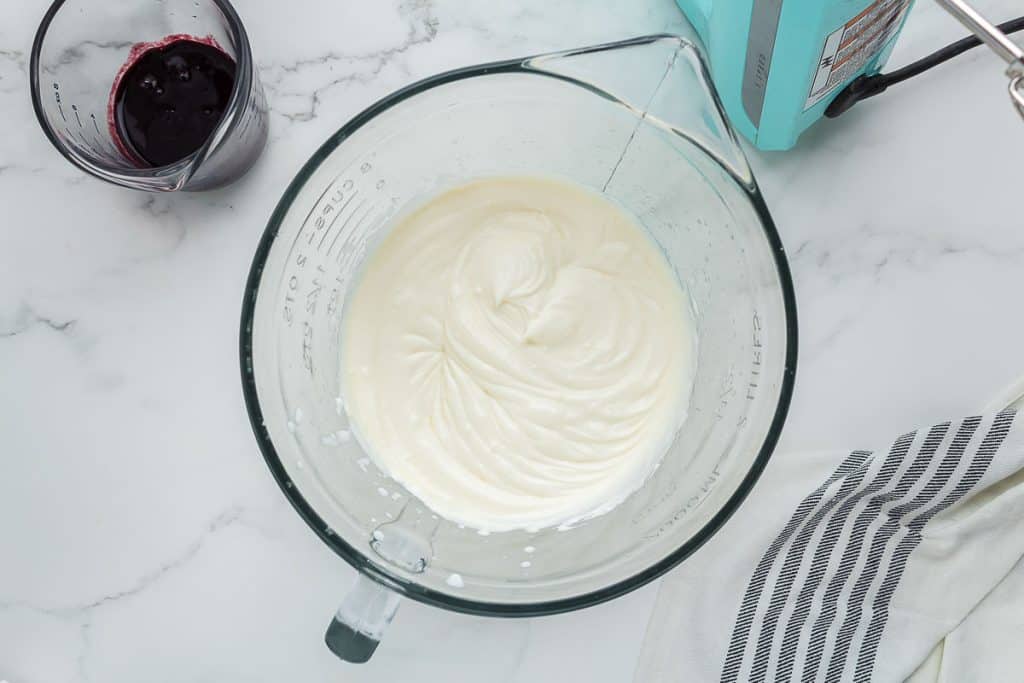
- In a large bowl, add the heavy cream and whip on medium high speed with a hand mixer until soft peaks form (2–3 minutes). When soft peaks form, add the powdered sugar. Continue to whip on medium high until stiff peaks form and you have whipped cream. (5–7 minutes total).
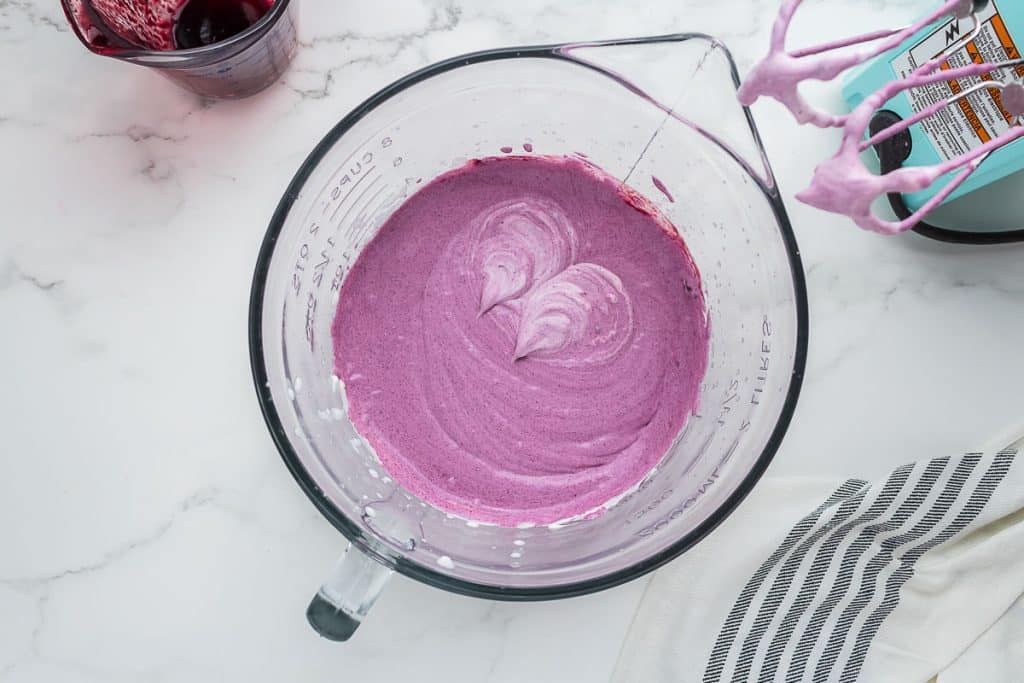
- Add the whipped cream cheese into the large bowl with the whipped cream. Add the half can of sweetened condensed milk. Mix on low speed for about 10 seconds or until all ingredients are combined. Add the blackberry puree to the mix (leaving out about 1 tsp to use later for decoration.) Mix on low speed until the puree is evenly distributed throughout the filling.
Assembly
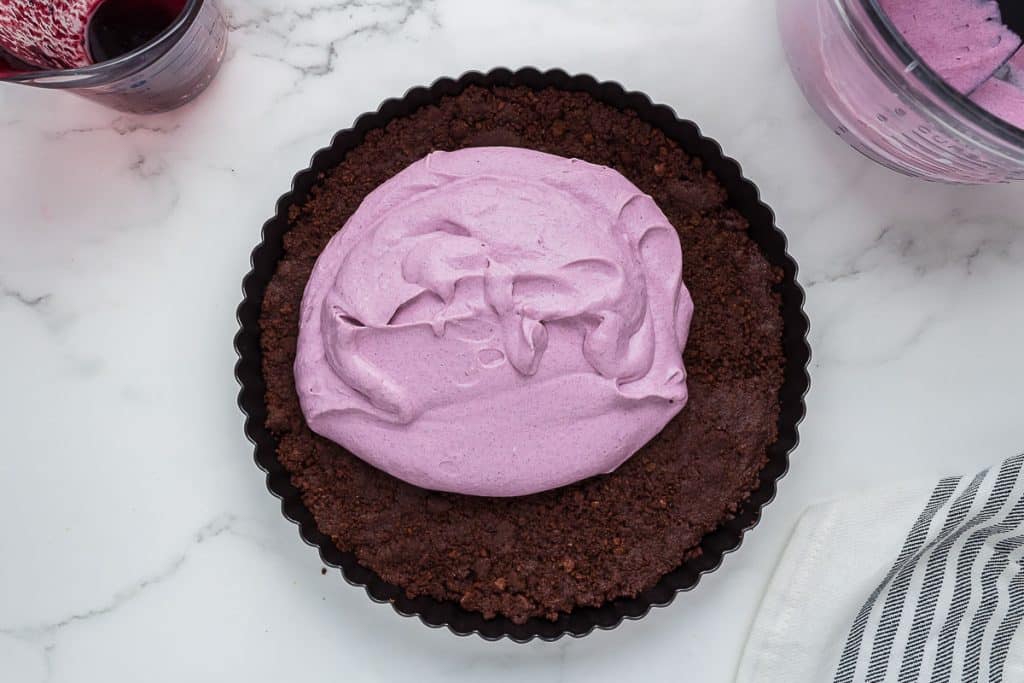
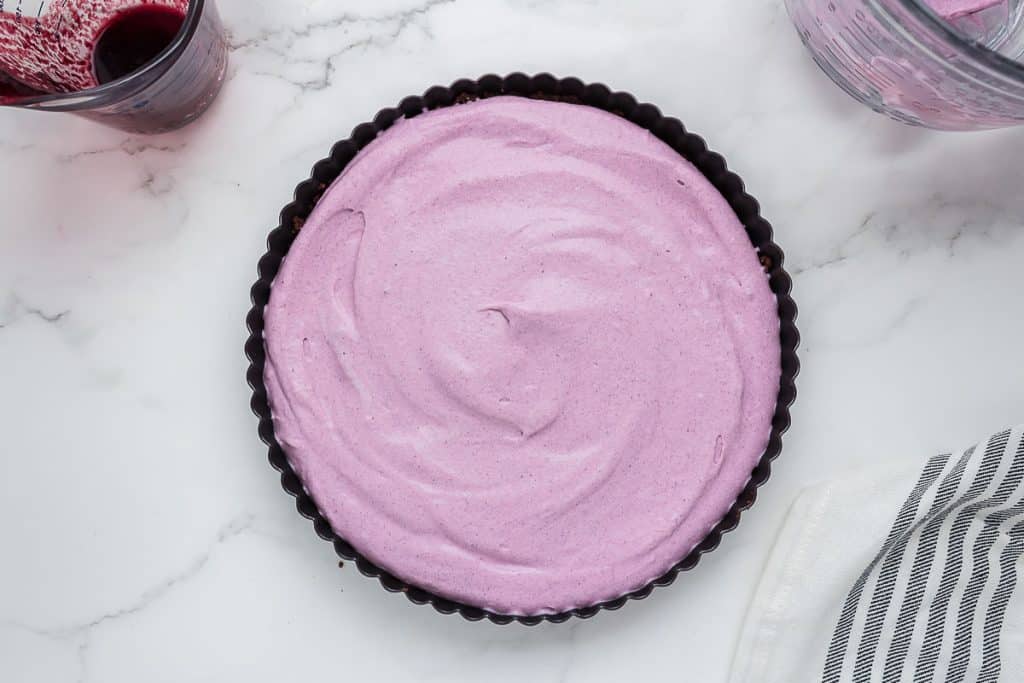
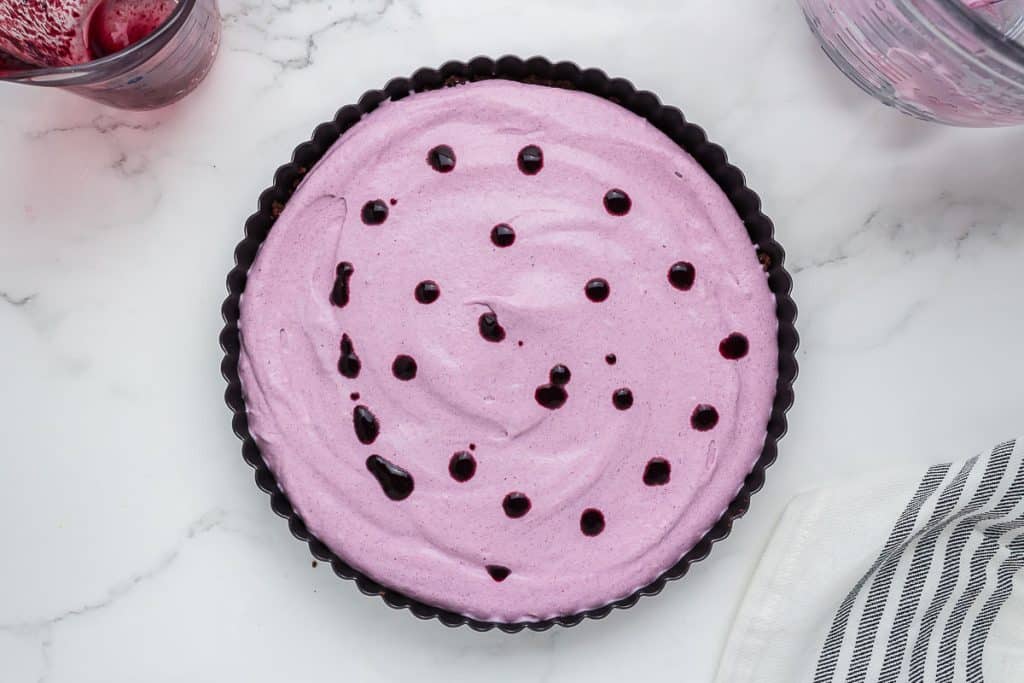
- Pour the filling into the tart shell and use a rubber spatula to even out the mixture. Use the leftover tsp of blackberry puree to pour dots of puree in random places on top of the tart. Use a toothpick to swirl the puree around until you have the desired design on the tart.
- Cover with plastic wrap and place in the freezer for 4–6 hours or overnight.
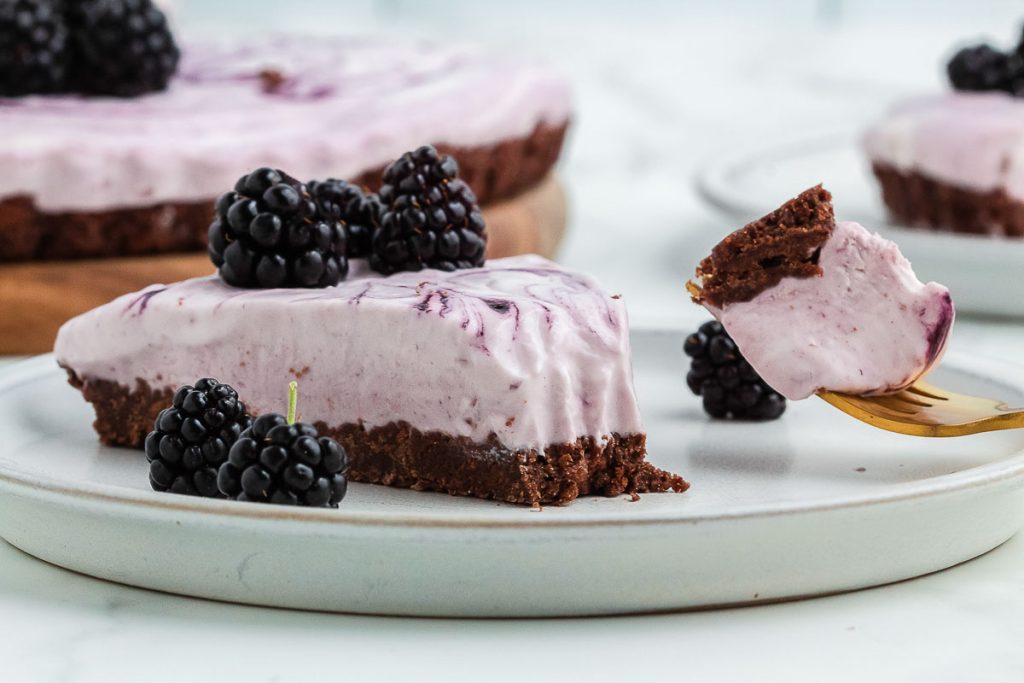
- When you are ready to serve the tart, take it out of the freezer and top with plenty of fresh blackberries. Let thaw for 5–10 minutes before serving.
- Place any leftovers in the freezer to enjoy at a later date.
Notes
Nutrition
Bookmark this page or pin the following image to refer back to this No-Bake Blackberry TArt in the future.
Thanks so much for spending a few minutes of your busy day with me!
To ensure you don’t miss future content, pop your email in the pale green box on the right or click here. I usually send one email weekly, so I won’t inundate your inbox. I’m sensitive to an overflowing email inbox!
We will only use your email address to send you emails, no more than 1-2 weekly. In addition, you will have access to my growing library of knit & crochet patterns and other printables. Check back often as this library will continue to grow. You can unsubscribe anytime by emailing me or clicking on the “unsubscribe” link at the bottom of all emails.
And you can access many of the products I refer to on my Nourish and Nestle Amazon Page. You can access it here.
So, if you’d like to participate in the ‘subscriber benefit’ action, simply subscribe to Nourish and Nestle here or use the form on the right sidebar. It’s slightly towards the top.
I have sent all my subscribers the link to the Subscriber Benefits Library. If you missed it or misplaced it, let me know.
Until next time…