Sourdough Pasta Recipe
Fresh pasta might sound intimidating, but it’s one of those kitchen skills that’s surprisingly simple once you try it. And if you’re already keeping a sourdough starter, you have the perfect excuse to dive into this Sourdough Pasta Recipe. That sourdough discard you’ve been tossing or stockpiling in the fridge makes fantastic sourdough pasta. It adds a subtle tang and wonderful texture.
This sourdough pasta recipe offers options for making the dough by hand, in a stand mixer, or with a food processor, so you can use whatever equipment you have. The dough comes together quickly, rests while you clean up, and rolls out into silky noodles that cook in just a few minutes. Whether you’re using Tipo 00 flour or regular all-purpose from your pantry, you’ll end up with pasta that tastes miles better than anything from a box.
But fair warning, once you’ve enjoyed a meal with this fresh pasta, it’s REALLY HARD, NIGH IMPOSSIBLE, to accept commercial dried pasta ever again. You’ve been warned!
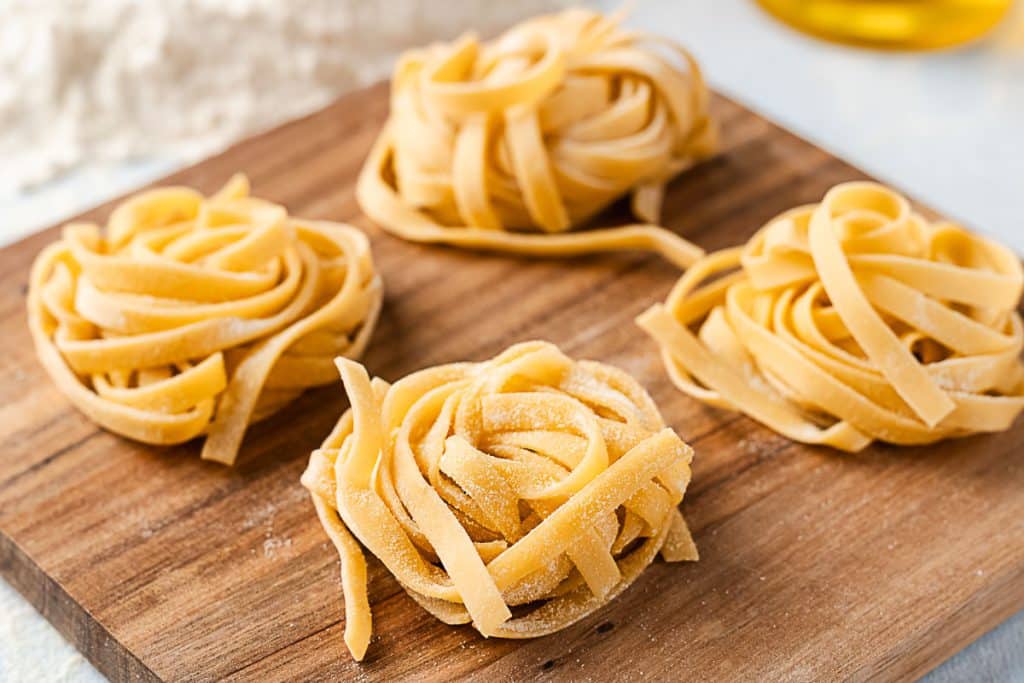
Table of Contents
The Ingredients Needed For This Sourdough Pasta Recipe
This sourdough pasta recipe keeps things simple with just a handful of ingredients.
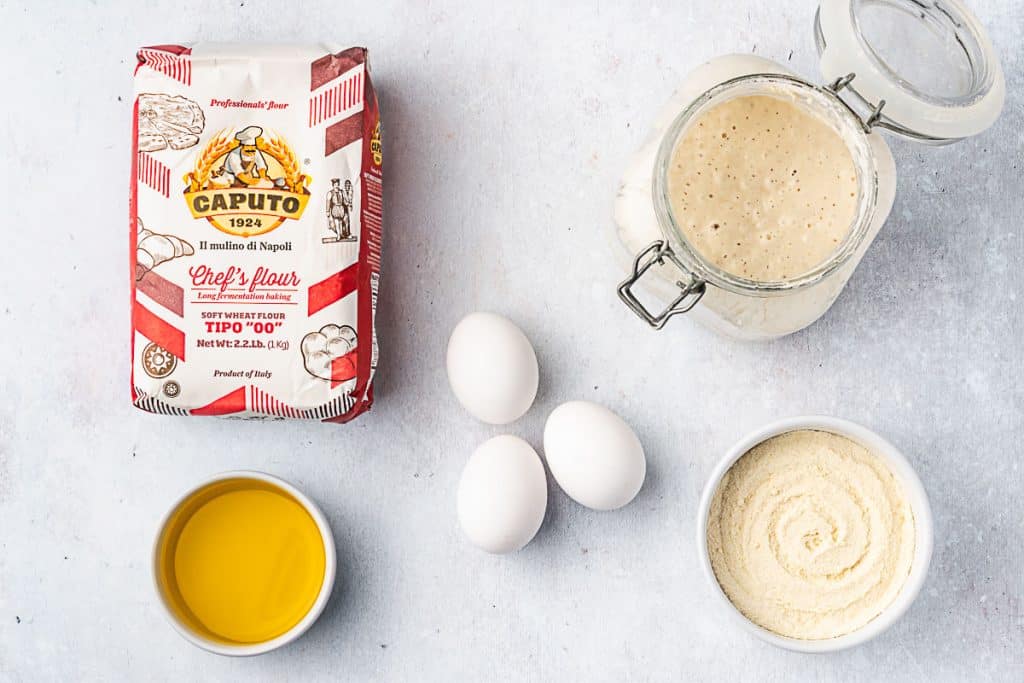
- Tipo 00 flour is the gold standard for Italian pasta makers. It’s milled superfine and produces incredibly smooth, silky dough that rolls out thin without resistance. The finished pasta has that delicate, tender texture you find at good Italian restaurants. All-purpose flour works beautifully, too, and it’s what most of us already have in the pantry. The texture will be slightly heartier, with a bit more chew, and it holds up well under robust sauces. Both flours weigh the same in this recipe, so you can swap them directly without any adjustments. I will add this: you are going to the trouble of making fresh pasta, buy the Tipo 00 flour if at all possible.
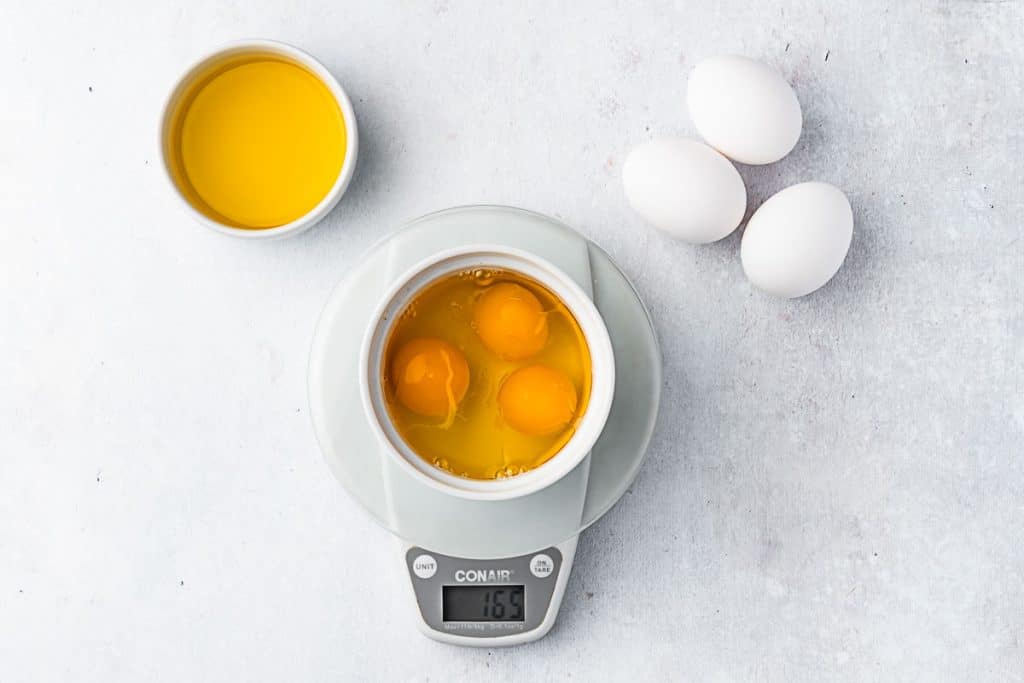
- For the eggs, you’re measuring by weight rather than counting. Three large eggs typically yield about 165 grams, but if you come up short, a drizzle of olive oil makes up the difference. Room-temperature eggs mix more easily into the dough, but if you forget to pull them out ahead of time, that’s fine. Cold eggs work fine; they just take a bit more effort to incorporate.
- The sourdough starter or discard is what makes this sourdough pasta recipe special. Both the active starter and the discard work equally well, so use whichever you have. The slight tanginess adds complexity without being obvious, and the natural enzymes help tenderize the dough. Older discard that’s become quite sour will give the pasta a more pronounced tang. Some people like that extra bite, especially in pasta that’s going under a rich, creamy sauce. A fresh discard or an active starter will be milder. But even that difference is subtle once the pasta is cooked and sauced.
- Semolina flour is just for dusting your work surface and the finished pasta. Its coarse texture prevents sticking better than regular flour.
Mix-Ins and Variations
Once you’ve mastered the basic sourdough pasta recipe, you can play around with flavors and colors.
Finely chopped fresh herbs like basil, parsley, or thyme add flecks of green and subtle flavor. Just pat them dry first so they don’t add extra moisture. Spices such as black pepper, red pepper flakes, or a pinch of saffron can be mixed directly into the flour.
Just remember that add-ins change the dough’s moisture level, so you might need to adjust with a bit more flour or water to get the right consistency.

Make this Sourdough Pasta Recipe By Hand
Weigh the eggs and oil: Place your bowl on the scale, set it to zero, and crack in three eggs. If they don’t reach 165 grams, add olive oil until they do.
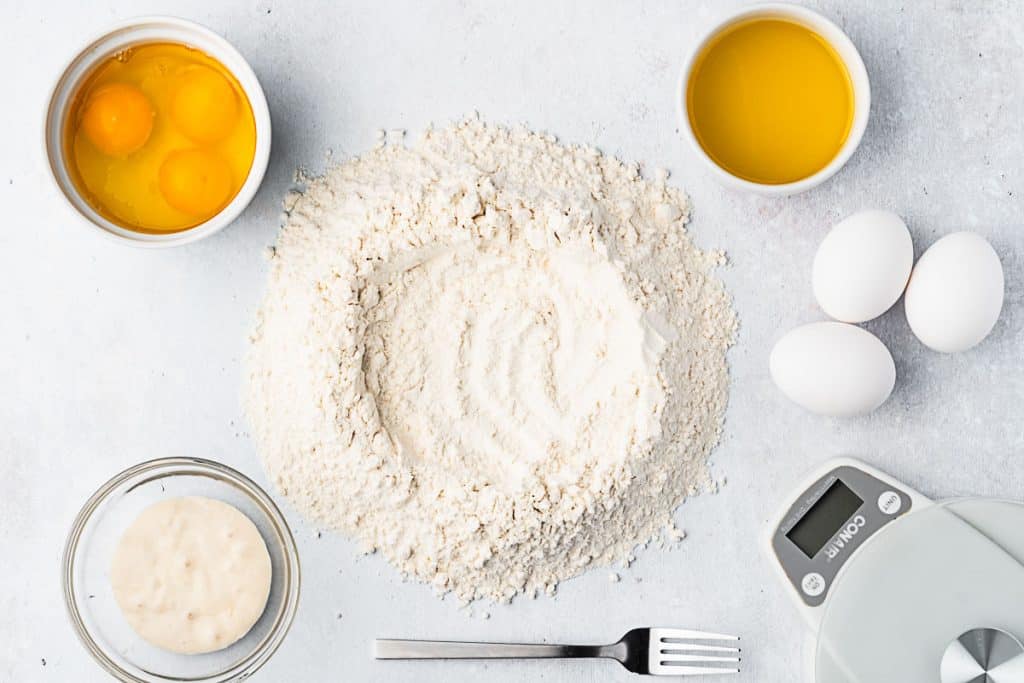
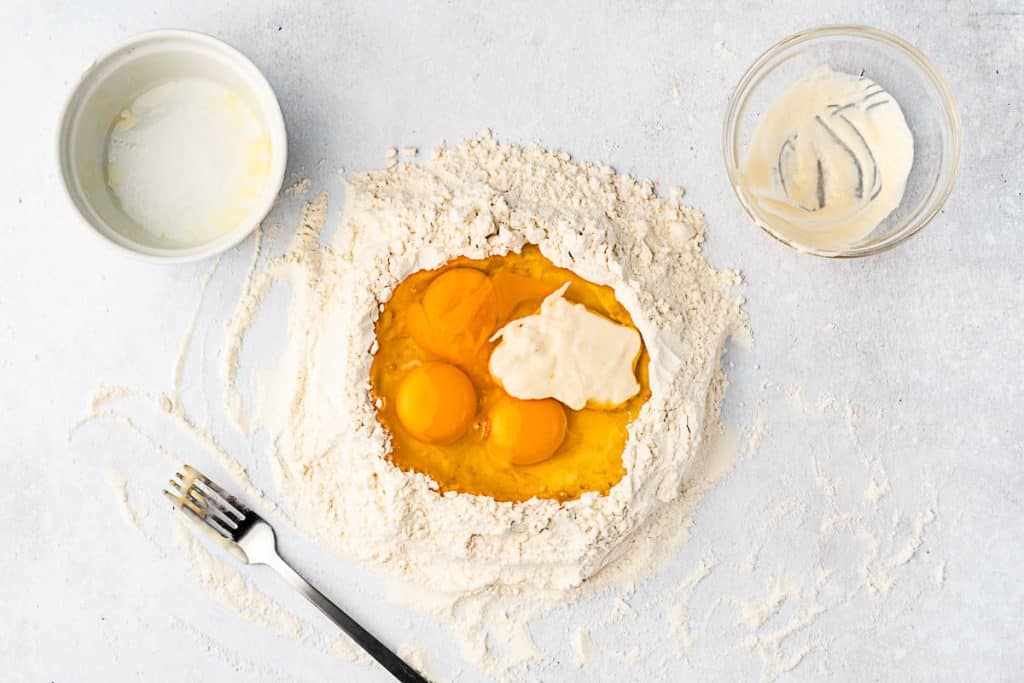
Create the flour well: Mound the flour directly on a clean counter and use your fingers to make a wide well in the center. You want sturdy walls that won’t collapse when you add the wet ingredients. Keep the sourdough starter and egg mixture nearby.
Add the wet ingredients: Pour the egg, oil, and sourdough discard into the center of the well, then add the sourdough starter right on top. The well should hold everything without the liquid breaking through.
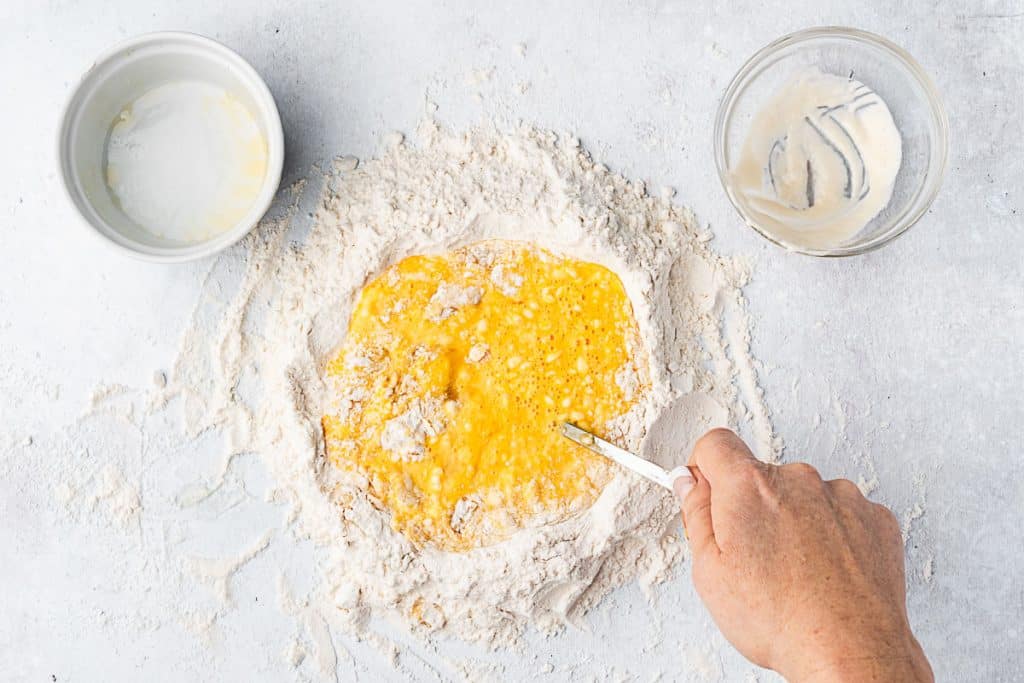
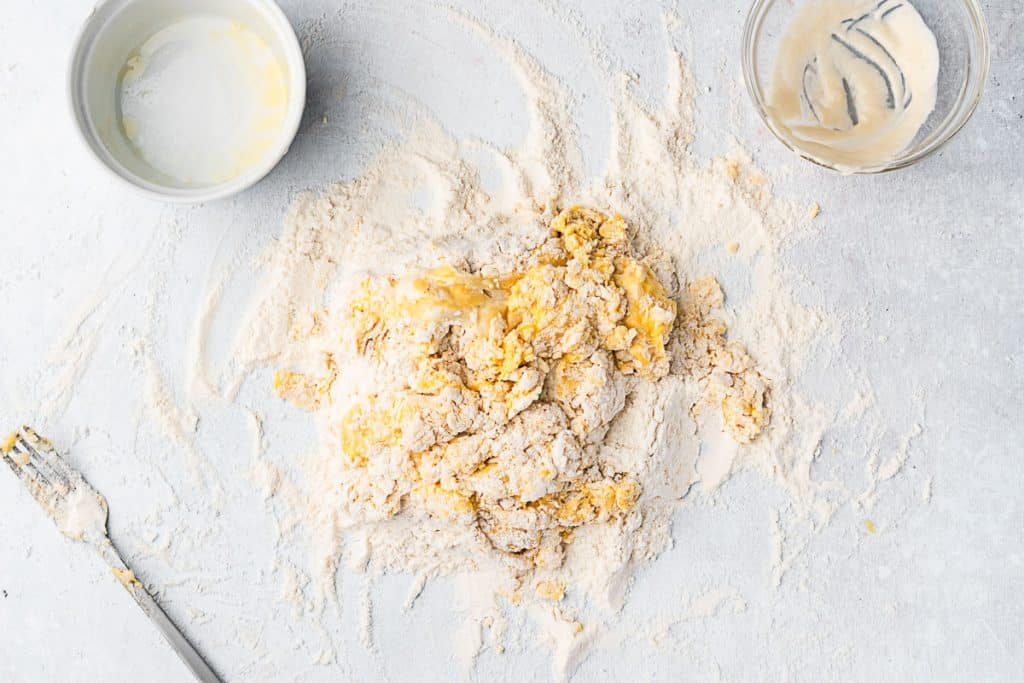
Start mixing with a fork: Beat the eggs, oil, and starter together in the center of the well. Work in a circular motion, keeping the fork in the wet ingredients for now. You’re creating a thick custard-like mixture before you start pulling in the flour.
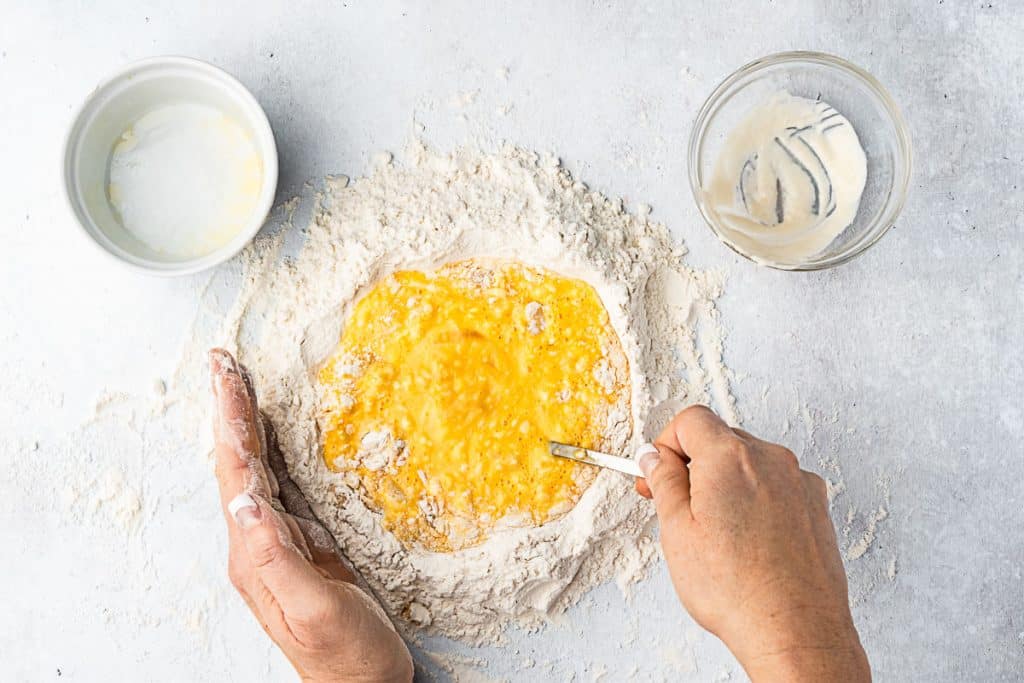
Incorporate the flour gradually: Start pulling flour from the inner rim of the well into the egg mixture. Keep working in small amounts, always pulling from the sides rather than breaking through the bottom. One hand can hold the outer wall steady while you mix with the other.
Continue mixing: Keep incorporating flour until the mixture thickens into a paste. The consistency will go from runny to sticky to increasingly thick. You’ll see flour gradually disappearing into the wet ingredients.
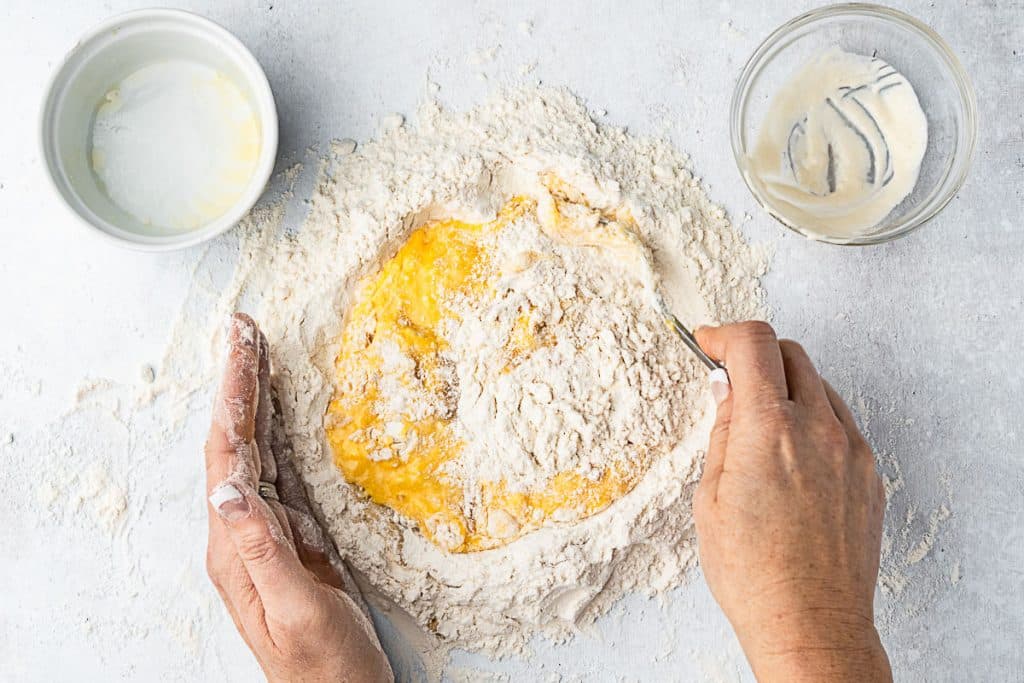
Bring it together: Once the mixture is too thick to stir with a fork, use your hands. The dough will look shaggy and rough at this point, with dry flour bits mixed in with wetter clumps. This is exactly what you want.
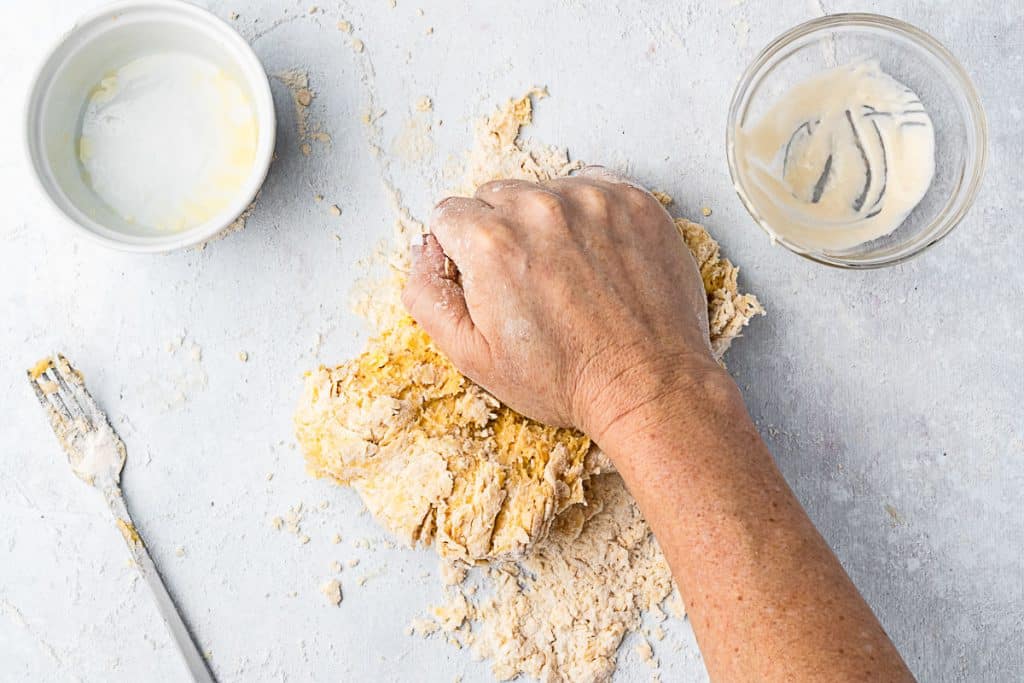
Knead into a cohesive dough: Press and push the shaggy mass together with your hands, working in any dry flour bits as needed. Use the heel of your hand to push the dough away from you, then fold it back over itself. The dough will resist at first, but will gradually smooth out.
Form a rough ball: After a few minutes of kneading, the dough will come together into a ball. It will still look a bit rough and may have some flour patches on the surface. That’s fine for now.

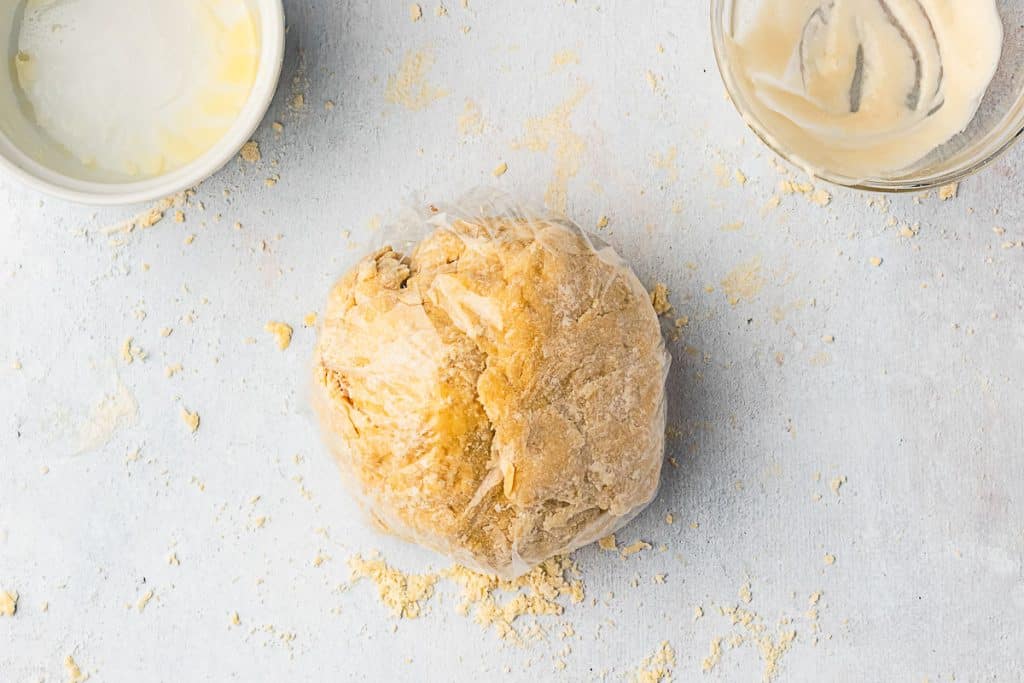
Wrap and rest: Wrap the dough tightly in plastic wrap and let it rest at room temperature for 15-20 minutes. This short rest relaxes the gluten and hydrates any dry spots, making the final kneading much easier. After resting, unwrap and knead for another 8-10 minutes until completely smooth. Wrap again and rest for at least 30 minutes before rolling.
Mix Sourdough Pasta Using a Stand Mixer
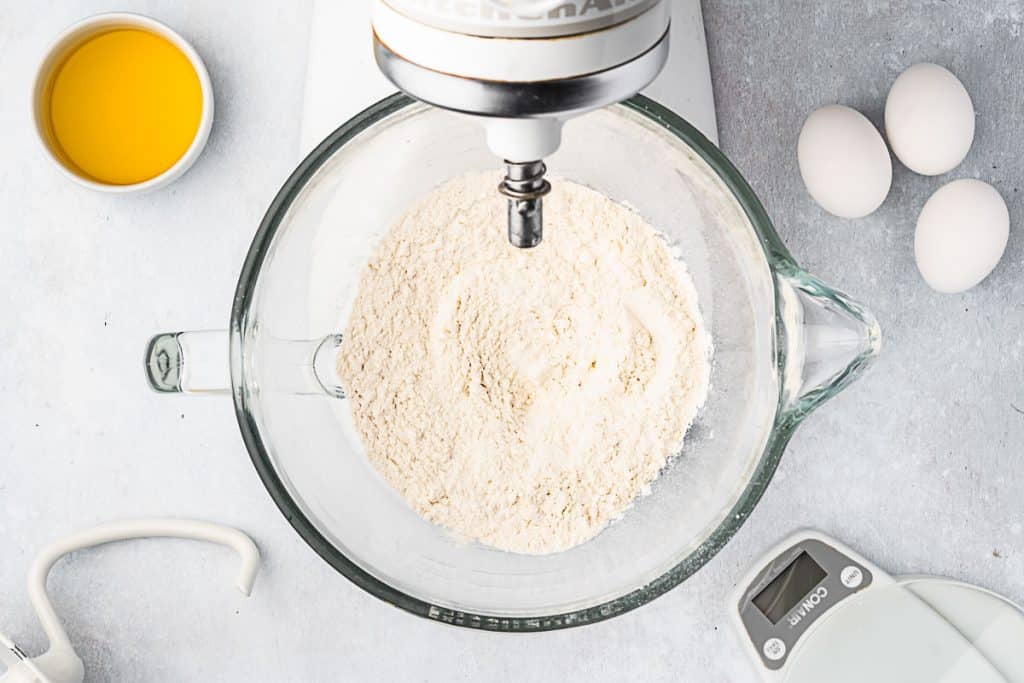
Add flour to the mixer bowl: Attach the dough hook to your stand mixer. Add the flour to the bowl. The dough hook will do all the kneading work, so there’s no need to create a well like you would by hand.
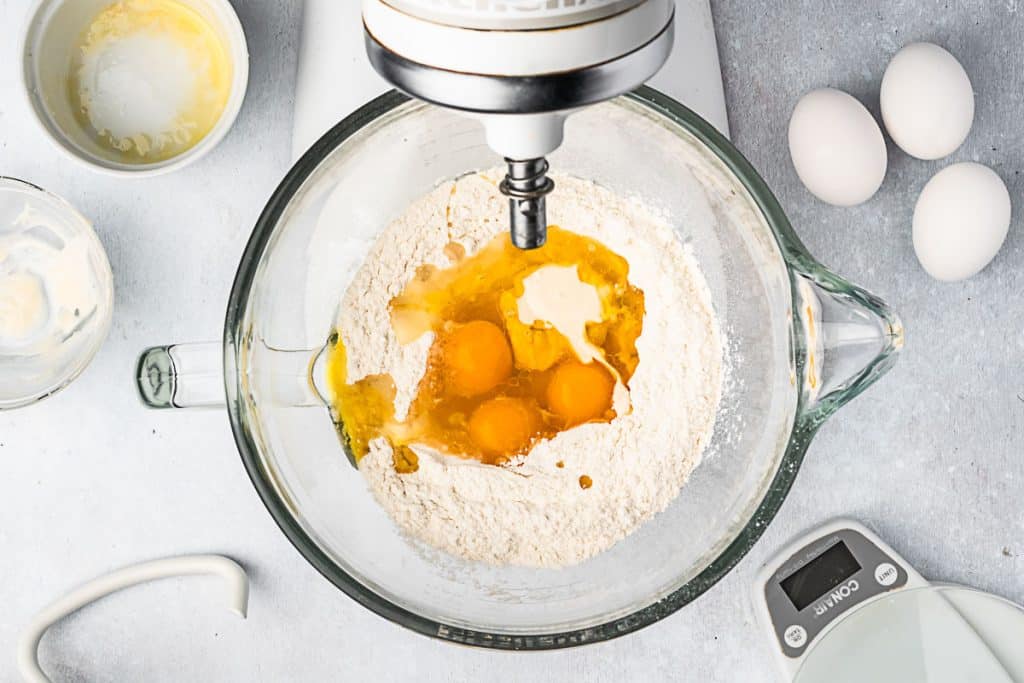
Add the wet ingredients: Pour in the egg and oil mixture, then add the sourdough starter. You can drop them right on top of the flour. Don’t worry about mixing them first, the dough hook will take care of everything.
Mix on low speed: Start the mixer on low speed. The ingredients will look rough and shaggy at first, with dry flour mixing into wet clumps. This is exactly what you want to see in the early stages. Let it run for about 2 minutes until everything starts coming together.

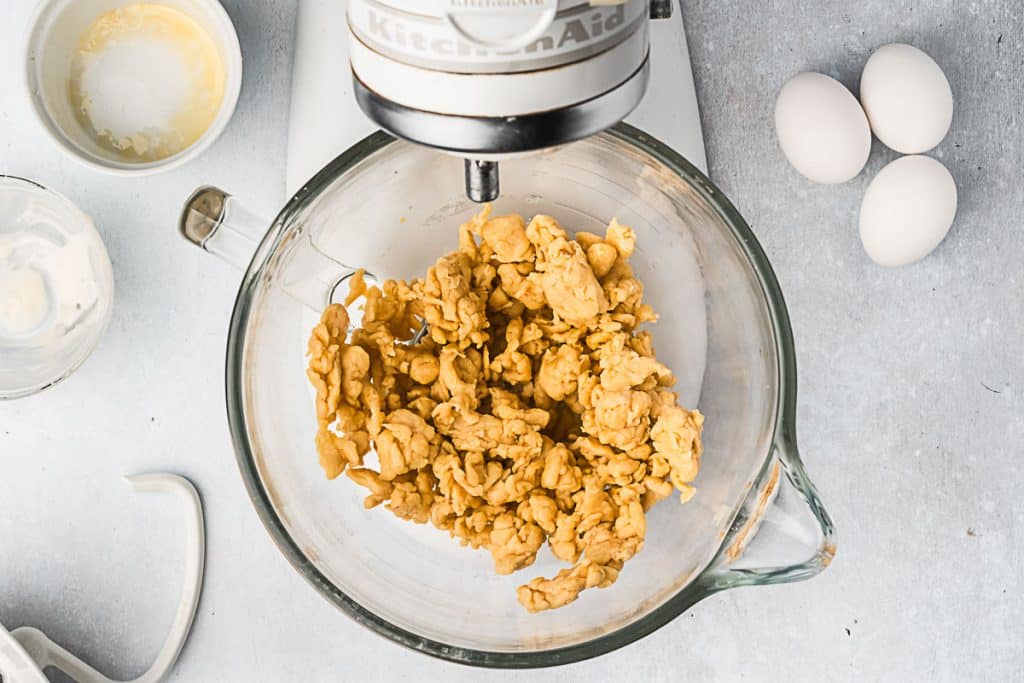
Increase speed and knead: Once the ingredients have formed a rough dough, increase the speed to medium-low. The dough will break into larger, uneven chunks as the dough hook works it. Keep mixing, and the pieces will gradually merge together. This takes approximately 6-8 minutes.
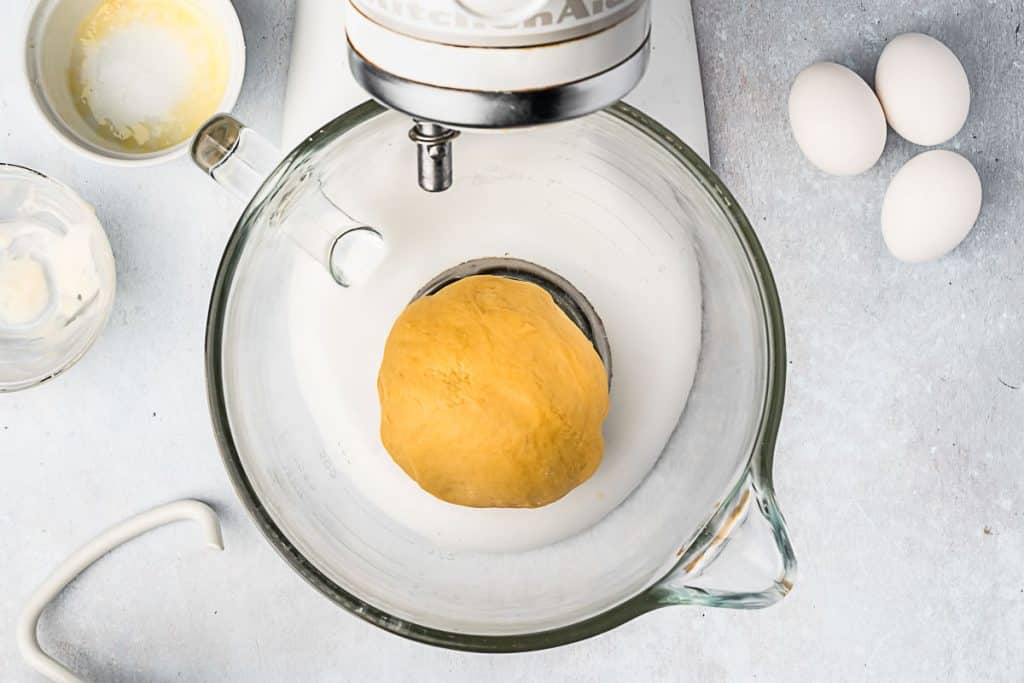
Check for smooth dough: The dough is ready when it comes together into a smooth, cohesive ball that cleans the sides of the bowl. It should look uniform in color and texture with no dry patches. The mixer has done all the kneading work for you.
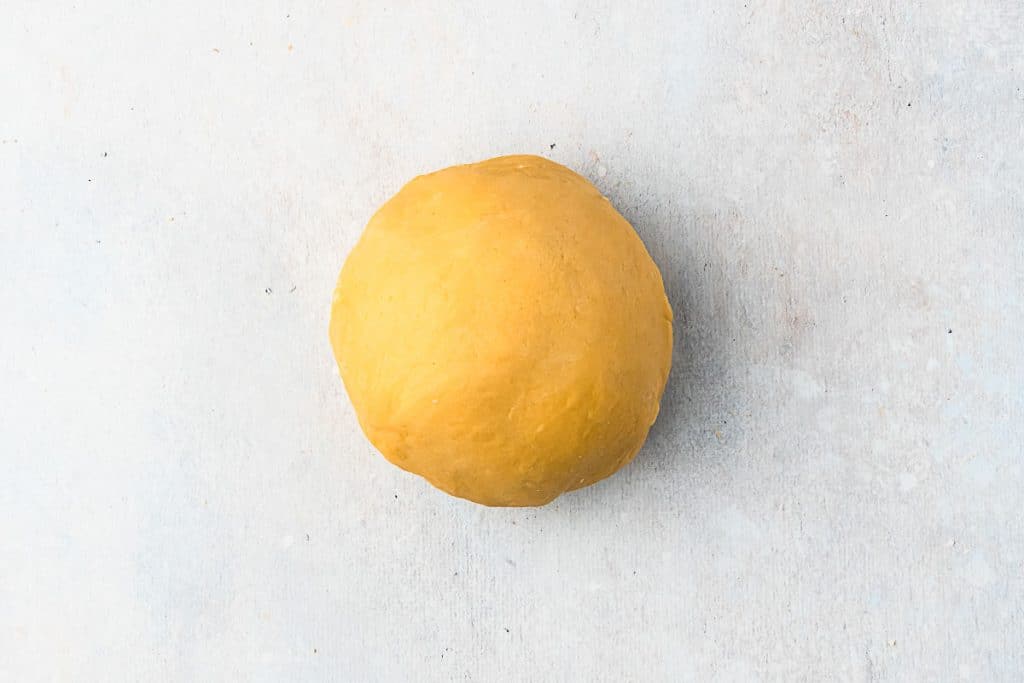
Remove and wrap: Turn off the mixer and remove the dough. It should be smooth, elastic, and slightly firm to the touch. Wrap it tightly in plastic wrap and let it rest at room temperature for 30 minutes to an hour before rolling.

Rolling Out Your Pasta Dough
This process of rolling out your pasta will be the same whether you have a manual pasta roller or an electric pasta roller attachment.
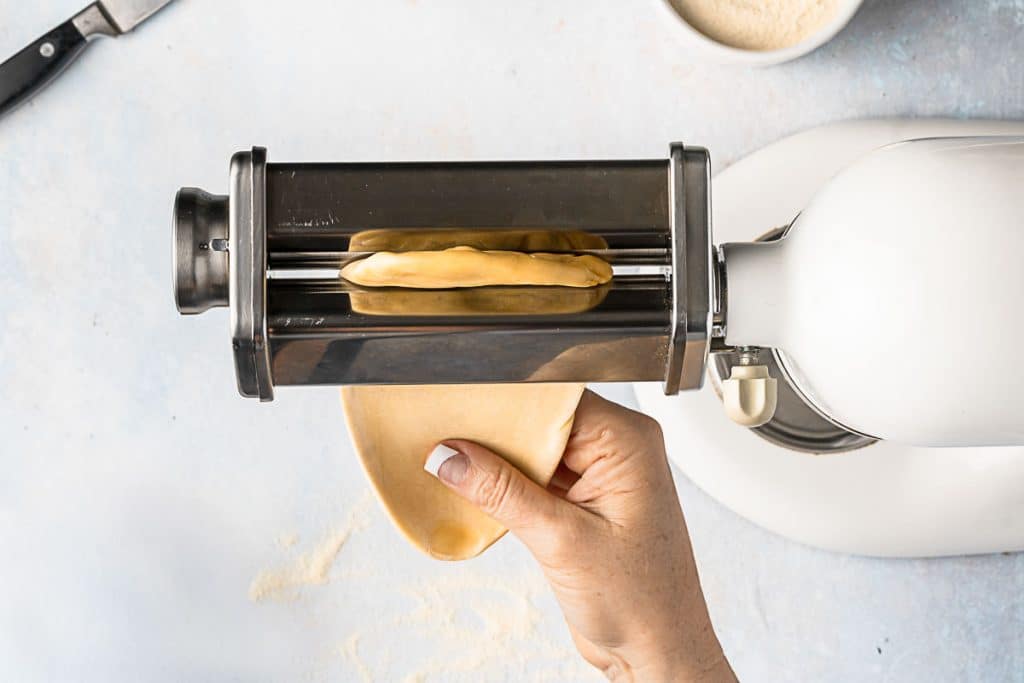
Prepare the dough for the first roll: Cut the rested dough into 4 pieces, keeping the others covered. Flatten one piece with your hands into a rough rectangle about the width of your pasta machine’s rollers. This gives the machine something to grab onto without straining.
First, pass the dough through the widest setting: Set your pasta machine to the widest setting, usually 1 or 0. Feed the dough through once. The sheet will come out rough and possibly uneven. That’s completely normal for the first pass.

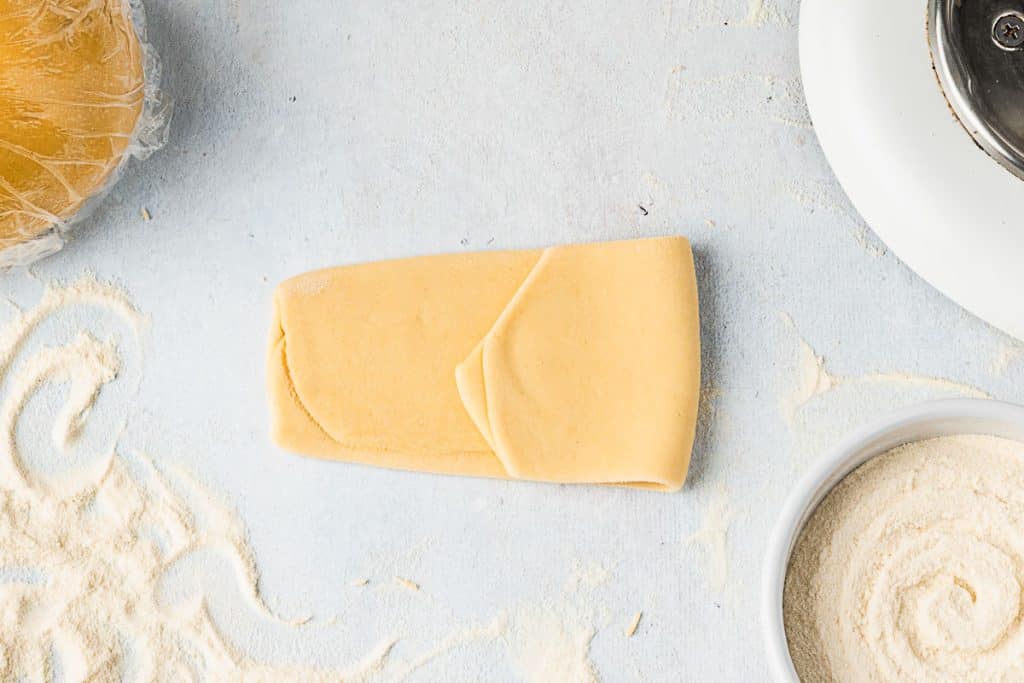
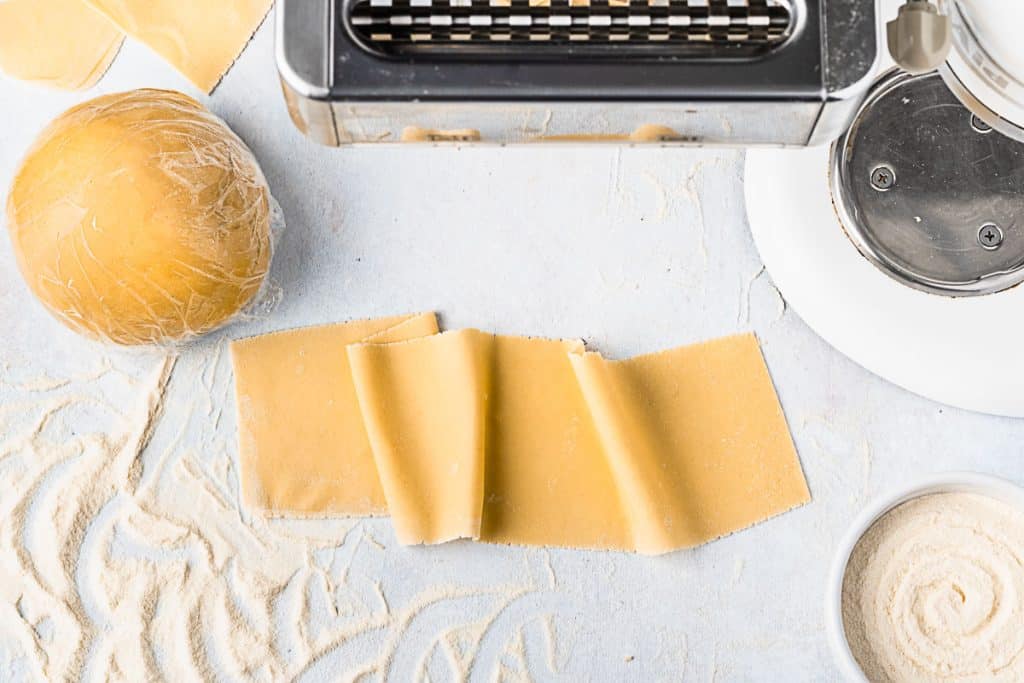
Fold the dough in thirds: Lay the rolled sheet flat and fold it like a letter, bringing one end toward the center, then folding the other end over it. This laminating process builds structure in the dough.
Complete the fold: Press the folded dough gently to seal the layers together. You’ll have a compact rectangle that’s about a third as long as before.


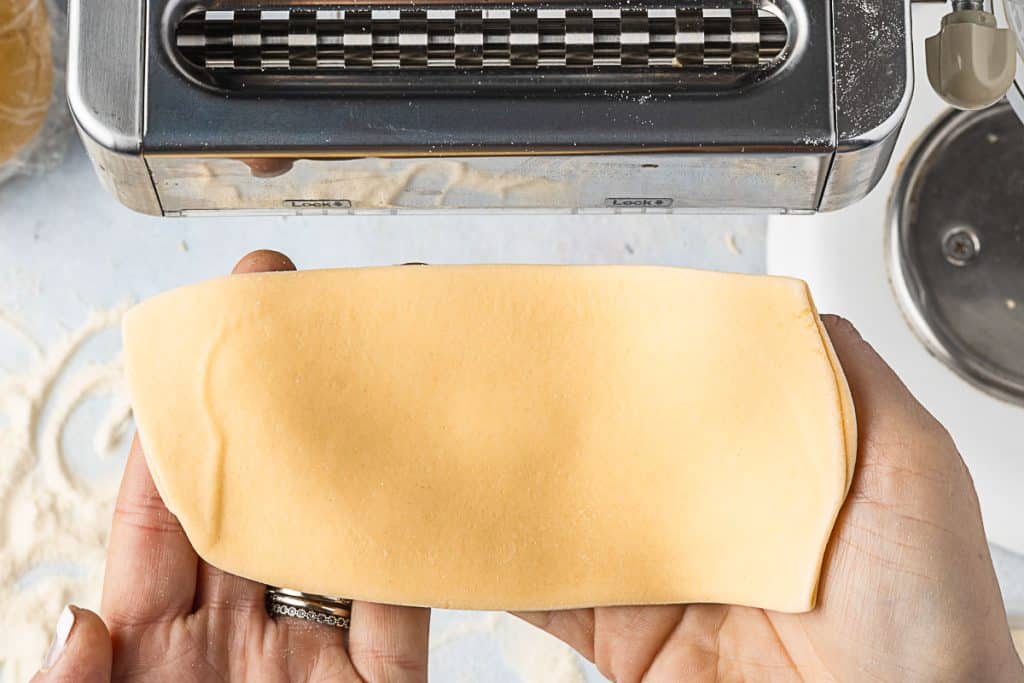
Turn and prepare for the next pass: Turn the folded dough 90 degrees so the open edges face the sides rather than the top and bottom. This ensures you’re rolling across the layers you just created.
Roll the folded dough again: Feed the folded dough through the widest setting again. Repeat this fold-turn-roll process 5-6 times total. Each time, the dough gets smoother and more uniform as the gluten strengthens.
Progress through thinner settings: Once the dough is smooth and no longer needs folding, stop folding and start moving to thinner settings. Roll the sheet through each progressively narrower setting once. The dough will get longer with each pass.
Roll to desired thickness: Continue through the settings until you reach your target thickness. The sheet should be thin enough to see your hand through it, but not so thin that it tears easily.
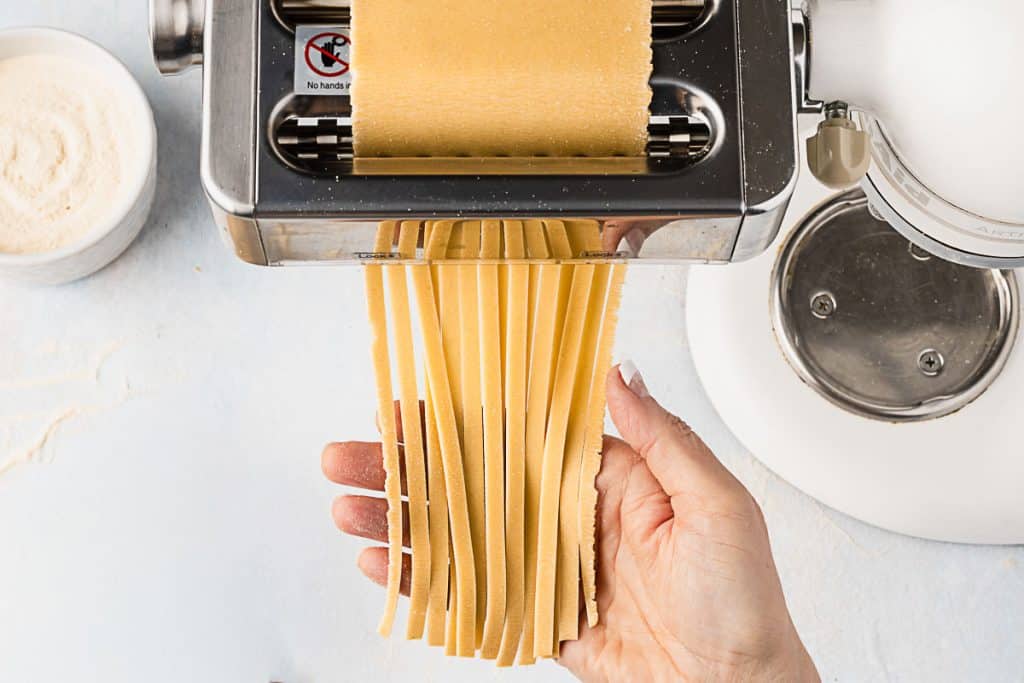
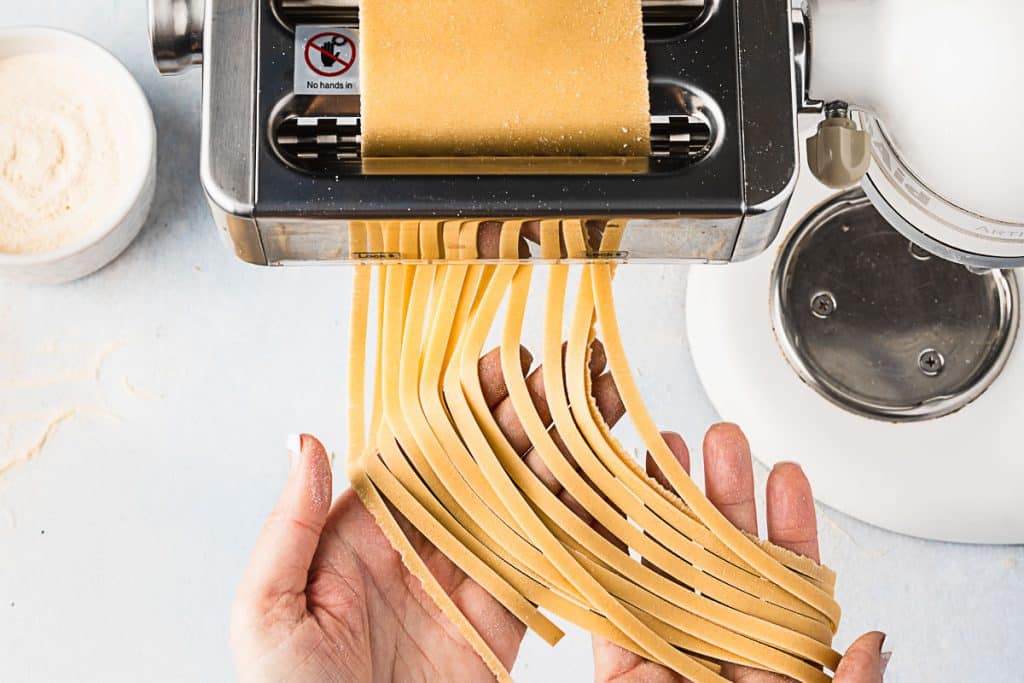
Cut into noodles: Attach the noodle cutter to the machine; most machines have at least a fettuccine setting. For fettuccine, stop at setting 5 or 6. Feed the sheet through the cutting rollers, turning the handle steadily. Long, uniform ribbons will emerge from the other side.
Catch and separate the strands: Use your hand to catch the noodles as they come through. Gently separate them with your fingers so they don’t stick together. A light dusting of semolina flour helps prevent clumping.

Make lasagna sheets: For lasagna, skip the cutter attachment entirely. After rolling to setting 5, use a knife or pizza cutter to trim the long sheet into rectangles that fit your baking dish.
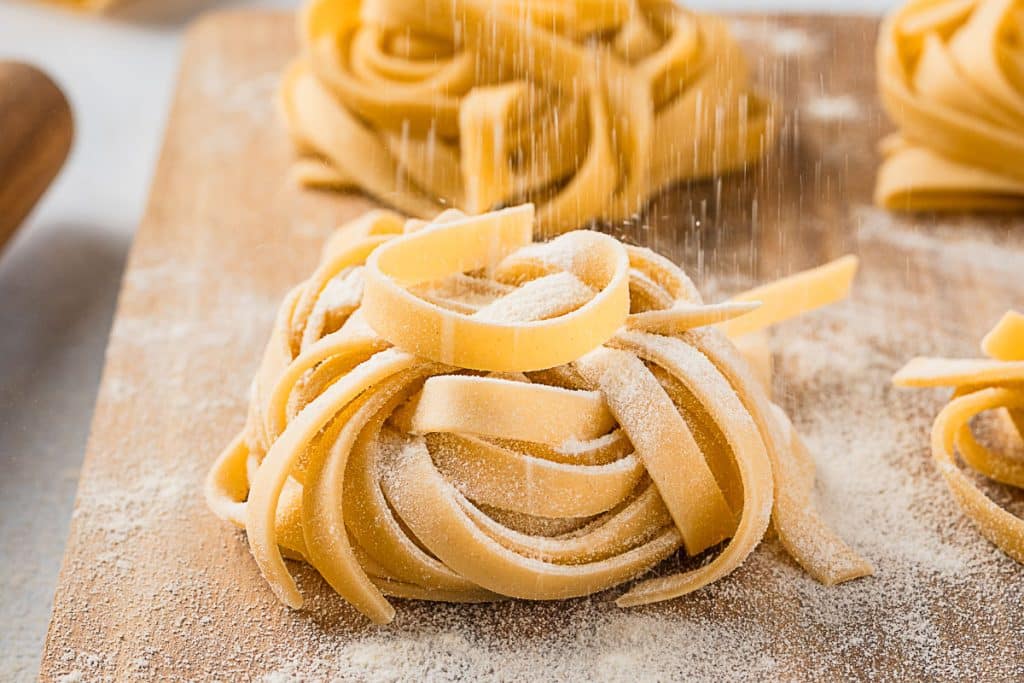
Form nests for storage: Twirl a small handful of cut noodles around your fingers to create a loose nest. This shape takes up less space and prevents tangling. Dust each nest with semolina flour.
Arrange nests for drying: Place the nests on a semolina-dusted surface with space between them. You can cook them right away or let them dry for 30 minutes to an hour if you’re making them ahead.
Hang pasta to dry: For longer storage or if you prefer, drape the noodles over a pasta drying rack or a clean broomstick or dowel suspended between two chairs. Let them hang until they’re completely dry and brittle.
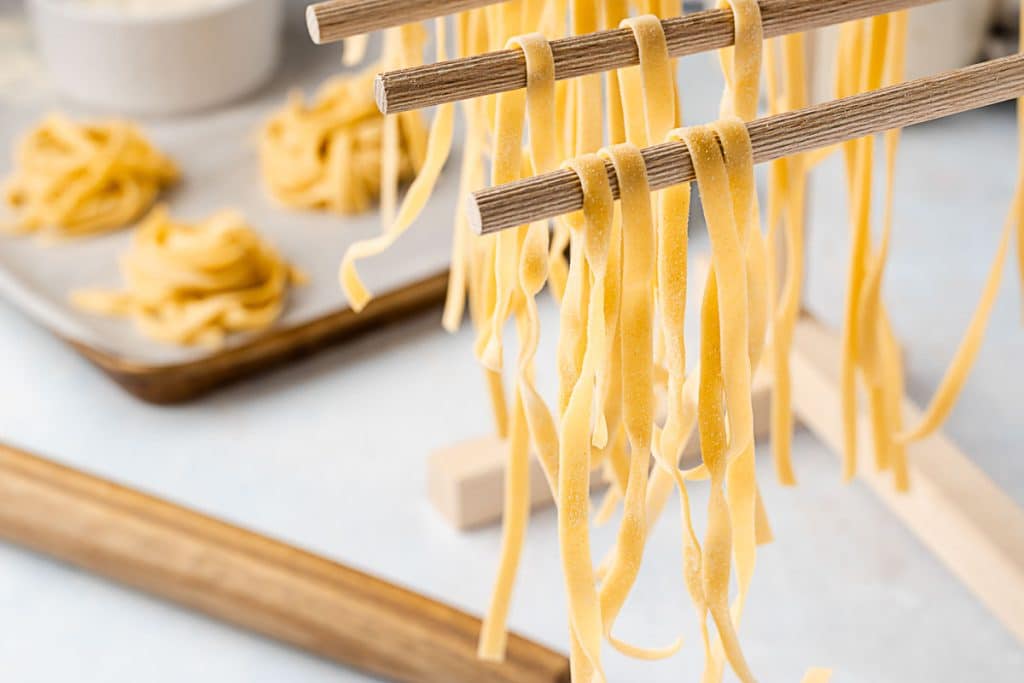
Check drying progress: The pasta will gradually firm up as moisture evaporates. Properly dried pasta snaps cleanly when bent rather than bending flexibly. This can take several hours, depending on humidity.
Storing Fresh Pasta
Fresh pasta keeps well if you handle it properly, giving you options to make it ahead and cook it when you’re ready.
Short-Term Storage (1-2 Days)
For pasta you’ll use within a day or two, dust it generously with semolina flour to prevent sticking. Form the noodles into loose nests or spread them flat on a semolina-dusted baking sheet. Cover the whole thing loosely with plastic wrap or a clean kitchen towel and refrigerate. The semolina coating is important because refrigerated pasta can get sticky as it sits.
Before cooking, check that the noodles separate easily. If they’ve clumped together, dust with more semolina and gently work them apart with your fingers.
Freezing for Longer Storage (2-3 Months)
Freezing is the best way to keep fresh pasta fresh longer. Arrange the nests or individual noodles on a baking sheet dusted with semolina, making sure they don’t touch. Freeze until solid, usually 1-2 hours.
Once frozen hard, transfer the pasta to freezer bags or airtight containers. Press out as much air as possible before sealing. Label with the date and type of pasta. Frozen pasta keeps well for 2-3 months.
The beauty of freezing is that you can cook it straight from frozen without thawing. Just drop it into boiling water and add an extra minute to the cooking time. Thawed pasta gets gummy and sticky, so skip that step entirely.
Drying for Long-Term Storage
If you want pasta that keeps at room temperature like store-bought dried pasta, you’ll need to dry it completely. Hang the noodles on a drying rack or lay them flat on semolina-dusted baking sheets. Make sure there’s good air circulation around them.
Drying time varies widely depending on humidity and thickness, ranging from 4 to 24 hours. You’ll know it’s done when the pasta is completely brittle and snaps cleanly instead of bending. Any remaining moisture will cause mold during storage.
Store fully dried pasta in airtight containers at room temperature for several weeks. Dried pasta cooks more like store-bought pasta, taking 6-8 minutes, depending on thickness.
What Doesn’t Work
Don’t store fresh pasta at room temperature for more than a couple of hours. It will partially dry out and become tough, or, in humid conditions, develop mold. Don’t refrigerate it for more than two days. The moisture in the fridge will cause it to deteriorate and stick together, despite your best efforts with semolina flour.
Cooking Fresh Pasta
Different pasta shapes cook at different speeds based on their thickness and surface area.
- Fettuccine (1/4 inch wide): 2-3 minutes
- Tagliatelle (slightly wider than fettuccine): 2-3 minutes
- Pappardelle (3/4 to 1 inch wide): 3-4 minutes
- Linguine (1/8 inch wide): 2-3 minutes
- Lasagna sheets (setting 5): 2-3 minutes, cook one at a time to prevent sticking
- Ravioli: 3-5 minutes, depending on size, small ones 3 minutes, larger ones closer to 5
No matter what shape you’re cooking, watch for it to float to the surface as your first sign it’s getting close. After it floats, give it another 30-60 seconds, then pull one out and taste it. The pasta should be tender with no raw-tasting center, but still have some texture.
Thicker or denser shapes always need more time. When in doubt, check at 2 minutes and test every 30 seconds until it’s done. Fresh pasta goes from perfect to overcooked fast, so stay close to the stove.

Sourdough Pasta Recipe
Ingredients
- 300 g Tipo 00 or all-purpose flour
- 165 g eggs cracked weight, about 3 large eggs
- 40 g active sourdough starter or ourdough discard
- Olive oil as needed
- Semolina flour for dusting
Instructions
- Weigh your eggs into a small bowl or measuring cup. If they don't quite reach 165 grams, drizzle in olive oil until you hit that weight. Stir to combine.
Food Processor Method
- Add the flour to your food processor bowl. Pulse a few times to fluff it up. Pour in the eggs and olive oil mixture, then add the sourdough starter. Pulse in short bursts until the mixture looks like coarse crumbs, about 15-20 pulses. The dough should hold together when you pinch it between your fingers. If it’s too dry and won’t stick, add water a teaspoon at a time.
- Turn the crumbly dough out onto your counter and press it together into a rough ball. Wrap it tightly in plastic wrap and let it rest for 15-20 minutes. This short rest makes kneading much easier.
- After resting, knead the dough on your counter for 5-8 minutes until it’s smooth and elastic. The dough will transform from rough and shaggy to silky.
Stand Mixer Method
- Attach your dough hook to the mixer. Add the flour to the bowl, then pour in the eggs and olive oil, followed by the sourdough starter. Mix on low speed until everything comes together into a shaggy dough, about 2 minutes. Increase to medium-low and knead for 6-8 minutes until the dough is smooth and elastic. The mixer does all the kneading work for you. If the dough is sticking to the sides of the bowl, add a tablespoon of flour. If it’s too dry and not coming together, add water by the teaspoon.
By Hand Method
- Mound the flour on a clean counter and make a well in the center. Pour the eggs, olive oil, and sourdough starter into the well. Using a fork, beat the wet ingredients together, then gradually start incorporating flour from the inner rim of the well. Keep working in more flour until you have a thick paste. At this point, use your hands to bring it all together into a rough dough.
- Press the dough into a ball, wrap it in plastic wrap, and let it rest for 15-20 minutes. After resting, knead for 8-10 minutes until smooth and elastic.
Next Steps for All Methods
- The finished dough will feel firmer than bread dough. Wrap it tightly in plastic wrap and let it rest at room temperature for at least 30 minutes or up to 2 days before rolling, though it's best used within 24 hours. This rest time lets the gluten relax, making the dough much easier to work with.If you refrigerate the dough longer than two hours, bring it back to room temperature before you try to roll it. Cold dough is stiff and will fight you through the pasta machine. Take it out of the fridge 30-60 minutes before you plan to work with it. If you're in a hurry, you can cut it into smaller pieces to speed up the warming process.
- When you’re ready to roll, dust your work surface with semolina flour to prevent sticking.
The Rolling Process
- For one recipe, cut the dough into quarter and roll each quarter.
- Start at the widest setting, usually marked as 1 or 0 depending on your machine. Roll your dough piece through once, then fold it in thirds like a letter. Turn it 90 degrees and roll it through again. Repeat this folding and rolling process 5-6 times at the widest setting. This laminating technique strengthens the gluten and creates a smoother, more elastic sheet.
- Once your dough is smooth and uniform, stop folding. Move to the next narrower setting and roll the sheet through once. Keep progressing through the settings, rolling once at each level, until you reach your desired thickness.
Thickness Settings for Different Pastas
- Most machines number their settings from 1 (thickest) to 6 or 7 (thinnest). Here’s what works well:
- Pappardelle – 4 or 5 since the wide ribbons benefit from a bit more substance.
- Lasagna sheets – 5. They'll soften more as they cook in the sauce.
- Fettuccine and tagliatelle – 5 or 6. You want them thin enough to be tender but thick enough to have some bite.
- Filled pastas like ravioli – 6 or even 7. The thinner dough seals better and cooks more evenly around the filling.
- If your dough starts tearing or the sheet gets too long to handle, cut it in half and work with smaller pieces. Dust with semolina flour as needed to prevent sticking.
Bookmark this page or pin the following image to return to this Sourdough Pasta Recipe in the future.
Thanks so much for spending a few minutes of your busy day with me!
To ensure you don’t miss future content, pop your email in the pale green box on the right or click here. I usually send one email weekly, so I won’t inundate your inbox. I’m sensitive to an overflowing email inbox!
We will only use your email address to send you emails, no more than 1-2 weekly. In addition, you will have access to my growing library of knit & crochet patterns and other printables. Check back often as this library will continue to grow. You can unsubscribe anytime by emailing me or clicking on the “unsubscribe” link at the bottom of all emails.
And you can access many of the products I refer to on my Nourish and Nestle Amazon Page. You can access it here.
So, if you’d like to participate in the ‘subscriber benefit’ action, simply subscribe to Nourish and Nestle here or use the form on the right sidebar. It’s slightly towards the top.
I have sent all my subscribers the link to the Subscriber Benefits Library. If you missed it or misplaced it, let me know.
Until next time…