Brothy Beans Recipe (with variation suggestions)
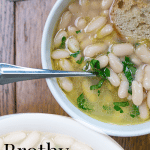
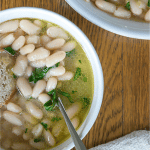
This easy-to-make Brothy Beans Recipe is in regular rotation at our home. Large White Beans (Cannellini Beans) are cooked in the oven until they are tender, flavorful, and brothy. Suggested variations to this original recipe and information about other types of white beans are also discussed.
The truth is this; we enjoy this Brothy Beans Recipe so frequently that in the past 12 months, I have purchased 25 lbs of the Large White Beans (Cannellini) that I use to make it. And that’s just for the two of us!
The simplicity of the recipe makes it easy to make and healthy and satisfying in so many ways. It is beans, liquid, garlic, and heat, with a splash of olive oil, salt, pepper, and whatever herb you want to use. But, you can always ‘jazz up’ your brothy beans with various aromatics, vegetables, meat, cheese, and other additions. We will discuss some of them in a bit.
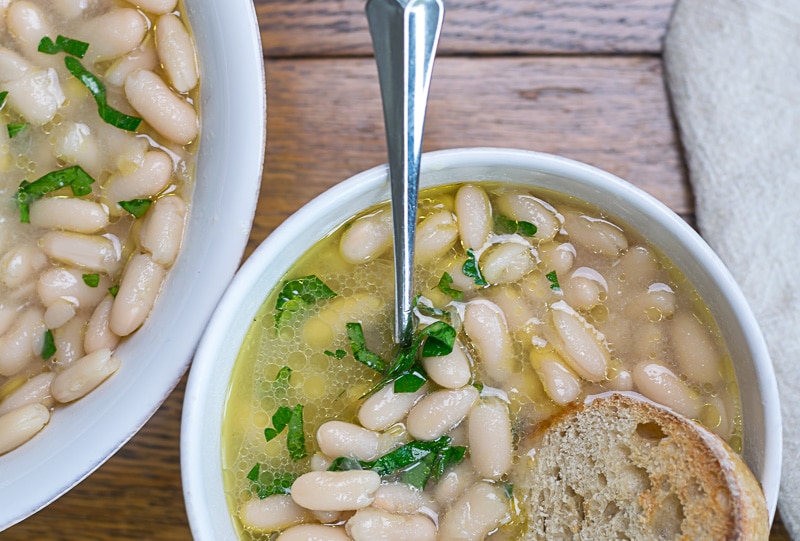
Table of Contents
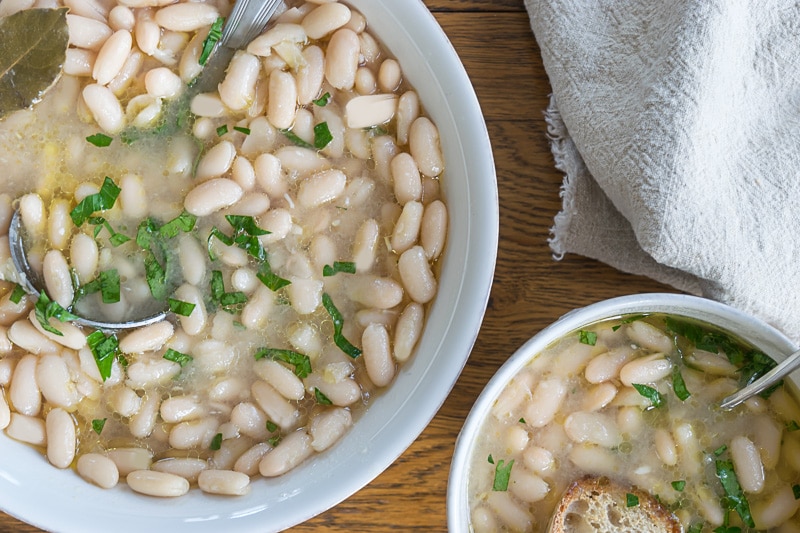
Technically, you could use any bean for Brothy Beans, but I’m partial to white beans. They produce a clearer, more appetizing broth, and I find Large White Cannellini Beans the creamiest.
Some of these links may be Amazon affiliate links and I may earn a small commission from the sale of these products to help defray the costs of operating this site, but the price you are charged is not affected. You can see my full disclosure policy here.
An economical and gluten-free source of protein, White Beans also contain high levels of complex carbohydrates and dietary fiber. White beans are a non-perishable food when stored properly. I buy my Cannellini Beans in 10-pound bags online since I have difficulty finding them locally. A 10-pound bag of organic beans costs about $40. When I figure that one pot of Brothy Beans uses 1 pound of beans and will provide 2-3 meals for us, that equates to less than $2 or less per meal. Hard to beat!
Different Types of White Beans
Let’s go in order of size, starting with the smallest.
Navy Beans
So-called because they were a food staple of the US Navy at the beginning of the 20th century, Navy Beans are also commonly called Pea Beans. These small beans cook up quickly, absorb the flavors of the foods they are cooked with, and are a hefty source of fiber.
Great Northern Beans
These medium-sized, thin-skinned white beans are known to be mild and nutty flavored. They hold their shape better than Navy Beans, making them good for soups. They are great in soups and stews and tend to take on the flavor of the foods they are cooked with.
Cannellini Beans
This larger, flatter white bean, also called White Kidney Bean, is my go-to white bean. It is a staple in Southern Italy, featured in dishes like Pasta e Fagioli. This bean has a creamy texture and nutty flavor and is more apt to be the focus of a dish.
Baby Lima Beans
These beans are a variety of the not-typically white Lima beans. They are often called Butter Beans for their rich, buttery flavor and starchy texture.
Do You Need to Soak Your Dried Beans?
Well, that’s the question, isn’t it?! I not only soak my beans, but I soak them in salted water to soften the skins, enabling them to cook more evenly and making them less likely to burst. That being said, I’ve recently read a great number of articles claiming that soaking is overrated. So, I will give that a try soon and report back my findings.
If you are already a no-soaker, then, by all means, do your no-soak thing with this recipe..and let me know what you think!
How Long Do Dried Beans Last?
Dried beans do lose flavor and ‘cookability’ after a certain amount of time. If you’ve ever cooked beans and they wouldn’t soften up, most likely you had some old beans, my friend. It seems the window for using beans after they have been dried is 2-3 years.
Should You Cook This Brothy Beans Recipe on the Stove-Top or in the Oven?
There is no dispute here…the oven creates, in essence, a sub-simmer that cooks the beans more evenly. The stovetop requires stirring, which can break the beans and, even then, can’t create the evenly distributed heat that the oven does. And since this Brothy Beans Recipe requires only 1 1/2 hours (after soaking) in the oven, they are hardly worth putting in a slow cooker for up to 4 hours. The Cannellini beans are large; other smaller types of white beans will cook faster.
How Do You Know When Your Brothy Beans Are Ready?
I’ve referred to the Tamar Adler book, An Everlasting Meal, before. It’s one of those books I like to re-read from time to time for inspiration. Here’s her guidance on testing the doneness of beans:
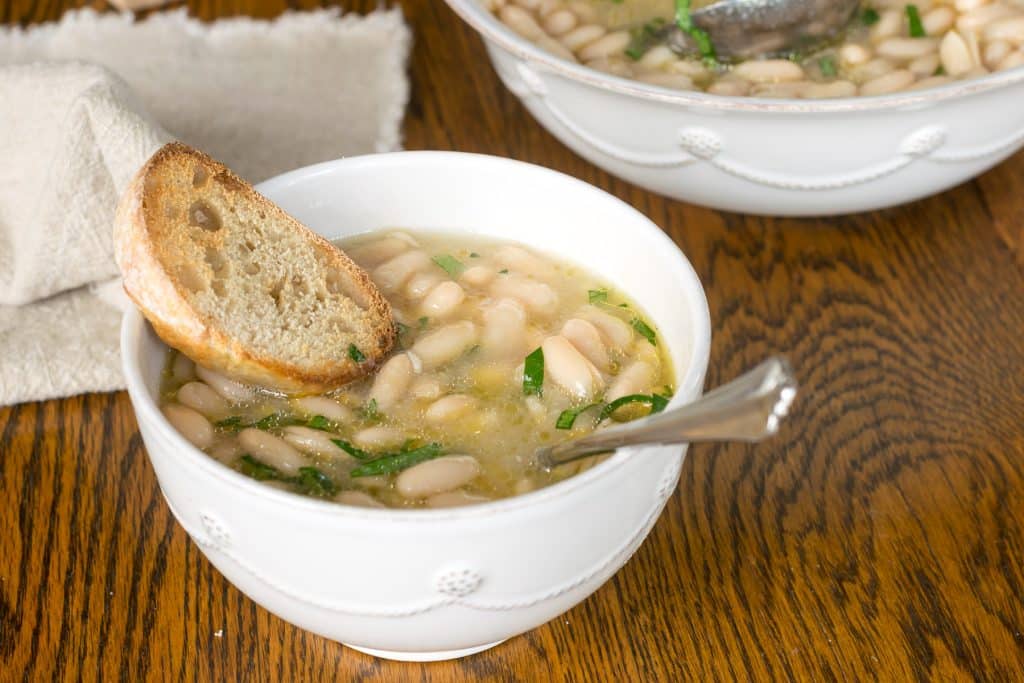
Beans are done when they are velvety to their absolute middles. You should feel, as soon as you taste one, as though you want to eat another. The whole pot is only ready when five beans meet that description. If one doesn’t, let the beans keep cooking…
Tamar Adler
Can You Freeze Your Leftover Beans?
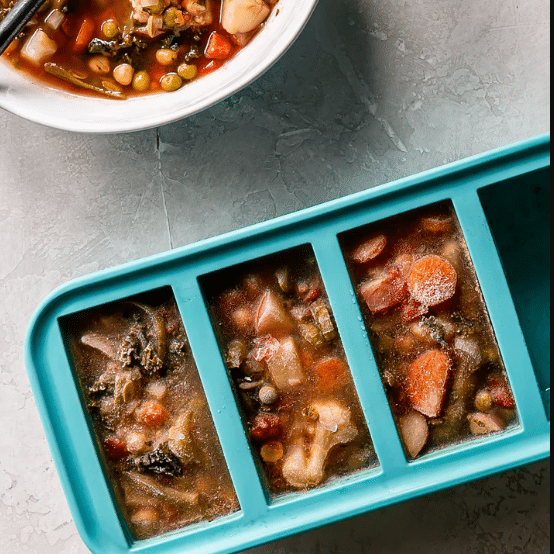
Abso-posi-lutley! We regularly do, and they heat back up perfectly. Check out these Souper Cubes 1-cup Freezer Pods. I have them in several different sizes and use them frequently. We have a small freezer situation and these freezer pods help me maximize my space.
Food Storage Favorite
Some of these links may be Amazon affiliate links, and I may earn a small commission from the sale of these products to help defray the costs of operating this site. The price you are charged is not affected. You can see my full disclosure policy here.
I’ve been using Souper Cubes Freezer Storage Cubes and Pods for years! We use the 1 cup, 1/2 cup, and two tablespoon trays.
The 1 cup is perfect for lunch portions of soup, chili, and beans.
The 1/2-cup size is great for freezing buttermilk and cream. We also portion out 1/2-cup portions of our seasoned meat for our weekly nachos.
The 2-tablespoon trays are an excellent size for tomato paste and chipotle in adobo.
Where Do You Find Parmesan Cheese Rinds?
Like any other aged cheese, parmesan develops a hard rind on the side exposed to the air. While a little tough to eat, parmesan cheese rinds are lovely to add to soups, sauces, and…brothy beans! Ask at your grocer’s cheese counter or a specialty cheese shop. My grocery doesn’t always have them, so I keep them on my list to look every so often.
Variations On A Theme
One of the reasons I love this Brothy Beans Recipe so much is that it is endlessly versatile!
Here are some fabulous additions/variations you can make to the pot:
- Another type of white bean. Bear in mind the smaller beans will most likely cook quicker.
- You decide just how ‘brothy’ you want your beans…I like broth.
- Any kind of woody herb; think Rosemary, Bay Leaves, Thyme, or Sage
- Red Pepper Flakes
- A grind of Nutmeg
- Chopped Bacon, Salt Pork, Pork Jowl or Hock
- Chopped Onions or Shallots
- Use any vegetable or meat broth
- I’ve added fresh tomatoes that needed to be used up.
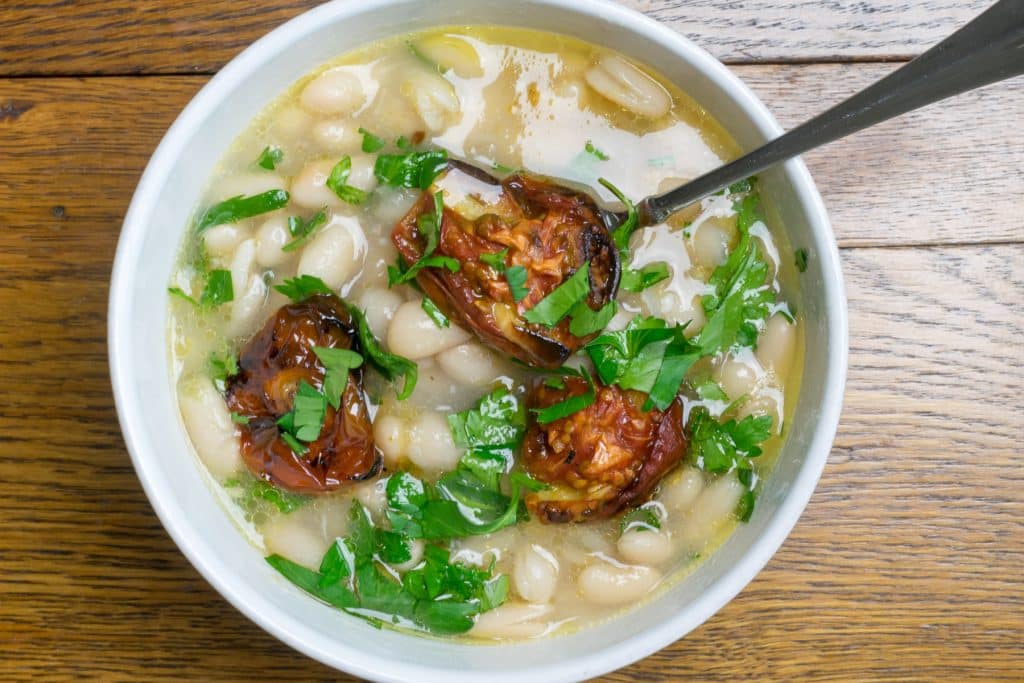
After your Brothy Beans have cooked, consider topping them with:
- A generous glug of good quality olive oil (pretty much mandatory!)
- A dash of lemon juice, sherry or balsamic vinegar
- Chopped fresh kale, spinach, basil, parsley or arugula.
- Roasted Tomatoes (our favorite) or other roasted vegetables
- Sauteed kale or swiss chard
- Grated parmesan or feta
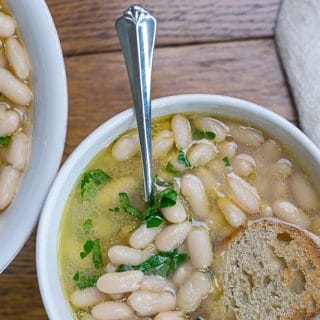
Brothy Beans Recipe
Ingredients
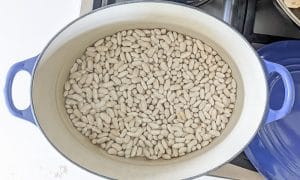
- 1 pound dried white beans I like Cannellini. For best luck, make sure your beans are not too old, preferably no more than 2-3 years old.
- Fresh water broth or stock
- 6-8 large cloves of garlic peeled
- A sprig of rosemary thyme or sage or a few bay leaves
- Parmesan cheese rind optional, but recommended
- Good quality olive oil
- Salt and pepper
- Fresh herbs to top before seasoning like parsley and/or basil.
- See below for a list of optional additions/variations and toppings.
Instructions
- Sort and rinse beans.
- Place the beans in a glass or non-reactive metal bowl and add 2 tablespoons of salt and 4 quarts of room temperature water. Stir well to dissolve the salt and let soak for 10-24 hours at room temperature. Feel free to cover the bowl if you like.
- Preheat oven to 325°
- Drain beans and place in a heavy dutch oven or other heavy, lidded oven-friendly pot. Don’t use cast-iron as your broth will be gray.
- Add fresh water. I typically add water so that there are 1 1/2 to 2 inches of water above the beans, but it is up to you just how ‘brothy’ you want them. Add the peeled garlic, parmesan rind, a pinch of salt, a grind of pepper, herbs, and a glug of olive oil. Also, this is when you would add other additions. See below for some suggestions.
- Place the pot on the stove and bring it to almost a boil, uncovered. You will see small bubbles starting to form, but don’t bring to a boil.
- Once you start seeing some small bubbles, put the lid on the pot and transfer it to the oven.
- Bake for 1 1/2 – 2 hours, checking your beans at the 1 hour 15 minutes mark. Grab a spoon and pull 5-6 beans from the pot. If they are all tender, then you are done. If not, continue to cook and check in 15-20 minute increments.
- Once finished, check your broth and beans again and adjust seasonings.
- Mash the garlic cloves against the side of the pot and mix it well.
- Drizzle with fresh herbs and more olive oil.
- The beans serve as a great base for other toppings. Some suggestions are below.
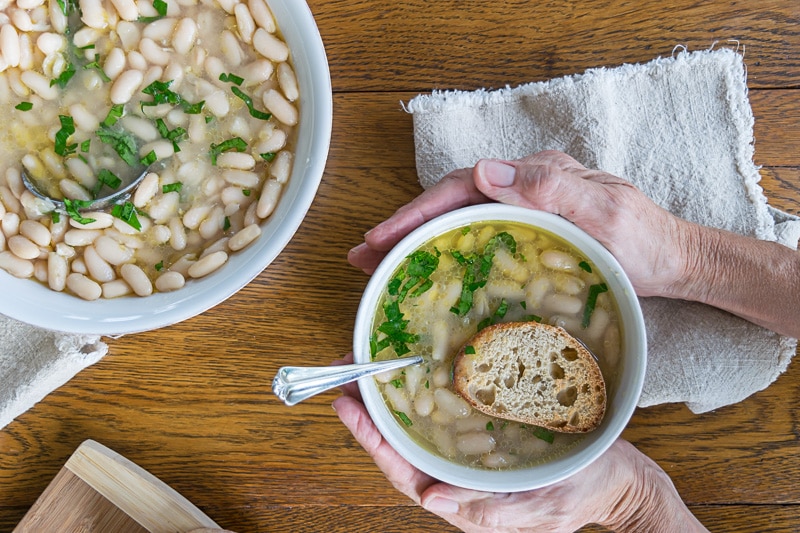
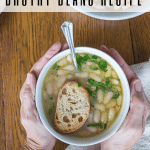
- Toasted bread is delightful when served alongside your brothy beans.
Notes
Variations On A Theme
One of the reasons I love this Brothy Beans Recipe so much is that it is endlessly versatile! Here are some fabulous additions you can make to the pot:- Any kind of woody herb; think Rosemary, Bay Leaves, Thyme, or Sage
- Red Pepper Flakes
- A grind of Nutmeg
- Chopped Bacon, Salt Pork, Pork Jowl or Hock
- Chopped Onions or Shallots
- Use any vegetable or meat broth instead of water
- I've added fresh tomatoes that needed to be used up.
- A generous glug of good quality olive oil (pretty much mandatory!)
- A dash of lemon juice, sherry, or balsamic vinegar
- Chopped fresh kale, spinach, basil, parsley, or arugula.
- Roasted Tomatoes (our favorite) or other roasted vegetables
- Sauteed kale or swiss chard
- Grated parmesan or feta
Nutrition
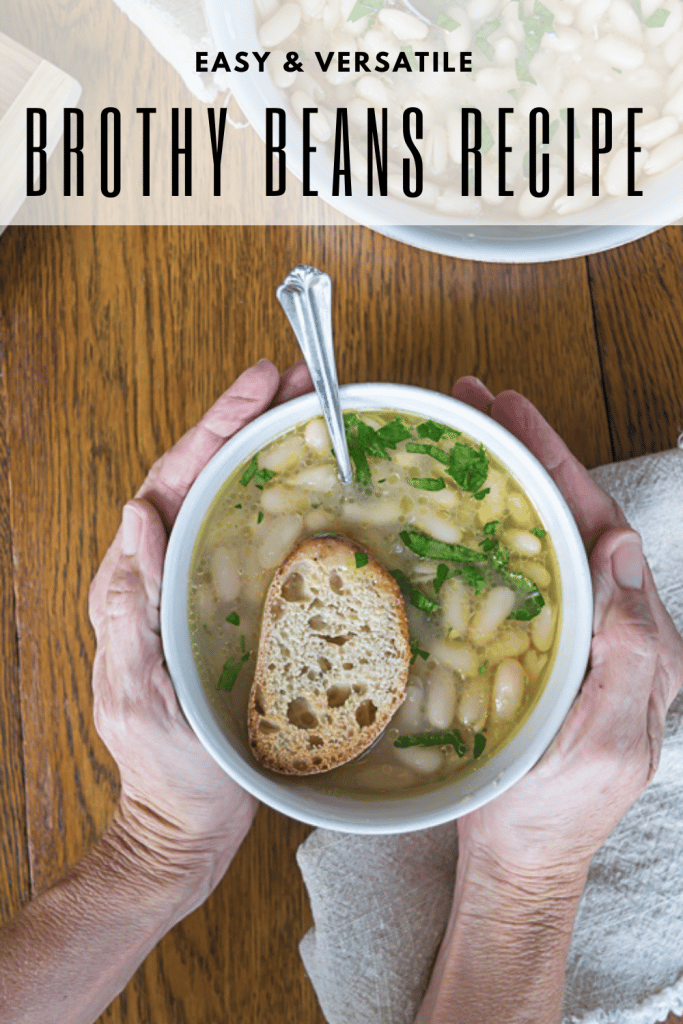
Bookmark this page or pin the following image to refer back to this Brothy Beans Recipe in the future.
Thanks so much for spending a few minutes of your busy day with me!
To ensure you don’t miss future content, pop your email in the pale green box on the right or click here. I usually send one email weekly, so I won’t inundate your inbox. I’m sensitive to an overflowing email inbox!
We will only use your email address to send you emails, no more than 1-2 weekly. In addition, you will have access to my growing library of knit & crochet patterns and other printables. Check back often as this library will continue to grow. You can unsubscribe anytime by emailing me or clicking on the “unsubscribe” link at the bottom of all emails.
And you can access many of the products I refer to on my Nourish and Nestle Amazon Page. You can access it here.
So, if you’d like to participate in the ‘subscriber benefit’ action, simply subscribe to Nourish and Nestle here or use the form on the right sidebar. It’s slightly towards the top.
I have sent all my subscribers the link to the Subscriber Benefits Library. If you missed it or misplaced it, let me know.
Until next time…


Hi, please advise,have you found plain water is best or chicken broth /water mix for liquid?My husband is southern, he loves cooked beans with fresh from oven cornbread.
Thank you for a great recipe and blog😊.
Hi Jen, I’ve done it both ways…and honestly, I haven’t noticed a huge difference in flavor. The key is the garlic. And the herbs. And truthfully, I think a rind of parmesan imparts more flavor than the broth does.
Hope this helps. Let me know what you do and if you love it as much as we do!\
Hugs,
Lynn
Hi. I’m extremely dairy allergic. What could best replace the Parmesan rind?
Hi Rita,
Have you tried Nutritional Yeast to add a cheesy flavor? It’s not the exact same taste as cheese, but it gets pretty close.
I agree, I think water actually tastes best. Parmesan rind adds a lot of flavor to the broth, so does the garlic – I use more, and really so does the olive oil. I always include a bay leaf, it adds a subtle flavor.
Isn’t that funny? I thought that stock would give it a heartier flavor, but that’s not necessarily the case. Sounds like we use the same recipe…and more garlic is always better…how many cloves to you use?
My review apparently did not make it through. I found this recipe several months ago and have been making it nearly every week. I’ve used cannelini, roman, navy and black beans. Navy have been my favorite thus far. I use fresh herbs from my garden while I can – sage, rosemary, thyme, lemon thyme, parsley and lovage stems, bay leaf. Lots of garlic. I adore eating the beans with the broth, but they also make a wonderful bean for adding to other recipes. I made black bean quesadillas and they were excellent – the beans had been in the fridge for a couple of days at that point and had absorbed even more flavor.
This was great! I used water and threw a couple of chicken stock cubes I had in. I also had a ham hock in the freezer (very strange for me). I saw the note about how good the garlic is so I threw in 10 cloves. This was just so good. The aroma in the kitchen was terrific as it cooked and then the finished product was just delicious. I ate 3 bowls for dinner! I ordered good quality dried beans from Bob’s Red Mill and cut the rind off my Parmesan. I will definitely be making this again.
HI,
Made this recipe, started yesterday with the bean soaking and then today did the recipe.
WOW, this is so good, used homegrown Bay leaves, Rosemary, and thyme. Plus a chopped vidalia onion.
Sigh, I have gout, a horrible disease, and this recipe is a blessing. I can have beans, for this recipe, I used Great Northern beans so the bake time was shorter, 1 hr, and because this is what I could find at a reasonable price. Oh, the broth is delicious. Just like you, I love broth.
Guess what, we had brothy beans last night too! I also roasted some tomatoes from our garden with garlic and topped the bowls of beans with them. Oh my heavens…so good.
I am so glad you like them as much as we do! I know everyone’s tastebuds are different, so I never know. But this simple recipe seems to be enjoyed by all.
Thanks so much for writing in!
Hugs,
Lynn
I hope this isn’t sacrilege but what about pressure cooking, with the escalating Filipe costs in UK I’m limiting the oven
Good Morning Lucy,
I get it! I think you could cook these in the pressure cooker! Cook on HIGH pressure for 15-20 minutes, then do a slow release for at least 15 minutes. You may need to add a few minutes more if they aren’t as soft as you like.
This was the perfect soup to make for our cold snap this week! The flavors are amazing! The older I get the more I love brothy soups and I agree with the comments on the garlic and herbs! I did use chicken broth but mainly for the extra protein.
I am so glad you enjoyed it!