
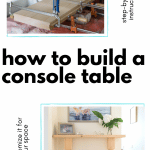
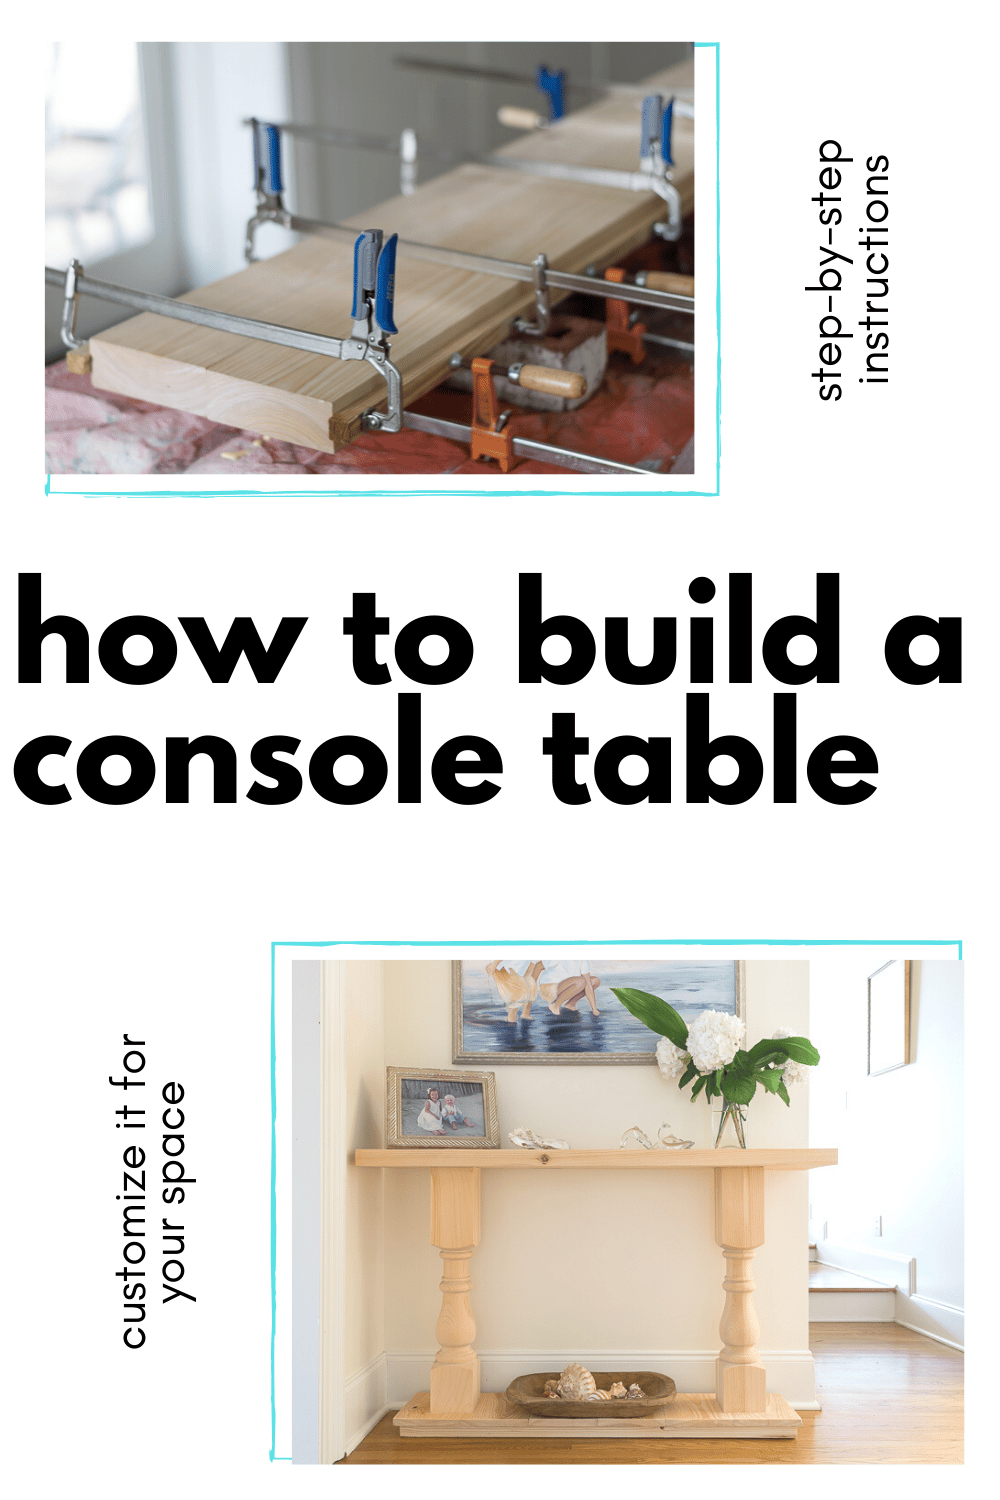
Build a Console Table or Sofa Table
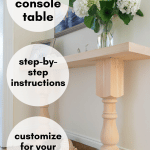
Step by step illustrated instructions on how to build a console table or sofa table. Suggested tools and materials are included in this beginner tutorial.
It’s a happy day my friends, I can cross another item off of my ‘DIY Bucket List’! After I stenciled my office, reupholstered a chair, and built this console table, I’m pretty sure I could change the carburetor in an airplane…piston-powered of course. As a habitual maker, nothing is more empowering than having an idea in your head and then bringing it to fruition.
And here’s the deal…I have never built anything like this before, so if I could build this console table, then you can too! And while this was my first ‘furniture build, I have since built another Console Table with Acrylic Legs and a Faux Marble top which you might love as well!
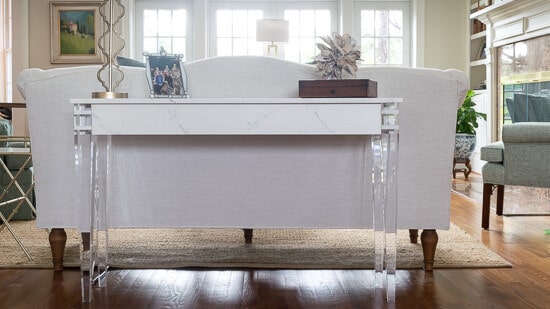
Table of Contents
Before we dive in, let’s talk about the usefulness of a console table or, as they are often called, a sofa table. Typically sofa tables are skinny tables that will fit well behind sofas or couches and in foyers or entryways. I built this table specifically for an area in our entryway, but it could just as easily work behind our sofa.
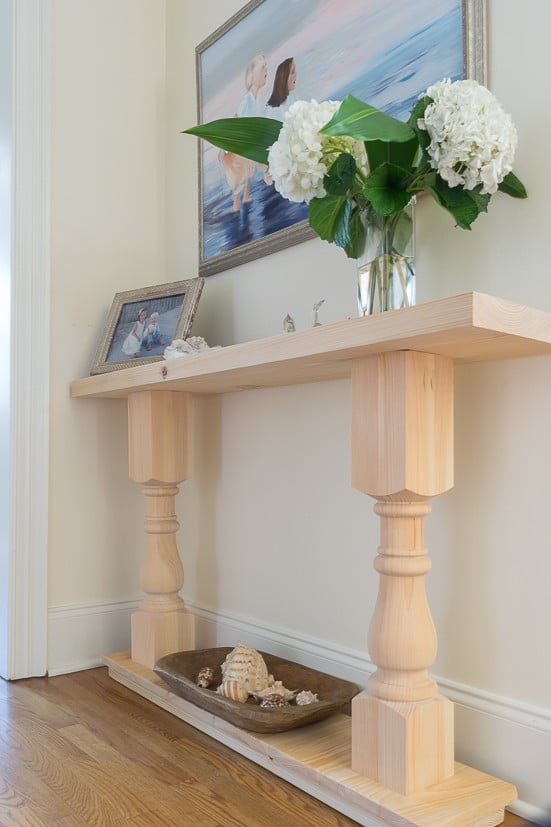
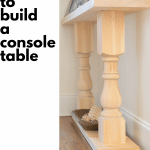
And maybe I should put wee quotes around the ‘build’ part because if I hadn’t had these most groovy legs from Osborne Wood, this would have been an entirely different project. They are the Country Squire Dining Table Leg in Knotty Pine and are THE reason that this DIY sofa table really rocks my socks!
This post was sponsored by and made possible by Osborne Wood Products and Kreg, who provided me with some of the products necessary to make this table. However, the opinions are entirely my own and the pictures speak for themselves!
I have this odd little space in my home that faces you when you walk in the house through the laundry room and which is also in a high traffic hallway. I did have a narrow table in this area, but it was still a bit wider than this space could ideally accommodate so it was a logical spot for this DIY Sofa Table.

When an opportunity to partner with Osborne Wood Products to build ‘something’ arose, a perfectly sized console table for this area was what I ultimately decided upon.
So, let’s strap our big girl DIY panties on, get down to the nitty-gritty and DIY this sofa table (or console table)!
What Material/Supplies I Used for My Console/Sofa Table (mine measures 54″ long by 11.5″ wide)
Some of these are affiliate links and I will earn a small commission off of the sale of these products, but the price you are charged is not affected. You can see my full disclosure policy here.
- Legs. Once again, I used the Country Squire Dining Table Leg in Knotty Pine for the legs of this console. Osborne has several options that would work well for a 2-legged console, but I think you probably want something of the ‘chunky leg’ sort. I can’t say enough about the quality of these legs and felt that the rest of the table really needed to match their quality.
- Wood for the top. I used a really lovely Cypress which looks very similar to the Knotty Pine of the legs…in fact, you can’t tell they are different types of wood. I bought one 10 foot long piece of 2″ thick, 5.5″ wide cypress, which was cut in half. They had thinner options, but I really like the 2″ thickness for the top, especially given the chunkiness of the legs.
- Wood for the bottom. I used Cypress again, but this board was 1″ thick, 7 3/4″ wide and 6 foot long.
- 2 pine 2″ by 4″s, each 8 feet long
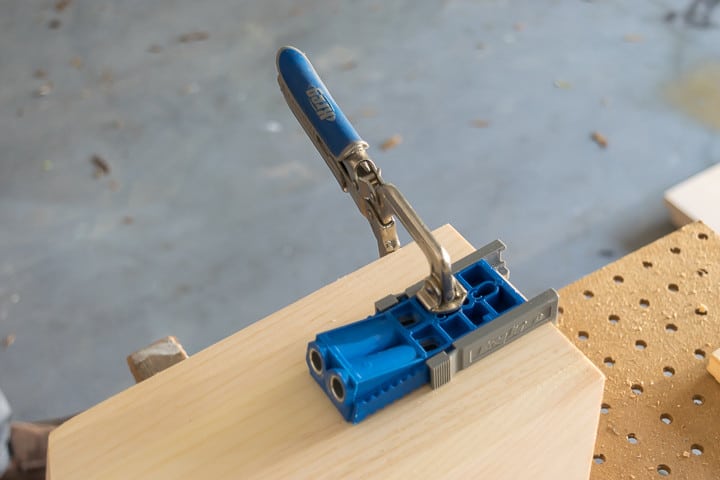
- Kreg Jig with 1 1/2″ screws

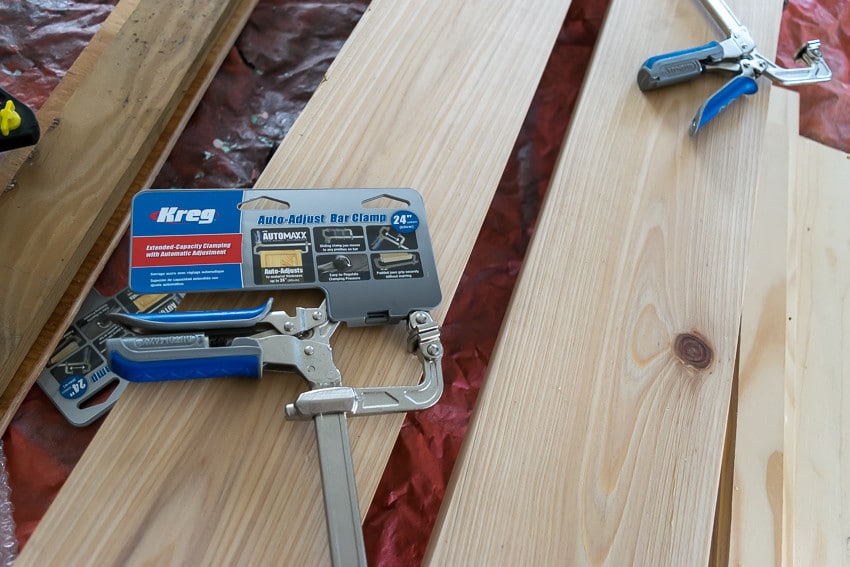
- Bar Clamps, I used my Kreg Auto-Adjust Bar Clamps, and a few pieces of scrap wood.

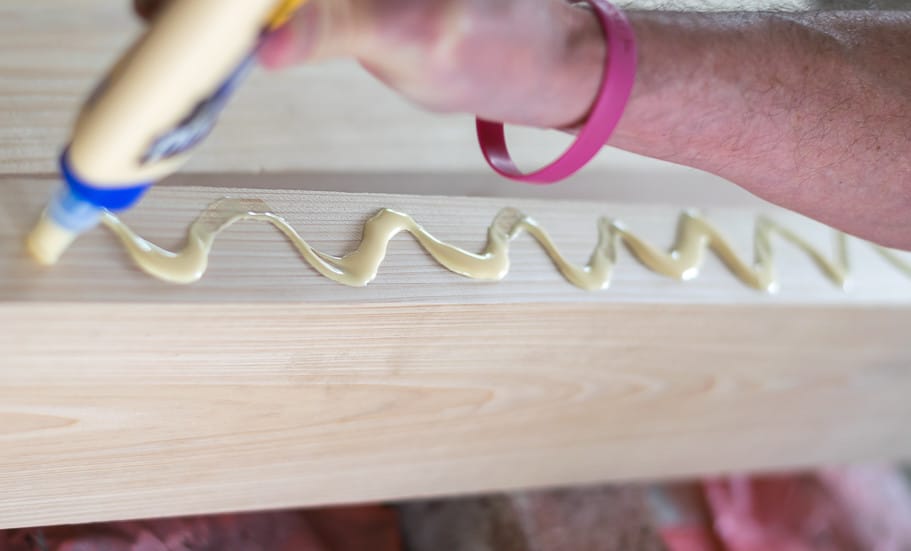
- Titebond II Glue
- Table Saw would be best, but we used a Circular Saw
- Belt Sander (I rented mine through Home Depot Rental Program)
- Drill
- Sandpaper, this flexible
- 4″ wood screws
We get many of our building supplies at Home Depot. They have a wonderful program by which you can order here online and then pick-up at your nearest store within hours or at your convenience. In addition to building materials, they have an extensive selection of power tools and the above-mentioned rental program if buying is not an option for you.
DIY Sofa Table Instructions:
- Once you have your legs, you clearly need wood for the top and bottom. Before you bring your wood home, check it over to make sure it is as flat as possible.

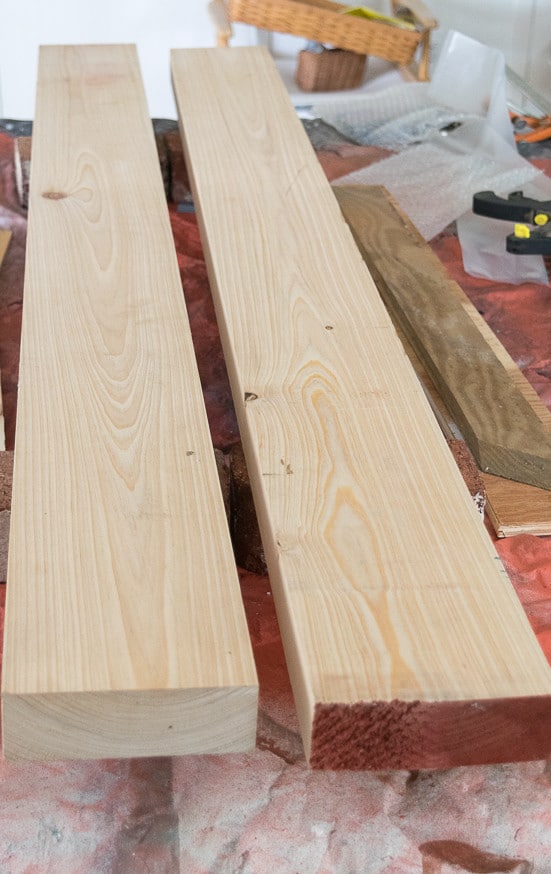
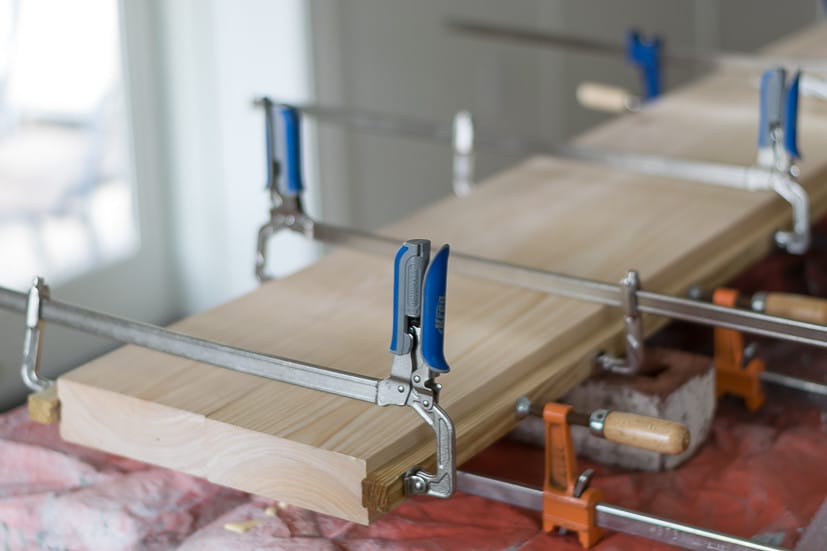
- The first thing I did was to glue the two pieces of cypress together, side by side, for the top of the table

- I used the wood glue and clamps every 6″ for the length of the boards and put scrap wood between the clamps and my good cypress to prevent the clamps from leaving dents in my cypress. In total, I used 8 clamps; the 3 Kreg clamps I owned and borrowed the rest of the clamps from a friend. I really like the auto-adjust feature of the Automaxx.

- The boards for the top of the sofa table sat undisturbed for about 24 hours to make sure they were firmly glued together.
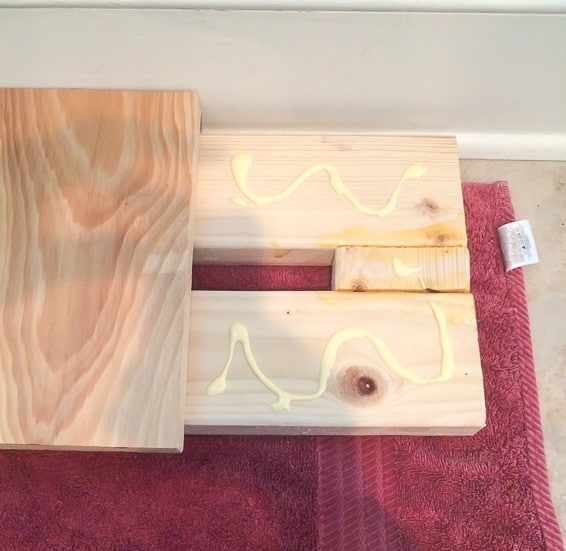
- While the top was being glued, we started on the base. The first thing we did was cut the thinner, 1″ cypress boards into 9.5″ sections. I wanted the base to be a little shorter than and not quite as deep as the top.
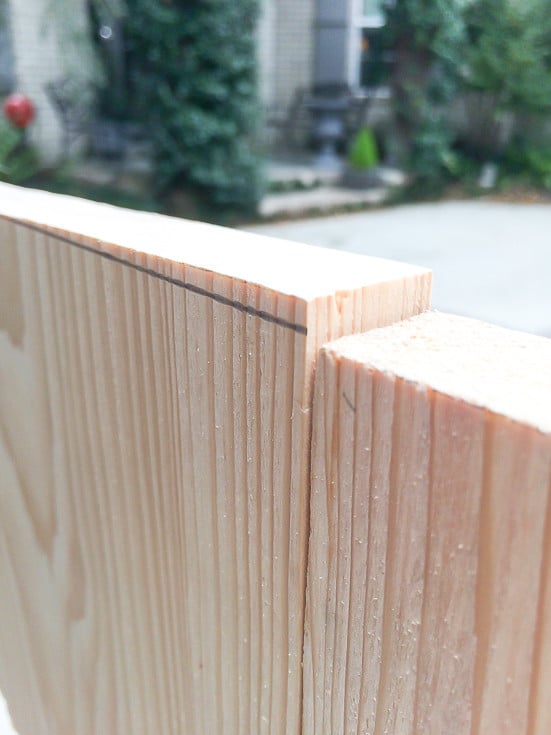
Here’s a good ‘do as I say and not as I do’ moment. If you have access to a table saw, this is the time to use it. We did have access (my parents who live 1.5 miles away) but didn’t even think to ask them. As it turns out, it’s a bit harder to get a precise cut with a circular saw and we needed precise cuts.
If you don’t have access to a table saw, my friend Michelle has a great suggestion for getting straight, true lines with a circular saw here. Sadly, I didn’t see this until we had made all our cuts. But I’ll tell you how I dealt with that later.
- We also made the base frame out of the 2′ by 4’s. I wanted the frame to be slightly shorter and thinner than the actual base, so I cut the 2″ x 4″ s to 45″. Each 2″ x 4″ is actually 3.5″, so I added one 1″ piece to make the frame 45″ by 8″. We just used the wood glue to hold the frame together.

- Then we glued the base to the base frame. Once again, the frame (8″ X 45″) was slightly smaller than the actual base dimensions of 9.5″ X 46.5″.

- We weighted the base of this DIY Sofa Table by placing bricks on top of it while the glue dried and cured.
- I used a belt sander, with 36 grit sanding belt, to even out the top where it was glued together. The belt sander was also very useful in leveling the baseboards which were a bit wonky as a result of our ‘not true’ cuts.

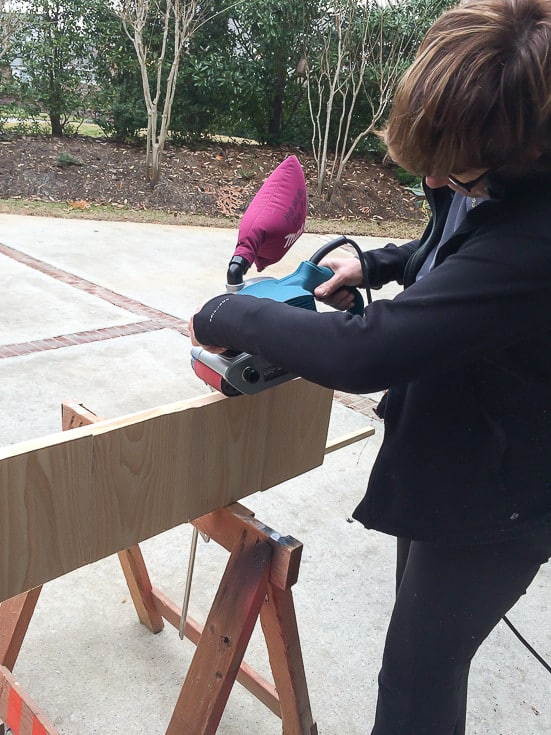
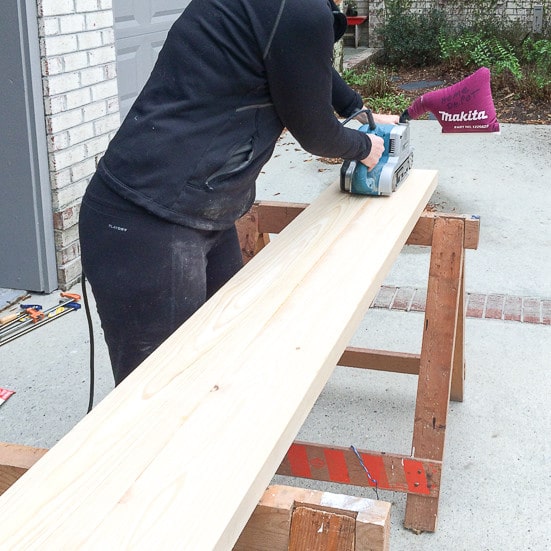
Then I used fine sandpaper (120 grit) to give the whole piece a good sanding.
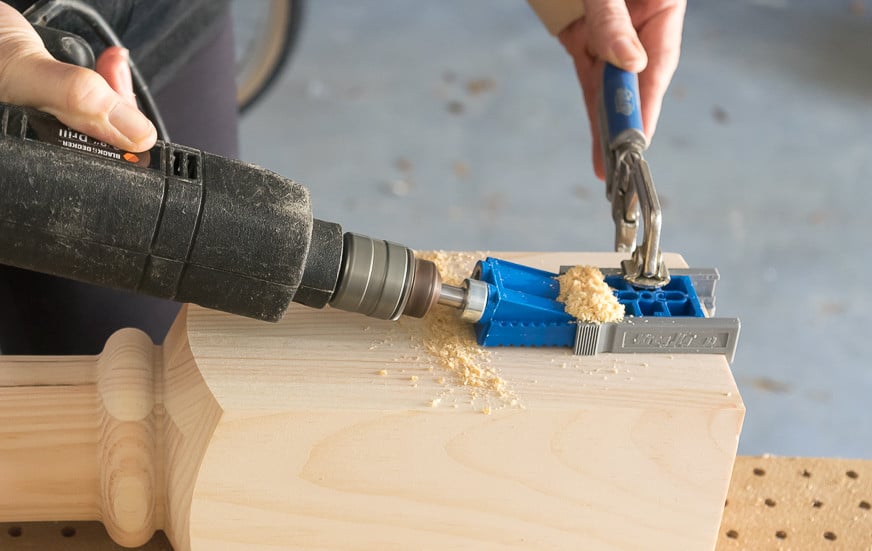
- Once everything was all sanded and level, it was time to put this beauty together! We used a Kreg Jig R3 to drill the pocket holes into the legs. This was the first time I had used the Kreg Jig and it made the whole pocket hole thing so straightforward and easy.
The Kreg Jig R3 comes with everything you need, including several sizes of screws, to complete a project.
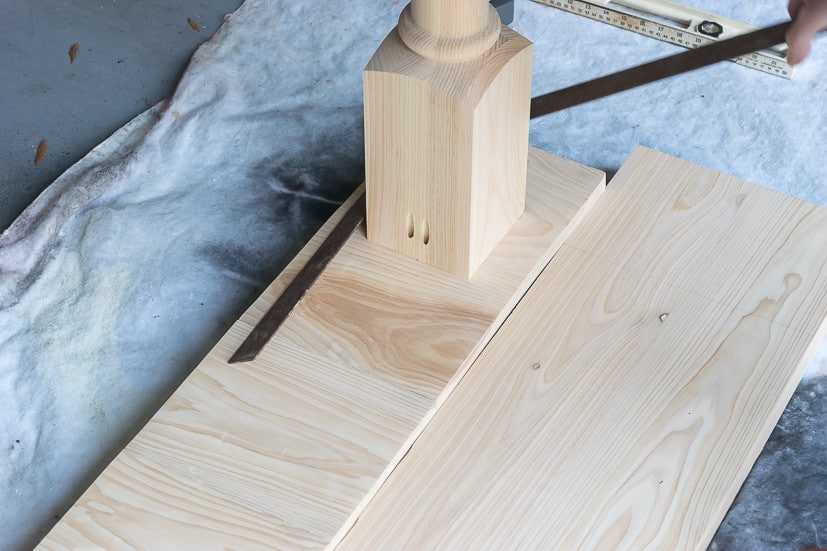
- Before we attached the legs to the top, we lined up the legs on base and then on the top. Don’t let this following picture confuse you, we are not attaching the legs to the base by the pocket holes…we are just lining everything up before we attach the legs to the top.
- Once we had the legs attached to the top of the table, we again lined up and attached the legs to the bottom with 4″ screws.

- The legs were 5″ wide, but we drew 3″ wide squares based on the center of the leg. We wanted to avoid our screws coming through the side of the leg and figured that an inch margin on each side would help ensure that. We drilled one hole in the middle of the leg and then 2 more on either side of that center screw.
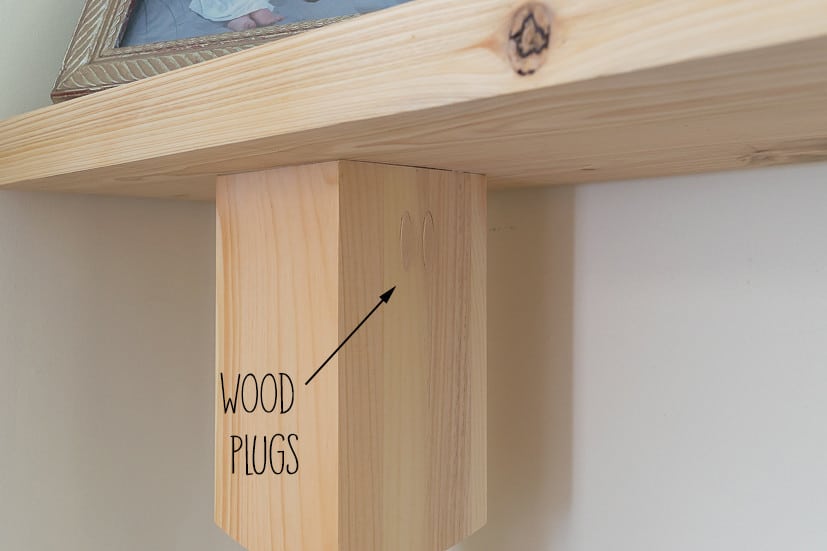
- Once everything was attached, I glued the wood plugs that came with the Kreg Jig R3 into the pocket holes.
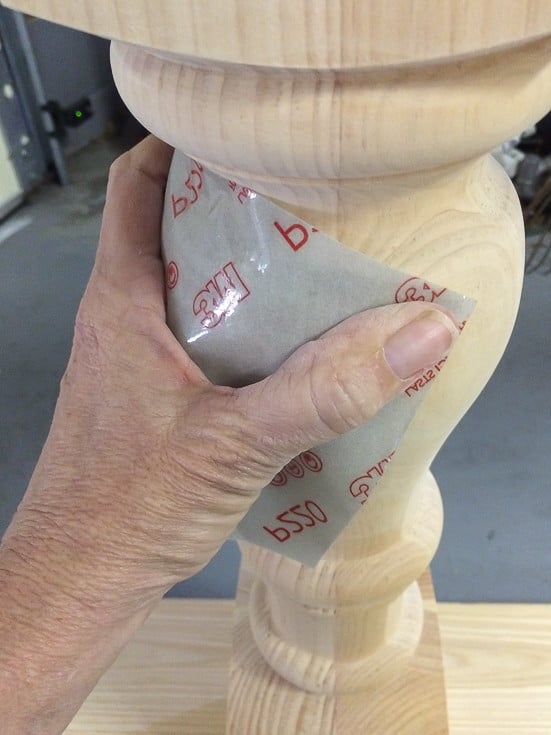
- Then I went over the whole table again with a fine-grit sandpaper. If you have to sand anything that’s not a flat surface, the flexible sandpaper from 3M is a dream come true. It made sanding the round and grooved surfaces on these legs so much easier.
- I went over the whole sofa table with a tack cloth before I put my finish on it. I really went back and forth on what finish to put on the table (the whole Baskin-Robbins 31 flavors syndrome…so many choices…who can choose just one!). I finally decided I just wanted a very simple finish and at the recommendation of a local woodworker, I just used a spray lacquer in a clear, satin finish.
- I did lightly run steel wool over the wood between coats and after the last coat.

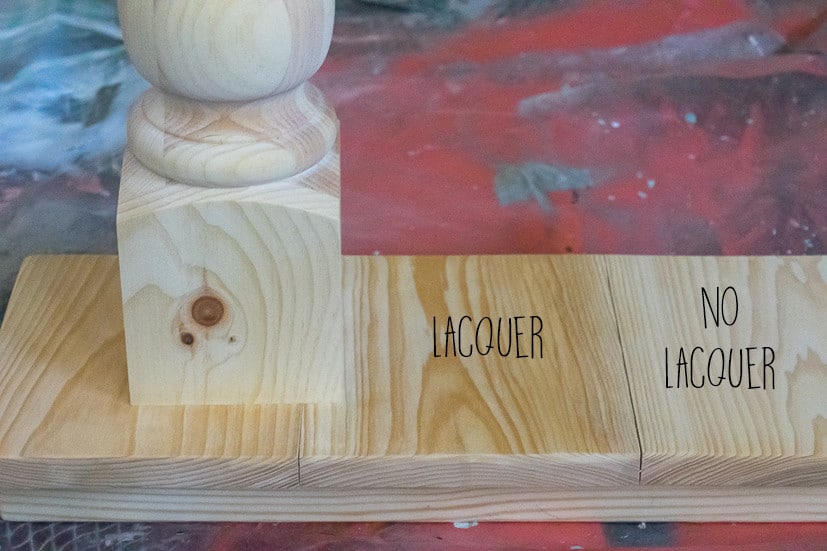
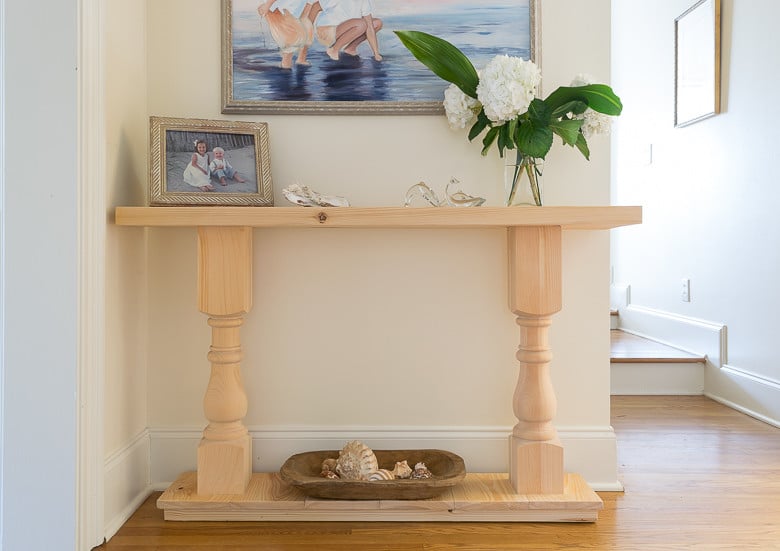
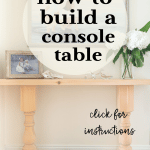
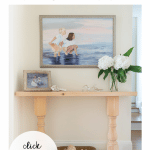
I am thrilled with the way this console table turned out, though I can’t say I won’t change the finish at some point. What do you think…keep natural like this? Age it? What would you do?
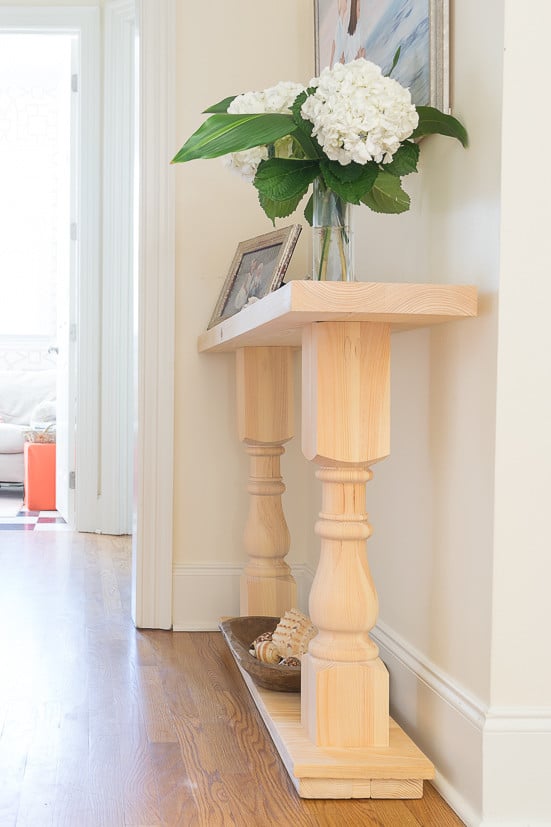
Don’t you just love it? Wait, did you see it from this angle?
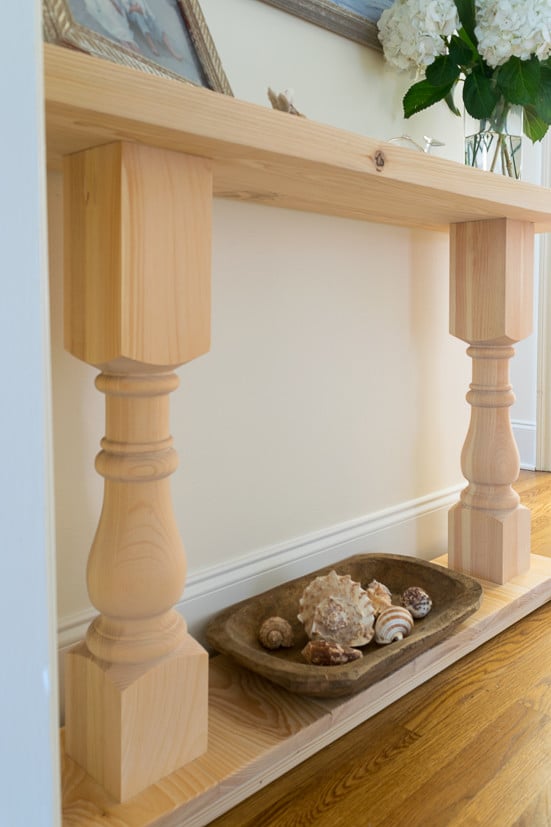
Or this angle?
This was a fun project for Terry and me to do together. But I think he’s a bit worried about what I’m going to do next; now that I am feeling rather invincible! I mean, I can build a console table! The horizon is limitless!
If you think that you might just want to build a console table or skinny sofa table someday, pin it for your future reference.
Thanks so much for spending a few minutes of your busy day with me!
To ensure you don’t miss future content, pop your email in the pale green box on the right or click here. I usually send one email weekly, so I won’t inundate your inbox. I’m sensitive to an overflowing email inbox!
We will only use your email address to send you emails, no more than 1-2 weekly. In addition, you will have access to my growing library of knit & crochet patterns and other printables. Check back often as this library will continue to grow. You can unsubscribe anytime by emailing me or clicking on the “unsubscribe” link at the bottom of all emails.
And you can access many of the products I refer to on my Nourish and Nestle Amazon Page. You can access it here.
So, if you’d like to participate in the ‘subscriber benefit’ action, simply subscribe to Nourish and Nestle here or use the form on the right sidebar. It’s slightly towards the top.
I have sent all my subscribers the link to the Subscriber Benefits Library. If you missed it or misplaced it, let me know.
Until next time…


It looks beautiful, Lynn! Great work.
Thanks Stacy! It was a fun project and now I’m planning my next one.
Holy cow, Lynn! This is gorgeous! I just learned how to use a Kreg jig this week so I think I can make something like this. Your photos and instructions are great!!
Thanks Friend! We could have a Kreg party! It’s a fun little tool and I’m looking forward to finding more things to build! Thanks for stopping by with your kind words.
Hugs, Lynn
Seriously my friend! Is there anything you can’t do!!!! Your console table is just darling. Isn’t it delightful when you can build the perfect table for your space!!! Now I can’t wait to see what you will do next!!!
Hey there friend, I am beyond excited with how this turned out! Now I’m thinking of my next project. It is empowering when you have an idea and are able to bring it to fruition!
Have a great day.
Hugs, Lynn
Stunning! It’s beautiful!
Thanks friend! I wouldn’t have been able to do it without the support and tools of your handy hubby! But now that I’ve dipped my toes in the ‘building waters’ I’m looking for my next project!
Thanks for swinging by and leaving your kind words.
Hugs, Lynn
Wow, Lynn, good for you, this table is perfect and beautiful! Lovely painting too.
Thanks Renee! I am really tickled with it! And not as hard as I thought it would be. And thanks for the painting compliment too!
Have a great day!
Lynn
It looks really great Lynn. Those legs really make the table! I need to get me a kreg jig one of these days. I say leave it as is for now, the wood grain is beautiful, and if you get tired of it you can always paint it.
My thoughts exactly Mary! I am happy with how it is now but next week, I may change my mind…I know you understand that!
Hope all is well in your world!
Hugs, Lynn
Lynn, this looks amazing! Well done! I’ve got a similar space by my door that I was thinking of buying a really narrow console or hall tree, but now that I’ve seen you build a console table I may be tempted to build as well. If I do I’ll probably do a dark stain (since all my other woods in the area are dark) or do distressed white paint.
Hey Liz…do it! It was really quite easy, very fun and satisfying. My husband keeps walking by and saying, ‘can you believe we built this?’ and I’m like, ‘well of course! I never had a doubt!’.
Wishing you a lovely weekend…stay warm…looks like winter doesn’t want to give up.
Hugs, Lynn
Wow this looks like it came straight out of pottery barn. Gorgeous. Well done Lynn.
Aw thanks Michelle! I really enjoyed making this and now I’m looking forward to other projects. I appreciate you swinging by today.
Hugs, Lynn
Lynn,
It turned out amazing! You even have it styled perfectly. You should give yourself a pat on the back. You have inspired me to take on something of this scope…I am guilty of passing projects of this nature off to my husband. Way to go, my sweet friend!
Much Love,
Erica
Hey Erica, you know…it was rather empowering! I really enjoyed every minute of it and am noodling another project…my wheels are spinning! Thanks so much for swinging by today!
hugs, Lynn
Love this table! Curious of it’s total height?
Good Morning Andrea! I love the table too! It is just perfect for what I needed/wanted. Its height, from floor to top of the table is 33″.
Have a great day my friend.
Hugs, Lynn
Would you mind sharing the cost of this project? Not the tools…mainly just the wood and legs – I have everything else. I plan to make this soon! Thank you!!
Hi Laura,
I used these legs and the cost depends on the wood ( I used the pine). https://www.osbornewood.com/1130.aspx
The cypress for the top cost approximately $50, but you might be able to find a slab of pine cheaper.
Happy Building!!!
I’m using this as inspiration to build something very similar! But I’m having trouble finding the right wood that is the right size (2inch thick x12 inch wide x 5 ft length). Where did you purchase the slabs you used for the base and top?
Good Morning Irina,
I purchased my top at a local hardwoods store. I had no luck at the big box hardware stores either. Not sure where you live, but I don’t live in a big metro area, so I feel that if I was able to find it locally you will probably be able to as well.
Good luck!
Hugs, Lynn
Hello! I was wondering if you have a printable PDF file of this? I love this table! Its exactly what I have been looking for! Thanks!
Hi Beckey,
I don’t have a PDF for this yet…but it’s a great idea for me to make one. I’ll definitely do it, but I can’t tell you exactly when I’ll get it done. As soon as I do I’ll let you know. If you go ahead and do it, I’d love to see a picture of it!
Hugs,
Lynn