Cricut Explore Air – a Handy Tool for Crafters
I received some exciting news at the beginning of the year; no, I didn’t win the lottery. But close! I was invited to join Cricut’s blogger program. Say what? You don’t know what a Cricut (pronounced ‘Cricket’) is?
Well, truth be told, up until a year ago, I didn’t either. But once I became wise to these little machines, I’ve been ‘chirping’ (get it?) in Terry’s ear that I thought I really ‘needed’ one. It should come as no surprise that I love to make things and any tool that helps me expand my creative options is something that I surely ‘need’.
Some of these are affiliate links and I will earn a small commission off of the sale of these products, but the price you are charged is not affected. You can see my full disclosure policy here.
In a nutshell, a Cricut is a printer that also cuts. And when I say ‘cuts’ I mean it cuts LOTS of things. You would expect it to cut paper, but what about… vinyl? fabric? wood? aluminum? leather? “Yes”,”Yes”, “Yes”,”Yes” and “YES!”
As a printer, it can also, well…print. But truthfully, it’s more of a ‘writer’ than a ‘printer’ as you can see in the video I’ve included below.
It’s also capable of ‘scoring’ if you wanted to have fold lines for a box or envelope.

Table of Contents

I’ve had this nifty little machine for about a month now and am just scratching the surface of what it can do…but DANG! I have lots of ideas swirling around my nugget!
It is fair to say that I am a complete newbie to these machines and as such, though it’d be handy for the rest of the newbies or potential newbies out there to give you a little newbie perspective.
With your basic Cricut, you will get the blade and the cutting mat. And with a little cardstock, you can make envelopes and die cut designs for cards or scrapbooking. If you add some pens to mix, you can then make and write on cards or labels. With a roll of vinyl, you can cut monograms and designs for your windows, walls, vases, etc… You can see that the possibilities are really endless.

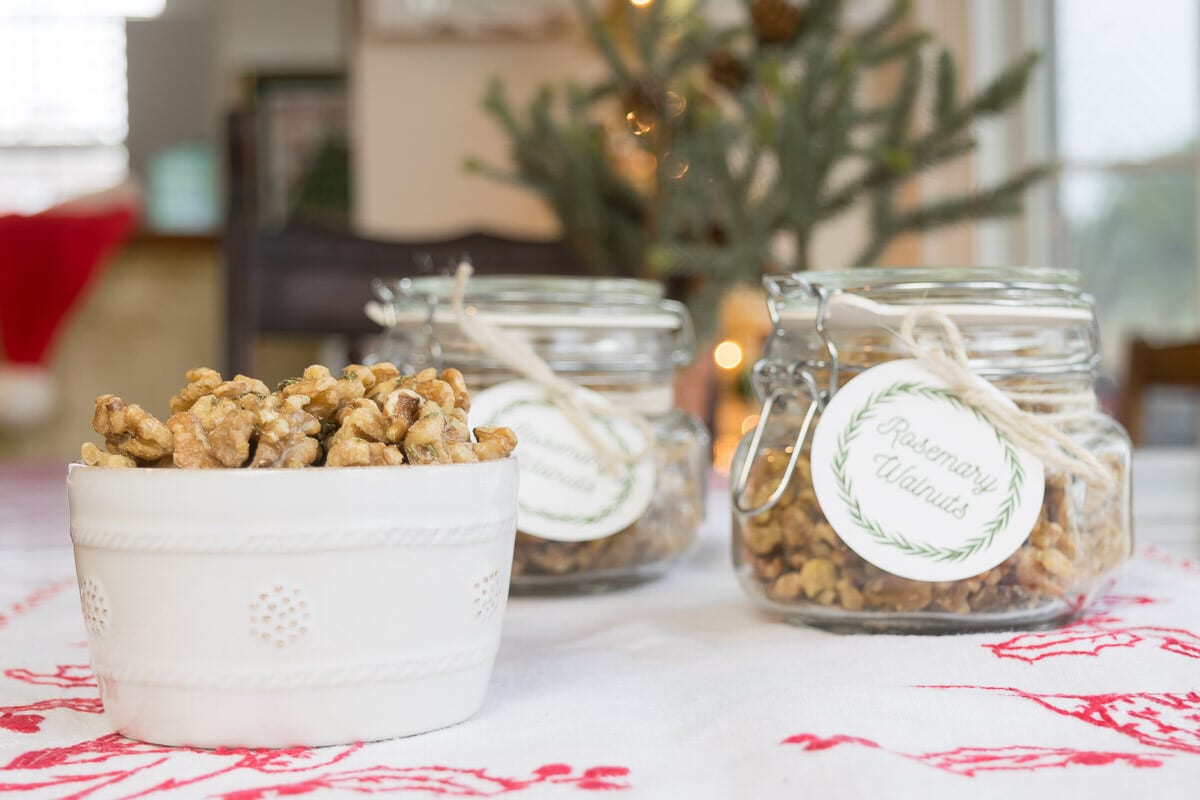
My first project with my Cricut was these little tags I made last week for the jars of my Orange Marmalade.
Getting started with Cricut:
I found the directions that came with the Cricut extremely easy to understand and implement. Truly, once you plug everything in, you are walked through the setup process.
A sample project with explicit instructions is included with your machine which helps you jump right on in, with plenty of guidance. But, if you do run into questions along the way, I found the Cricut chat team extremely helpful. They do have the ability to go into your project and give you specific guidance as to what you need to do, which I found to be invaluable.
So once I did their sample project, I was chomping at the bit to try my own project from scratch. Which reminds me, they have plenty of projects in which the list of supplies and explicit instructions are included. So if you aren’t feeling particularly creative at a certain moment, you could still find something that fit your needs and produce a card, a box, a vinyl sticker, a monogram, you name it in a project form on Cricut Access.
What I needed to make these tags:
Cardstock
How I made the tags:
You know I’m a firm believer in ‘a picture is worth a thousand words’, so to that end, I made a little video to show you step by step how I made these tags in the Cricut Design Space, which is the software that comes with every Cricut.
It’s fun to have another option to use to create. Now that I have one of these cool machines I see things and think to myself, ‘Hey, I bet I could make that with my Cricut!’

As I said, I am still a newbie in the world of Cricut-dom, but I’d be glad to answer any questions you might have about my experiences as a new Cricut user. And if you want to refer to this point someday down the road, pin this!
And many thanks to @OfficialCricut #CricutMade for this opportunity to work with them!
I’m so glad you stopped by to visit today, I appreciate you more than you’ll ever know. And when you leave a comment…ah, it makes my heart sing! If you want to see what I’m up to from week to week, sign up here for updates.
I have published printable PDFs of several of my most popular knit patterns and printables and have made those available to all of my subscribers. Come back and check every now and again. I will continue to add patterns and printables to this page as we go along.
So, if you’d like to get in on the ‘subscriber benefit’ action, simply subscribe to Nourish and Nestle using the form on the right sidebar. It’s towards the top a bit. I have sent all my subscribers the link to the Subscriber Benefits Library, but if you missed it or misplaced it, drop me a line.
Until next time,
This is a sponsored conversation written by me on behalf of Cricut. The opinions and text are all mine.


