
DIY Linen Tablecloth and Napkins
An easy DIY tutorial for a raw edge linen tablecloth
I have a thing for lovely linens. I undoubtedly inherited this penchant of mine directly from my Grandma, who lived with us for the last 14 years of her life.
Grandma embroidered all our sheets and pillowcases and sewed many napkins and tablecloths for our use. Because of Grandma, my kitchen has been basically paperless for the past 15 years or so.
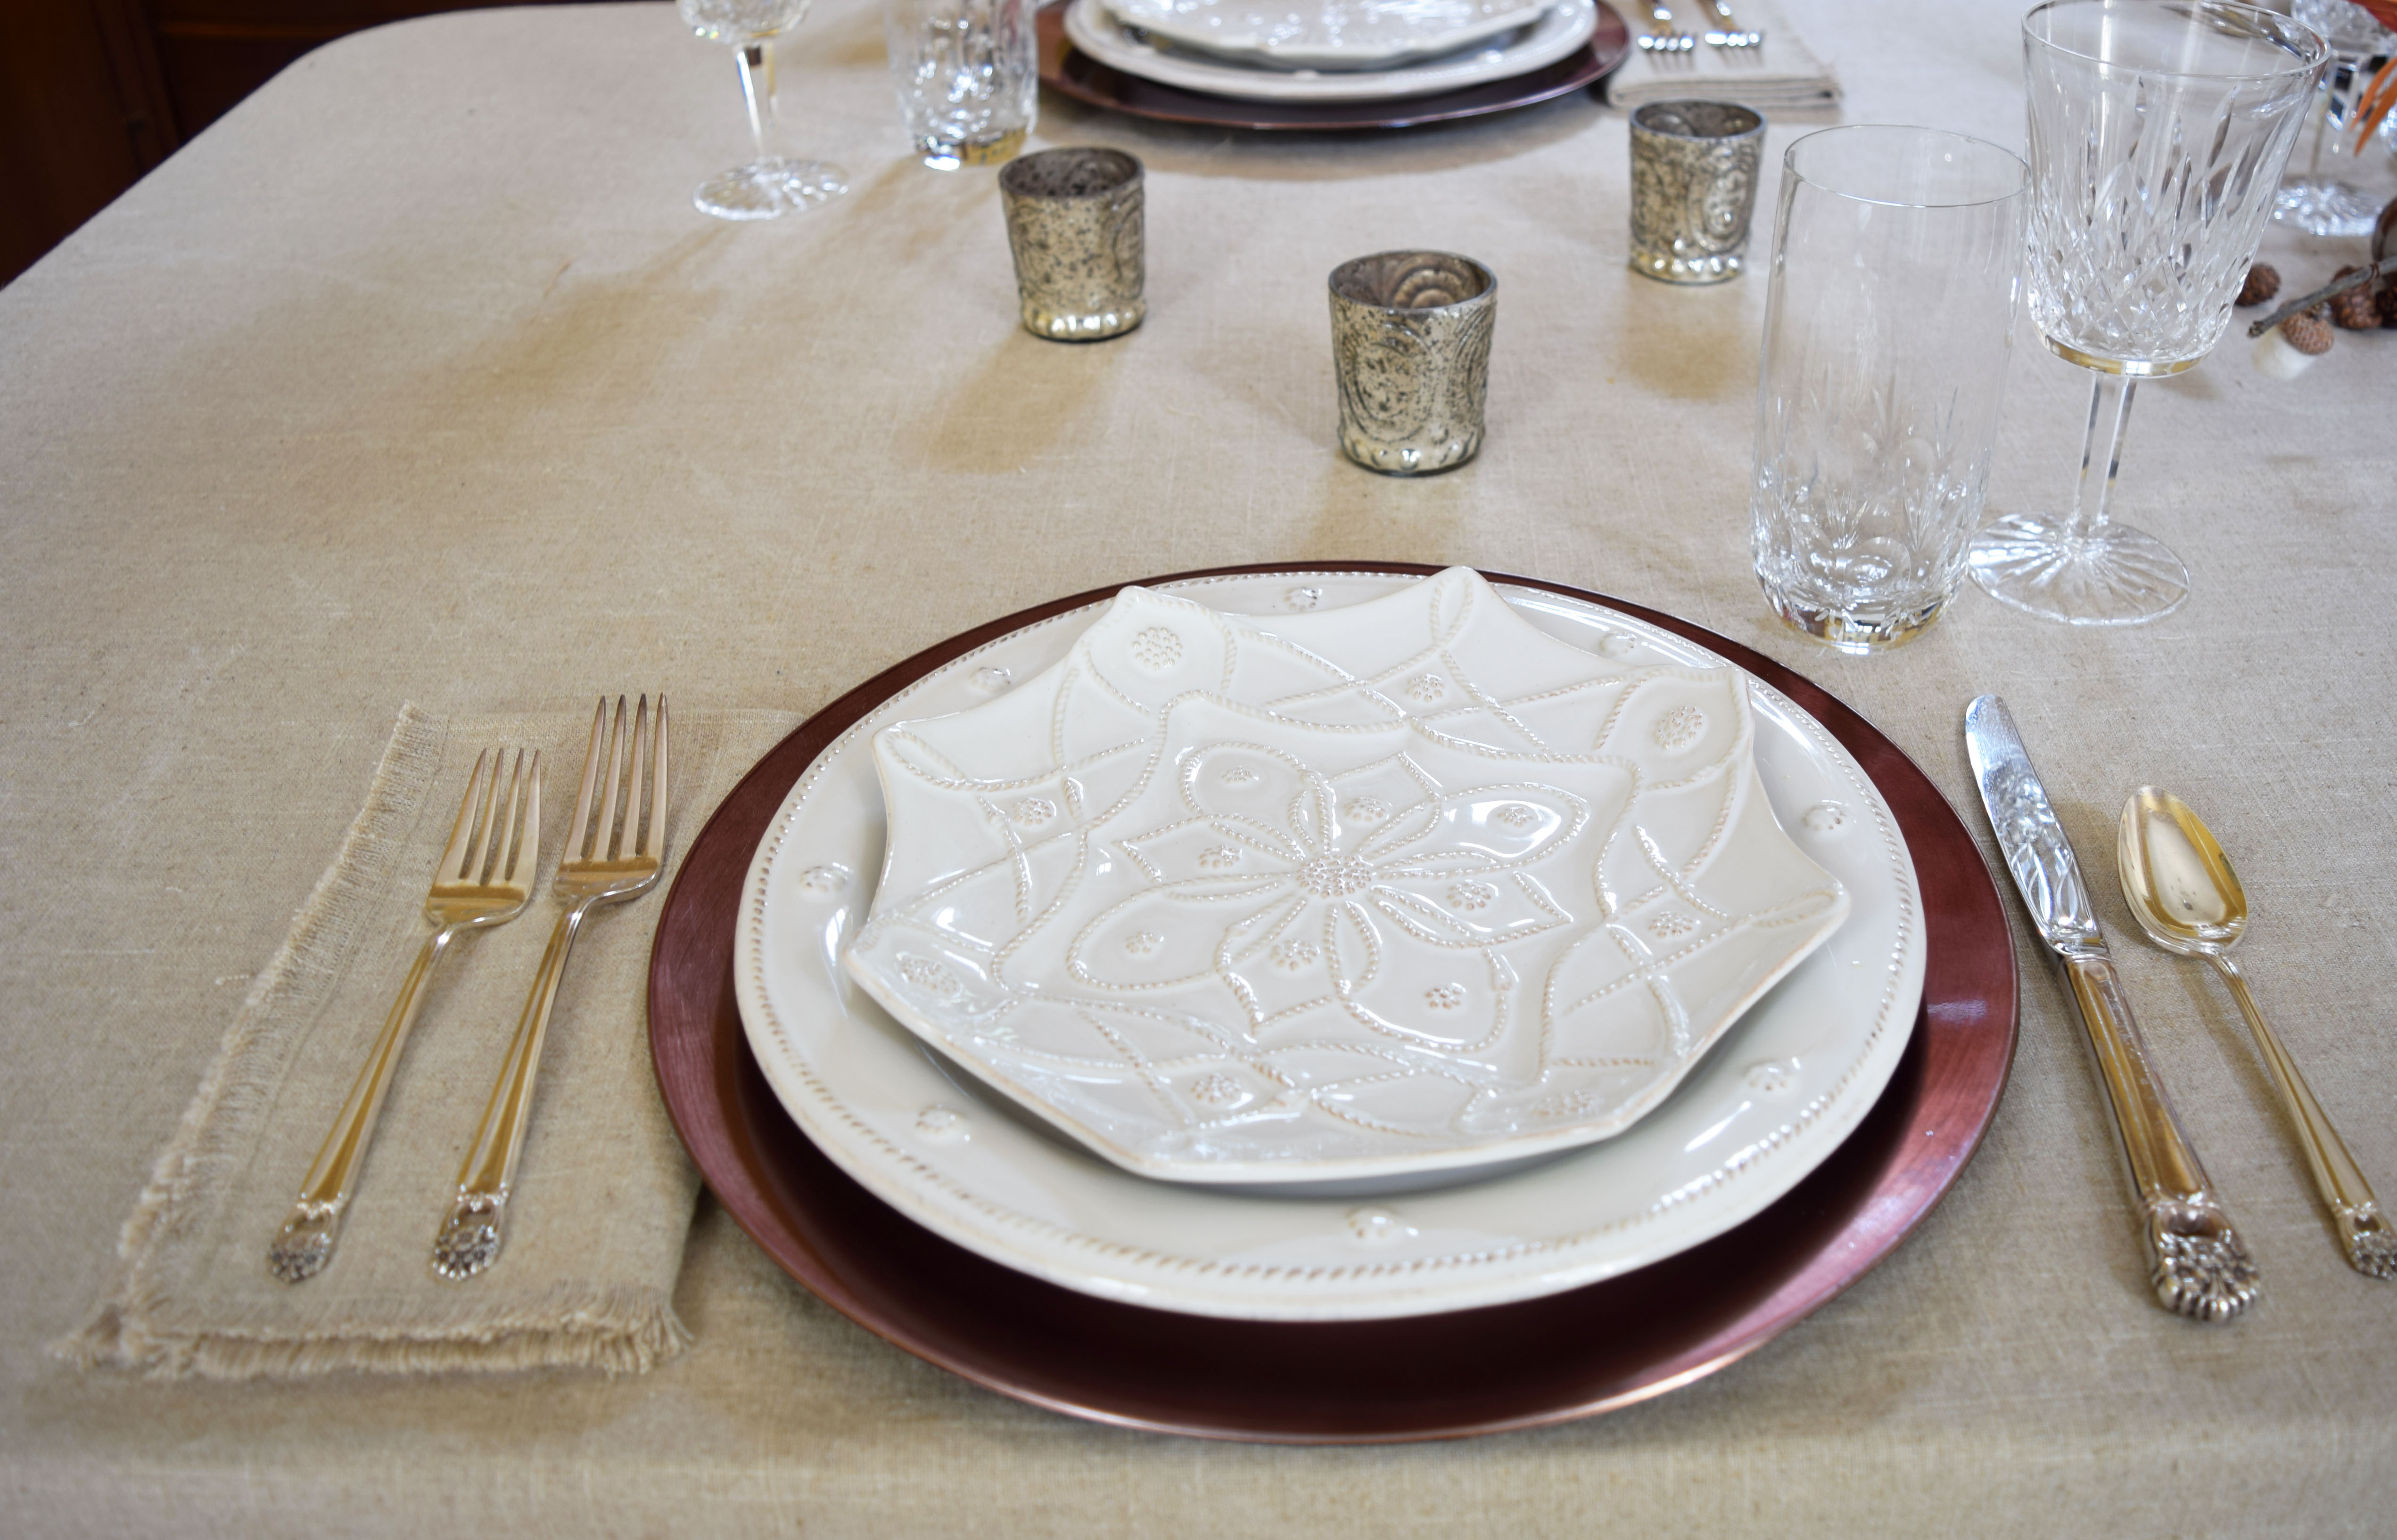
I made linen cocktail napkins a wee bit back, and with Fall approaching, I’ve been hankering for a linen tablecloth as the canvas for my Thanksgiving table. I liked the washable linen I used for my cocktail napkins and decided the same fabric would work fine for a linen tablecloth.
So, without further ado, here are my instructions for making a linen tablecloth and napkins.
Some of these links may be Amazon affiliate links and I may earn a small commission from the sale of these products to help defray the costs of operating this site, but the price you are charged is not affected. You can see my full disclosure policy here.
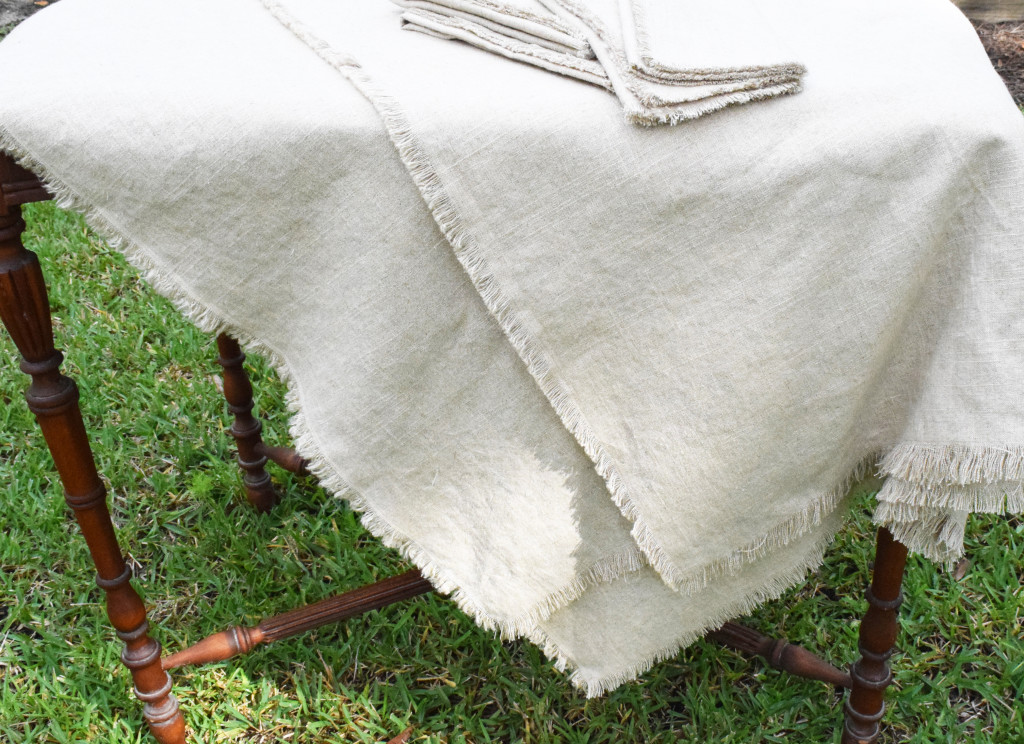
Wide linen helps you achieve the drop you want for your tablecloth. The most common drop length is 12″, but you’ll see drops anywhere from 8″ to 16″.
I had initially planned to put a simple hem all the way around the tablecloth. But before I was going to do that, I wanted to wash it, so I just put in a loose zig zag on the raw edges. But, as is usually the case with me, something unexpected strikes my fancy and I change course.
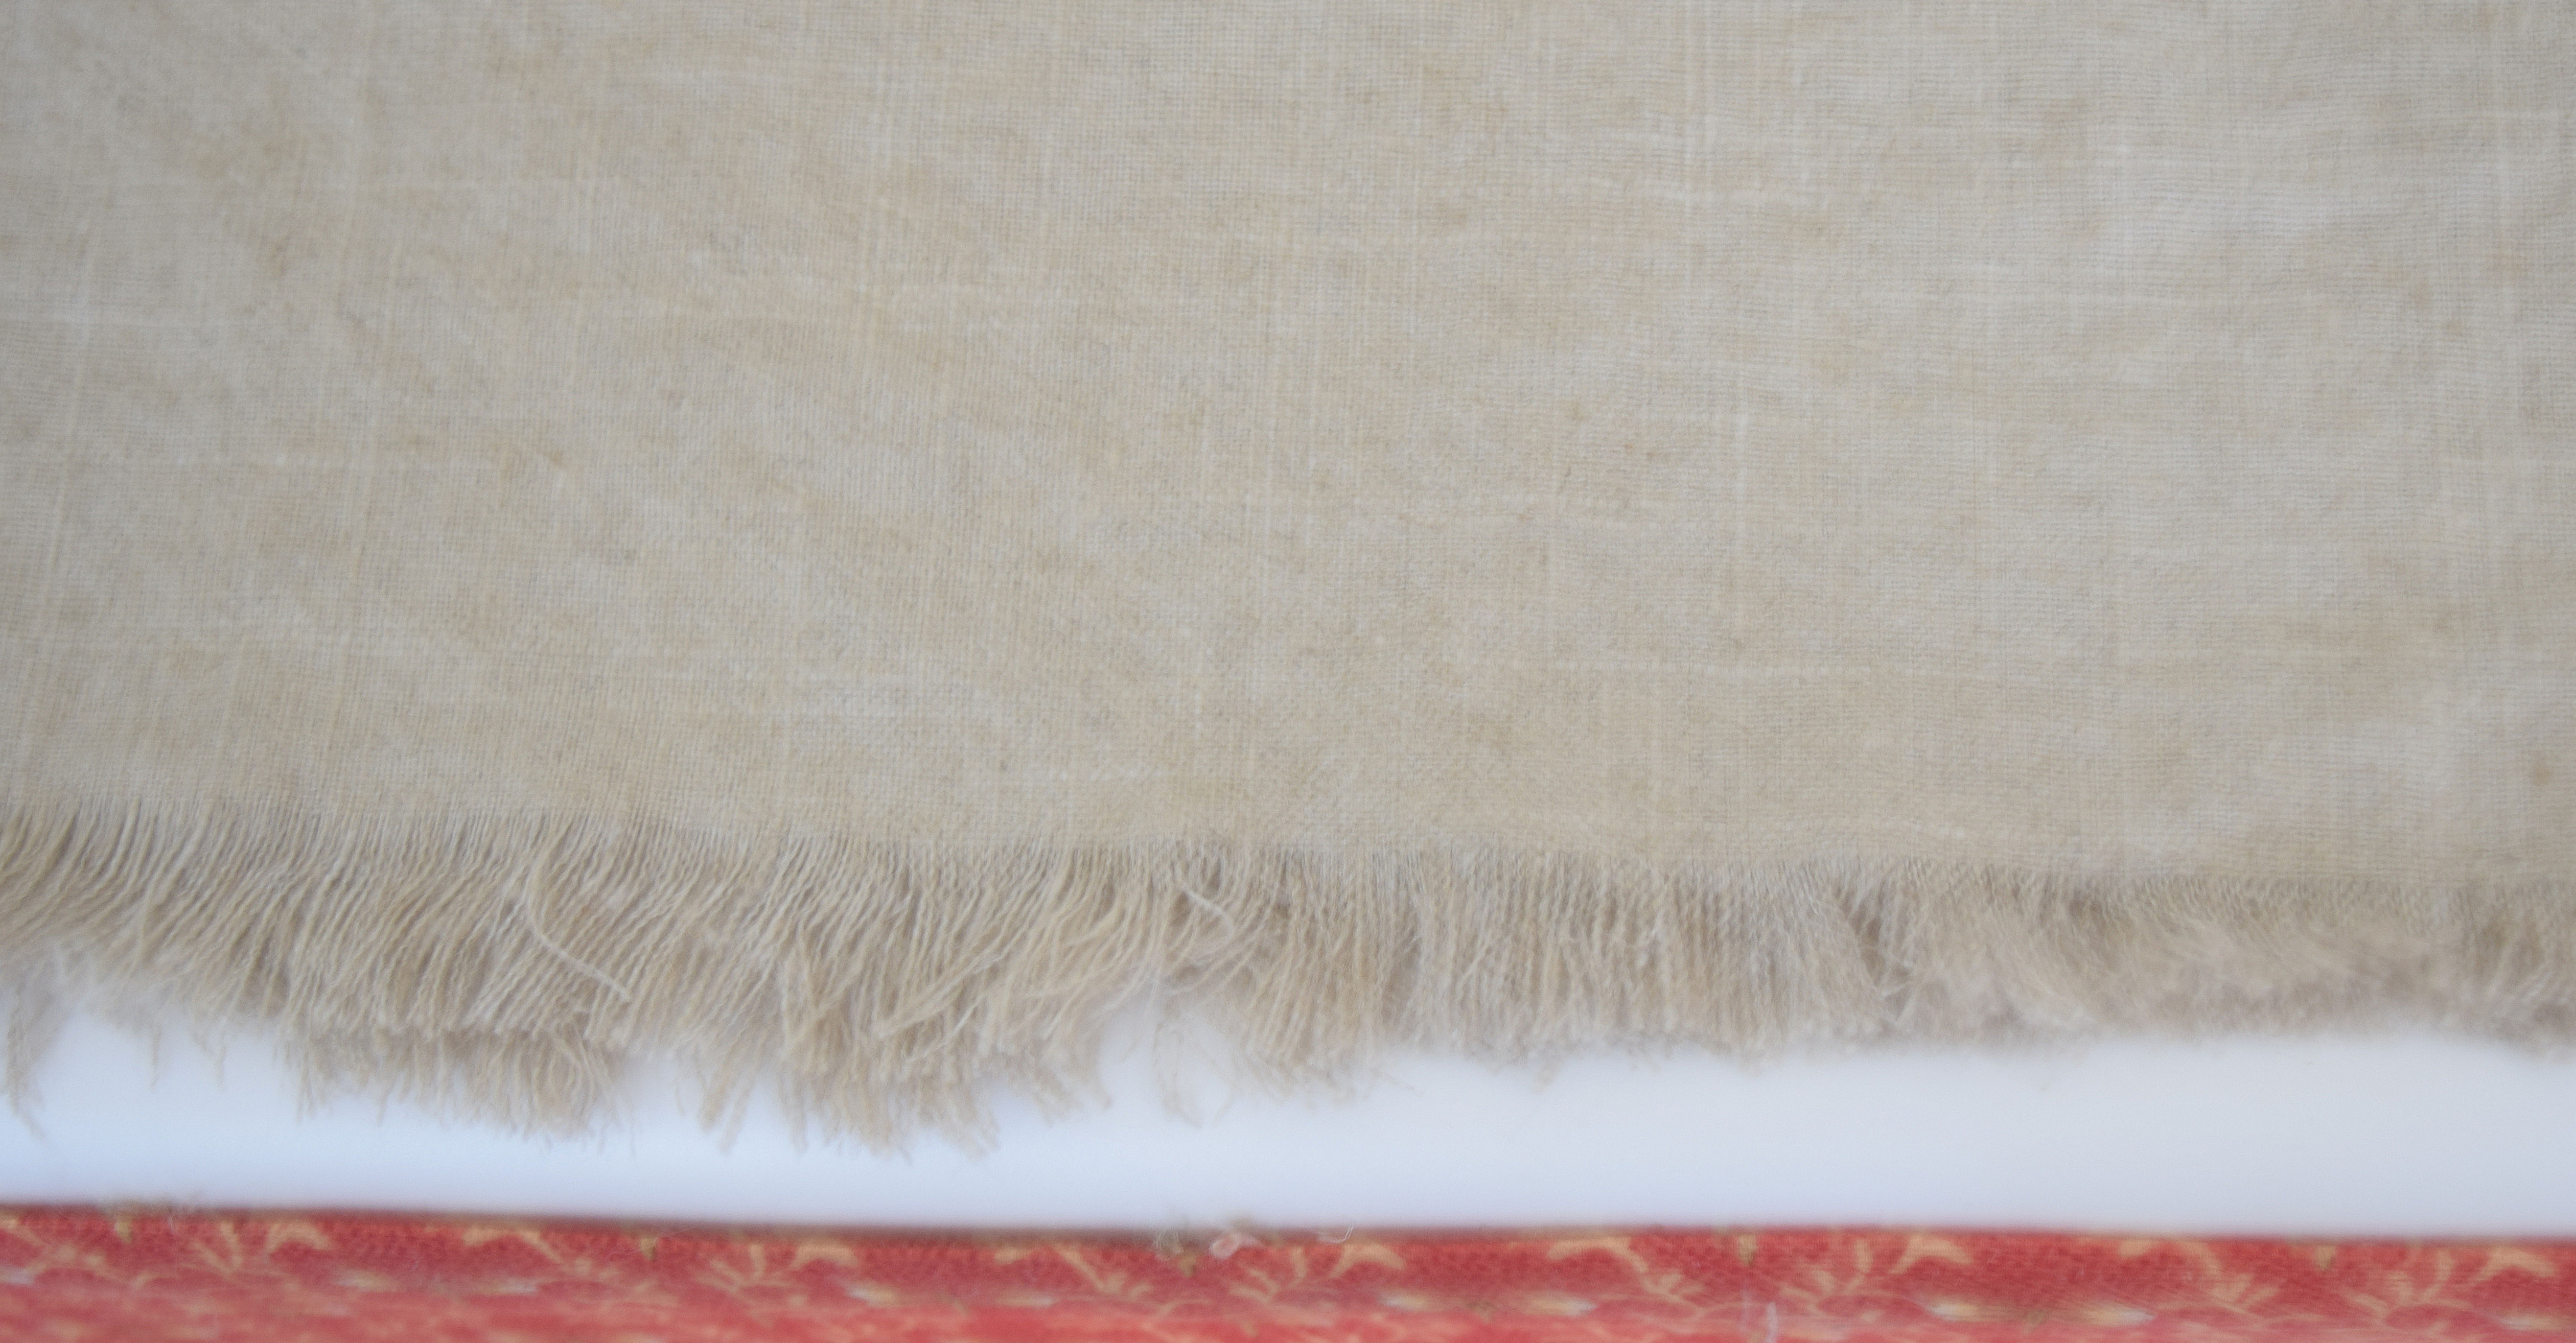
Part of my zig zag stitch came loose in the wash and a wee bit of the raw edge became frayed…and I liked it!
A note about ‘washable’ linen. The linen I used is 55% linen and 45% rayon. The rayon helps the linen be more ‘drapey’ rather than ‘crisp’ and doesn’t wrinkle quite as much as 100% linen. It did shrink a wee bit in the wash, but not enough to be significant. I washed it in cold water and tumble-dried it on very low heat. I can easily see setting a table without ironing this tablecloth. It has just a bit of a scrunch to it when not ironed, but not enough to be considered messy.
Here’s What You Need To Make Your Linen Tablecloth and Napkins:
- Washable linen in desired length. I bought 2.25 yards for the tablecloth and another 1.5 yards for 8 18″ square napkins.
- Sewing Machine
- Thread in a complementary color
- Seam Ripper
- T-Square or L-Square Ruler
Here’s How to Make your Linen Tablecloth and Napkins:
- The hardest part of this whole project is getting your cuts straight. Line up the selvage edge of your fabric with your T-Square or L-Square and cut so that the unfinished end is as straight as possible. No judgment on our very rusty L-square…Terry found it at a work site!
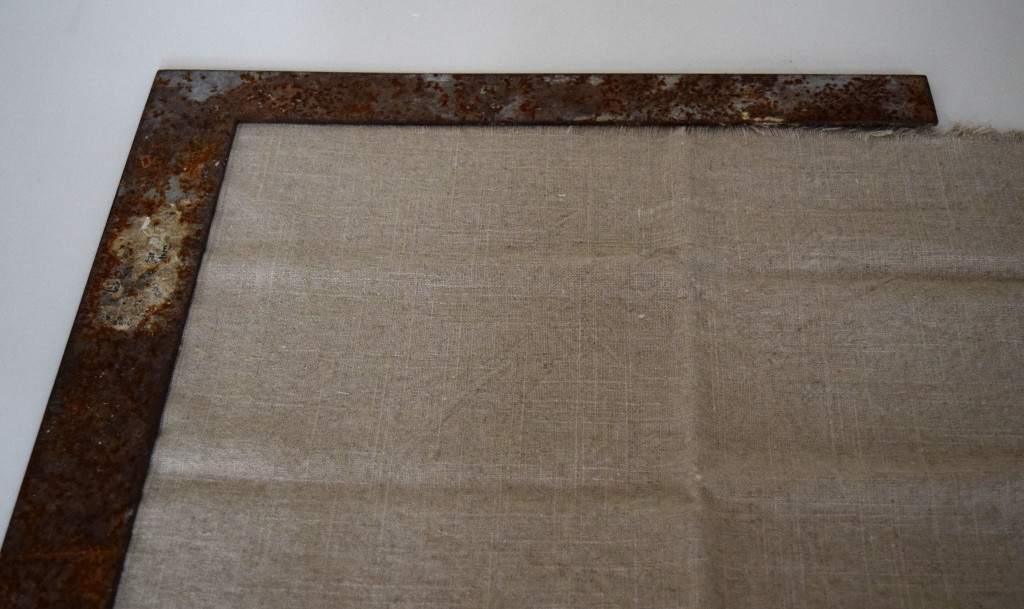
Table of Contents
- I didn’t have a single straight edge on any of the napkins or the tablecloth, so when I started pulling threads, I could really see how crooked everything was. That’s not a problem; I can fix that later.
- Determine how wide you want your fringe. If you’re not careful, you could pull too many out. If your sides are fantastically straight, you could run a thread along the sides before you start fringing, and that would prevent the fringe/fray from going any further. But if you don’t know how straight your sides are until you start pulling threads, I wouldn’t sew that finishing stitch until the end.
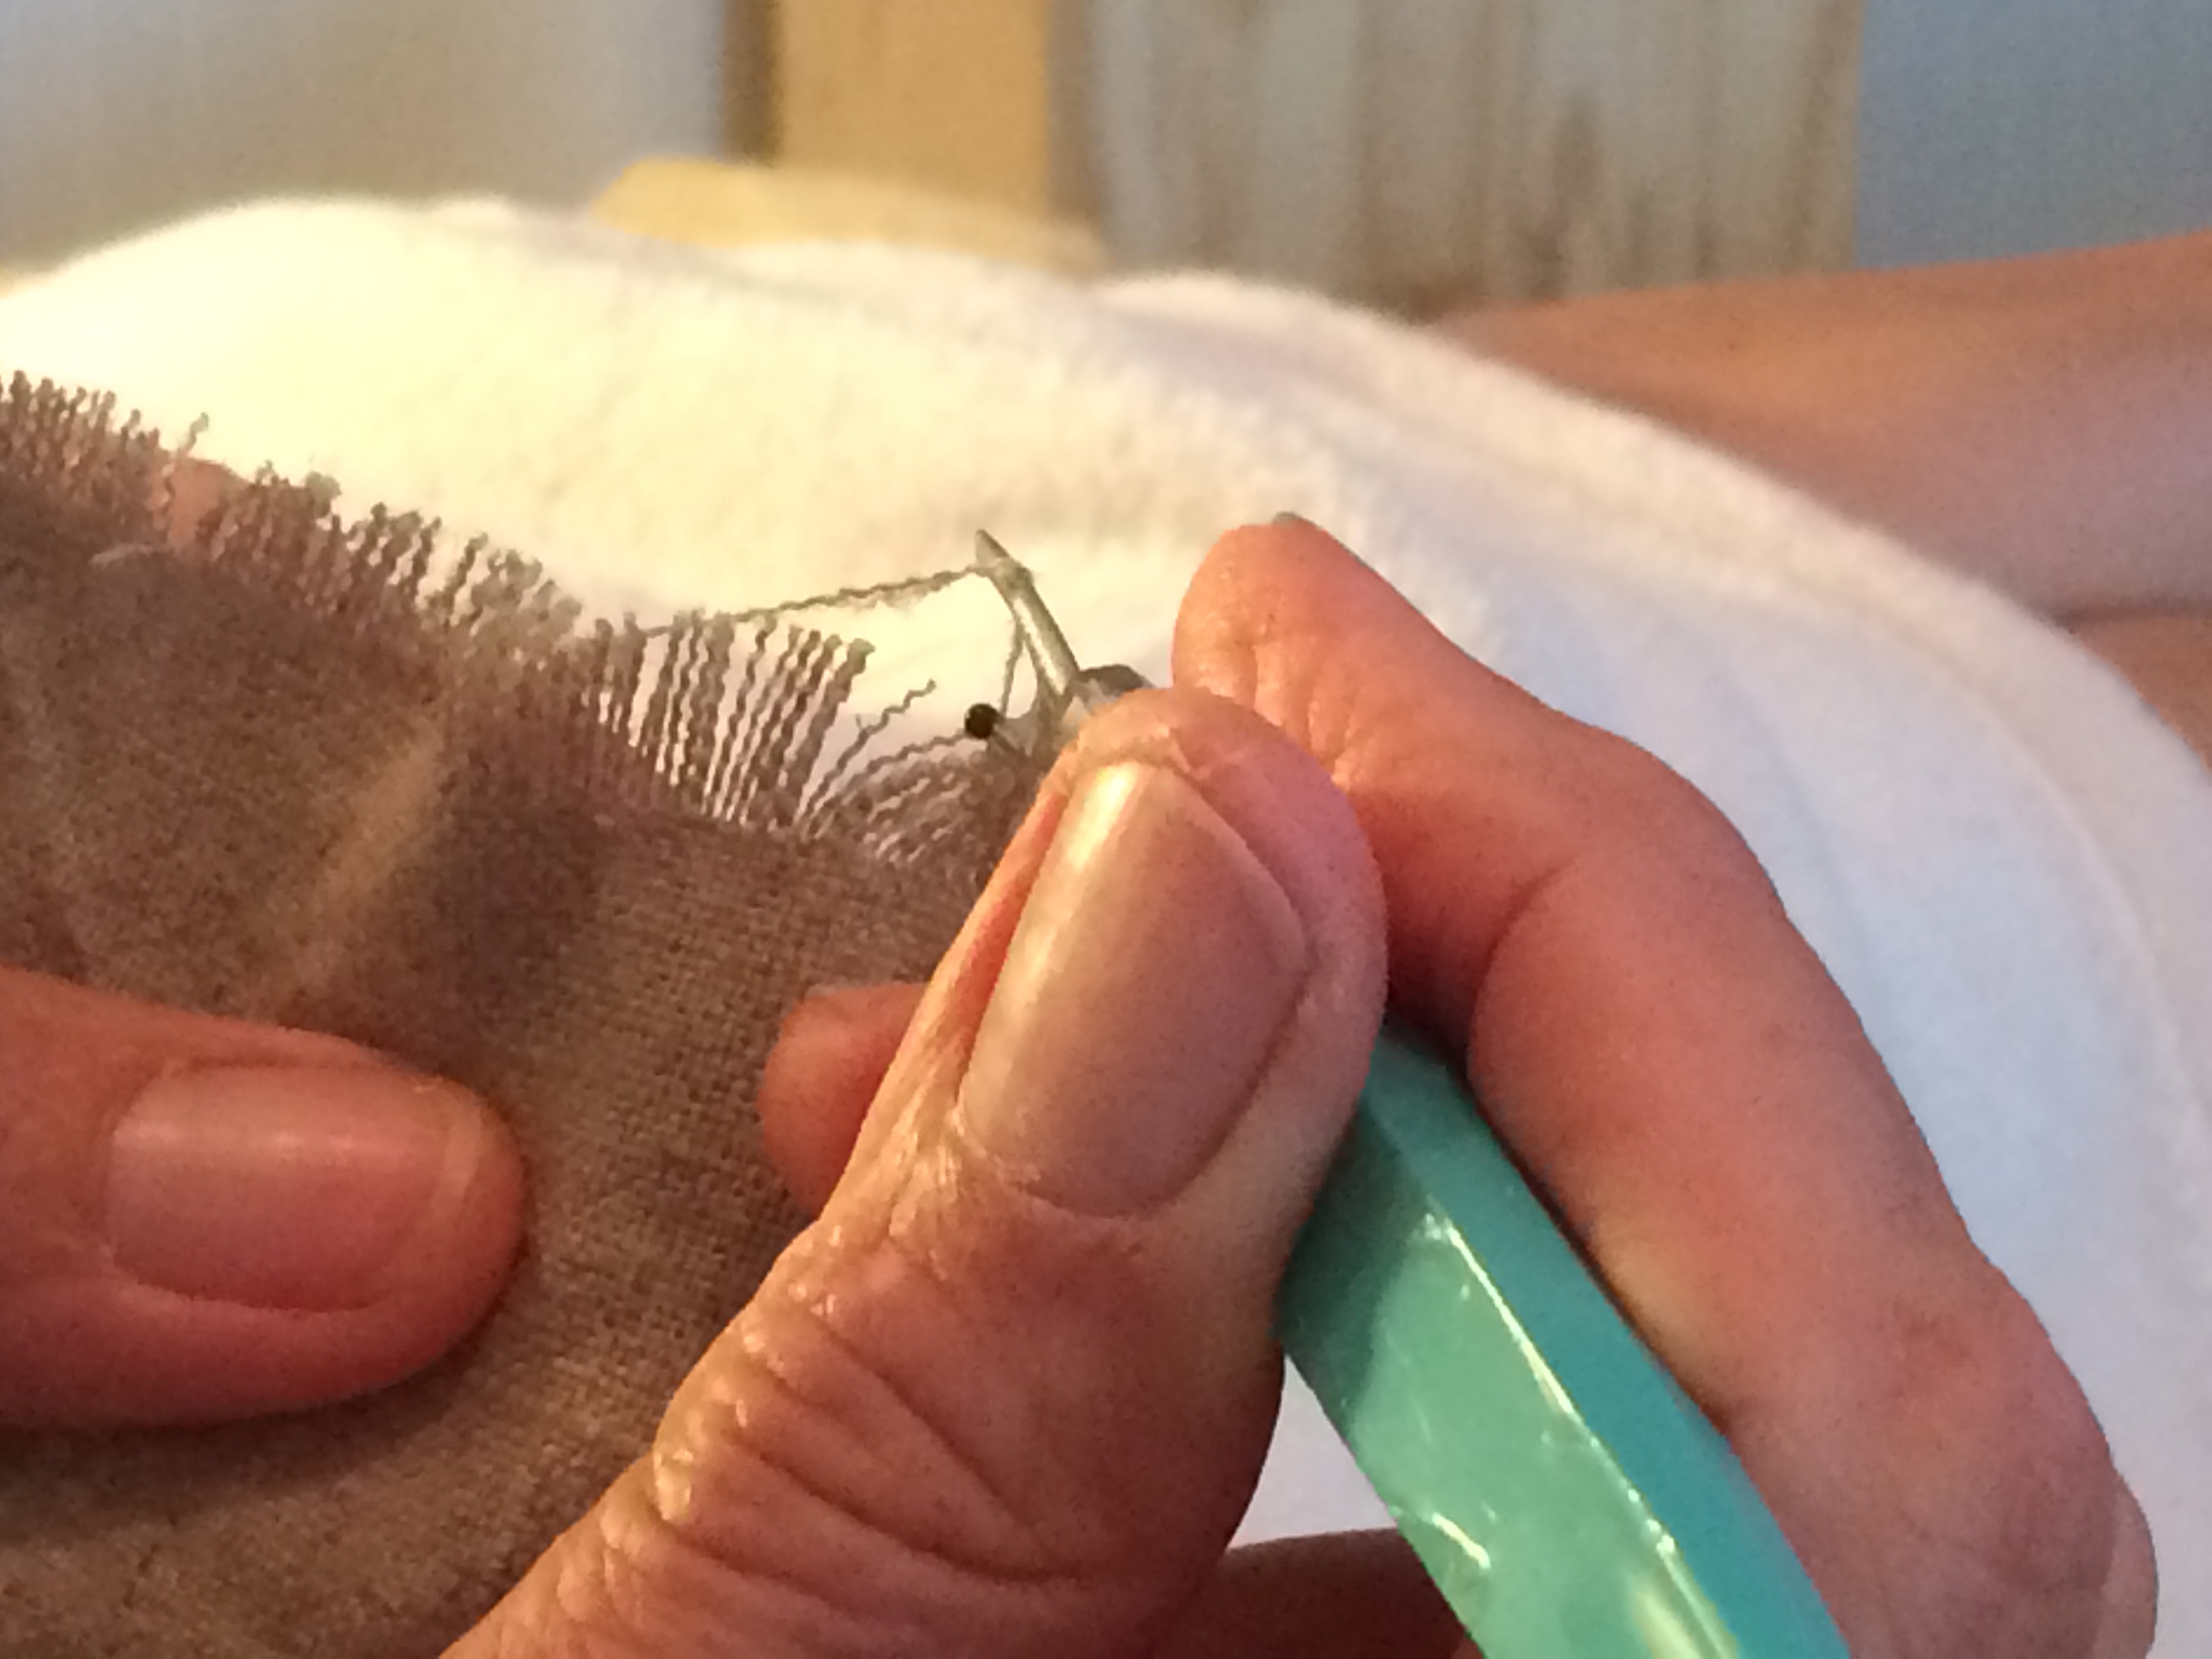
- Once you have your edges as straight as possible, you can start pulling your threads…the fun part. You’ll notice that your selvage edges will have a thread, usually a contrasting color, running the length of the fabric. You’re going to have to get that thread out. I just went in with a seam ripper and ‘broke’ it at various points and was able to pick it up and pull it out in many different areas. This reminds me that this part is tied with getting your cuts straight in terms of being the hardest part.

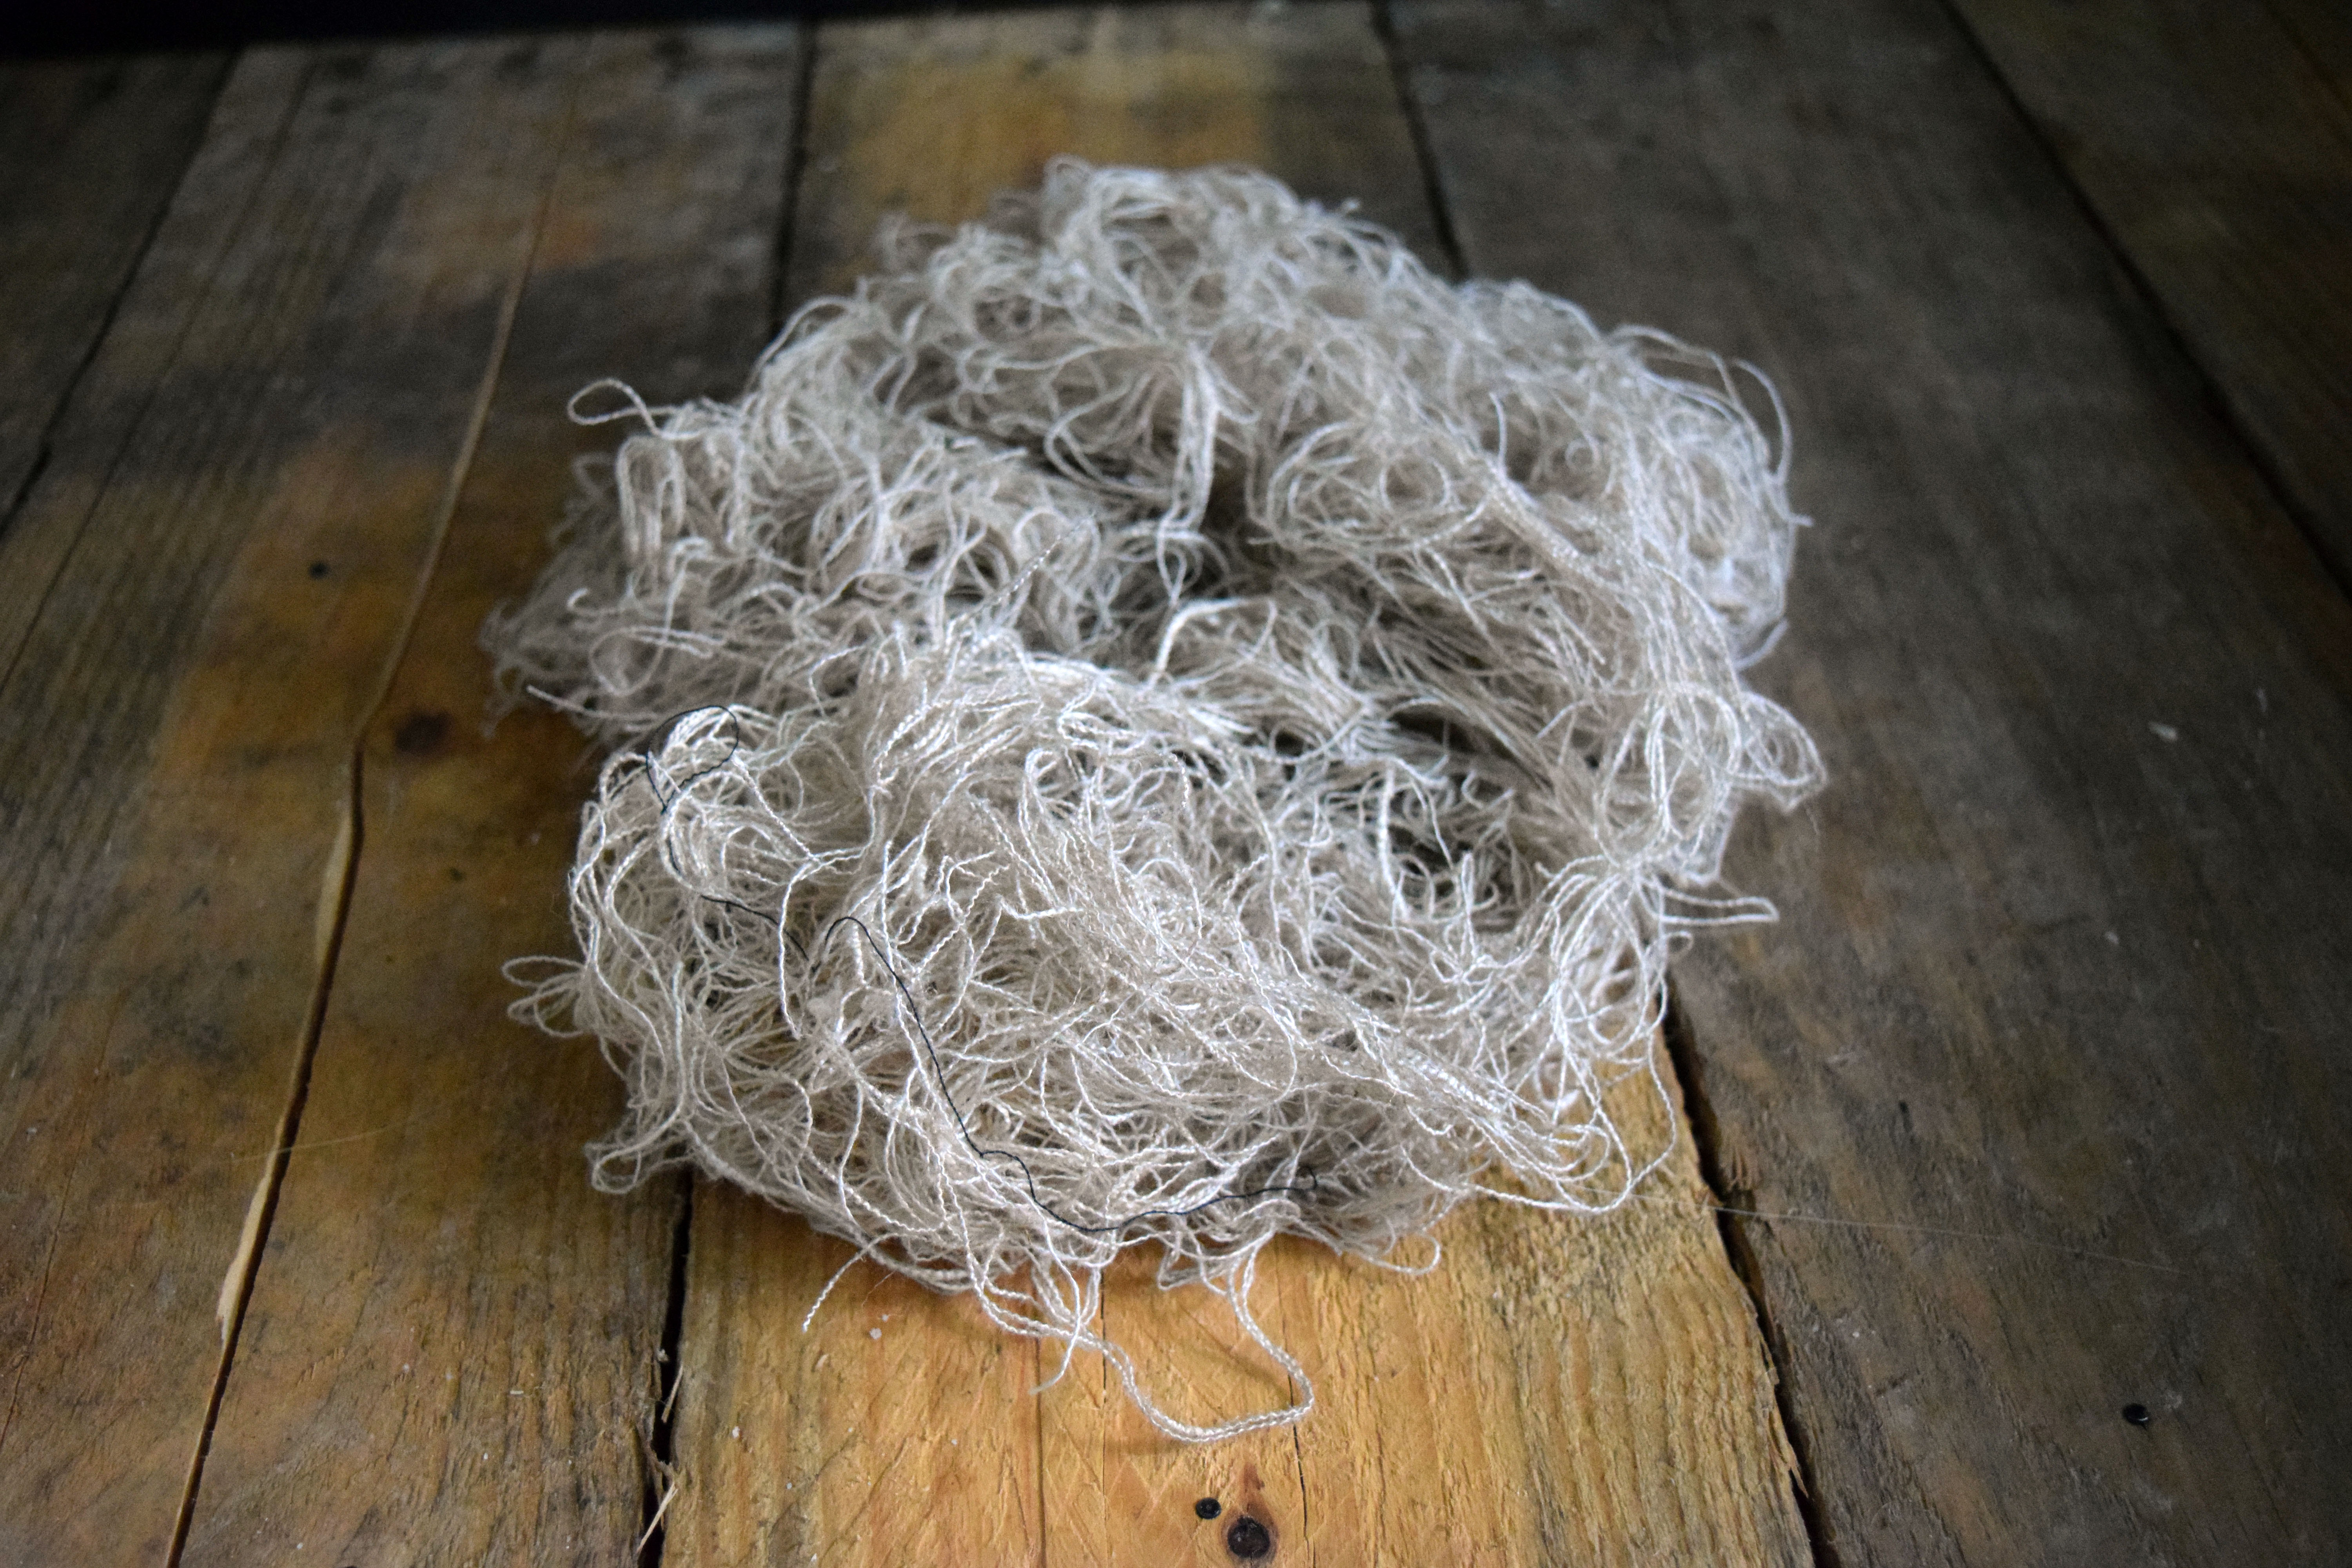
- For fun, I kept the thread I pulled out of the tablecloth and napkins just to see how much I took out. Once I was done, I put the thread in an onion mesh bag and hung it on a tree outside so that my local birds could have linen-lined nests. When my 16-year old son saw what I was doing all he said was, “You are such a hippie” while he shook his head. I don’t know about that, it’d just seemed like it would be a sin to throw it away.

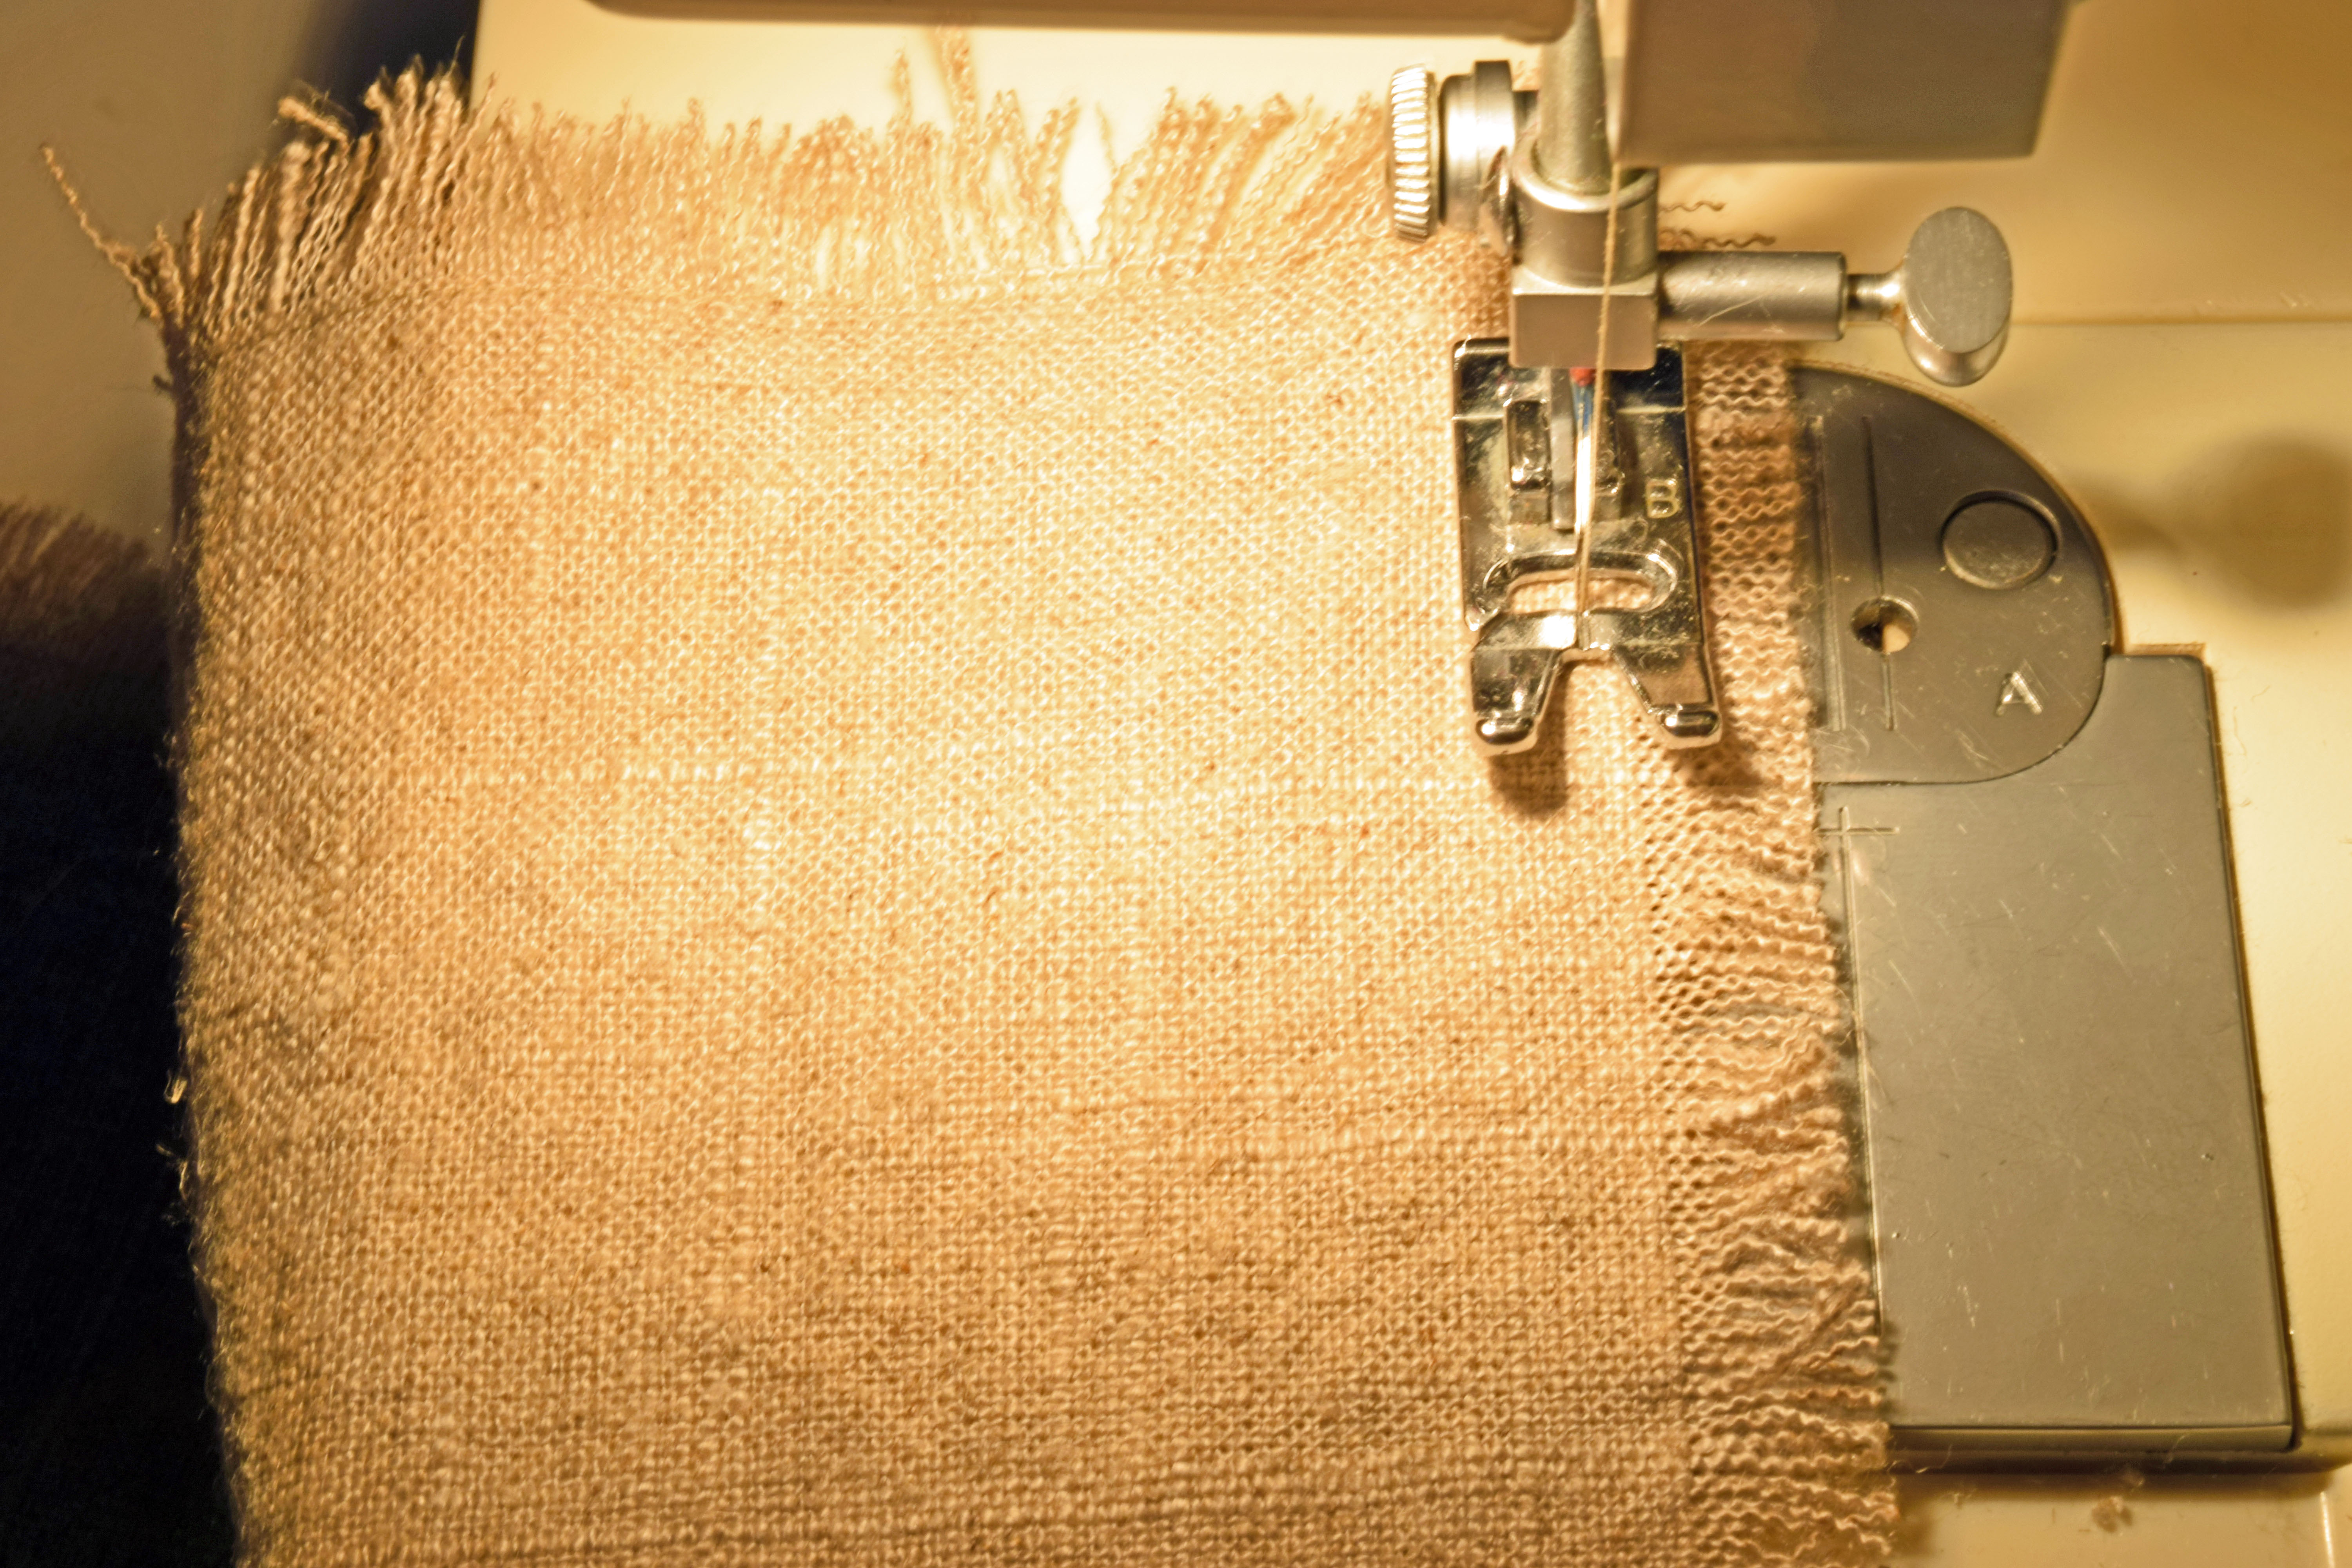
- Once you’ve pulled your threads so that the shortest portion of your fringe is as long as you want all your fringe, run a seam just inside of the fringe on the tablecloth fabric to prevent any more unwanted ‘fringe-ing’. Sorry for the off-color of this photo! I know not to have my sewing machine light on in photos, but I had a lapse.
- Now, you can cut your fringe to make it more even. I just eyeballed it, but you could use a gridded cutting mat or the L-Square if you’d prefer.


This is a seriously easy and relatively immediate gratification kind of project. Get started now for the holidays!

Juliska Jardins Du Monde “Alcazar” Dessert Plate
Thanks so much for spending a few minutes of your busy day with me!
To ensure you don’t miss future content, pop your email in the pale green box on the right or click here. I usually send one email weekly, so I won’t inundate your inbox. I’m sensitive to an overflowing email inbox!
We will only use your email address to send you emails, no more than 1-2 weekly. In addition, you will have access to my growing library of knit & crochet patterns and other printables. Check back often as this library will continue to grow. You can unsubscribe anytime by emailing me or clicking on the “unsubscribe” link at the bottom of all emails.
And you can access many of the products I refer to on my Nourish and Nestle Amazon Page. You can access it here.
So, if you’d like to participate in the ‘subscriber benefit’ action, simply subscribe to Nourish and Nestle here or use the form on the right sidebar. It’s slightly towards the top.
I have sent all my subscribers the link to the Subscriber Benefits Library. If you missed it or misplaced it, let me know.
Until next time…


This is just beautiful and you make it all look so simple. It’s perfect for this time of year.
Hi Susan, thanks for your kind words. This project truly was very simple…hope you give it a try and thanks for visiting today! ?
Lynn
Beautiful! Can you share where the fabric was from?
Sure Chris, I purchased mine at our local Mill Outlet Village in Wilmington, NC. There are several in NC. If you’re out of state, I’m sure your local fabric outlet or JoAnn’s will have washable linen. Have fun with the project!
What a gorgeous wedding. Lovely photos! Loved all the colour and outfits. The bride was beautiful!!
Wasn’t she gorgeous! And she’s that beautiful inside too!
Hi Beth, I purchase mine at Mill Outlet Village in Wilmington, NC. If you are in NC, there are several of them around. If not, you might even be able to find washable linen at JoAnn’s. Good Luck!
I love anything with a little fringe & your DIY is perfect for Thanksgiving. How cool is that you even shared the “fringe love” with the birds?!? So creative…..great post! 🙂
Thanks Tiffani…Hoping to catch a glimpse of the birds pulling out threads! That would make my heart smile!
Those are beautiful! Great tutorial and your table iooks amazing! Thank you for a great how to!
Thanks Beth Ann…Hope you give it a try and Happy Fall!
This is just beautiful! I have a love/hate relationship with my sewing machine, but I think I could manage this project. The tablecloth and napkins look perfect with your dishes! Nice to meet you on the Home Matters Party!
Hi Meredith, thanks for visiting! Think of this as an ‘unsewing’ project! More taking apart than actually stitching…and the stitching is so easy. Give it a whirl! And very much enjoyed perusing your site!
I don’t know if I have the nerve to try this but I appreciate you showingme how!
Really very easy Sandra. Plus, I’ve seen the desserts you have made and if you can do that, you can do this easy thing.
So pretty. My grandma is a lover of linens also, and painstakingly launders and irons every piece. 🙂 I love the look of linen, and your dishes are gorgeous! Have a great evening.
Hi Kimm, thanks for visiting. My mom is an ‘ironer’ too, a trait I did not inherit. I’ll go with the shabby look anyday, and twice on Sunday, before ironing. BTW, love the look of your galvanized steel dresser…very clever.
Have a great day, Lynn
What a beautiful way to decorate your table this fall. I love it, and I love how easy it looks!
Hi Jessica, thanks for your kind comments. Gonna head over to check out your Perfect Paleo Chicken recipe. Sounds great.
I love how this just screams fall, but I bet you could pair those linens up with bright colors for spring and summer too. It is so transitional and it looks cool with the fringe. Especially on the napkins. The mix of plate-ware is interesting too, lots of texture on the table that brings it all together. Impressive!
This is another ‘creation’ that I’m sure I’ll be using year round…love that it can be ironed crisp or not ironed for that shabby chic look. Isn’t it great that we can call it ‘shabby chic’ if we just don’t feel like ironing!
Thanks again for making the rounds…now all I need is a refill for my drink!!?