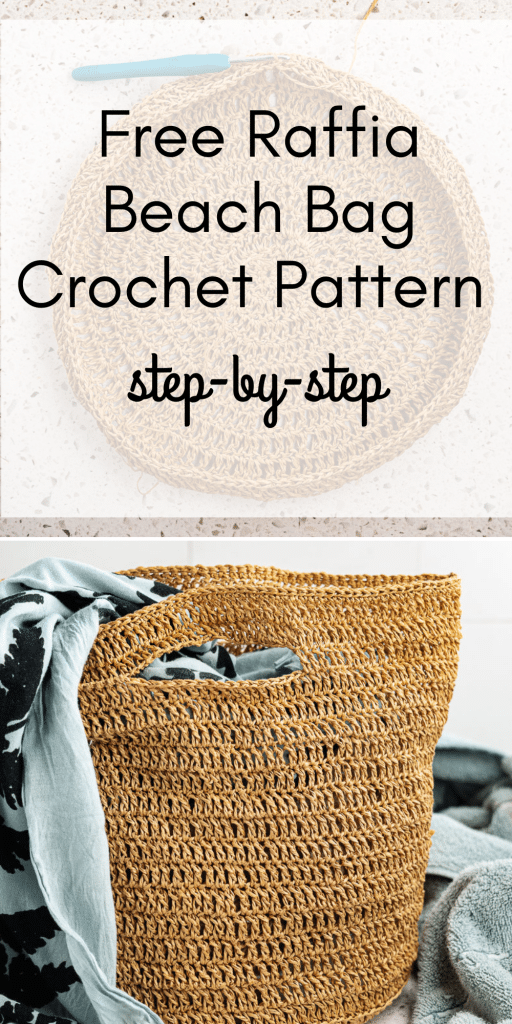
Free Crochet Beach Bag Pattern: Made with Raffia Yarn
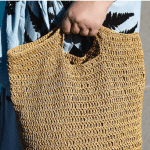

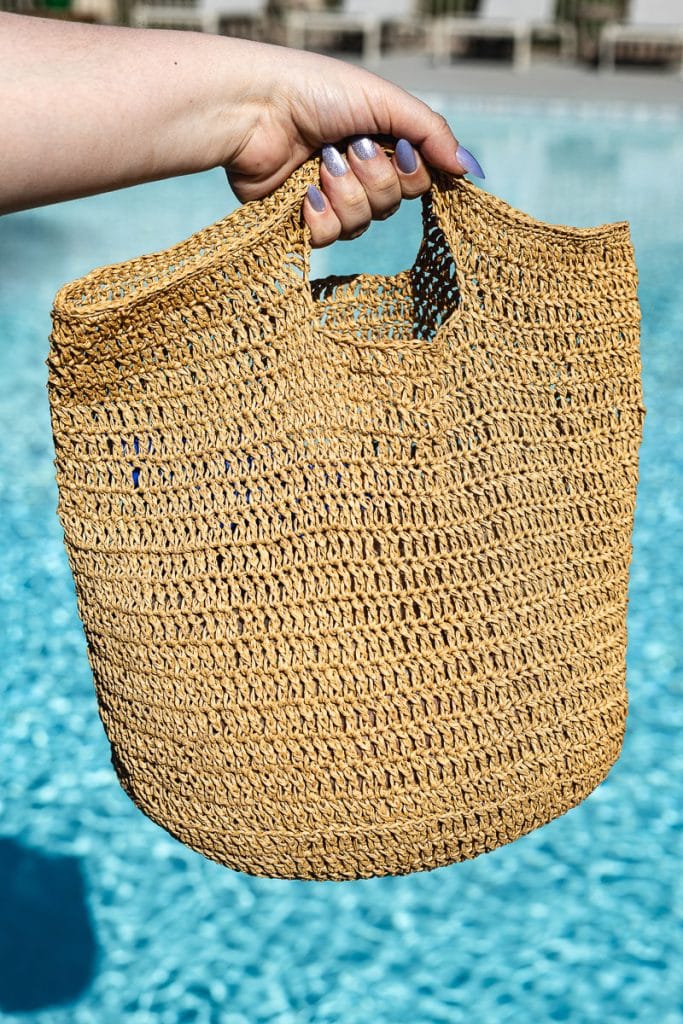
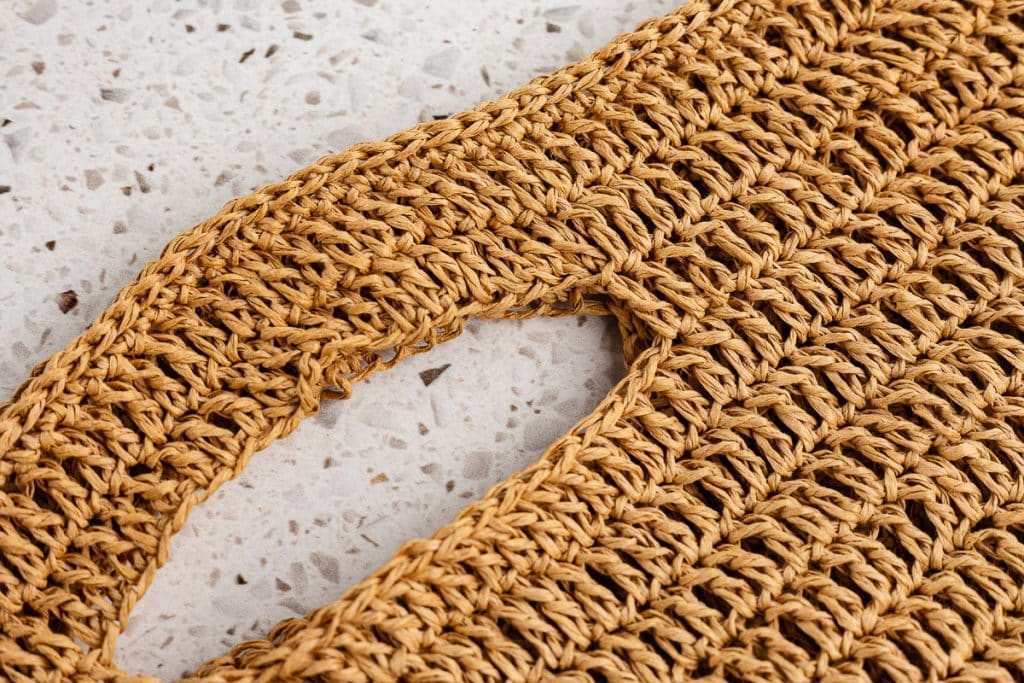
Summer is just around the corner, which means pools and beaches, which means pool or beach bags! And, you can’t get more summery than a crochet beach bag made with raffia yarn. Crocheted with a simple combination of single and double crochet stitches, it works up quickly and results in a roomy, sturdy tote with a perfect, natural, beachy look. The open-weave texture lets sand shake out easily, and the structured handles make it comfortable to carry whether you’re heading to the beach, the farmers market, or a weekend away.
Raffia yarn has a wonderful natural stiffness that gives this bag its shape without any stiffening spray or lining required. The bag is worked in joined rounds, starting from a flat circular base and building up into a roomy tote with two sturdy handles. If you’re comfortable with double crochet and working in the round, this project is well within reach. And if raffia is new to you, don’t worry — a few rounds in, you’ll get a feel for how it behaves, and the result is absolutely worth it.
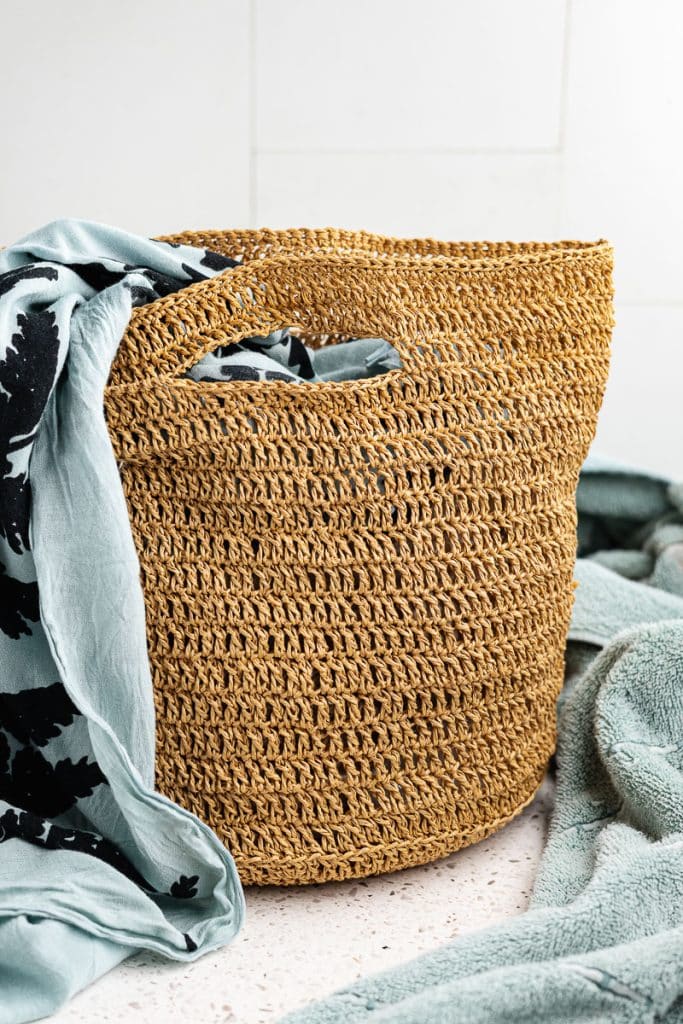
Table of Contents
Skill Level to Make this Crochet Beach Bag
This is a really easy project. The trickiest part is working with the yarn because rafia is pretty stiff, and it takes some getting used to. But the bag uses basic stitches and is worked from the bottom up in a single piece. Start to finish, this bag should take between 8 and 10 hours. Yes, that’s a good weekend Netflix binge project!
No matter your skill level, read the tips for success and troubleshooting sections before you start. You’ll thank yourself later!
Tips for Success
- This pattern uses a hook one size larger than the label suggests. Raffia has very little give, and a slightly larger hook keeps your tension manageable and your stitches easier to work into.
- Block the base before starting the body. The pattern calls this out, and it really does make a difference. A flat, even base means your bag will sit upright and hold its shape. Take the extra few minutes — you’ll be glad you did.
- Keep a consistent tension throughout. Because raffia doesn’t stretch, any inconsistency in your tension shows up more visibly than it would in a traditional yarn. Try to work at the same pace and grip throughout the project.
- Count your stitches at the end of every increase round in the base. It’s much easier to catch an error before you’ve added three more rounds on top of it.
- Place your stitch markers before you start the handle round. Don’t skip this step or plan to eyeball it. The handles need to be symmetrical, and the stitch counts are specific. Marking them ahead of time saves a lot of frustration.

Troubleshooting this Crochet Beach Bag
This is usually a tension issue — your stitches are too tight. Try going up half a hook size. If the base is already finished, a thorough steam block will help coax it flat before you move on to the body.
Again, tension. 🫤 Raffia grips itself more than traditional yarn, so if you’re working tightly, it compounds quickly. Loosen your grip on the hook and consciously try to pull up slightly larger loops.
Go back and recount your stitch markers. It’s easy to misplace a marker by just a stitch or two, and that small difference becomes obvious once the handles are formed. It’s worth frogging the handle round and restarting with carefully counted markers rather than living with lopsided handles.
Make sure you worked the first body round in the back loop only as the pattern instructs. That blo round creates the visual and structural “hinge” between the base and the body, which is what helps the bag stand upright.
When you chain across for the handles, keep your tension a little looser than feels natural. Those chains need to match the stretch and drape of the dc stitches around the rest of the bag. If they’re too tight, the handles will pucker; too loose, and they’ll look sloppy. Practice the ch-20 on a swatch first if you’re unsure.
Material Needed for this Crochet Beach Bag Pattern
Some of these links may be Amazon affiliate links and I may earn a small commission from the sale of these products to help defray the costs of operating this site, but the price you are charged is not affected. You can see my full disclosure policy here.
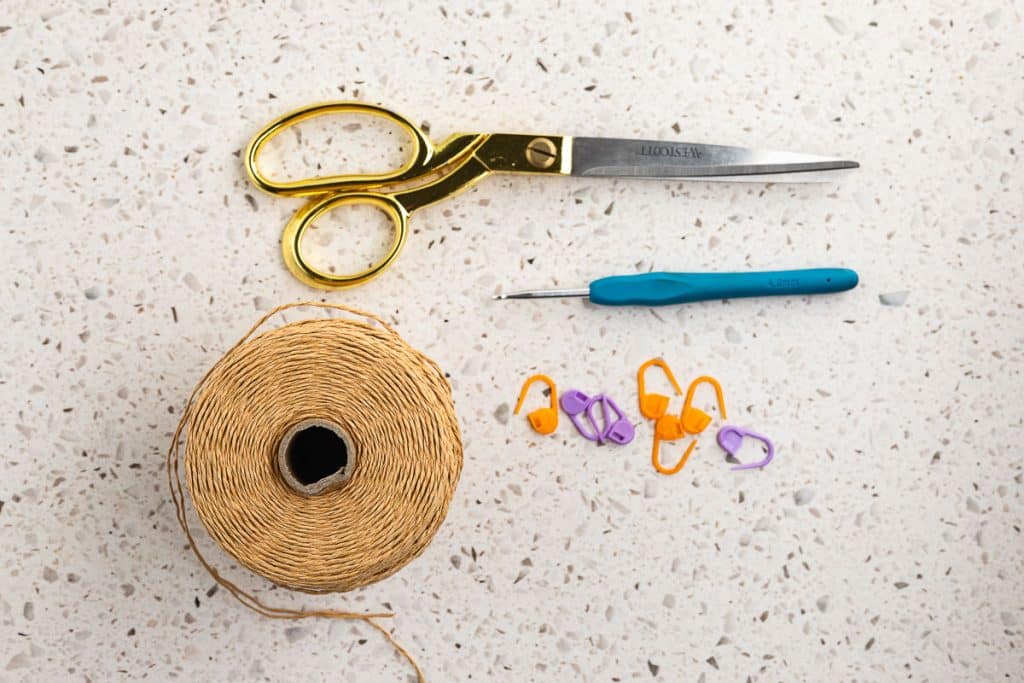
- 4.0 mm crochet hook
- Raffia yarn, 500 yards
- Stitch markers (4)
- This free Crochet Beach Bag Pattern is available in this post below and as an ad-free printable PDF for subscribers. You can find the pattern in the Miscellaneous section of the Knit + Crochet Patterns Library (your super-secret password is included at the bottom of every Monday’s Newsletter email), or email me and I’ll send it to you. Not a subscriber? C’mon—we’d love to have you. A subscription costs nothing and gives you access to all our printables and pattern PDFs. Click here to have the Crochet Beach Bag pattern directly emailed to you.
Terms Used and Abbreviations
- ch = chain
- sc = single crochet
- dc = double crochet
- blo = back loop only
- sl st = slip stitch
- st(s) = stitch(es)
- inc = increase (2 dc in the same stitch)
Gauge
6 stitches x 7 rows = 4×4 inches.
Finished Size
From the top of the handle to the bottom seam, it’s 10.5 inches. The circumference of the bottom is 11 inches. And the crochet beach bag is about 14 inches wide.
Instructions to Crochet the Beach Bag
Notes about this crochet beach bag pattern
- The bag is worked in joined rounds.
- The Ch 3 at the beginning of a round counts as the first dc.
- Turn after each round if needed, to keep your seam straight (optional).
- Use stitch markers to keep track of rounds and handle placement.
- Raffia yarn is stiff—maintain even tension throughout. If too tight, then it will be difficult to work into stitches. If too loose, the bag won’t hold its shape well
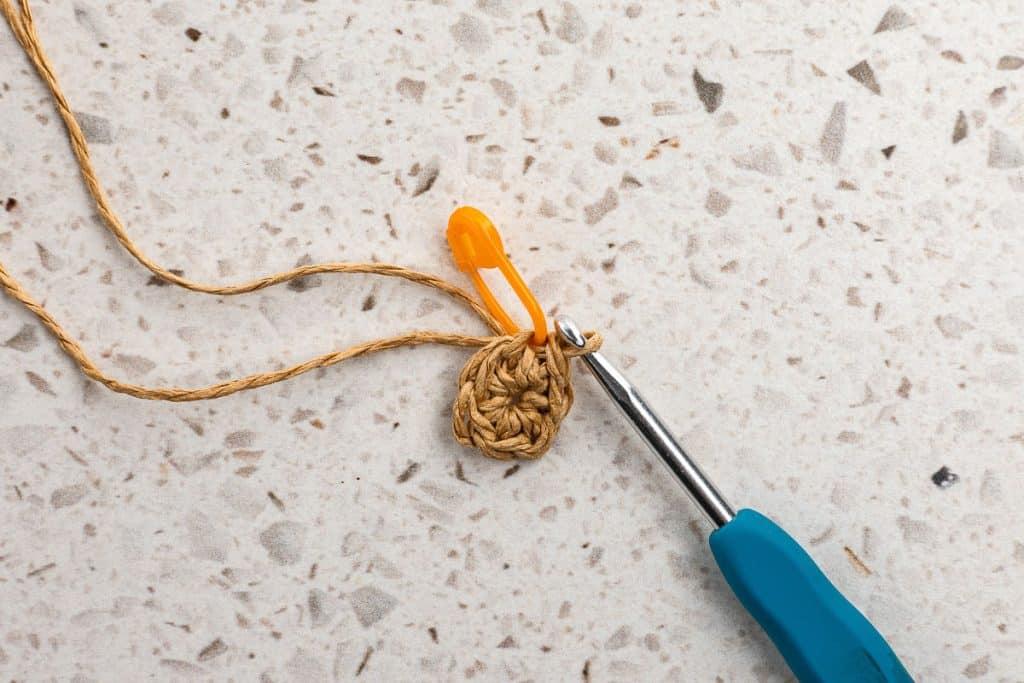
Base (Bottom of Bag)
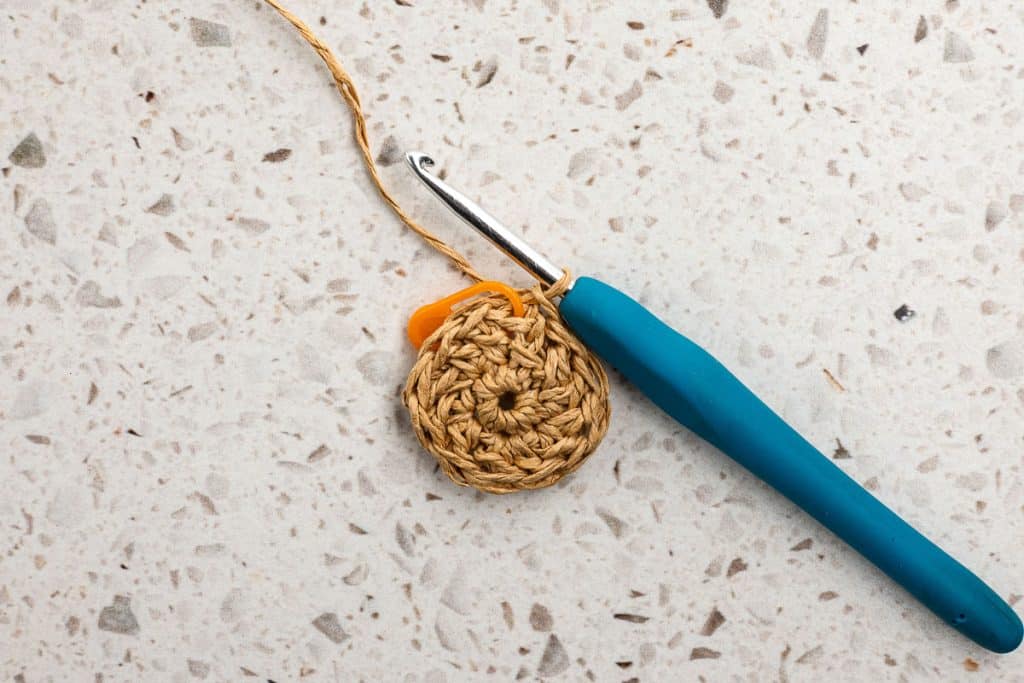
Round 1
- Make a magic ring, work 6 sc into the ring. Join with sl st to first st. (6 sts) If you need to learn how to make a magic ring, check out this video.
Round 2:
- Ch 3 (counts as dc), 1 dc in same st, 2 dc in each st around. Join with sl st to the top of the beginning ch 3. (12 sts)
Round 3
- Repeat Round 2. (24 sts)
Round 4
- Ch 3 (counts as dc), 1 dc in same st, 1 dc in next st, *2 dc in next st, 1 dc in next st, repeat from *. Join with sl st. (36 sts)
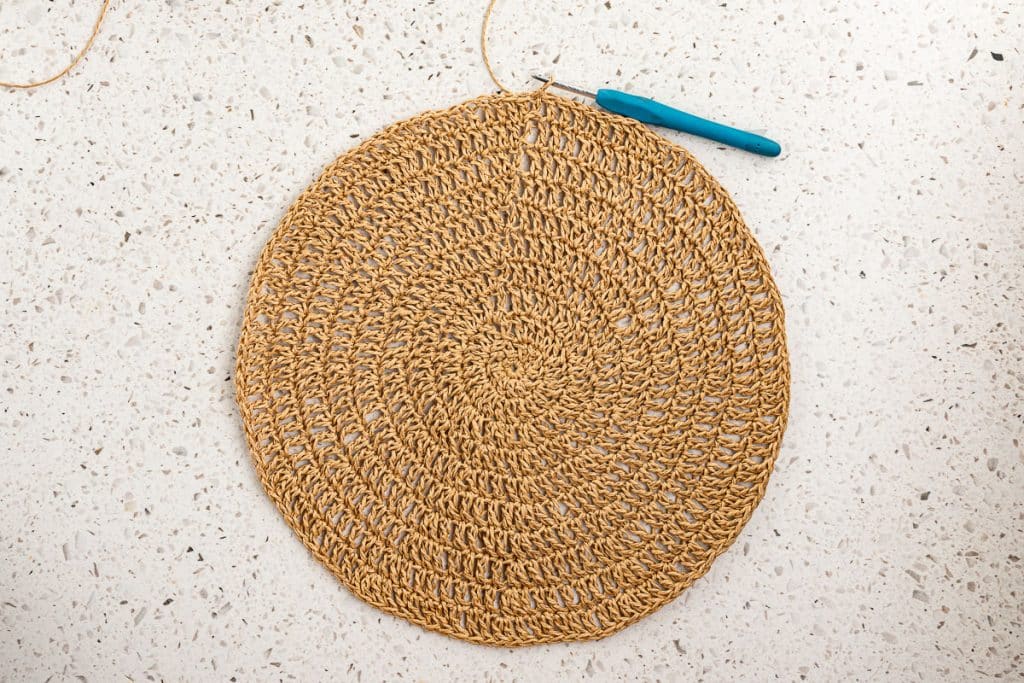
Rounds 5+
- Continue increasing in this pattern:
- Next round: *inc, 2 dc, repeat from *
- Next round: *inc, 3 dc, repeat from *
- Next round: *inc, 4 dc, repeat from *
- Continue until your final increase round has 8 dc between increases.
This forms the flat circular base.
Block the base at this stage so it lies completely flat before continuing.
Body
You will crochet 15 rounds total for the body
Round 1
- Ch 3 (counts as dc), work 1 dc in blo of each st around. Join with sl st.
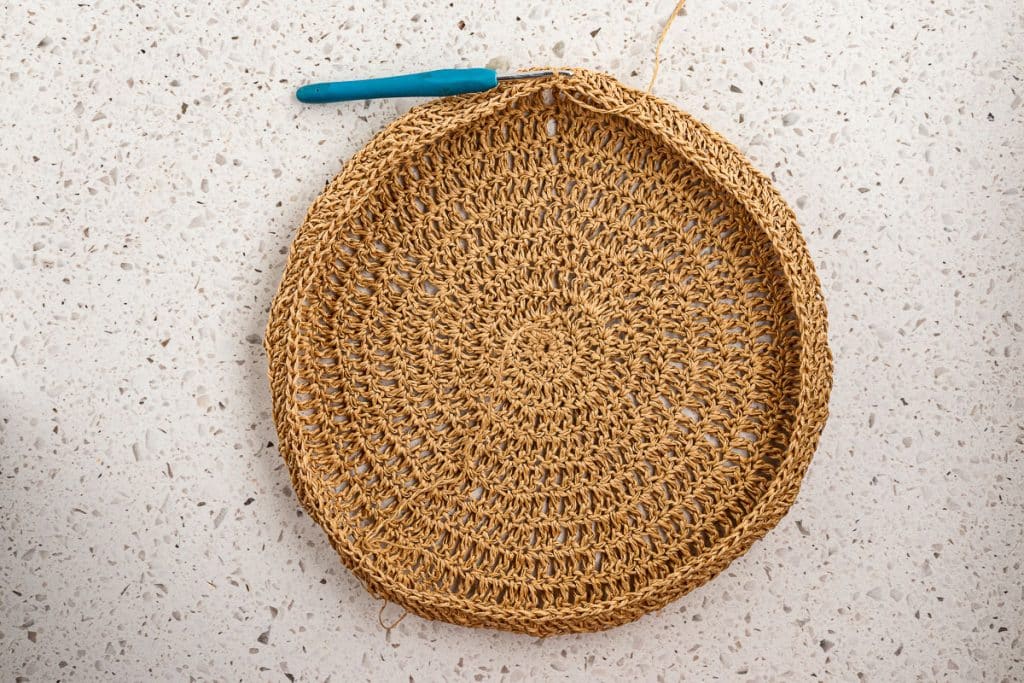
Rounds 2–15
- Ch 3, dc in each st around. Join with sl st.
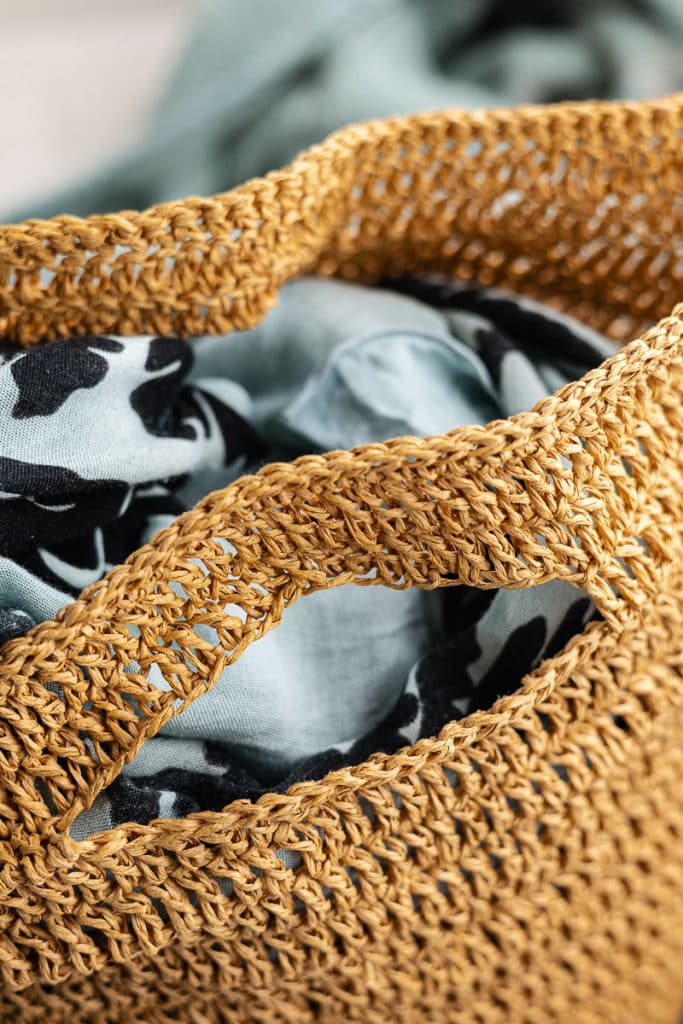
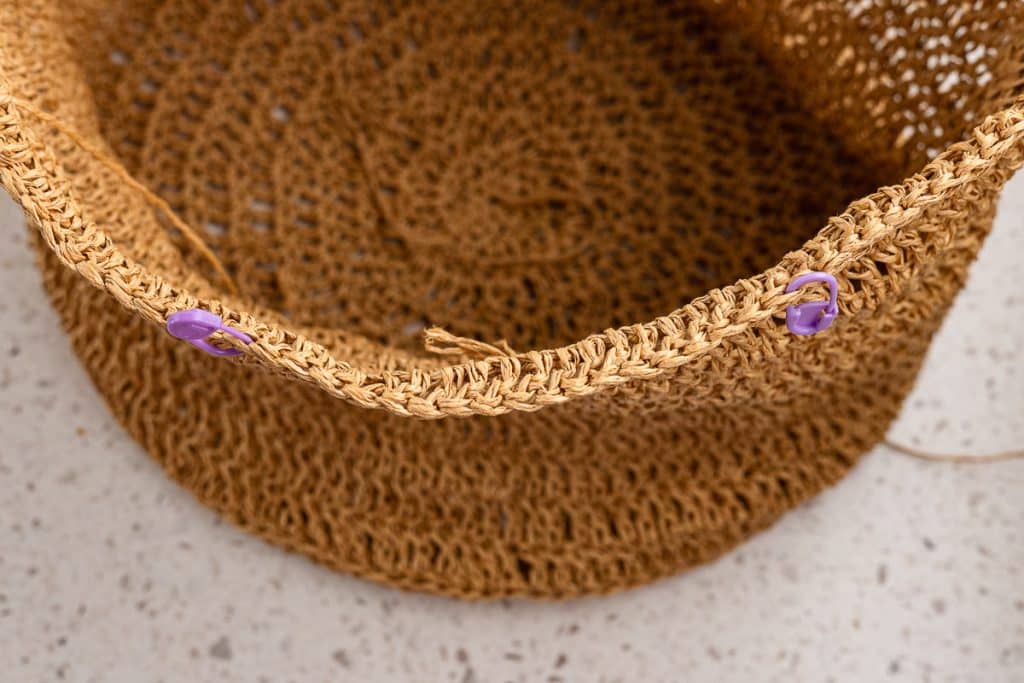
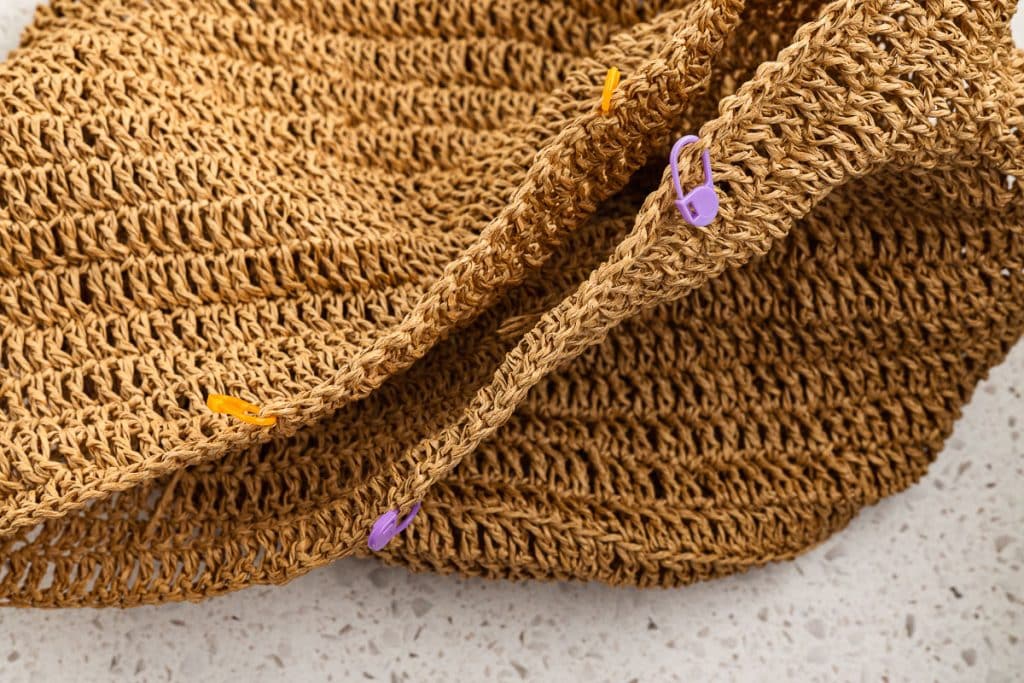
Handle Placement
Place stitch markers as follows:
- SM1: 21st stitch from joining sl st.
- SM2: 39th stitch from joining sl st.
- SM3: 81st stitch from joining sl st.
- SM4: 99th stitch from joining sl st.
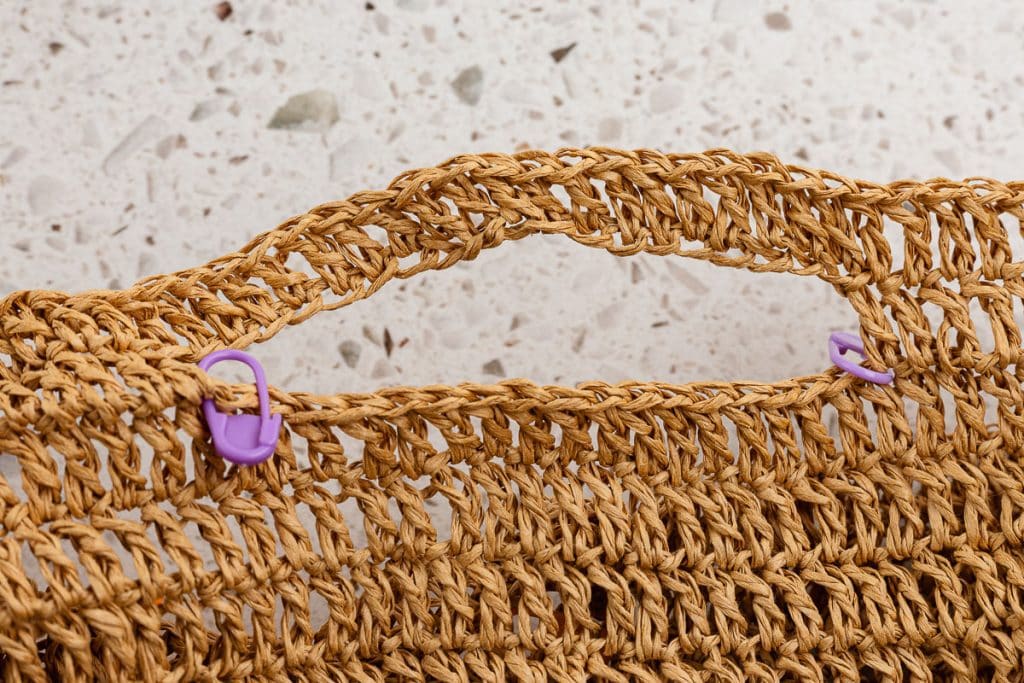
Handles
Round 1
- Ch 3 (counts as dc), dc in each st until and including SM1. Ch 20, skip stitches between SM1 and SM2.
- DC in SM2 and continue DC in each st until and including SM3.
- Ch 20, skip stitches between SM3 and SM4.
- DC in SM4 and continue to the end of the round.
- Join with sl st.
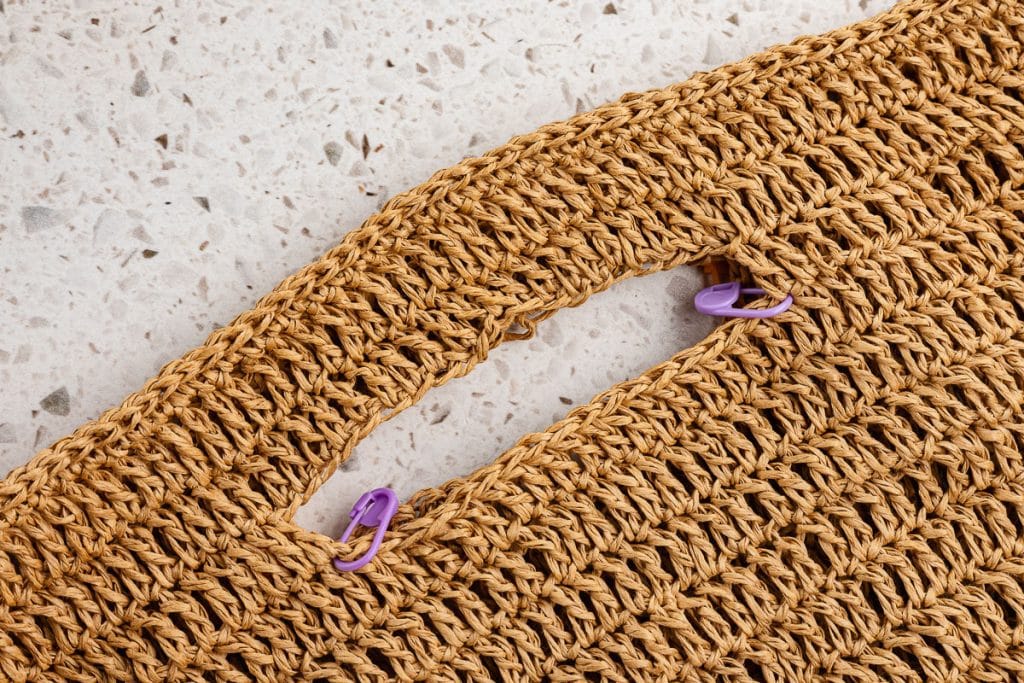
Round 2
- Ch 3, dc in each st around, including the ch-20 spaces. Join with sl st.
Round 3
- Repeat Round 2.
Finishing
Round 4
- Ch 1, sc in each st around. Join with sl st.
Round 5
- Sl st in each st around for a clean, finished edge.
- Stuff the bag lightly to help shape it.
- Steam block to set the structure.

Steaming this Raffia Crochet Beach Bag
Blocking is what separates a handmade bag that looks handmade from one that looks intentional and polished. Raffia responds beautifully to steam — the heat relaxes the fibers just enough to let you coax the bag into its final shape, and once it dries, it holds that shape well.
You will want to block twice: once after you finish the base, and again when the bag is complete.
Blocking the Base
The circular base needs to lie completely flat before you begin the body. If you skip this step and start building up the sides on a base that’s domed or uneven, that unevenness carries through the entire bag.
Set the base on a flat, heat-safe surface — a blocking mat, a folded towel on an ironing board, or even a yoga mat works well. Use your fingers to smooth it into as flat and even a circle as you can before applying any heat. You can pin the edges if you have blocking pins, but raffia is stiff enough that pinning is usually optional.
Using a steamer: Hold the steamer head two to three inches above the surface and work in slow, even passes across the base. Don’t press the steamer directly against the raffia. Once you’ve steamed the entire surface, use your palms to gently flatten any areas that are still lifting. Let it dry completely before picking it up — this usually takes 20 to 30 minutes, depending on humidity.
Using an iron: Set your iron to the steam setting on low to medium heat — no higher. Place a thin, damp cloth or a piece of muslin over the base. Never let the iron make direct contact with raffia, as the heat can scorch or flatten the texture in a way that’s difficult to undo. Hover the iron just above the pressing cloth and let the steam do the work, pressing lightly with your hand if needed. Remove the pressing cloth and let the base cool and dry flat.
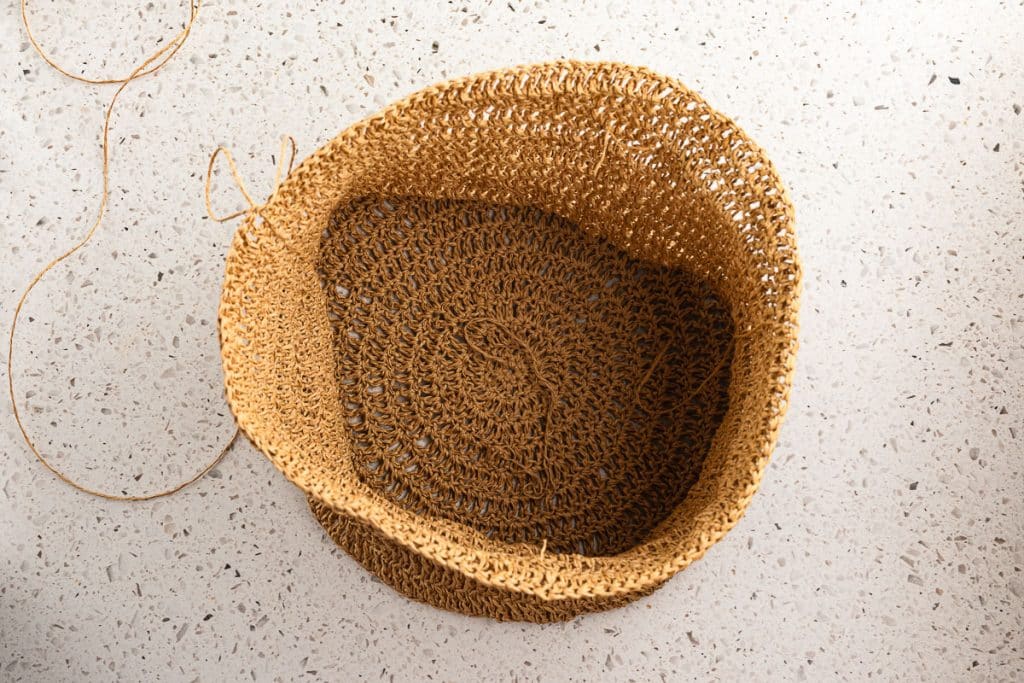
Blocking the Finished Bag
Once the bag is complete, stuff it lightly with plastic bags, a folded towel, or crumpled tissue paper to fill out the body and give it its final shape. You’re not trying to stretch it — just give it enough internal support to hold the shape you want while you work.
Stand the bag upright if possible. This helps the sides dry in their natural position rather than collapsing.
Using a steamer: Work your way around the outside of the bag in sections, holding the steamer 2 to 3 inches above the surface. Pay extra attention to the handle areas, which sometimes pucker slightly after finishing. Use your hands to smooth and shape each section while the raffia is still warm and pliable. Let it cool and dry fully before removing the stuffing.
Using an iron: Lay the bag on its side on your ironing board, and press one panel at a time with a damp pressing cloth, as described above. Rotate the bag and repeat on all sides. For the handles, lay them flat and steam gently so they dry in a uniform shape rather than twisting. Let each section cool before moving to the next.
A note on both methods; Raffia dries relatively quickly, but resist the urge to use the bag before it has dried completely. The shape sets as it dries, and handling it too soon can undo your work.
Looking for More Knit or Crochet Bag or Purse Patterns?
We’ve got a couple for your knitting or crocheting pleasure!
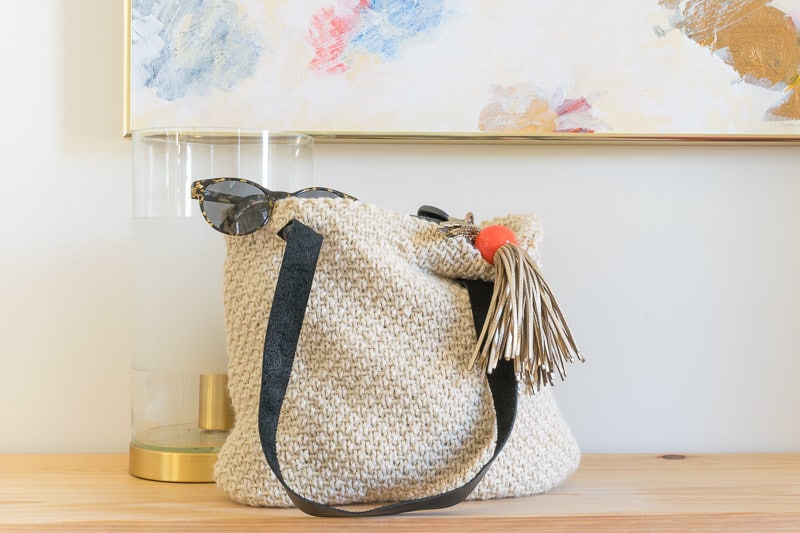
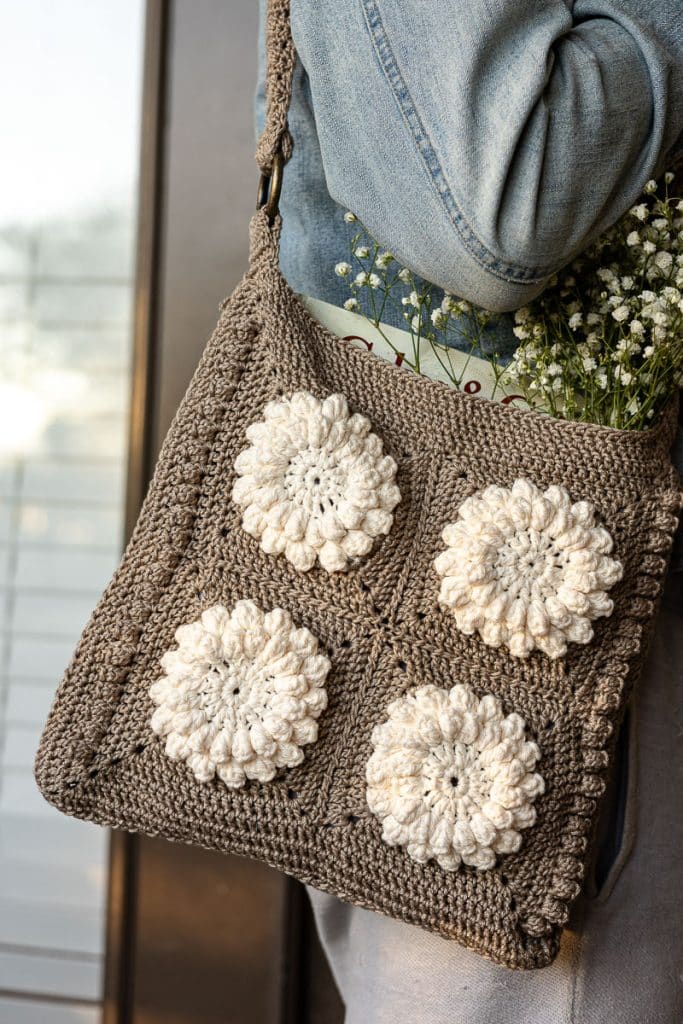
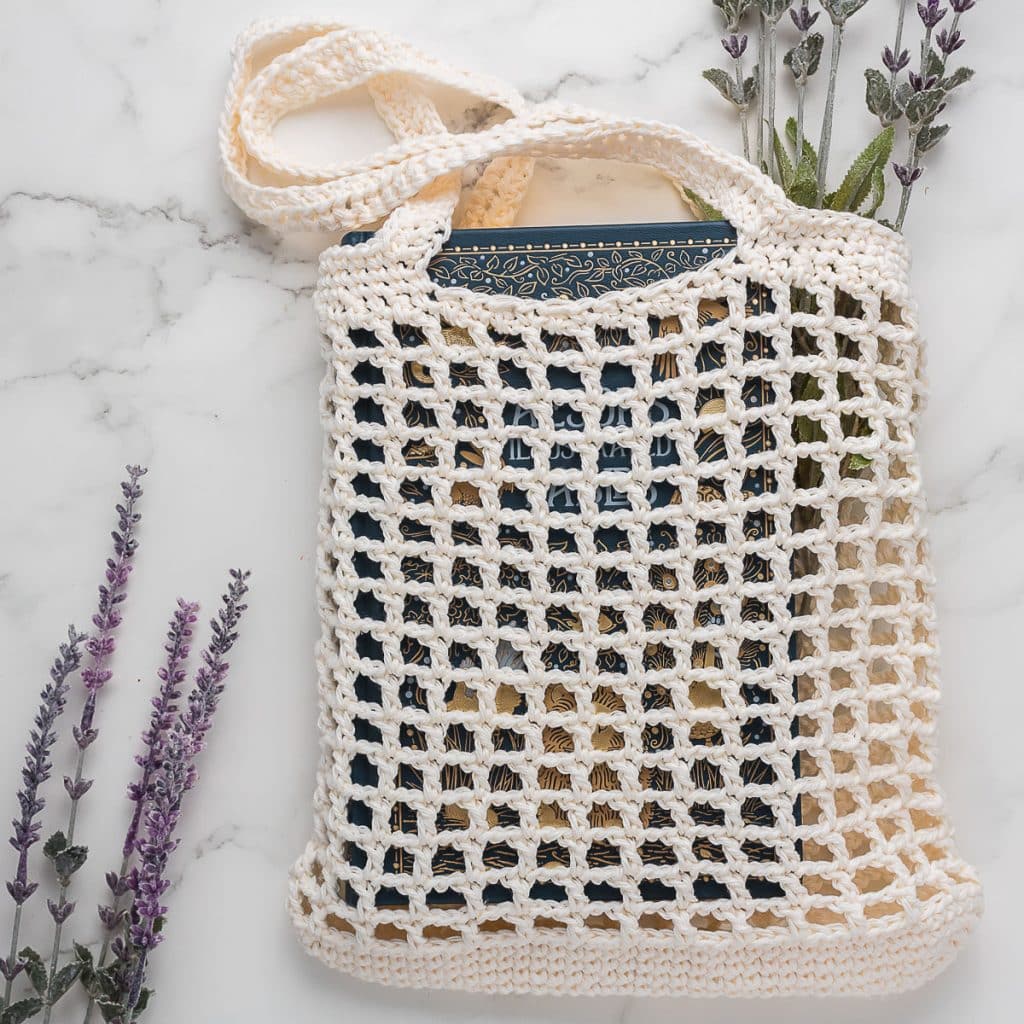
Our knit purse (with detachable handles) uses the linen stitch for the body. Chic and modern granny squares make up our crochet shoulder bag, and our crochet market tote is perfect for farmers’ markets, grocery stores, or just errand-running!
Bookmark this page or pin the following image to return to this Crochet Beach Bag pattern when you need it!
Thanks so much for spending a few minutes of your busy day with me!
To ensure you don’t miss future content, pop your email in the pale green box on the right or click here. I usually send one email weekly, so I won’t inundate your inbox. I’m sensitive to an overflowing email inbox!
We will only use your email address to send you emails, no more than 1-2 weekly. In addition, you will have access to my growing library of knit & crochet patterns and other printables. Check back often as this library will continue to grow. You can unsubscribe anytime by emailing me or clicking on the “unsubscribe” link at the bottom of all emails.
And you can access many of the products I refer to on my Nourish and Nestle Amazon Page. You can access it here.
So, if you’d like to participate in the ‘subscriber benefit’ action, simply subscribe to Nourish and Nestle here or use the form on the right sidebar. It’s slightly towards the top.
I have sent all my subscribers the link to the Subscriber Benefits Library. If you missed it or misplaced it, let me know.
Until next time…