
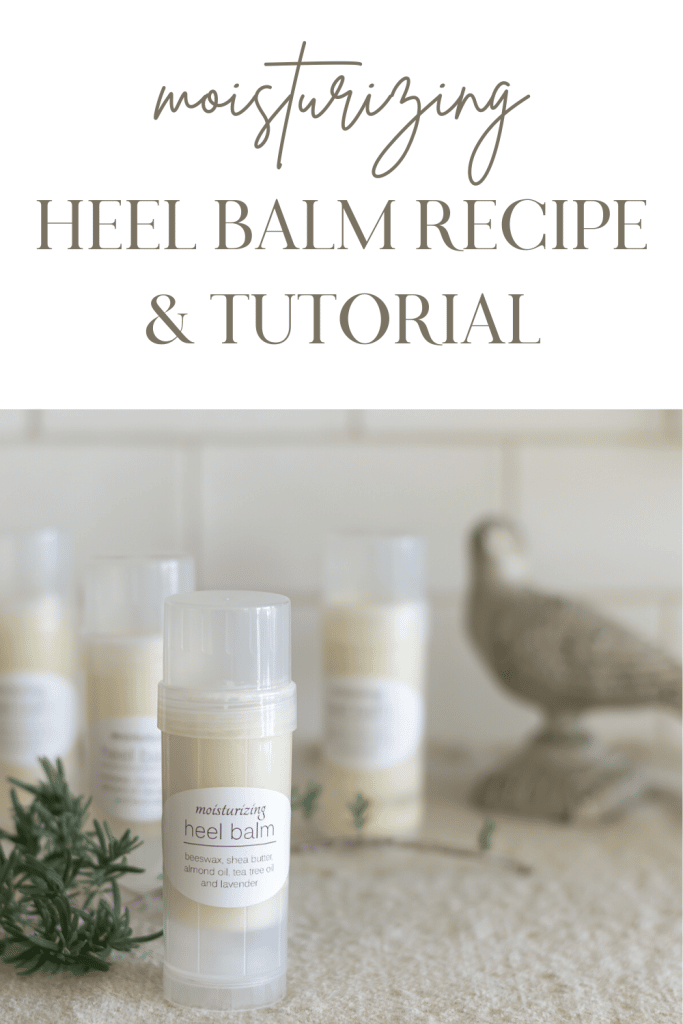
Heel Balm Recipe

An easy-to-make Moisturizing Heel Balm Recipe to help soothe dry heels and feet.
After the success of my moisturizing hand balm, I knew I wanted to follow it up with a moisturizing Heel Balm Recipe.
Some things are just genetic and you have to learn to live with them. Not only did I inherit big long and elegant feet from my mom, but also her dry heels. Thanks, mom! I’m sure it didn’t help that my preferred footwear for years was none (growing up in Hawaii does that to a person).
All this to say, I am always moisturizing my heels. I used to keep jars of foot cream and Aquaphor in my nightstand drawer, but I really don’t like the goop of them. That’s where the beauty of this heel balm comes in.
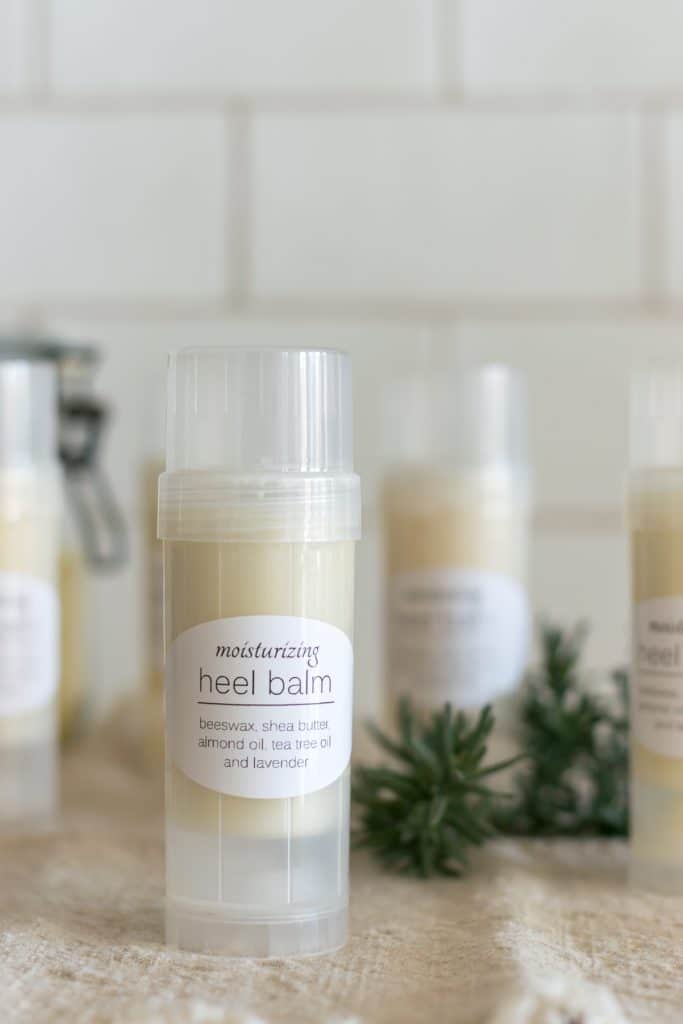
Table of Contents
You can either apply it at night or during the day and then put on socks. After just a few days of daily use, my heels were noticeably softer.
Bonus Points: I can apply it to my heels, but not get it all over my hands, thanks to the wind-up tube. I researched several different varieties of tube applicators, and I’m very pleased with this one. I have one little tip to prevent any leakage in the directions below.
What You Need for this Moisturizing Heel Balm Recipe
Some of these links may be Amazon affiliate links and I may earn a small commission from the sale of these products to help defray the costs of operating this site, but the price you are charged is not affected. You can see my full disclosure policy here.
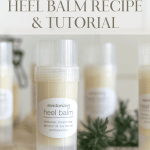
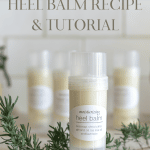
Empty 2.2-ounce deodorant tubes
Shea Butter or Cocoa Butter – Rich in tree-nut oils, shea butter soaks into your skin, creating a smooth barrier that seals in moisture. This moisturizing effect can last several hours. Cocoa butter, rich in fatty acids, will hydrate and nourish the skin and improve elasticity. The fat in cocoa butter forms a protective barrier over the skin to hold in moisture.
Beeswax Pellets – beeswax is an occlusive, which means that it creates a protective layer on the skin, sealing in moisture. It is also antibacterial and anti-inflammatory, both beneficial to the skin.
Almond Oil, Grapeseed Oil, or Olive Oil – Grapeseed Oil is packed with antioxidants, fatty acids, and amino acids. Amino acids are the building blocks for building collagen. The elements in linoleic acid help stimulate cell turnover to smooth fine lines and rough texture. Another benefit of Grapeseed Oil is its fast absorption rate.
Almond Oil is highly emollient, which means it helps to balance the absorption of moisture and water loss. It also has antifungal properties. Like Grapeseed Oil, Almond Oil has it has a fast absorption rate.]
Olive Oil is packed full of antioxidants and squalene, which is harvested from plant and animal sources such as olives. Squalene, which is also found in human sebum, is extremely beneficial for hydrating skin.
Essential Oils: I used Tea Tree Oil and Lavender Oil, but use your favorite scents.
Vitamin E oil or capsules serve as a preservative.
Kitchen Scale
Saucepan
How to Make Moisturizing Heel Balm (enough to fill two tubes)
This recipe is easily halved (for one tube) or multiplied to fill many tubes.
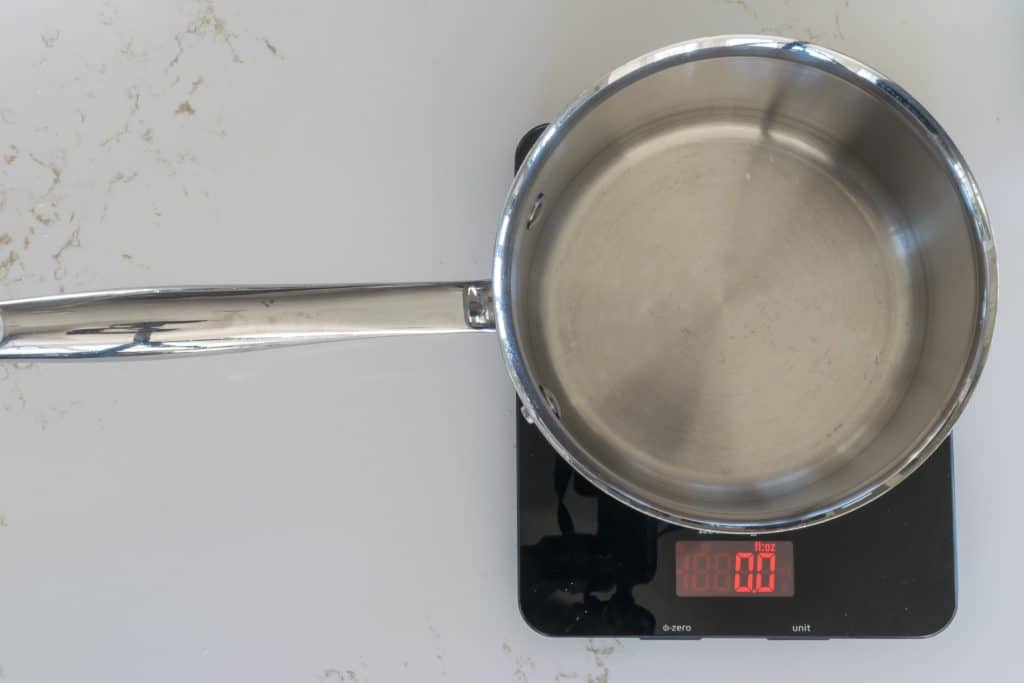
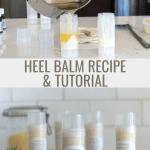
Set an empty saucepan on a scale and set the scale to tare or zero, and set the measurement to ounces

Add 1.8 ounces of either shea butter or cocoa butter.
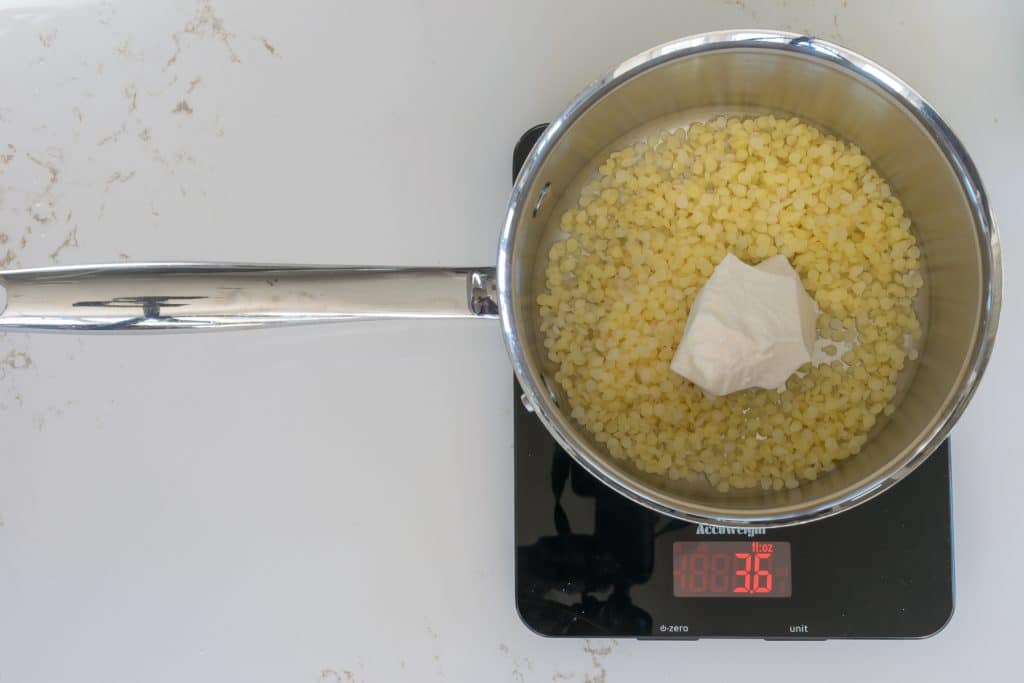
Add another 1.8 ounces of beeswax pellets (total of 3.6 ounces)
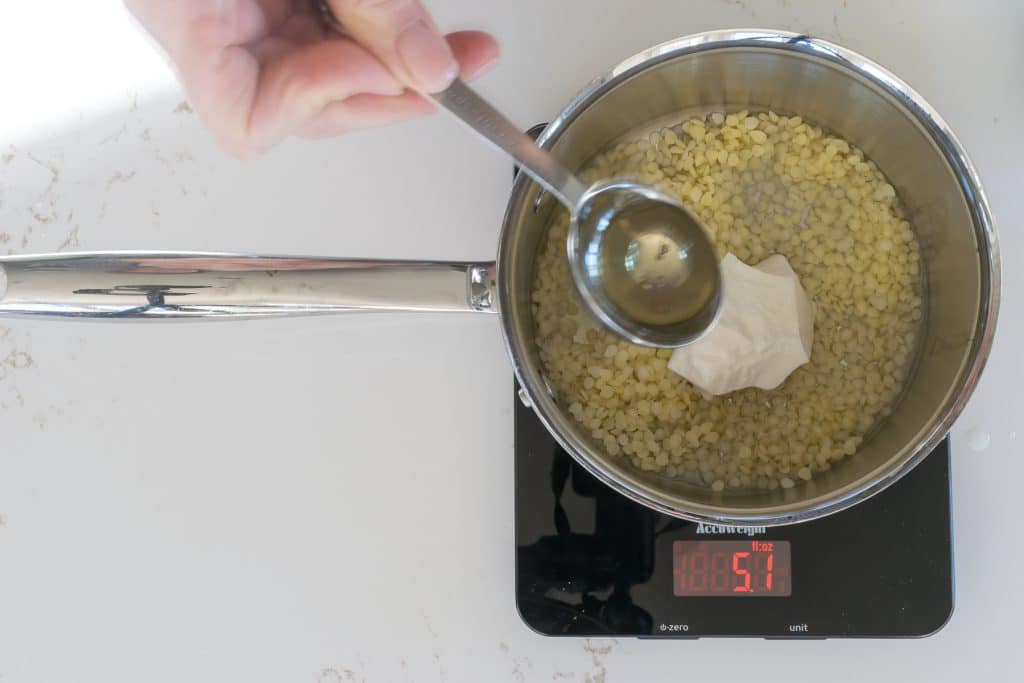
Add 4 tablespoons of the oil (grapeseed, almond, or olive)
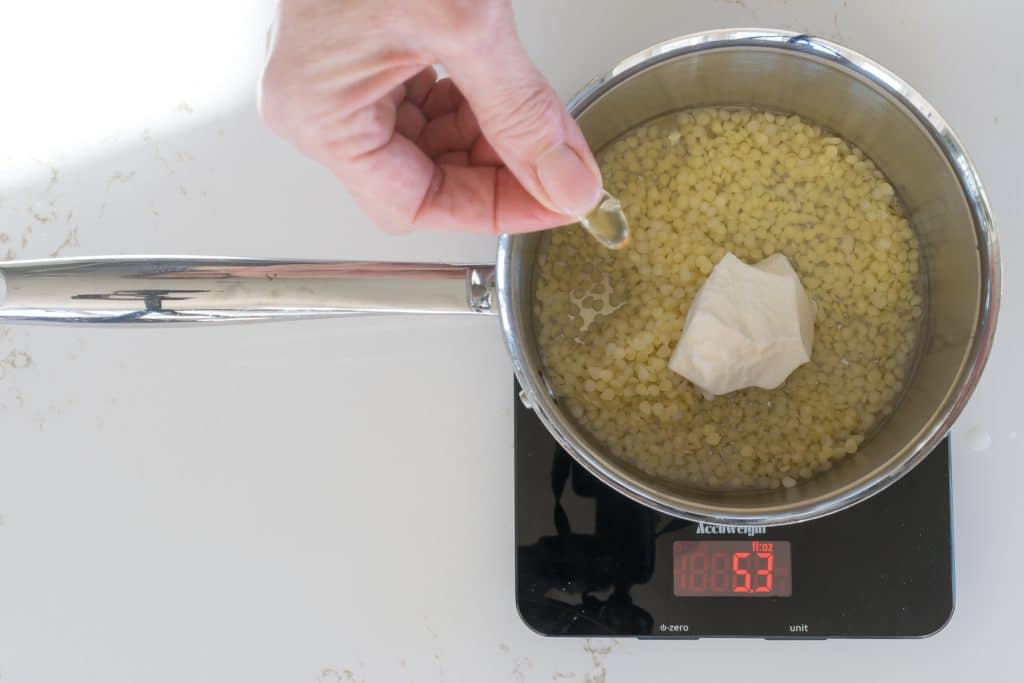
Squeeze 2 capsules of vitamin e oil or 10 drops of vitamin e oil.
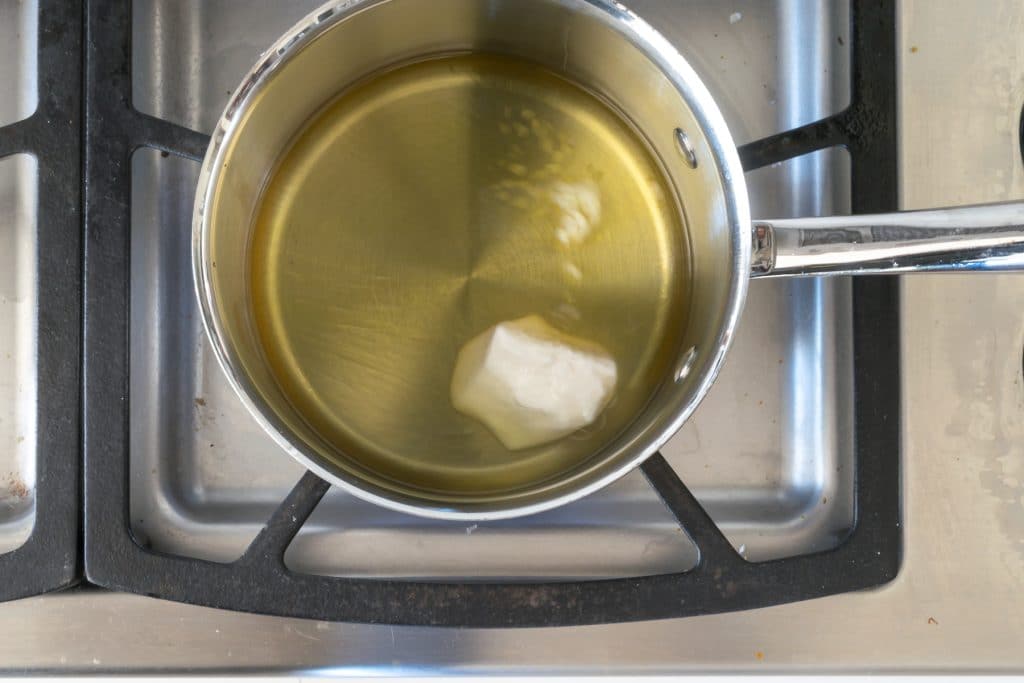
Melt all ingredients over low heat.

Remove from the heat and add 20 drops of each Tea Tree Oil and Lavender Oil.
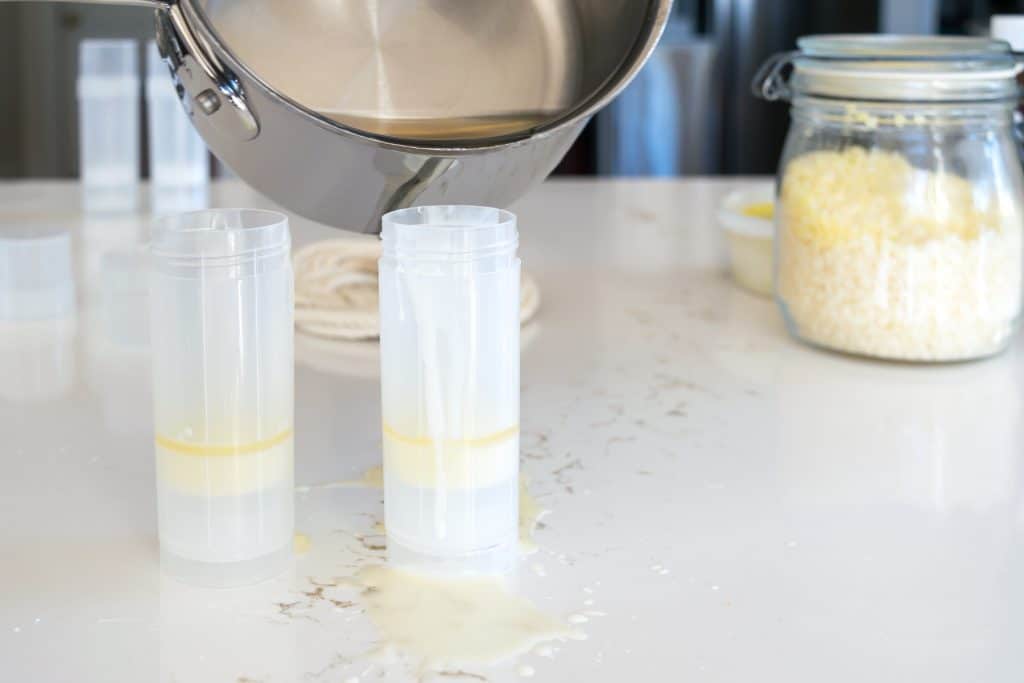
Carefully pour just a little bit of your balm into each tube.
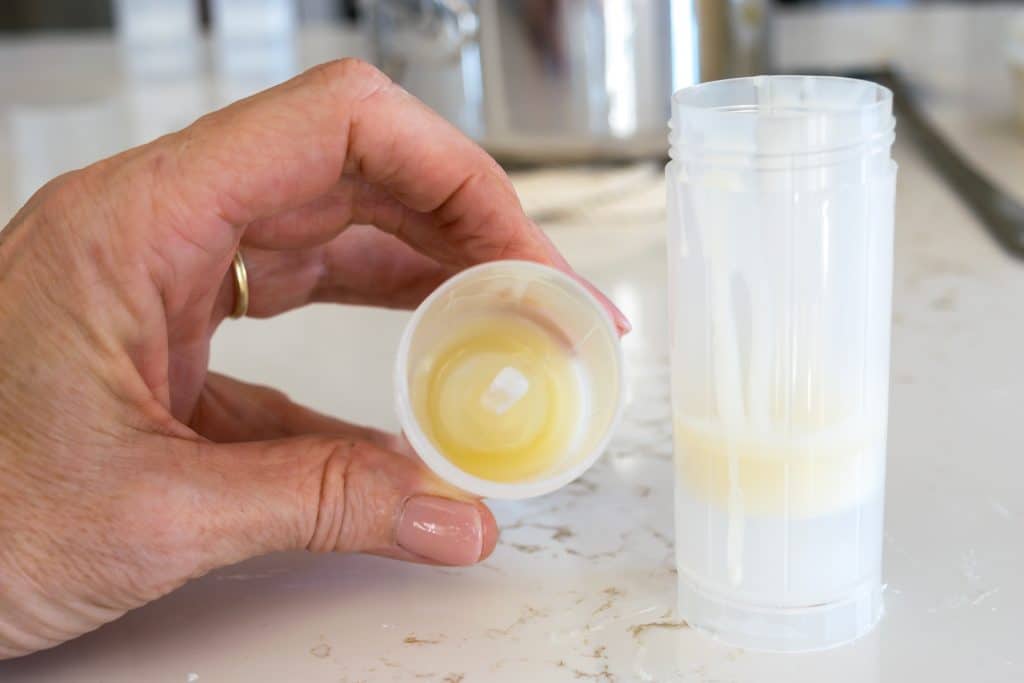
Here’s my promised tip: by just adding small amounts of the hot balm at a time, and letting it cool between pours, you create a little barrier at the bottom that prevents the hot balm from running through the wind-up mechanism.
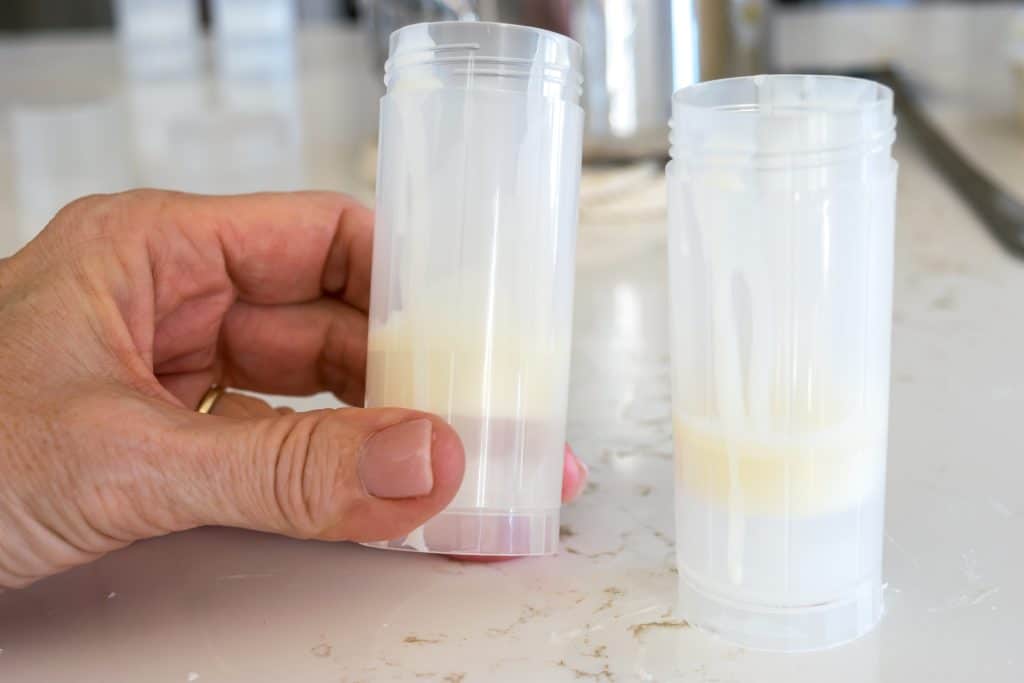
You only need to do this 3-4 times until you build up a little base.
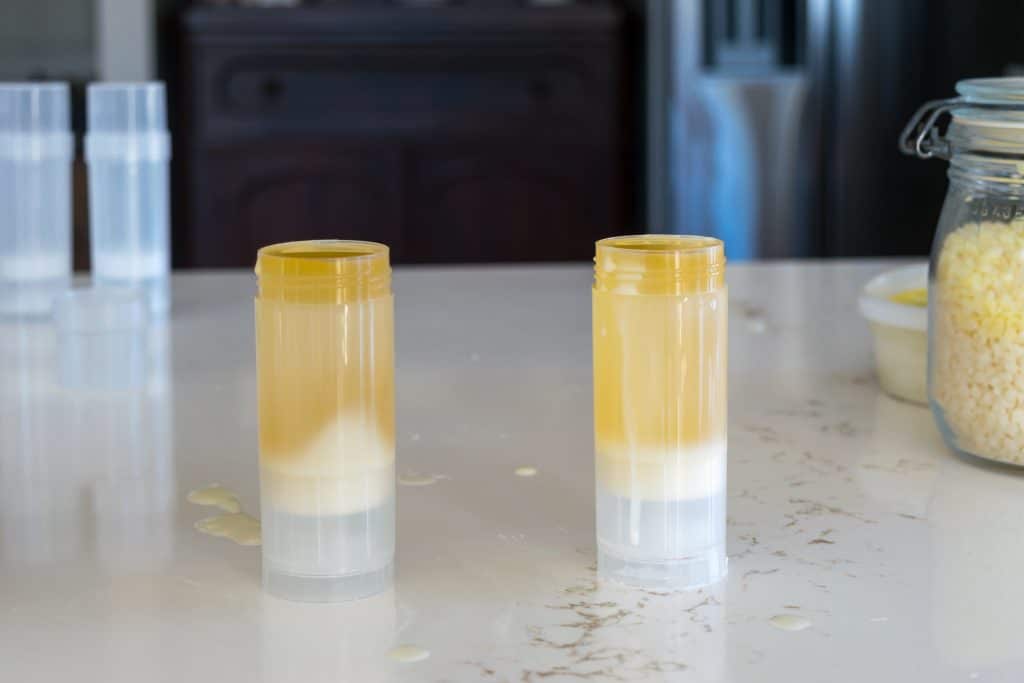
Then pour the remaining of your hot balm into the tubes and let them cool. They are fully cool in about 30-40 minutes.
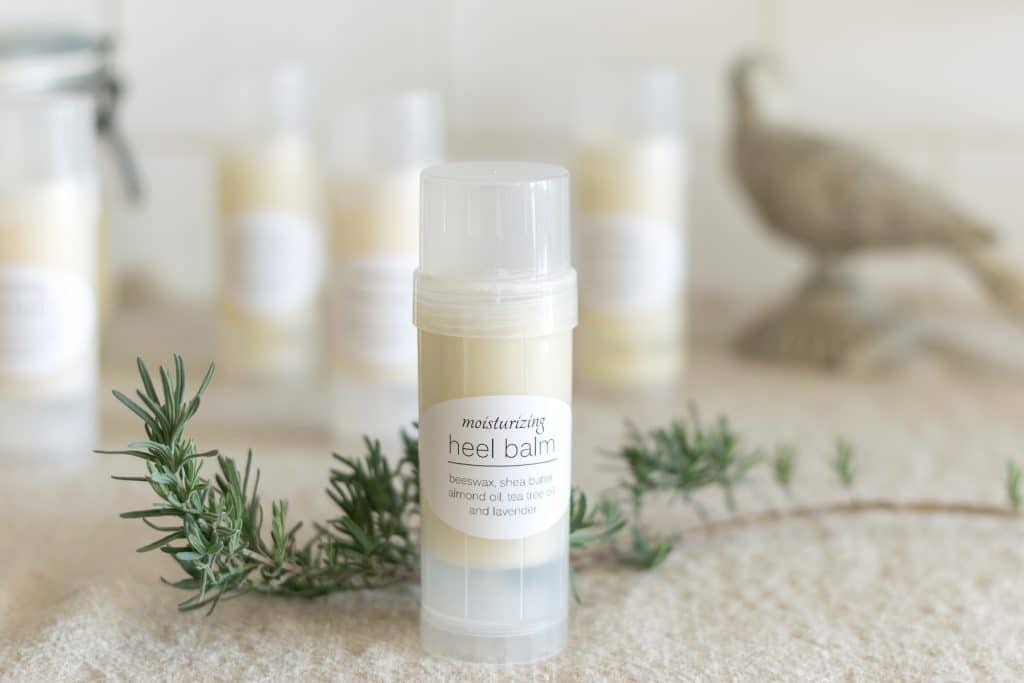
Add a little label and you are set! Here are the links for the labels. One has shea butter in the ingredients; the other has cocoa butter. I used Avery 22814 labels.
Tubes of heel balm make great stocking stuffers, Galentine’s Day gifts for your girl friends, and a Mother’s Day gift as part of a spa package.
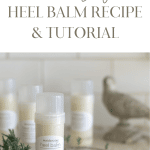
Bookmark this page or pin the following image to refer back to this Heel Balm recipe in the future.
Thanks so much for spending a few minutes of your busy day with me!
To ensure you don’t miss future content, pop your email in the pale green box on the right or click here. I usually send one email weekly, so I won’t inundate your inbox. I’m sensitive to an overflowing email inbox!
We will only use your email address to send you emails, no more than 1-2 weekly. In addition, you will have access to my growing library of knit & crochet patterns and other printables. Check back often as this library will continue to grow. You can unsubscribe anytime by emailing me or clicking on the “unsubscribe” link at the bottom of all emails.
And you can access many of the products I refer to on my Nourish and Nestle Amazon Page. You can access it here.
So, if you’d like to participate in the ‘subscriber benefit’ action, simply subscribe to Nourish and Nestle here or use the form on the right sidebar. It’s slightly towards the top.
I have sent all my subscribers the link to the Subscriber Benefits Library. If you missed it or misplaced it, let me know.
Until next time…

Hi, do you think this would work for lotion bars also? Would it set up the same in a flatter mold? Thinking of anything else I would need to modify for lotion bars. Thanks!
Hi! I can’t think why they wouldn’t work for lotion bars…that’s basically what they are. If you do make lotion bars, please pop back and let me know how it works!
Lynn
I can’t wait to make this!! Thank you.
Do you have the printable labels for the heel balm?
Sent! Enjoy the heel balm.
Lynn
May I please get some heel balm labels?
Thanks!
Sure I’ll send them to your email.
Could I get labels for the heel balm?
Thanks
Sure can, Betsy!
I’ll email them to you.
Could you please send me the heel balm labels? The link in the post opens to a blank page. Thank you
A perfect gift for my massage clients! May I have the label template as well? Thank you!
Good Morning, Christina
Your massage clients will love this heel balm! I’ll gladly email the labels to you .
Have a great day,
Lynn
I need the labels too! thanks.
Good Morning!
The link to the labels is in the post…they are included in the last step showing how to make the heel balm.
Enjoy!
I made the heel balm and gave some to the women in my family. My gson’s wife used it that night and texted me to say it was working as soon as she applied it. She loves it.
Hi Sharon,
Thanks so much for that review! I’m thrilled to hear that it worked so well for your granddaughter-in-law! We really apprciate you taking the time to write in and share your experiences with our projects. It means a lot to us! 🫶🏼
Have a great day!