
Homemade Pie Crust Recipe

In search of the best pie crust? Looking for tips on how to make a flaky pie crust for your favorite pie recipes? This homemade pie crust recipe is a tried and true family favorite and makes a Tender, Flaky, and Flavorful Pie Crust – the holy grail of pastry chefs. Sharing tips, pictures, and a video on How to Make the Best Flaky Pie Crust.
If there was any justice in the world, I should really have been born into this world with the innate ability to whip out picture-perfect, tender, tasty and flaky pie crust just by virtue of my genetics. Homemade, flaky pie crust and wonderful pie recipes have been a part of my life for years.
As I’ve mentioned, my Grandma, who lived with us for the last 11 years of her life, was a world-class baker. She had fully mastered the art of baking homemade pies and bread, a skill that many strive to achieve.
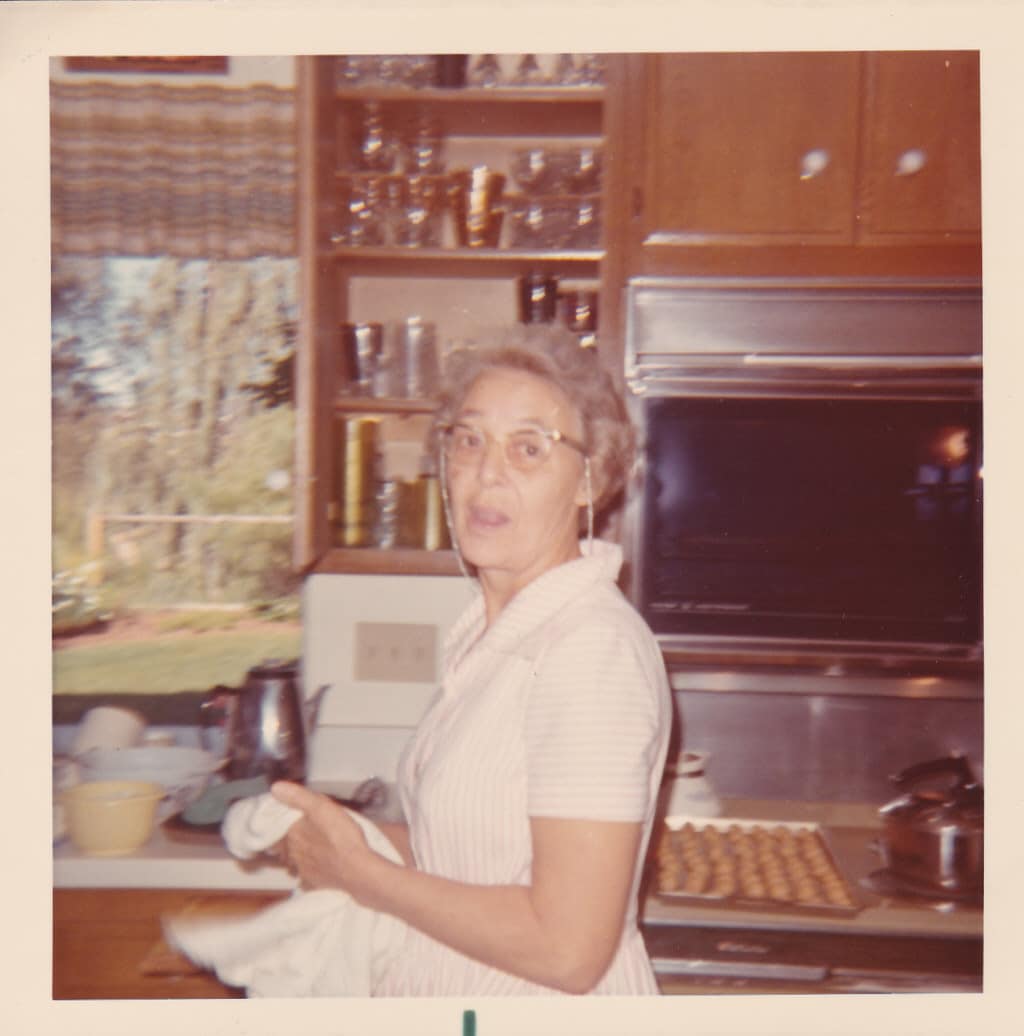
Table of Contents
But alas, those gifts weren’t quite as ‘biological’ as I had hoped, requiring many trials and patience instead. But, my efforts in learning her pie recipes and how to make a perfect pie flaky crust paid off, earning me the honor of being the designated pie baker in the family, a job I enjoy!
So, let’s talk about what defines a good homemade pie crust. I understand that this might be somewhat subjective, but in my mind, the best pie crust will be tender, with flaky layers and won’t rely on the filling for flavor. I remember my grandma baking the scraps, maybe with a wee bit of sugar and cinnamon, and that treat being almost as good as the finished pie.
So, how do you achieve this holy grail of pie crust? This flaky, tender and flavorful vehicle, perfect all your favorite pie recipes and all manner of fillings? If you ask 10 pie bakers, you will get 10 responses I am sure. But here are my tried and true tips for how to make the best, flaky pie crust recipe.
Tips for How to Make the Best Homemade Pie Crust Recipe – Flaky, Tender, and Flavorful:
Some of these links may be affiliate links and I may earn a small commission off of the sale of these products, but the price you are charged is not affected. You can see my full disclosure policy here.
- Pastry Flour Pastry flour is much lower in protein than all-purpose flour. The protein in all-purpose flour means more gluten, which means more structure which is handy when baking bread. But for pies and pastry, you want less gluten, less structure, making a more flaky pie crust. That being said, if all you have is All Purpose Flour, then go right ahead. I used AP Flour for years before I discovered Pastry Flour.

- Butter While any, unsalted butter will work, the European style butter, with a higher butterfat/lower water content, will help you produce a flaky crust. Excess moisture, from water in the butter, is counter-productive to a flaky pie crust.
- Have everything COLD. I dice my butter into small cubes and then return it to the freezer until I am ready to incorporate it and keep my water iced, removing the cubes just before I add it to my dough. My pastry flour is refrigerated until just ready to use and I put my food processor blade in the freezer. I use my cold marble counter to roll my dough. If your kitchen is warm, you can chill your counter by putting a few bags of frozen vegetables or ice on it.
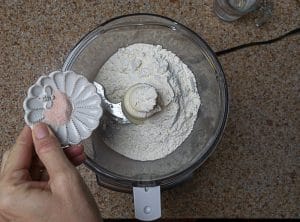
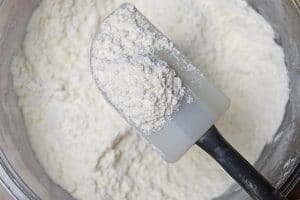
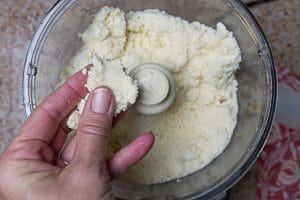
- Process the dough in the food processor for the minimum amount of time necessary to just get the dough to hold together. From the picture below you can see that the dough in the bowl still looks ‘grainy’ but when I pinch it, it holds together nicely.

- Again, process the dough as little as possible when forming it to refrigerate and when rolling it.
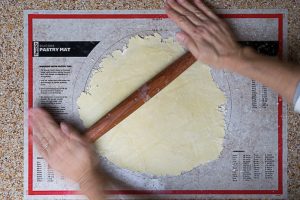
- When rolling your pie crust dough, use as little flour as necessary to keep the dough from sticking to the surface and your rolling pin. I do REALLY like my Non-Stick Pastry Mat (basically the same thing as a Silpat), but I still do put a very light dusting of flour on the mat before I add the pie crust. The mat makes it so easy to transfer the dough to the pie plate and doesn’t slip on the counter surface as parchment paper does.
- Chill the dough before rolling and after fitting it into your pie pan.


Earlywood Rolling Pin, Non-Stick Pastry Mat
And as an aside, I am new to the Tapered French Rolling Pin, but have to say that I am sold! It is so much lighter than my old, clunky-handled rolling pin. The thinness of the pin lets me really get a sense of the thickness of my dough, and the tapered design makes it so easy to maneuver! And, not for nothing, it is much easier to clean without extra parts.
Homemade Pie Crust Recipe
Equipment
Ingredients
- 2 1/2 cups pastry flour chilled
- 1 tsp salt
- 1 tsp sugar
- 1 cup unsalted butter high butterfat, frozen
- 1/4-1/2 cup ice water
Instructions
- Place the flour, salt and sugar in the bowl of a food processor and whir just to combine.

- Add the butter, all at once and process for about 8-10 seconds, until mixture looks like a coarse meal

- Add 1/4 cup chilled water through the tube of food processor in a slow stream.
- Check to see if the dough holds together when squeezed between your fingers.
- If not, add a little more water, 1 TB at a time, pulsing food processor and checking frequently to see if dough will hold together.
- DO NOT ADD ALL THE WATER OR PROCESS TOO LONG, we are talking seconds at a time.
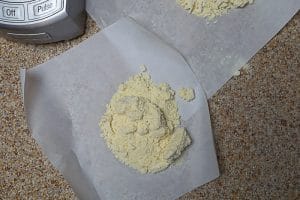
- Turn dough on to two sheets of parchment paper and using paper, press to mold it into a round shape.
- Wrap well and refrigerate for at least 1 hour.
- After refrigerated, place on lightly floured Pastry Mat and roll to 1/8" thickness
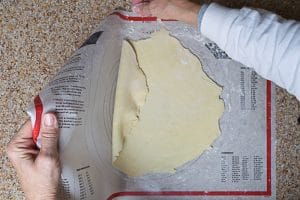
- When dough measures 1-2" in diameter wider than the pie pan, fold pastry mat to allow easy transfer of dough to pie plate
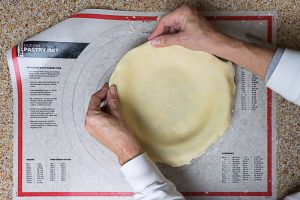
- Trim the overhanging dough so that an even 3/4" extends past pie pan
- Fold the extra under and lay it on the rim of the pie pan
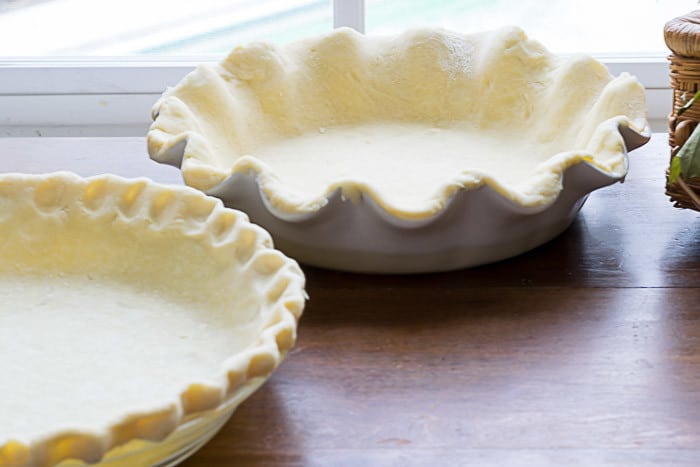
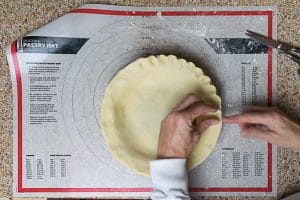
- Using pointer finger and thumb on your left hand and the pointer on your right hand, crimp the edge.
- Wrap well and refrigerate for at least 30 minutes and up to a week before filling.
Video

Nutrition
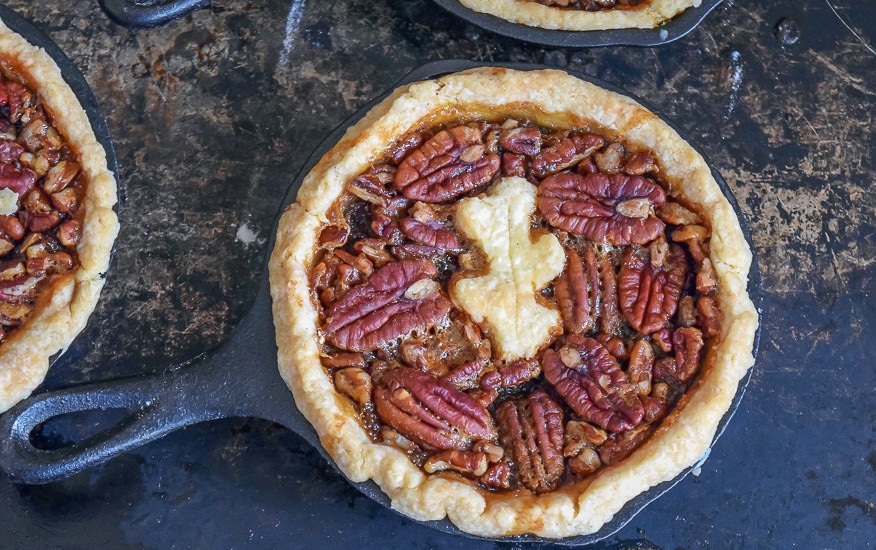
My challenge (I was the only one who thought this was a challenge worth taking) this Thanksgiving was making only 2 pie recipes. But since I can’t get a consensus on the 2 pies that will satisfy everyone, I may capitulate and make 3. Which really does seem excessive for only 6 people…oh well, Thanksgiving only comes once a year, and in our family, homemade pie is an absolute MUST for our holiday and Thanksgiving dessert table.
So, it looks like we will have Pumpkin, Apple, and Pecan Pie again. What pies will grace your table this year? Have you started the process?
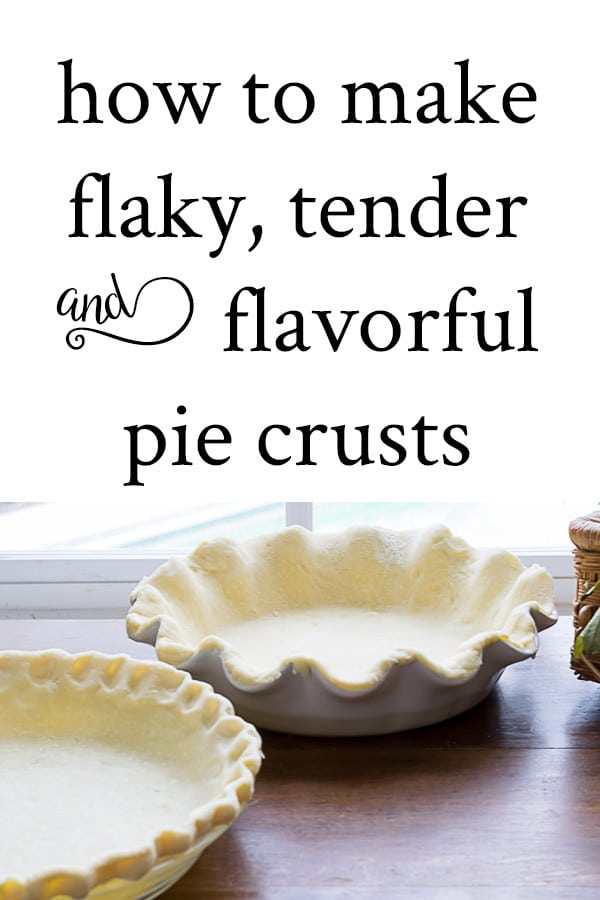
If you want to refer back to this post on How to Make the Best Homemade Pie Crust Recipe, bookmark this page or pin the following image. After you’ve made your pie crusts pop over to Pinterest to share a picture!
Thanks again for spending a few minutes of your busy day with me today.
Please know that I welcome each and every comment that comes my way. If you want to make sure you don’t miss future content, pop your email in the beige box up on the right or click here. I usually send out 2-3 emails a week, so I won’t inundate your inbox…believe me, I’m sensitive to an overflowing email inbox!
By subscribing to Nourish and Nestle, we will only use your email address to send you emails (no more than 2-3 per week) that will keep you up to date with the latest news and content on the site. In addition, you will have access to my growing library of knit & crochet patterns, as well as other printables. This library will continue to grow, so check back often.
And please know that you can unsubscribe at any time by emailing me or clicking on the “unsubscribe” link at the bottom of all of our emails.
You can access many of the products I refer to in all of my posts on my Nourish and Nestle Amazon Page. You can access it here.
So, if you’d like to get in on the ‘subscriber benefit’ action, simply subscribe to Nourish and Nestle here or using the form on the right sidebar. It’s towards the top a bit. I have sent all my subscribers the link to the Subscriber Benefits Library. If you missed it or misplaced it, drop me a line.
Until next time…
Hugs,

I truly enjoyed reading your story about your Grandmother and Mother’s love of baking. I was blessed to grow up with the same situation on our farm and your story brought back so many happy moments and memories. Thank you for sharing not only these homespun recipes but the story behind them. And, as my Pennsylvania born Grandma used to say,” Bless your hear5!”
Aw, we are so very lucky, aren’t we!? But, I didn’t grow up on a farm…would’ve loved that!
I’m glad you were prompted to revisit those happy memories! And wishing you many more.
Hugs, Lynn
I am a bit confused. You say this is your grandmothers recipe but during those days you couldn’t purchase pastry flour, let alone even find it since they had one type of flour for everything.
Hi Miriam,
You are so right. Grandma didn’t have the benefit of Pastry Flour. As I mentioned, I made this recipe for years using AP Flour. It was only recently that I branched out to use Pastry Flour…bringing Grandma’s recipe to the 21st century!
Have a great day and happy baking.
Lynn
Hi Lynn,
I’ve made many quiche/pie crusts in the past, but do you have any ideas on how to make this crust if you don’t have a food processor? (I know most people do ; )
Just want to see what your ideas are compared to what I do now.
Thanks for always giving us so much content in so many different fields of creativity.
Take care,
Nancy
HI Nancy,
I remember my Grandma making this pie dough, pre-food processor days. Seems she worked in the butter with a handheld pastry cutter or blender. Is that what you use?
Lynn
What brand of butter to you use and/or recommend?
Thank you!
Hi Jenny,
I’ve made this pie crust with Costco/Kirkland brand butter as well as Challenge and Kerry Gold. If I’m completely honest, once the pies are filled with their filling, I couldn’t tell a difference. Maybe a more discerning taste bud could discern the difference.