How to DIY Outdoor Throw Pillows with Cricut


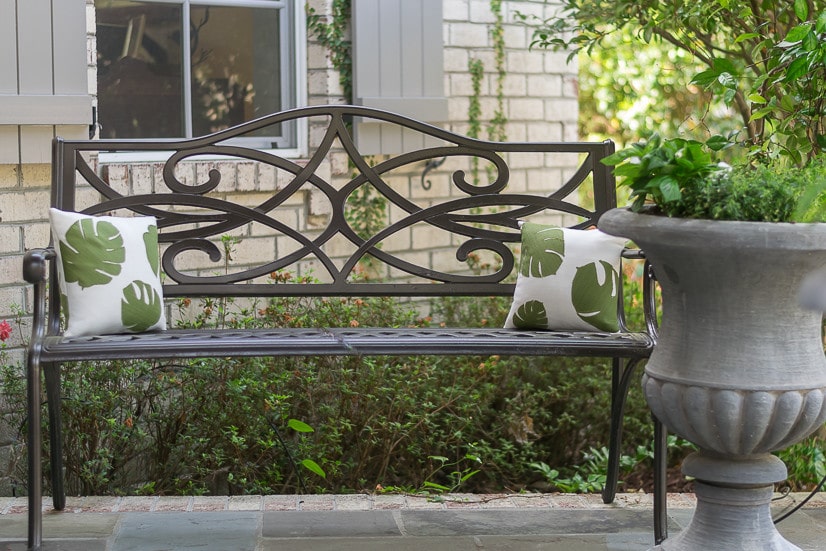
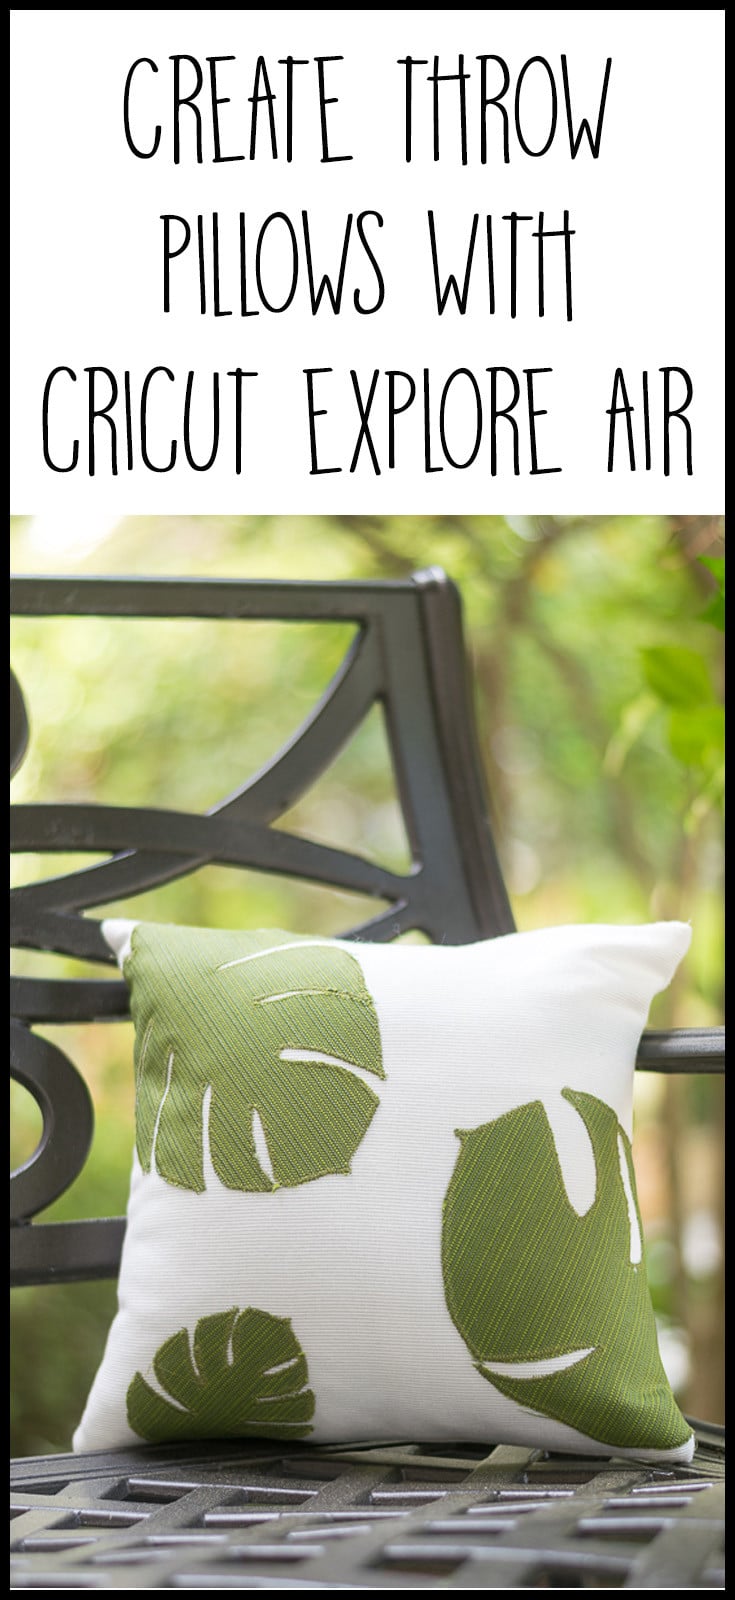
Sharing how to make these DIY Outdoor Throw Pillows! These bright outdoor pillows are made with a sturdy, outdoor fabric and feature monstera leaves. I cut the fabric with my Cricut Explore Air.
Hey friends, I’ve got a question for you…do you think it is possible to have too many throw pillows?
I’m pretty certain that the answer to that question is ‘no’…which is why Terry thinks I might need an intervention.
But be that as it may, I really do enjoy having a stash of throw pillows that I can bring out to welcome a change in the season.
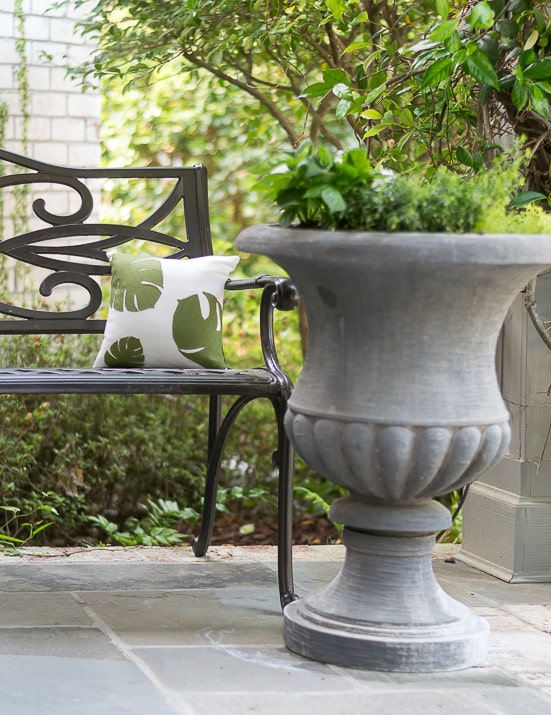
These tropical leaf throw pillows are perfect for spring and summer decor. And I made them with outdoor fabric so that they can sit on either my front or back porch.
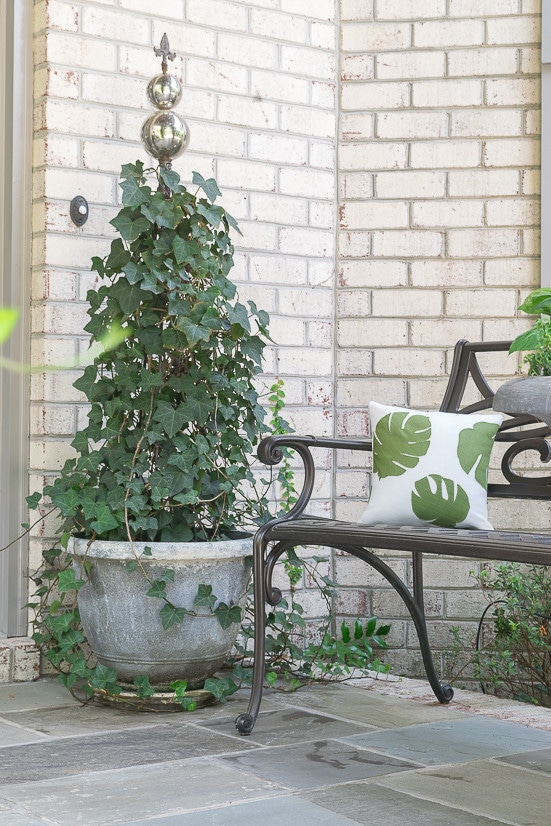
Table of Contents
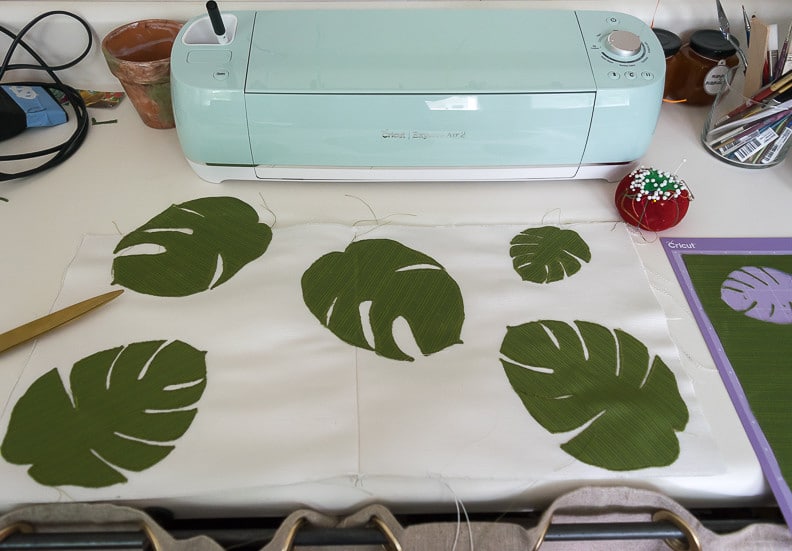
And in my ongoing quest to figure out just how handy my Cricut Explore Air 2 really is, I decided to see how I could use it to DIY Throw Pillows.
I wanted something a wee bit tropical and found this image of Monstera leaves to use on my pillows. By uploading the image into the Cricut Design Space software, I was able to produce an image that could be cut from fabric.

I did produce a wee video to show you the process to upload an image into Cricut.

Materials Needed:
Some of these are affiliate links and I will earn a small commission off of the sale of these products, but the price you are charged is not affected. You can see my full disclosure policy here.
- 14″ pillow forms
- 1/2 yard white outdoor fabric ( I used Sunbrella )
- 1/4 yard green outdoor fabric (mine was Terrasol)
- White and Green thread and needle
- Cricut Explore Air 2
- Cricut Strong Grip Mat
- Cutting Blade
- Sewing Machine
N&N TIP: Use a pillow form that is 2 inches bigger than your cover for full and firm pillows.
Make the Throw Pillows:
- If you want to upload an image into your Cricut, see my video above.
- Once you have the image, cut the images out of your fabric. Here are some tips on how to cut fabric with Cricut Explore Air:
- Use a sharp blade and a strong grip mat
- Use Wonder Under or a similar backing to make your fabric stiff. I used Terrasol outdoor fabric, which is an olefin product so it was already quite stiff.
- Cut the white fabric to 13″ by 13″, giving 1/2″ seam allowance on each side.
- I did sew one side of the pillow cover together before I sewed the leaves on so that I could have a leaf bend over from the front to the back.

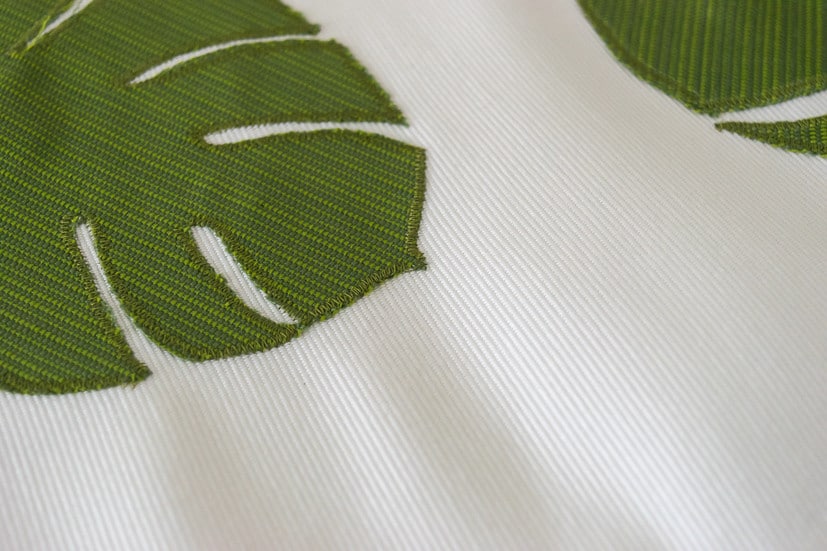
- I used a tight zig-zag stitch to attach them to the leaves to the white pillow fabric.

- Then it was just a matter of sewing two more sides on the sewing machine, stuffing the pillow insert in and hand stitching the fourth side closed.

- As I was stitching the final side closed, it dawned on me that I should have either put in a zipper or velcro so that I could wash the cover easier. I think I’ll probably do that when the time comes to wash them.
Think you might just want to cut fabric with Cricut and DIY some throw pillows yourself? Pin this image for your future reference.
Are you looking for another DIY pillow project using your Cricut? Check out these gold medallion pillows that I made using my Cricut.
Thanks so much for stopping by to visit today!
I appreciate it more than you’ll ever know. If you want to see what I’m up to from week to week, sign up here to sign up for updates.
I have published printable PDFs of several of my most popular knit patterns and printables and have made those available to all of my subscribers. Come back and check every now and again. I will continue to add patterns and printables to this page as we go along.
So, if you’d like to get in on the ‘subscriber benefit’ action, simply subscribe to Nourish and Nestle using the form on the right sidebar. It’s towards the top a bit. I have sent all my subscribers the link to the Subscriber Benefits Library, but if you missed it or misplaced it, drop me a line.
Hugs,

This is a sponsored conversation written by me on behalf of Cricut. The opinions and text are all my own.