
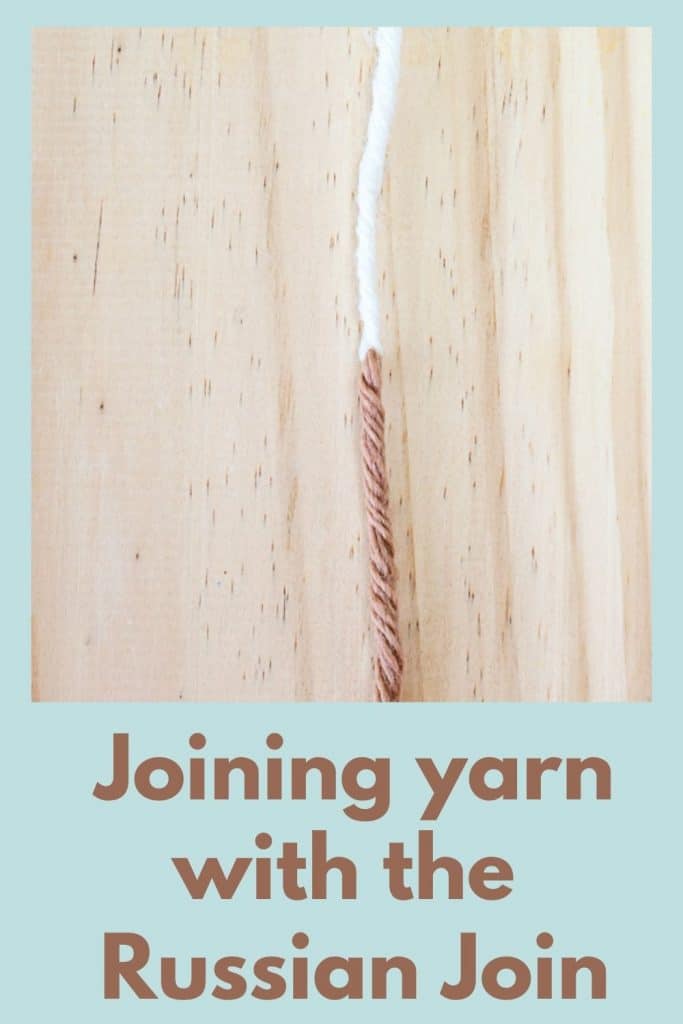
Russian Join: joining yarn for knitting
This post shows how to join two ends of yarn using the Russian Join. This is a great method to join yarn when knitting, as well as for joining crochet yarn.
Unless you are knitting a pair of mittens, a hat, washcloths, or something similar, you will most likely need to join balls or skeins of yarn.
For the longest time, I tried to join the yarn at the end of a row. I would just tie a good square knot and then weave in the ends. And truthfully, it worked just fine. I’ve never had one come undone and the yarn ends are easily woven into the edge of whatever I was knitting.
However, I ended up wasting a lot of yarn and still had to weave in the ends once I was done knitting.
So, a while back I went looking for a better, more economical way to join yarn in knitting, as well as in crochet.
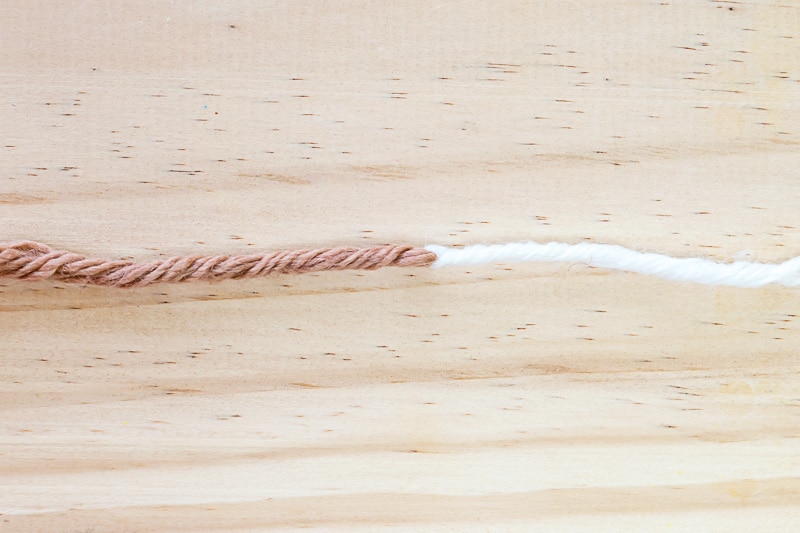
Table of Contents
Some of these links may be Amazon affiliate links and I may earn a small commission from the sale of these products to help defray the costs of operating this site, but the price you are charged is not affected. You can see my full disclosure policy here.
Enter the Russian Join!
I love techniques like this, but always wonder about the person who ‘invented’ the technique! I didn’t spend a whole lot of time researching it but going out on a limb to say it was someone in Russia. 🤷🏼♀️ But who knows!
At its core, the Russian Join is about taking your two yarn ends and making them into one piece of yarn, without a knot. It is achieved by weaving the ends back into each other while the yarn ends are joined.
You do need a darning needle for a Russian Join. If your knit kit doesn’t have one, you should have one anyway!
This is clearly one of those times when a picture is worth a thousand words, so let’s just go there!
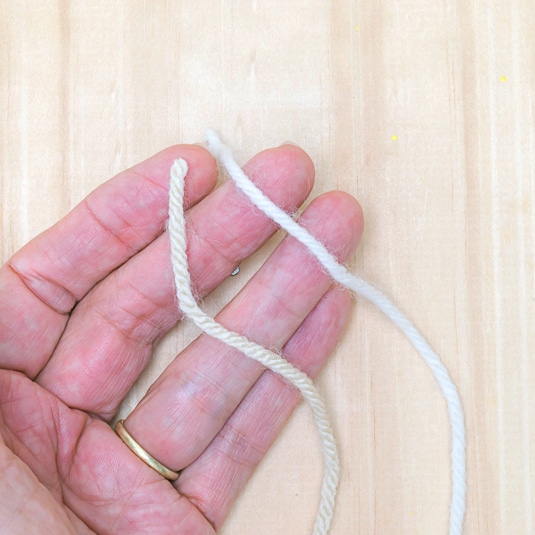
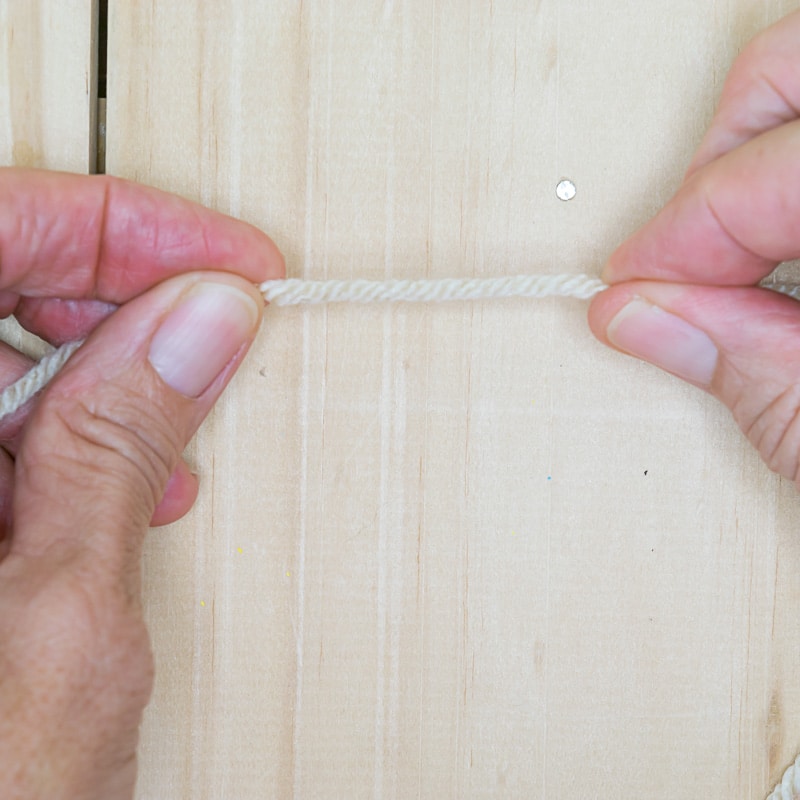
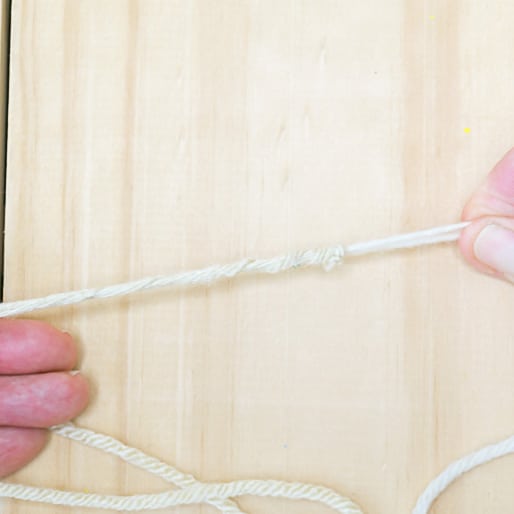
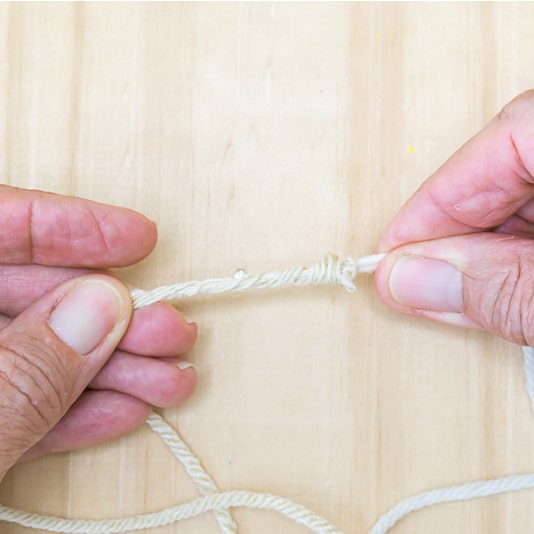
Have the two ends of yarn that you need to join.
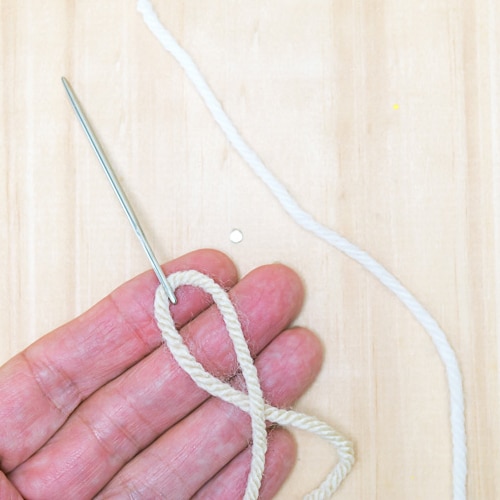
Thread one end onto a darning needle.
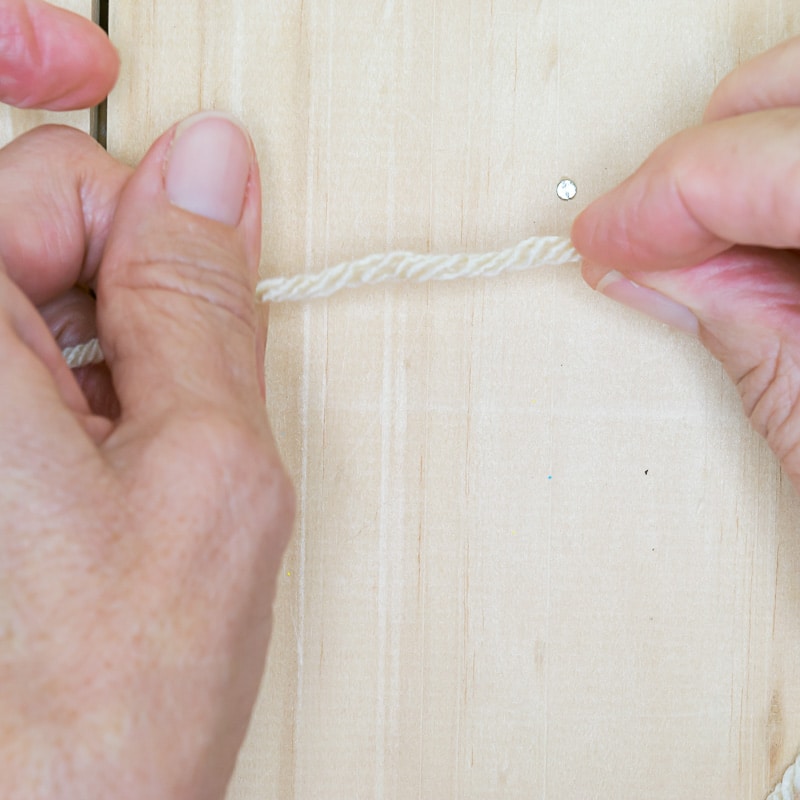
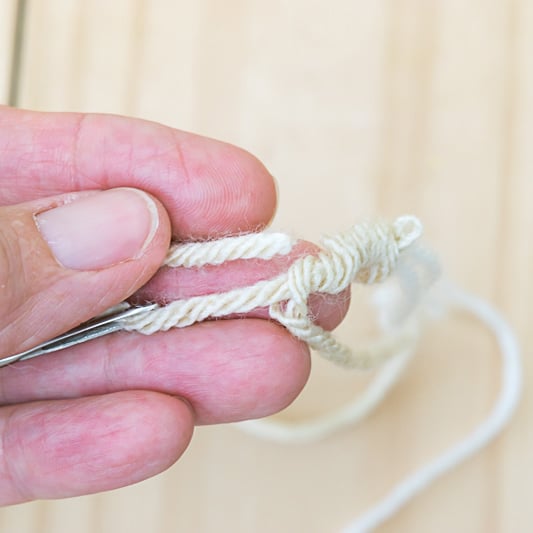
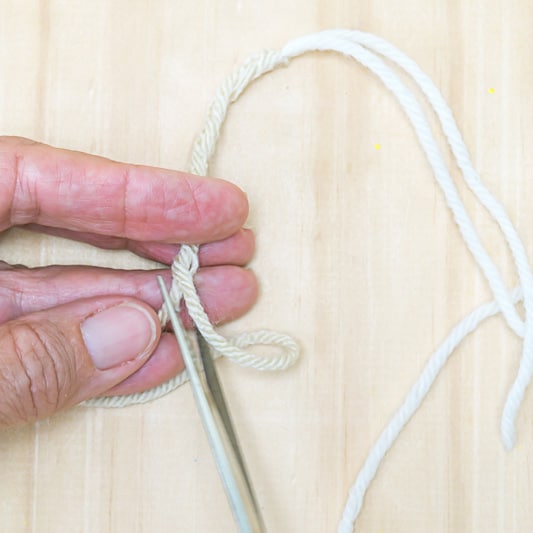
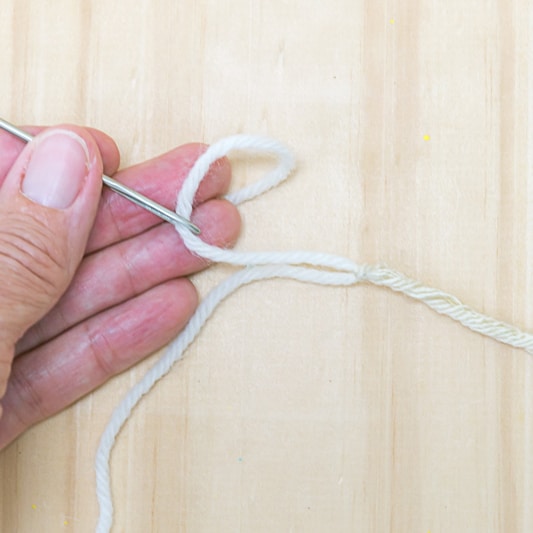
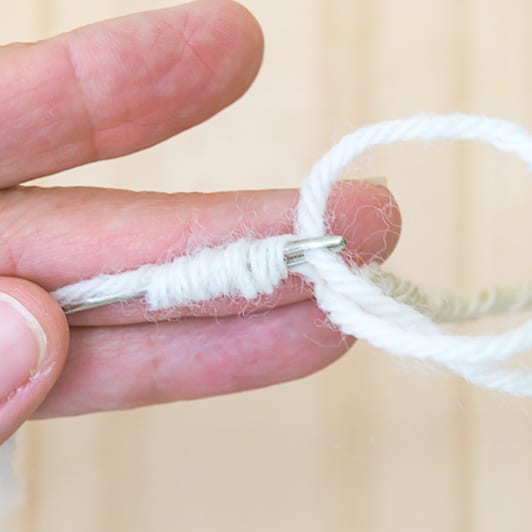
Form a loop with the yarn that is on the needle and put the other piece of yarn through the loop
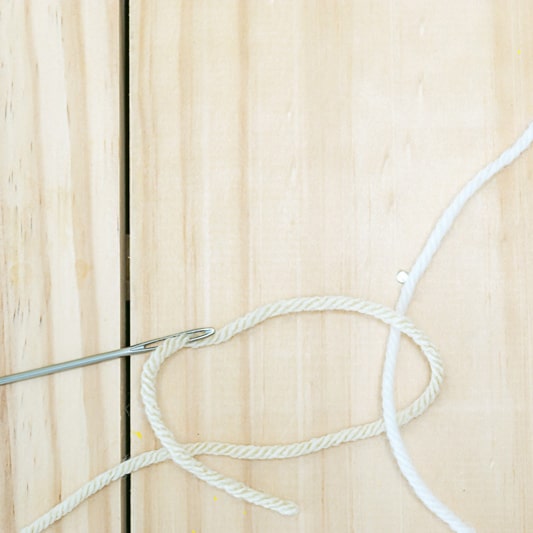
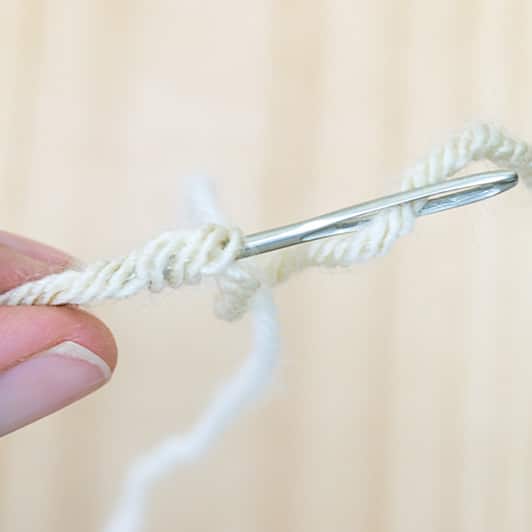
Take a second to look at the yarn on the needle.
If you roll it, you can see the plies open up. You can also see the ‘tube’ that the plies form. We are going to go into that tube with the needle.
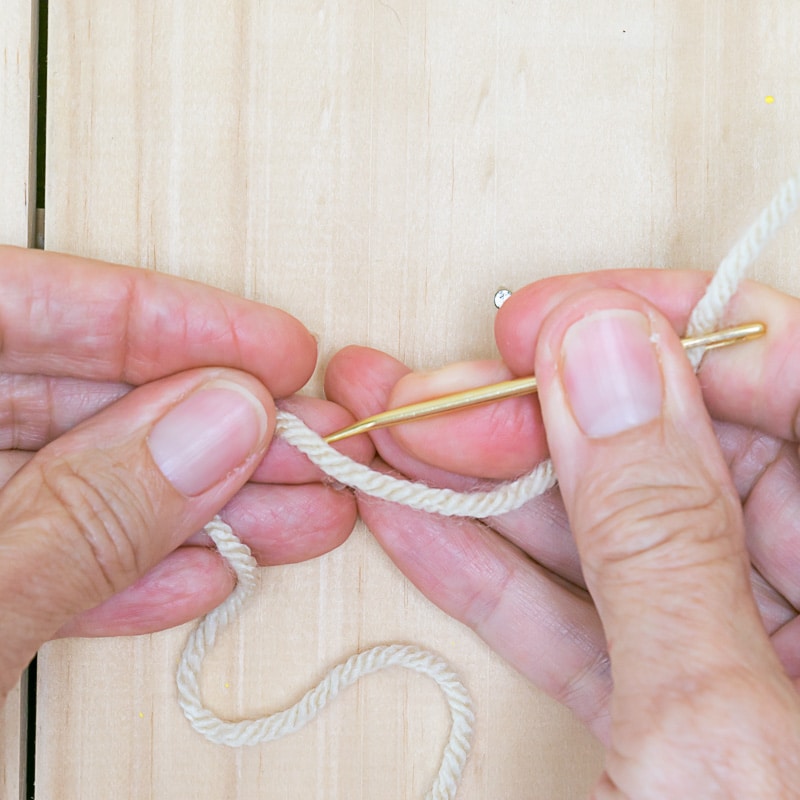
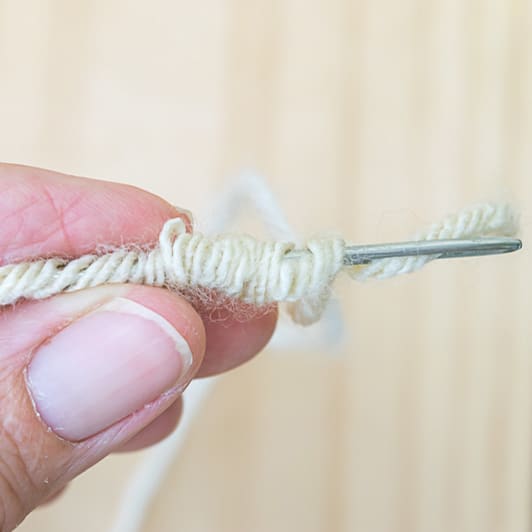
Point your needle into the yarn, as close to the threaded end of the needle as possible.
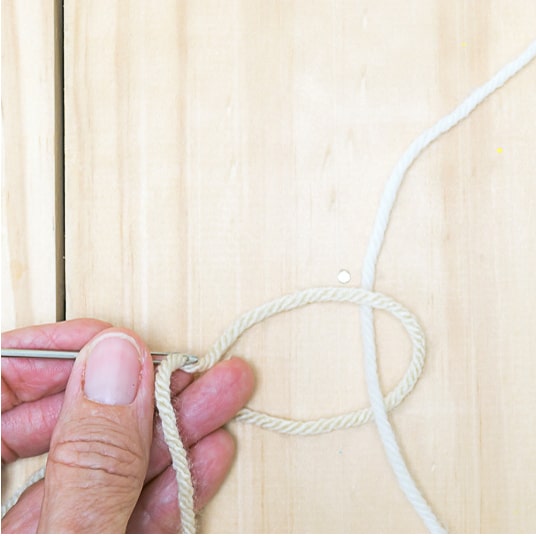
Continue to work your needle through the ‘tube’, about 2-3″ of yarn…not the bunched-up yarn.

After about 2-3″, pull the tail of the yarn on the needle through what you’ve just worked.
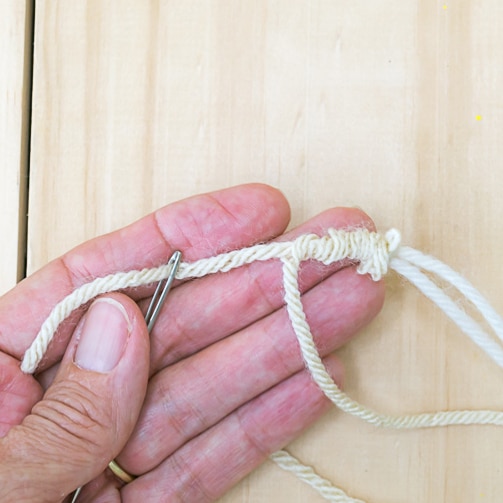
Take the needle off of the yarn
With your fingers, pull and smooth the yarn that you just worked.
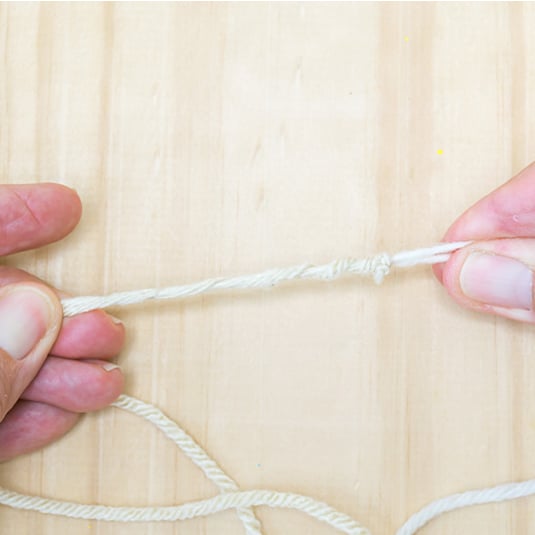
Snip the tail end as close to the yarn as possible.
Repeat with the second half.
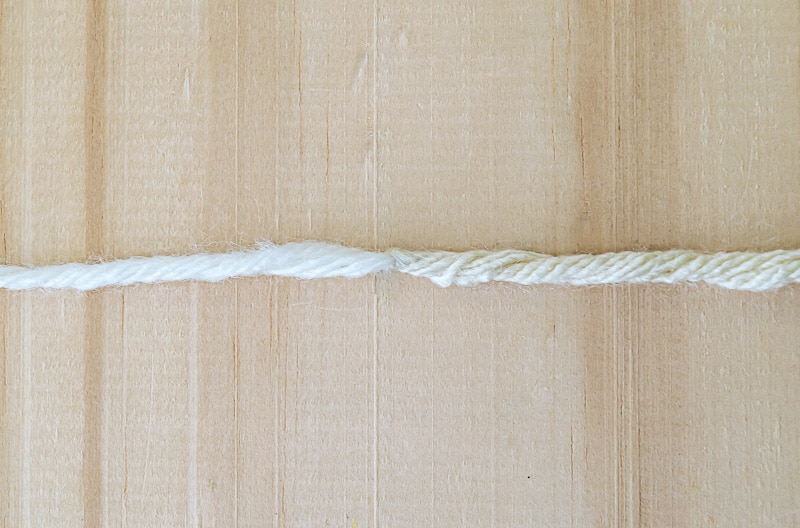
The combined 2 pieces of yarn.
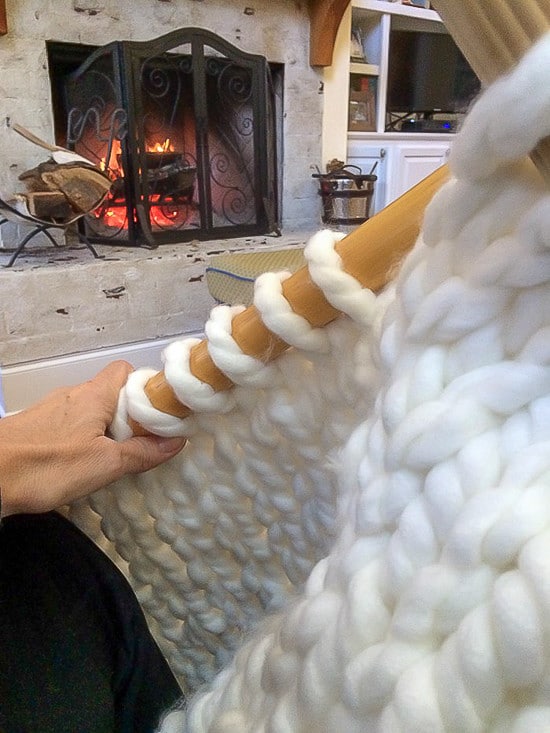
Then, just keep working your pattern!
Once you’ve joined your yarn, you can continue in pattern whether you are knitting or crocheting.
I have made a full 8-minute video showing the Russian Join technique as well. Check it out here.
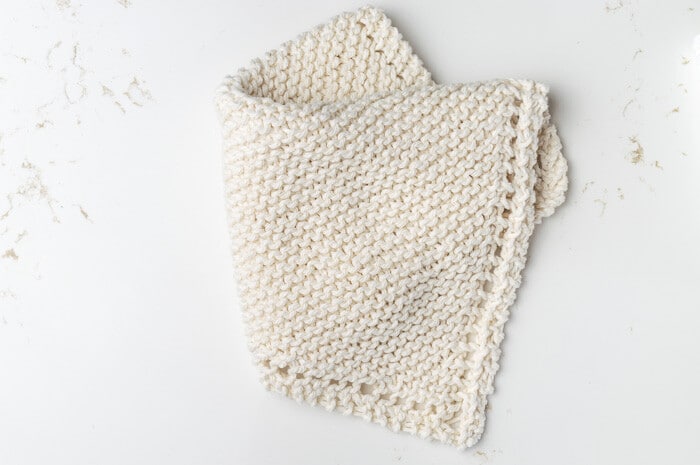
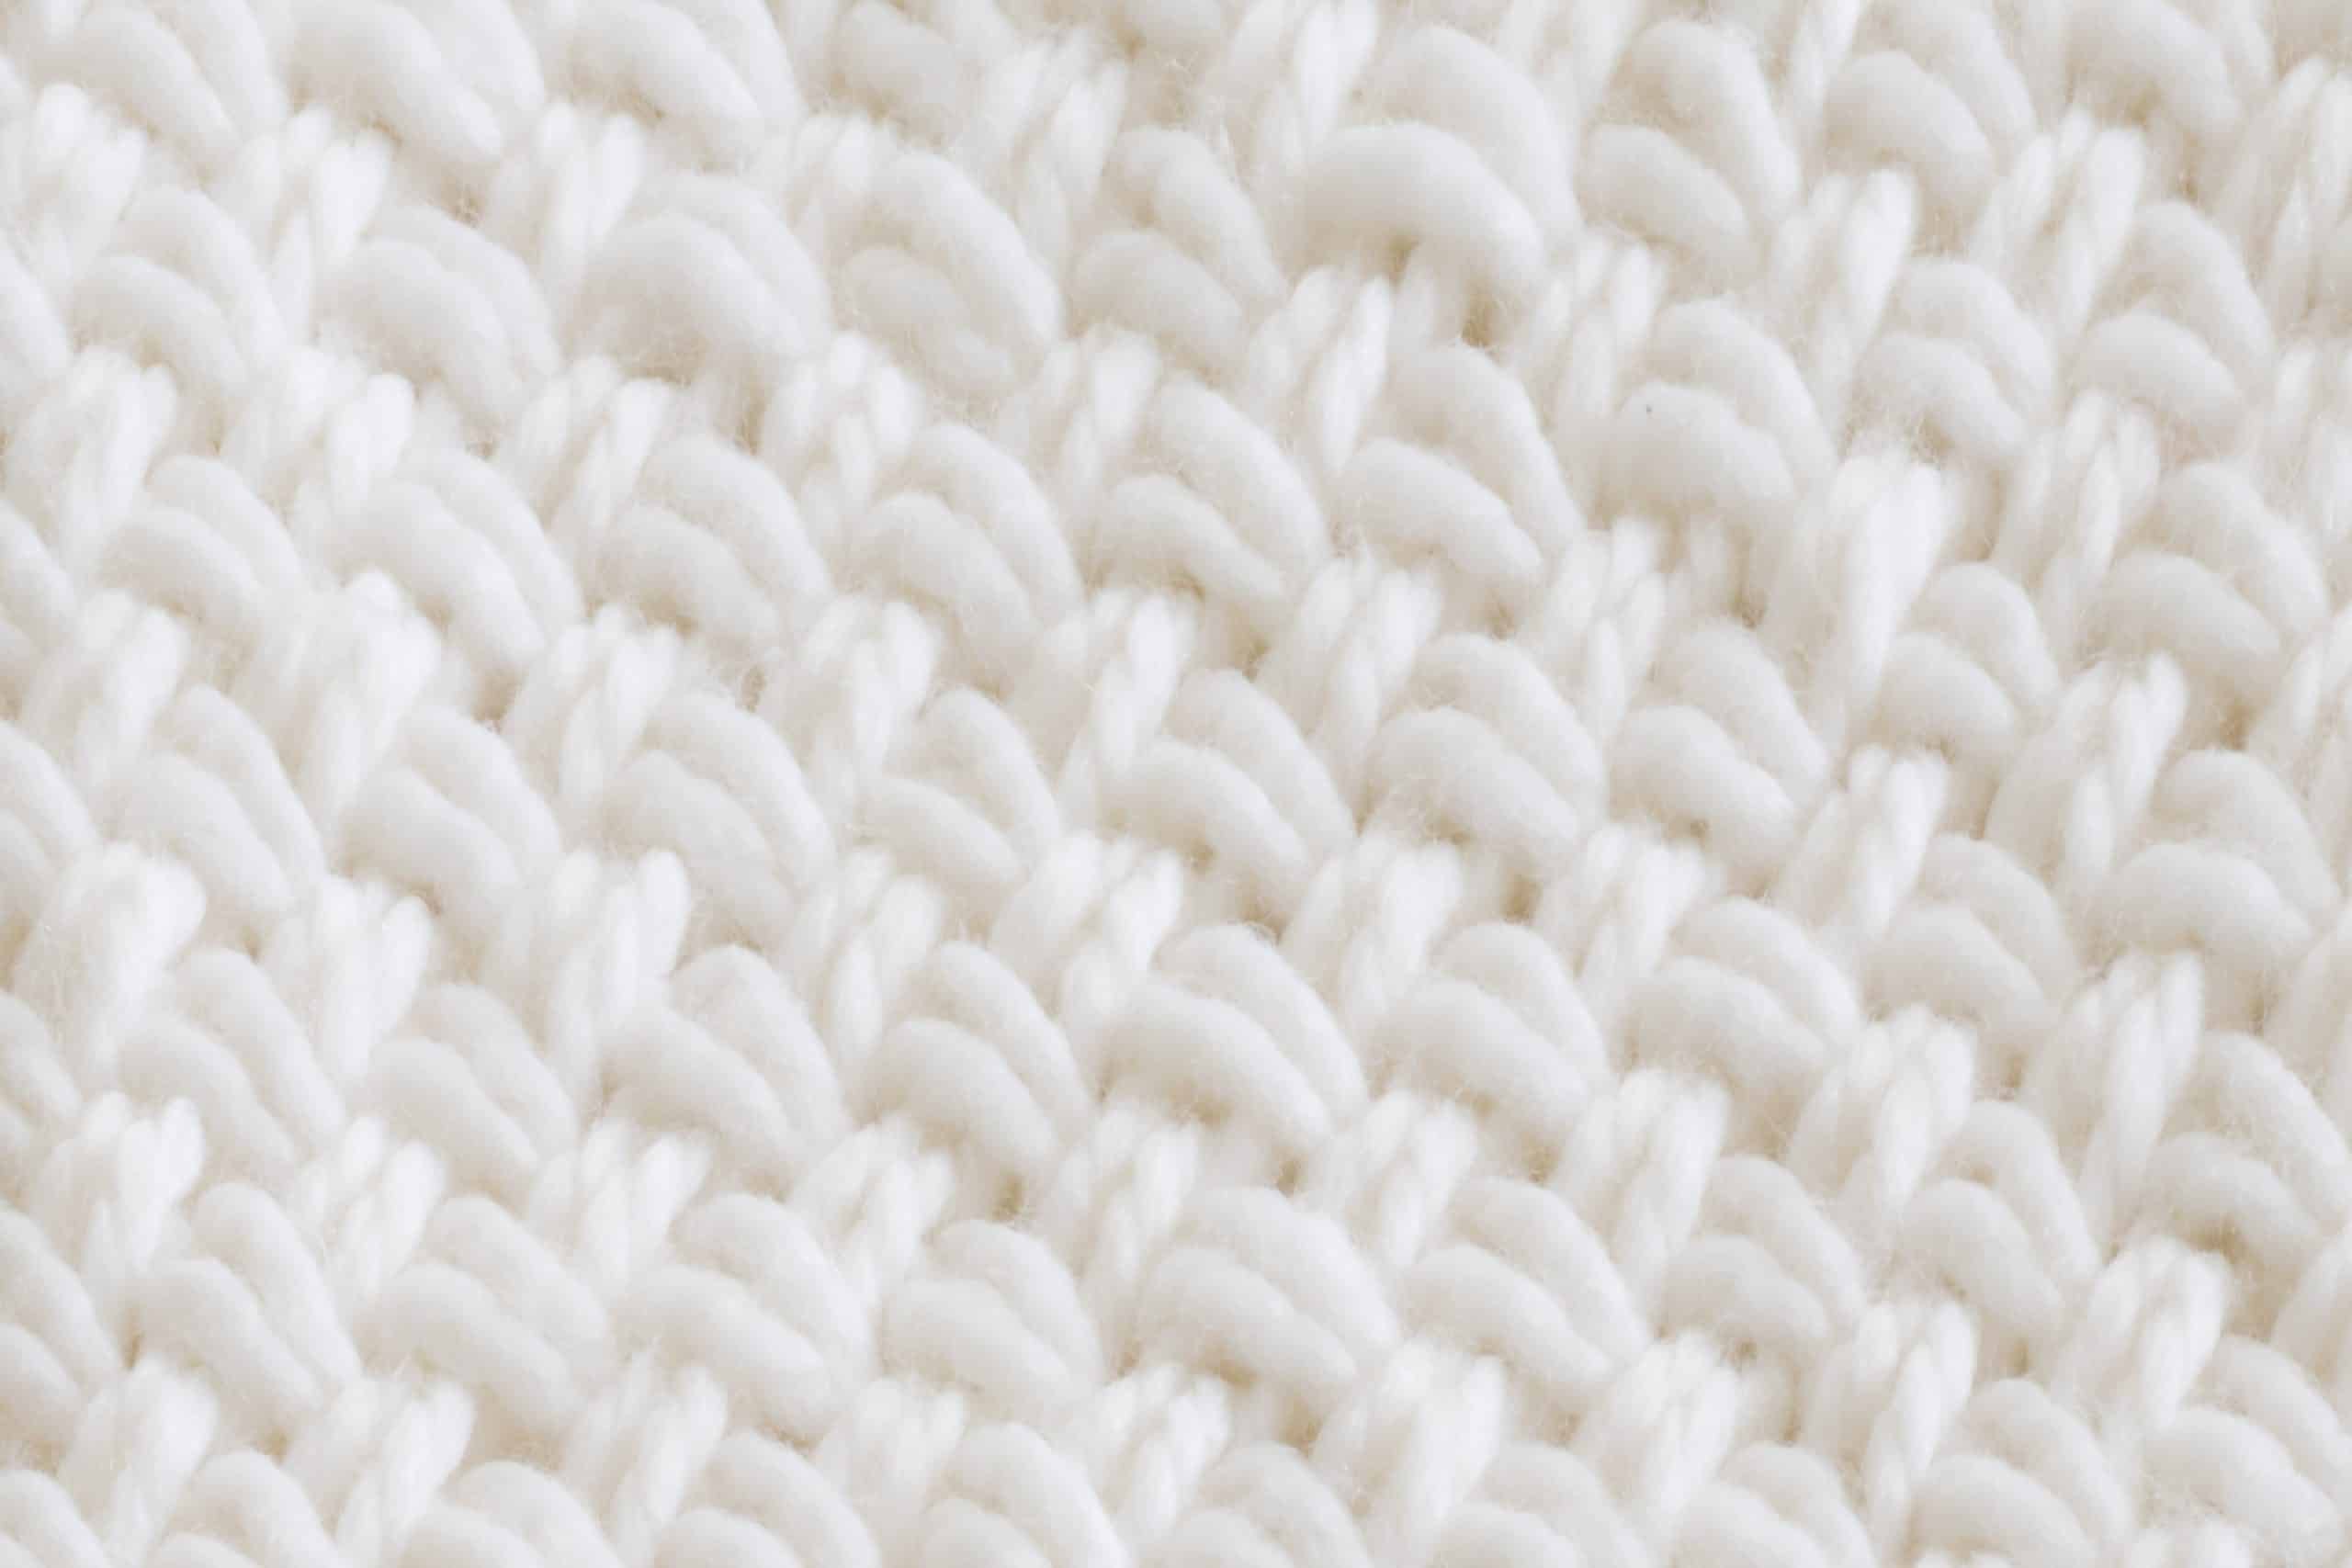
Some yarn fibers and patterns ‘camouflage’ the join better. This simple stockinette in worsted weight shows the join a little better than the worsted weight cotton that has a knit pattern in it. And that little thicker area that will even out more after washing and blocking.
And while it works fine for cotton, it is easier to do with a yarn that has a ‘grip’ to it, like wool and acrylic.
Can you spot the join area?
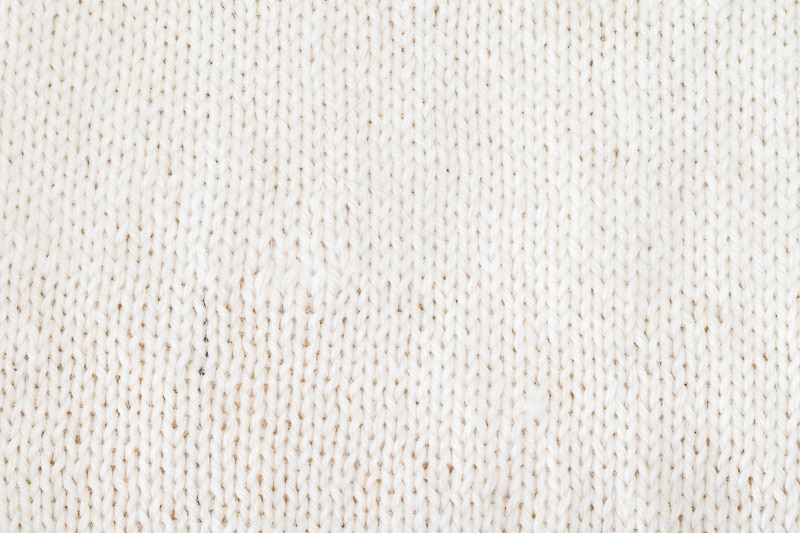
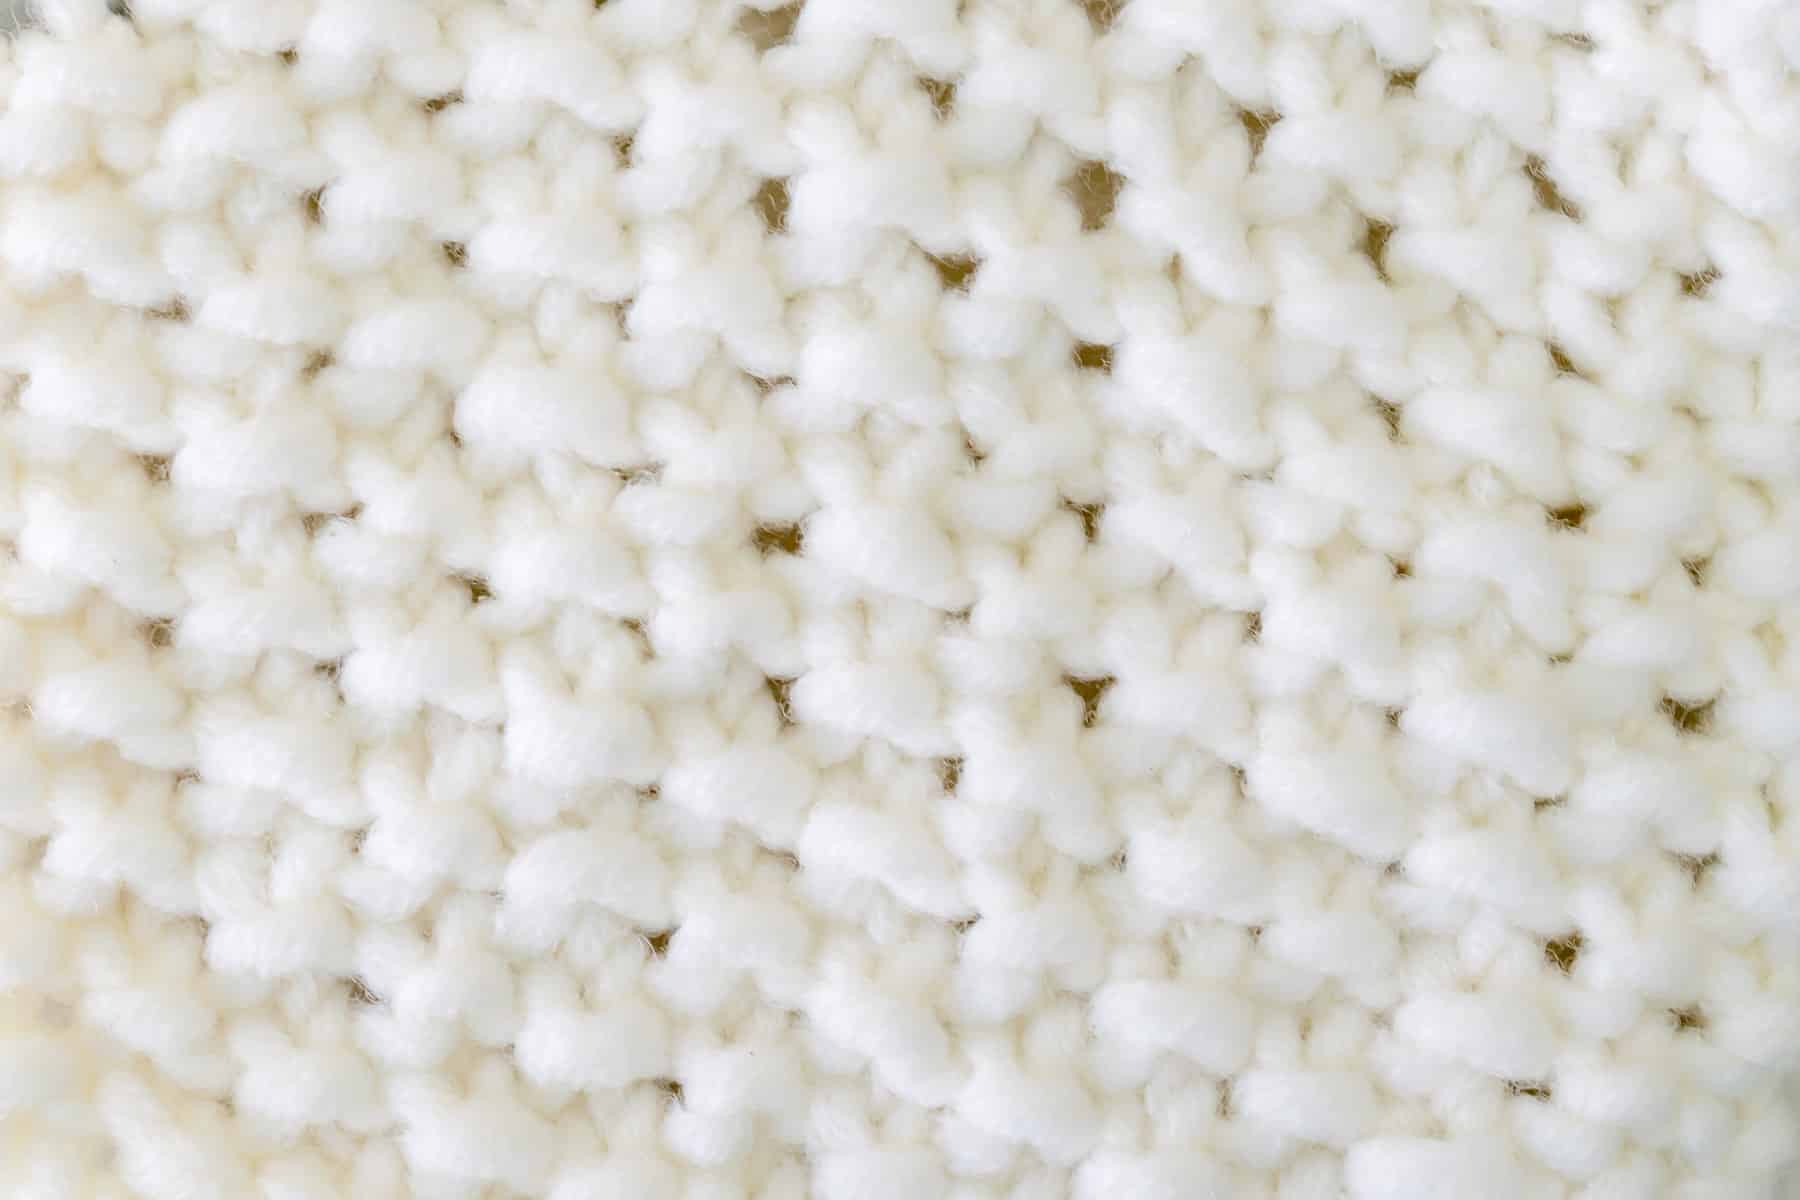
Can you spot the Russian Join in the knit swatch below?
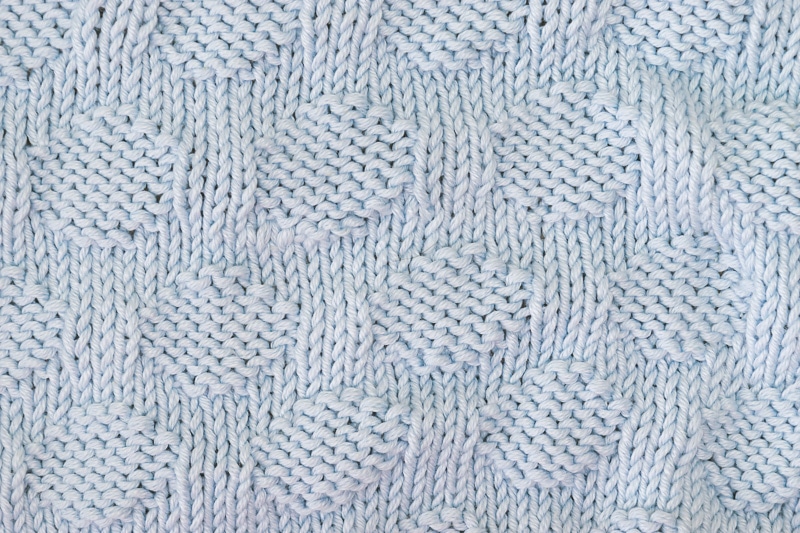
Hint…it’s the 3rd row of polka dots up from the bottom, the 3rd polka dot from the right.
If you want to learn how to knit or are looking to brush up on your knitting skills and knowledge, pop over to the How to Knit page, which houses all of the posts that teach knitting skills. Or, you could go ahead and visit each one by clicking the links below.
All About Knitting
- All About Yarn, including different fibers and weights, how to read a yarn label, and a Yarn Weights Chart
- All About Knitting Needles, including material, sizes, styles, and a Needle Conversion Chart.
- How to Cast On Using the Long-Tail Method, including calculating how much yarn is needed to cast on and how to make a slip knot.
- How to Knit the Knit Stitch
- How to Knit the Purl Stitch
- How to Knit the Seed Stitch
- How to Bind Off, including how to weave in your loose ends.
- How to Read a Knit Pattern, including a Common Knitting Abbreviations Chart.
- This simple Garter Knit Dishcloth will let you put all your new skills to good use!
- How to Block Your Knitting.
- Common Knit Errors; How to Prevent or Diagnose and Fix Them
- Join yarn using the Russian Join
- How to seam pieces of knit fabric with the Mattress Stitch (for sweaters, tops, pillows, etc…)
- How to Knit in the Round with Circular Needles
- How to Knit in the Round with Double-Pointed Needles
- How to Knit in the Round using the Magic Loop Technique.
- Organize Your Knitting with these free printables.
- Check out our Gift Ideas for Knitters.
Pluses and Minuses of the Russian Join for Joining Yarn
Plus:
- No ends to weave in
- Blends relatively well
- A strong join; it would be really hard for all that to come undone
- Suitable for most yarns and fibers
Minuses
- Can’t do with single, even double-ply yarns
- There is still a little bulk where the double thickness of the yarn is
- Hard to change colors with
- Takes a bit longer while knitting to do (compared to just tying a knot)
Bookmark this page or pin the following image to refer back to this explanation of how to use the Russian Join when joining yarn for crochet or knitting.
Thanks so much for spending a few minutes of your busy day with me!
To ensure you don’t miss future content, pop your email in the pale green box on the right or click here. I usually send one email weekly, so I won’t inundate your inbox. I’m sensitive to an overflowing email inbox!
We will only use your email address to send you emails, no more than 1-2 weekly. In addition, you will have access to my growing library of knit & crochet patterns and other printables. Check back often as this library will continue to grow. You can unsubscribe anytime by emailing me or clicking on the “unsubscribe” link at the bottom of all emails.
And you can access many of the products I refer to on my Nourish and Nestle Amazon Page. You can access it here.
So, if you’d like to participate in the ‘subscriber benefit’ action, simply subscribe to Nourish and Nestle here or use the form on the right sidebar. It’s slightly towards the top.
I have sent all my subscribers the link to the Subscriber Benefits Library. If you missed it or misplaced it, let me know.
Until next time…


How did I not know about the Russian join before?! Thanks for this great idea – and tutorial, Lynn! I’m definitely doing this with my next knitting project.
Oh Yay! I’m so glad it will be helpful for you!
Hugs,
Lynn