How to Paint High Ceilings Like a Professional
Painting high ceilings can be daunting for homeowners, but you can achieve professional-looking results with the right tools, techniques, and preparation. In this article, we’ll guide you through the process of painting high ceilings, from selecting the right tools to applying the paint and achieving a flawless finish.

Table of Contents
This article was sponsored by Soho Painters.
Preparing the Room and Gathering Supplies
Before you begin painting, preparing the room and gathering all the necessary supplies is essential. Here’s what you’ll need:

- Drop cloths or plastic sheeting to protect the floor and furniture
- Painter’s tape to mask off areas you don’t want to paint
- Extension pole for your roller
- High-quality paintbrushes and roller covers
- Paint tray and liner
- Ladder or scaffolding for reaching high areas
- Paint (choose a flat or matte finish for ceilings)
- Primer (if necessary)
Start by removing all furniture from the room or covering it with drop cloths. Lay drop cloths or plastic sheeting on the floor to protect it from paint drips and spills. Make sure to cover a wide area, as paint can splatter when rolling, especially when working on high ceilings.

Next, use painter’s tape to mask off the edges of the ceiling, light fixtures, and any other areas you don’t want to paint. Be precise when applying the tape to ensure clean lines and to prevent paint from seeping underneath. If you have crown molding or other decorative elements on the ceiling, take extra care when masking these areas to maintain their intricate details.
When selecting your paint and primer, opt for high-quality products specifically designed for ceilings. Flat or matte finishes are ideal for ceilings, as they help hide imperfections and minimize glare. If your ceiling has water stains, smoke damage, or other discolorations, consider using a stain-blocking primer to prevent these issues from showing through your final coat of paint.
Preparing the Ceiling Surface
Before applying paint, ensure the ceiling surface is clean, dry, and free of loose paint or debris. Here’s how to prepare the surface:
- Remove any loose paint or plaster with a scraper or putty knife. Be gentle to avoid damaging the underlying surface.
- Fill any cracks or holes with a spackling compound and allow it to dry completely. You may need to use a joint compound or plaster repair kit for larger holes or more extensive damage.
- Sand the filled areas smooth and remove any dust with a damp cloth. Use fine-grit sandpaper to avoid leaving deep scratches or gouges in the surface.
- If the ceiling has never been painted or has significant stains, apply a coat of primer to ensure even paint coverage. Primer helps seal the surface, provides a better base for the paint to adhere to, and can help hide minor imperfections.
According to Will from Soho Painters, “Proper surface preparation is crucial for achieving a smooth, professional-looking finish on high ceilings. Taking the time to repair imperfections and prime the surface will result in a better final product.”
Will recommends using a damp cloth to clean the ceiling surface after sanding and before priming. This helps remove any fine dust particles that may have settled on the surface, which can interfere with paint adhesion and create a rough or bumpy finish.
Cutting In and Rolling the Ceiling
When painting high ceilings, it’s best to work in sections, cutting in the edges with a brush and then rolling the rest of the area. Here’s how to do it:
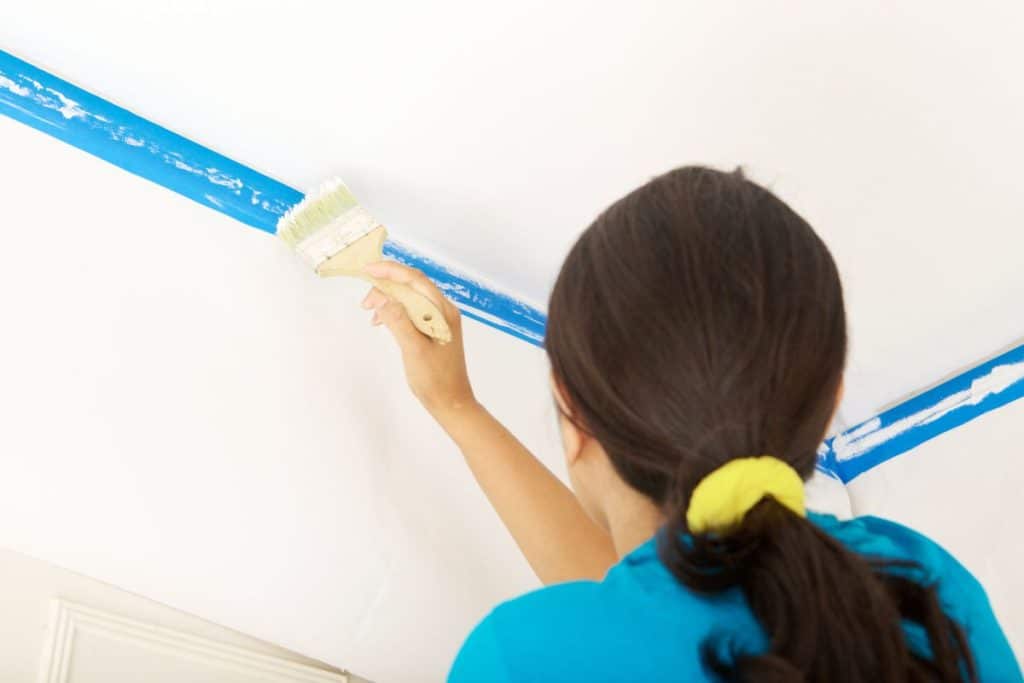
- Using a high-quality paintbrush, cut in along the edges of the ceiling where it meets the walls. This creates a border that will make it easier to roll the rest of the ceiling without getting paint on the walls. When cutting in, load your brush with enough paint to cover a 2-3 foot section at a time, and work carefully to maintain a steady hand and a consistent line.
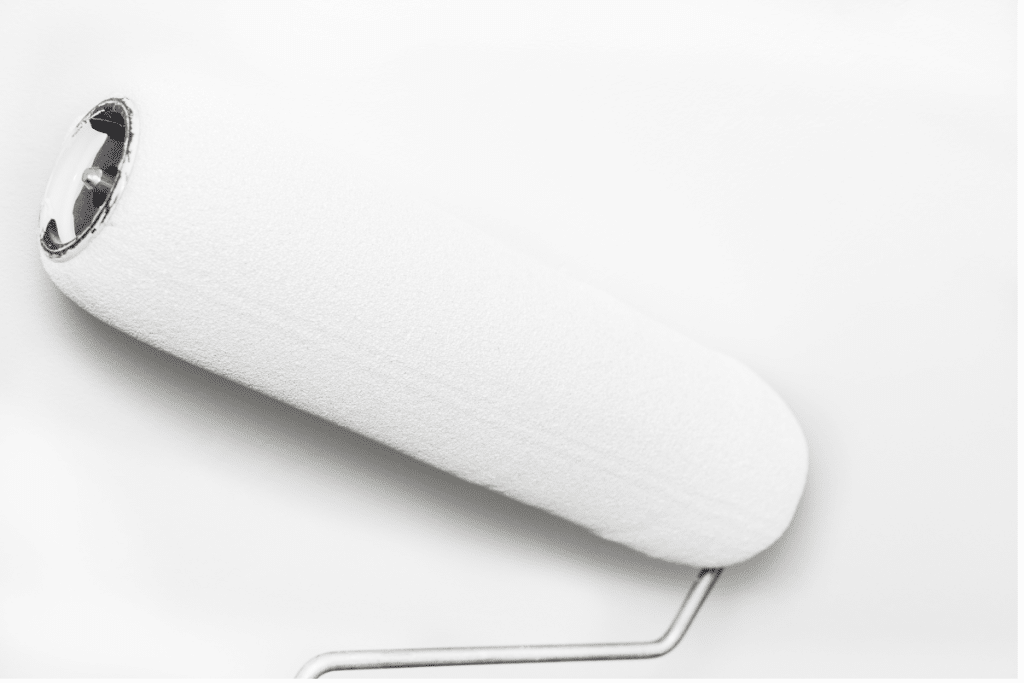
- Pour your paint into a tray lined with a disposable liner. Dip your roller into the paint, removing any excess by rolling it on the tray’s ridged area. Be sure to evenly distribute the paint on the roller to avoid heavy spots or drips.
- Begin rolling the paint onto the ceiling, starting in a corner and working your way across the room in 3-foot by 3-foot sections. Use an extension pole to reach high areas without having to climb up and down a ladder. Maintain consistent pressure on the roller to ensure even coverage and minimize the appearance of roller marks.
- Overlap each section slightly to ensure even coverage and avoid visible seams. As you move across the ceiling, check your work from different angles to catch missed spots or uneven areas.
- Allow the first coat to dry completely before deciding if a second coat is necessary. Depending on the color change and the quality of the paint, you may need a second coat to achieve full coverage and a seamless finish.
Tips for a Professional Finish when Painting High Ceilings
To achieve a professional-looking finish on your high ceilings, consider these tips:
- Use a high-quality, low-nap roller cover to minimize texture and achieve a smooth finish. A 3/8-inch nap roller is generally recommended for painting smooth ceilings.
- Maintain a wet edge by overlapping each section slightly and rolling in one direction to avoid visible lap marks. This technique, known as “keeping a wet edge,” helps blend the sections together seamlessly.
- Work in natural light if possible, as artificial light can cast shadows and make it difficult to see missed spots or imperfections. Open windows or skylights to allow plenty of natural light into the room.
- Ventilate the room well to minimize the impact of fumes and help the paint dry more quickly. Open windows and doors, and use fans to circulate air if necessary.
- Consider using a paint sprayer for large, open ceilings to achieve an even, consistent finish. However, be aware that paint sprayers require additional preparation and masking to prevent overspray on walls and floors.
Cleaning Up and Maintaining Your Painted Ceiling
After you’ve finished painting, remove the painter’s tape while the paint is still slightly wet to avoid pulling off any dried paint. Be careful not to let the tape fall onto the wet paint on the ceiling. Allow the paint to dry completely before removing drop cloths and replacing furniture.
To maintain your newly painted ceiling, dust it regularly with a soft, dry cloth or a microfiber duster with an extension pole. This will help prevent the buildup of cobwebs, dust, and other debris that can dull the finish over time.
You can gently clean the ceiling with a damp cloth and mild detergent when necessary. Be sure to wring out the cloth well to avoid saturating the ceiling with water. Avoid using abrasive cleaners or excessive moisture, which can damage the paint and cause peeling or flaking.
Following these steps and tips, you can paint your high ceilings like a professional and enjoy a refreshed, updated look in your home. With proper preparation, technique, and maintenance, your newly painted ceiling will look beautiful for years to come.
Thanks so much for spending a few minutes of your busy day with me!
To ensure you don’t miss future content, pop your email in the pale green box on the right or click here. I usually send one email weekly, so I won’t inundate your inbox. I’m sensitive to an overflowing email inbox!
We will only use your email address to send you emails, no more than 1-2 weekly. In addition, you will have access to my growing library of knit & crochet patterns and other printables. Check back often as this library will continue to grow. You can unsubscribe anytime by emailing me or clicking on the “unsubscribe” link at the bottom of all emails.
And you can access many of the products I refer to on my Nourish and Nestle Amazon Page. You can access it here.
So, if you’d like to participate in the ‘subscriber benefit’ action, simply subscribe to Nourish and Nestle here or use the form on the right sidebar. It’s slightly towards the top.
I have sent all my subscribers the link to the Subscriber Benefits Library. If you missed it or misplaced it, let me know.
Until next time…