
Jelly & Jam Making Basics 101
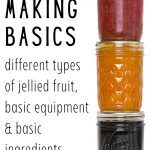
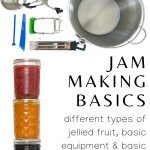
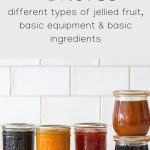
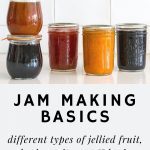
This post discusses Jam Making Basics, including the main ingredients of jams and jellies, their importance, and the basic equipment for making jams and jellies. Additionally, we discuss the differences between various jellied fruits and vegetables.
I started my self-taught canning journey 15 years ago with a simple plum jam. Since then, I have made jam, jelly, preserves, conserves, and marmalade with many fruits and even some vegetables. I regularly make and can my own meat broths, soups, chili, and tomato products.
The broths, soups, and tomato products are ‘necessities’ that we rely on, but the jams and jellies are treats…not only to eat but also to make.

Table of Contents
What’s the difference between Jelly, Jam, Marmalade, Conserves, and Preserves?
Jelly
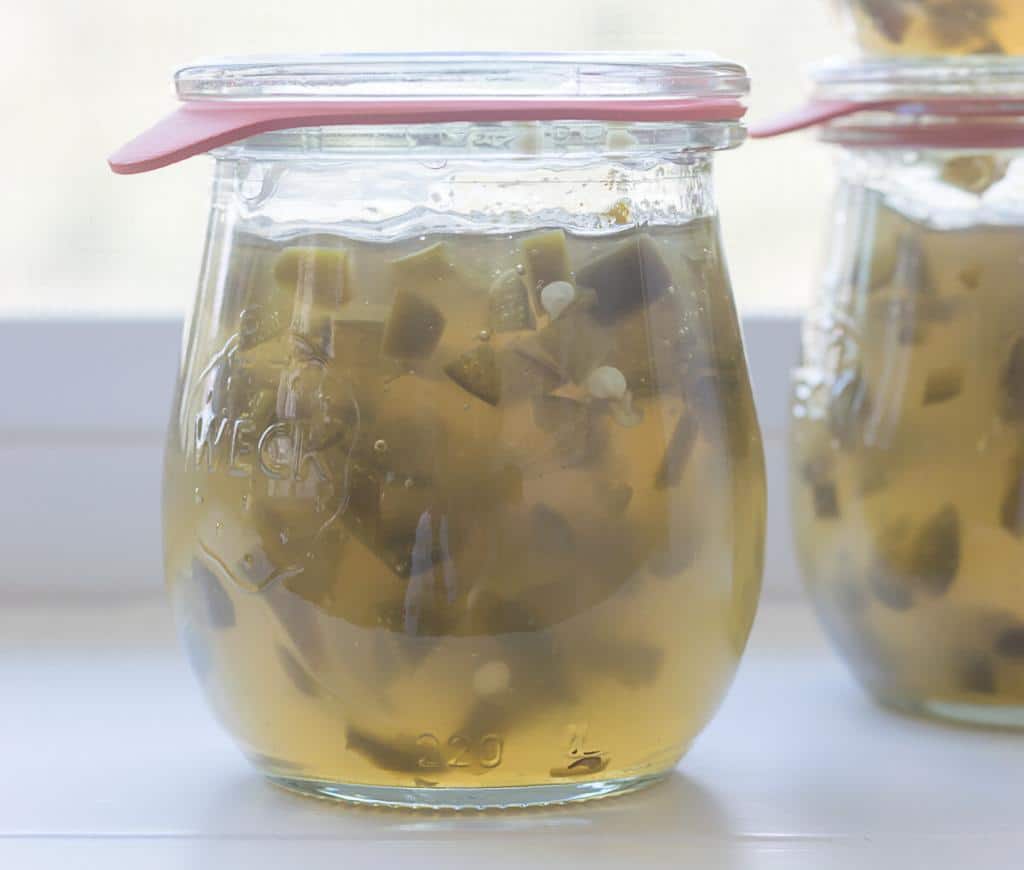
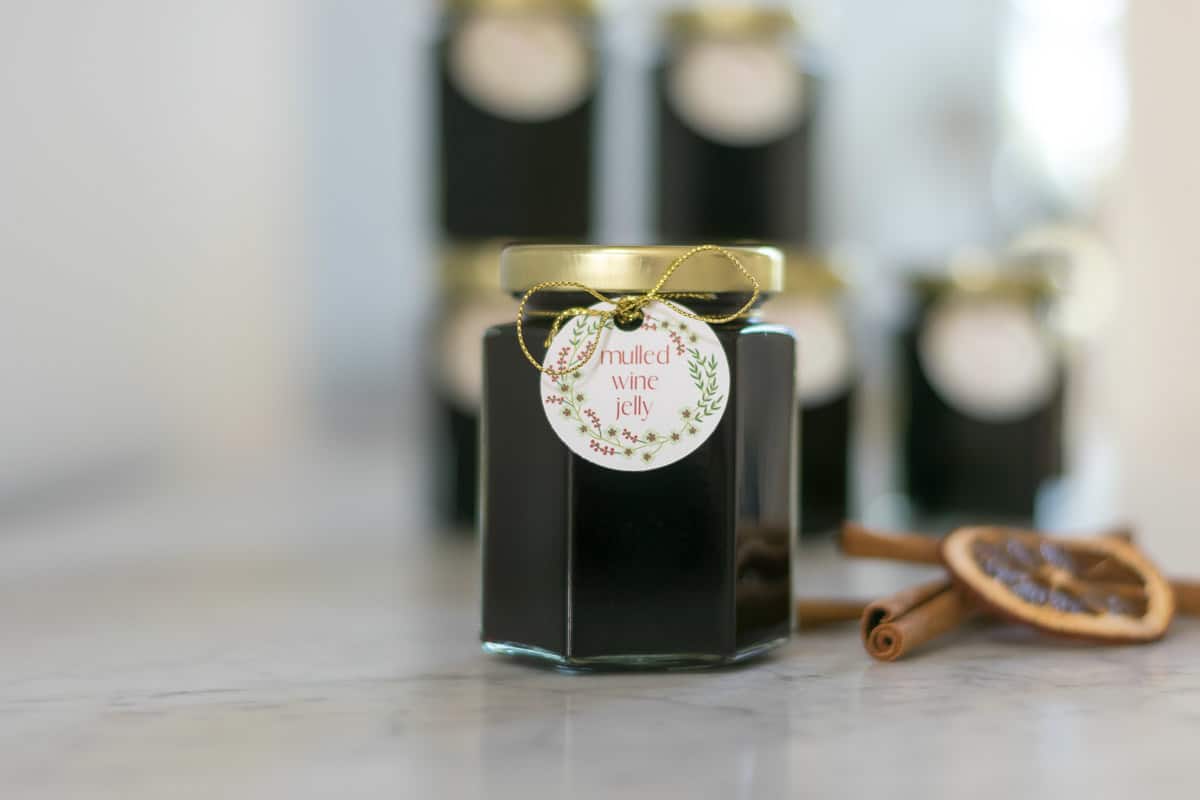
Clear spreads made from the juice of fruit are known as jelly. The ‘juice’ can also be wine. Solids are typically removed by straining through a fine mesh colander or muslin. Jalapeño Wine Jelly, in which jalapeño pieces float in the jelly, helps use up your bumper crop of jalapeños are two of my jelly recipes, and Mulled Wine Jelly, perfect for the holidays, is two of my jelly recipes.
Jam
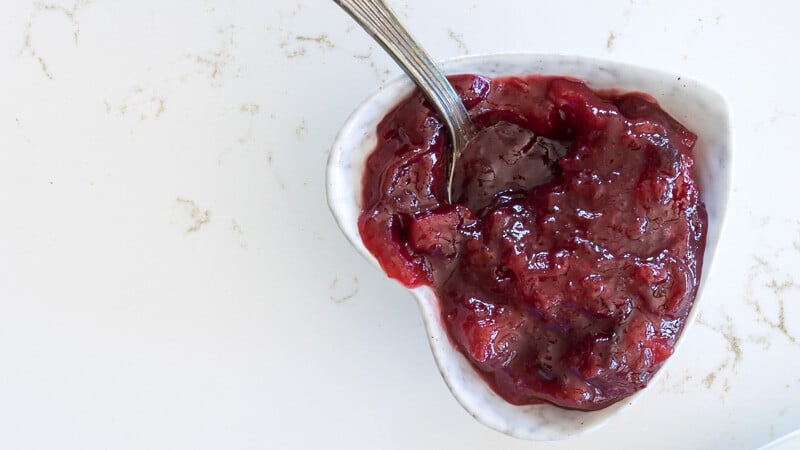
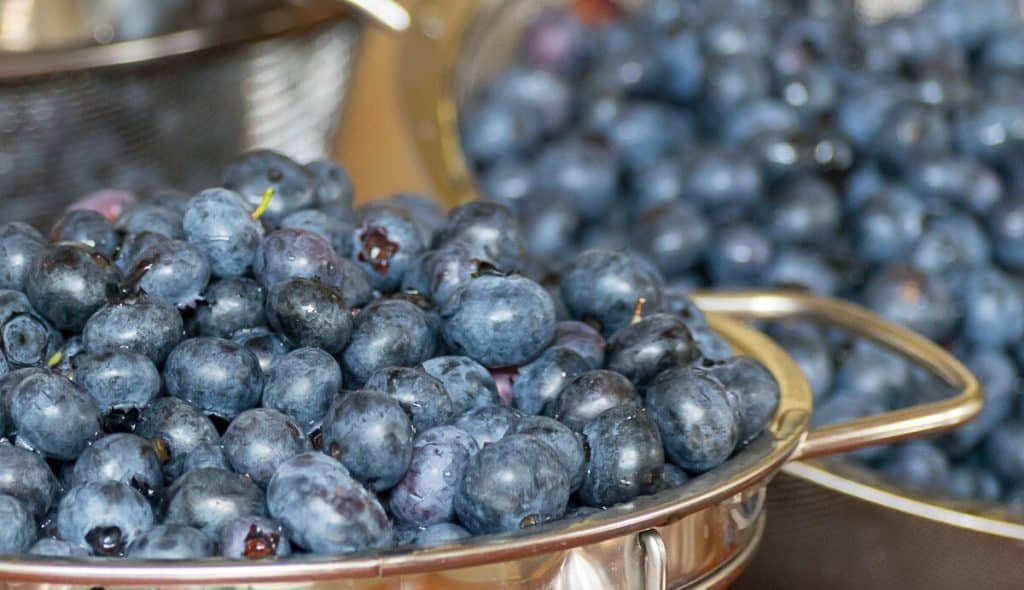
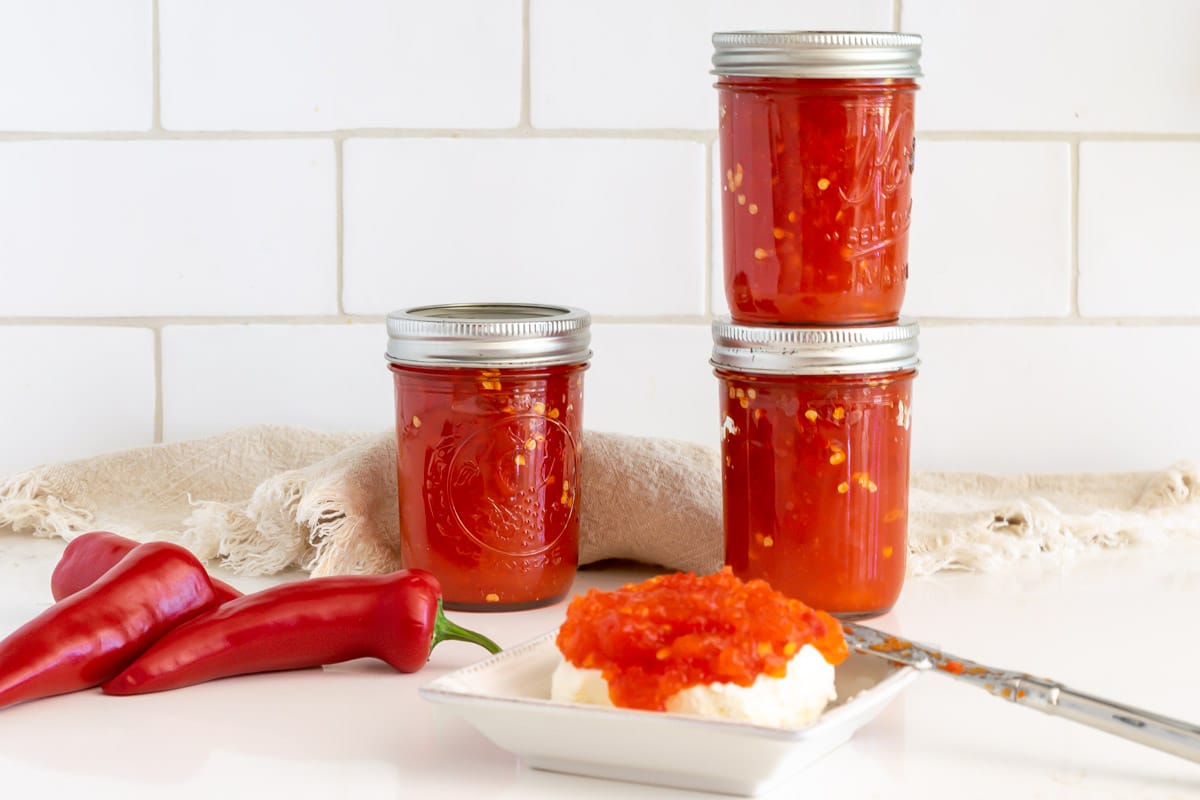
Jams are spreads containing pieces of fruit, either as small chunks, pureed, or mashed. Jams are also typically a bit looser and more spoonable than firm jellies. Some of my favorite jam recipes are this Easy Plum Jam, perfect for the new canner, Blueberry Jam with Chamomile, and this Strawberry Rhubarb Jam. For a Savory Jam, try this Onion Jam or this Spicy and Smoky Tomato Jam recipe. Fruit that contains a high level of natural pectin is perfect for jams. See the chart below, which shows the level of pectin in various fruits.
Preserves
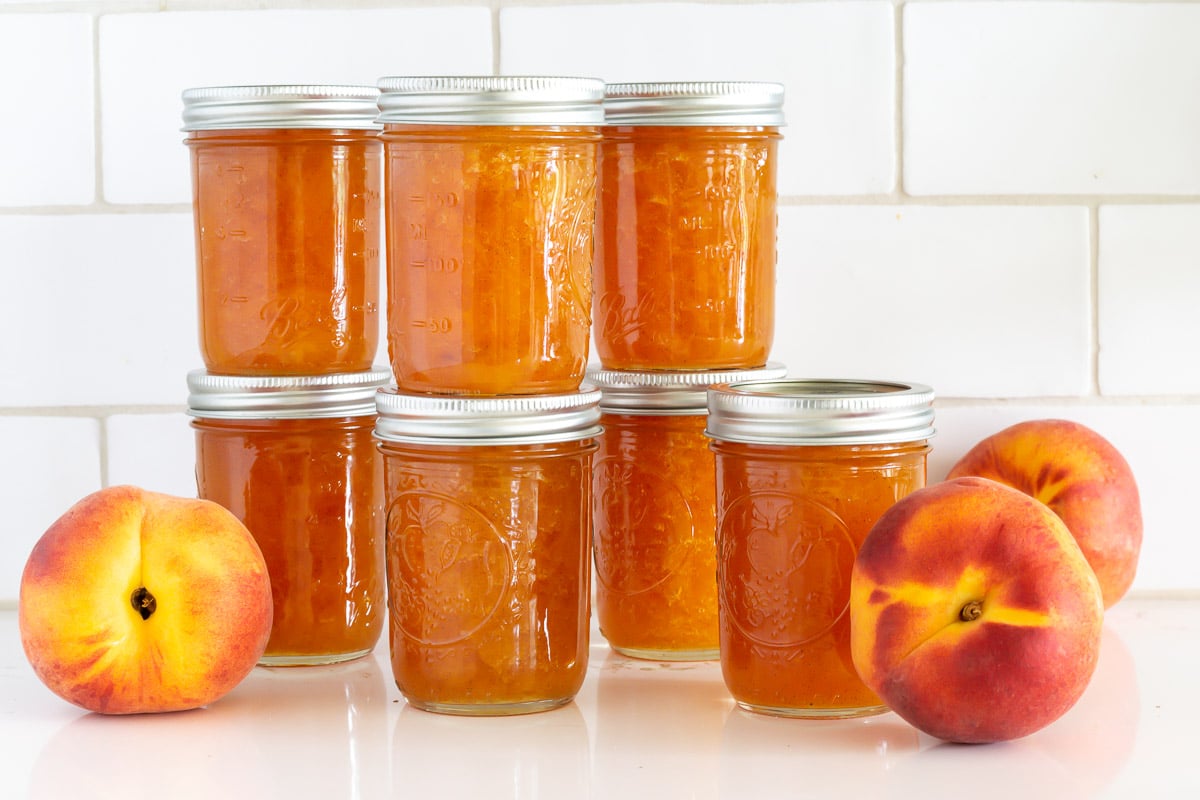
Preserves will be ‘chunkier’ than jams or jellies as they typically contain larger pieces, or even whole pieces, of fruit. The least gelled of the three are preserves. These Peach Preserves are just plain delicious!
Conserves
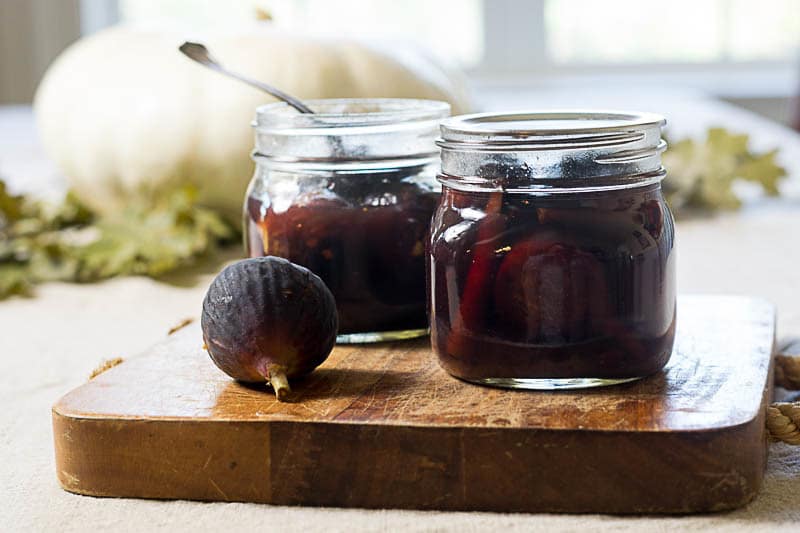
Conserves are basically jams that contain several different fruits, including dried fruit, as well as nuts. Typically, conserves are served alongside cheese and meat. This Dried Fig Conserve is DE-lightful alongside cheese or on a charcuterie board, as is this Cranberry Conserve, which is perfect for the holidays.
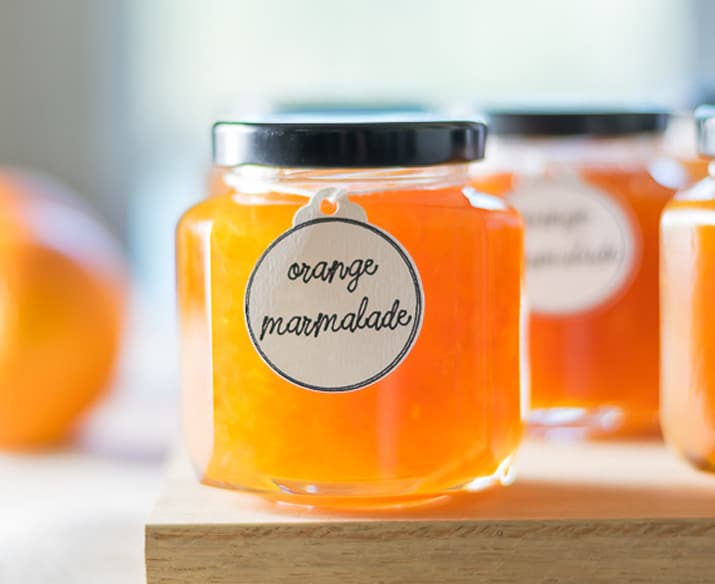
Marmalade
Marmalade is similar to jam but is most often made only with citrus fruits. For a taste of sunshine year-round, try this Sunny Orange Marmalade.
For the sake of simplicity, we will call this entire group of treats ‘Jellied Fruits’ during this discussion of jam making basics.
Some of these links may be Amazon affiliate links and I may earn a small commission from the sale of these products to help defray the costs of operating this site, but the price you are charged is not affected. You can see my full disclosure policy here.
Common Ingredients of Jellied Fruits
While there are subtle differences between all of these spreadable treats, they share some common traits. They all start with fruit (or vegetable), sugar, acid, and pectin of some sort. Understanding the role of each of these 4 ingredients is crucial in understanding jam-making basics.
Fruit
You can preserve just about any fruit and many vegetables. Slightly underripe or just ripe fruit is usually best for jam/jelly/etc. They provide the best natural color and flavor and are typically higher in acidity and pectin. Both pectin and acidity start to drop as the fruit ripens.
Canned or frozen fruit or fruit juice can also be used to make jellied products, though it is best if they have no added sugar and are canned in their own juice. Add pectin to canned juice and fruit as they are typically made from ripe fruit.
Jams made without any added pectin frequently combine fruits. A high fruit in pectin, such as the apple, combined with a low pectin fruit makes a perfectly set jam. I did this with my Strawberry-Rhubarb Jam. The fruits complement each other to make a better set for the jam.
Sugar
Sugar is an important ingredient in all jellied fruit products and must be present in the proper proportion, along with acid and pectin, to achieve the proper gel. This ingredient also serves as a preservative, preventing the growth of microorganisms. Never cut down on the amount of sugar called for in a recipe.
Granulated white sugar is the most common sugar used. Artificial sweeteners cannot be swapped for sugar as sugar is needed for gel formation and its preservative qualities. Likewise, unless your recipe calls for sweeteners such as brown sugar, sorghum, and molasse not recommended given their strong flavor. Similarly, light corn syrup or light, mild honey can be used to replace the part, but not all, of the sugar and should be used in tested recipes that specify them.
Acid
Acid is needed both for gel formation and flavor. The acid content varies among fruits and is higher in under-ripe fruits. Use Lemon juice or citric acid when fruits are low in acid.
The acid helps extract the pectin from the fruit during the cooking process, which helps form a gel. This is true whether the acid occurs naturally in the fruit or is added. The gelling will not take place unless the mixture is fairly acidic.
Acidity varies from fruit to fruit and, to some extent, to the variety of a particular fruit. Two different varieties of apples may have different acidity.
Pectin
Pectin is the substance that causes the fruit to gel. Some kinds of fruits have enough natural pectin to make high-quality products. Other fruits require added pectin, especially when used for making jellies, which should be firm enough to hold their shape. Just-ripe fruit contains the highest quality pectin. Pectin from under-ripe or over-ripe fruit will not form a gel.
Since jelly’s strongest characteristic is its thick gel, it is hard to make jelly without added pectin unless you use a high-pectin-content fruit.
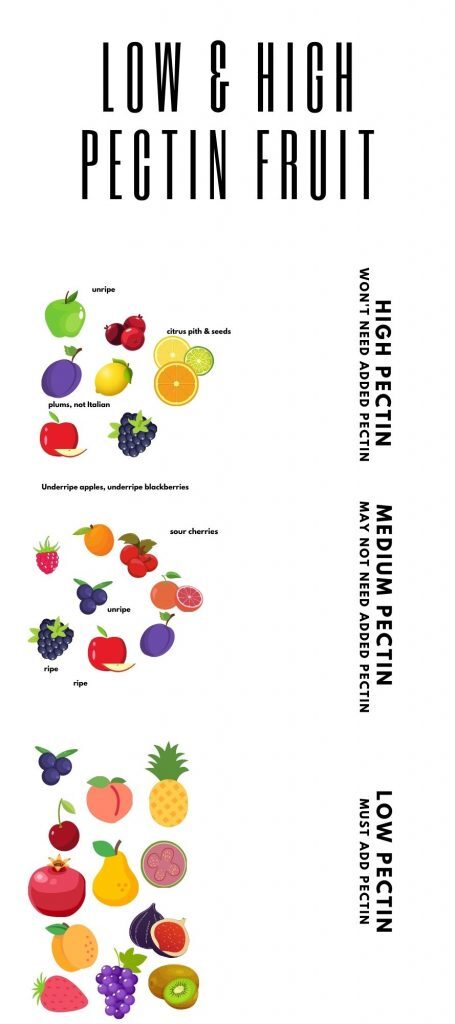
Pectin Content of Different Fruits:
In general, fruit falls into the falling categories of pectin content
High Pectin & Acid Fruit will most likely not need additional acid or pectin: Apples (unripe or sour), Blackberries (unripe or sour), Crabapples Cranberries, Currants, Gooseberries, Grapes (Eastern Concord), Lemons, Loganberries, Plums (not Italian), Quinces.
Medium Pectin & Acid Fruit may need additional acid and/or pectin: Apples (ripe), Blackberries (ripe), Cherries (sour), Chokecherries, Elderberries, Grapefruit, Bottled Concord Grape Juice, Grapes, Loquats, Oranges.
Low Pectin & Acid Fruit will need additional acid and pectin: Apricots, Blueberries, Figs, Grapes (Western Concord), Guavas, Peaches, Pears, Pineapple, Plums (Italian), Pomegranate, Raspberries, Strawberries.
You can get a copy of this chart in the Subscriber Benefits Library or click the button below and I will email it to you.

Commercial Pectin
Commercial pectins are made from apples or citrus fruit and are available in both powdered and liquid forms and may be used with any fruit. Many canners prefer the added pectin method for making jellied fruit products because fully ripe fruit can be used, cooking time is shorter and set, so there is no question when the product is done, and the yield from a given amount of fruit is greater. However, some canners avoid commercial pectin because of the bitter taste and the need for more sugar, masking the fruit’s natural flavor.
If you want to make a lower sugar or a no-sugar jellied product, no added sugar pectin or less sugar pectin are options. Search for recipes specific to no- or low-sugar jellied fruit, or look in the package inserts for recipes.
Both my Jalapeño Wine Jelly and my Mulled Wine Jelly use low-sugar pectin.
Homemade Apple Pectin
Whether or not you use commercial pectin is entirely a personal preference. I prefer to use apples or homemade apple pectin stock when necessary or to be satisfied with a softer set. Apple Pectin Stock is really easy to make; you just chop up apples, including the peels, core, and seeds, and then slowly cook them down in a minimum of water. You can then water bath the pectin stock along with your jams/jelly or freeze it. Easy Peasy!
I use this apple pectin stock in my Apricot Jam recipe.
Flavorings
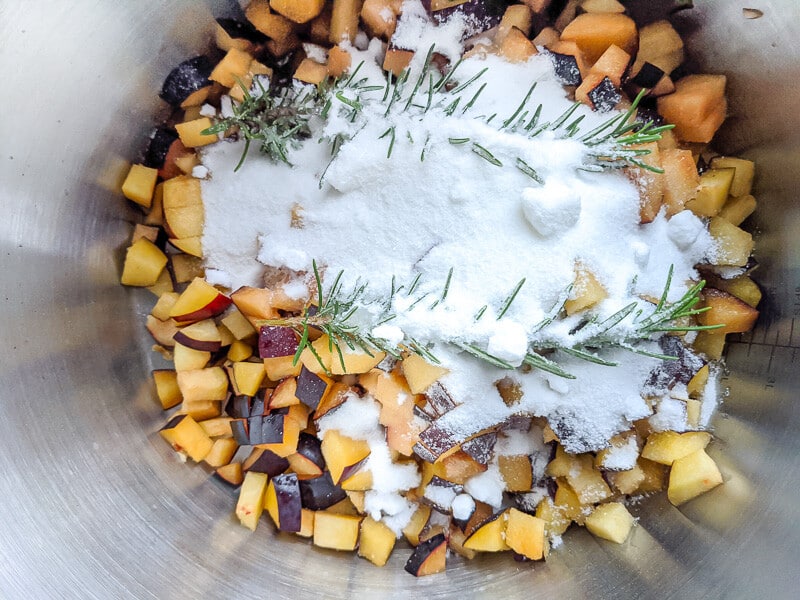
Flavorings such as Herbs, Spices, Extracts, and Alcohol can add a little personality to your basic jam. I add Rosemary to my plum jam and Thyme to my apricot jam for a twist on the usual.
Now that we understand the Jam Making Basic Ingredients let’s talk about the basic process.
Basic Jam-Making Process
Until you get comfortable with making your own recipes, it is important to follow recipes as written. But, making any of these jellied fruit products is as simple as combining the fruit or fruit juice, sugar, and acid and cooking them with a long, slow boil. The fruit and sugar need plenty of time to cook, release pectin, and thicken. A slow boil drives the moisture out of the fruit, helping preserve and thicken it simultaneously. Fruit also varies in water content, and some fruits may take longer to gel. Start checking the jellied fruit product for thickness after at least 20 minutes of a steady boil.
If you are new to canning, this Easy Plum Jam recipe is the perfect place to start! I walk you through the whole process. Imagine spreading your own plum jam on your next piece of toast! 💗
If you are adding commercial pectin, follow the instructions in the packet, as each product has different requirements.
How to Know if Your Jam Is Set
Knowing when your conserves, preserves, jam, marmalade, etc… are ‘done’ is something that you will figure out over time and is one of the basics of making jam. It is a little bit of an art. Recipes that use added commercial pectin typically specify a cook time, making it a little easier to determine. But if you are not using commercial pectin, you must rely on the acid and pectin in the fruit you use to gel. As we noted above, every fruit has different levels of pectin, making it often a batch-by-batch determination.
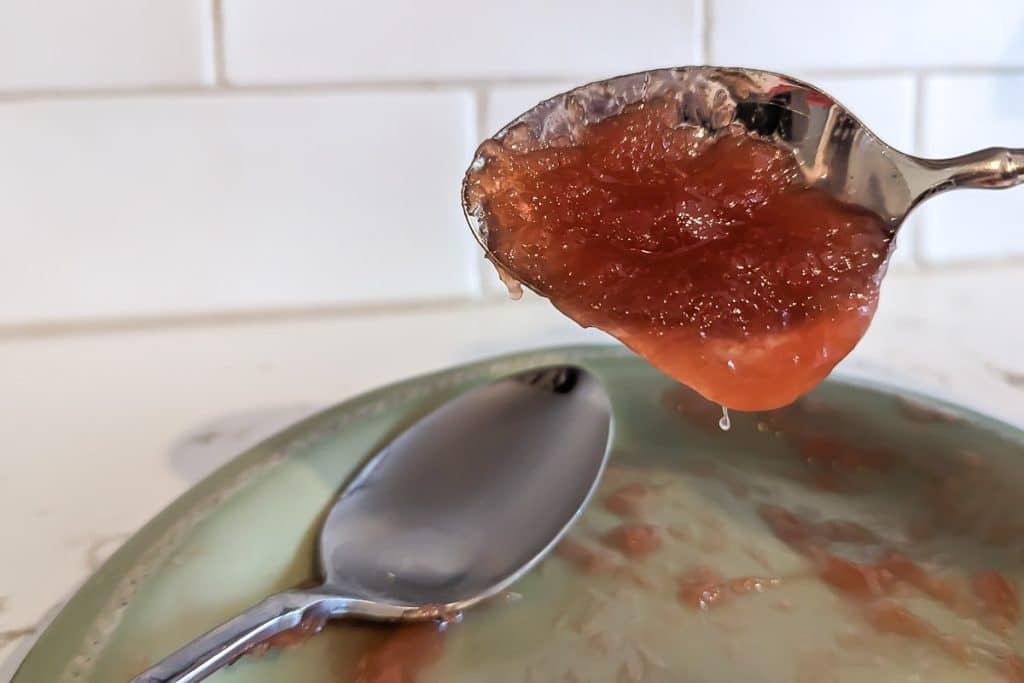
I typically rely on a frozen plate where I dollop some jam. I let the jam sit for about 30 seconds on the plate and then move it with my finger. If the jam wrinkles slightly, I am confident it has reached the gel stage. Or, if the jam doesn’t fill in the ‘trail’ made by my finger, it is at gel state.

Another way to determine if your jam has reached the gel stage is to scoop a spoonful of jam and hold it 10-12″ above your pot. Turn the spoon on its side vertically and watch how the jam flows off of the spoon. If the jam drips in several separate drips, then it is not gelled yet. If, however, it drips off in one bigger cascade, you can feel confident that it is at the gel stage.
And still another way to determine the set is with a candy thermometer. Once your jam reaches a rolling boil, watch your thermometer. Once it reaches 220°, it should be at the gel stage.
You Can Freeze or Refrigerate Just About Any Preserves Recipe
Whether you water bath can or refrigerate/freeze your jam is up to you.
To make your jam shelf stable, all you need is an additional 30 minutes of your time, a water bath canner or pot deep enough to cover your jars by 2 inches, and Half-Pint Mason Jars with Self-Sealing Lids or something similar. A few more inexpensive pieces of equipment make your canning experience more enjoyable and efficient: a jar/can lifter, magnetic canning lid lifter, and headspace gauge.
But if you’d rather skip the waterbath canning and freeze or refrigerate your preserves, the only equipment you need to prepare is your jars and lids. Just make sure that they are clean and freezer-stable jars. The best jars for freezing are those without shoulders, but instead are straight-sided. Mason jars are great jars to freeze jams and jellies in.
Follow the directions as written, ignoring any references to preparing canning equipment. When you reach the directions to ladle your preserves into the jars, leave 1″ of headspace instead of 1/4″. Place lids on the jars and let them come to room temperature. Once they are at room temperature, you can refrigerate or freeze the jars. Your jars of preserves will keep in the freezer for 1 year and 1 month in the refrigerator.
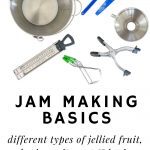
Jam-Making Basics Equipment

You will need some specialized equipment when outfitting your kitchen with the Jam Making Basics.
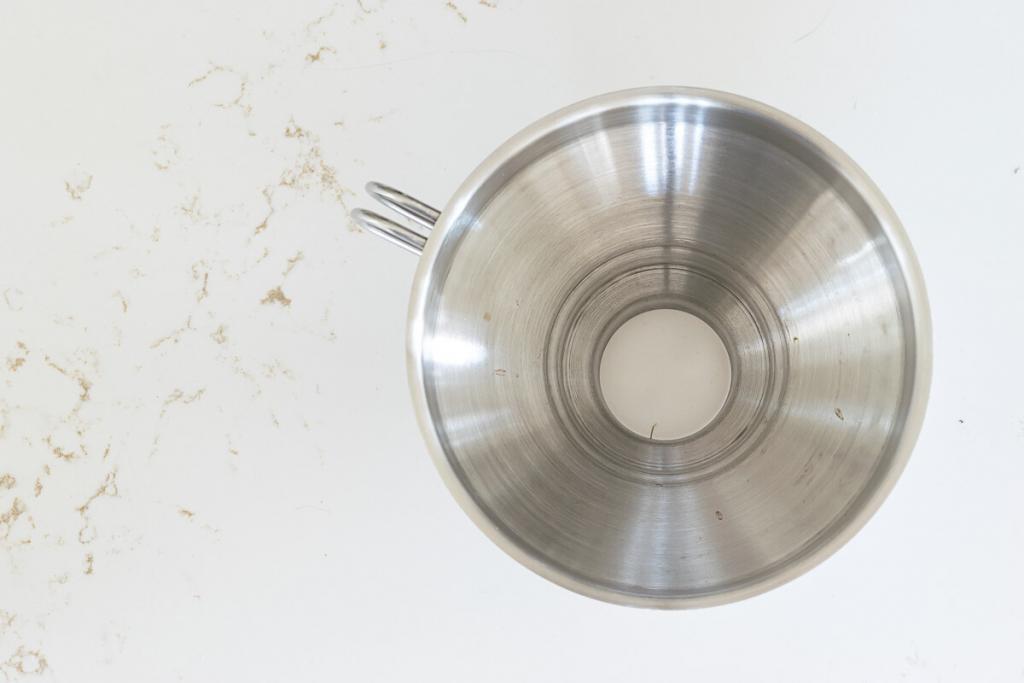
Jam Pan or Similar
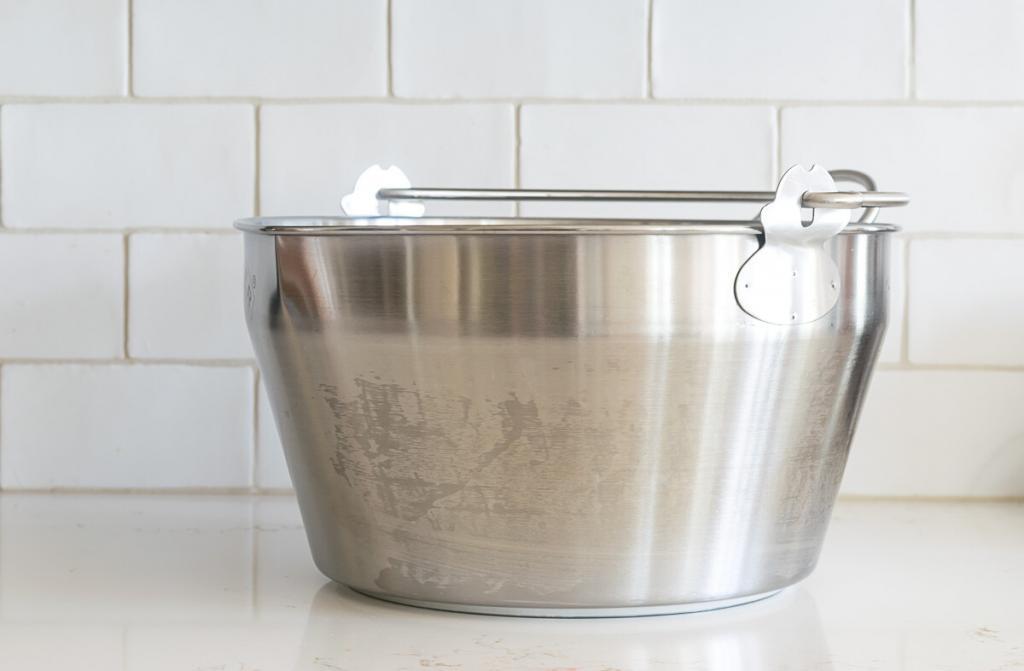
A Maslin, Preserving, or Jam Pan is helpful to have but not a necessity. The qualities that make a Maslin Pan useful can be found in other pans as well. Specifically, you want a pan that has the following characteristics:
- Made of Non-Reactive Material. Aluminum, cast iron, and copper are all “reactive” metals. Stainless steel, ceramic, glass, and metal cookware with enamel coating are all “nonreactive.” That being said, copper is the exception to the rule. Copper is a reactive metal, but it conducts heat very well. As most fruits have high acid levels, those acids ‘react’ with certain metals, causing a metallic flavor to your finished product. No Bueno!
- Has a Thick and Heavy Bottom. A large part of jam-making involves cooking down all the ingredients over moderate heat. The thick bottom prevents scorching and helps conduct the heat evenly.
- Wider at the top than at the Bottom is ideal but not necessary. This construction means that there’s more surface area for the liquid to evaporate and so the jam gets to the setting point sooner.
- Handles for Easy Pouring
- A Large Capacity allows for a large recipe of fruit and remaining ingredients to be added and brought to a full rolling boil without the risk of boiling over.

my go-to jelly jars
Ideal for fresh preserving recipes such as jams, jellies, sauces, mustards and flavored vinegar.
Jars, Lids, and Seals or Rings
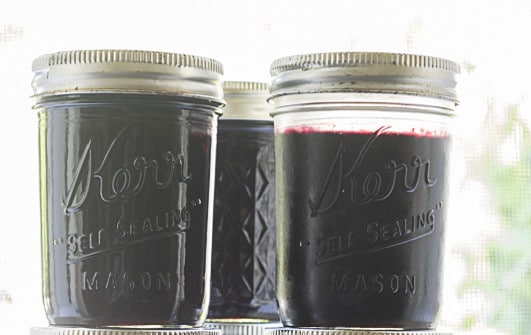
I regularly use Ball/Kerr Jars and Weck Jars for my canning. If you plan to can the jars to be pantry shelf-stable, you must use jars made specifically for canning. If you are freezing your jars of jellied fruit, you can use plastic containers as well. Proper canning jars are one of the necessary jam-making basics. Glass jars can be used indefinitely as long as they are not chipped.
Wide Mouth Funnel
A Wide Mouth Funnel is a handy but not a necessary tool. It just makes keeping the jar rims clean much easier, making getting a good seal more likely. I really like this one as it also has a mesh insert, which is very good for keeping any sediment out of broths.
Candy or Sugar Thermometer
As noted above, another way to determine the set is with a candy thermometer. Once your jam reaches a rolling boil, watch your thermometer. Once it reaches 220°, it should be at the gel stage.
And if you are going to water bath can your jellied fruit, you will need these tools:
Jar Lifter
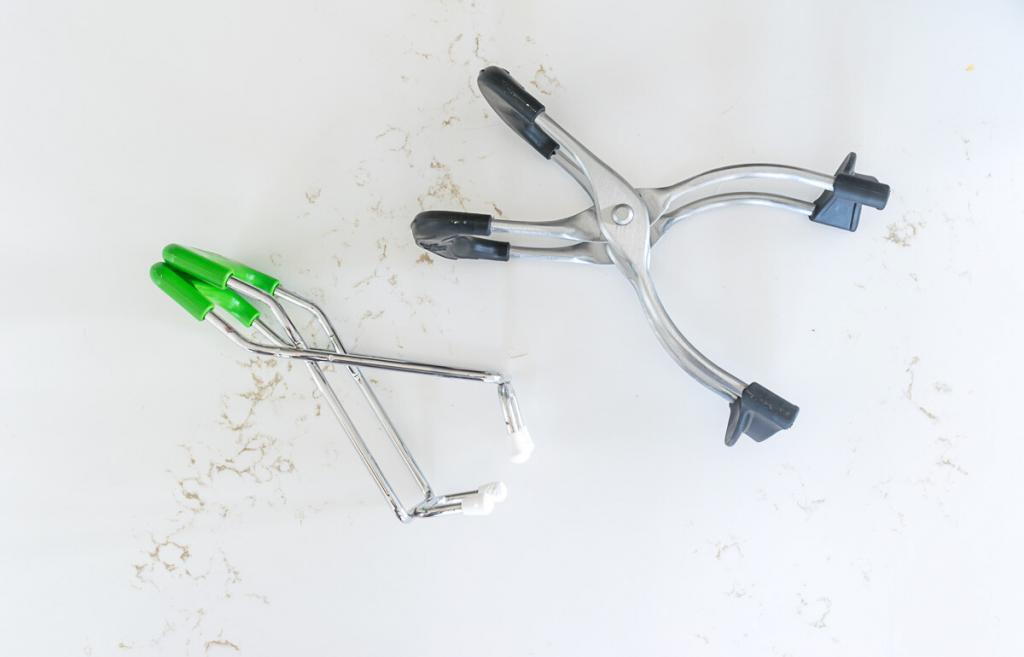
Since I use both brands of jars, I have both a Weck Jar Lifter and Ball Jar Lifter. This is another non-negotiable if you are going to water bath can your jams/jellies/preserves. These tools lift jars out of boiling water, eliminating the risk of burning.
Magnetic Lid Lifter
A Magnetic Lid Lifter is another jam making basic necessary to retrieve the lids from very hot water as you are preparing your jars for canning.
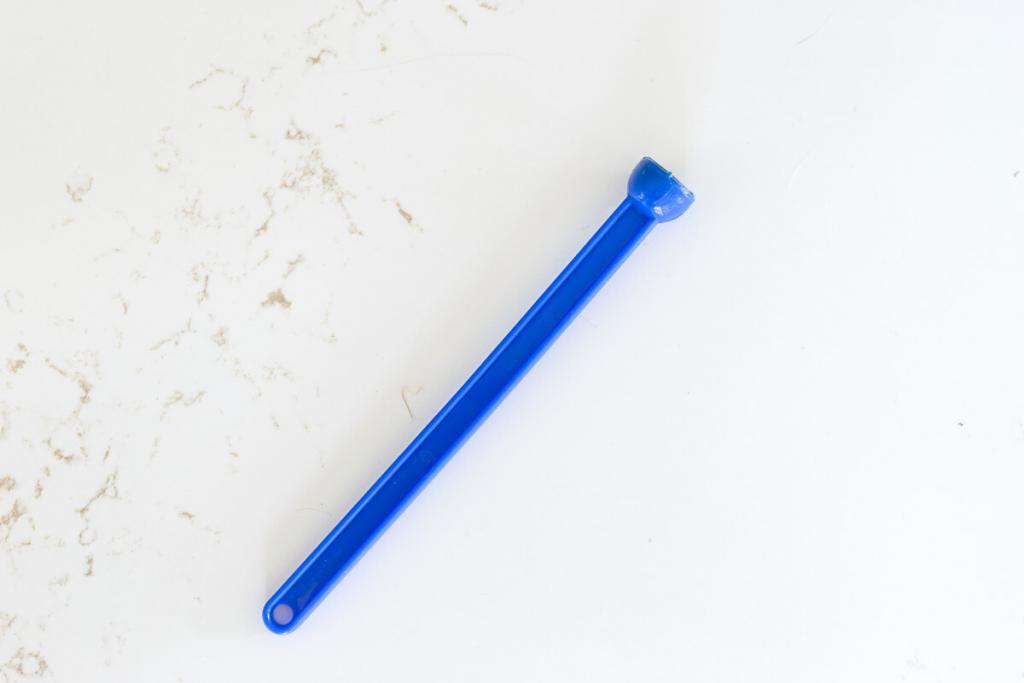
Headspace Gauge
Headspace is measured in inch fractions. It is the distance between the top of your jam/jelly/preserve and the jar rim. You will be instructed to leave 1/4″ headspace for Ball/Kerr jars with most jam/jelly/preserves recipes. The lids of Weck jars have a little divot, so you will leave 1/2″ from the top of the jar to the surface of the food. The headspace gauge is basically a ruler with notches for easy determination of headspace on each of your filled jars.
Leaving the specified amount of headspace in a jar ensures a vacuum seal. If too little headspace is left, the jellied fruit may expand and bubble out when air is being forced out from under the lid during processing. The bubbling food may leave a deposit on the rim of the jar or the lid’s seal and prevent the jar from sealing properly. If too much headspace is allowed, food at the top is likely to discolor, and the jar may not seal properly because there will not be enough processing time to drive all the air out of the jar.
It is a rare recipe when I have the exact amount of jam or jelly to fill my jars without a little leftover. Never add more jam to use up a little bit or fill a jar with less than is needed to reach the designated headspace.
Recommended Resources for Basic Jam Making and Water Bath Canning
In addition to the jam-making basics equipment listed above, I highly recommend these books:
Ball Complete Book of Home Preserving or The All New Ball Book of Canning and Preserving. I think I could make certain canning recipes in my sleep, but I ALWAYS open and refer to the recipe or guidelines in these canning bibles to be sure. Canning is a science and a safe one when done properly. I have been canning for 15 years, including chicken and beef stocks, tomato products, jams/jellies, etc. I never ‘invent’ a recipe without making sure I keep the basics of the recipe intact. As such, we have never become sick from my canned products.
Another great resource is the National Center for Home Food Preservation and their cookbook, So Easy to Preserve.
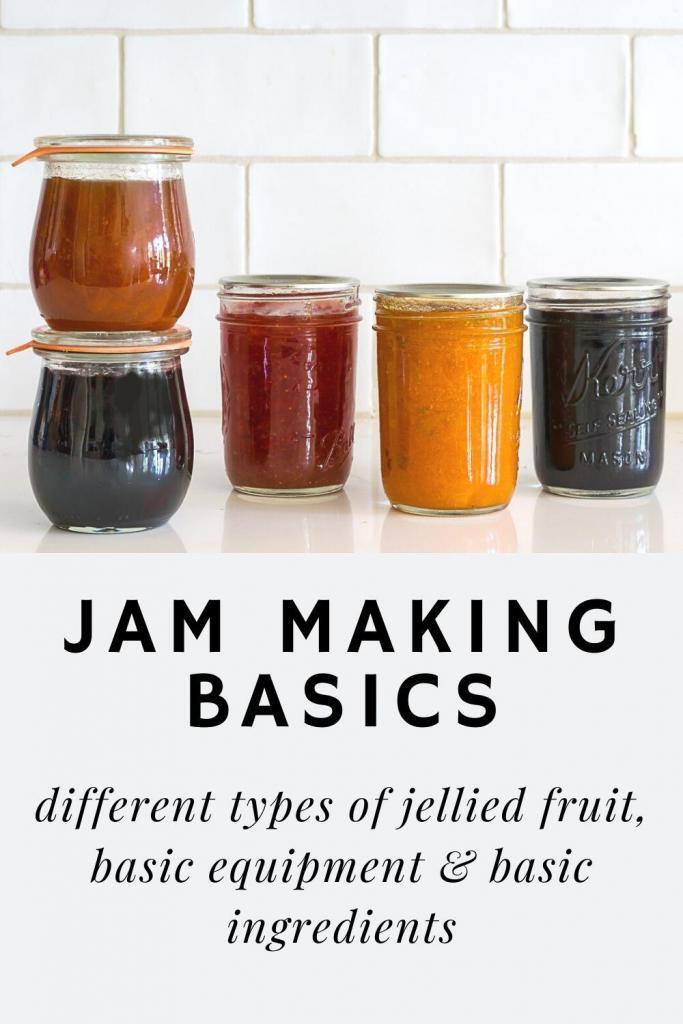
Bookmark this page or pin the following image to refer back to this post on Jam Making Basics in the future.
Thanks so much for spending a few minutes of your busy day with me!
To ensure you don’t miss future content, pop your email in the pale green box on the right or click here. I usually send one email weekly, so I won’t inundate your inbox. I’m sensitive to an overflowing email inbox!
We will only use your email address to send you emails, no more than 1-2 weekly. In addition, you will have access to my growing library of knit & crochet patterns and other printables. Check back often as this library will continue to grow. You can unsubscribe anytime by emailing me or clicking on the “unsubscribe” link at the bottom of all emails.
And you can access many of the products I refer to on my Nourish and Nestle Amazon Page. You can access it here.
So, if you’d like to participate in the ‘subscriber benefit’ action, simply subscribe to Nourish and Nestle here or use the form on the right sidebar. It’s slightly towards the top.
I have sent all my subscribers the link to the Subscriber Benefits Library. If you missed it or misplaced it, let me know.
Until next time…

Such a wonderful post, so informative — I learned so much, I might even have the guts to try preserving! 🙂