Christmas Stocking Knit Pattern: Free Download
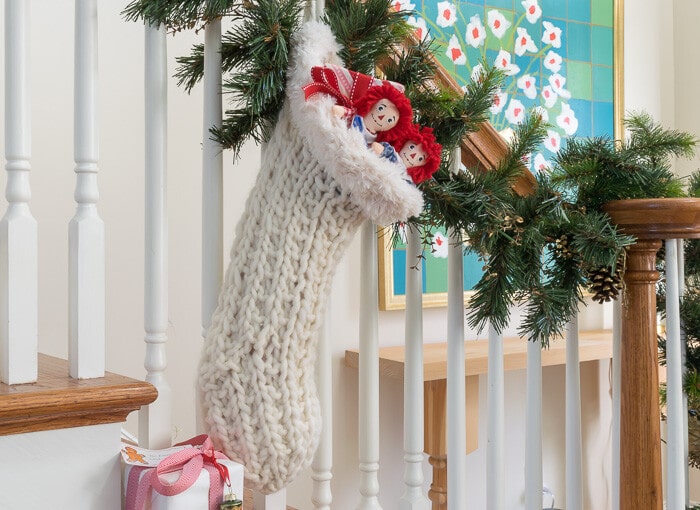
This Christmas Stocking Knit Pattern works up so quickly, you could easily start and finish one in a day. This Knit Stocking Pattern uses the Magic Loop for the body of the stocking; videos showing the Magic Loop, the Kitchener Stitch, as well as Heel and Toe Shaping, will help you successfully knit these Christmas stockings.
If you’ve never knit a sock before, not a problem! With the printed instructions and included videos, you will be able to knit enough of these stockings for all of Santa’s elves (as well as his reindeer!)
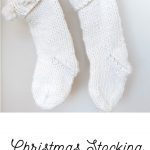
This Christmas stocking pattern uses only stockinette stitch for a simple, yet lovely pattern. If you are interested in a little more texture in your stocking, check out the Broken Rib Stitch Christmas Stocking Pattern, shown here.
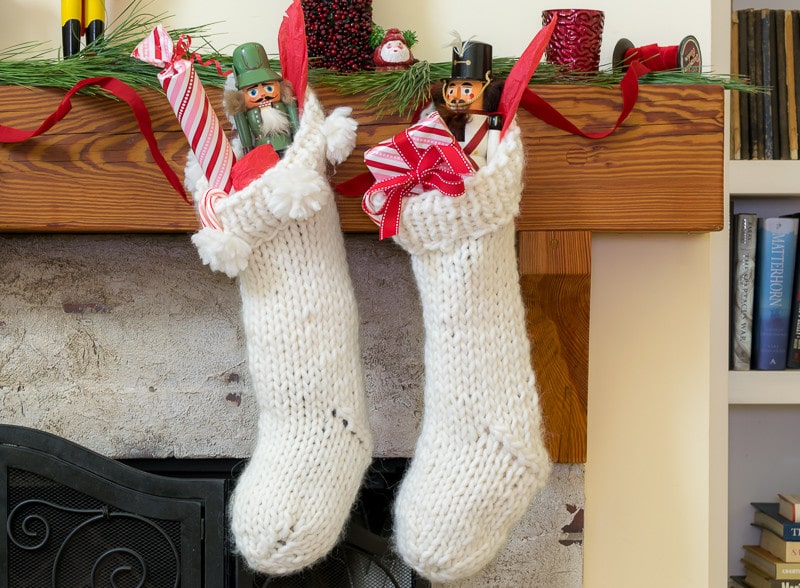
Table of Contents
And you will be the MOST popular person come Christmas morning with as these stockings expand nicely! ?
So, let’s dive right into this pattern!
What Material Do You Need For These Christmas Stockings?
- 1 Skein Berroco Macro, I used the color Snowshoe Hare and 95 yards
- Size US 19 (15mm) 40” circular needles
- Tape Measure
- Piece of wire to fashion a needle
Other Yarns Suitable for this Knit Stocking Pattern:
- Cascade Magnum …stocking will be a little lighter than with the Berroco. It is also 100% Wool
- Gedifra Perulana…you will need 2 balls of this and your stocking will be a little lighter than with the Berroco. It is also 100% Wool.
Stitches and Methods Used:
- K – knit
- P – purl
- SL 1 – Slip 1, you simply slip one stitch as if to purl onto the right needle without working it
- K2tog – knit 2 together
- SSK – slip, slip, knit
- Kitchener Stitch *
- Magic Loop*
*Videos showing Kitchener Stitch, Magic Loop, Heel Shaping, and Toe Shaping are at www.youtube.com/NourishandNestle. Click the ‘Playlist’ tab and then ‘Chunky Christmas Stocking’ tab.
Instructions to Knit the Christmas Stocking Pattern
Subscribers to Nourish and Nestle can access the free, printable PDF of this Christmas Stocking Pattern in the Subscriber Benefits Library. The subscription is free! If you’d like to join the party, pop on over to the Subscription Page.
Alternately, I will happily send the Christmas Stocking Knit Pattern directly to your inbox. Just click the button below and good things will happen!
Cast on, Work Cuff and Body of Stocking
With Berroco Macro and US 19 (15mm) circular needles, Cast on 22 stitches.
Using Magic Loop, purl for seven rows.
After 7 rows, continue using Magic Loop, but switch to knit for 24 rows
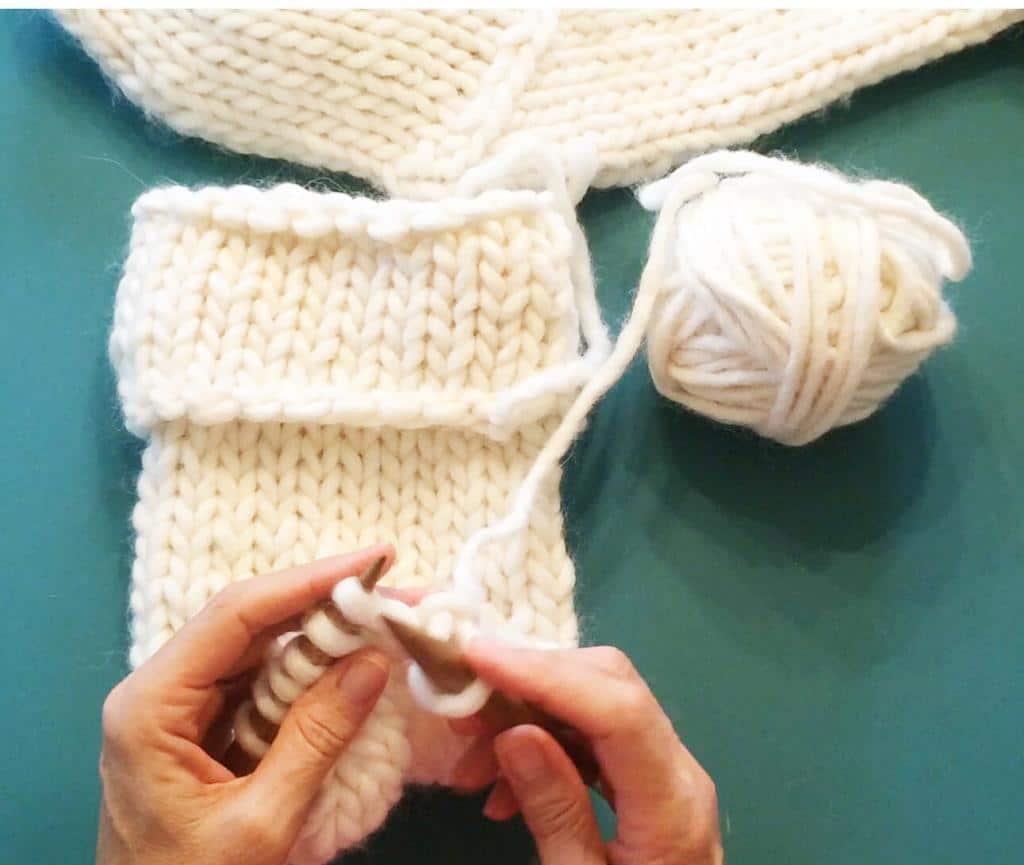
Stocking Heel Shaping
Separate the 22 stitches such that you have 13 on one needle and 9 on the other.
You will work the 13 stitches for the heel, leaving the other 9 untouched.
Knit 13, Turn
Purl 13, Turn
SL1, SSK, K7, K2T, K, Turn
SL1, Purl all stitches, Turn
SL1, SSK, K5, K2T, K, Turn
SL1, Purl all stitches, Turn
SL1, SSK, K3, K2T, K, Turn
SL1, Purl all stitches, Turn
SL1, SSK, K, K2T, K, Turn
SL1, Purl all stitches, Turn
When 5 stitches remain, SSK, K, K2T resulting in 3 stitches
Using the needle with the 3 stitches, pick up 5 stitches along the side, Knit the 9 stitches that were on the other needle, and then pick up 5 more stitches along the other side, resulting in 22 stitches.
Work 11 rows
Shape Toe of Stocking
To ensure that your toe lines up with your heel shaping, make sure that the middle stitch of the heel carries through to the middle of one of your needles.
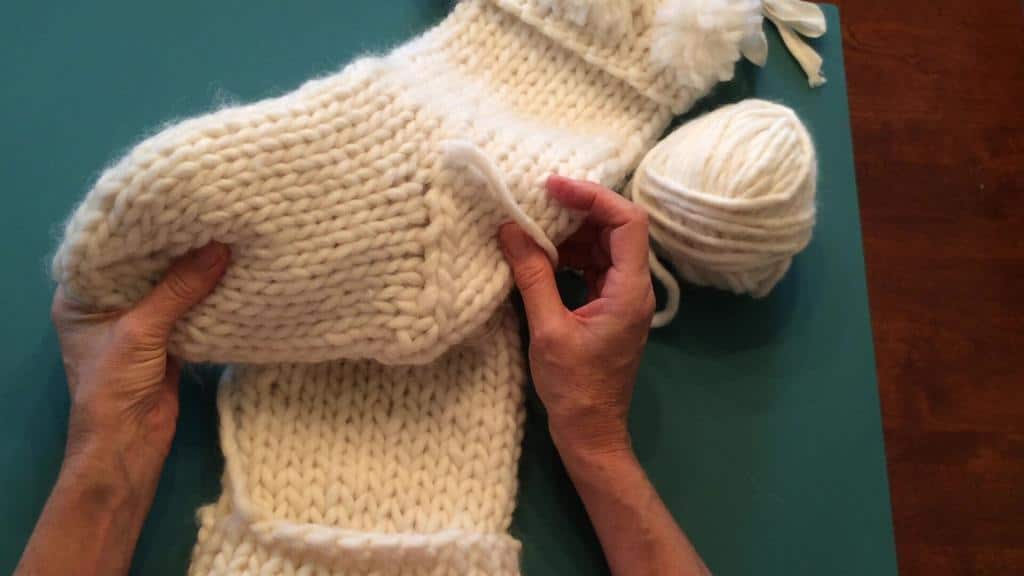
I used 2 pieces of colored yarn, tied in a loop, as my stitch markers for my toe shaping.
With your stitches evenly placed on your two needles:
- K2, K2T, K3, SSK, K2 for both needles
- Knit 9 on each needle
- K1, K2T, K3, SSK, K1 for both needles
- Knit 7 on each needle
- K1, K2T, K1, SSK, K1 for both needles
- Knit 5 on each needle
With 5 stitches remaining on each needle, use the Kitchener Stitch to bind off the toe
Kitchener Stitch to Close a Knit Stocking:
With an equal number of stitches on each needle and purl sides together, hold your needles such that the points are facing right and the working yarn is on the back needles.
With your yarn on tapestry needles (or in this case a piece of wire formed into needles, with the pointy ends bent down:
On the needle in front, go through the first stitch as if to purl, or from back to front, but don’t pull the stitch off the needle. If you are working with a tail, you can pull the yarn all the way through, but if you are working with a separate piece, make sure to leave an end long enough to weave in later.
On the needle in the back, go through the first stitch as if to knit, or from front to back, but don’t pull the stitch off the needle.
The following steps are performed for the rest of your cast-off row:
On the front needle, go through the first stitch as if to knit. Pull the stitch off the needle. Still, on the front needle, go through as if to purl, but do not pull the stitch off the needle.
On the back needle, go through the first stitch as if to purl. Pull the stitch off the needle. Still, on the back needle, go through the next stitch on the needle as if to knit, but don’t pull the stitch off the needle.
Repeat these steps for the rest of the Kitchener stitch.
When you have one stitch on the front and back needle, knit off the front stitch and purl off the backstitch.
Only tighten lightly as you are going along. You will be able to adjust this row of stitches later to match the gauge of the rest
of your project.
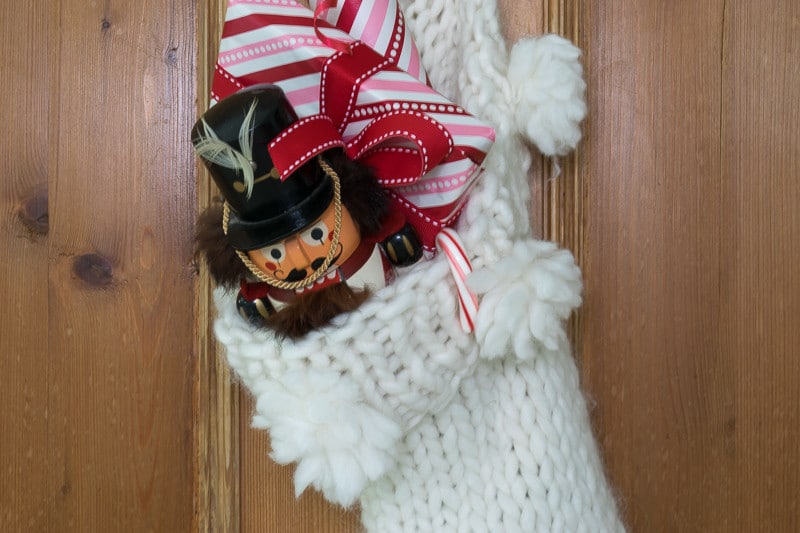
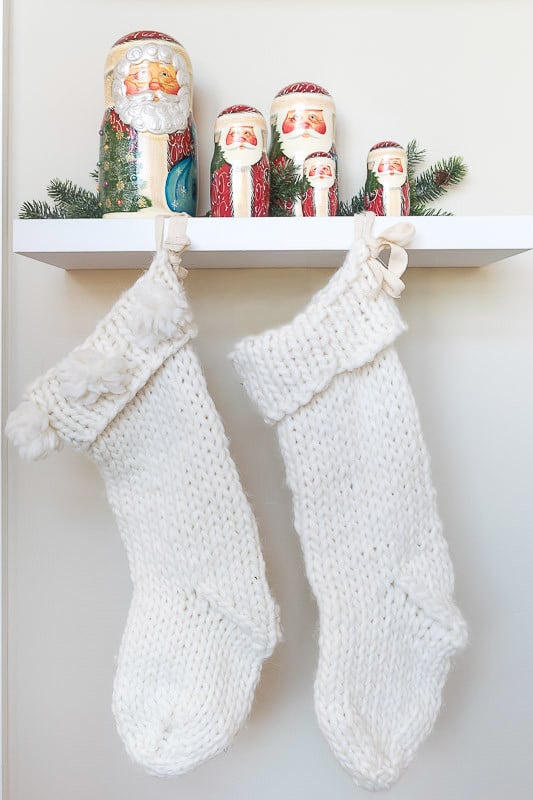
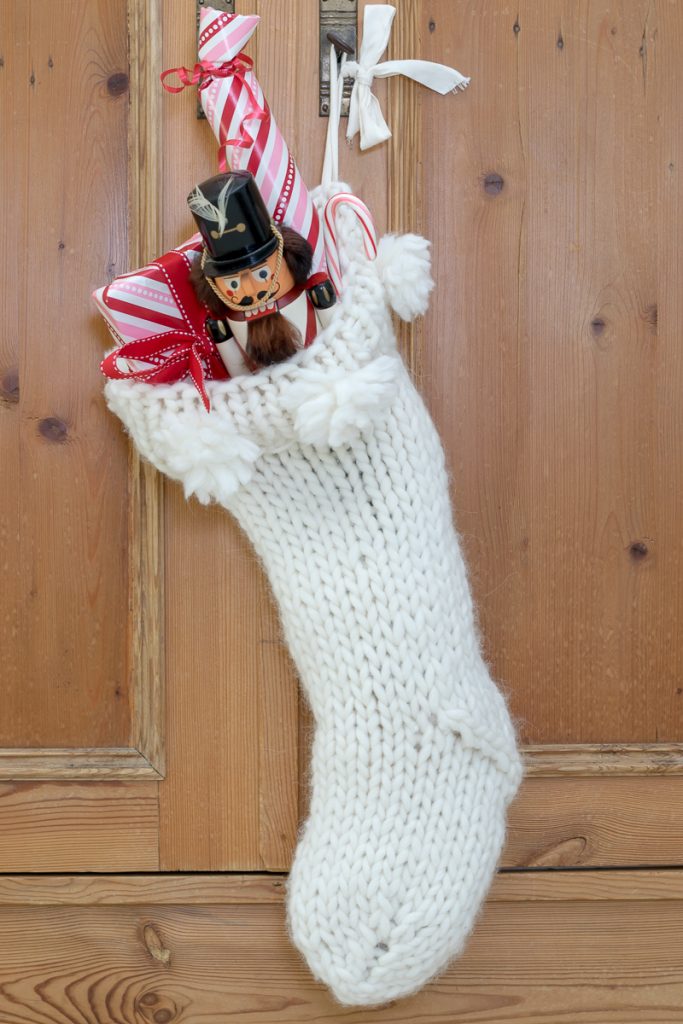
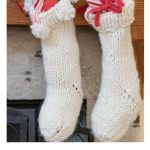
I added pom poms to one of my Knit Christmas stockings by wrapping the yarn ten times around a standard ruler. I tied a piece of thinner, stronger yarn at one of the ruler’s edges, and cut the yarn at the other ruler’s edge. Then I just fluffed and trimmed to make sure it was dome-shaped and that there weren’t any wonky pieces.
I know that it seems like a whole bunch of steps, but really, these stockings do come together quickly and easily. And once you do one, you’ll be hooked!
Make sure to head over to this list of 🎄 Free Christmas Knitting Patterns 🎄! I think there is something for everyone on this list!
And don’t forget that I’ll be happy to send a Printable PDF of the Knit Christmas Stocking Pattern directly to your inbox…consider it an early Christmas present. Click this button if you’d like to receive it.

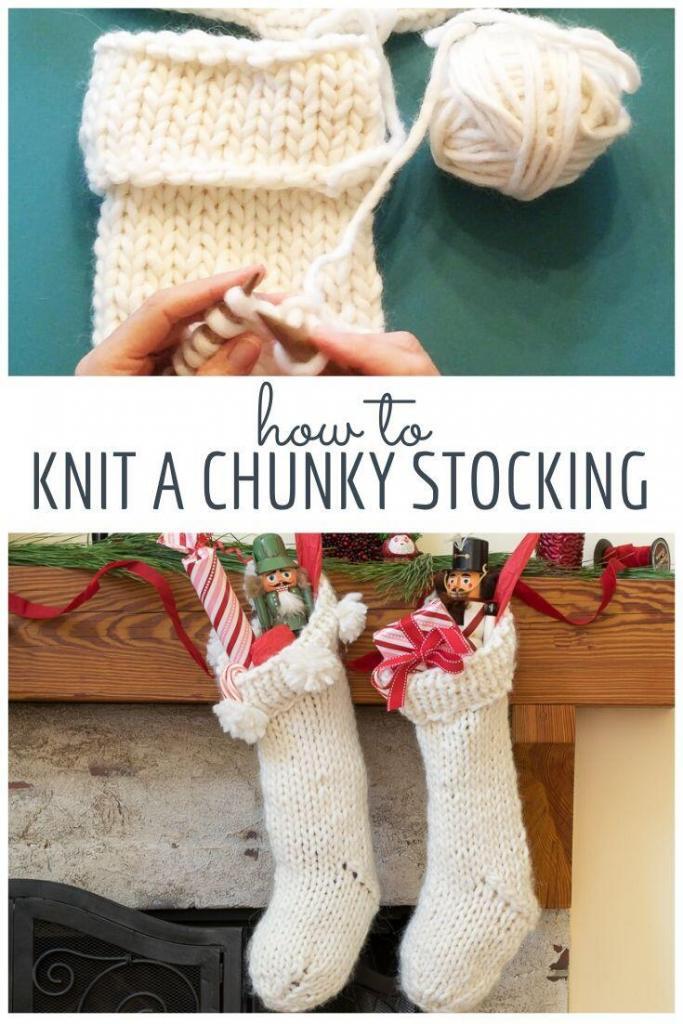
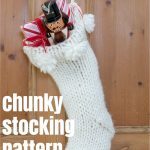
To refer back to this Christmas Stocking Knit Pattern in the future, bookmark the page or pin the following image.
Thanks so much for spending a few minutes of your busy day with me!
To ensure you don’t miss future content, pop your email in the pale green box on the right or click here. I usually send one email weekly, so I won’t inundate your inbox. I’m sensitive to an overflowing email inbox!
We will only use your email address to send you emails, no more than 1-2 weekly. In addition, you will have access to my growing library of knit & crochet patterns and other printables. Check back often as this library will continue to grow. You can unsubscribe anytime by emailing me or clicking on the “unsubscribe” link at the bottom of all emails.
And you can access many of the products I refer to on my Nourish and Nestle Amazon Page. You can access it here.
So, if you’d like to participate in the ‘subscriber benefit’ action, simply subscribe to Nourish and Nestle here or use the form on the right sidebar. It’s slightly towards the top.
I have sent all my subscribers the link to the Subscriber Benefits Library. If you missed it or misplaced it, let me know.
Until next time…






Hi Lynn,
I’m trying to knit this stocking for my granddaughter for Christmas. I made one for my first granddaughter with lots of help from our local knit shop — but sadly, they have gone out of business during this COVID time. I have a question about this stocking: Did you turn over the top section of the stocking where your pompoms are attached? I’m trying to see how the stitches differ from the purl to the knit sections. Thank you.
Hi Linda!
You will purl the stitches that make up the cuff. Then you will switch to knit the stitches for the body. When you turn the cuff over, it will be the backside of it, which will be knit stitches. Does that help?
Do check out the videos that I made to help with the stocking. You can find them all here…https://www.youtube.com/playlist?list=PLvlCTWM0un26etQD-VtKNKmbbSRlIkvS4
Hugs and Happy Knitting,
Lynn
Hi- what are the finished dimensions of the stocking? These are beautiful!
Hi, it is 20″ from cuff to toe and the body is 6″ wide.
Just made this beautiful stocking after window shopping online for a similar one, but being dissuaded by the exorbitant prices of nice chunky knit stockings. This was my first knitting project that was more complicated than a straight scarf. Your easy to read pattern and amazing how-to videos that walked me through every step were so helpful! THANK YOU!!!
Oh Kaylee,
You just made my day! I am so happy that you found this stocking pattern easy to follow and the videos helpful! That was surely my goal. I’d love to see your finished stocking before you tuchk it away for the year!
Hugs,
Lynn
Do you think any super bulky yarn will work for this? I didn’t see a gauge for the pattern, but I have some Wool Ease Quick and Thick on hand I would like to try.
Hi Julie
The gauge is: Using US 19 and Berroco Macro, 6 stitches and 8 rows in stocking stitch will result in a 4” by 4” square. I think your Wool Ease is pretty similar, on smaller needles, but your stocking would be smaller unless you made some adjustments. That said, these are rather big stockings, so it wouldn’t hurt to be a tad smaller.
Hugs, Lynn
Hi Lynn,
This is my first time knitting a stocking and I’m finding your pattern & videos very helpful!
I am a little stuck after shaping the heel, though. Can you explain what “work 11 rows” means? I assume that I should continue to use the Magic Loop and knit 11 rows – is that correct?
Also, I followed your pattern and purled the first 6 rows – the purl bumps are currently facing me. And the heel where I picked up the stitches isn’t quite as lovely as yours. Fortunately, it still looks intentional but I feel like I’m missing something. Do I need to turn the stocking inside out after it’s complete? Or approach the work differently?
Thank you for your time and assistance with this!
Hi Allysen,
I’m so glad you are enjoying knitting the stocking! I loved knitting these.
And yes, after you have shaped the toe, you will work eleven rows using the Magic Loop. That will form the body of the foot, between the heel and the toe.
As it relates to the first purl rows. You’ll turn that edge over to form the ‘cuff’ of the stocking. So, the side facing out will be all knit. And for your heel, that just takes a little practice. Maybe try a few times until you are happy with it!
I hope this helps. Don’t hesitate to reach out with any other questions.