
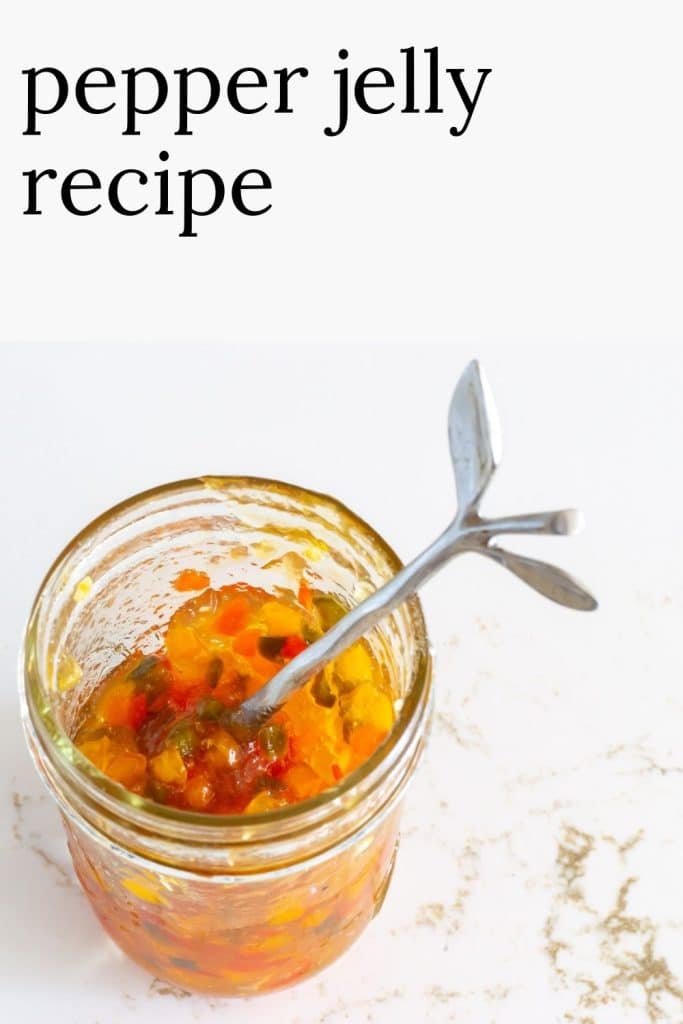
Pepper Jelly Recipe
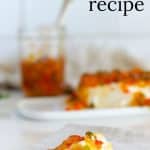
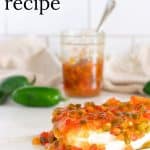
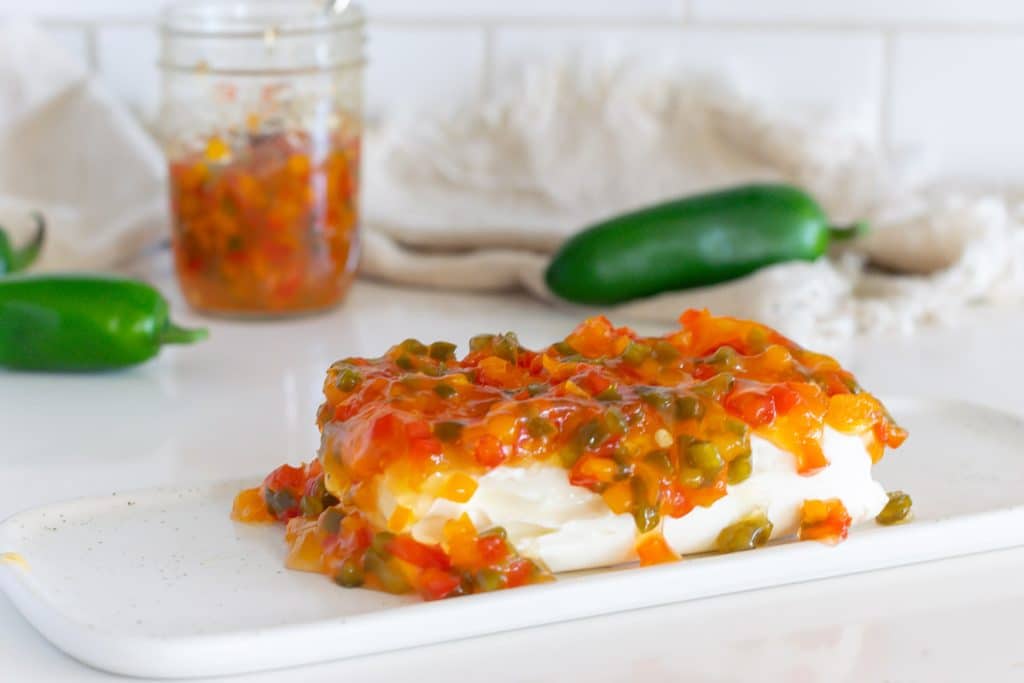
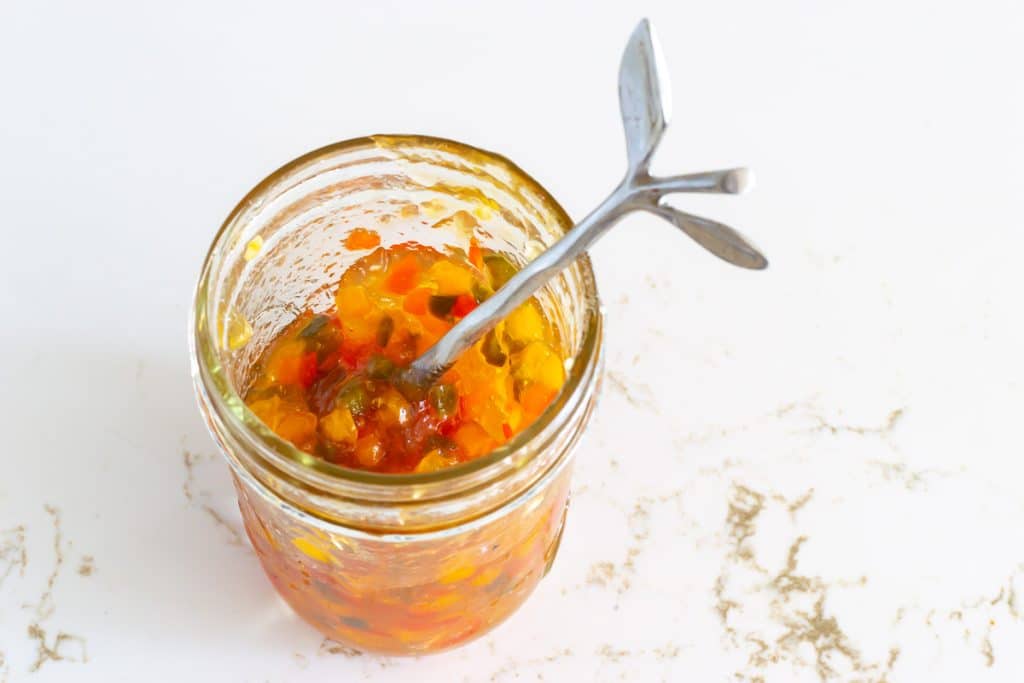
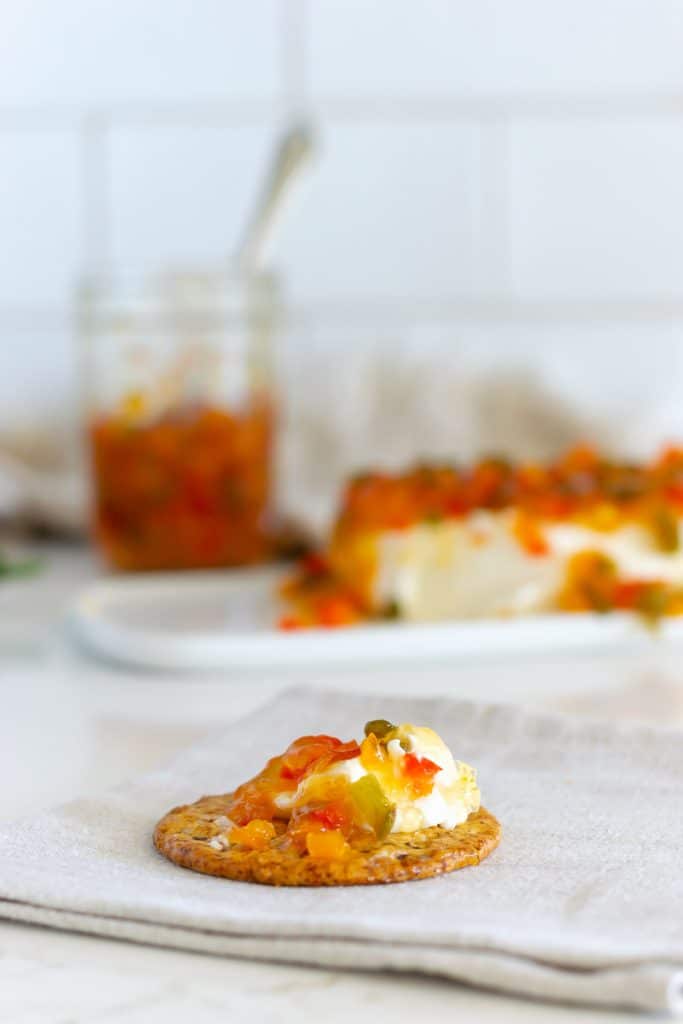
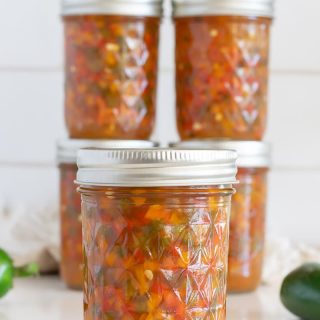
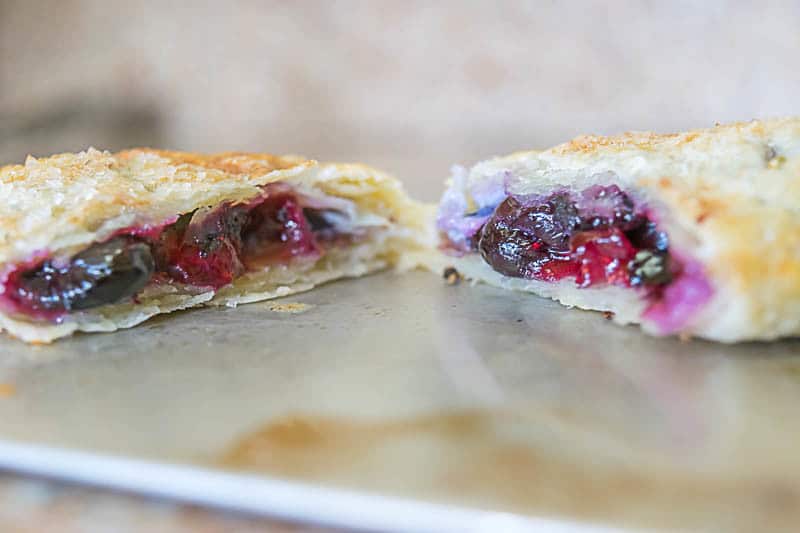
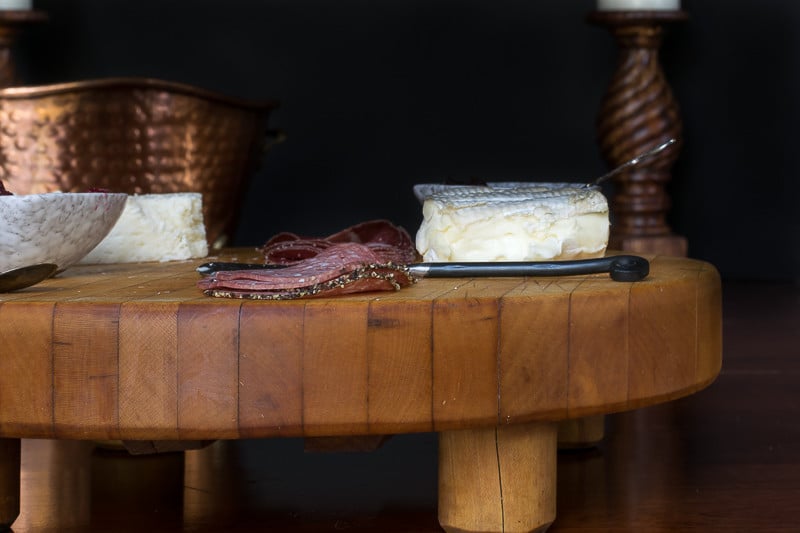
This Confetti Pepper Jelly Recipe produces a delightful condiment that adds a sweet and spicy kick to your dishes. It’s especially delicious when served over cream cheese and paired with crackers for a simple yet elegant appetizer. You can water bath can, refrigerate, or freeze this pepper jelly.
This spicy, colorful pepper jelly recipe is versatile and can be tweaked according to your preference. You can use different types of peppers, adjust the sugar, or even add other ingredients like fruits or spices.
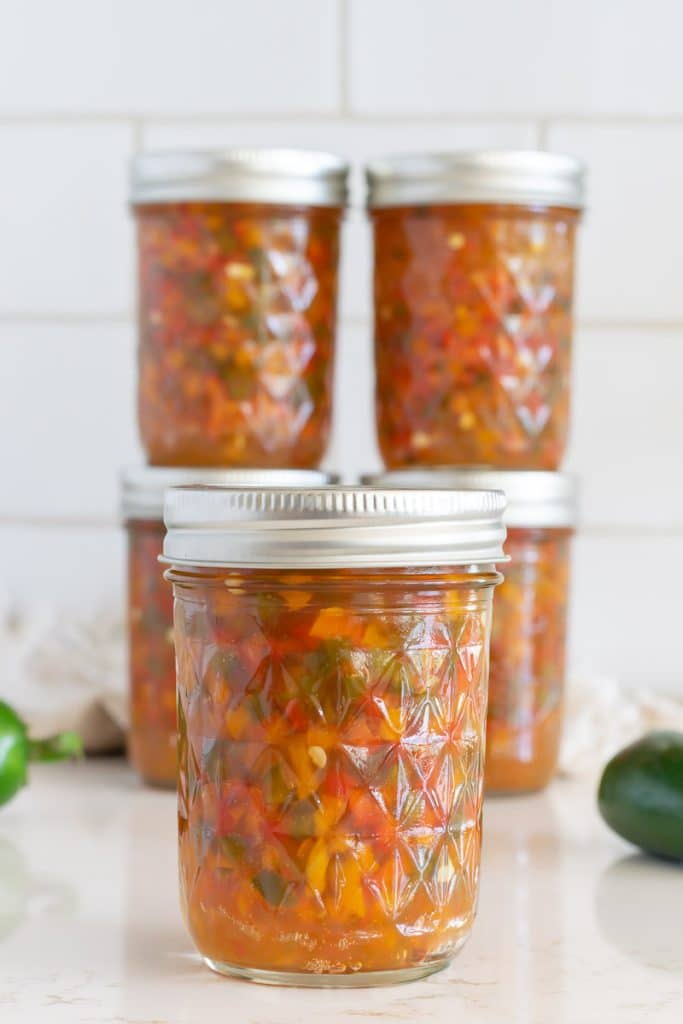
Table of Contents
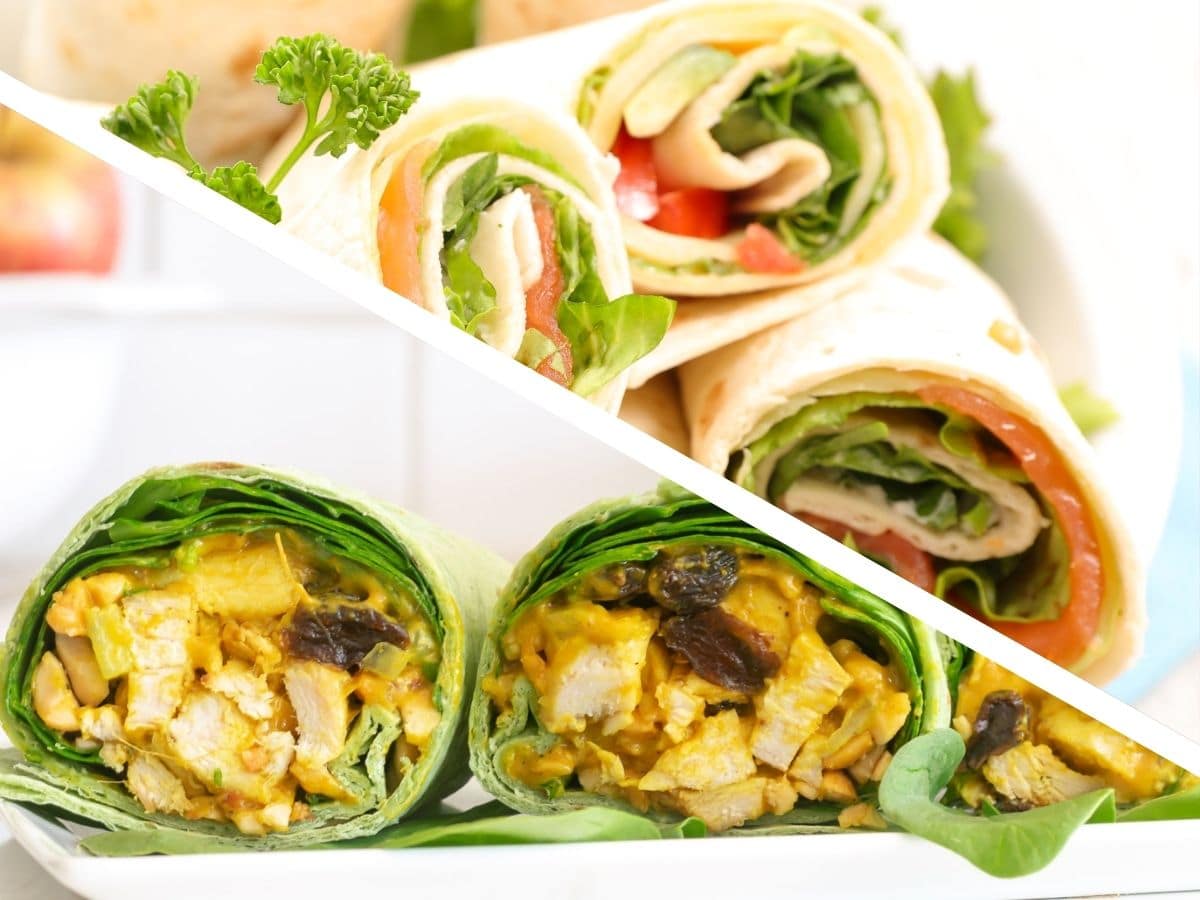
Enjoy your homemade red pepper jelly over cream cheese, on sandwiches, or as a glaze for meats. The possibilities are endless with this delicious condiment.
Why You’ll Love This Easy Pepper Jelly Recipe
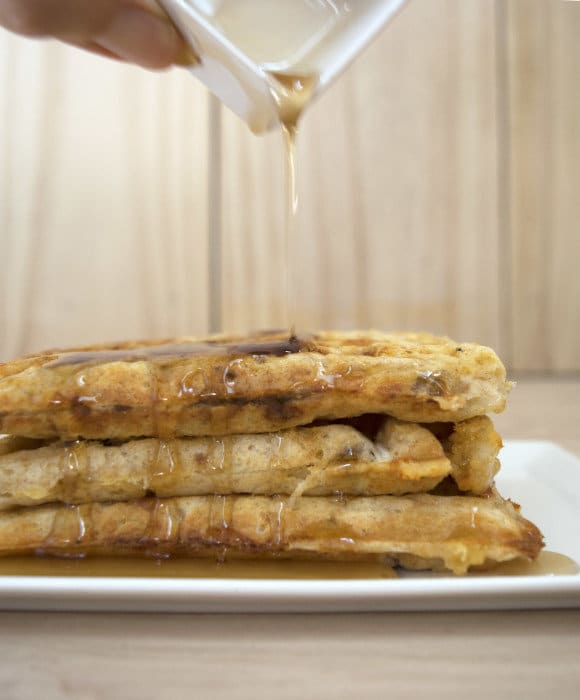
Versatility: This jelly is not just for spreading over cream cheese on a cracker, although that is a delicious option. You can use it as a glaze for meats, a topping for burgers, or even as a unique addition to your stir-fry. The possibilities are endless!
Balanced Flavors: Combining sweet sugar, tangy apple cider vinegar, and spicy bell peppers creates a perfectly balanced flavor profile. The red and orange bell peppers add a fresh, vibrant taste that complements the sweetness of the jelly.
Easy to Make – Water Bath Can or Refrigerate: This recipe is easy to follow with just a few simple ingredients and a straightforward water bath canning process. You’ll find this recipe easy and rewarding even if you’re new to canning. That being said, if you’d prefer to skip the water bath canning, you can make this jam and refrigerate it or freeze it. The recipe card includes instructions for both methods.
Homemade Goodness: There’s something special about homemade food. When you make this jelly yourself, you know exactly what’s going into it. No preservatives or artificial flavors – just fresh, wholesome ingredients.
Great for Gifting: Packaged in a pretty jar, this red pepper jelly makes a wonderful gift. Whether it’s for a housewarming, a holiday, or just because, your friends and family will appreciate this homemade treat.
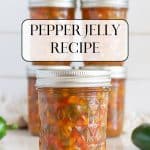
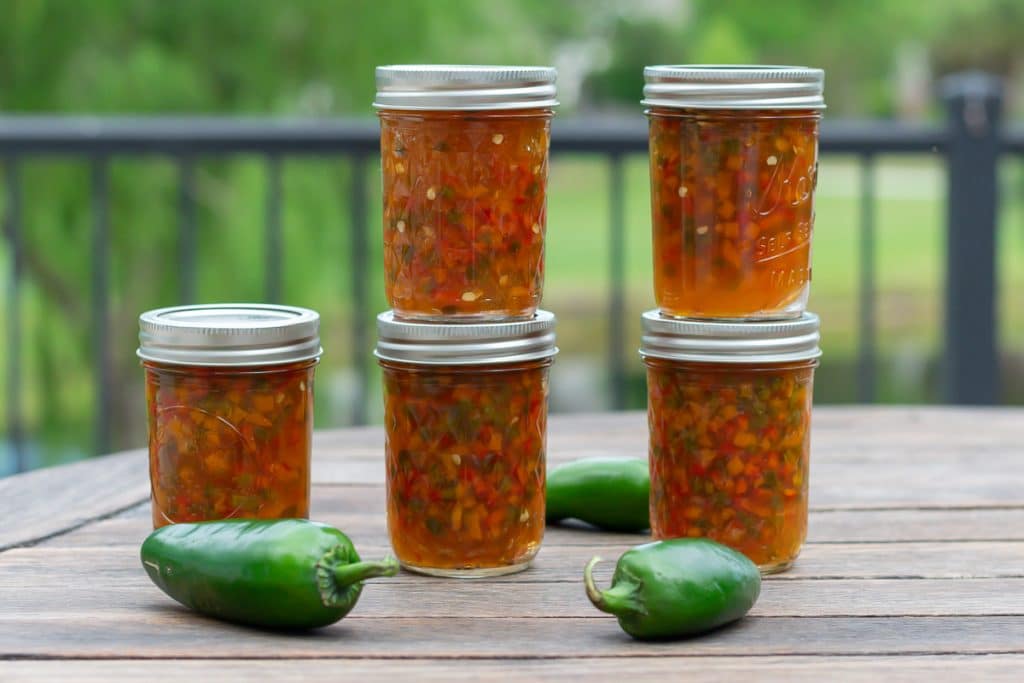
Long Shelf Life: This jelly has a long shelf life thanks to the water bath canning method. You can make a big batch and enjoy your homemade pepper jelly for months to come. You can also refrigerate or freeze this pepper jelly; it’s up to you!
So, whether you’re a seasoned cook or a beginner, this red pepper jelly recipe will surely delight you. Give it a try and discover your new favorite condiment!
Ingredients For This Pepper Jelly
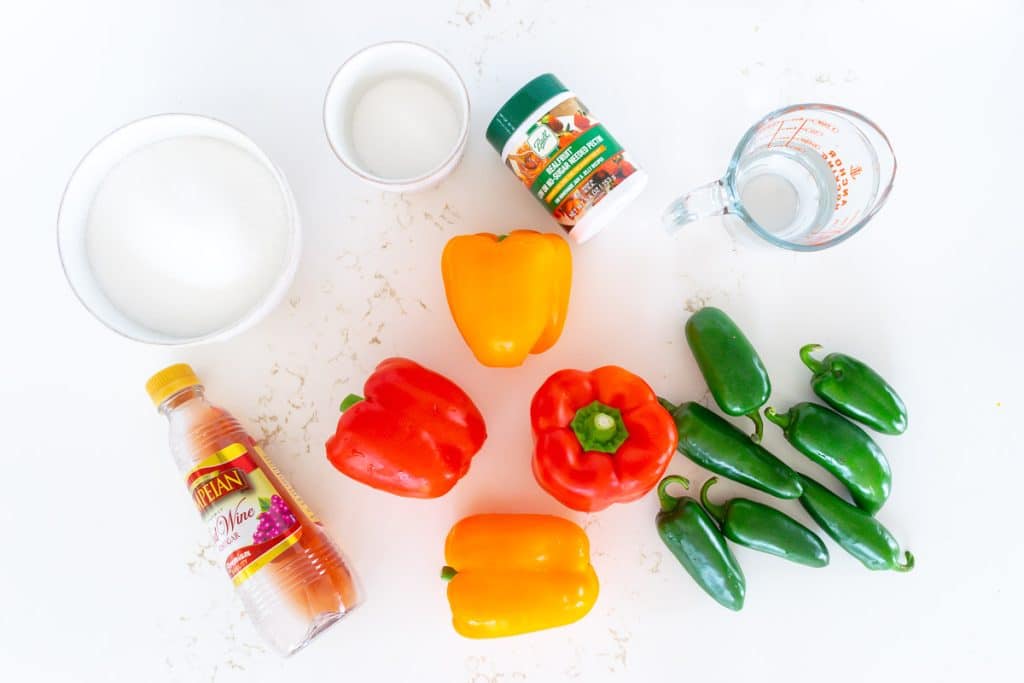
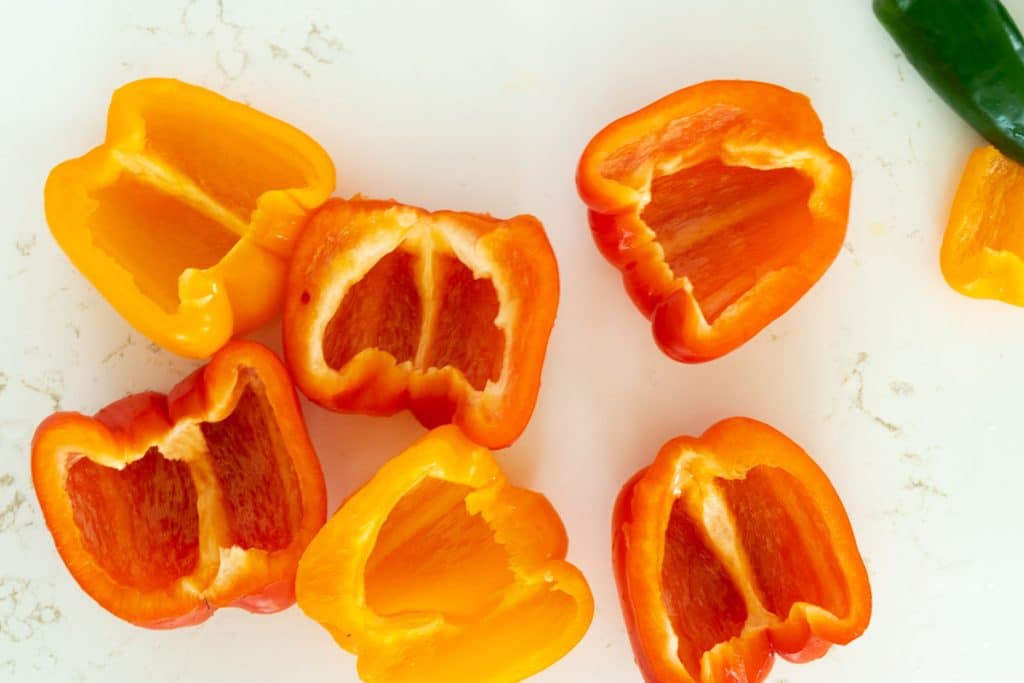
Bell Peppers: Use 4 medium bell peppers. Red and orange bell peppers are sweeter and less bitter than green bell peppers, giving your jelly a slightly different flavor profile. They’ll also give your jelly beautiful flecks of different colors.
Jalapeño Peppers: 8-10 large jalapeño peppers add significant heat to your jelly. If you prefer a milder jelly, you can reduce the number of jalapeños or remove the seeds and membranes, which is where most of the heat is concentrated.
If you can find red Jalapeño, Anaheim, or Sonoran chile peppers, you can keep just orange and red flecks of color in your jelly. Red jalapeño peppers are spicier than green ones, while Anaheim and Sonoran chile peppers are milder. The choice of pepper depends on the desired level of heat.
If you like to bring the heat, swap out the Jalapeño pepper for Serrano, Habanero, or Hungarian Wax peppers.
Vinegar: I use red wine vinegar to give this pepper jelly a robust, fruity flavor. However, as I’ve noted, any 5% acidity vinegar will work. This includes white vinegar, apple cider vinegar, or even white wine vinegar.
Water: The water in this recipe helps to dilute the vinegar and sugar, creating a balanced flavor in your jelly.
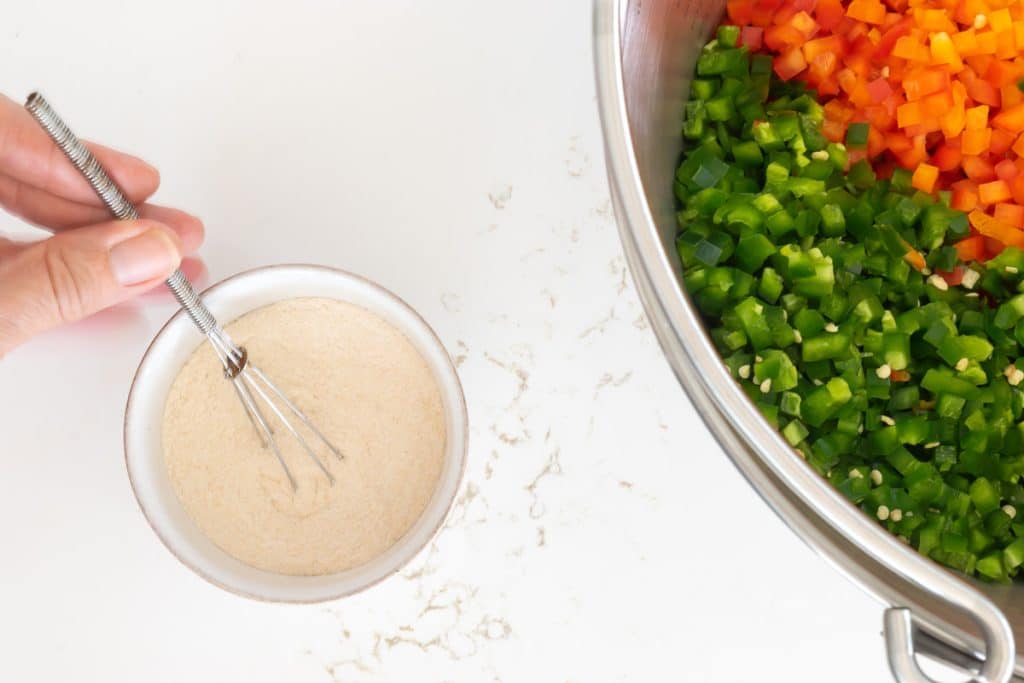
Sugar: You’ll divide your sugar into two parts – 2 3/4 cups and 1/4 cup. The larger amount will be used in the jelly itself, while the smaller amount will be used to mix with the pectin before it’s added to the jelly. You can substitute 2 3/4 cups of honey for the sugar. Just add pectin without sugar or honey in step 3 of the recipe.
Pectin: Make sure you are using a Less or No Sugar Needed Pectin, which is designed to gel with less sugar than regular pectin. This recipe will not work with regular pectin. This is a great choice if you’re trying to reduce the sugar content of your jelly.
Hot Pepper Flakes: These are optional but can add an extra kick to your jelly. If you’re using them, add them to taste, remembering that the heat will intensify as the jelly sets.
Remember, the beauty of homemade jelly is that you can adjust the ingredients to suit your taste. Feel free to experiment with different types of peppers, vinegar, and heat until you find your perfect combination. However, don’t fiddle with the sugar or pectin…those quantities are needed to make sure that your jelly actually gels!
This Jelly + Jam Making Basics 101 article discusses Jam Making Basics, including the main ingredients of jams and jellies, their importance, and the basic equipment for making jams and jellies. Additionally, we discuss the differences between various jellied fruits and vegetables. It’s a great resource for new canners or anyone needing a refresh.
Tips for Making This Pepper Jelly
- Use rubber gloves when dicing the hot peppers
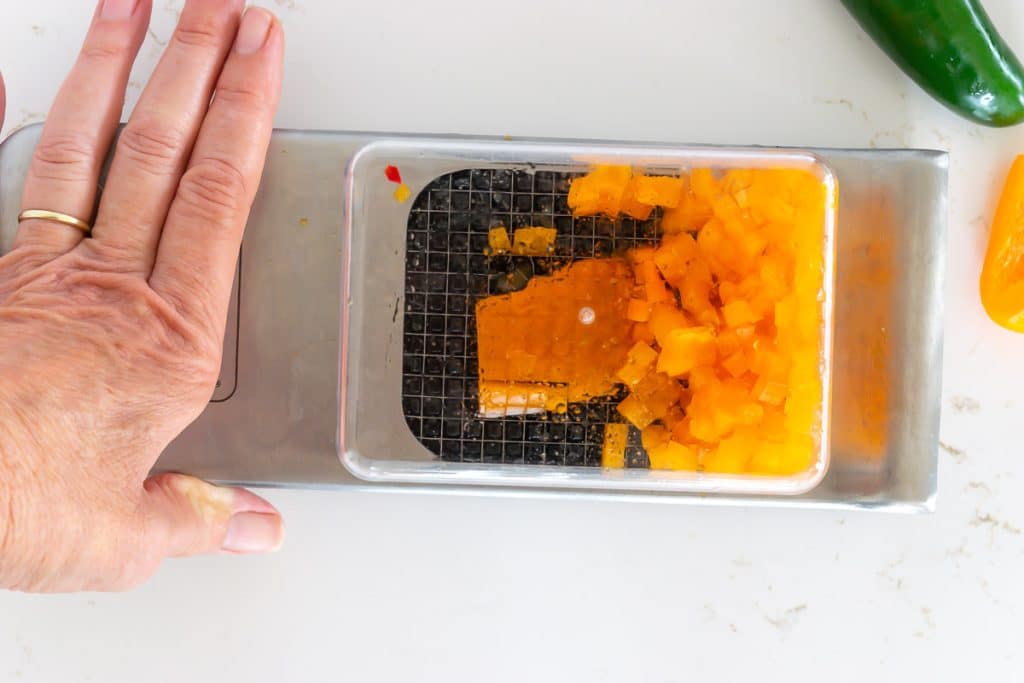
- I used my Alligator Chopper to get a fine, uniform Jalapeño and Bell Peppers dice. It’s a bit of a splurge but well worth it if you frequently chop vegetables. I also use it for my salsas.
- You’ll find that the peppers want to float to the top of the jelly after you put it in the jar. Everything you read tells you to leave your canned jars untouched for 24 hours to ensure a good seal. I typically don’t buck the USDA when canning, but I turn my jars over after about 1 hour, let them cool for another 2 hours upside down, and then turn them back over. I make sure the lids have sealed before turning them over the first time. You do you, but I haven’t had a jar ‘unseal’ when I do this…yet.
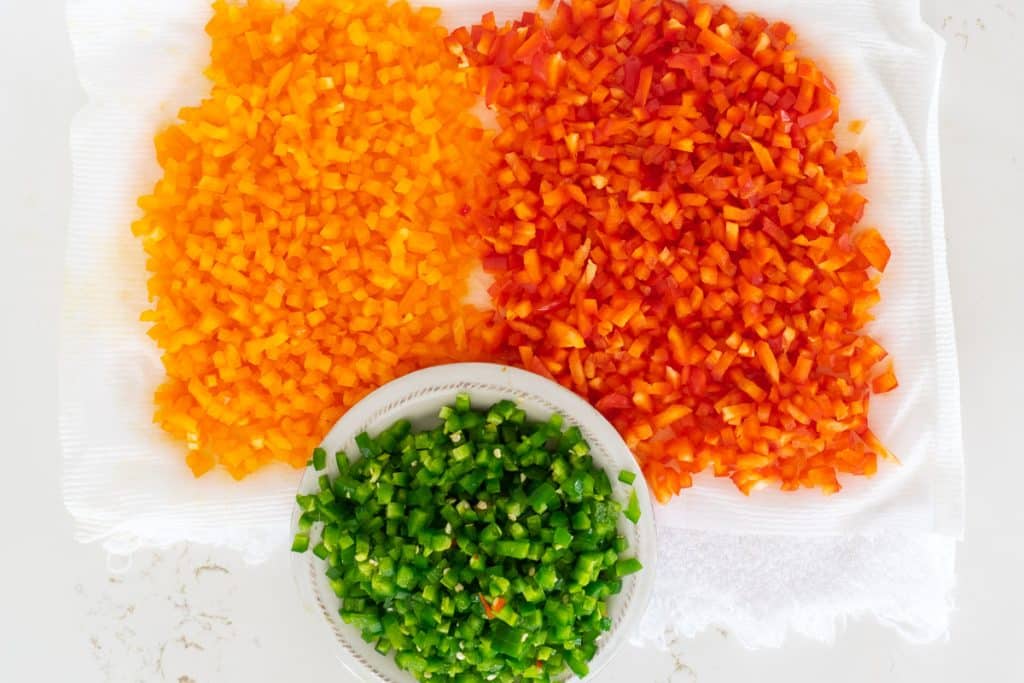
- Let your diced pepper rest on a paper towel for at least 30 minutes before you add them to the pot. This absorbs some of the natural dye and ensures your jelly doesn’t get a muddy color.
Making The Jelly

my go-to jelly jars
Ideal for fresh preserving recipes such as jams, jellies, sauces, mustards and flavored vinegar.
Tools I Use for Water Bath Canning This Pepper Jelly
Some of these links may be Amazon affiliate links and I may earn a small commission from the sale of these products to help defray the costs of operating this site, but the price you are charged is not affected. You can see my full disclosure policy here.
While boiling water canning isn’t hard, it does require a few pieces of equipment to make the task much easier:
- A Jam Pan or Maslin Pan
- Jar Lifter
- Magnetic Canning Lid Lifter
- Headspace Gauge
- Ball Jars or Kerr Jars or another suitable canning jar.
- A Wide-Mouth Funnel
- The Ball Complete Book of Home Preserving or The All New Ball Book Of Canning And Preserving.
- A clean surface
- Clean towels
- A large spoon or measuring cup to scoop the jam or preserves into each jar.
- A bowl of white vinegar and a clean dishcloth or paper towels.
The Ball Complete Book of Home Preserving is my bible. Even if I think I could make the recipe in my sleep, I double-check myself against the Ball Book…that whole botulism thing. It should be your first purchase if you are new to canning. My cookbook library inventory recently expanded with the addition of The All New Ball Book Of Canning And Preserving: Over 350 of the Best Canned, Jammed, Pickled, and Preserved Recipes! Another great canning and preserving resource is the National Center for Home Food Preservation at the University of Georgia website.
How Long Does Pepper Jelly Last?
Properly water bath canned red pepper jelly should last two years when stored in a cool, dry place. For what it’s worth, the USDA says one year, but I’ve never had a problem after one year. Once opened, keep your homemade jam in the refrigerator for up to three months.
If you don’t water bath can your pepper jelly, you can freeze it for up to one year or keep it in your refrigerator for up to one month.
Can I Double or Halve This Recipe?
Technically yes, but make sure you measure out the pectin correctly. This free, printable Measuring Equivalents Chart will help you when halving or doubling a recipe.
Can I Add Other Ingredients to This Recipe?
It depends! If you are freezing it, you could easily experiment. However, if you plan to water bath can the jelly to make it shelf stable, you need to be mindful of changing the pH. That being said, you could add 3-4 cloves of garlic to this red pepper jelly and still safely water bath can it.
Water Bath Can or Refrigerate Your Jelly
Whether you water bath can or refrigerate/freeze your jelly is up to you.
Water bath canning is a method of preserving preserves, jams, and jellies to make them shelf-stable for up to two years. I walk you through the water bath canning process, but I HIGHLY RECOMMEND The All New Ball Book of Canning and Preserving if this is your first time making canned preserves.
To make your jelly shelf stable, all you need is an additional 30 minutes of your time, a water bath canner or pot deep enough to cover your jars by 2 inches, and Half-Pint Mason Jars with Self-Sealing Lids. A few more inexpensive pieces of equipment make your canning experience more enjoyable and efficient: a jar/can lifter, magnetic canning lid lifter, and headspace gauge.
If you’d rather refrigerate or freeze your jelly
The only equipment you still need to prepare is your jars and lids. Just make sure that they are clean and freezer-stable jars. The best jars for freezing are those without shoulders, but instead are straight-sided. Mason jars are great jars to freeze jams and jellies in.
Follow the directions as written, ignoring any references to preparing canning equipment. When you reach the directions to ladle the jelly into the jars, leave 1″ of headspace instead of 1/4″. Place lids on the jars and let them come to room temperature. Once they are at room temperature, you can refrigerate or freeze the jars. Your jars of jelly will keep in the freezer for 1 year and 1 month in the refrigerator.
Interested in More Pepper Recipes?
- White wine and jalapeños combine in this lighter Jalapeño Wine Jelly.
- This Red Pepper Jelly is a heavier, very flavorful jelly made with red bell and hot peppers.
- This easy recipe for canning jalapeño peppers is perfect for first-time or experienced canners. With this jar-by-jar recipe, you can easily alter the recipe for as many pounds of peppers as you have
Pepper Jelly
Equipment
Ingredients
- 4 medium bell peppers I used orange and red bell peppers
- 10 large jalapeño peppers
- 1/2 cup of vinegar I used red wine vinegar, but any 5% acidity vinegar will work
- 1/2 cup of water
- 3 cups of sugar 2 3/4 cups in one bowl and 1/4 cup in another bowl
- 1.75 ounces or 1-1.75package of Less or No Sugar Needed Pectin
- Hot Pepper Flakes optional
Instructions
- If you will be canning the jam, Prepare a canner, jars, and lids. Wash your jars and lids. Sterilize your jars in a large pot filled with water. Bring the water to almost a simmer over medium heat. Keep the jars in the simmering water over low heat until you are ready to fill them. Use a jar lifter to remove them from the water when you are ready to fill them, dumping the hot water back into the pot when you remove each jar from the water. Right before you are ready to can, put your lids in a small pot or bowl with hot, but not boiling, water. Put some additional white vinegar in a small bowl alongside a clean washcloth or paper towel. Keep the water in your canning pot at a simmer while you fill your jars. See The All New Ball Book of Canning and Preserving for additional guidance.
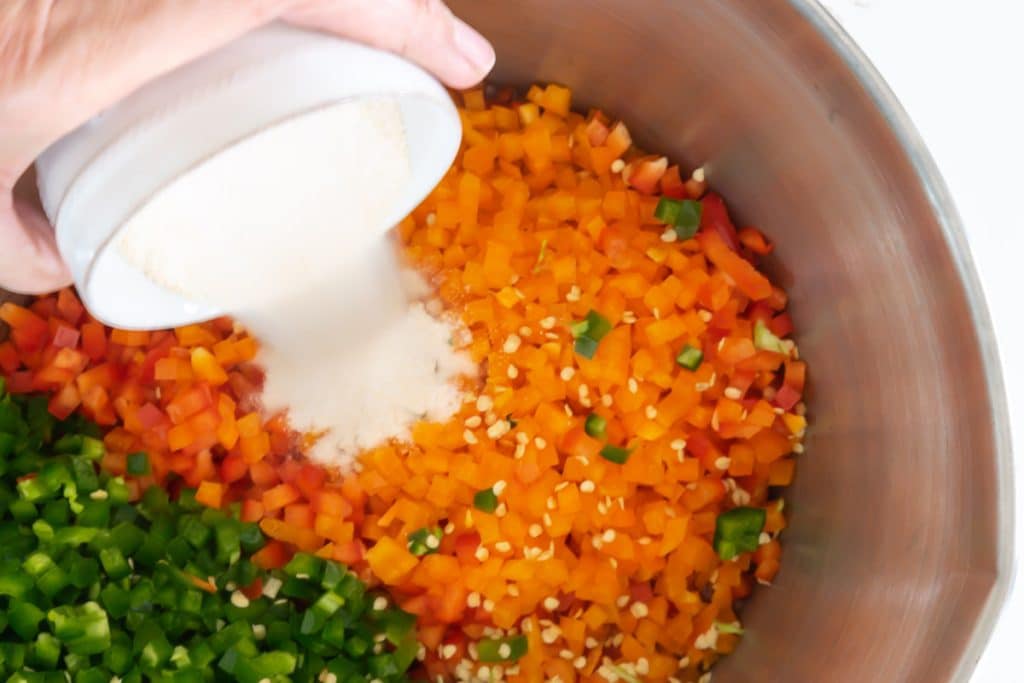
- Using a food chopper or a food processor, finely chop the bell and jalapeño peppers. You should end up with close to 3 cups finely chopped bell peppers and 1 cup finely chopped jalapeño peppers. If you keep the peppers separate while you chop and let them rest on their own clean rag or paper towel for 20-30 minutes, you will end up with a clearer jelly.
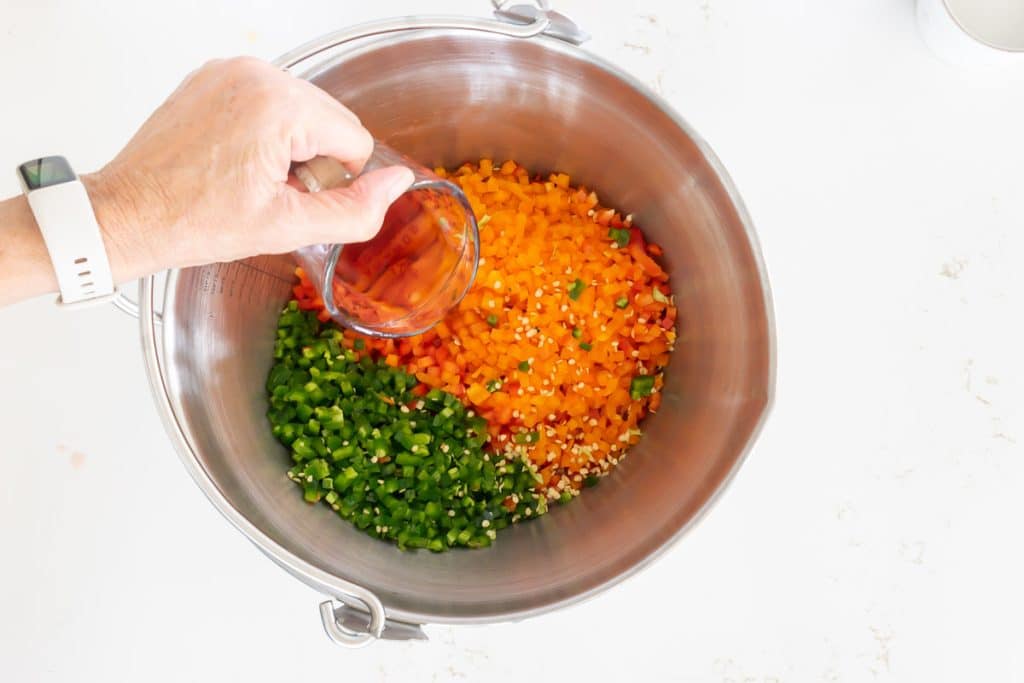
- Place your bell peppers, jalapeño peppers, vinegar, and water in a 6- or 8-quart saucepan, jam pan, or maslin pan.
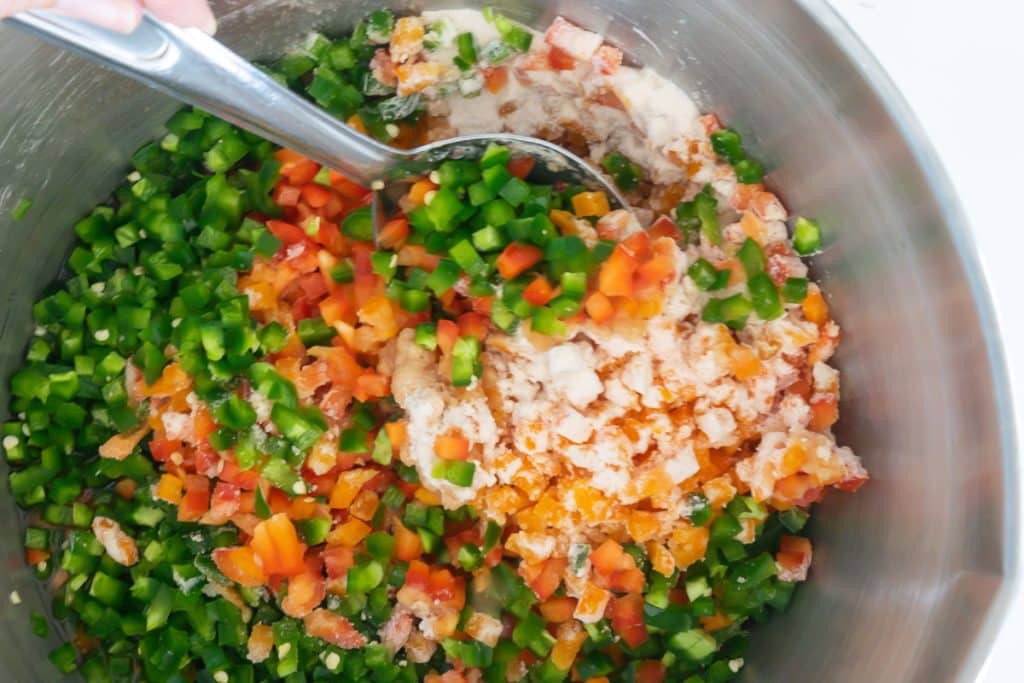
- Mix the 1/4 cup of sugar with the 1.75 ounces of pectin. Add the sugar and pectin mixture to the pepper and vinegar mixture and mix well.
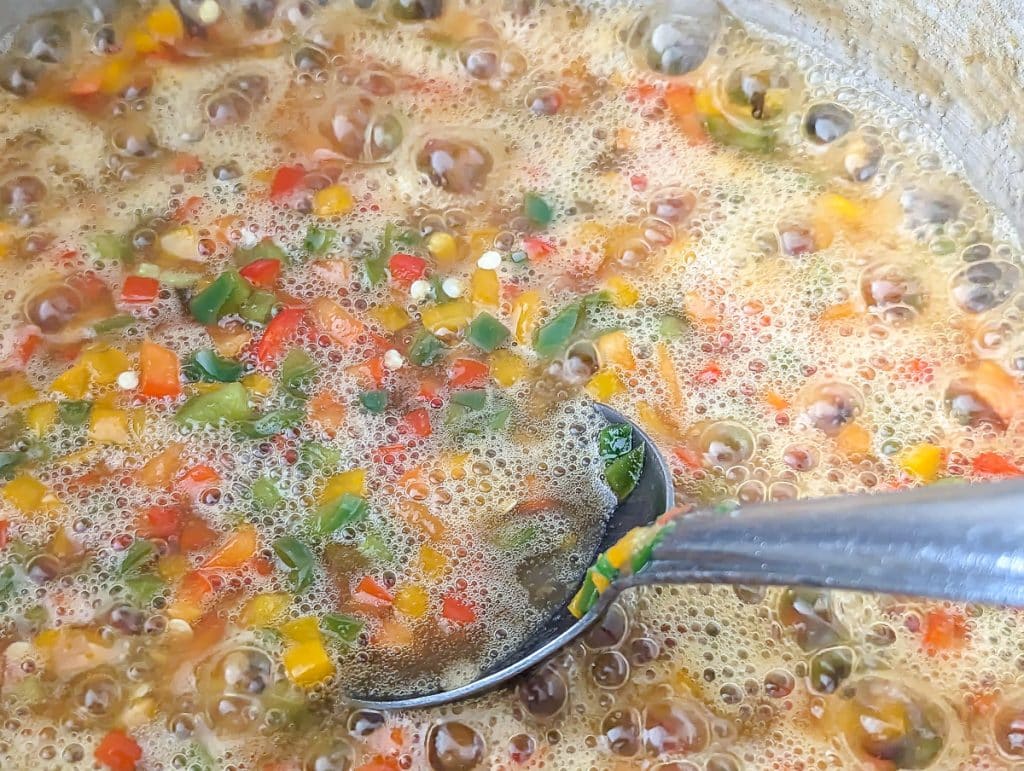
- While stirring constantly, bring the mixture to a full rolling boil over high heat. A full rolling boil is one that doesn't stop bubbling when stirred.
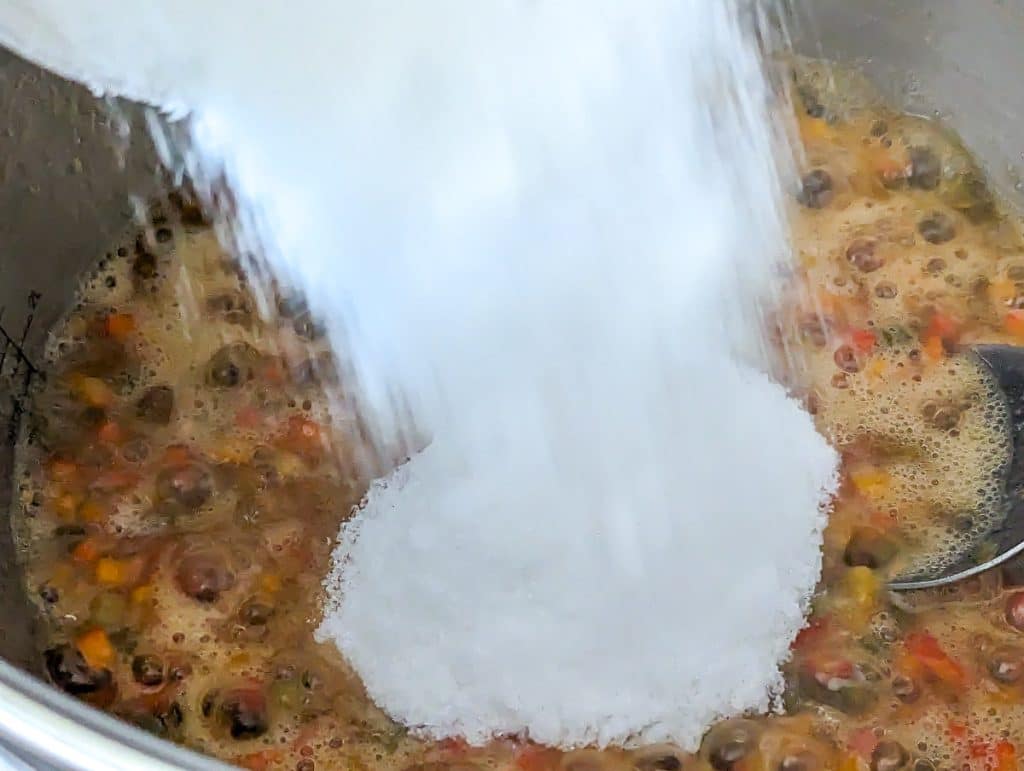
- Stir in the remaining 2 3/4 cups of sugar, return to a full rolling boil, and boil for exactly 1 minute, stirring constantly.
- Remove from the heat and skim off any foam with a metal spoon.
To Water Bath Process
- Spoon your jam into hot sterilized jars, leaving 1/4 inch headspace.
- Remove air bubbles and wipe the rim.
- Center lid on the jar
- Screw band down until resistance is met, then increase to fingertip tight.
- Place jars in a canner, making sure there is at least 1" of water over the cans.
- Cover the pot and bring to a boil
- Boil for 10 minutes
- Turn the heat off, remove the lid, and let sit for 5 minutes
- Carefully remove jars with a jar lifter and place them on a rack where they can be undisturbed for 24 hours.
- Refrigerate any jars whose lids don't pop down.
To Freeze Jam
- Spoon jam into hot sterilized jars, leaving 1-inch headspace.
- Remove air bubbles and wipe the rim.
- Let cool completely.
- Center lid on the jar.
- Freeze jars.
Nutrition
Bookmark this page or pin the following image to refer back to this Pepper Jelly Recipe in the future.
Thanks so much for spending a few minutes of your busy day with me!
To ensure you don’t miss future content, pop your email in the pale green box on the right or click here. I usually send one email weekly, so I won’t inundate your inbox. I’m sensitive to an overflowing email inbox!
We will only use your email address to send you emails, no more than 1-2 weekly. In addition, you will have access to my growing library of knit & crochet patterns and other printables. Check back often as this library will continue to grow. You can unsubscribe anytime by emailing me or clicking on the “unsubscribe” link at the bottom of all emails.
And you can access many of the products I refer to on my Nourish and Nestle Amazon Page. You can access it here.
So, if you’d like to participate in the ‘subscriber benefit’ action, simply subscribe to Nourish and Nestle here or use the form on the right sidebar. It’s slightly towards the top.
I have sent all my subscribers the link to the Subscriber Benefits Library. If you missed it or misplaced it, let me know.
Until next time…

The recipe says to use 6 PINT jars. Is that correct or should it read 6 8 oz. Half Pints? Thanks!
You are right! Thanks for catching that and bringing it to my attention. I’ve made the correction.