Sourdough Discard Soft Pretzels
Happy Not-Wasting-My-Discard Day for all who celebrate! Anyone who keeps a sourdough starter knows the little jar of discard that collects in the refrigerator. It feels wasteful to toss it, and yet there it sits, getting more sour by the week. These sourdough discard soft pretzels are one of my favorite solutions to that problem.
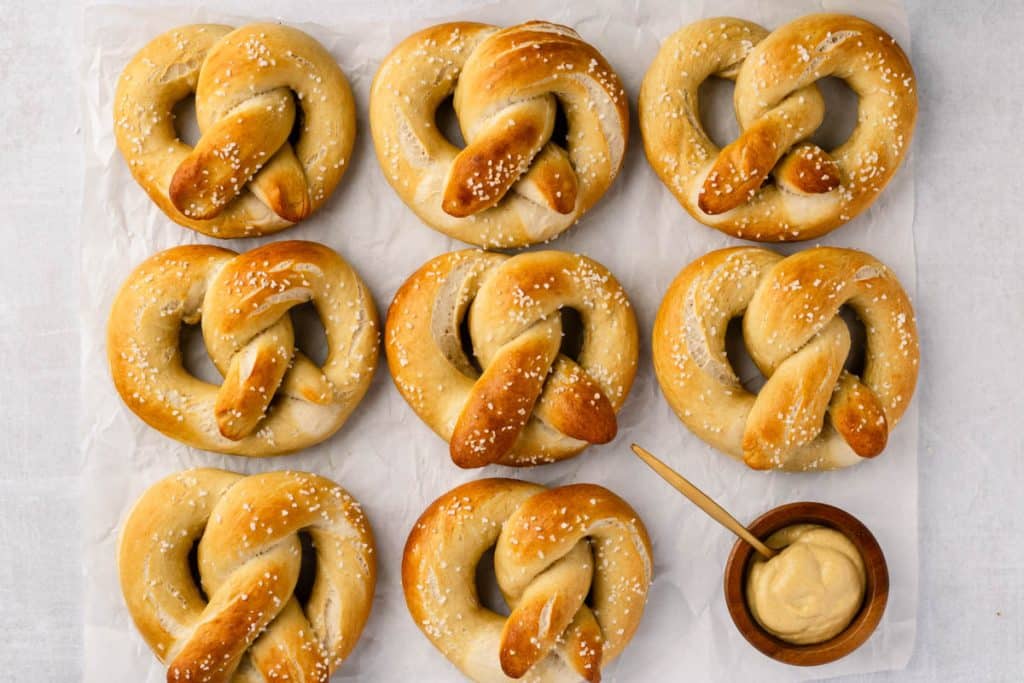
They are soft and chewy on the inside, with that deep golden, slightly glossy crust you expect from a real pretzel. The discard adds a gentle tang and a little extra depth that a plain pretzel just does not have. And because the dough uses ingredients most of us already have in the pantry, the whole batch costs very little compared to what you would pay for a few pretzels at the mall or the ballpark.
These pretzels went through a few rounds of testing in my kitchen, with cold discard straight from the fridge and with fed discard, and you will find what I learned about both further down. Salt was part of the testing too, added before baking and after baking, and there is a clear winner. All of that trial and error is already done, so your first batch can be amazing!
This Sourdough Discard Soft Pretzels recipe is a wonderful weekend treat. The dough comes together in a mixer in about eight minutes, then rests while you go about your day. The shaping is the only part that takes a little patience, and it is easier than it looks. By the end, you will have eight big pretzels, plenty for game day, a school or church gathering, a special treat or an afternoon snack.
And here is the part I love most. Once you have the basic pretzel down, you can dress it up your way! Cinnamon sugar for the sweet tooth, garlic Parmesan for the dinner table, jalapeño cheddar for the brave. One dough, a lot of mileage.
Skip the tips and jump right to the recipe by clicking the button above. But…the info is here to help!
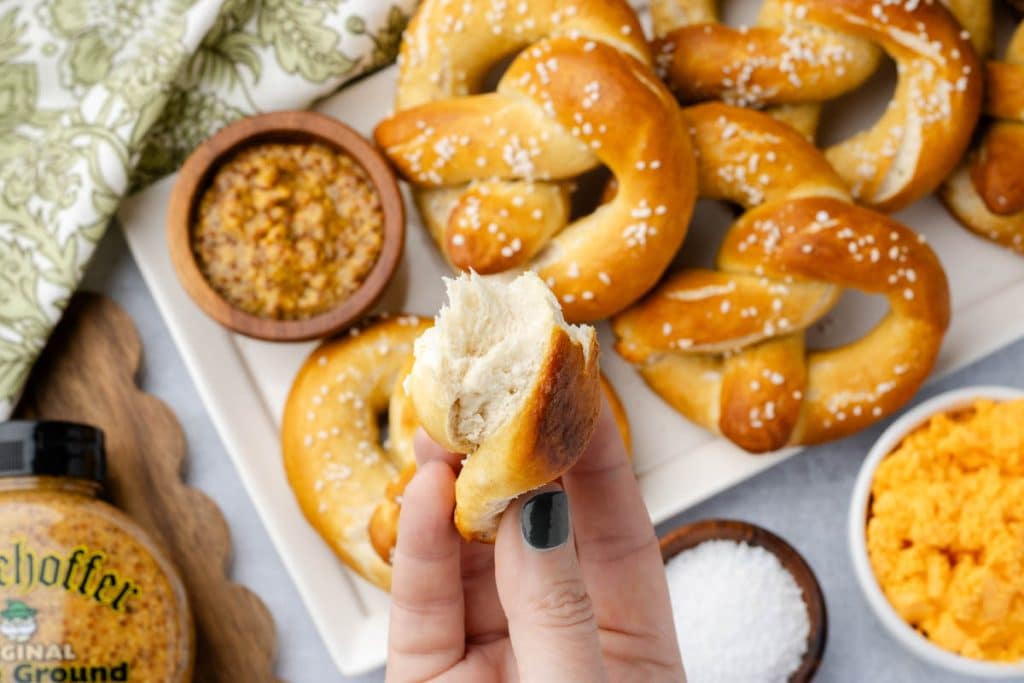
Table of Contents
Why You Will Love This Sourdough Discard Soft Pretzels Recipe
- It uses up sourdough discard instead of throwing it away.
- It costs far less than store-bought or mall pretzels. A little more than $2.00 in ingredients will produce eight delicious soft pretzels.
- It uses simple pantry ingredients, nothing fancy or hard to find.
- You can make the dough ahead and store it in the refrigerator.
- The pretzels freeze well, so you can bake once and enjoy them for weeks.
- It is easy to customize for sweet or savory cravings.
Ingredient Notes and Ways to Save
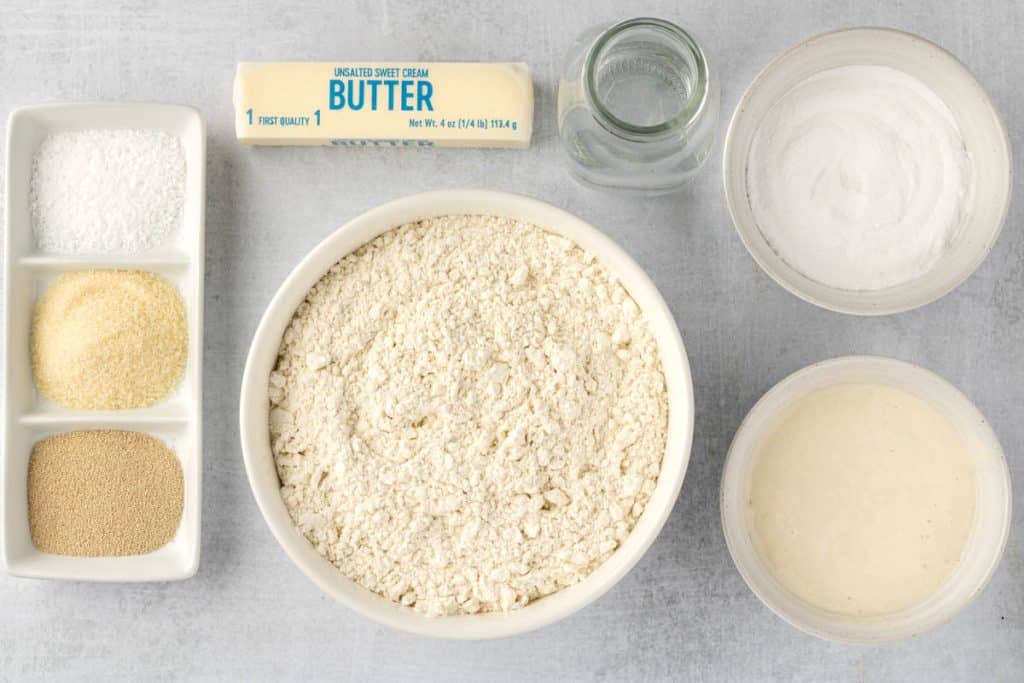
Bread flour. Bread flour has more protein than all-purpose, which gives these pretzels their signature chew. You can use all-purpose flour if that is what you have. The pretzels will be a little softer and less chewy, but still very good. Buy bread flour in the larger bag if you bake often, since the price per pound drops considerably.
Sourdough discard. Use unfed discard straight from the refrigerator. It is fine cold, though letting it sit out for a bit helps the dough come together more easily. The discard should be 100 percent hydration, meaning equal parts flour and water by weight, which is the standard for most home sourdough recipes.
Instant yeast. Even with sourdough discard in the mix, yeast gives you a dependable rise in a short time. A jar of instant yeast is much cheaper per use than packets, and it keeps well in the freezer.
Baking soda. This is what gives pretzels their color, flavor, and chew. Store-brand baking soda works exactly the same as the name brand, so save your money here.
Pretzel salt. It is optional, and you do not need to buy it. Coarse kosher salt or flaky sea salt works beautifully. In a pinch, even regular table salt sprinkled lightly will do.
Butter. Unsalted butter lets you control the salt. Salted butter works too, and you can cut the salt in the dough back slightly.
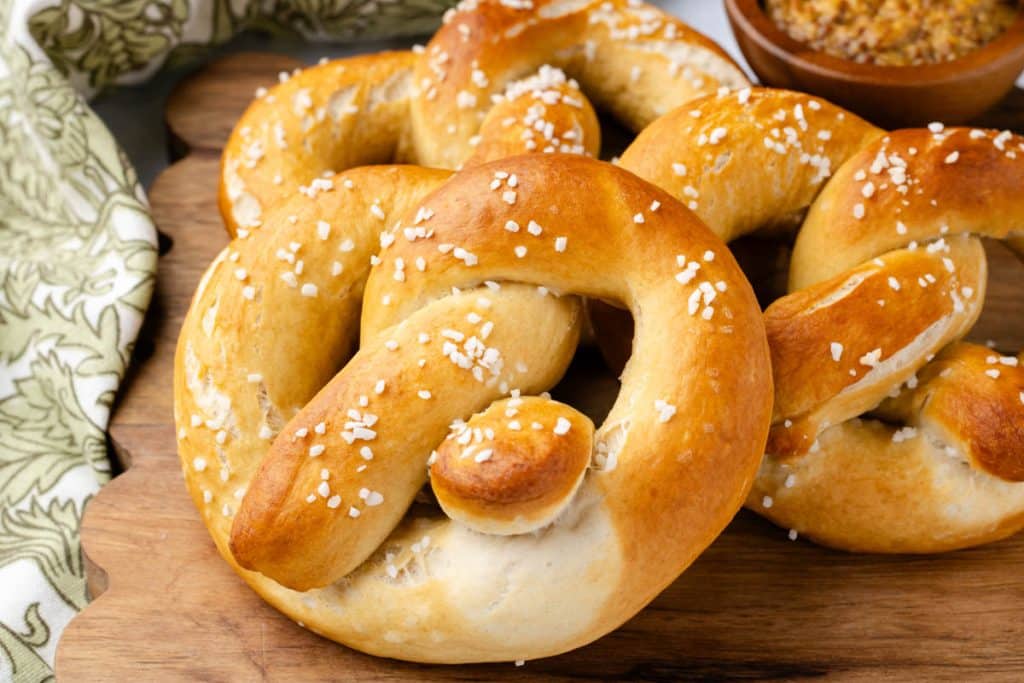
Tips for Success with Sourdough Discards Soft Pretzels
Measure the flour the right way. Flour packs down in the bag, and a heavy hand can leave you with a dry dough. I use the spoon-and-level method for this recipe: spoon the flour into the measuring cup, then level it off with a knife. Scooping straight from the bag will likely give you more flour than the recipe intends.
Adjust the water as you go. When the dough looks dry or craggy after about a minute of mixing, add water one teaspoon at a time until it comes together. The finished dough should be soft, smooth, and elastic, and not sticky.
Do not overproof the dough. You want the dough noticeably puffy and nearly doubled, not enormous. Overproofed dough loses its shape and bakes more like a bread roll than a pretzel. Rise time depends on your kitchen temperature, so watch the dough rather than the clock. In my kitchen, the unfed discard needed the full hour and a half. When I used fed discard, it rose faster and puffier, and one hour was plenty.
Keep the baking soda bath at a steady boil. Bubbles should break across the surface, but the water should not churn or splash. A hard boil can toss the pretzels around and make them fall apart, and a weak simmer will not give you that deep golden crust and chew. A good test is to lower in a pretzel: it should float and drift a little, not get tossed around the pot.
Use the right pot. Baking soda can react with aluminum and dull or discolor it, so use a stainless steel or enameled pot if you have one.
Salt right away. Sprinkle the salt on each pretzel as soon as it comes out of the water, while the surface is still wet. The salt sticks beautifully. I also tried baking the pretzels plain and brushing on butter and salt afterward, and I liked the salt after the bath much better, both for flavor and for how easy it is. Forgot the salt? You can lightly mist the baked pretzel with water and add salt then.
Be patient with the cooling. I know it is hard, but let the pretzels cool for 10 to 15 minutes before you eat them. The inside needs that time to set, and the texture improves. I noticed that hot pretzels and cooled pretzels taste quite different. The cooled ones had a more true pretzel flavor and texture the longer they sat.
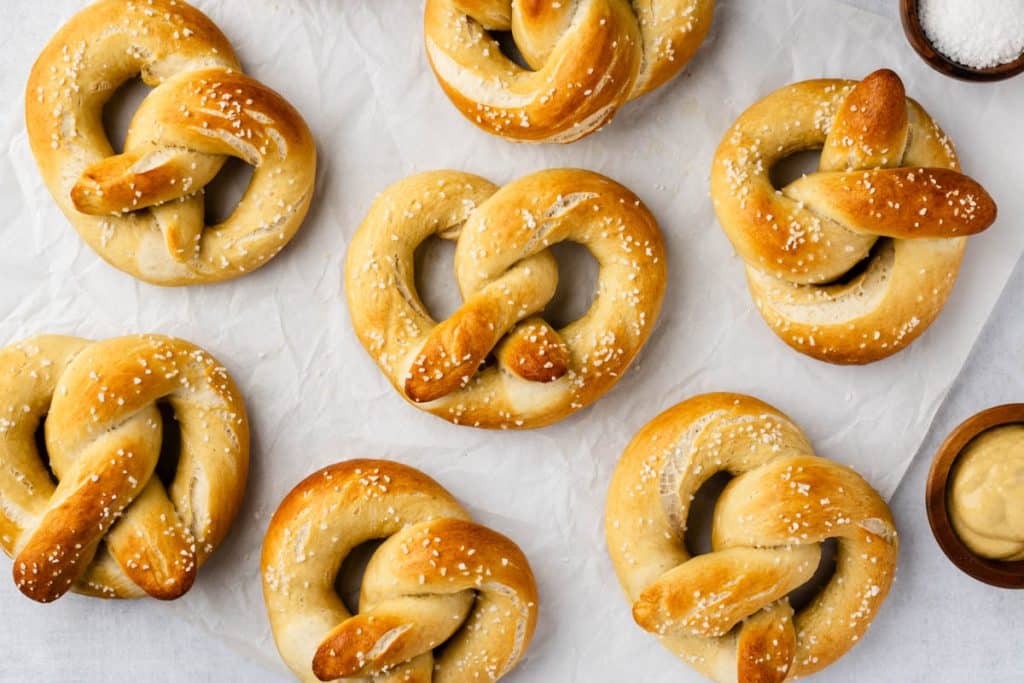
Make Ahead and Schedule Tips
To pause the process: refrigerate the dough for 1 to 2 hours after kneading when you need to step away.
To make ahead overnight: right after kneading, refrigerate the dough for 8 to 12 hours. In the morning, let it sit at room temperature for 20 to 30 minutes, so it is easier to handle, then shape and continue with the recipe. Do this right after kneading, not after the dough has risen, or you risk overproofing it.
Step-by-Step Directions for Sourdough Discard Soft Pretzels
Step 1. Mix the dough.
In a large bowl, or the bowl of a stand mixer fitted with a dough hook, add the flour, instant yeast, sugar, and salt. Whisk to combine. Add the sourdough discard, lukewarm water, and melted butter. Mix with the dough hook until a shaggy dough forms.
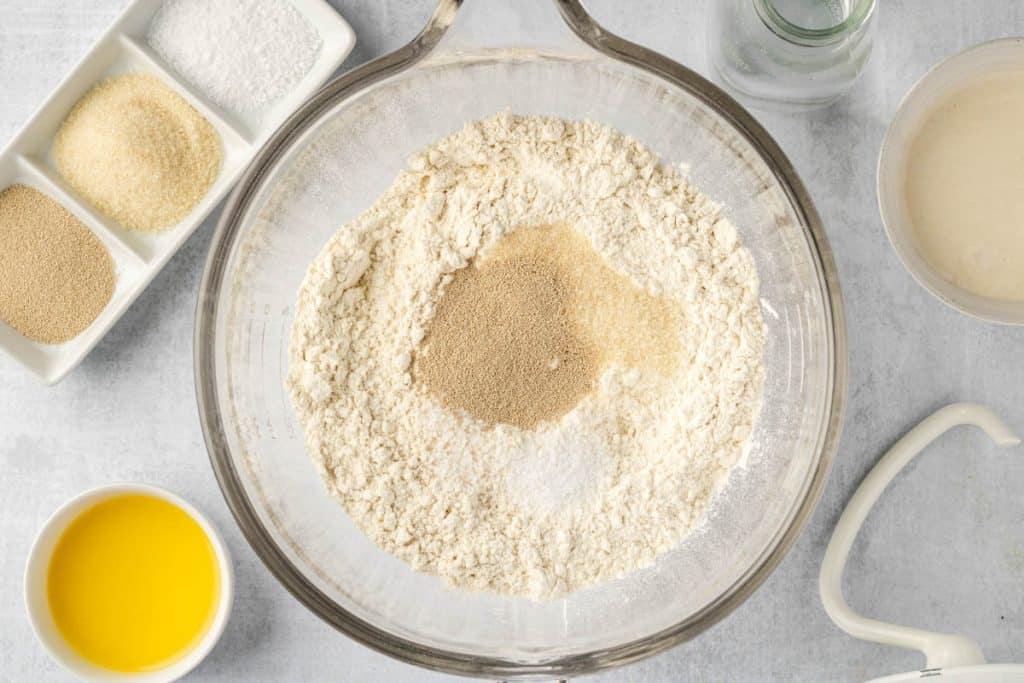
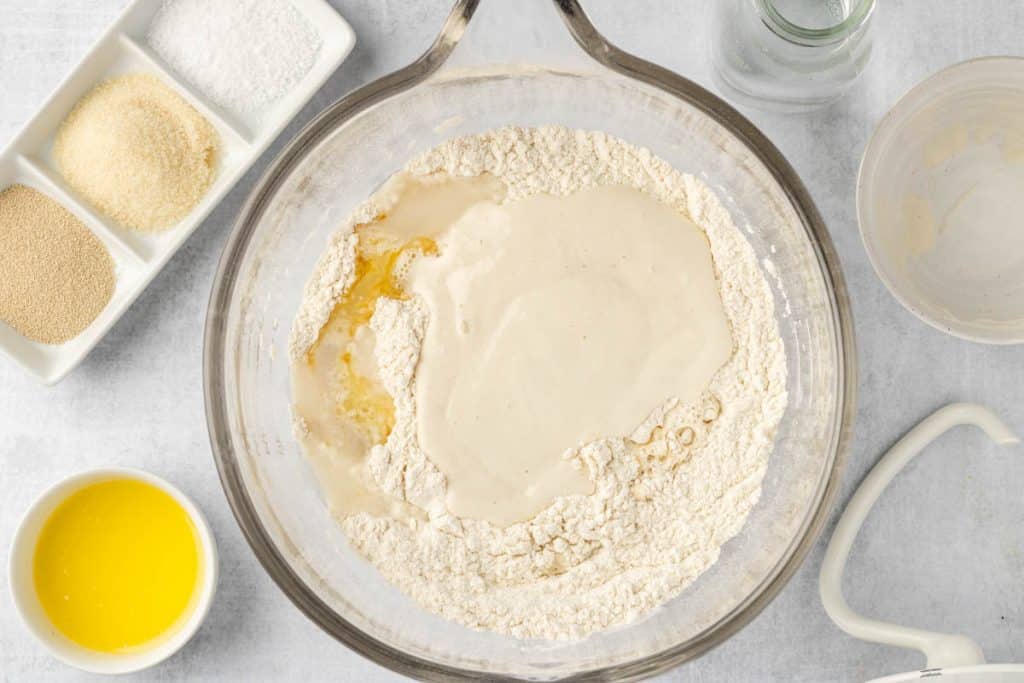
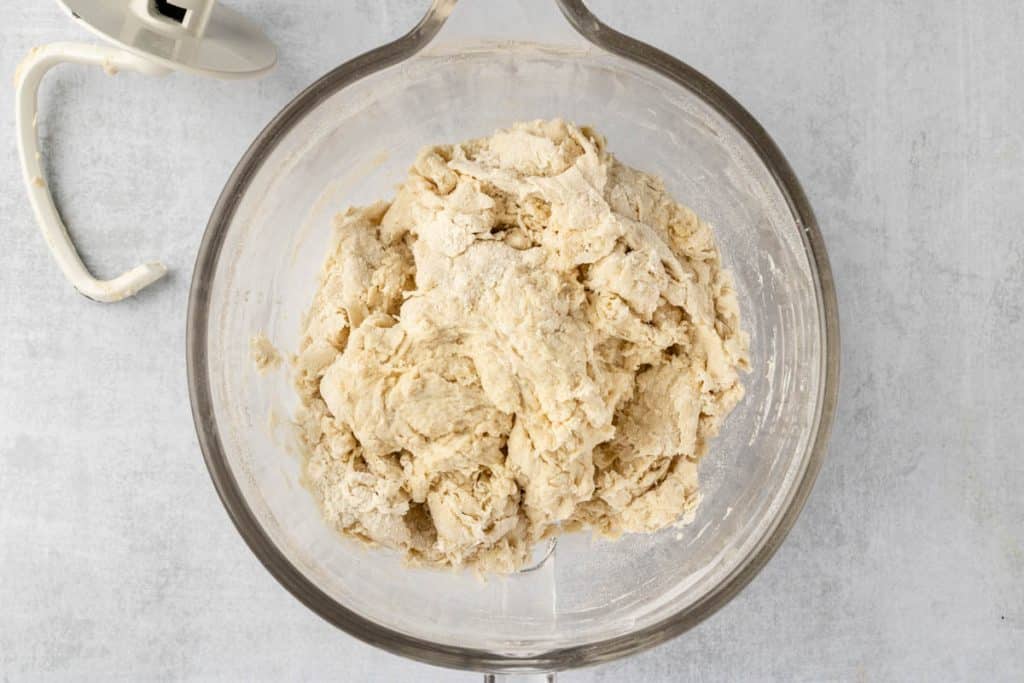
Whisk the dry ingredients first to distribute the yeast and salt evenly.
Step 2. Knead until smooth.
Knead with the dough hook for about 8 minutes, until the dough is soft, smooth, and elastic. Kneading by hand takes 10 to 12 minutes. When the dough is still craggy after the first minute, add water one teaspoon at a time. The dough should not be sticky.
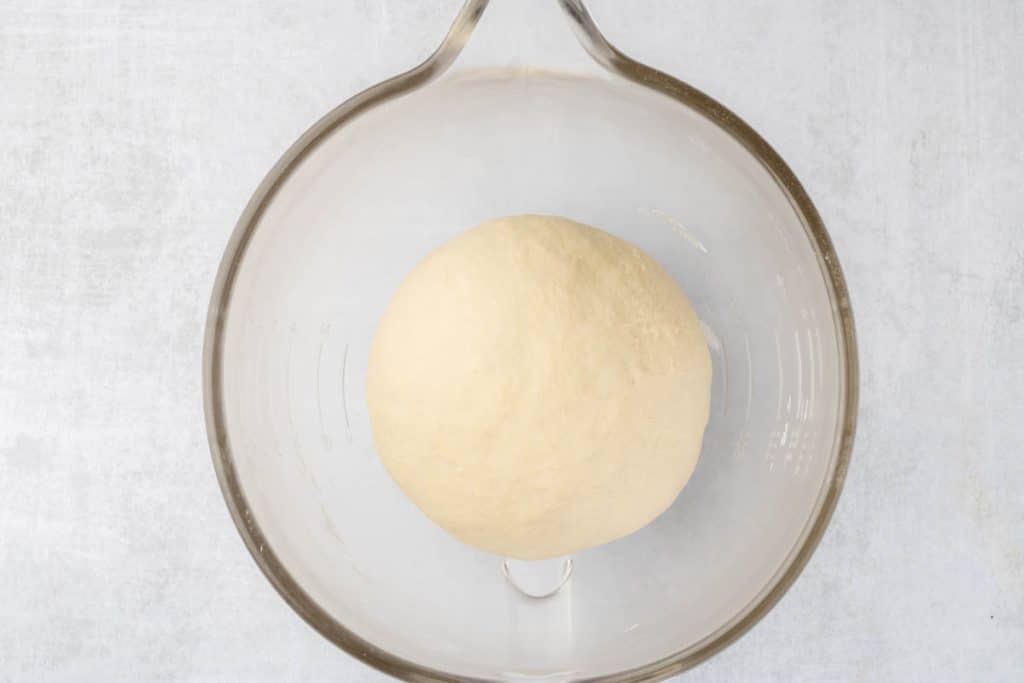
The dough is ready when it is smooth, soft, and springs back when poked.
Step 3. Let the dough rise.
Shape the dough into a ball, cover the bowl, and let it rest for 1 to 1 1/2 hours, until noticeably puffy and nearly doubled. Fed discard may need only about an hour.
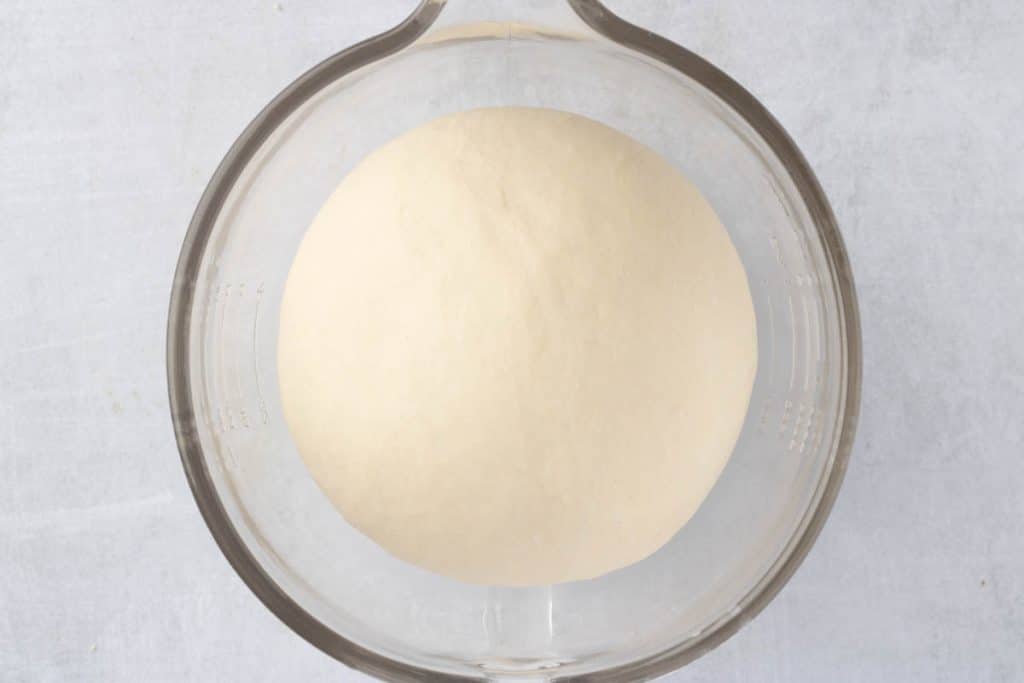
Nearly doubled is just right. Do not let it get too big.
Step 4. Start the baking soda bath.
While the dough finishes rising, add 12 cups of water and 1/2 cup of baking soda to a large pot. Heat on the stove until it reaches a gentle rolling boil.
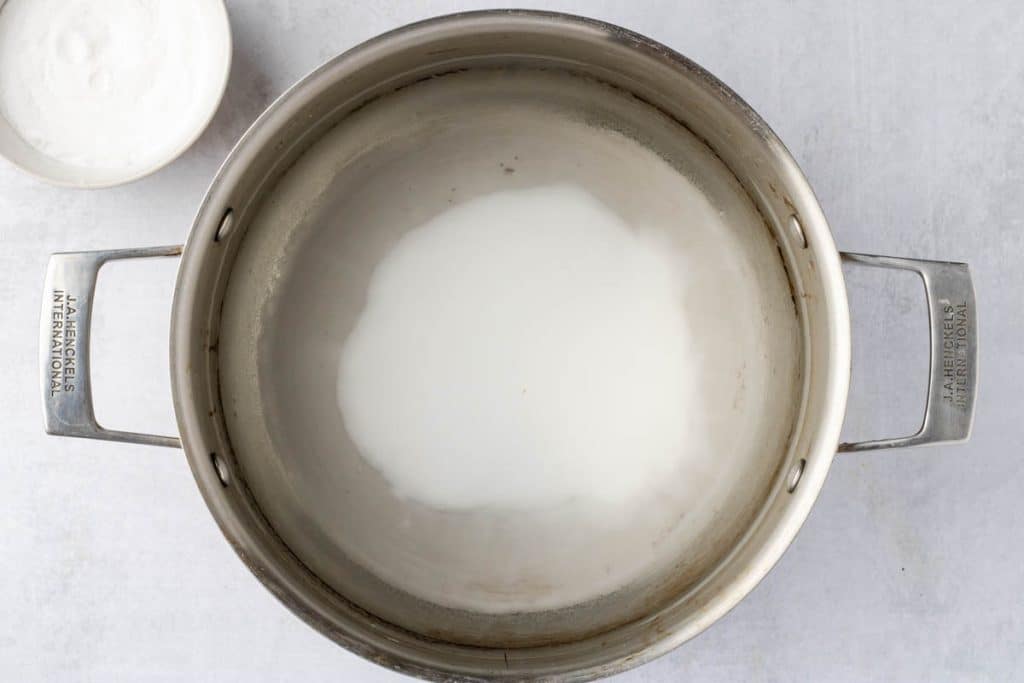
Aim for a gentle rolling boil, not a violent one.
Step 5. Preheat and prepare the pans.
Preheat the oven to 400 degrees. Line one or two baking sheets with parchment paper or a baking mat.
Parchment keeps the bottoms from sticking and makes cleanup easy.
Step 6. Divide the dough.
Gently punch down the dough on a clean work surface and cut it into 8 roughly equal pieces.
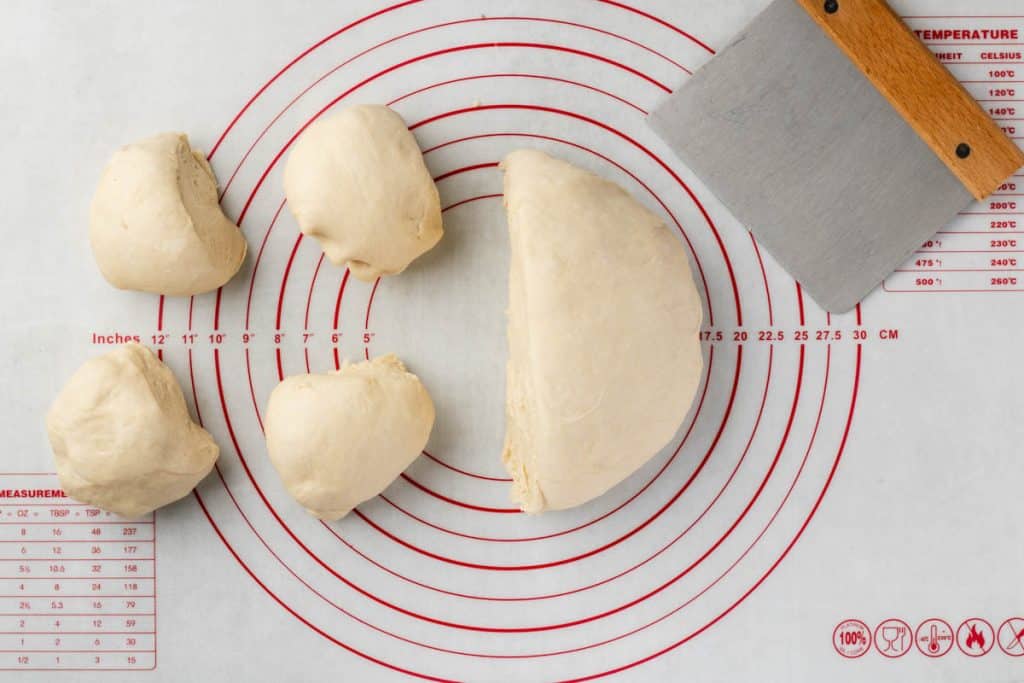
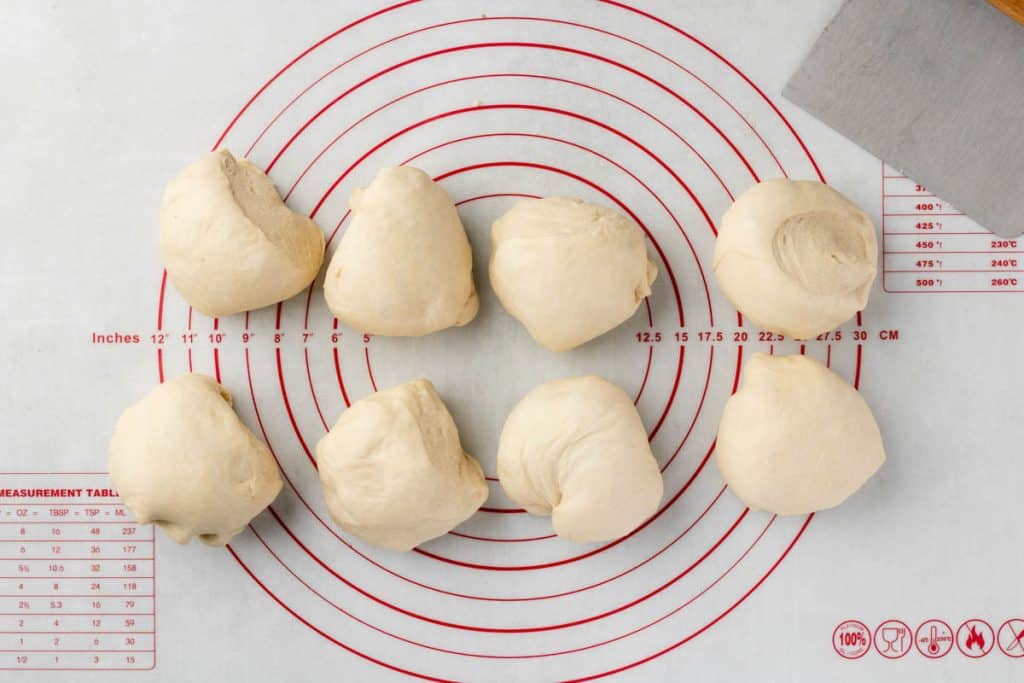
Cut the dough in half, then keep halving until you have eight roughly equal pieces.
Step 7. Roll the ropes.
Roll each piece into a rope about 24 inches long, working from the center out with your palms.
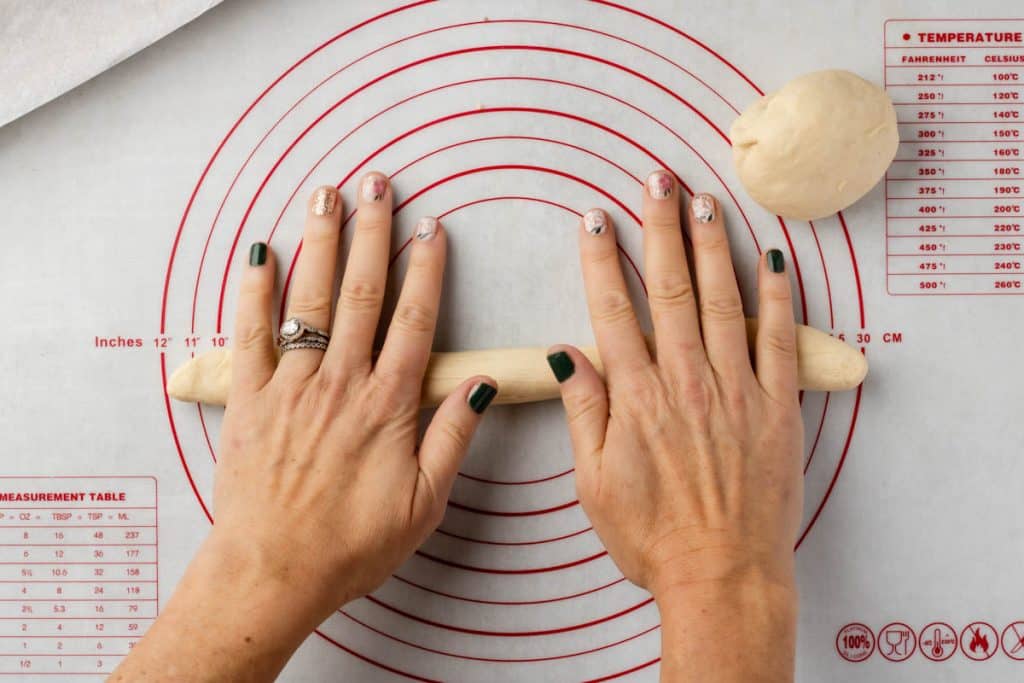
If a rope keeps shrinking back, cover it and let the dough relax for a few minutes, then roll again.
Step 8. Shape the pretzel.
Form each rope into a U shape. Twist the two ends together twice, bring the twisted ends down toward the bottom of the U, and gently press them into the dough.
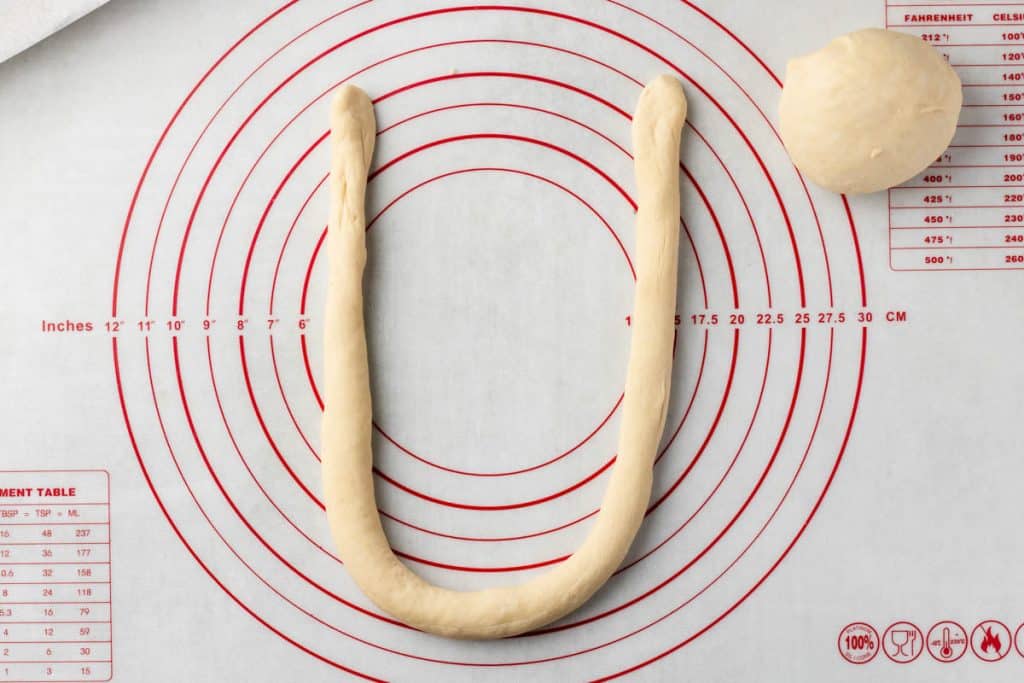
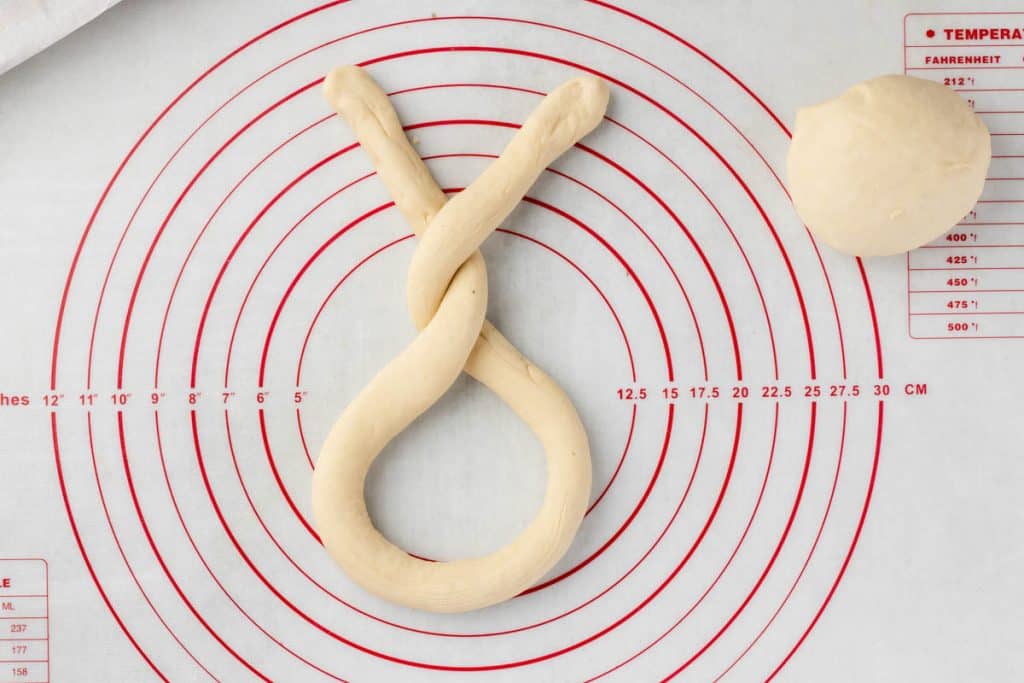
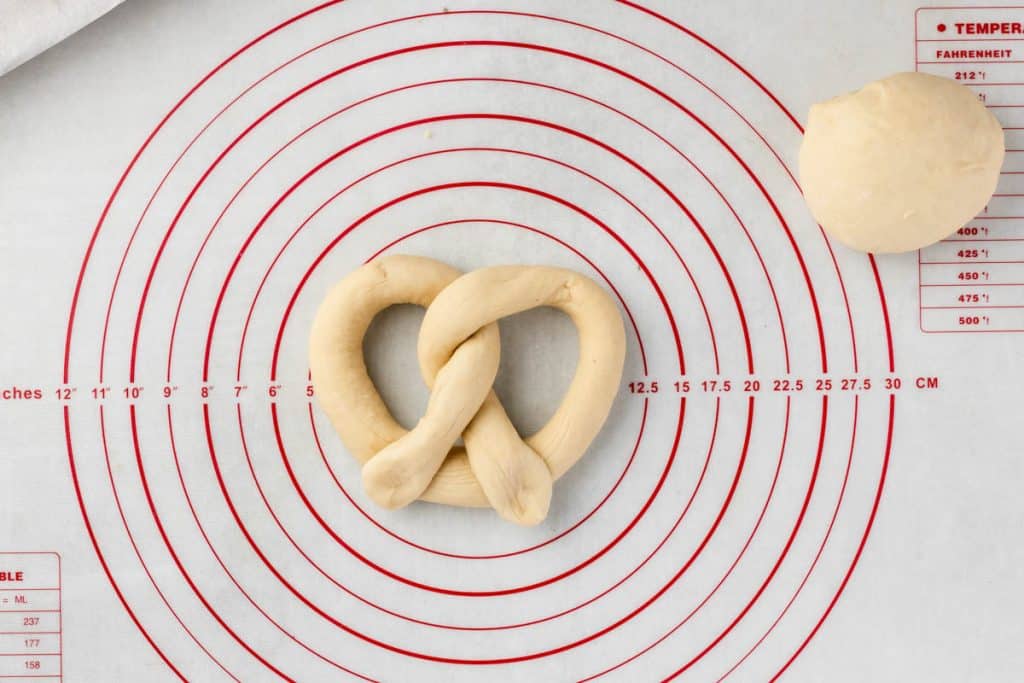
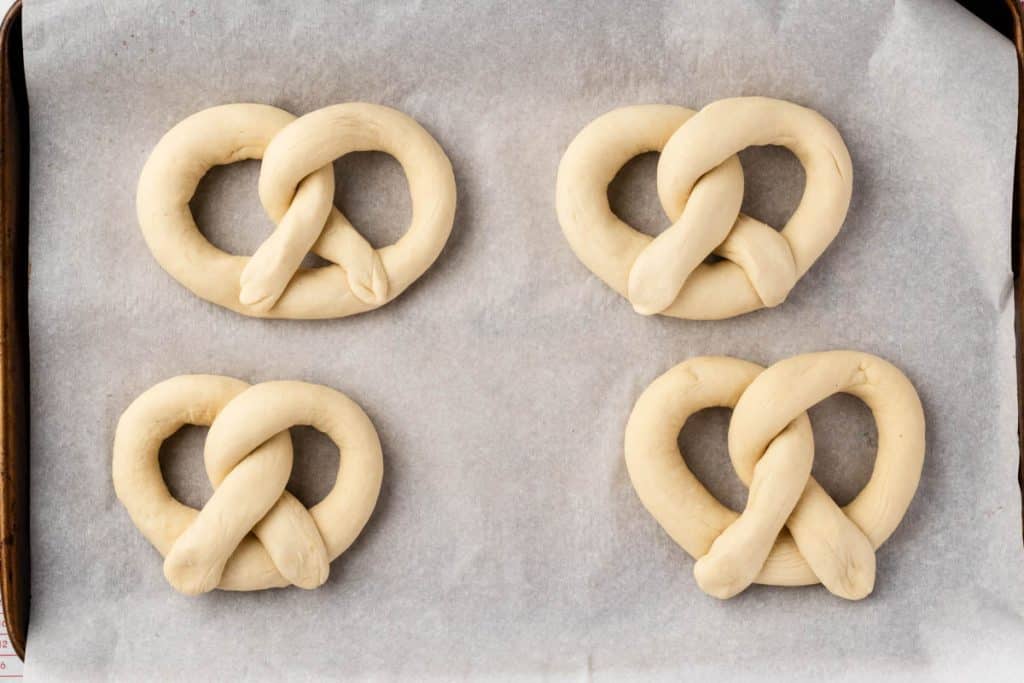
Press the ends down firmly so they do not pop loose in the water.
Step 9. Boil in the baking soda bath.
Carefully lower each pretzel into the gently boiling bath for 30 seconds, flipping once halfway through. Lift out with a slotted spatula, slotted spoon, or wire skimmer, let the excess water drain off, and place on the prepared baking sheet.
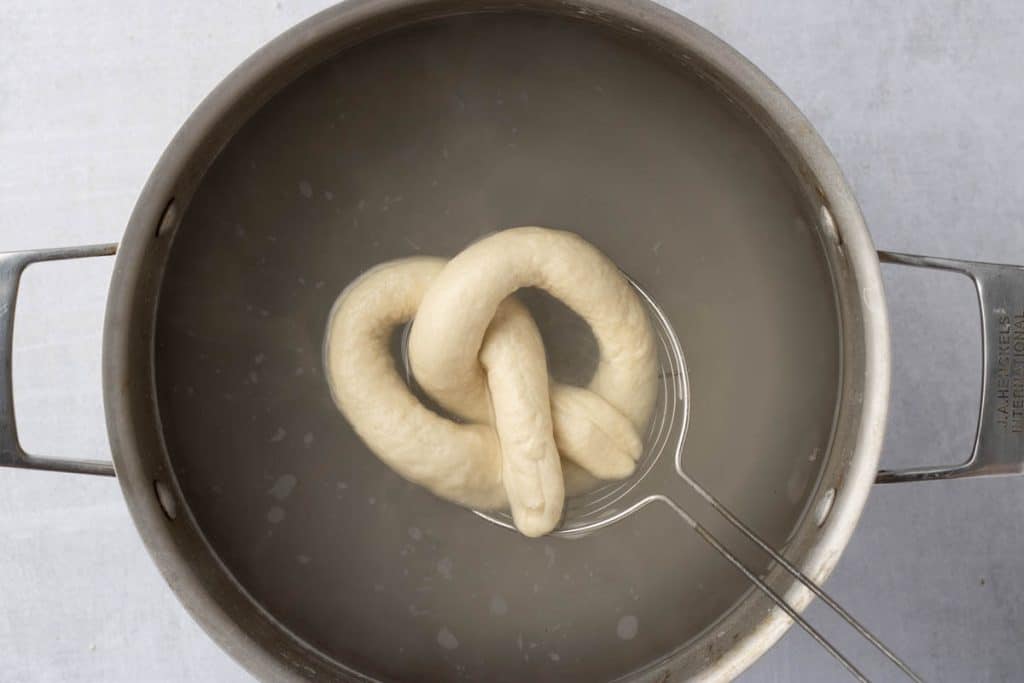
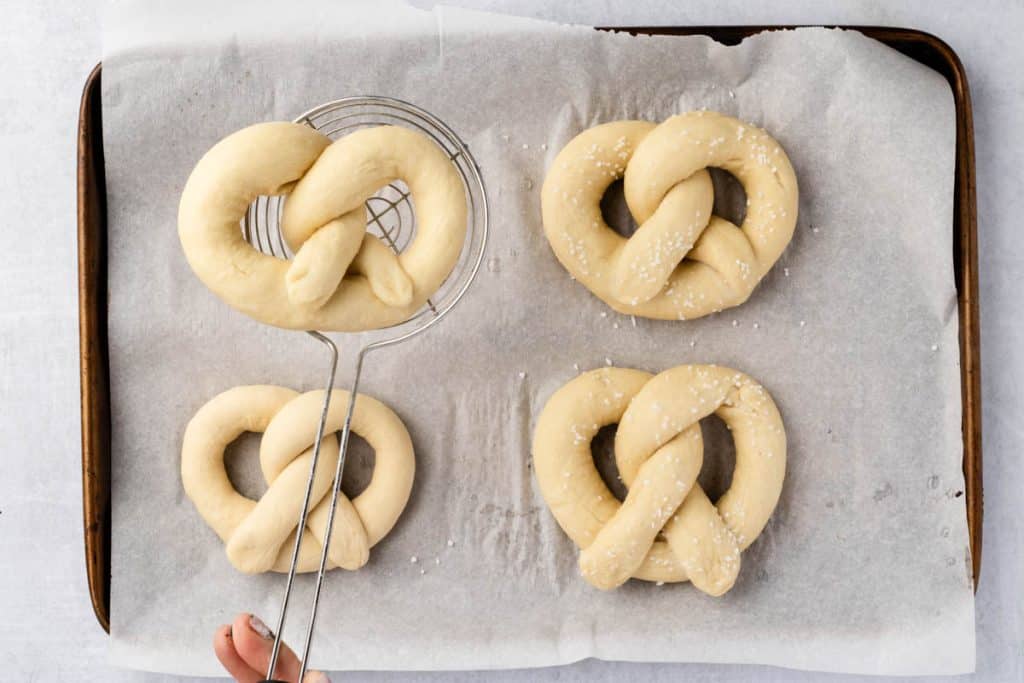
Thirty seconds is all it takes. This quick bath is what gives pretzels their color and chew.
Step 10. Add the salt.
Sprinkle pretzel salt or coarse salt over the pretzels right away, while they are still wet. This step is optional.
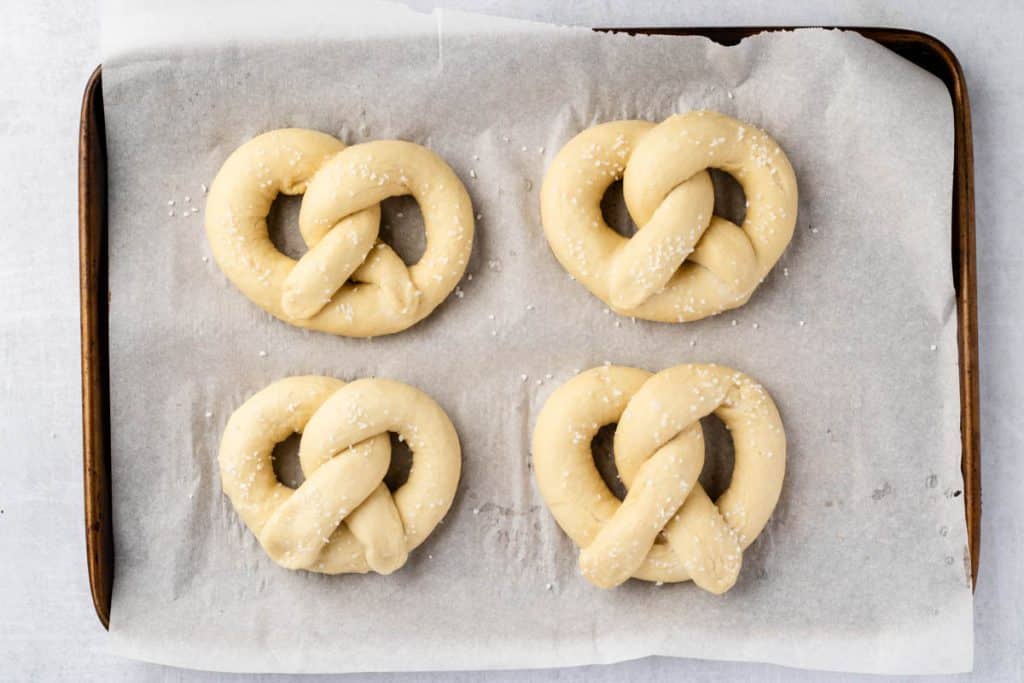
Salting while they are wet helps it stick.
Step 11. Bake.
Bake at 400 degrees for 12 to 15 minutes, until golden brown.
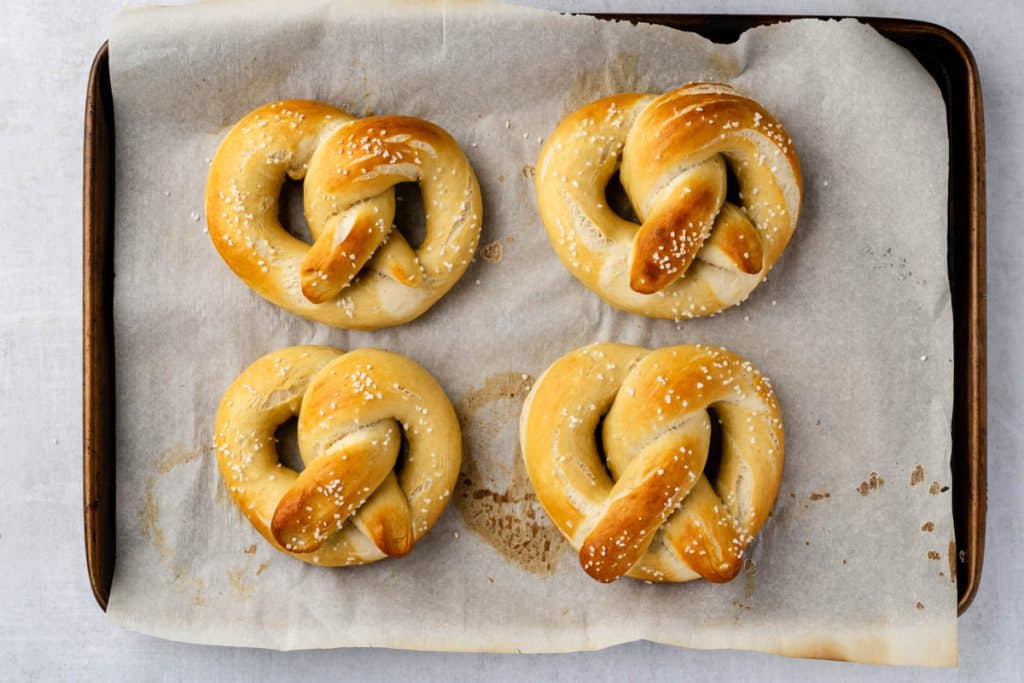
Look for a deep golden brown color.
Step 12. Cool before serving.
Let the pretzels cool for 10 to 15 minutes so the inside can set. The texture and flavor improve as they cool.
The wait is worth it. The inside sets and the flavor deepens as they cool.
Flavor Variations
- Cinnamon sugar. Skip the salt. After baking, brush with melted butter and roll or sprinkle with cinnamon and sugar.
- Everything seasoning. Sprinkle everything bagel seasoning on after the bath, in place of salt.
- Cheddar. Sprinkle finely shredded cheddar over the top before baking.
- Garlic Parmesan. Brush the baked pretzels with melted butter mixed with garlic powder, then sprinkle with Parmesan.
- Jalapeño cheddar. Add thinly sliced jalapeños and finely shredded cheddar on top before baking.
- Pizza pretzel. Sprinkle with Italian seasoning and Parmesan, and serve with warm marinara for dipping.
- Ranch. After baking, brush with butter and sprinkle with ranch seasoning.
What to Serve with Sourdough Pretzels
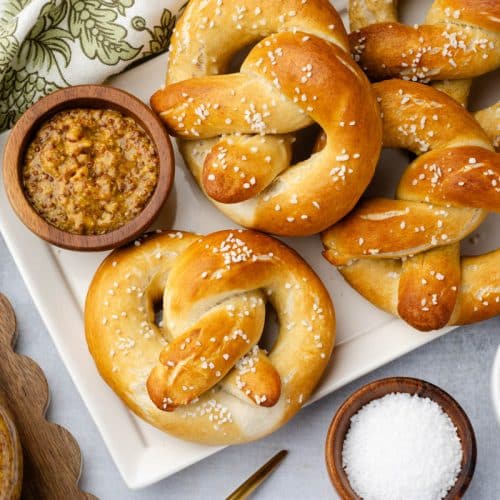
- Beer and cheese dip
- Honey mustard
- Creamy cheese sauce
- Spicy ground mustard
- Honey butter
Money-saving tip: honey mustard takes about two minutes to make and uses things already in your refrigerator. Stir together equal parts yellow mustard and honey, then add a little mayonnaise or a splash of vinegar to taste. It costs a fraction of the bottled kind.
Storage, Reheating, and Freezing Sourdough Discard Soft Pretzels
Room temperature. Once completely cooled, store in an airtight container or zip-top bag for 1 to 2 days. To reheat, wrap a pretzel in a damp paper towel and microwave for 20 to 30 seconds.
Oven. Warm in a 300°F (149°C) oven for 5 to 8 minutes. A light mist of water before warming helps restore softness when they seem dry.
Freezer. Freeze in an airtight container or freezer-safe bag for up to 2 to 3 months. Thaw at room temperature, or reheat straight from frozen using the oven method above.
Frequently Asked Questions
Do you need special equipment to make soft pretzels?
Not really, I imagine you have all the necessary equipment: a large bowl, a mixer with a dough hook (or strong arms and a bit of time), parchment paper, a baking sheet, measuring cups and bowls, a large pot, and a slotted spoon or wire skimmer.
Can I use active or fed starter instead of discard?
Yes, but expect a faster and puffier rise. When I tested with fed discard, one hour was enough. Watch the dough rather than the clock.
Can I knead the dough by hand?
Absolutely. Plan on 10 to 12 minutes of kneading, until the dough is smooth and elastic.
Why is my dough sticky or dry?
Flour absorbs moisture differently depending on how you measure it and the weather in your kitchen. Add water one teaspoon at a time when the dough is dry or craggy. When it is sticky, knead a few minutes longer before adding any extra flour.
Why did my sourdough discard soft pretzels turn out bread-like?
Most often the dough was overproofed. It should be puffy and nearly doubled, not much larger.
Why do the pretzels need a baking soda bath?
The alkaline bath sets the outside of the dough and helps create the browned, chewy crust that makes a pretzel a pretzel.
Can I skip the baking soda bath?
You can, but you will end up with something closer to a soft breadstick. The bath is the key to the real pretzel texture and color.
Sourdough Discard Soft Pretzels
Equipment
- stand mixer - with dough hook
Ingredients
Ingredients:
- 3 cups bread flour
- 2 teaspoons instant yeast
- 1 ½ tablespoons granulated sugar
- 1 ½ teaspoons salt
- ¾ cup Sourdough Discard 100% hydration
- ¾ cup lukewarm water
- 2 tablespoons melted unsalted butter
Baking Soda Bath
- 12 cups water
- ½ cup baking soda
Optional
- Pretzel Salt or Coarse salt for sprinkling
Instructions
- In a large bowl with a hook attachment, add 3 cups flour, 2 teaspoons instant yeast,1 ½ tablespoons sugar, and 1 ½ teaspoons salt, then whisk to combine. Add ¾ c sourdough discard, ¾ c lukewarm water, and 2 tablespoons melted butter. Mix with the dough hook.
- Knead all the ingredients with a dough hook for about 8 minutes or until the dough is soft, smooth, and elastic. (10-12 min for kneading by hand) If the dough doesn't come together after 1 min, add 1 teaspoon of water at a time until it is no longer craggy. Dough should not be sticky
- Shape the dough into a ball, cover and let it rest and rise for 1 -1 ½ hours or until noticeably puffy and nearly doubled in size.
- Once the dough has risen, prepare the water bath. Add 12 cups of water and 1/2 cup of baking soda to a large pot and heat over the stove until the water reaches a steady boil, with bubbles breaking across the surface but the water not churning or splashing.
- Preheat the oven to 400℉ (204℃)
- Prepare 1-2 baking sheets with parchment or a baking mat.
- Gently punch down the dough on a work mat or flat surface and cut it into 8 pieces.
- Roll each piece into a rope about 24 inches long. Create a “U” shape, twist the ends together twice, bring the ends down to the bottom of the “U” shape and gently press the ends into the bottom.
- Carefully lower each pretzel into the gently boiling baking soda bath for 30 seconds, flipping once halfway through. Remove with a slotted spatula or spoon, allow excess water to drain, and transfer to the prepared baking sheet.
- If using pretzel salt or coarse salt, sprinkle the pretzels with the salt, directly after coming out of the water bath, while it’s still wet.
- Bake the pretzels at 400℉ (204℃) for 12-15 minutes or until golden on the outside.
- Allow the pretzels to cool for 10-15 minutes to allow the interior to set (which allows for a better texture).
Nutrition
Thanks so much for spending a few minutes of your busy day with me!
To ensure you don’t miss future content, pop your email in the pale green box on the right or click here. I usually send one email weekly, so I won’t inundate your inbox. I’m sensitive to an overflowing email inbox!
We will only use your email address to send you emails, no more than 1-2 weekly. In addition, you will have access to my growing library of knit & crochet patterns and other printables. Check back often as this library will continue to grow. You can unsubscribe anytime by emailing me or clicking on the “unsubscribe” link at the bottom of all emails.
And you can access many of the products I refer to on my Nourish and Nestle Amazon Page. You can access it here.
So, if you’d like to participate in the ‘subscriber benefit’ action, simply subscribe to Nourish and Nestle here or use the form on the right sidebar. It’s slightly towards the top.
I have sent all my subscribers the link to the Subscriber Benefits Library. If you missed it or misplaced it, let me know.
Until next time…