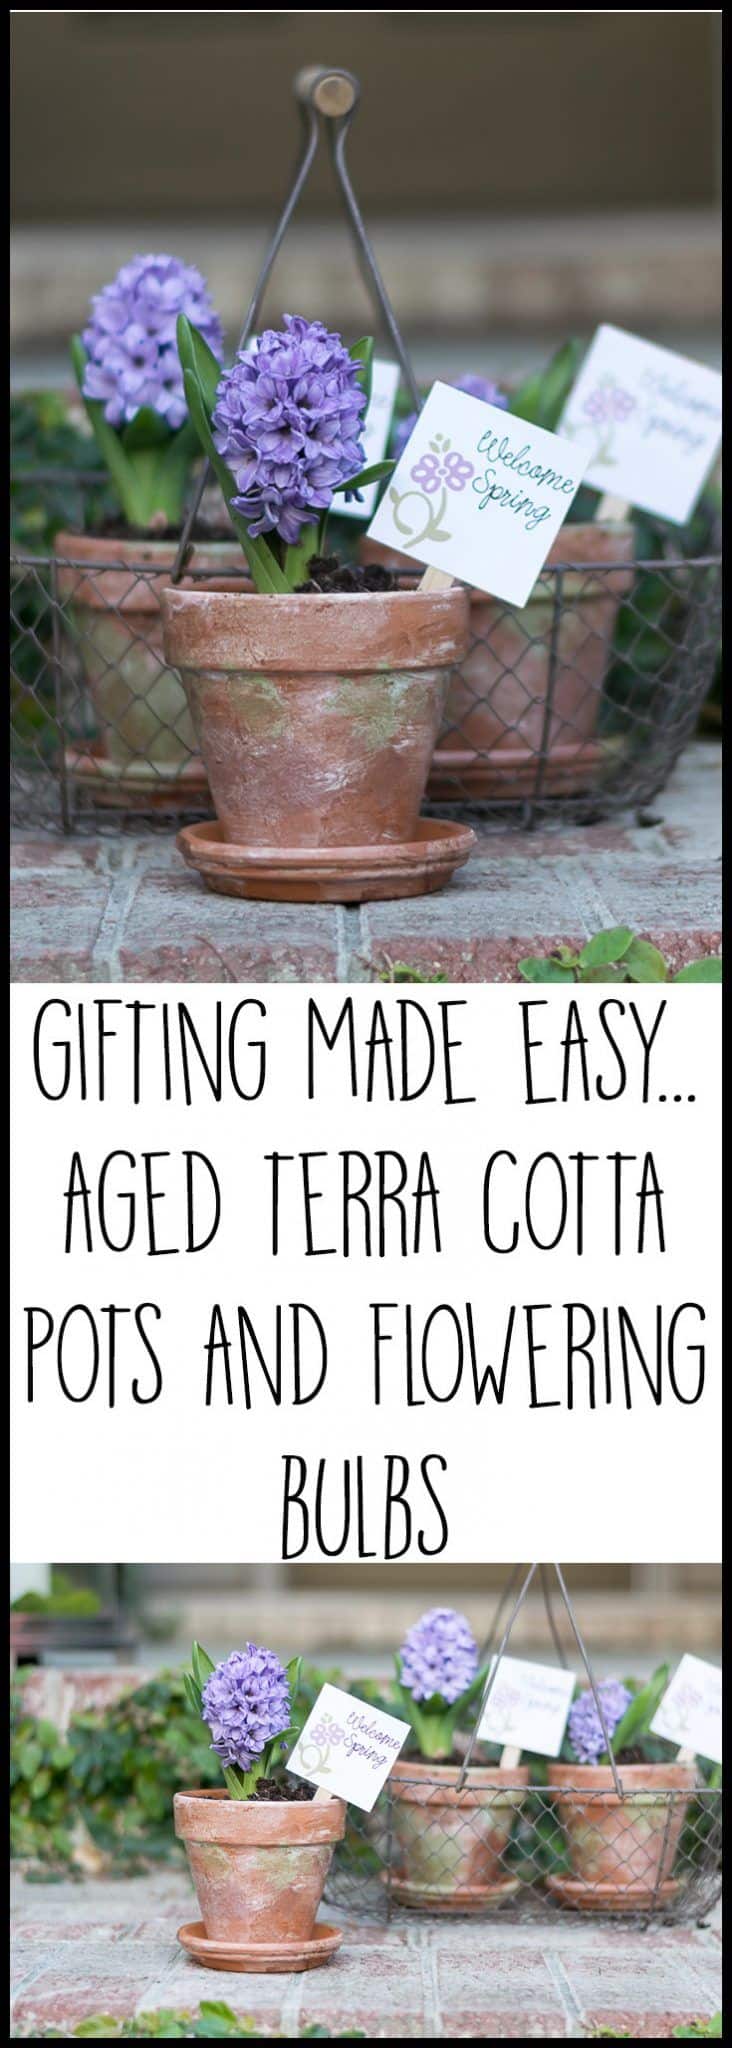
How to Make Aged Terra Cotta Pots – Gift Idea (with help from Cricut)
How to create DIY aged terra cotta pots with paint & gift idea for your mossy terra cotta pots. Includes a video tutorial on how to age terra cotta pots & ideas to use Cricut Explore Air & Cricut Access for the gift.
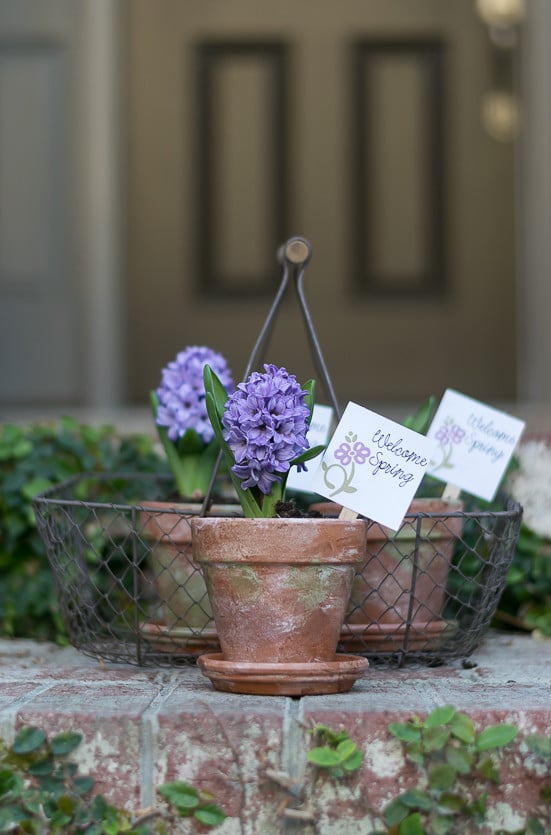
Happy Spring my friends! I’m excited to show you how I aged terra cotta pots with paint and used my new Cricut Explore Air to create Spring-themed gifts.
Yup, as of March 20 it’s technically ‘Spring’ and so I hope that the weatherman in your town has gotten on board with the calendar.
I was looking for a way to make some very simple Spring-themed gifts for friends, neighbors, and family, came up with an idea and love how it turned out. If you are anything like me, this time of year you are yearning to soak up all growth that this season brings.
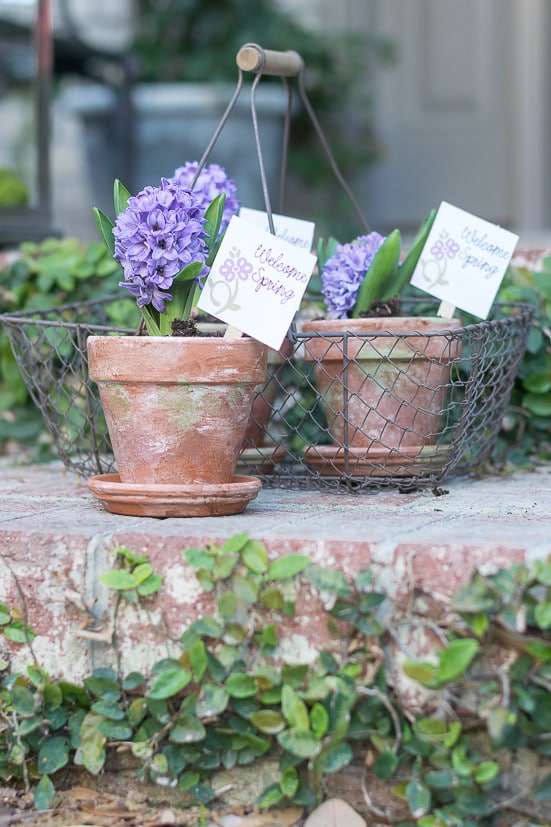
Table of Contents
Flowering spring bulbs are a great way to do that and so I knew I wanted to go that direction. If you start soon enough, you can force some bulbs indoors. But if you’re like me and don’t always plan ahead, you can always find a pot of bulbs at your local hardware store that are just starting to bloom and divide them as needed.
I picked up a pot of 5 Hyacinths that were just about to start blooming for less than $9.00. While at the hardware store, I also picked up 4″ terra cotta pots and saucers. The total for each pot set was less than $5.00.
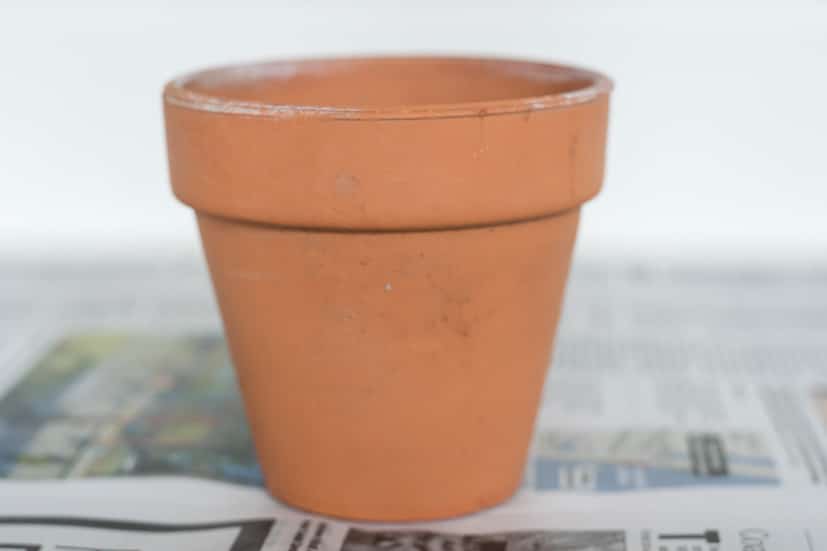
I do love terra cotta as is, but since I’m all about channeling moss and greenery this year, I wanted to give my pots a little treatment to make them appear mossy with that aged terra cotta look.
Some of these are affiliate links and I will earn a small commission off of the sale of these products, but the price you are charged is not affected. You can see my full disclosure policy here.
What I used to age terra cotta pots:
- DecoArt American Decor Chalky Finish Everlasting
- DecoArt American Decor Chalky FinishNew Life
- Americana Glazing Medium
- Americana Satin Coffee Bean
- Water, Paper Towels and Paint Brush
Also, if you visit Michaels as much as I do, you can find supplies for most every crafting need under the sun.
How to age terra cotta pots:
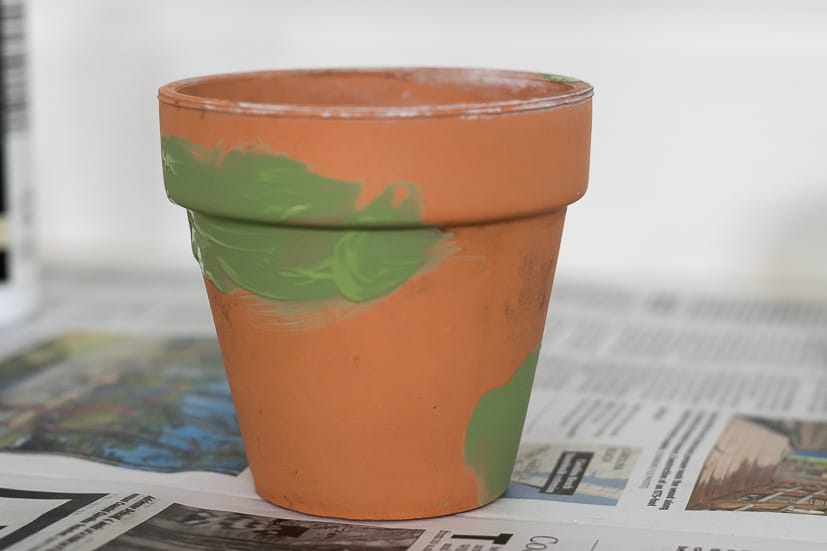
It is really so very easy-peasy to age terra cotta pots with paint and also quick as the acrylics dry so fast.
- With your green, just put a few patches of ‘moss’ in a couple of random places.

- Let it dry for about a half hour.
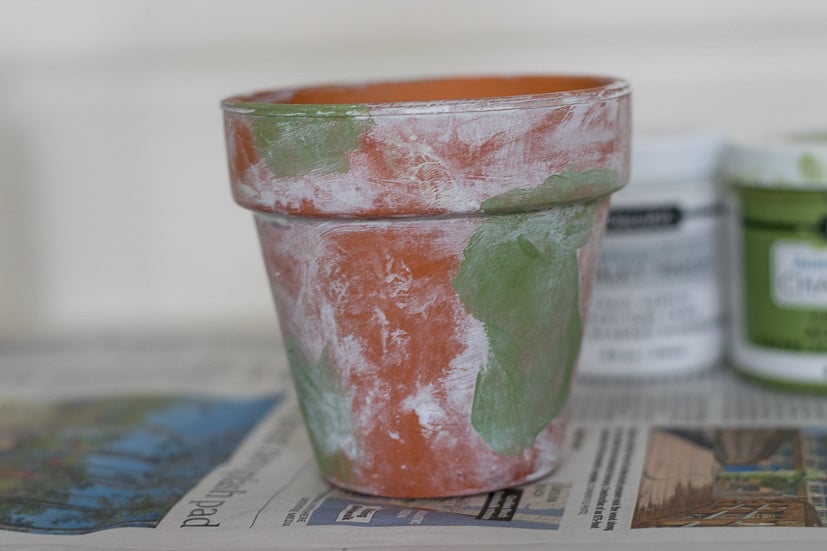
- Water down the white chalk paint…about 75/25 water to paint.
- Use a paper towel to dab the white on and then immediately wipe it off, more in some places…just very haphazardly.
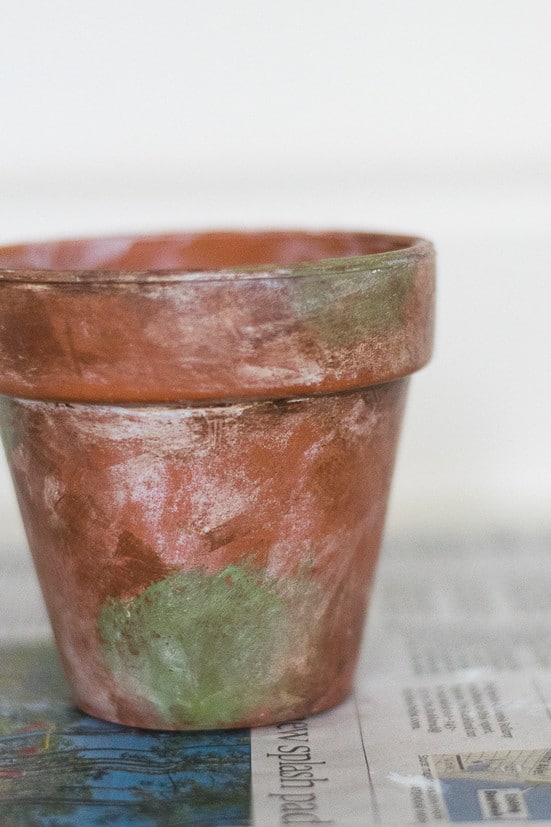
- Use about the same 75/25 ratio for the glazing medium/brown paint and dab it on with a paper towel and then immediately rub it off in places, again, without a pattern…just here in there.
- And don’t forget to age the saucers too!

Here’s a wee little video showing how to age terra cotta pots with paint. Note that in the video I used more paint than I recommend in 75/25 ratio for both the white and the brown glaze. The still pictures in this post reflect me using closer to the 75/25 ratio.

So, I had my aged terra cotta pots and my hyacinths, but I was looking for just a little something extra to finish my little potted gifts. And since this project corresponded with me looking for things to make with my new Cricut Explore Air…it was another kismet moment.
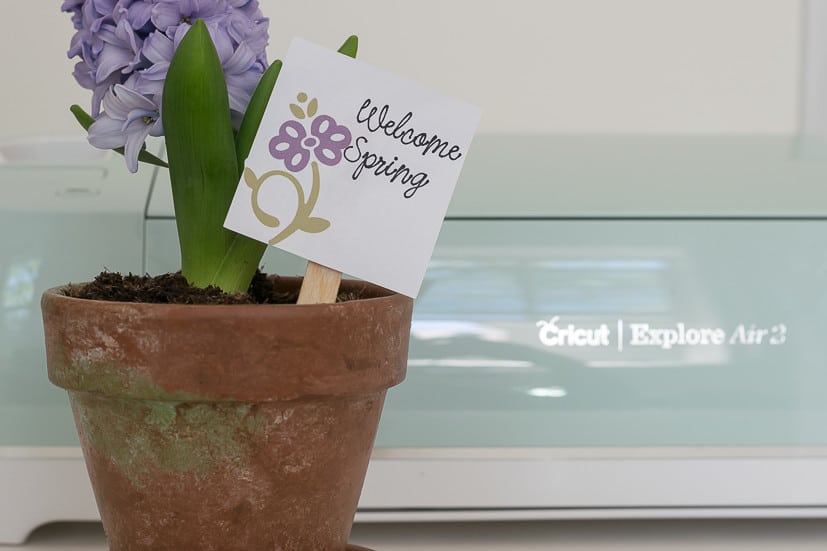
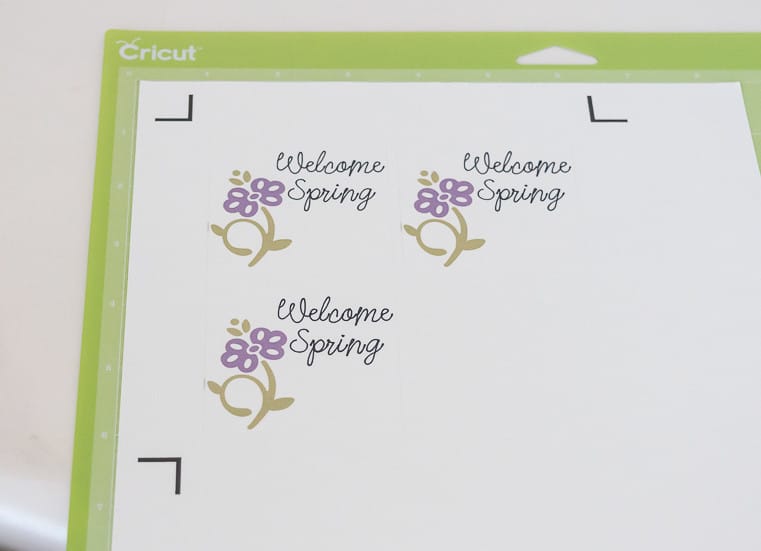
I used my Cricut to make the little signs for my little terra cotta pots. If you are new to Cricut, using images in Cricut Access is the easiest place to start.
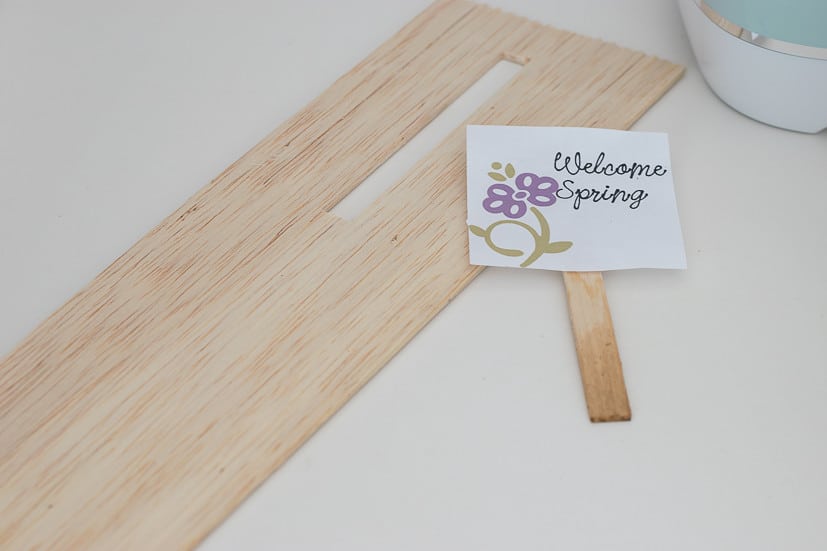
And since I was plumb out of popsicle sticks but did have some leftover balsa wood from my son’s Pinewood Derby Days in the garage, I used the Cricut to cut the little sticks out. I’m still exploring all the possibilities of this fun little machine!
Here are some of my takeaway about using the Cricut Explore Air for this project:
- There are so many great images to use in the Cricut Access inventory.
- The image I finally decided upon was pink, but I was looking for a purple to go with my hyacinths. It was SO easy to change the color of the image, which really just amplifies the inventory options. You can pull elements from images and change the colors of images to really multiply your creative options.
- I am having fun learning all the different materials I can cut with the Cricut Explore Air. So far I’ve cut balsa wood, vinyl, paper, thick felt and flocked paper.
- You can use the Cricut Access library for just printable projects that you don’t need your Cricut for. Just a really great source of images and fonts in general.

If you have a Cricut and are interested how to use images from Cricut Access and the ‘Print then Cut’ feature of the machine, I made another little video to show how I did that.

 & idea to use them as gifts. Also, video & ideas to use Cricut Explore Air & Cricut Access to finish the gift. #cricut #diy #terracotta #aged #faux #spring")
If you need a little housewarming gift, a Teacher Appreciation Day gift (yup, that’s right around the corner!), a hostess gift or just a ‘Happy Spring’ gift; I hope you are able to use some of these ideas. It was almost as fun to make these gifts as it was to actually give them! I can definitely see myself making more of these aged terra cotta pots, I do love the way they turned out.
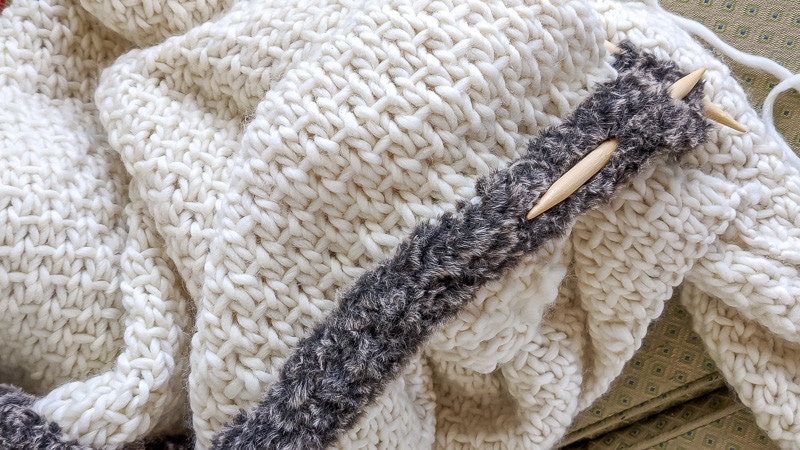
Lastly, if you are looking for more DIY Cricut projects, check out these leather cord keepers that I used my Cricut to make. They make fantastic gifts as well!
Thanks again for spending a few minutes of your busy day with me today.
Please know that I welcome each and every comment that comes my way. If you want to make sure you don’t miss future content, pop your email in the beige box up on the right or click here. I usually send out 2-3 emails a week, so I won’t inundate your inbox…believe me, I’m sensitive to an overflowing email inbox!
By subscribing to Nourish and Nestle, we will only use your email address to send you emails (no more than 2-3 per week) that will keep you up to date with the latest news and content on the site. In addition, you will have access to my growing library of knit & crochet patterns, as well as other printables. This library will continue to grow, so check back often.
And please know that you can unsubscribe at any time by emailing me or clicking on the “unsubscribe” link at the bottom of all of our emails.
You can access many of the products I refer to in all of my posts on my Nourish and Nestle Amazon Page. You can access it here.
So, if you’d like to get in on the ‘subscriber benefit’ action, simply subscribe to Nourish and Nestle here or using the form on the right sidebar. It’s towards the top a bit. I have sent all my subscribers the link to the Subscriber Benefits Library. If you missed it or misplaced it, drop me a line.
Until next time…
Hugs,


This is a sponsored conversation written by me on behalf of Cricut. The opinions and text are all mine.