
Chocolate Chocolate Chip Cookie Bars
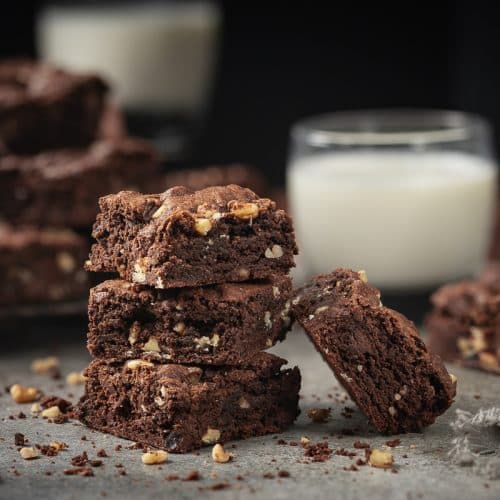
These chocolate chocolate chip cookie bars deliver exactly what you want from a chocolate dessert without any fuss. They’re deeply chocolatey with crisp edges and soft centers that stay chewy for days. The toasted walnuts aren’t just an add-in—they balances all that sweetness and makes the chocolate taste even more intense.
I’ve made plenty of brownies and chocolate bars over the years, and these land somewhere in between. They’re sturdier than a brownie, which means they slice cleanly and travel well, but they’re not cake-like either. Think of them as a serious chocolate cookie that you can cut into neat squares and stack on a plate without worry.
The secret to getting them right is simple: don’t overbake. When you pull the pan from the oven, the center should look barely set with a soft sheen. It feels wrong, but trust it. As they cool, they’ll firm up into that perfect chewy texture. Overbake them even by a few minutes, and you’ll lose that quality entirely.
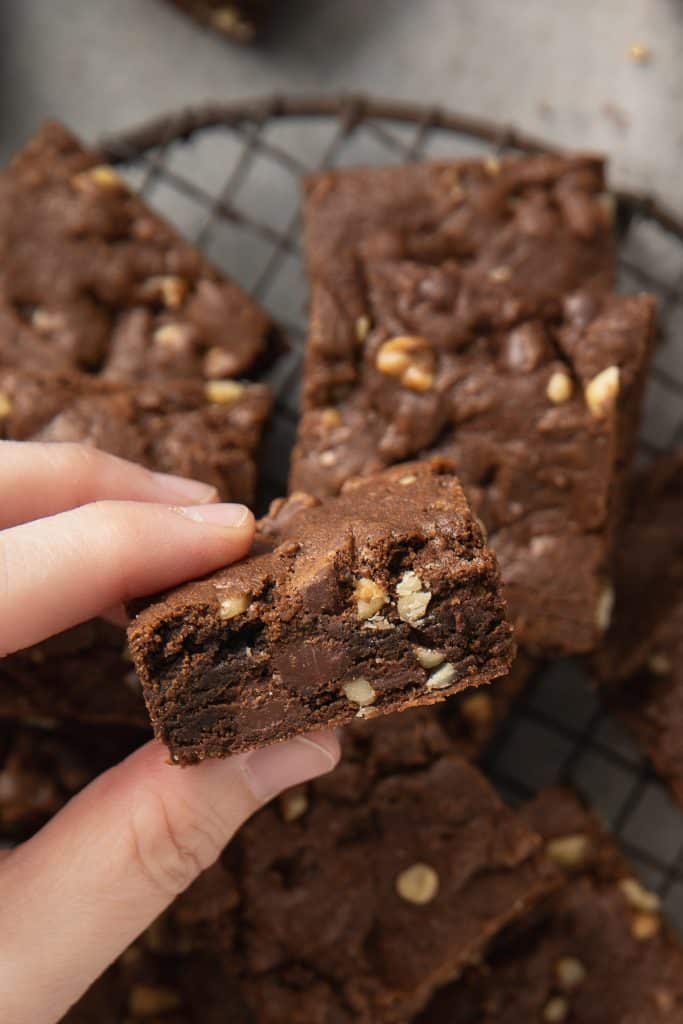
Table of Contents
Brownie vs. Cookie Bar: What’s the Difference?
The line between brownies and cookie bars can be blurry, but there are some key differences in texture and structure.
Brownies tend to be denser and fudgier with a more delicate crumb. They’re rich and moist throughout, and they often have that signature shiny, crackly top. Brownies usually contain more chocolate (often melted chocolate in addition to cocoa powder) and have a higher ratio of fat to flour, which gives them that characteristic fudgy texture. They’re also more fragile – you need to handle them carefully because they can fall apart.
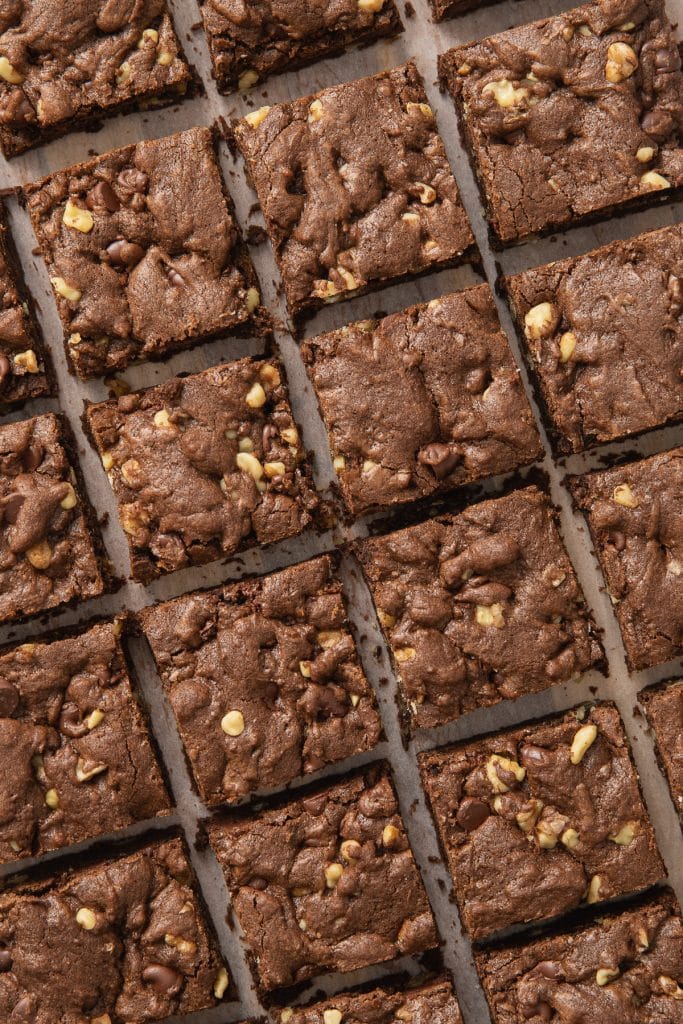
Cookie bars are sturdier with a chewier texture that’s closer to a thick cookie. They hold their shape better when you pick them up and won’t crumble as easily. Cookie bars typically have a higher flour-to-fat ratio than brownies, which gives them more structure. They’re ideal for slicing into neat squares, stacking on a plate, wrapping individually, or taking to events where you need something that travels well.
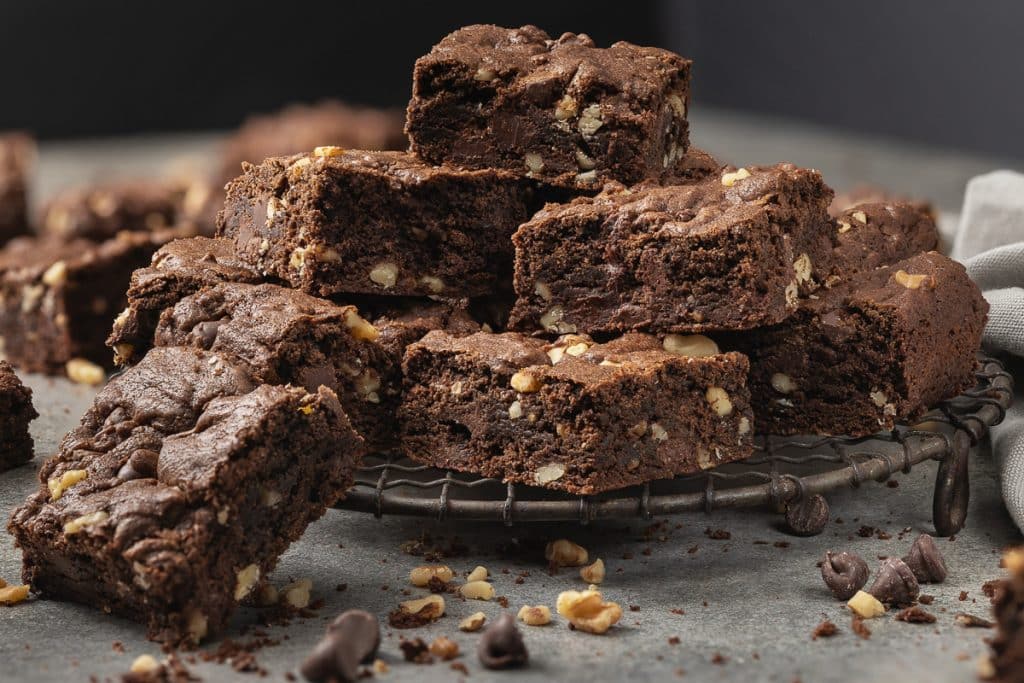
These chocolate chocolate chip cookie bars land in the cookie bar category. They’re thick and chewy with crisp edges, and they slice cleanly without falling apart. The texture is more substantial than a brownie – you can pick up a square and it holds together perfectly. They’re still deeply chocolatey and have soft centers, but they’re not as delicate or fudgy as a traditional brownie. That sturdiness is exactly what makes them so practical for sharing, gifting, or serving at gatherings.
Ingredients in Chocolate Chocolate Chip Cookie Bars
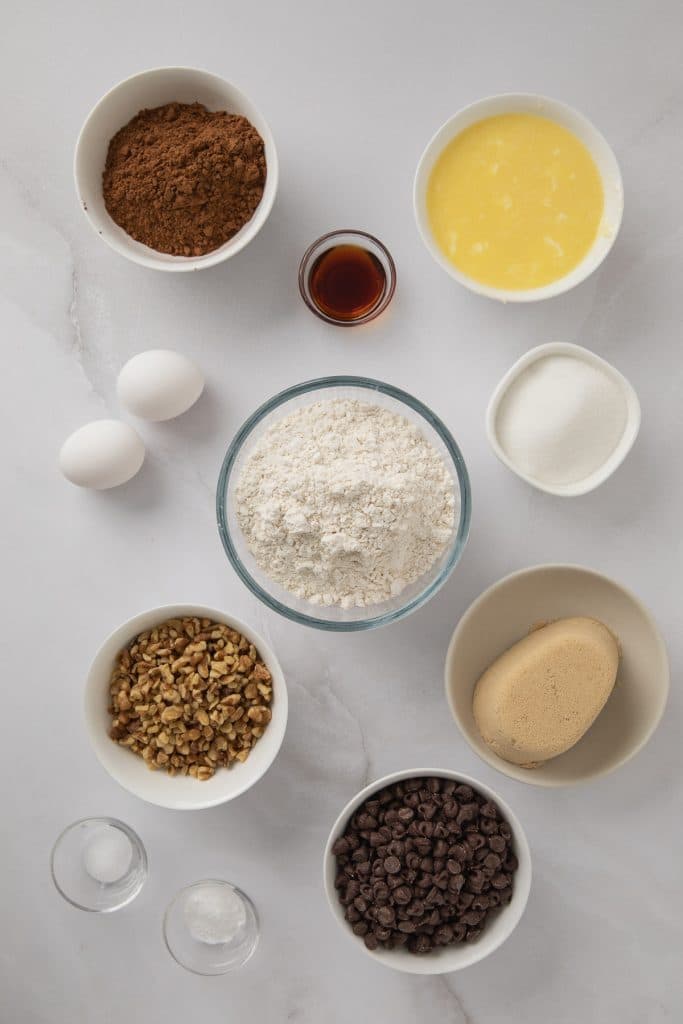
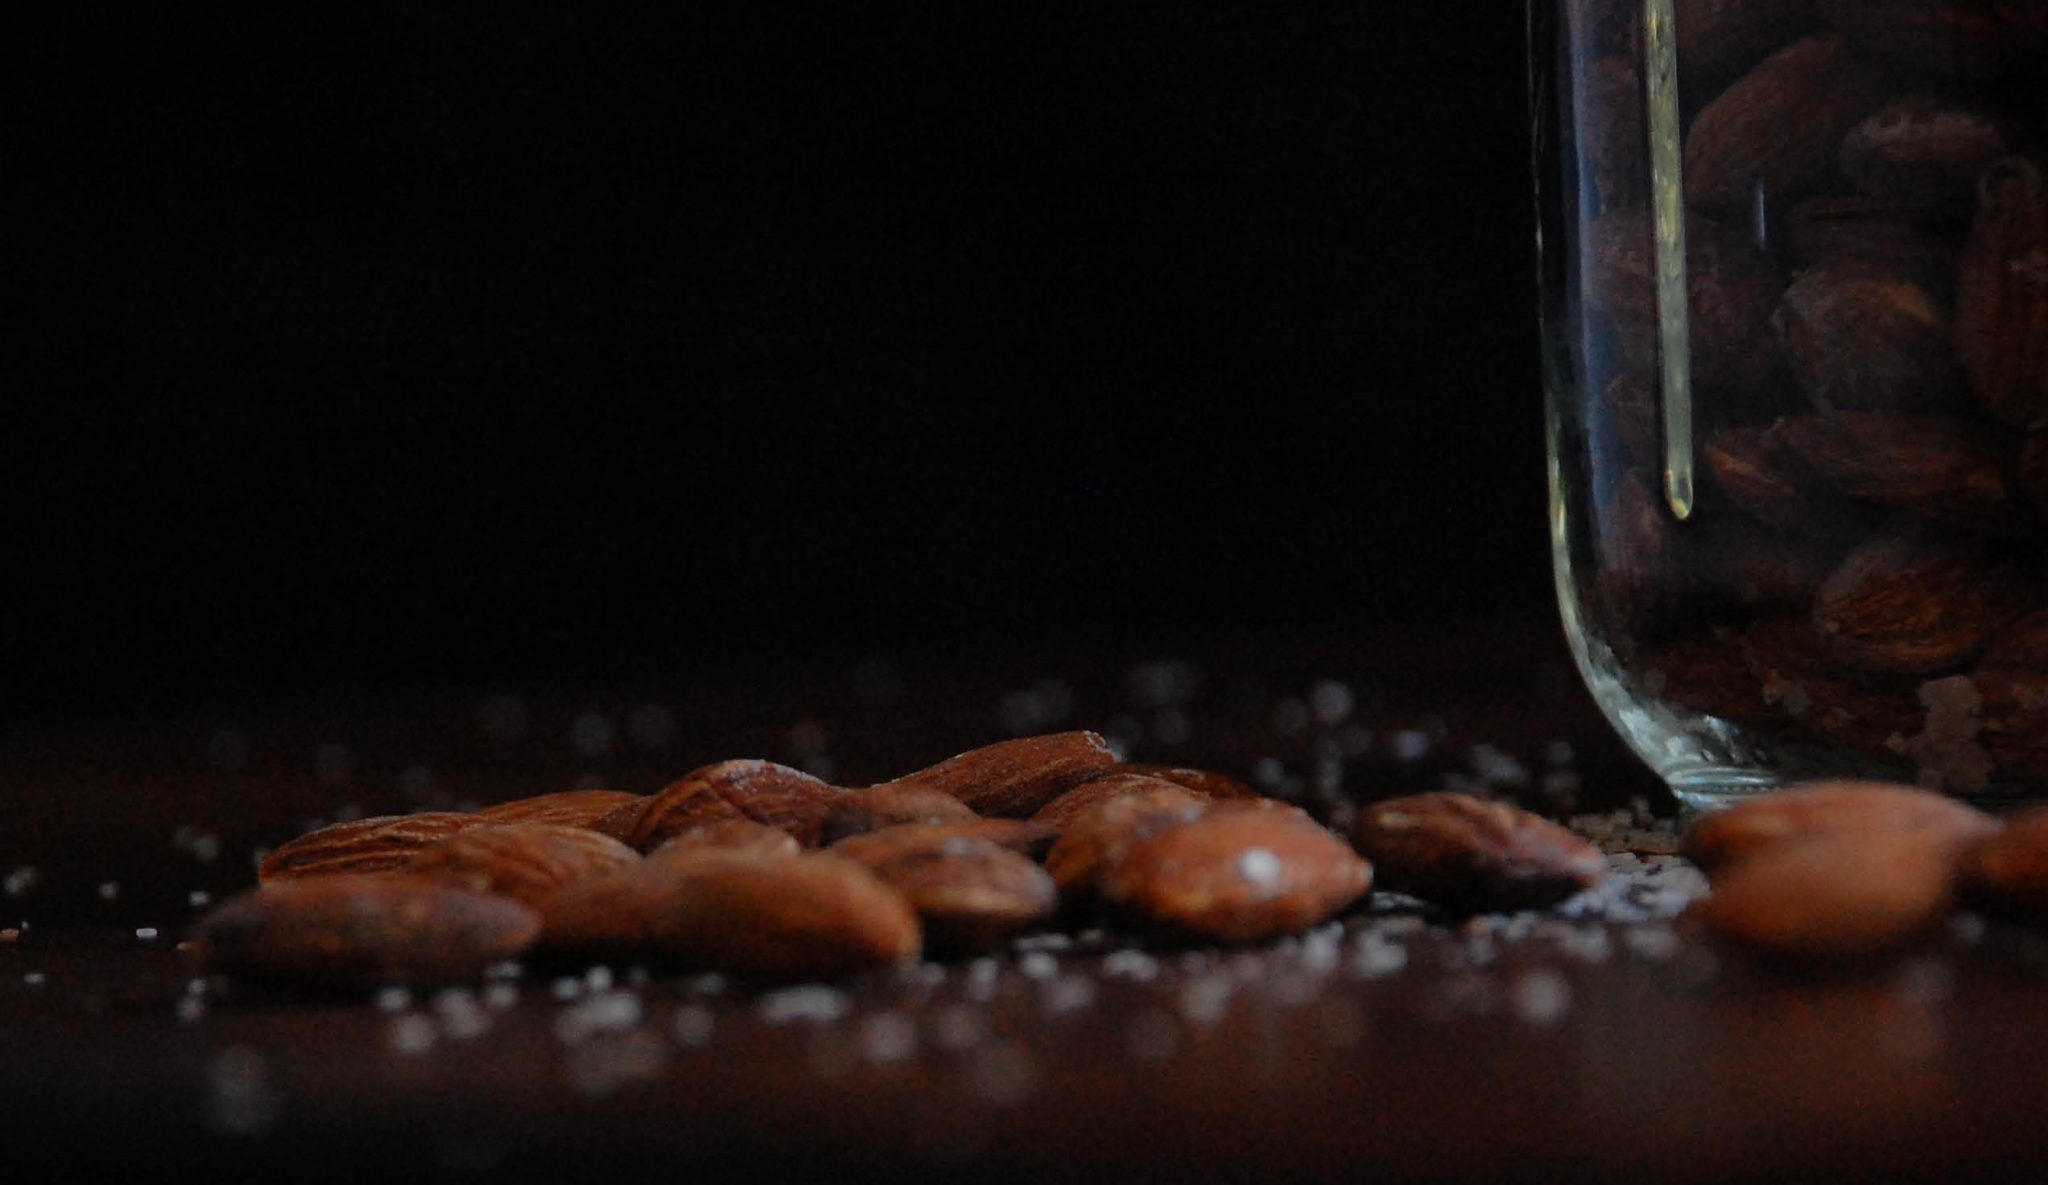
Walnuts – Raw walnuts work best for toasting. Avoid pre-toasted or roasted walnuts since you’ll be toasting them yourself. If you can’t find walnuts or prefer something different, pecans or hazelnuts make good substitutes, though they’ll give a slightly sweeter flavor.
Cocoa powder – Use unsweetened cocoa powder, not hot chocolate mix. Dutch-processed or natural cocoa both work in this recipe. The Dutch-processed gives a deeper, slightly mellower chocolate flavor, while natural cocoa has a more pronounced chocolate taste.
Butter – Unsalted butter lets you control the salt level. Make sure it’s fully melted but slightly cooled before mixing with the sugars. If it’s too hot, it can cook the eggs when you add them.
Brown sugar – Pack it firmly into the measuring cup for accuracy. Light or dark brown sugar both work, though dark brown sugar will give a slightly deeper molasses flavor.
Chocolate chips – Semi-sweet chocolate chips are the standard, but you can use dark chocolate chips for a less sweet, more intense chocolate flavor. Avoid milk chocolate chips unless you want a much sweeter bar.
Eggs – Room temperature eggs mix more easily into the batter and create a smoother texture. Pull them from the fridge about 30 minutes before baking.
Flour – All-purpose flour is what you need here. If you’re weighing ingredients instead of using volume measurements, you’ll get more consistent results and have fewer dishes to wash.
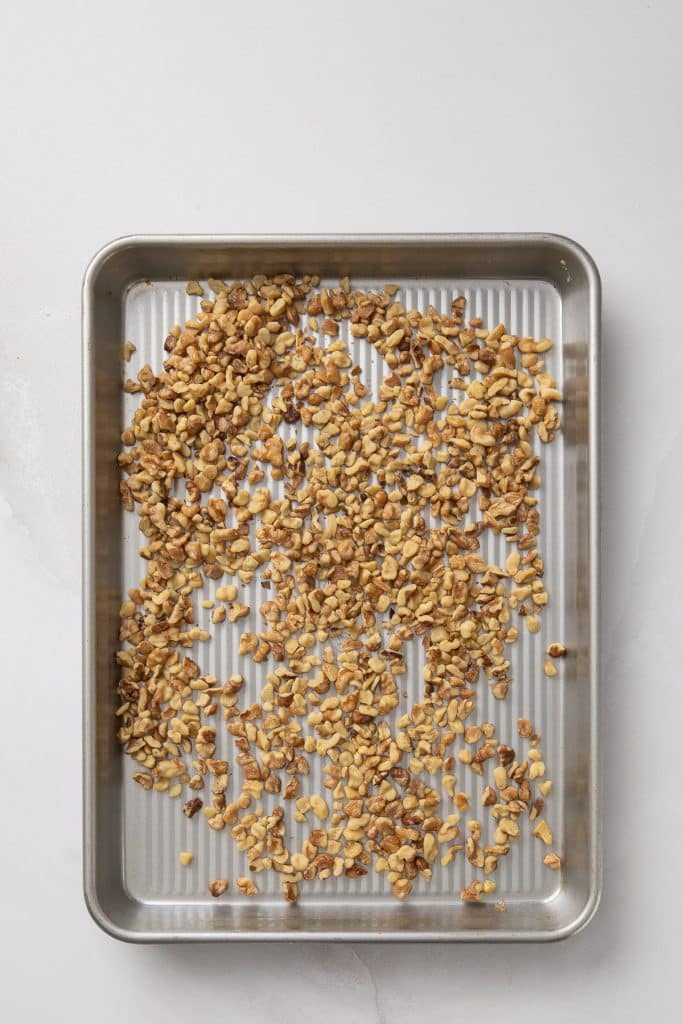
Why Toast the Walnuts
Toasting the walnuts takes an extra six minutes, but it’s worth it. Raw walnuts can taste slightly flat or even slightly bitter when baked into a dense bar. Toasting brings out their natural sweetness and gives them a deeper, almost caramelized flavor that works beautifully with the cocoa.
If you’re not a walnut person, you can leave them out entirely. The bars will still be excellent. But if you’re on the fence, toast a batch and see if that changes your mind.
Tips for Success with Chocolate Chocolate Chip Cookie Bars
Don’t skip toasting the walnuts. Six minutes in the oven makes a real difference. Raw walnuts can taste flat or slightly bitter once baked into the bars, but toasting brings out a natural sweetness and depth that complements the chocolate beautifully.
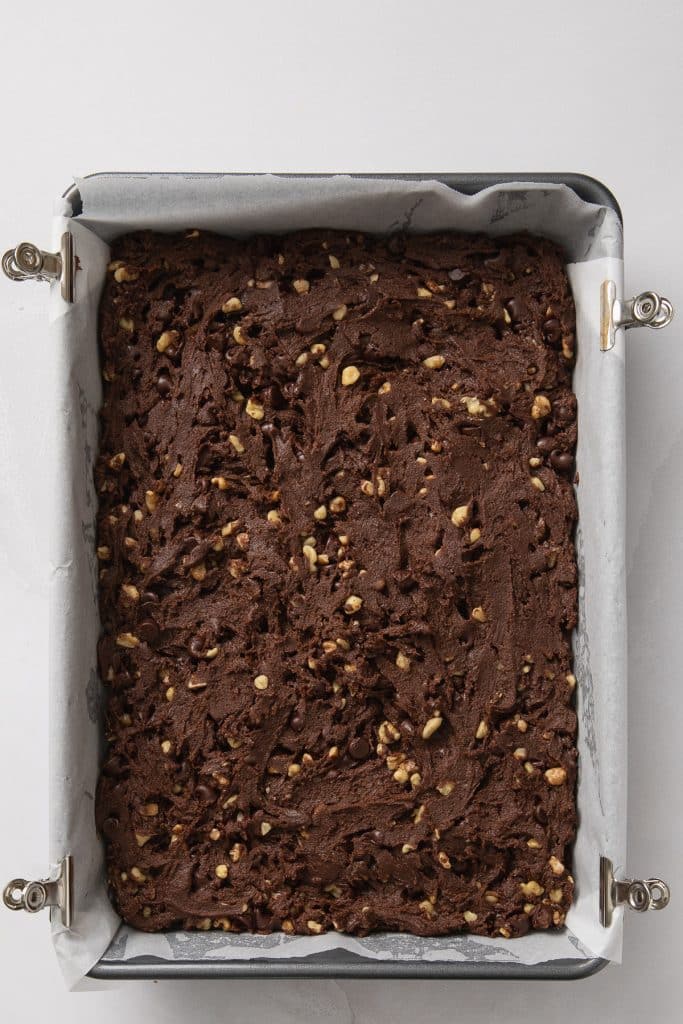
Spread the batter evenly. The dough is thick and sticky, so it takes a little effort to get it smooth and level in the pan. Use a spatula or your hands to press it down evenly. If the center is much thicker than the edges, the outside will overcook before the middle is done.
Pull them early. This is the most important step. When the edges are set and the center looks barely baked with a soft sheen, they’re ready. The center will firm up as it cools. If you wait until the center looks fully baked, you’ll end up with dry bars.
Use an instant-read thermometer if you’re unsure. Aim for about 190°F in the center. Melted chocolate chips can cling to a toothpick and look like wet batter even when the bars are done, so the thermometer takes the guesswork out.
Let them cool completely before cutting. It’s tempting to dig in right away, but warm bars will crumble when you try to slice them. For the cleanest cuts, refrigerate them for 10 to 20 minutes after they’ve cooled to room temperature, then use a sharp knife and wipe it clean between cuts.
Make them ahead. These bars actually improve after sitting overnight. The texture becomes more uniform and the chocolate flavor deepens, so don’t hesitate to bake them a day before you need them.
Chocolate Chocolate Chip Cookie Bars Serving Ideas
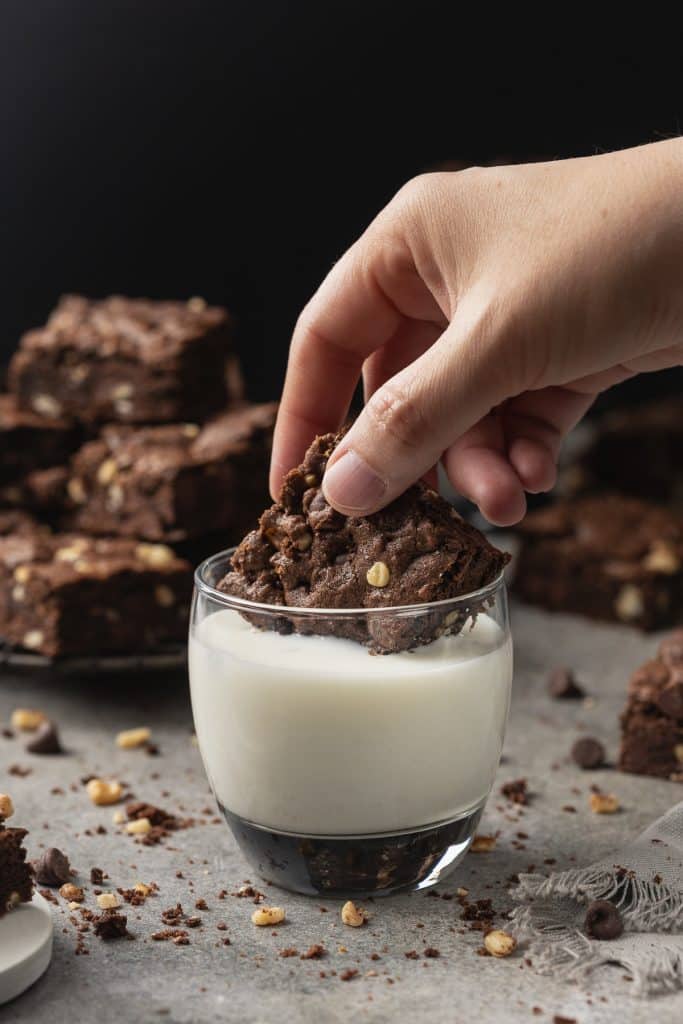
These are substantial enough to serve on their own with a glass of milk or a cup of coffee, but they also work well as a base for other desserts. Warm a bar for 10 seconds in the microwave, then serve it with vanilla ice cream for an easy sundae. Or cut them into smaller pieces and pack them in a tin for a homemade gift that doesn’t require decorating skills.
They hold up well at room temperature, making them ideal for potlucks, bake sales, or packing lunches. Just wrap them individually in parchment if you’re taking them somewhere.
Variations and Other Uses
This Chocolate Chocolate Chip Cookie Bars recipe is straightforward, but you can take it in different directions depending on what you’re in the mood for.
For espresso chocolate bars, add 1½ teaspoons of espresso powder to the dry ingredients. It won’t make them taste like coffee—it just intensifies the chocolate flavor and adds a subtle depth.
If you want an extra fudgy version, reduce the flour to 2¼ cups and bake closer to the lower end of the time range. The bars will be denser and more brownie-like.
You can also repurpose leftover chocolate cookie bars into other treats. Warm a bar slightly and serve it under ice cream for a quick brownie sundae that doesn’t require making brownies from scratch. Or roll small chunks into balls and dust them lightly with cocoa powder for truffle-style bites that make a nice homemade gift.
Frequently Asked Questions
Overbaking is the most common culprit. Use an instant-read thermometer and pull them at 190°F in the center, even if they look underdone.
A 9 × 13-inch pan gives you the ideal thickness. Smaller pans will require longer baking and may dry out the edges. Larger pans will make thinner bars that bake faster and might turn out crispy rather than chewy.
Spray the pan well with oil and dust it lightly with cocoa powder. The bars will release, though not quite as easily as with parchment.
Dark chocolate chips work well if you want a less sweet, more intense flavor. Milk chocolate will make them sweeter overall.
Chocolate Chocolate Chip Cookie Bars
Equipment
- 9" x 12" pan
Ingredients
- 1 cup chopped walnuts (optional) 115 g
- 1 cup unsalted butter, melted and slightly cooled 226 g
- 1 cup packed brown sugar 200 g
- ½ cup granulated sugar 105 g
- 2 large eggs room temperature
- 1 tablespoon vanilla extract
- 2½ cups all-purpose flour 320 g
- ¾ cup unsweetened cocoa powder 68 g
- 1 teaspoon baking soda
- ½ teaspoon salt
- 1½ cups semi-sweet chocolate chips 270 g
Instructions
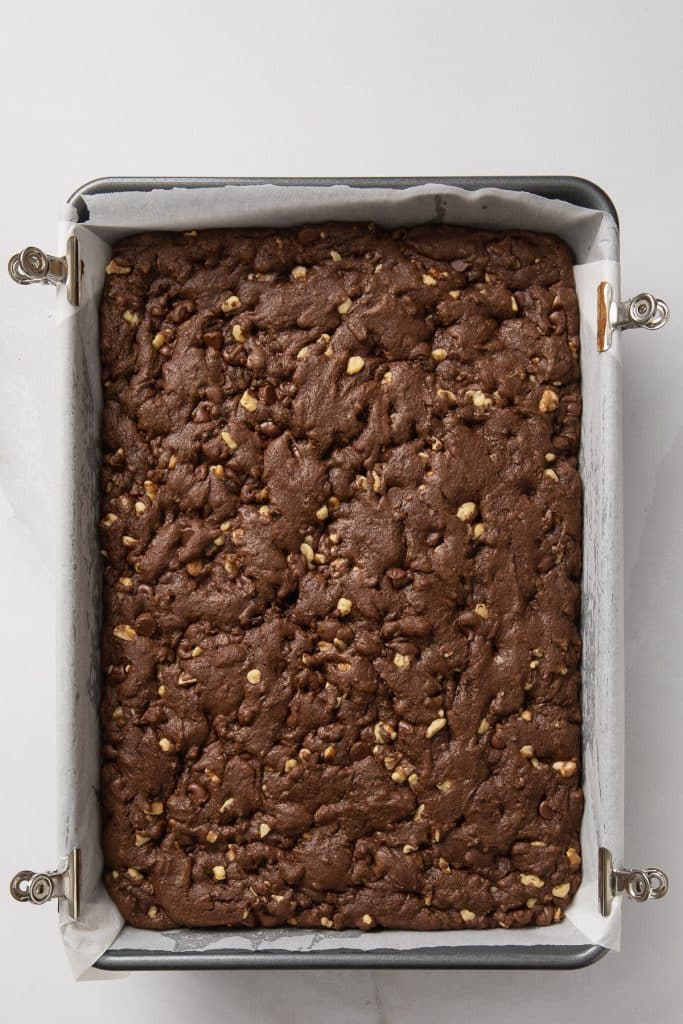
- Preheat the oven to 350°F (177°C). Lightly spray with oil and line a 9 × 13-inch pan with parchment paper, leaving an overhang for easy removal. When oven is heated, spread walnuts (if using) on a baking sheet and bake for 6-8 minutes, tossing halfway through. Allow to cool while assembling the batter.
- In a large bowl, whisk together the melted butter, brown sugar, and granulated sugar until smooth and glossy. Whisk in the eggs one at a time, then stir in the vanilla extract.
- In a separate bowl, whisk together the flour, cocoa powder, baking soda, and salt. Gradually fold the dry ingredients into the wet mixture until just combined, stopping as soon as no dry pockets remain.
- Fold in the chocolate chips and cooled walnuts, distributing them evenly throughout the dough. The dough will be thick and slightly sticky. Don’t overmix. Drop the dough in clumps around the pan. Then press the dough evenly, smoothing the top with a spatula.
- Bake for 22–26 minutes, until the edges are set and the center looks just barely baked with a soft sheen. The best test is an instant-read thermometer, which should read 190℉ (88°C)
- Cool completely in the pan before lifting out and slicing. Refrigerating for 10-20 minutes before slicing ensures cleaner cuts.
Notes
- To keep chocolate cookie bars from drying out, avoid overbaking. The center should look underdone when you pull the pan from the oven; it will finish setting as it cools. Melted chocolate chips can cling to a toothpick and look like underbaked batter. If you’re unsure, use an instant-read thermometer and aim for about 190°F (88°C) in the center.
- Toasting the walnuts first deepens their flavor and prevents them from tasting raw once baked into the bars. However, you can leave them out if you prefer.
- To get the cleanest cuts, put bars in the refrigerator for 10-20 minutes before cutting. Use a chef’s knife or pastry cutter for even, straight cuts.
- These bars can be made ahead of time and actually improve in texture after resting overnight.
- The best pan size for chocolate cookie bars is a 9 × 13-inch pan, which gives the ideal thickness for chewy centers without underbaking.
Nutrition
Other Related Recipes
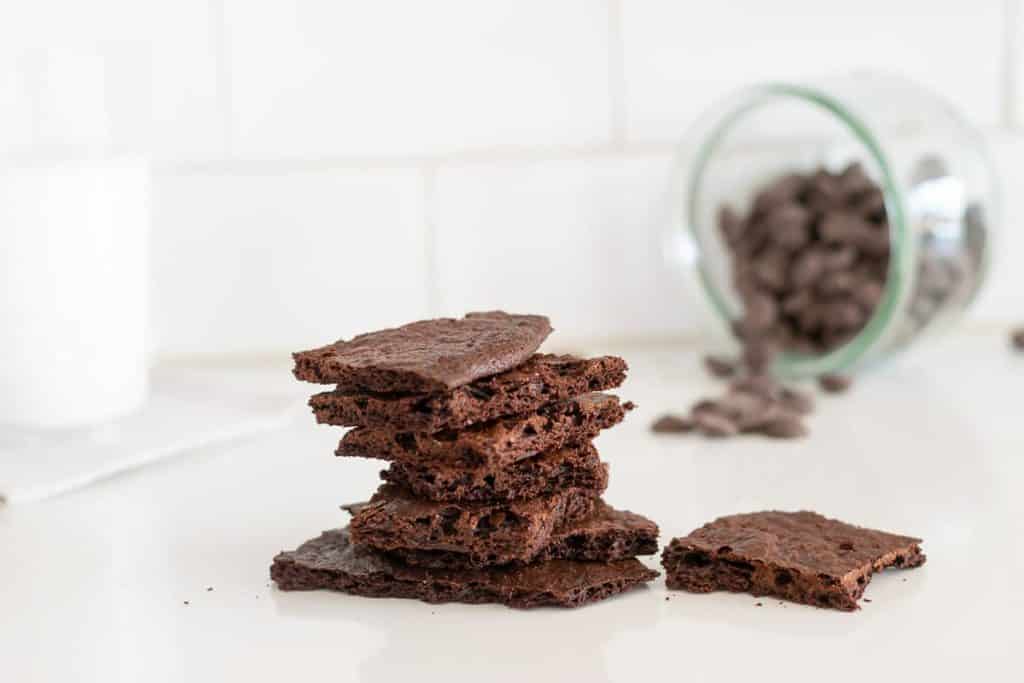
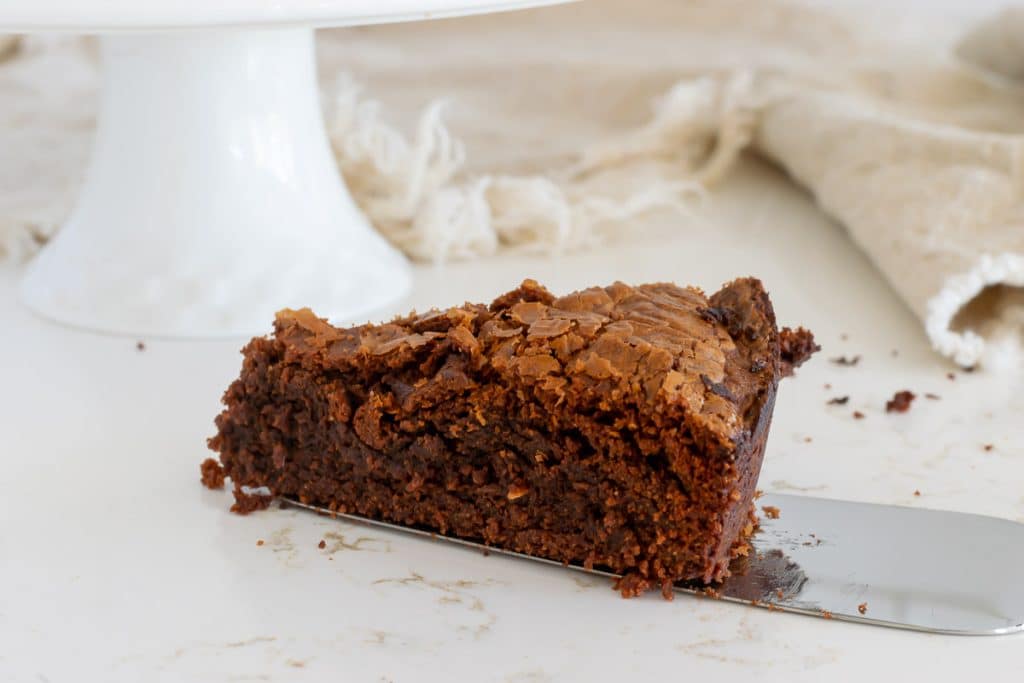
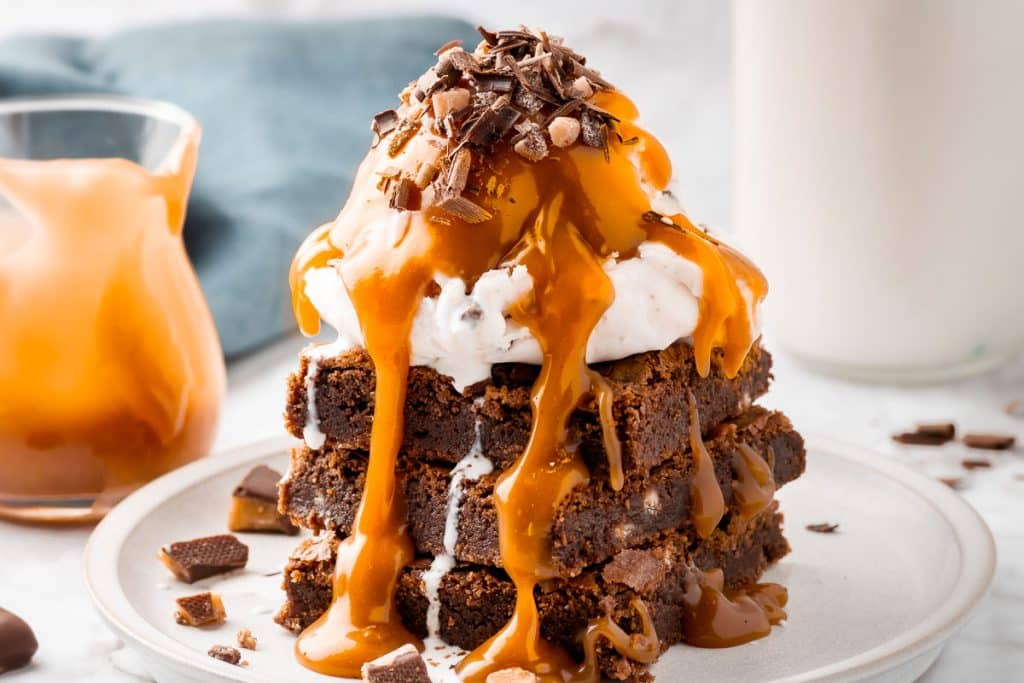
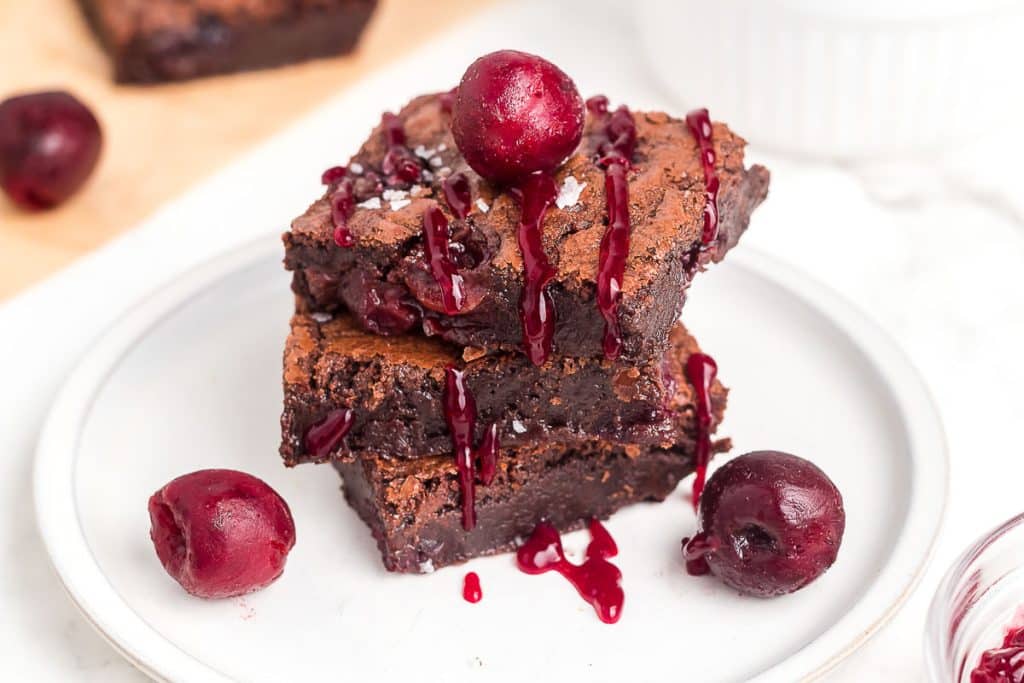
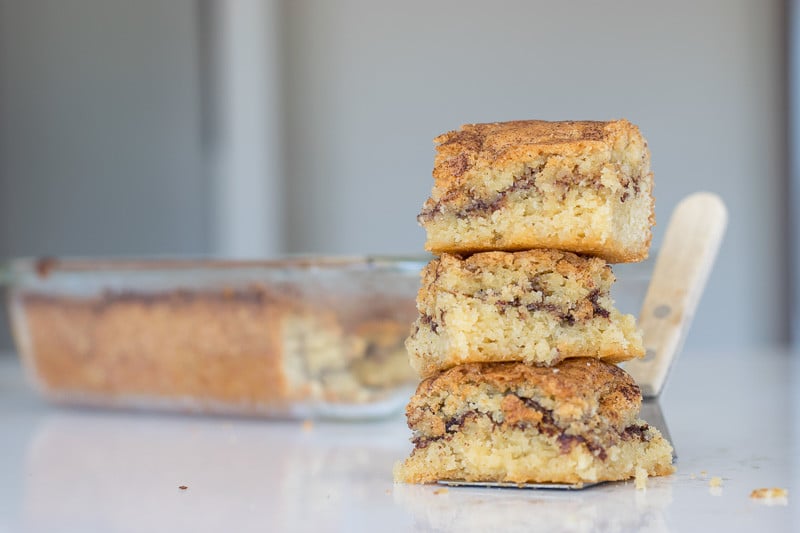
For another crowd-pleasing bar cookie, try the Snickerdoodle Cookie Bars which use the same easy press-and-bake method. The Chocolate Sugar Cookies with Chocolate Raspberry Filling offer another way to enjoy chocolate in cookie form, while Brownie Brittle delivers that same crispy-edged chocolate satisfaction. If you want to use these bars as a base for dessert, check out the Brownie Sundae Recipe for presentation ideas, or try the Brownie Cake for a fudgier take on chocolate desserts. If you like a little fruit with your chocolate, and who doesn’t, this recipe for Chocolate Cherry Brownies has your name all over it!


These were so good! My husband especially appreciated that they held up to milk dunking. 🙂
Thanks Heidi! There’s a lot to appreciate about these tasty bars!