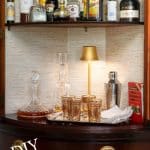
DIY Bar Cabinet from Corner Cabinet
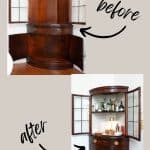

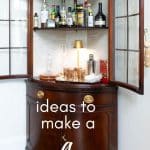
You can make your own DIY Bar Cabinet from just about any cabinet. In this post, I’ll share how I turned my grandparent’s corner cabinet into a functional bar cabinet.
When my grandmother passed away, my brother and I inherited several pieces of their furniture. I received their dining room table, buffet, and corner curio cabinet. While the style of these pieces is not something I would walk into a store and purchase, I value them because they were passed down within the family.
But I’ve forever struggled with what to do with this corner curio cabinet. It just never seemed to have a purpose…it always seemed to be a bit of an afterthought. And I never did love how dark it was, but I really didn’t want to paint the whole thing. For several years, I’ve toyed with the idea of lining the back of it with linen but never bit the bullet.
And so it languished. When we moved, I thought I might move it into the master bath, but that never materialized. Finally, I decided that the ultimate destiny of Grandma’s corner curio cabinet was to be a little bar cabinet! And, like Cinderella, it seems it has been waiting for the big reveal!
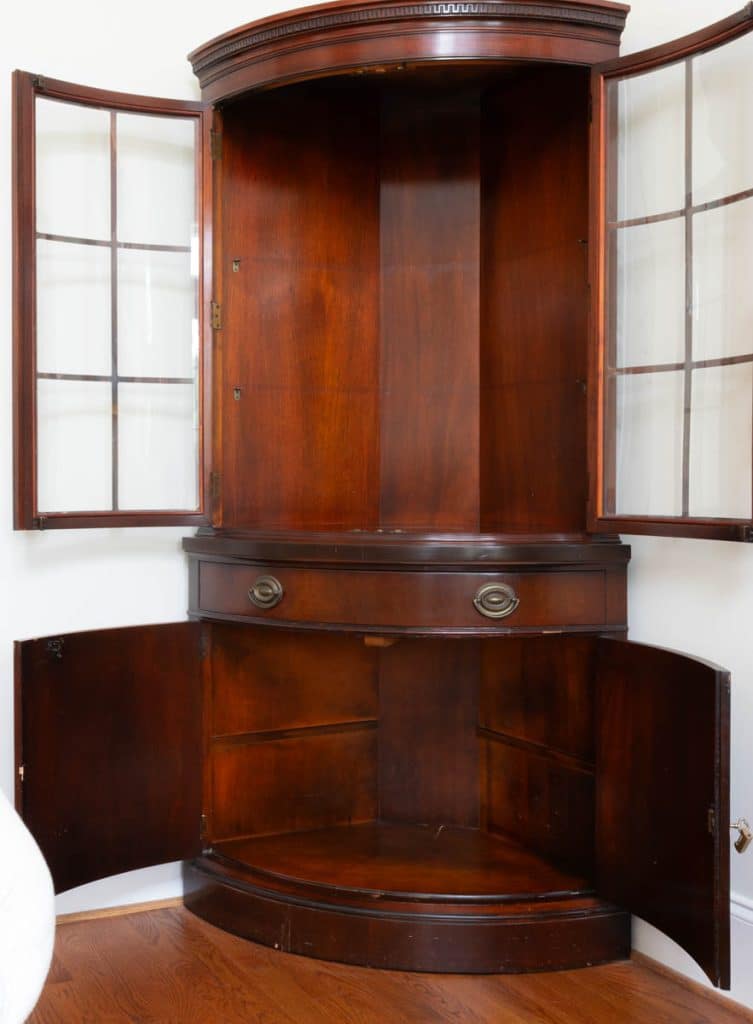
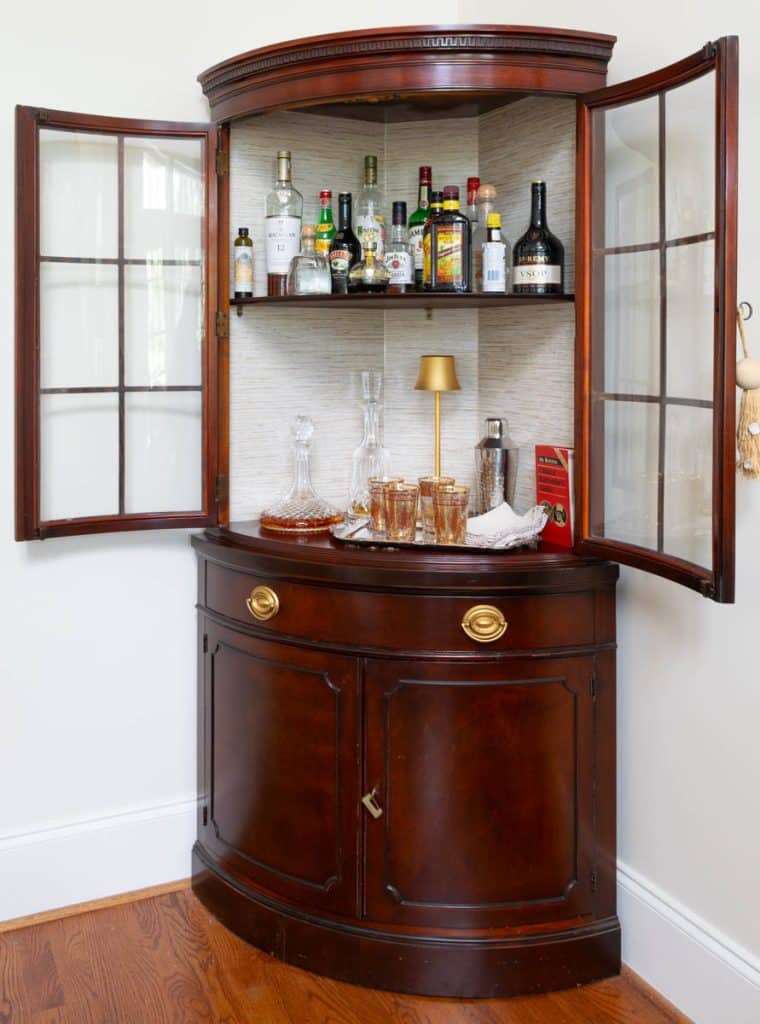
Table of Contents
Some of these links may be Amazon affiliate links and I may earn a small commission from the sale of these products to help defray the costs of operating this site, but the price you are charged is not affected. You can see my full disclosure policy here.
Make Your Own DIY Bar Cabinet
Choose the Right Cabinet
Selecting the right cabinet is like choosing the perfect cocktail mix – it can make or break the result. So here’s a fun rundown to help you find the ideal cabinet to transform into your very own bar.
- Buffet Cabinets: With ample storage and surface space, these make the perfect base for your bar. You can store all your liquor, mixers, and glasses with ease.
- China Cabinets: Got an old china cabinet? The glass doors can add a touch of elegance, letting you showcase your finest glassware and bottles.
- Corner Cabinets: Limited on space? Corner cabinets can fit snugly in any room without dominating the floor space. Plus, they’re like a hidden treasure when opened up!
- Tall Cabinets: If you’ve got a collection that’s as tall as your cocktail dreams, a tall cabinet with adjustable shelves can hold everything neatly. Just don’t make it too high, or reaching the top shelf might require a ladder!
- Vintage Cabinets: Want that old-world charm? Vintage cabinets come with character built-in. Plus, a little wear and tear might just add to the ambiance.
- TV Cabinets: Remember those old entertainment centers? With compartments aplenty, these can make a fabulous bar cabinet with a little creativity.
- Record Cabinets: If you’re a fan of the retro vibe, converting a record cabinet (yes, like vinyl records!) could be your jam. They often come with dividers, making bottle organization a breeze.
- Industrial Cabinets: Love the rustic, industrial look? These cabinets can give your bar that trendy loft vibe, even if you’re miles away from the city.
- Customizable Shelving Units: If you’re not afraid to roll up those sleeves and build a bit, customizable shelving units (think IKEA’s Kallax) can be a blank canvas for your creative bar ideas.
So whether you’re going for a chic speakeasy or a laid-back beach bar feel, there’s a cabinet out there waiting to be transformed into your personal watering hole. And remember, like a good cocktail, it’s all about mixing and matching to find what tastes just right!
First things first, pick a cabinet that’s just itching for a makeover. A sturdy one with shelves? Perfect! A vintage vibe? Even better!
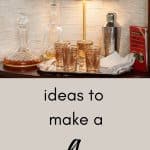
Add a Splash of Paint or Wallpaper to your Bar Cabinet
A fresh coat of paint or snazzy wallpaper can make it pop.
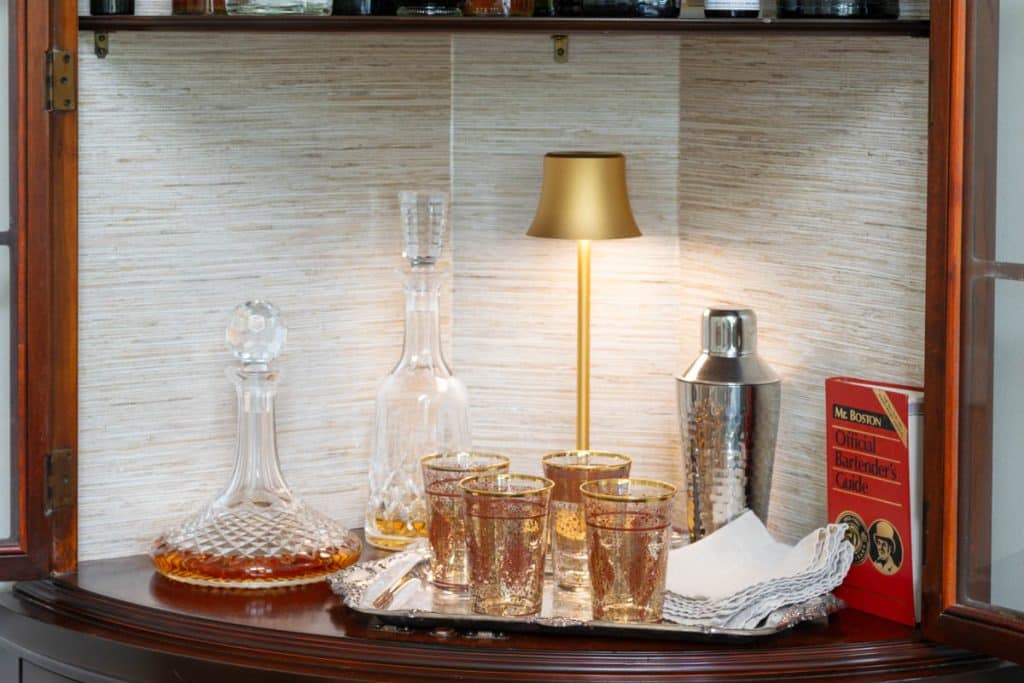
I decided to go the wallpaper route and really wanted to put a bit of grasscloth on the back. But I couldn’t find a single, partial, or remnant roll. Buying a double roll of grasscloth was more than I wanted to spend. Since I really didn’t need much, I ended up buying a single roll of faux grasscloth peel-and-stick wallpaper.
This Roommates Taupe and Gold Vinyl Peel and Stick Wallpaper is the one settled on. The description says it is ‘metallic,’ but I don’t see any metallic at all; it just a nice neutral. It looks like a grasscloth from a distance, but if you rub your fingers over it, you can tell it is vinyl. For this project, it is absolutely fine.
This was the first time I’ve used the Peel and Stick Wallpaper, and it was really easy and forgiving.
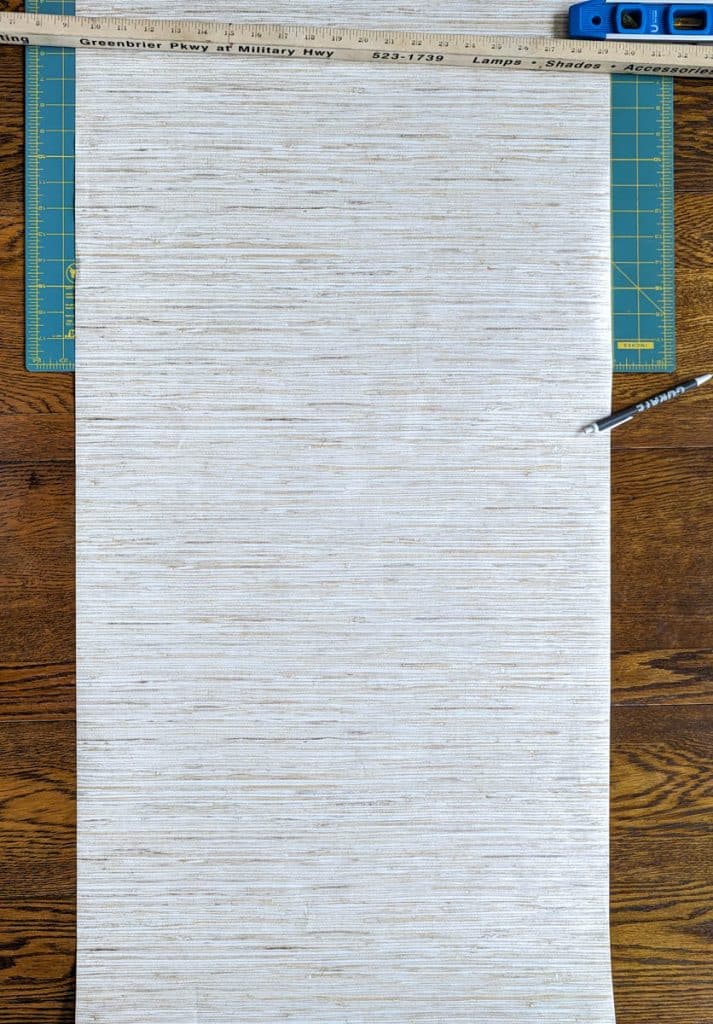
My tips for hanging Peel-and-Stick Wallpaper on the back of cabinets (or anywhere!)
- Measure carefully.
- Straight lines are your friend!
- I used my plastic, flexible dough scraper to remove the bubbles and smooth down the wallpaper frequently. I would adhere a bit (like 3 inches at a time) and smooth it before adhering the next bit.
- I intentionally wanted each section to be a bit wider and longer than needed, and then I used a ruler and an X-acto knife to cut the excess and get a straight line at each edge.
Shake Up the Shelves
Adjust the shelves to fit your bottles, glasses, and other bar essentials. You might need to add or remove some to get the right fit.
Before I drilled holes to move the shelves, I used books to try the shelves at differing heights.

Wine Rack Rendezvous?
If you’re a wine lover, consider adding a wine rack. You can DIY one or find an affordable option at your local store. I put this wine bottle rack in the bottom of the cabinet.

Garnish your DIY Bar Cabinet with a Glassware Holder
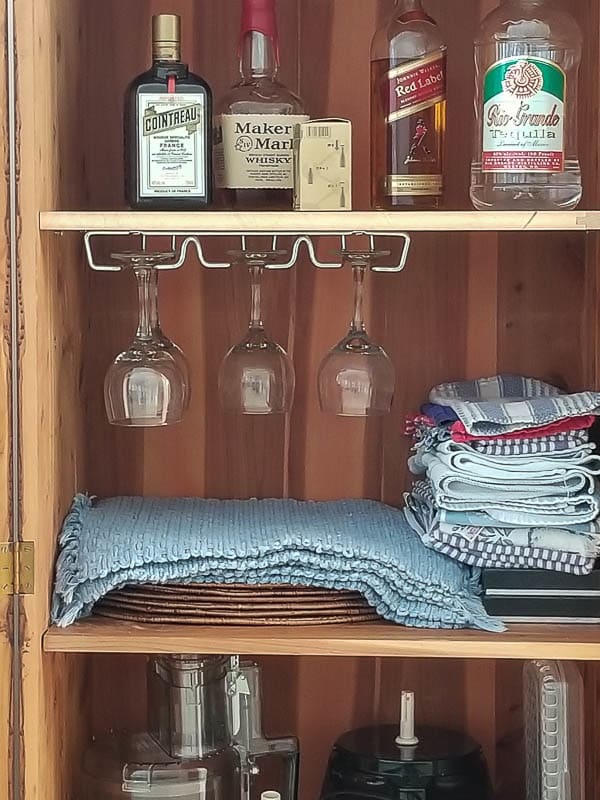
Install some under-shelf stemware holders for your wine glasses. They are both functional and add a touch of elegance. I didn’t put a stemware holder in this bar cabinet, but we did put one in the armoire that we turned into a little bar cabinet for my parents.
Stir in Some Storage
Consider where you’ll stash the cocktail shakers, mixers, and other tools. Little baskets or decorative boxes might just be the trick.
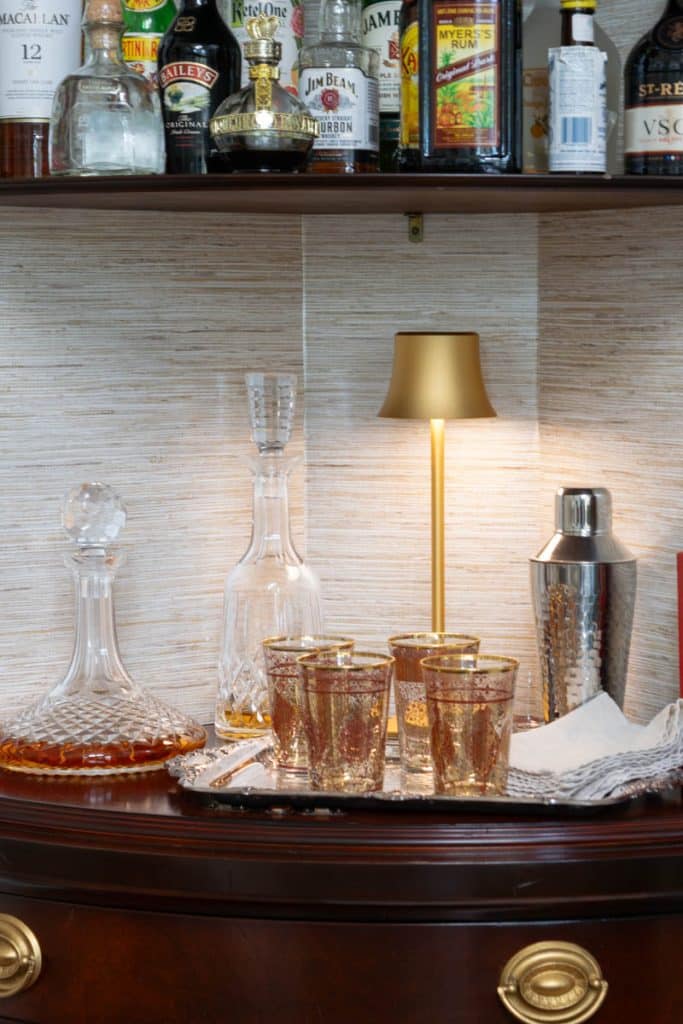
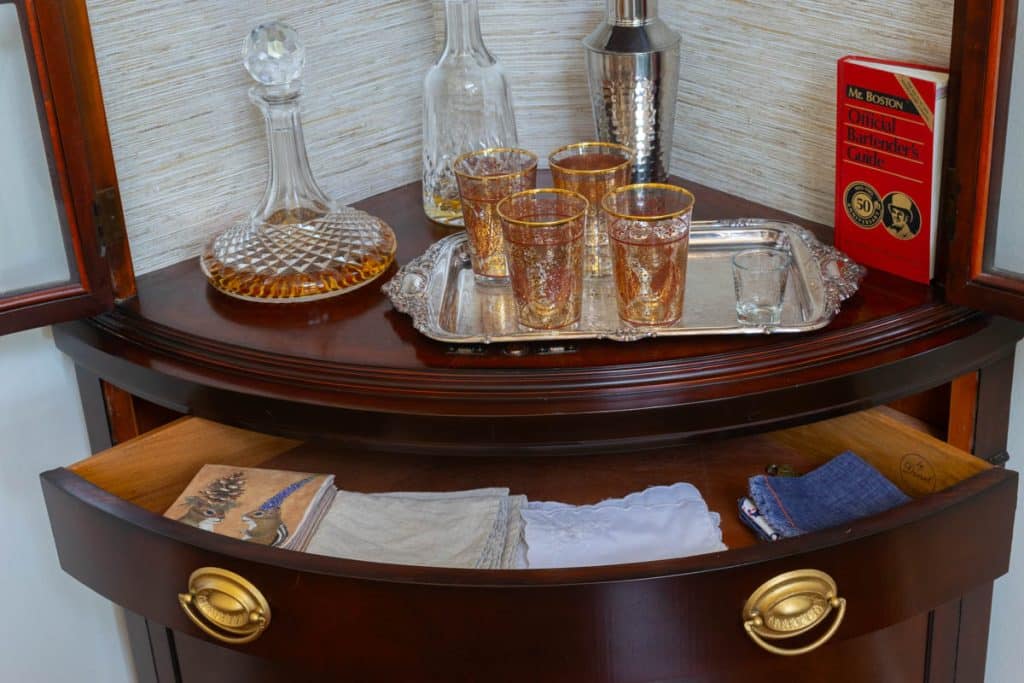
I’m still on the hunt for a napkin holder and a quirky ‘something’ to hold various bar tools. But the drawer holds napkins, and the shelf above the wine rack holds the ice bucket and some other ‘bar’ related items.
I wanted to replace the drawer pulls with something a bit more modern, but the wood color had faded so much over the years, except for under the oval pulls. So I just spiffed them up with a little Rub n Buff!
Light It Up
A little mood lighting, like some LED strips or a decorative lamp, can take your bar from drab to fab!
I do not oppose drilling a hole in the back of the bar cabinet for a light cord. But I found these cord-free, rechargeable lamps, and I will try them first.
Top with a Surface
You might want to add a protective surface. Glass or plexiglass works great and adds a sophisticated touch.
Right now, I am just using this old silver tray (that was the trophy for a tennis tournament my dad participated in many years ago!). If this area gets wet, I will look into a piece of glass. But custom-cut glass gets pretty expensive!
Season with Accessories
Lastly, decorate your bar cabinet with some vintage bar tools, artwork, or whatever suits your fancy. Personal touches make it uniquely yours.
I already owned everything except the wallpaper and the lights, so our DIY Bar Cabinet is uniquely ours. But, as I mentioned earlier, I am still noodling on a cocktail napkin holder of some sort and something to hold other bar tools.
I don’t want to buy anything because 1) I don’t need to add things to my home, 2) I don’t want to spend the money, and 3) I really like the challenge of repurposing items I already have for uses that they may not have been intended for!
So, now I just need to host a little cocktail party and put my ‘new’ bar cabinet to good use!
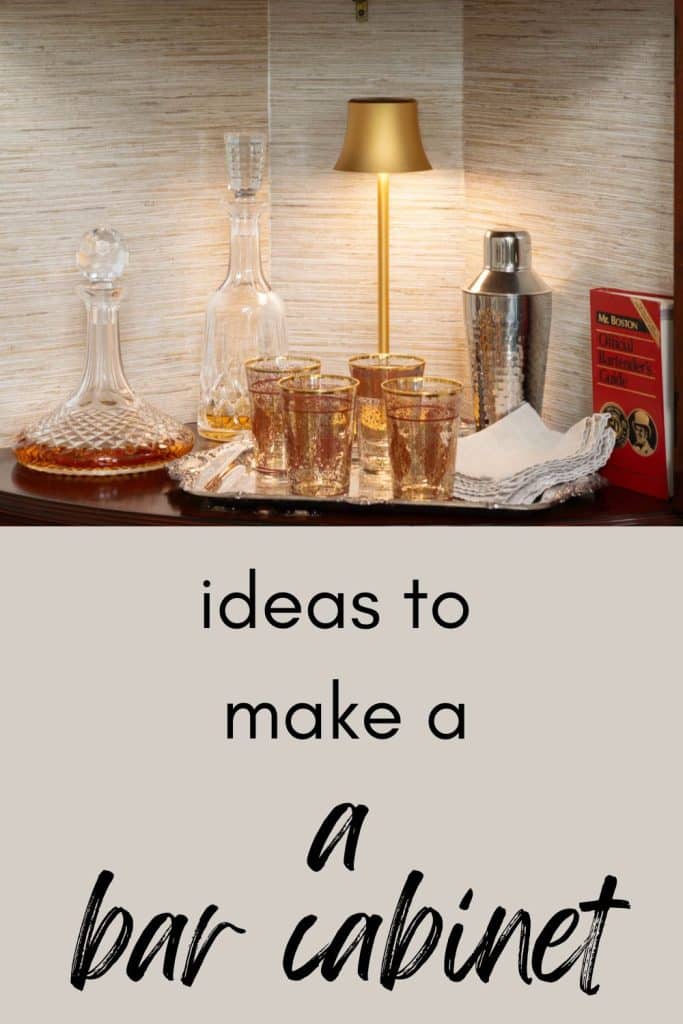
Bookmark this page or pin the following image to return to this DIY Bar Cabinet post in the future.
Thanks so much for spending a few minutes of your busy day with me!
To ensure you don’t miss future content, pop your email in the pale green box on the right or click here. I usually send one email weekly, so I won’t inundate your inbox. I’m sensitive to an overflowing email inbox!
We will only use your email address to send you emails, no more than 1-2 weekly. In addition, you will have access to my growing library of knit & crochet patterns and other printables. Check back often as this library will continue to grow. You can unsubscribe anytime by emailing me or clicking on the “unsubscribe” link at the bottom of all emails.
And you can access many of the products I refer to on my Nourish and Nestle Amazon Page. You can access it here.
So, if you’d like to participate in the ‘subscriber benefit’ action, simply subscribe to Nourish and Nestle here or use the form on the right sidebar. It’s slightly towards the top.
I have sent all my subscribers the link to the Subscriber Benefits Library. If you missed it or misplaced it, let me know.
Until next time…