
Personalized DIY Glass Milk Bottles
These little DIY glass milk bottles were so fun to make and made use of otherwise discarded glass bottles. They are perfect for your zinnia bouquet or for a special drink. What fun party favors they would be too!
I have mentioned many times before, but I am a firm believer in kismet, which is simply defined as destiny or fate.
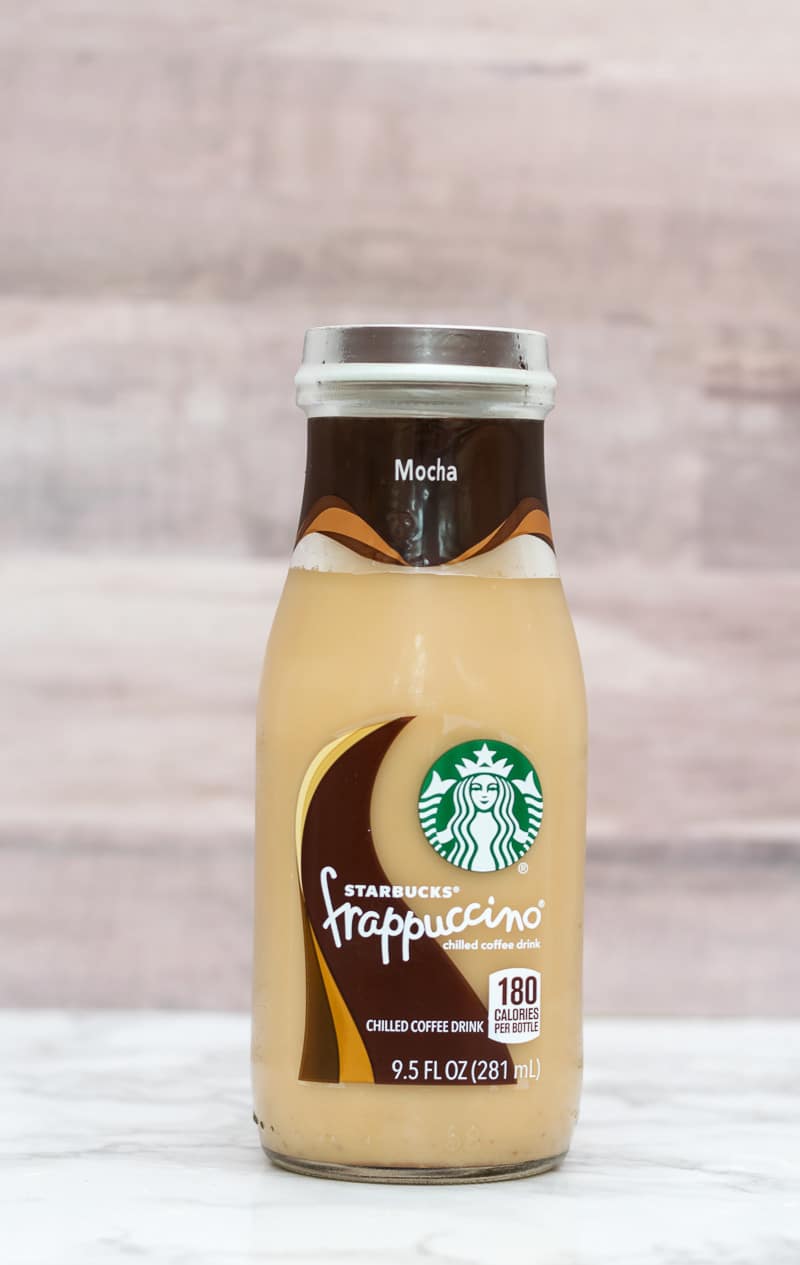
It was kismet that led my eyes to spy a case of Starbucks Frappuccino this past Friday whilst at Costco. I know my son truly loves iced coffee, but this truly falls into ‘frivolous’ spending to which I don’t typically succumb. But kismet prompted me to justify the purchase because a) it was on sale and b) I thought it’d be a fun ‘back to school’ treat. Then, as my son enjoyed these little beverage treats, it was that craft kismet that kept nagging me to do something with the cute little empty bottles.
At first I brushed away this little nag…I mean, my crafting to-do list is a mile long and I don’t really need to be collecting empty glass bottles. Afterall, I just emptied my drawers of too many glass bottles when I did my big declutter last year and so have been hesitant to start adding clutter back.
So into the recycling bin the first couple of glass bottles went.
But then…kismet got me thinking.
Those little glass milk bottles are fun for flowers and for beverages. And I could bump the ‘fun’ up a notch by personalizing the bottles by using my Cricut and stenciling a ‘label’.
So on a rainy Monday, while I had laundry to fold and paint to paint, I instead did what kismet prompted me to do…I dug through the recycling bin to find the discarded bottles and then fiddled, crafted and ‘created’ these little glass milk bottles.
What I Used to DIY Glass Milk Bottles:
Some of these are affiliate links and I will earn a small commission off of the sale of these products, but the price you are charged is not affected. You can see my full disclosure policy here.
- Empty Starbucks Frappuccino bottles (they are on sale at Costco at this writing)
- Cricut Explore Air 2
- Black Testors paint
- Vinyl Scraps
How I Made the DIY Glass Milk Bottles:
- Cleaned bottles and removed label.
- I removed the label by heating in a pot of water over medium heat for about 30 minutes, then used Goo Gone to remove the rest of the residue.
- I cleaned off the Goo Gone residue with rubbing alcohol.
- I then washed the bottle well with Dawn to make sure it was completely clean.
- Then it was time for the fun. I designed the graphic using Cricut Design Space…the cow and fonts were free with my Cricut Access subscription.

- Once the I had my design, I used some scrap pieces of vinyl to make my stencil.
- I weeded the design and used Cricut Transfer tape to put the image on the bottle. I burnished the image real well after I put the transfer tape …

- and again when I transferred the image to the bottle.
- Once I was sure that there weren’t any air bubbles, especially close to the design and words, I lightly dabbed on the black paint. I applied 3 light coats which definitely helps to prevent any seepage under the stencil. The image below shows after 2 coats…you can still see through a little bit, but after the 3rd coat it’s completely opaque.

- CAREFULLY pull the stencil off. You might have a couple of areas that you need to touch up with your paint…I found that a needle dipped in the black paint worked better to get the small areas then any brush would.
- A spray of polyurethane will help keep your stencil intact.
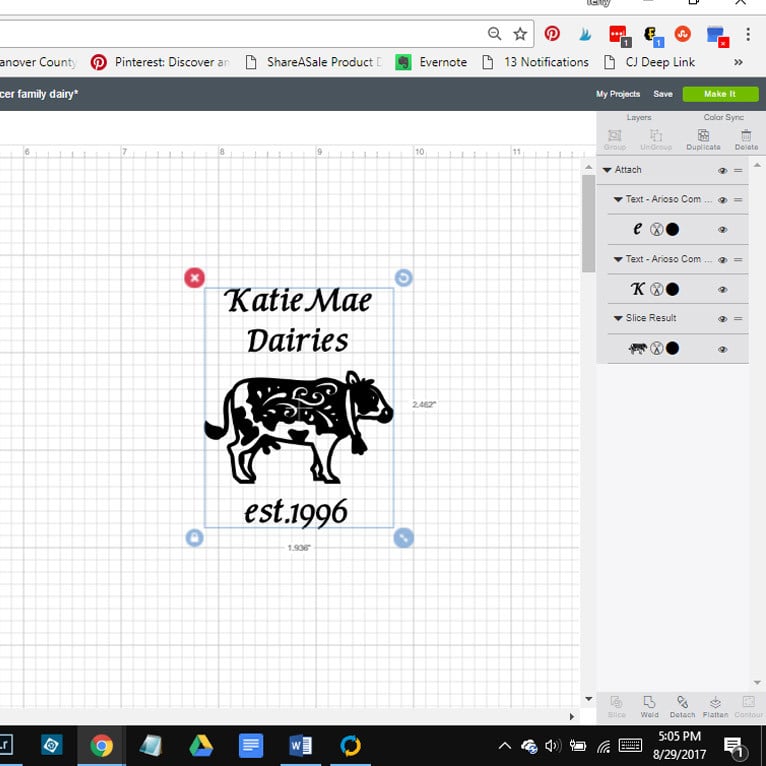
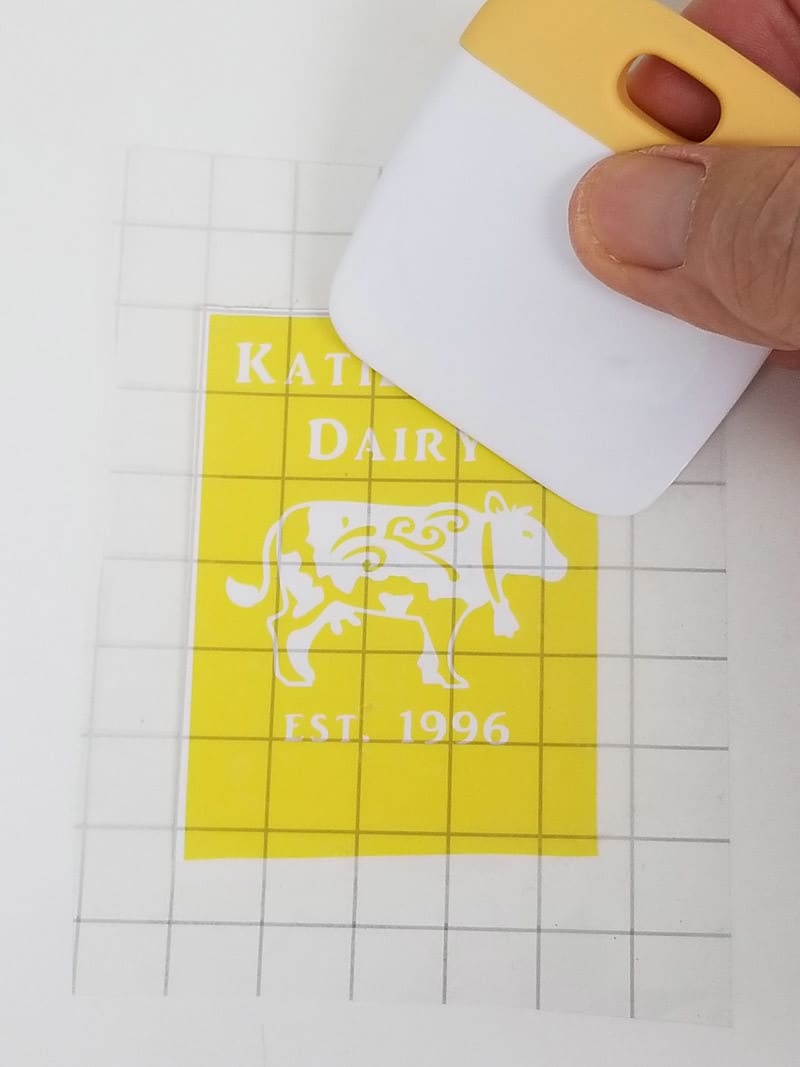
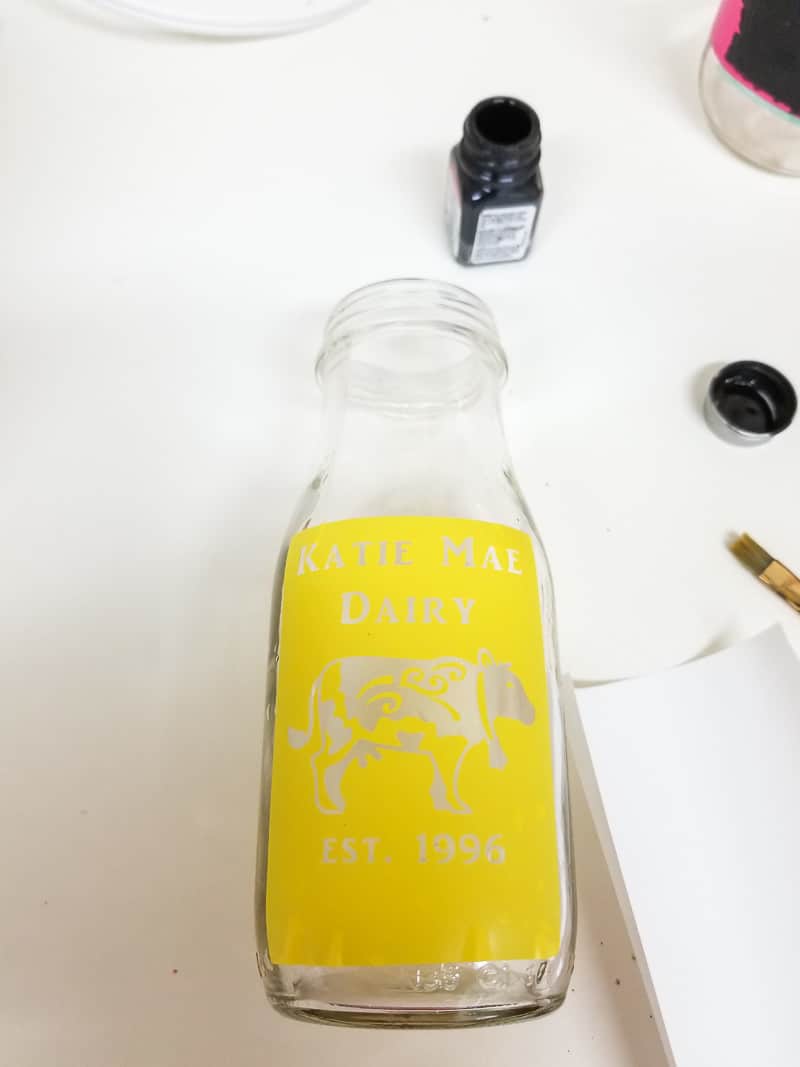
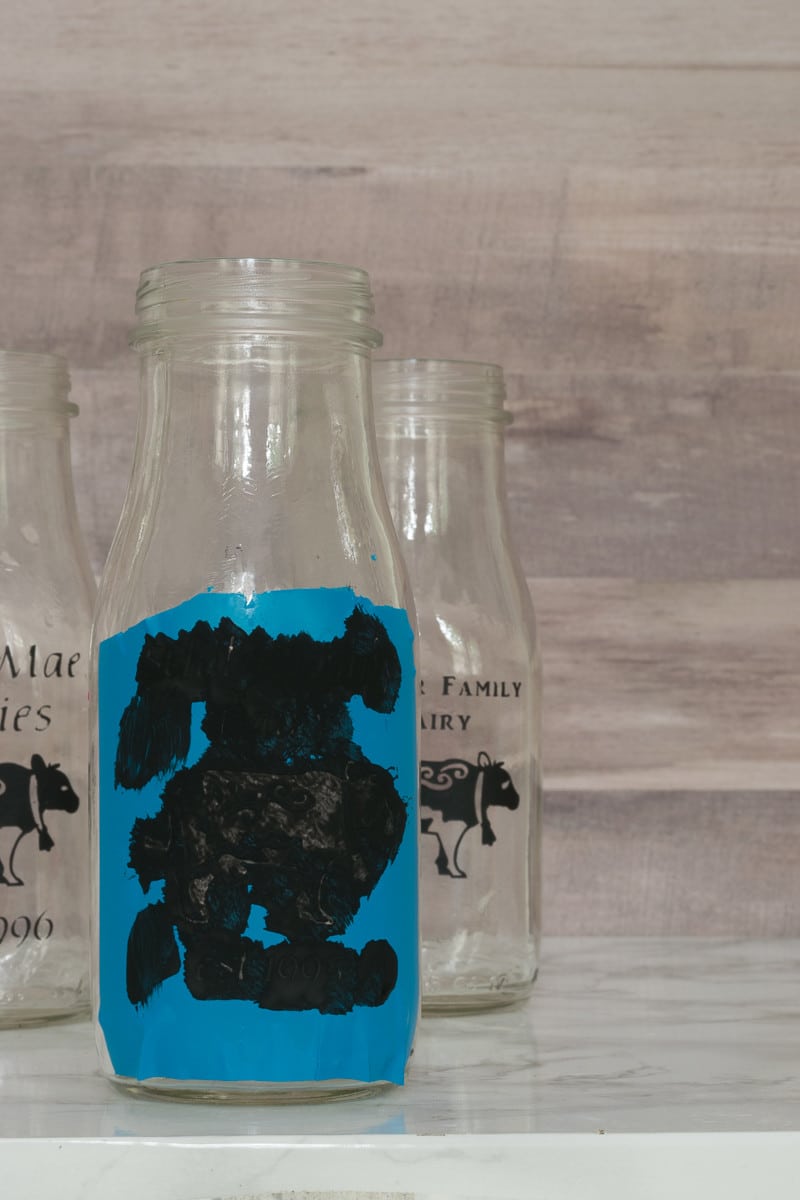
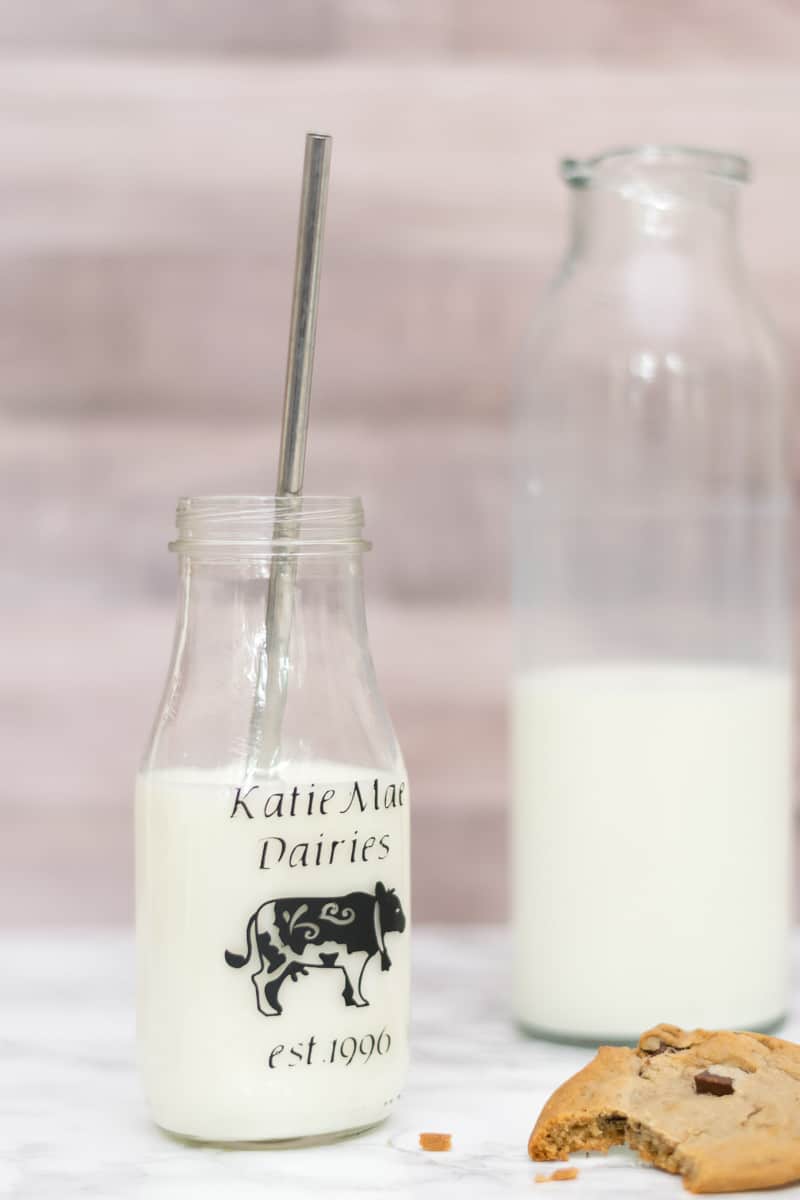
Table of Contents
So, now that I know what I’m going to do with the 16 bottles that are in the case, I’m going to enjoy using different fonts and maybe different graphics!
This DIY glass milk bottles are such a fun idea for a party…or just as a special ‘cup’.
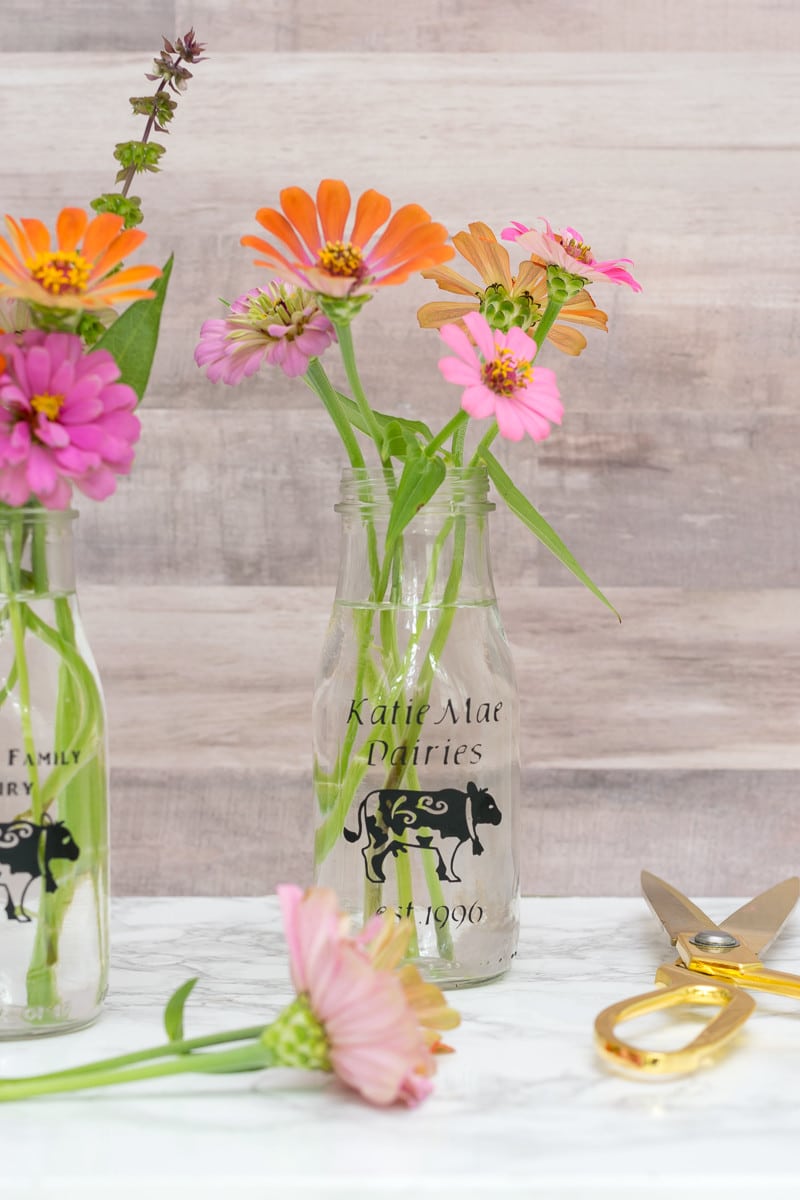
And of course, you can’t beat a bunch of zinnias in a glass milk bottle.

Want to upcycle your bottles too? Bookmark this page or pin it for your future reference.
Thanks again for spending a few minutes of your busy day with me today. Know that you are appreciated and that I welcome each and every comment that comes my way. If you want to make sure you don’t miss future content, pop your email in the beige box up on the right or click here. I usually send out 2-3 emails a week, so I won’t inundate your inbox…believe me, I’m sensitive to an overflowing email inbox!
Printables and knit patterns are available to all of my subscribers in the Subscriber Benefits Library. I will continue to add patterns and printables to this page as we go along.
So, if you’d like to get in on the ‘subscriber benefit’ action, simply subscribe to Nourish and Nestle using the form on the right sidebar. It’s towards the top a bit. I have sent all my subscribers the link to the Subscriber Benefits Library, but if you missed it or misplaced it, drop me a line.
Hugs,


Lynn, this is one of my favorite craft projects ever! It’s so clever to recycle those cute bottles. I am so in love with these!! Great job!
Aw thanks sweet friend! Coming from you that is quite a compliment. Hope all is well!
Lynn, these are adorable! They make perfect bud vases. You’re so creative!
Aw thanks Angie…my son keeps drinking them so I am getting quite a good stash!
I was nominated for the Blogger Recognition Award and decided to share the love with some of my fellow bloggers from the NC Blogger Network group!
http://thesouthernbelleblogs.com/2017/08/30/bloggers-recognition-award/
Thanks Emily for the shoutout Emily!
This is really cute and would make an awesome gift or even baby shower themed gift….or even for a milk and cookies party. Soooooo cute!
Hey Jess…wouldn’t they be perfect for a cookie swap!!!???
Well, these are just the sweetest…and…I just picked up a vintage milk crate at the thrift store and someone mentioned that I need to find the milk bottles to go with. Now I am just going to make my own, Lynn, thanks to your tutorial. Off to pin it so I am ready to go after I drink my frappuccinos of course! 😉 Awesome timing! Thanks!
Thanks Kim, drink those Frappuccinos…make cute bottles…it’s a win-win!
Lynn,
This is so cute! I love those Starbucks bottle, they make the prettiest vases!
Thanks Janine! I was a bit slow to discover them…but now that I know of them….the sky is the limit.
These are so cute Lynn!! I love the design that you made!! These would be so fun to make for a kiddies birthday party!!
Completely agree…would be so fun for a birthday party.
so cute, lynn! love all your craft ideas!
Aw, thanks Yuni!
I also love those little bottles and had a whole collection of them in NY. I ended up putting twine around them but I love what you did here. So much personality from such a small bottle.
Don’t even tell me that you don’t have a stash of small milk bottles in your basement…you’d shatter my world!
These are so cute either way, as a milk glass or a vase for flowers. My grandkids would probably get a kick out of drinking out of one of these.
I think I need a Cricut! I love your bottles, what a fun craft. I too enjoy the Starbucks iced frappuccinos [it´s also the only one I get here] and did not collect them so far for the same reasons as yours ;). Too many bottles and jars are already in my small kitchen… but now I need to drink some more, because this is just beautiful!
Oh Katrin, I think you would have a ball with the Cricut!
These are so super cute! Upcycled frappuccino bottles make for some of my favorite projects.
What’s not to love about them, right? I have some more ideas up my sleeves that I’m chomping at the bit to try.