Faux Copper Finish: an easy DIY
Happy FauxDay, I mean Friday, my friends. Are you ready for a little Faux action? I hope so because I have a quick project for you. And as if it couldn’t get any better, this is a big impact project!
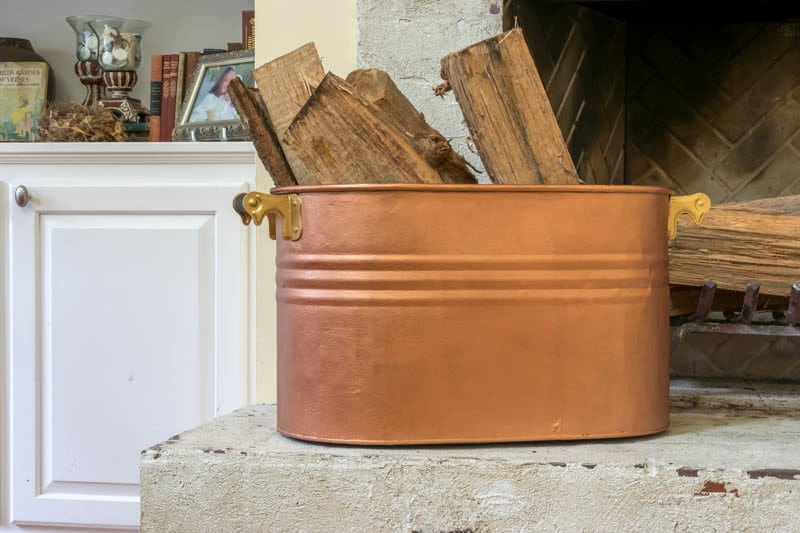
Specifically, I’m going to show you how to DIY a Faux Copper Finish on an old metal tub, turning it into a ‘copper’ beauty.
So, do you remember last month when I showed you my oyster clusters? Those oyster clusters were a rather convoluted by-product of a road trip that Terry and I took in June to celebrate our 30th Wedding Anniversary (yup, congrats to us!).
If you didn’t read that post (shame on you!) or if you forgot (I can so relate), we traveled up the Eastern Shore of Maryland on the way to our ultimate destination of the Hudson River Valley in New York.
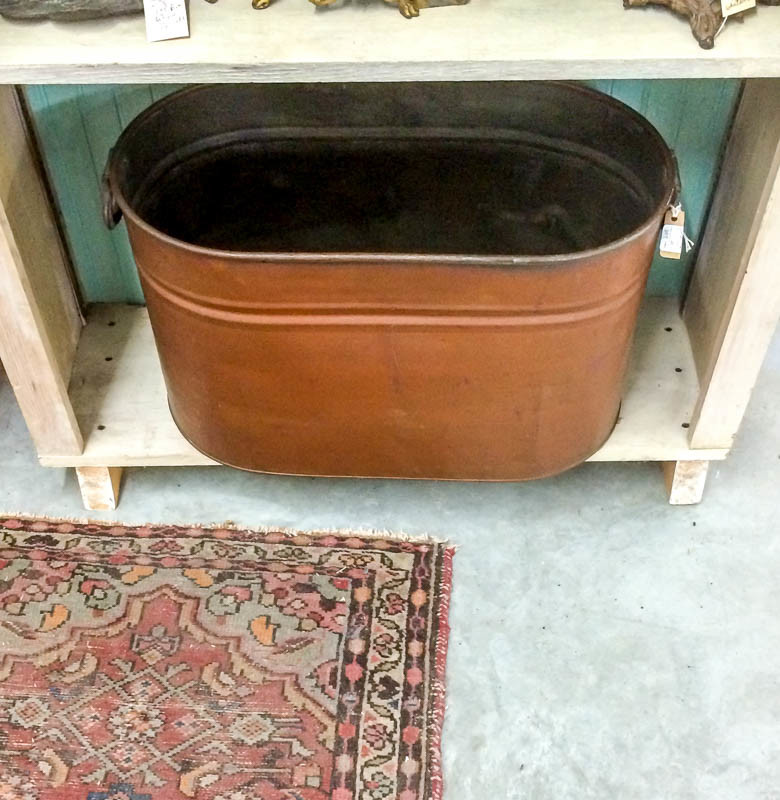
Table of Contents
It was a DELIGHTFUL 10-day trip that was very short on ‘have to be here now’ plans and more about ‘what do we feel like doing today?’ plans. But I digress…on our way up the Eastern Shore we stopped at a couple of antique stores like we used to do in the days before kids.
It was in one of these antique stores that I found the old oyster basket that led to the oyster clusters. It was in the same antique store that I spied and swooned over an antique copper washtub.
Terry was very indulgent in my little shopping forays (which is not always the case) and told me to get the tub. But…because I am THE WORST at making decisions, I just wasn’t sure I wanted to plunk down $120 for a tub not knowing what treasures awaited as we went farther north.
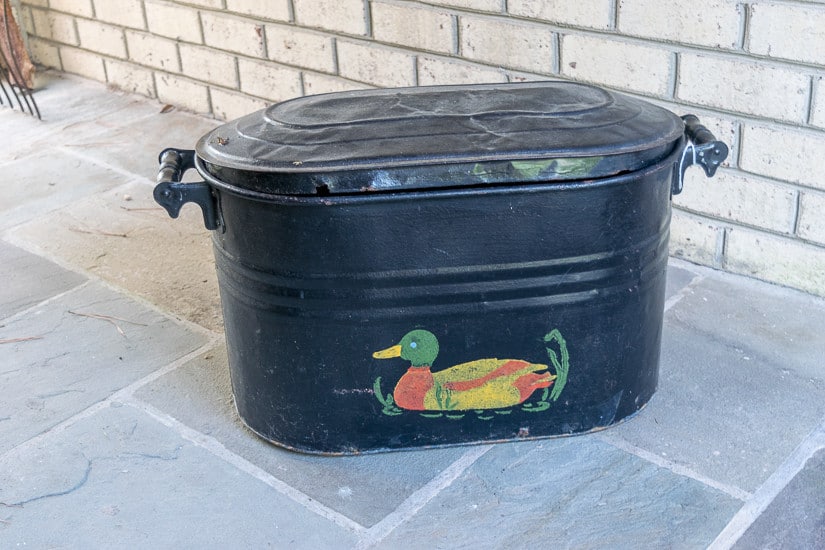
You know what I mean, it was just the first day of our trip and what if….? So, when I discovered this sad little tub for all of $10, I was confident that I could jazz him up to look very similar to the original and still have spending money for the rest of our travels.
This was a seriously simple project that also fell into the almost ‘immediate gratification’ category as well. A complete win-win, if you ask me.
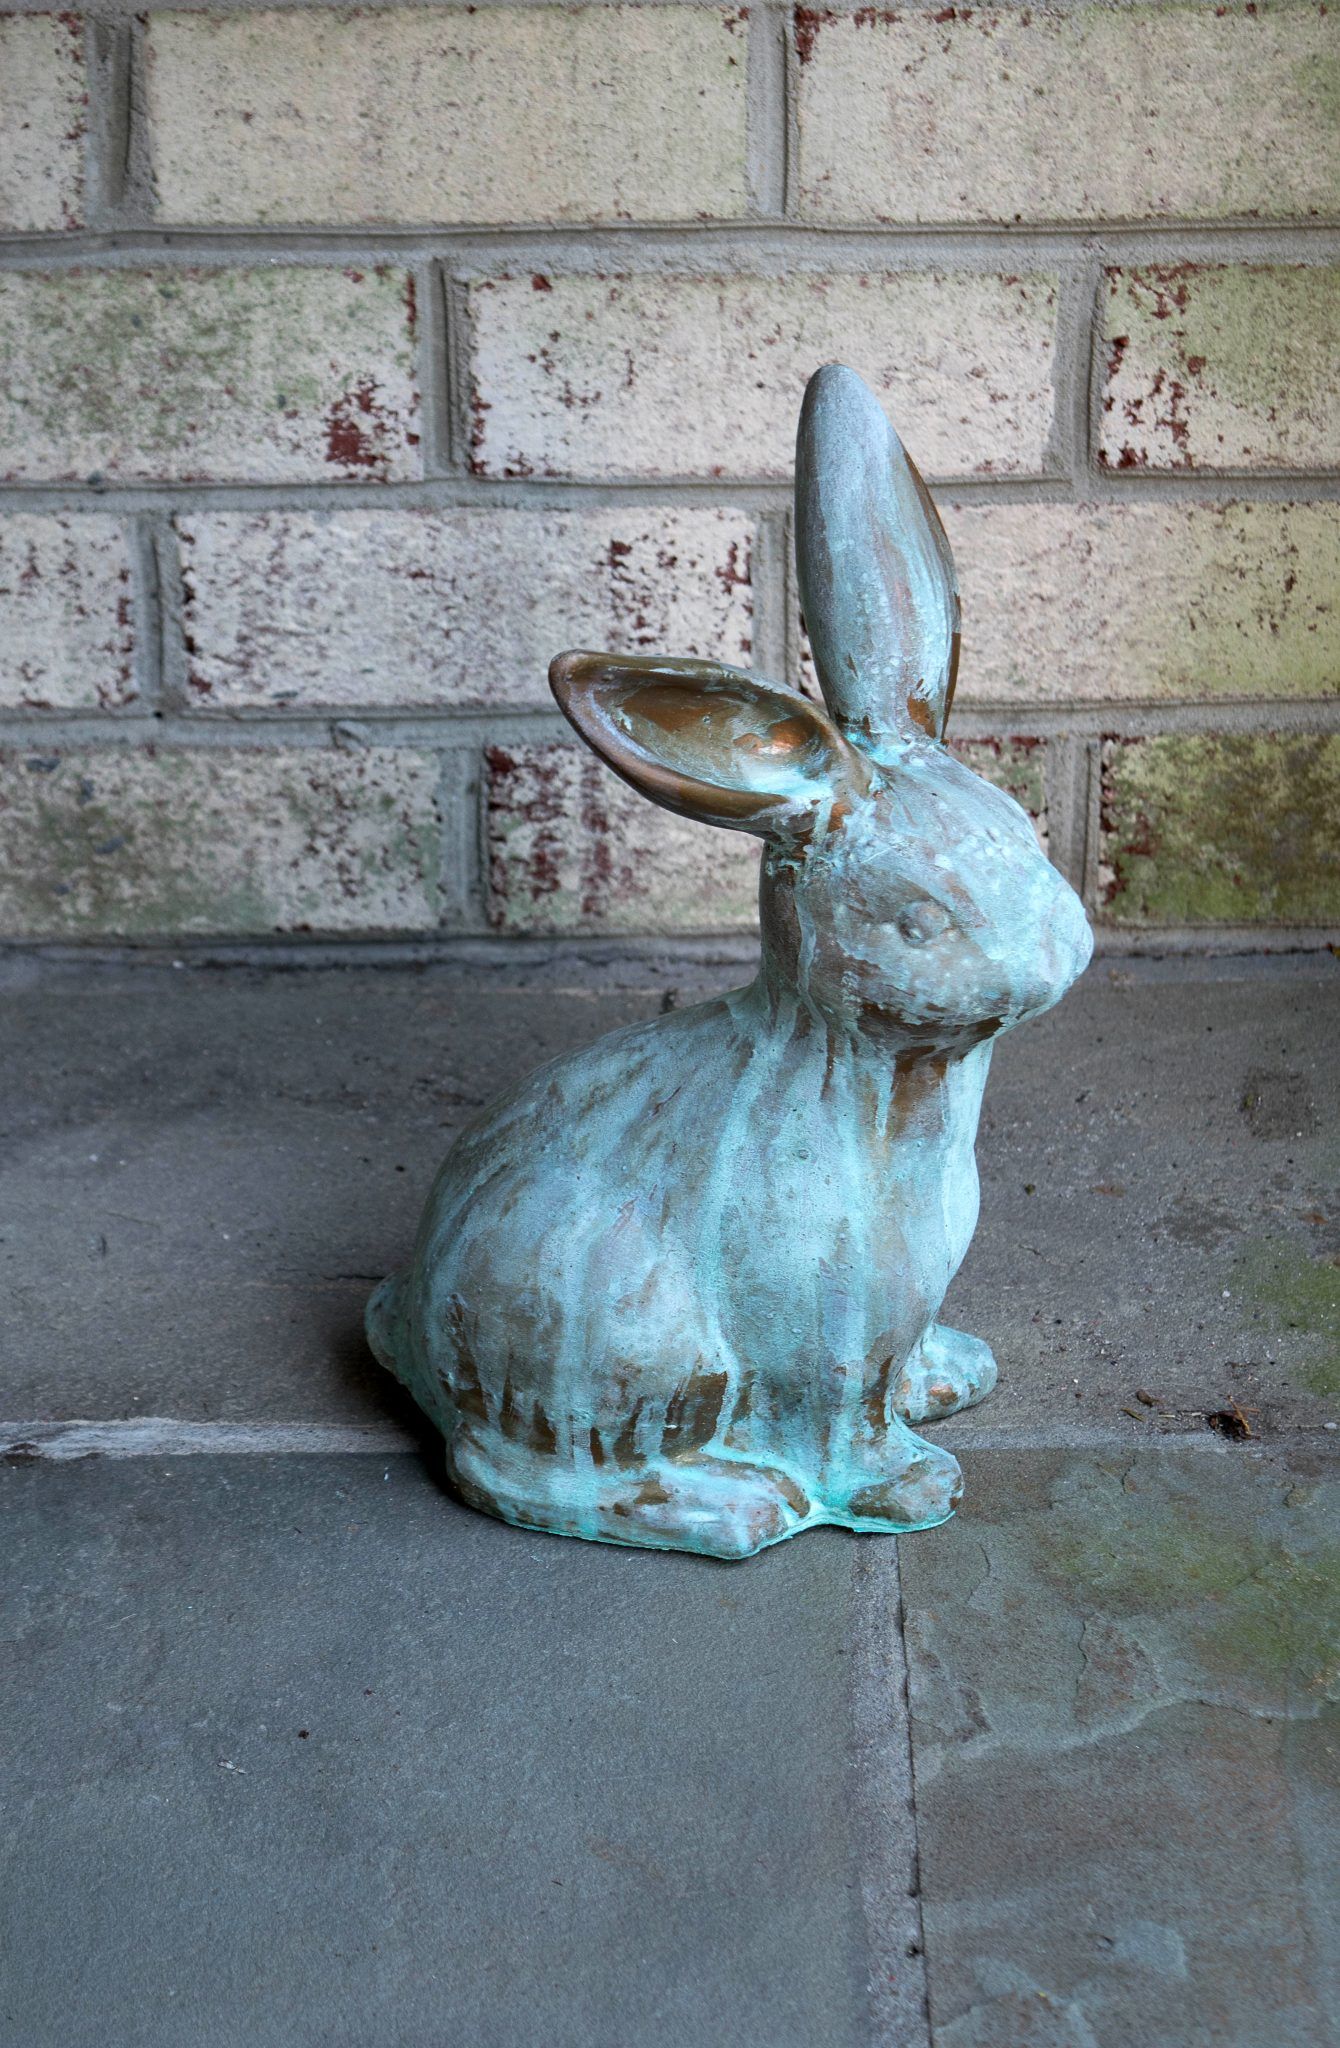
I had used a faux copper finish in the past, most recently on this bunny. However, I didn’t have enough of that paint to do the whole tub. When I went to Amazon to search, I discovered a different brand that also had a related primer product, Modern Masters.
I opted to go that route to make sure that my faux copper finish efforts weren’t for naught if the paint didn’t adhere to the surface. And while I did not want to go the oxidized route, they do have an oxidizing solution if you want your copper ‘thing’ to have that beautiful verdigris.
What you Need to Put a Faux Copper Finish on a Tub:
Some of these are affiliate links and I will earn a small commission off of the sale of these products, but the price you are charged is not affected. You can see my full disclosure policy here
- Modern Masters AM203-16 Acid Blocking Primer Red, 16-Ounce (When I was putting this link in I realized that Amazon’s images/descriptions may be off. The picture for the Red shows the white primer and vice versa. I used the Red)
- Modern Masters ME149-06 Reactive Metallic Copper, 6-Ounce
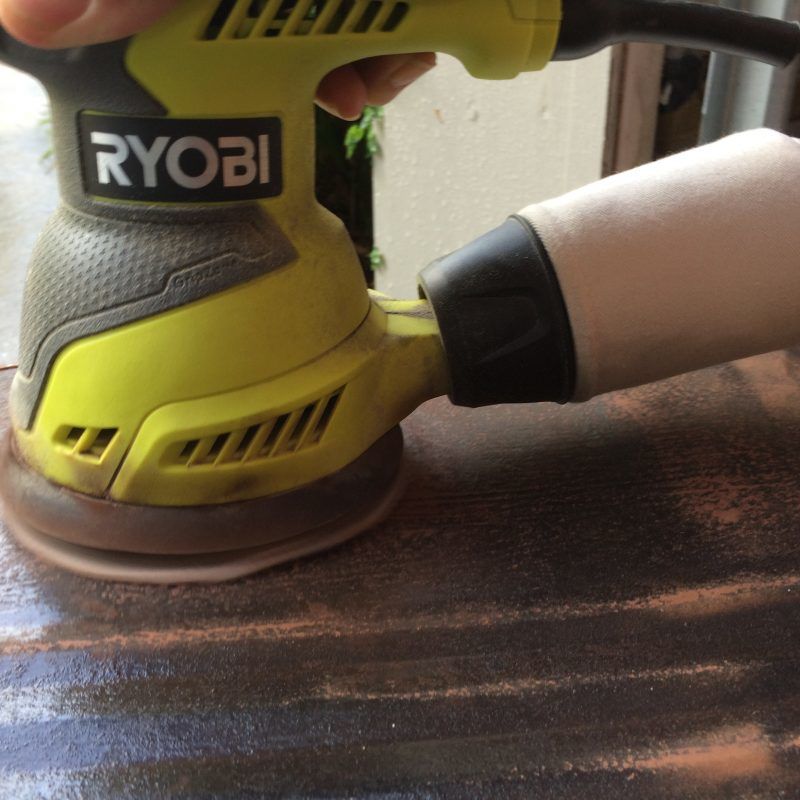
- Orbital Sander. This just makes every job so much easier, but the regular old sandpaper will work as well.
- Small sponge roller. My go-to tool to avoid brush strokes.
- Paint for handles. I used DecoArt Lamp Acrylic Paint and DecoArt Americana Glorious Gold.
How to Put a Faux Copper Finish on a Tub:
- Depending on what you are working with, you might need to give your item a good sanding. I definitely wanted to do this as the existing finish was a bit rough and I wanted my copper finish to be much smoother.

- After I finished sanding, I wiped the whole thing down well with a damp rag and let it dry.
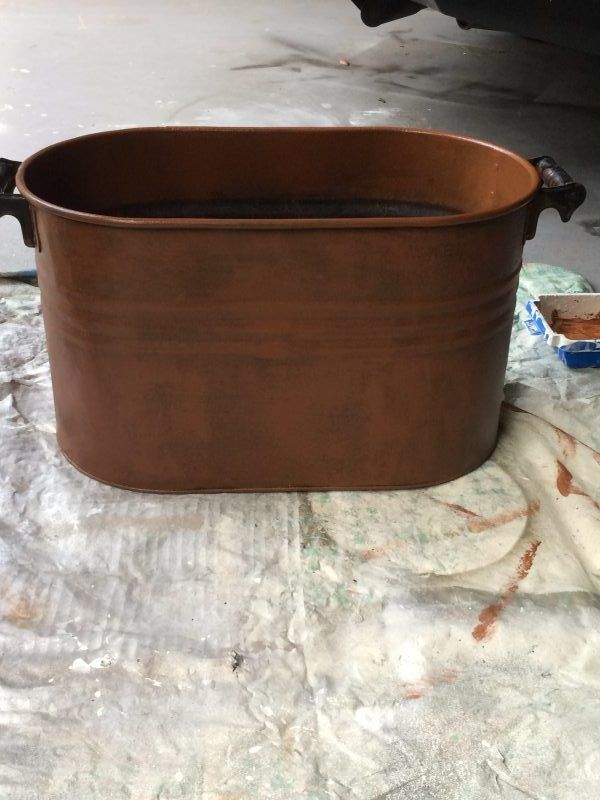
- Now came the fun part. I used my foam roller to apply 2 coats of the primer. The directions instructed that you wait 12 hours between coats, so…being the rule follower (Terry is gasping!), I waited 12 hours…OK…maybe 10!

- Just applying the primer made a HUGE difference and I was already feeling very good about my project. But now it was time for the REAL stuff…the copper paint.
- I used the same sponge roller, which I had cleaned, and applied 2 coats of the Modern Masters Copper Paint, letting it dry well between each coat. The directions did not specify an amount of time to let it dry, but I went about 8 hours between coats.
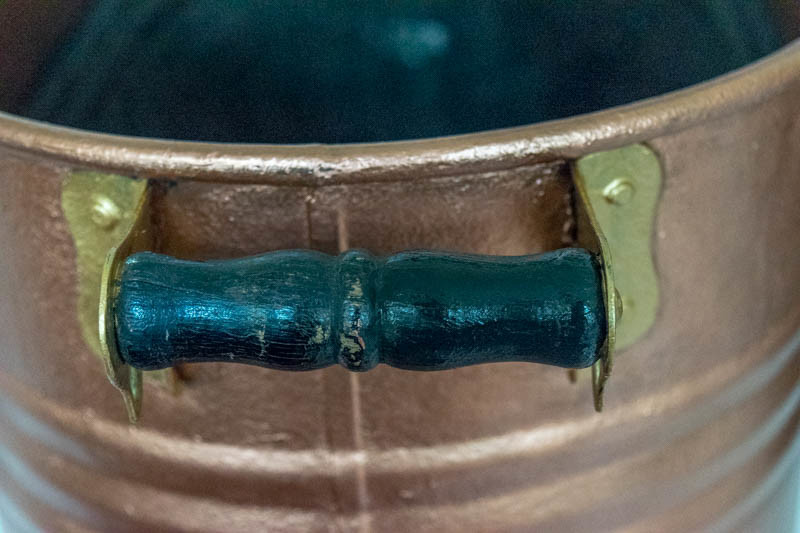
- Finally, I spiffed up the black metal and wood handles. I used DecoArt Glorious Gold for the metal brackets and DecoArt Lamp Black for the wooden handles.

- I gave the entire tub a good spray of Krylon Clear Acrylic Spray.

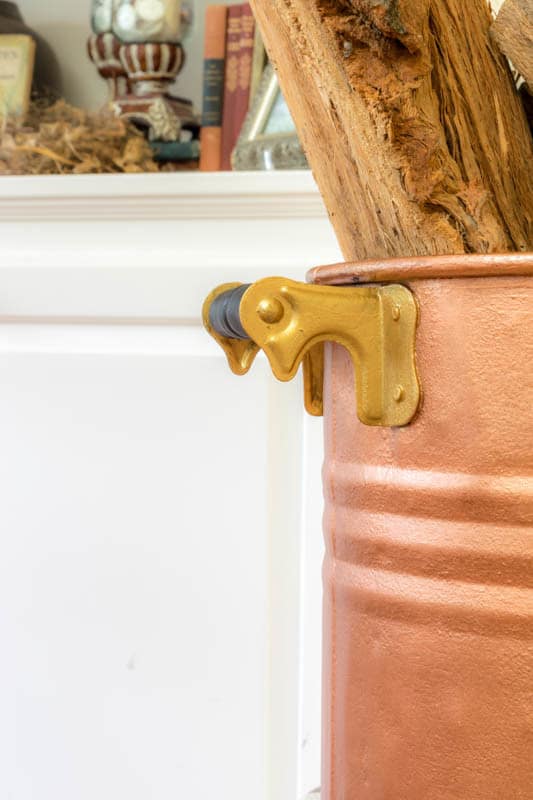
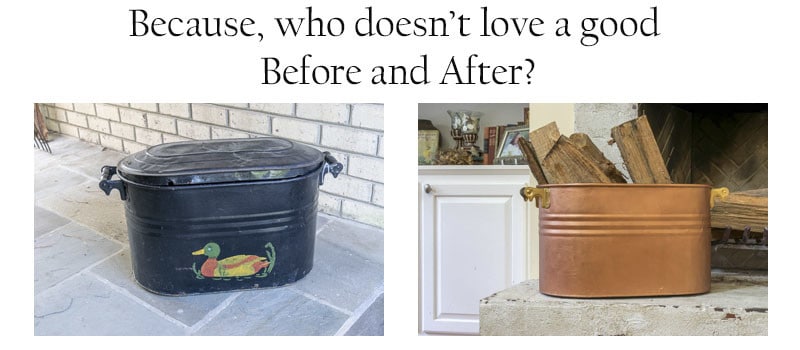
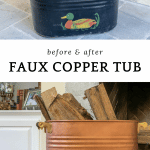
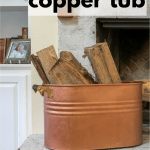
CAN YOU EVEN BELIEVE IT’S THE SAME TUB? CERTAINLY, THIS IS A PERFECT ‘BEFORE AND AFTER’ OPPORTUNITY.
So there you go mis Amigas! I am absolutely crushing on my new ‘copper’ log holder…and just in time for fireplace weather! Sweeet!!!! And don’t be surprised if I pop in with more projects that I put a faux copper finish on…this is my kinda project!
Pin it for your future reference:
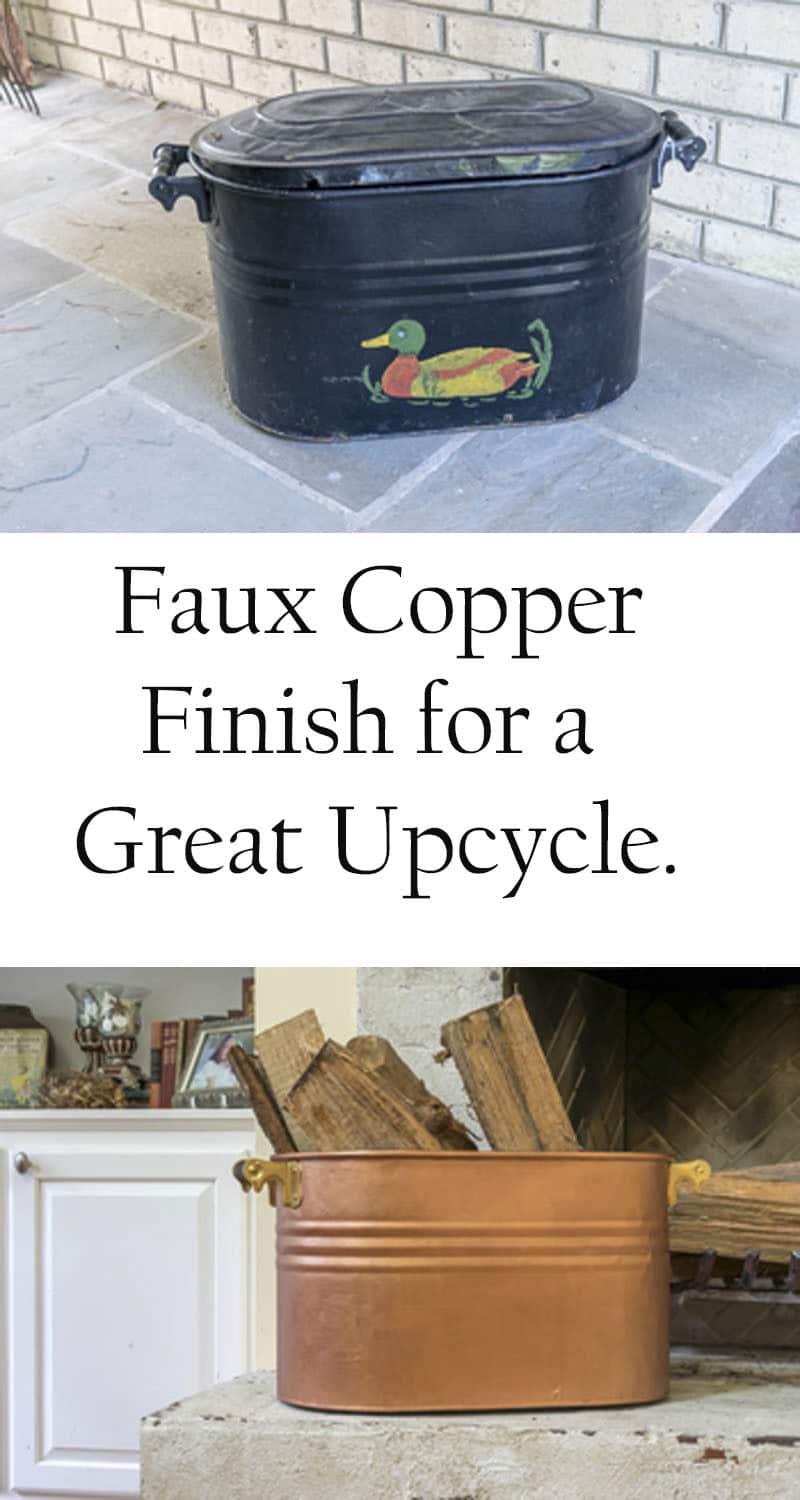
Do you have any doodads lying (or is it laying?) about that would be a candidate for the ‘copper’ treatment? Pop in and share your before and afters.
Thanks again for spending a few minutes of your busy day with me today.
Please know that I welcome each and every comment that comes my way.
If you want to make sure you don’t miss future content, pop your email in the beige box up on the right or click here. I usually send out 2-3 emails a week, so I won’t inundate your inbox. Believe me, I’m sensitive to an overflowing email inbox!
By subscribing to Nourish and Nestle, we will only use your email address to send you emails, no more than 2-3 per week. In addition, you will have access to my growing library of knit & crochet patterns, as well as other printables, so check back often as this library will continue to grow.
Please know that you can unsubscribe at any time by emailing me or clicking on the “unsubscribe” link at the bottom of all emails.
And, you can access many of the products I refer to on my Nourish and Nestle Amazon Page. You can access it here.
So, if you’d like to get in on the ‘subscriber benefit’ action, simply subscribe to Nourish and Nestle here or using the form on the right sidebar. It’s towards the top a bit. I have sent all my subscribers the link to the Subscriber Benefits Library. If you missed it or misplaced it, drop me a line.



Really a great makeover. Had to ask myself “what were they thinking?” on the before paint job! I have a tub like yours that I have tortured repeatedly to make into a rolling galvanized stenciled creation…hopefully a little more tasteful than the before of yours. I’ve pinned your copper one on two boards so I’ll be able to refer to your project in the future. Great info!
How did I miss this? Wow…talk about a day late and a dollar short. But yeah, someone loved a duck when they painted this tub! Luckily paint changes just about everything. Thanks so much for visiting and hoping you are having a lovely Monday.
Hugs, Lynn
I can’t believe this is a faux finish! This looks amazing!
Oh wow Lynn your tub looks great! I love copper! I think buying the little tub and painting it yourself was the better option. It turned out perfect and you still had money to spend.
Hi Lynn, You did a beautiful job on this transformation. Would never be able to tell it was a faux finish!!!
Who doesn’t love a goof before and after indeed! Wow!! That is gorgeous. And I’m really loving the cooper. It is richer in look than gold and it is also perfect for fall. The accents in gold and black just give a finished look to the whole tub. Happy Fall Lynn!
Hi Mary, and thanks for coming by today. I am really loving everything about my tub, it’s perfect to hold my firewood. And there is no doubt in my mind that you probably have a very similar tub hiding somewhere n that basement of yours. I’m still pining to get a look in that basement some day.
Wishing you a lovely weekend.
Hugs, Lynn
For $10 you’ve completely transformed that tub & it looks great! You can’t even tell it’s not copper. What a great find!
Hi Mindy! I know! I’m pretty tickled with it. But truthfully, I did have to buy the paint but I have a good bit leftover for the next project. Thanks again for swinging by!
hugs, Lynn
Looks great! Fantastic upcycle project 🙂 I love that you’re using it for firewood; my new house has a wood-burning fireplace so I need to get a cute tub or rack for wood. Mmmm I smell an upcycle project in my future… 😀
There is nothing like a good upcycle project. You just need to find an old tub of some sort. If you can’t find an old one, maybe a galvanized tub from the farm store? Let me know what you end up doing.
Have a great day.
Hugs, LYnn
This is beautiful! I too love the copper/metallic tones, preferably rose gold! I was wondering if you found that after clear coating the tub, did you find that it took away the shine of the copper spray paint? Or was that the look you wanted to begin with? I’m about to spray paint a metal tub myself and would like it to have a nice shiny gloss finish as if store bought. Any thoughts? All of the metallic sprays I’ve used so far mark up easily without a coating, but putting a clear coat on takes away the shine…. just wondering if you had any helpful suggestions.
Thanks and beautiful job!💗
Erin
Hi Erin, I would’ve loved for it to be shinier. I don’t think the clear acrylic dulled the shine, but it didn’t make it shinier either. If I had to do it again, I would try Rustoleum’s Triple Thick Glaze. I think that would’ve helped get a better gloss. Let me know what you end up doing.
Hugs,
Lynn