Knit Bunny Pattern
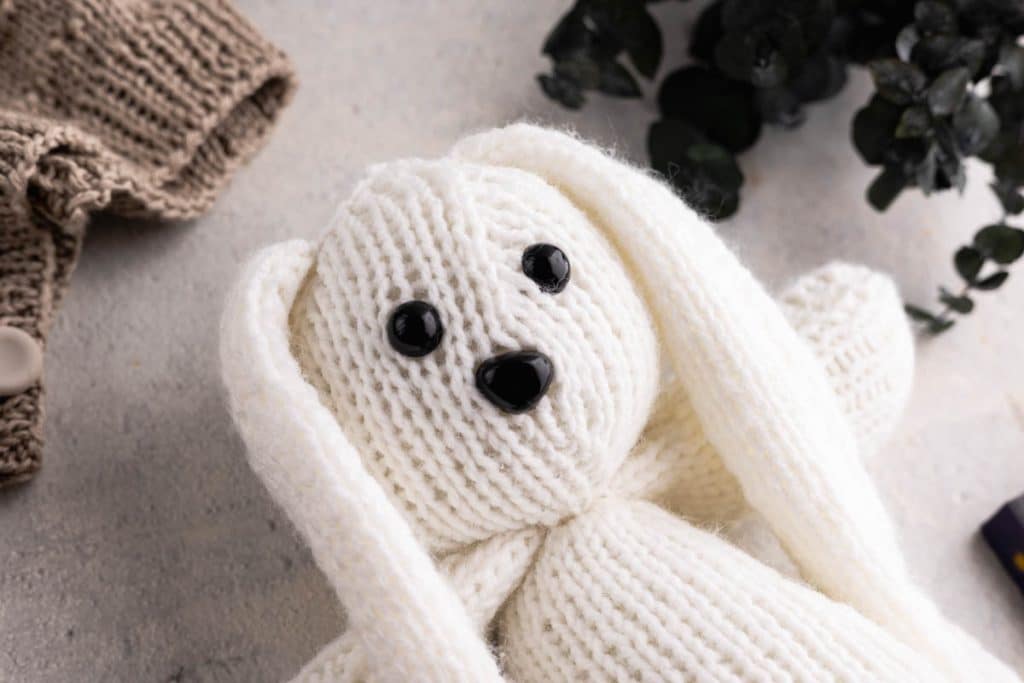
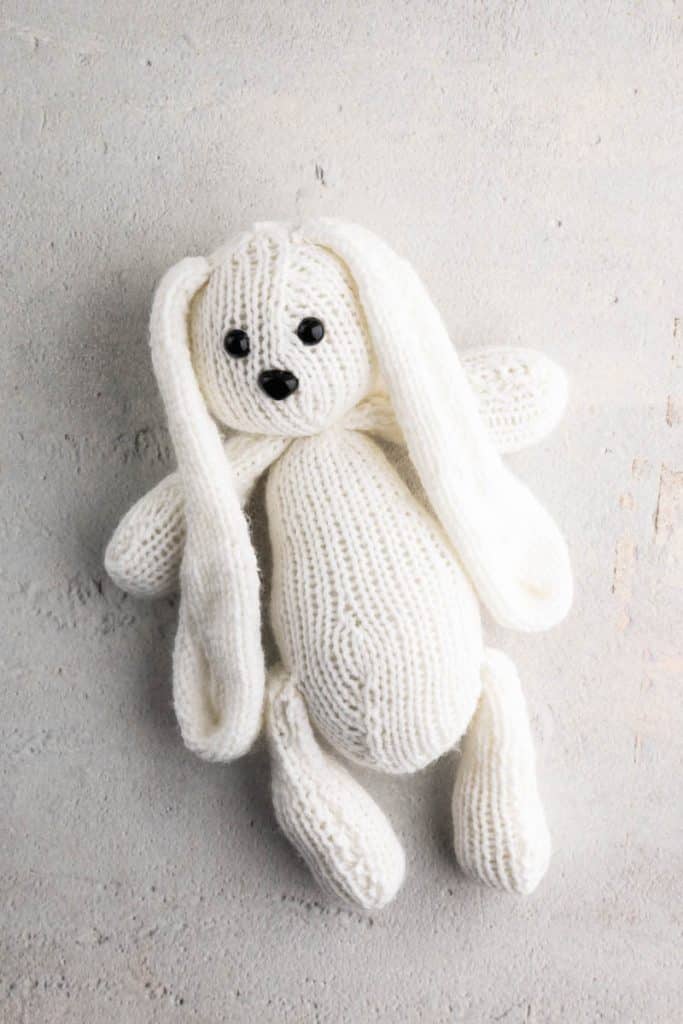
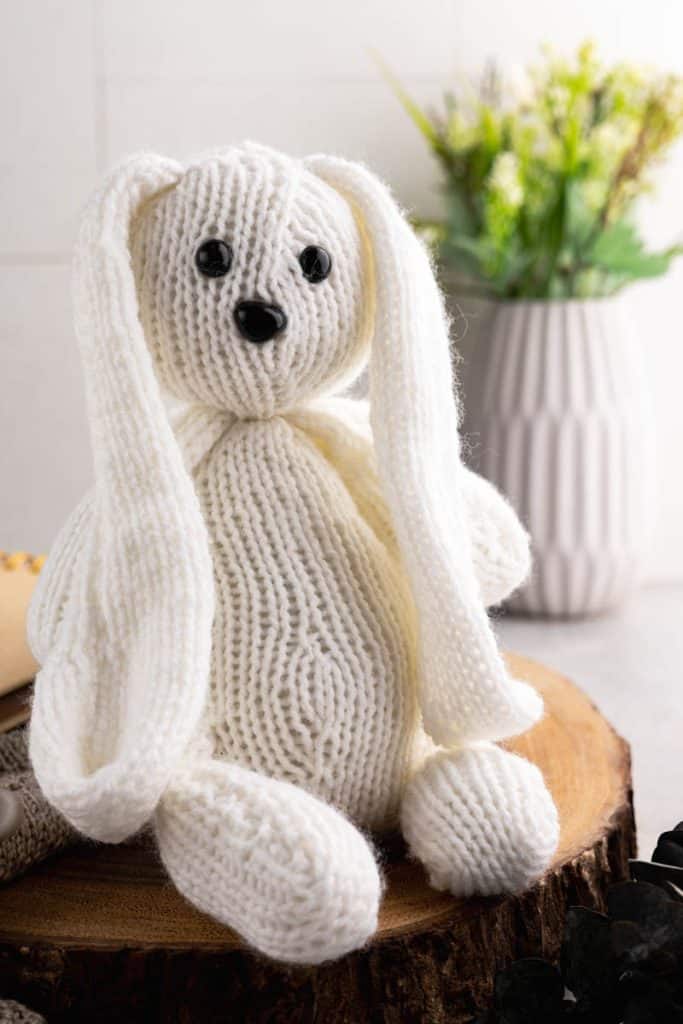
Clover, lovingly created from this knit bunny pattern, is one of those projects that knit up faster than you expect and turn out sweeter than you planned. Clover stands about eleven inches tall from the tips of his toes to the top of his head, with long floppy ears that hang down alongside his body and give him that slightly sleepy, well-loved look that makes a stuffed animal feel like it has been part of the family for years.
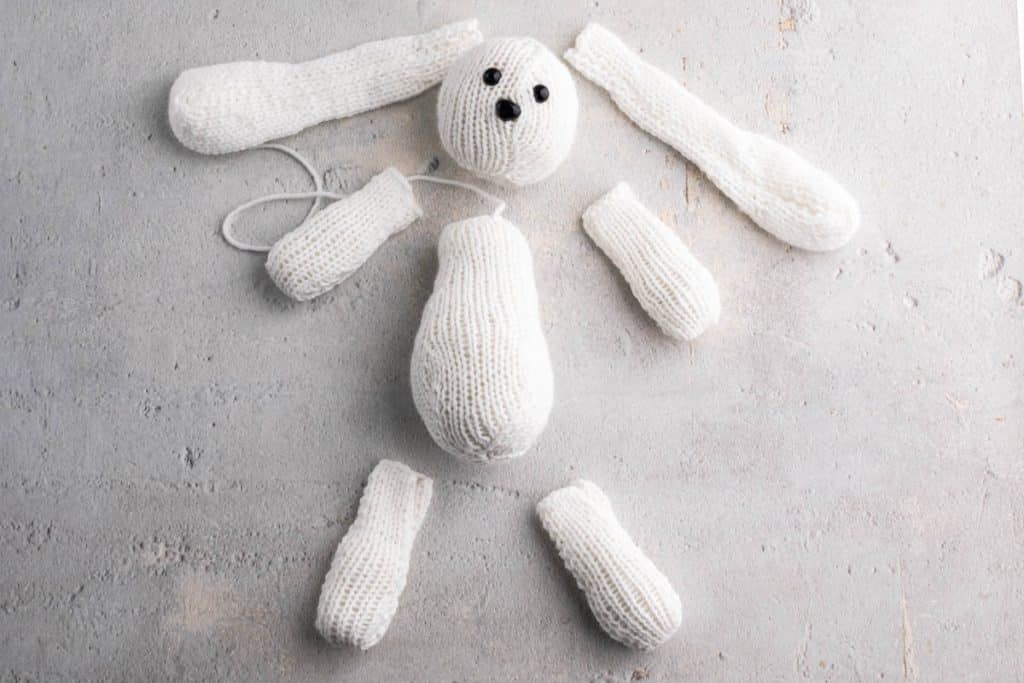
Clover is knit in eight separate pieces and seamed together at the end. The head and body are worked in the round, and the ears, arms, and legs are worked flat and then folded and sewn into shape. That construction sounds fussier than it is. There are no complicated stitches anywhere in this pattern, just knit stitches, a simple lifted increase, and knit two together. If you can knit in the round and thread a tapestry needle, you’ll have no problem with this knit bunny pattern. The individual pieces are small enough to tuck in a bag and carry with you, which makes him a good project for waiting rooms and carpool lines.
Clover the Knit Bunny uses less than half a skein of yarn, which puts him squarely in the category of things you can make from what you already have on hand. I made mine in white because it’s what I had on hand! But he would be just as charming in soft grey, tan, oatmeal, or the palest blush pink or blue. He makes a lovely baby shower gift, and if you’re planning Easter baskets, he is worth putting on the list.
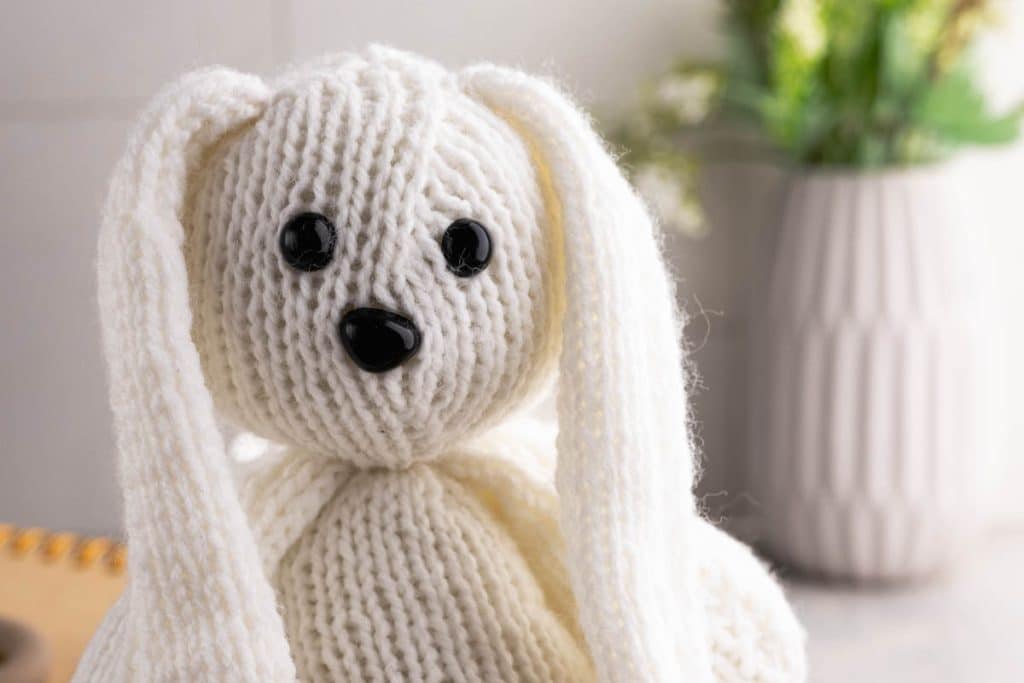
Table of Contents
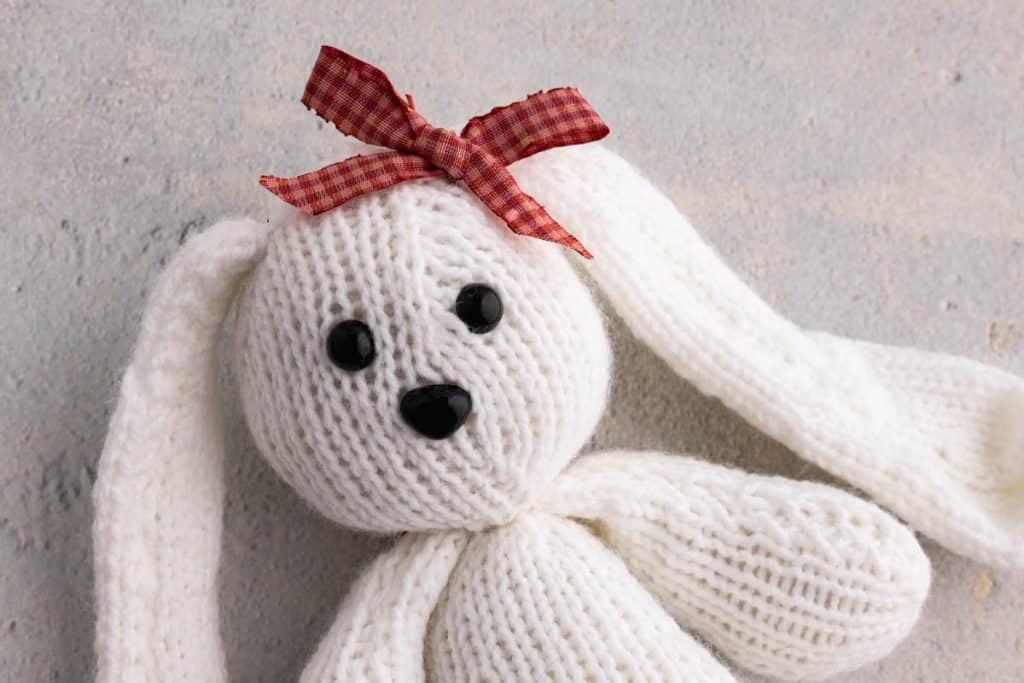
And, like the magic bunny that Clover is, tuck a simple bow at the base of the ears, and Clover is a darling girl bunny!
Tips for Success
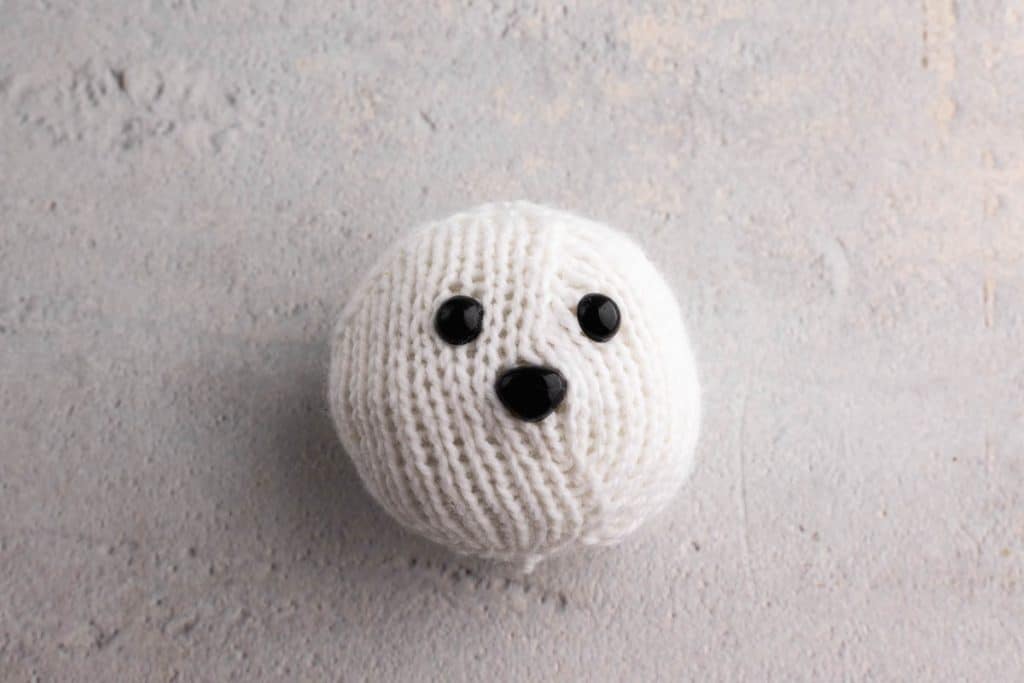
- Read the pattern all the way through before you cast on. This one is worth it because the pieces are worked in a particular order for a reason. Insert the safety eyes and nose while the head is still open at the neck; once you close that opening, you can’t go back without undoing your work, which would be sad.
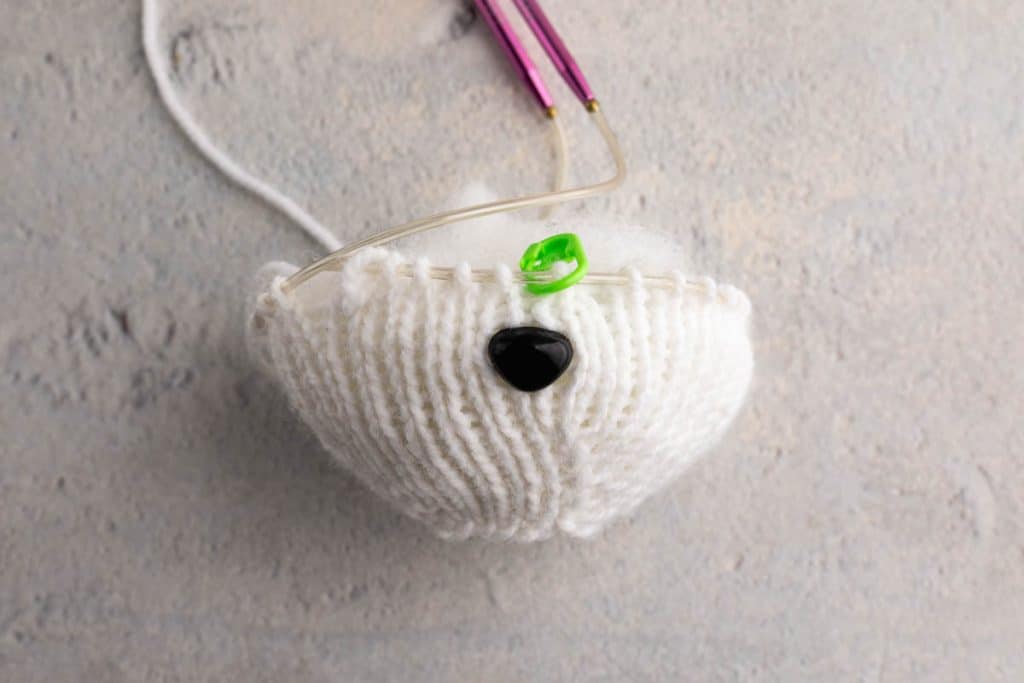
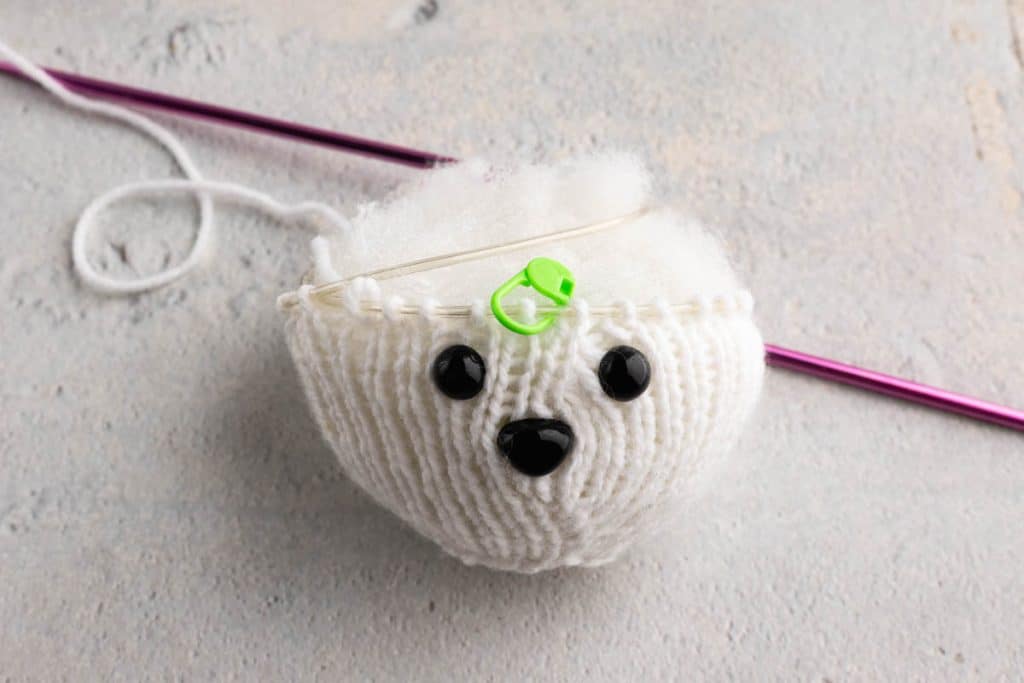
- Place your safety eyes and nose before you finish stuffing. The pattern has you position the nose using the beginning of round marker as your center guide, then work a couple more rounds and add the eyes on either side of it. Reach in through the open neck edge to push the washers onto the backs, easing the stuffing aside with your fingers as you go. If you wait until the head is firmly packed, you will not be able to get your hand in there.
- Take your time placing the face. Everything about a stuffed animal’s personality lives in the distance between the eyes and how far down the nose sits. Before you snap those backs on, set the head down and look at it from a few feet away. Once the washers are on, they are on for good.
- Stuff in small pieces rather than large handfuls. Pull off bits about the size of a walnut and work them in one at a time, pushing them into the corners first. Large clumps create lumps that show right through the knitting and are almost impossible to smooth out later.
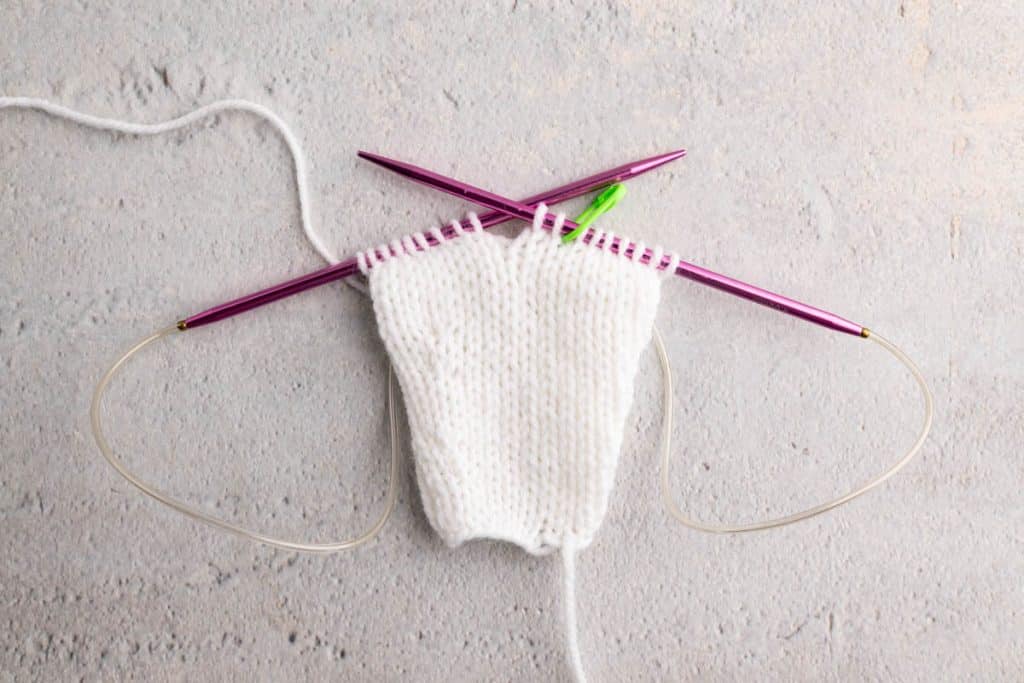
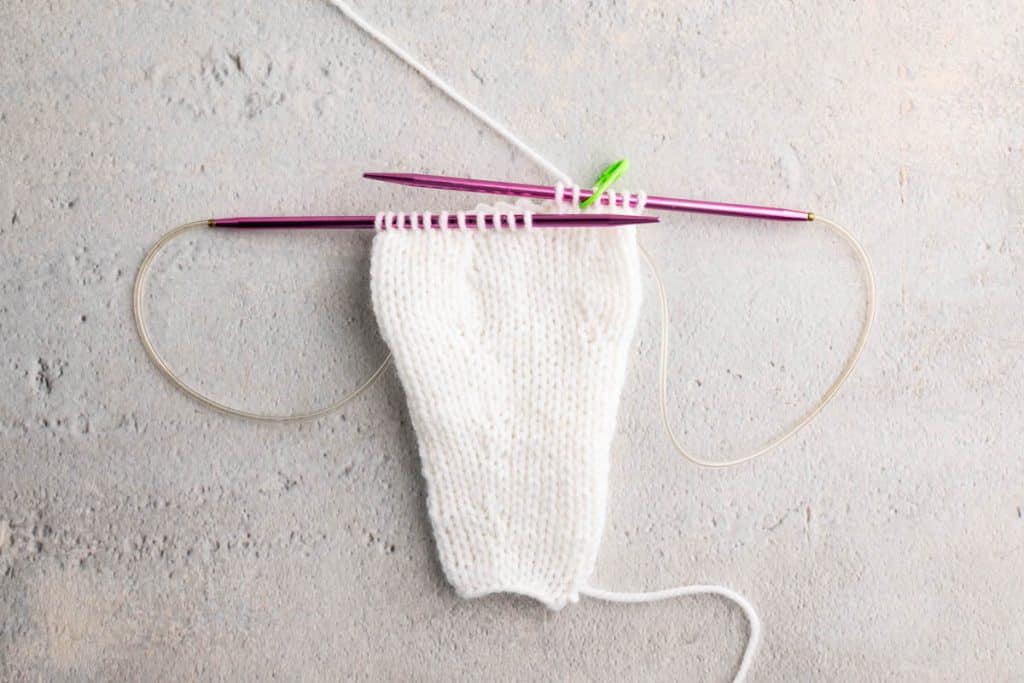
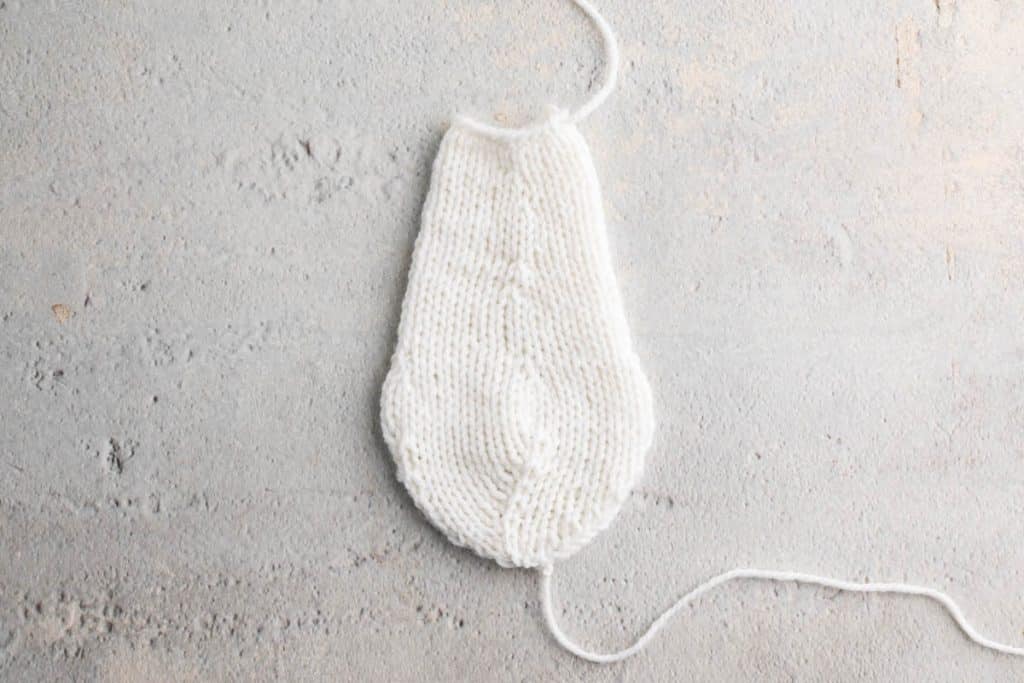
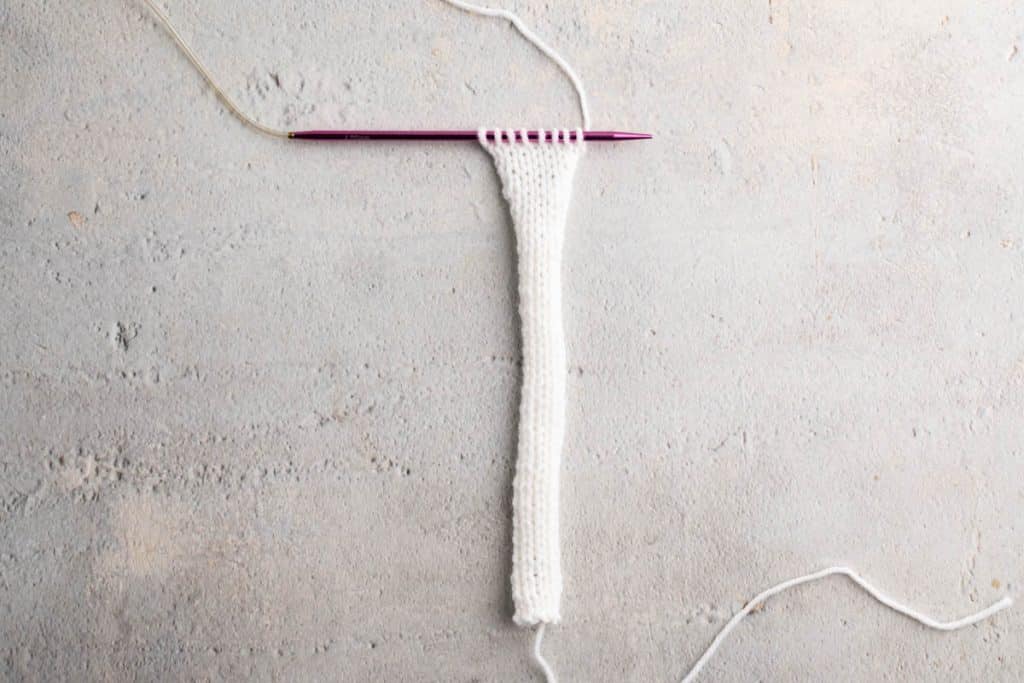
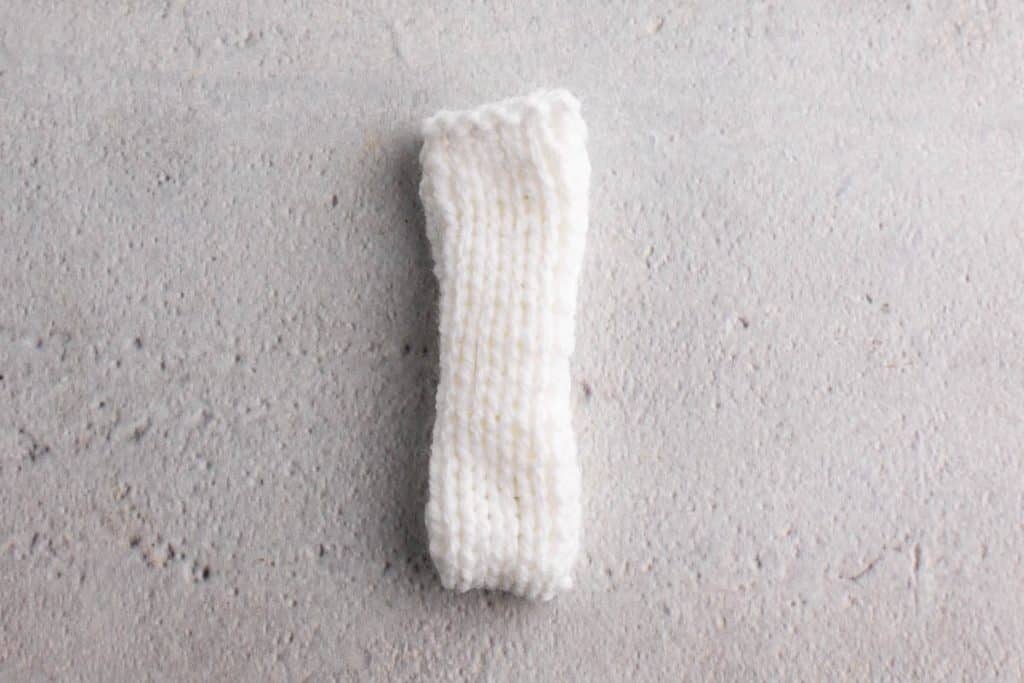
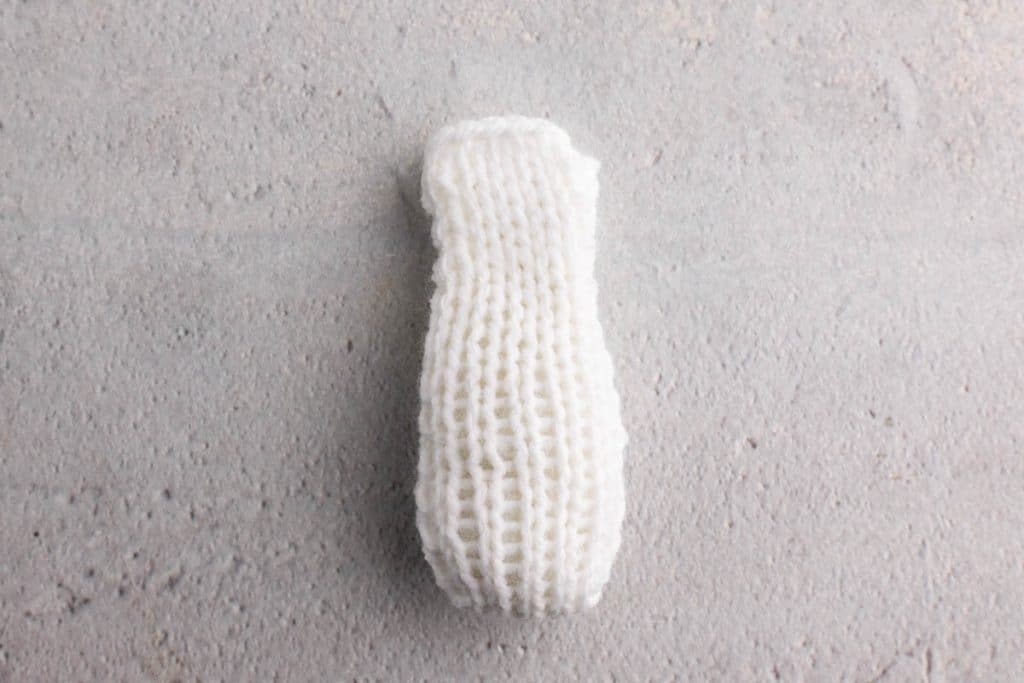
- Fold the arms and legs crosswise, not lengthwise. This is the step where it is easiest to go wrong. You knit a flat piece eight stitches wide and sixty rows long, then fold it so the cast on edge meets the bind off edge, giving you a piece that is eight stitches wide and thirty rows long. If you fold it the other direction you will end up with a long skinny noodle instead of a limb. The ears are folded the same way, so if you are unsure, look at the ear photos before you start.
- Leave the tops of the arms and legs unstuffed. About half an inch of empty fabric at the top makes them far easier to sew flat against the body, and it lets the limbs move a little instead of sticking straight out.
- Do not stuff the ears at all. They are meant to be flat and floppy. Stuffing them makes them stand up stiffly, which is a completely different bunny.
- Weave in your ends as you finish each piece. It is tempting to save them all for the end, but tracking down a dozen loose tails after everything is assembled is nobody’s idea of fun. The exception is the long tail you leave for seaming, which you should keep attached to the piece it belongs to.
- Use the mattress stitch for the seams. It pulls the edges together invisibly and gives you a much tidier result than whip stitching. Take it slowly and pull firmly, but not so tight that the fabric puckers. Here’s a refresher on the Mattress Stitch if you need it.
- Pin before you sew. Especially the ears. Pin them to the upper sides of the head, then stand back and look before you commit. Ears set even a quarter inch too high or too low change the whole expression.
- IMPORTANT! If this bunny is for a baby or a child under three, skip the safety eyes and nose entirely and embroider the face instead. A few satin stitches in black yarn or embroidery floss give you the same sweet face without the risk. Safety eyes are called safety eyes because of how they attach, not because they are appropriate for infants.
Troubleshooting
My stuffing is showing through the knitting. This is the most common issue with knit toys and it means your fabric is too loose. Go down a needle size or two and knit a fresh piece. You want a fabric that feels dense and a little stiff, firmer than you would ever knit for a sweater. If you have already finished the piece and do not want to reknit it, you can line the inside with a scrap of thin white fabric before you stuff it, which hides the fiberfill reasonably well.
My arms and legs came out long and thin instead of chunky. You folded lengthwise instead of crosswise. The finished limb should be eight stitches wide and thirty rows long before you sew it. If yours is four stitches wide and sixty rows long, unfold it and try again the other direction.
I have a ladder of loose stitches running up my head or body. This happens when your needles change over if you are using double-pointed needles or magic loop. Give the first two stitches after each changeover an extra tug, and try shifting where the changeover falls every few rounds so the looseness does not stack up in one line. A gentle steam once she is finished will even out a lot of it.
My head is lumpy. Take the stuffing out and start over with smaller pieces. It is a fifteen minute job and it makes an enormous difference. Work the fiberfill into the shape gradually, checking from a distance as you go.
The eyes look crooked. Count stitches out from your center marker rather than eyeballing it, and count rounds down from the top as well. Even one stitch off on one side reads as noticeably crooked on a face this small.
There is a gap where the head meets the body. Both openings are twenty stitches around, so they should match up exactly. Pin at four evenly spaced points first, then sew between the pins. If you are still seeing a gap, add a little more stuffing to the neck area before you close the last inch.
My bunny will not sit up. She is not really designed to sit on her own. She is a floppy, cuddly sort of bunny meant to be held or propped. If you want a firmer bunny that holds a pose better, stuff the body more densely, particularly around the base.
My ears will not lie flat. Make sure you have flattened the seams to the sides rather than leaving them at the edges, and give the ears a light steam. Hold the iron above the fabric and let the steam do the work without pressing down, then lay them flat until they cool completely.
The pieces do not all look the same size. Knit all four limbs one after another rather than spacing them out over weeks. Your tension drifts more than you would think between knitting sessions, and matched pieces knit in one sitting will look noticeably more consistent.
Thoughts on Yarn and Yarn Substitutions
I used Lion Brand Baby Soft for this Knit Bunny Pattern, about 43 grams, which works out to roughly 140 yards. Baby Soft comes in a generous 140-gram skein of 459 yards, so a single skein makes three bunnies with yarn to spare. It is a DK weight, 60 percent acrylic and 40 percent nylon, and it is machine washable and dryable, which is exactly what you want in something a child will drag around.
If you want to substitute, buy by yardage rather than by skein. Figure 140 yards and add a little cushion, so about 150 yards. Skein sizes vary enormously between brands, and a yarn that comes in 50-gram balls will need two of them, whereas Baby Soft needs less than a third of one.
Now the important part, and please do not skip this. Swatch before you commit, and swatch to the pattern rather than to the ball band. The two are not always the same, and the number on the band is a suggestion for garments, not a rule. Knit a piece at least five inches wide, measure the middle four inches where the edges are not curling, and adjust your needle size until you are getting eighteen stitches over four inches. If you run tighter than that your bunny will come out smaller, and if you run looser the stuffing will start to peek through between the stitches. Neither is a disaster, but it is much easier to sort out before you cast on than after.
Fiber content matters more for how the bunny lives than for how she knits. Acrylic and acrylic blends are a practical choice for anything a child will drag around, since they wash and dry without fuss and keep their shape. Superwash wool gives you a softer hand and lovely stitch definition, though it can grow a little with handling. Cotton makes a bunny with more weight and structure, which some people love, but it has almost no give, so watch your tension and expect a firmer, less cuddly result.
A few yarns to avoid. Highly variegated yarns fight with the shaping and make the increases and decreases look like mistakes. Very dark colors are hard on the eyes when you are counting small stitches, so if you have your heart set on charcoal or black, give yourself good light and consider a lifeline.
If you are making Clover for a baby, look for something labeled as a baby yarn or check that it is machine washable and dryable. New parents are not hand washing a stuffed rabbit, and a gift that has to be babied tends to end up on a shelf instead of in the crib.
One last thought on color. White shows off the stitch definition beautifully, which is why I chose it for the sample, but it also shows every bit of grubbiness that comes with being loved. If this bunny is destined for a toddler rather than a nursery shelf, a soft grey, taupe, or oatmeal will look just as sweet and hold up far better to real life.
The Pattern
Materials
Some of these links may be Amazon affiliate links and I may earn a small commission from the sale of these products to help defray the costs of operating this site, but the price you are charged is not affected. You can see my full disclosure policy here.
- Lion Brand Baby Soft yarn, approximately 140 yards (43 g)
- 4 mm (US 6) needles suitable for small-circumference knitting: double pointed needles, a long circular for magic loop, or a 9-in circular
- Tapestry needle
- Stitch markers
- Scissors
- Fiberfill stuffing
- Safety eyes and safety nose, optional but see the Tips for Success section, above.
- This free Clover Knit Bunny Pattern is available in this post below and as an ad-free printable PDF for subscribers. You can find the pattern in the Miscellaneous section of the Library (your super secret password is included at the bottom of every Monday’s Newsletter email) or email me, and I’ll send it to you. Not a subscriber? C’mon—we’d love to have you. A subscription costs nothing and gives you access to all our printables and pattern PDFs. Click here to have the Clover the Knit Bunny pattern directly emailed to you.
Gauge
18 sts x 26 rows = 4 x 4 in (10 x 10 cm) in stockinette stitch.
Finished Measurements
Approximately 11 in (28 cm) tall, measured from the top of the head to the bottom of the feet. Approximately 4.25 in (11 cm) across the front of the body at its widest point.
Abbreviations Used in this Knit Bunny Pattern
- CO: cast on
- BO: bind off
- k: knit
- p: purl
- k2tog: knit 2 stitches together
- LI: lifted increase
- sm: stitch marker
- st(s): stitch(es)
- RS: right side
- WS: wrong side
Special Stitch
- Lifted Increase (LI): Lift the stitch below the next stitch on the left needle onto the left needle, then knit into it. This creates one new stitch. If you have a different preferred lifted increase method, use it throughout the pattern.
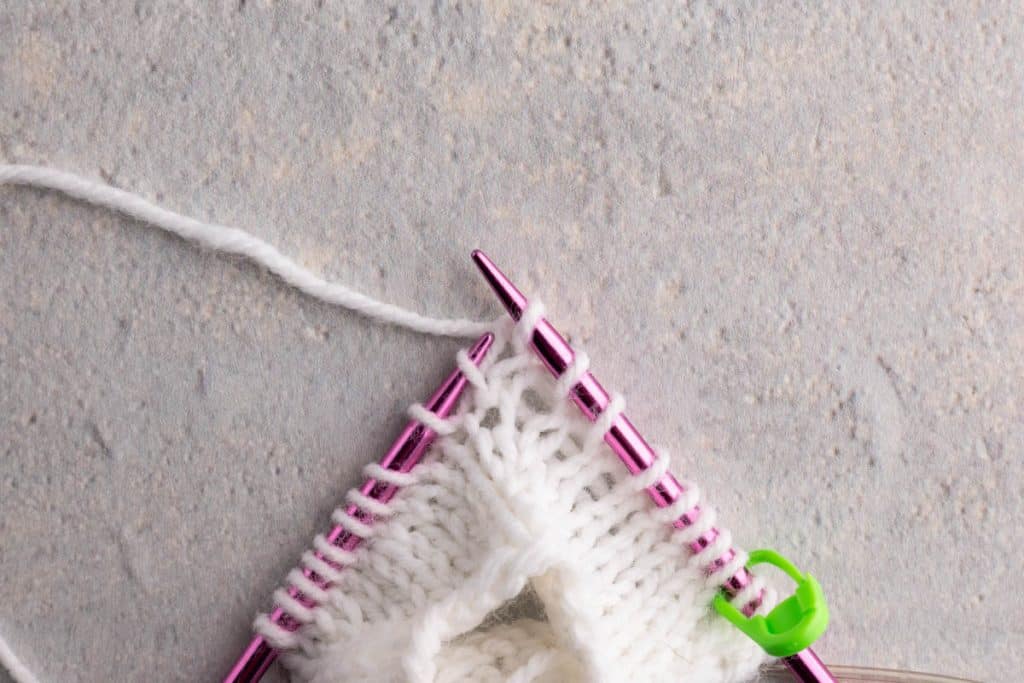
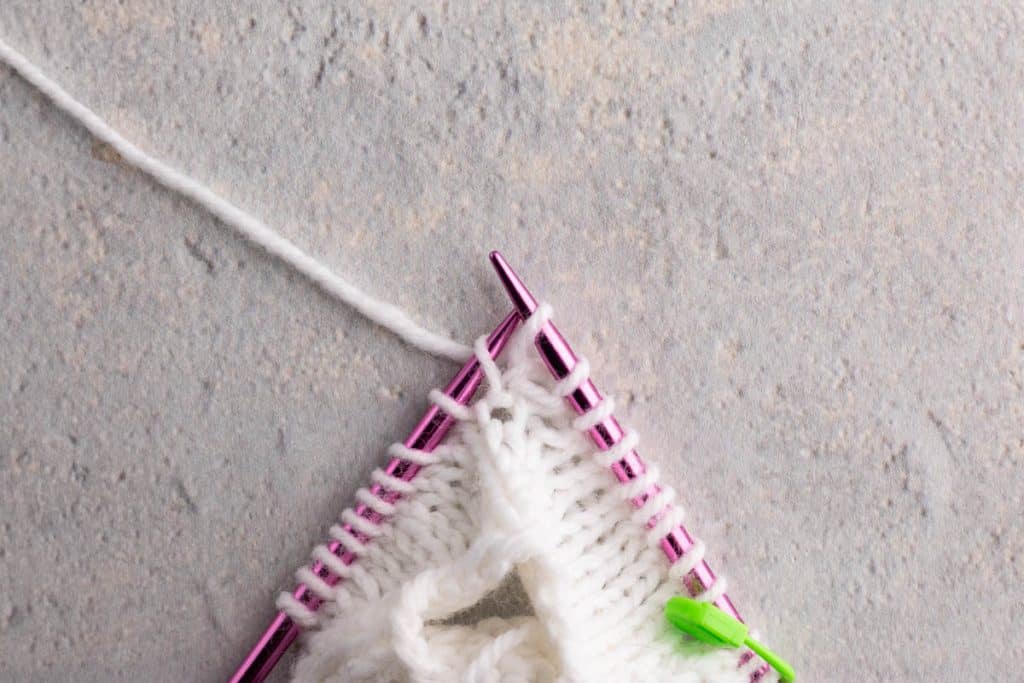
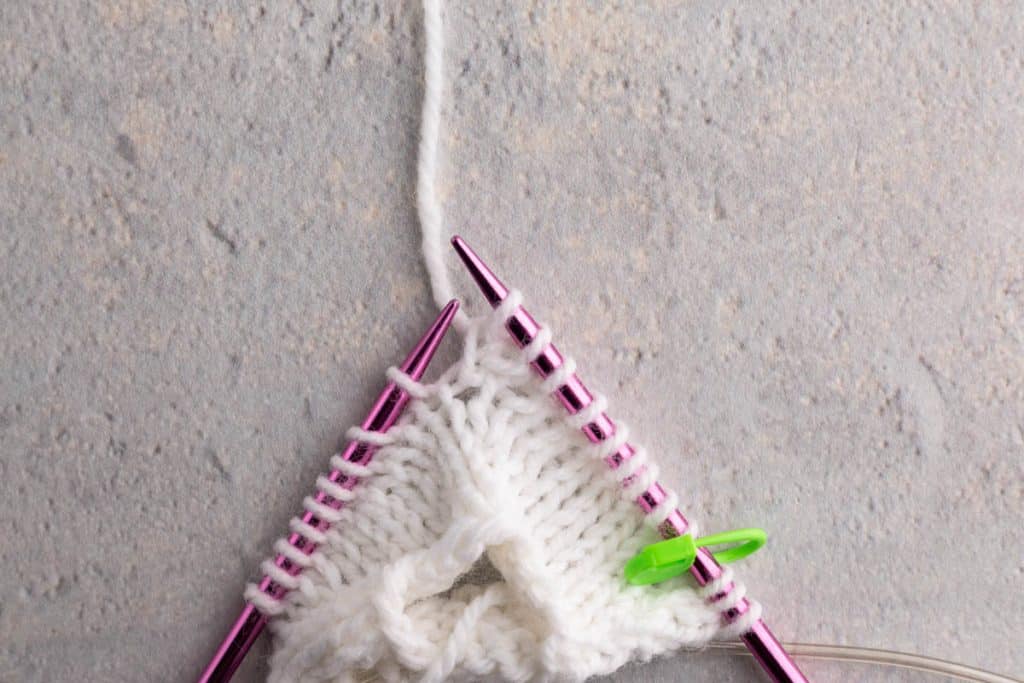
Notes Before You Begin
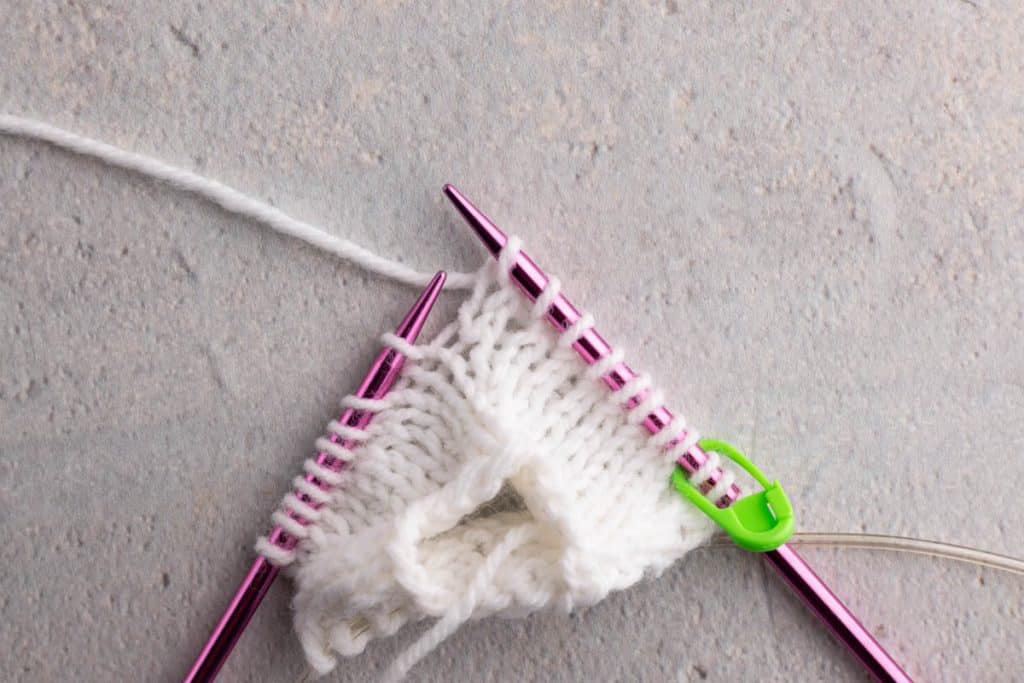
- The bunny is knit in separate pieces and sewn together during finishing.
- The head and body are worked in the round. The ears, arms, and legs are worked flat and seamed.
- Unless otherwise stated, all increases and decreases on flat pieces are worked on RS rows.
- Safety eyes and nose are optional. If making this toy for a young child, embroider all facial features instead.
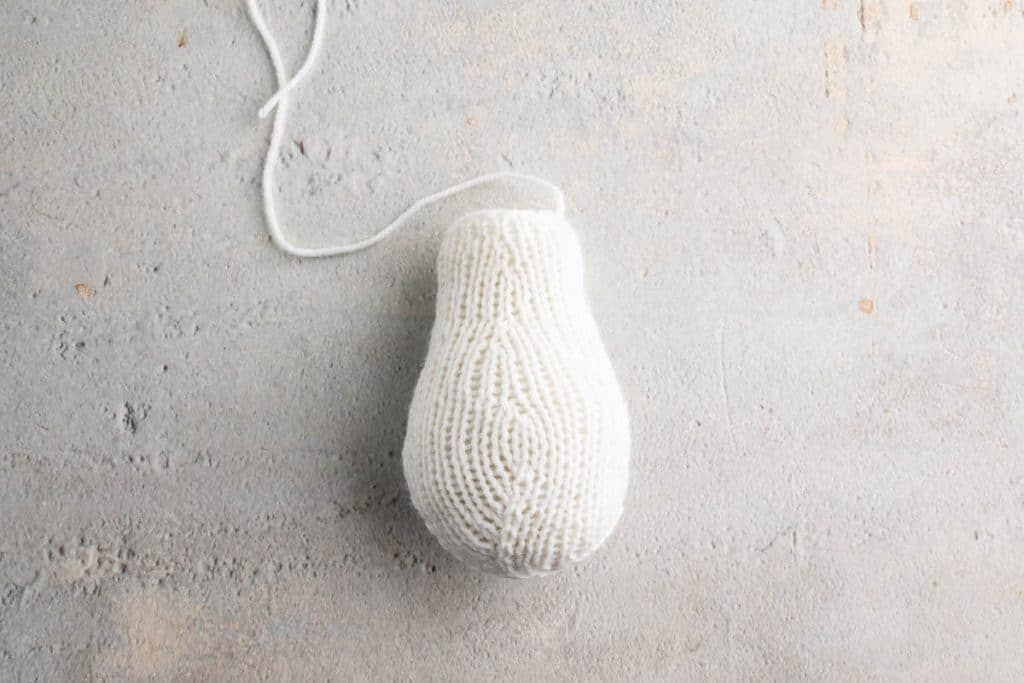
- Stuff the head as you work the decreases. The body is stuffed through the open neck edge after it is completed, before attaching it to the head.
- The arms and legs are lightly stuffed, leaving the top unstuffed to make sewing them to the body easier.
- The ears are not stuffed.
Head
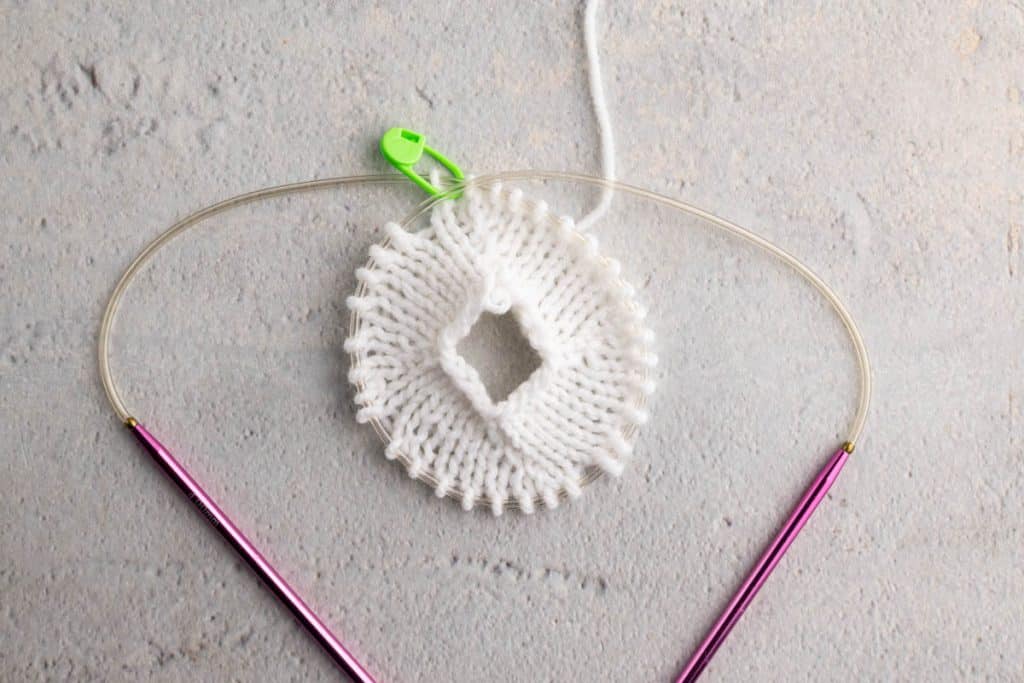
Cast on 20 sts. Join to work in the round, being careful not to twist your stitches. Place a stitch marker to indicate the beginning of the round.
The cast-on edge stays open and becomes the neck. It is sewn to the top of the body during finishing.
Rounds 1 to 2: Knit.
Increase Rounds
Round 3: *K5, LI; rep from * around. (24 sts)
Round 4: Knit.
Round 5: *K6, LI; rep from * around. (28 sts)
Round 6: Knit.
Round 7: *K7, LI; rep from * around. (32 sts)
Round 8: Knit.
Round 9: *K8, LI; rep from * around. (36 sts)
Rounds 10 to 15: Knit.
After Round 15, position the nose, using the beginning-of-round marker as the center guide.
Rounds 16 to 17: Knit.
Begin stuffing the head as you work.
Decrease Rounds
Round 18: *K7, k2tog; rep from * around. (32 sts)
Round 19: Knit.
After Round 19, attach the safety eyes, positioning them evenly on either side of the center marker. Reach in through the open neck edge to secure the backs, easing the stuffing aside as needed.
Round 20: *K6, k2tog; rep from * around. (28 sts)
Round 21: Knit.
Round 22: *K5, k2tog; rep from * around. (24 sts)
Round 23: Knit.
Round 24: *K4, k2tog; rep from * around. (20 sts)
Round 25: Knit.
Round 26: *K3, k2tog; rep from * around. (16 sts)
Round 27: Knit.
Round 28: *K2, k2tog; rep from * around. (12 sts)
Round 29: Knit.
Round 30: *K1, k2tog; rep from * around. (8 sts)
- Finish stuffing the head.
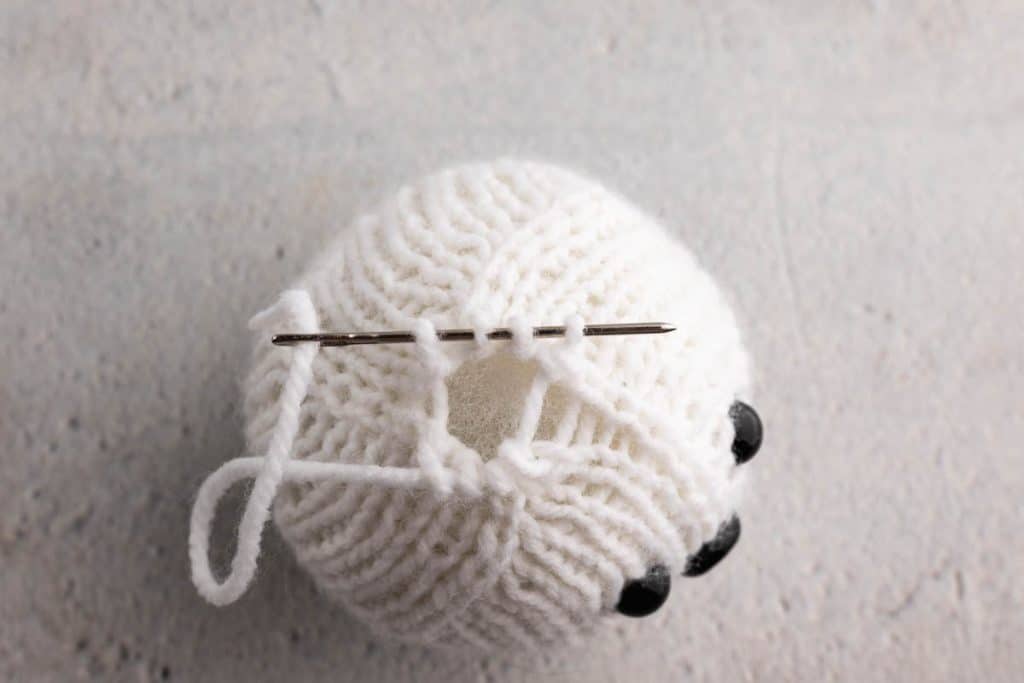
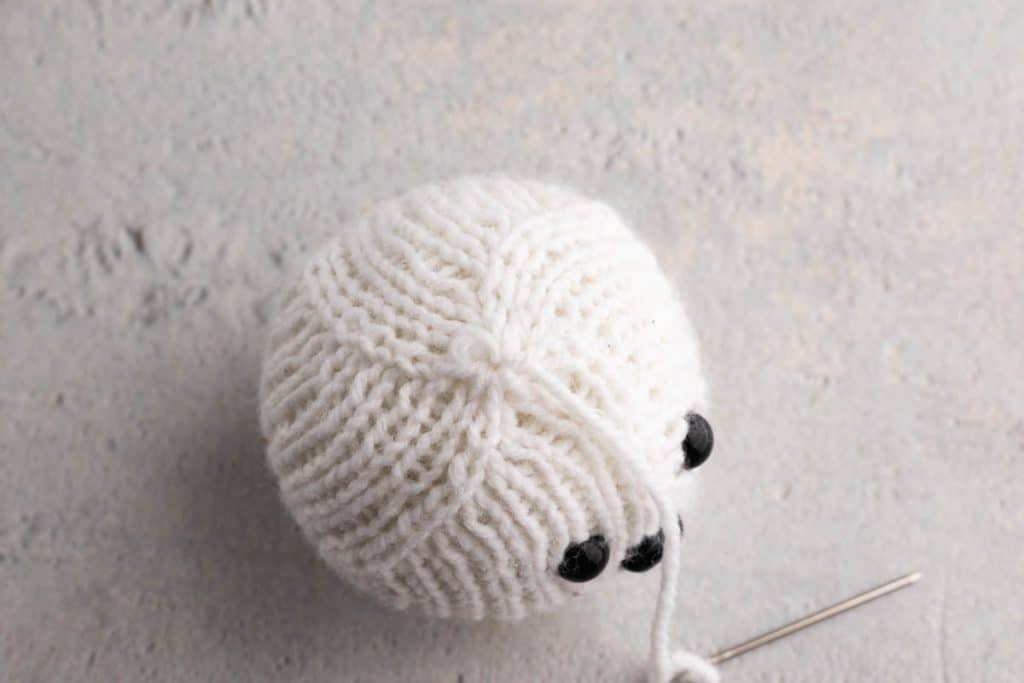
- Cut the yarn, thread it through the remaining stitches, pull tight to close, and weave in the end.
Body
Cast on 20 sts. Join to work in the round, being careful not to twist your stitches. Place a stitch marker to indicate the beginning of the round.
The body is worked from the neck down. The cast-on edge stays open and becomes the neck, and the final decreases close the bottom of the body.
Rounds 1 to 4: Knit.
Increase Rounds, 2 Stitches at a Time
Round 5: K5, LI, k10, LI, k5. (22 sts)
Rounds 6 to 7: Knit.
Round 8: K6, LI, k11, LI, k5. (24 sts)
Rounds 9 to 14: Knit.
Round 15: K6, LI, k12, LI, k6. (26 sts)
Rounds 16 to 17: Knit.
Round 18: K6, LI, k13, LI, k7. (28 sts)
Rounds 19 to 24: Knit.
Increase Rounds, 4 Stitches at a Time
Round 25: *K7, LI; rep from * around. (32 sts)
Round 26: Knit.
Round 27: *K8, LI; rep from * around. (36 sts)
Rounds 28 to 31: Knit.
Decrease Rounds
Round 32: *K7, k2tog; rep from * around. (32 sts)
Round 33: Knit.
Round 34: *K6, k2tog; rep from * around. (28 sts)
Round 35: Knit.
Round 36: *K5, k2tog; rep from * around. (24 sts)
Round 37: Knit.
Round 38: *K4, k2tog; rep from * around. (20 sts)
Round 39: Knit.
Round 40: *K3, k2tog; rep from * around. (16 sts)
Round 41: Knit.
Round 42: *K2, k2tog; rep from * around. (12 sts)
Round 43: Knit.
Round 44: *K1, k2tog; rep from * around. (8 sts)
- Cut the yarn, leaving a long tail. Thread the tail through the remaining sts and pull tight to close this end, which forms the bottom of the body.
- Stuff the body firmly through the open cast-on edge at the neck. Leave that edge open to sew the body to the head during finishing.
Arms and Legs, Make 4
These pieces are worked flat and sewn into tubes.
Cast on 8 sts.
Rows 1 to 60: Work in stockinette stitch.
Bind off.
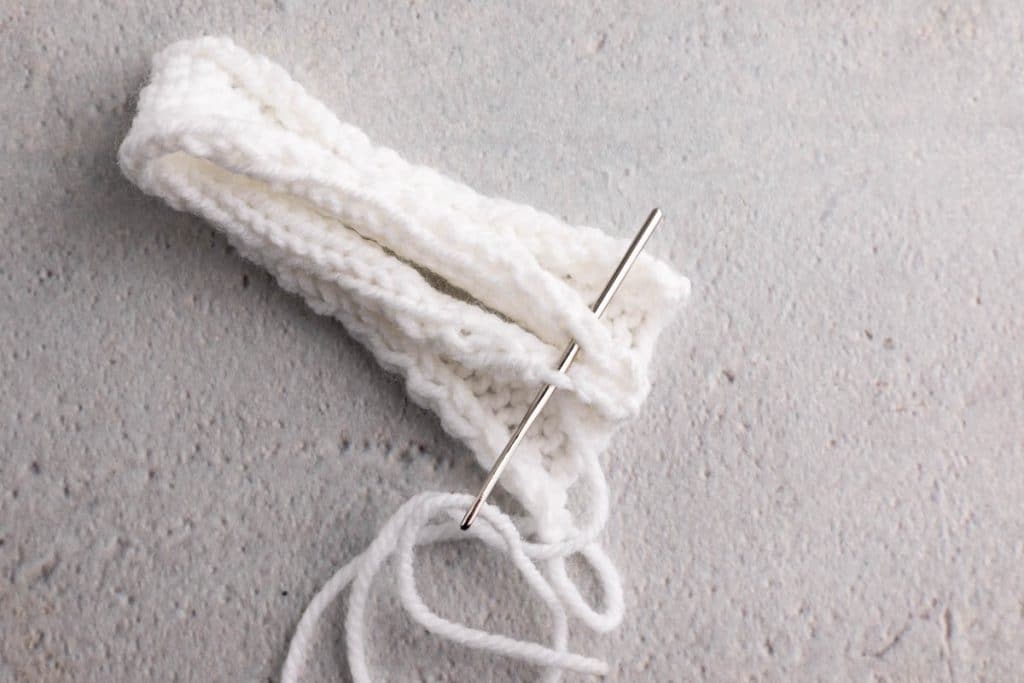
1. Fold the piece in half crosswise with right sides together, so that the cast-on edge meets the bind-off edge and the piece measures 8 sts wide by 30 rows long. The ears are folded the same way. See the photos in the Ears section if you would like to see the fold before you begin.
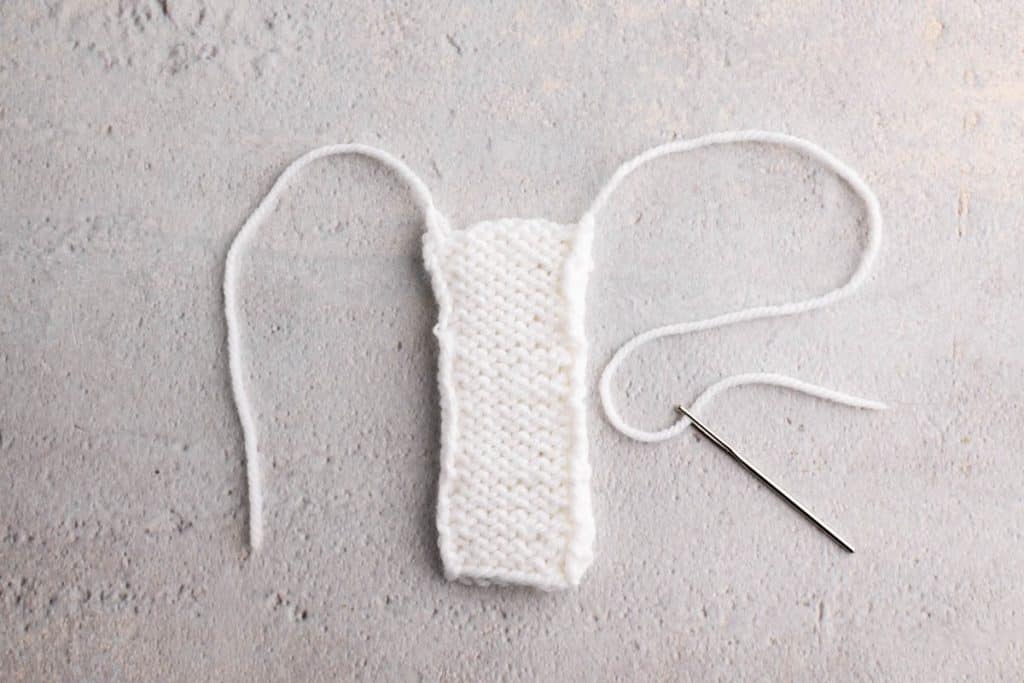
2. Sew along both long sides, leaving the top open.
3. Turn right side out.
4. Lightly stuff, leaving the top unstuffed for sewing.
5. Repeat three more times for a total of four limbs.
Ears, Make 2
These pieces are worked flat.
Cast on 6 sts.
Rows 1 to 10: Work in stockinette stitch.
Increase Rows
Row 11: K2, LI, k2, LI, k2. (8 sts)
Rows 12 to 30: Work in stockinette stitch.
Row 31: K2, LI, k4, LI, k2. (10 sts)
Rows 32 to 40: Work in stockinette stitch.
Row 41: K2, LI, k6, LI, k2. (12 sts)
Rows 42 to 50: Work in stockinette stitch.
Row 51: K2, LI, k8, LI, k2. (14 sts)
Rows 52 to 54: Work in stockinette stitch.
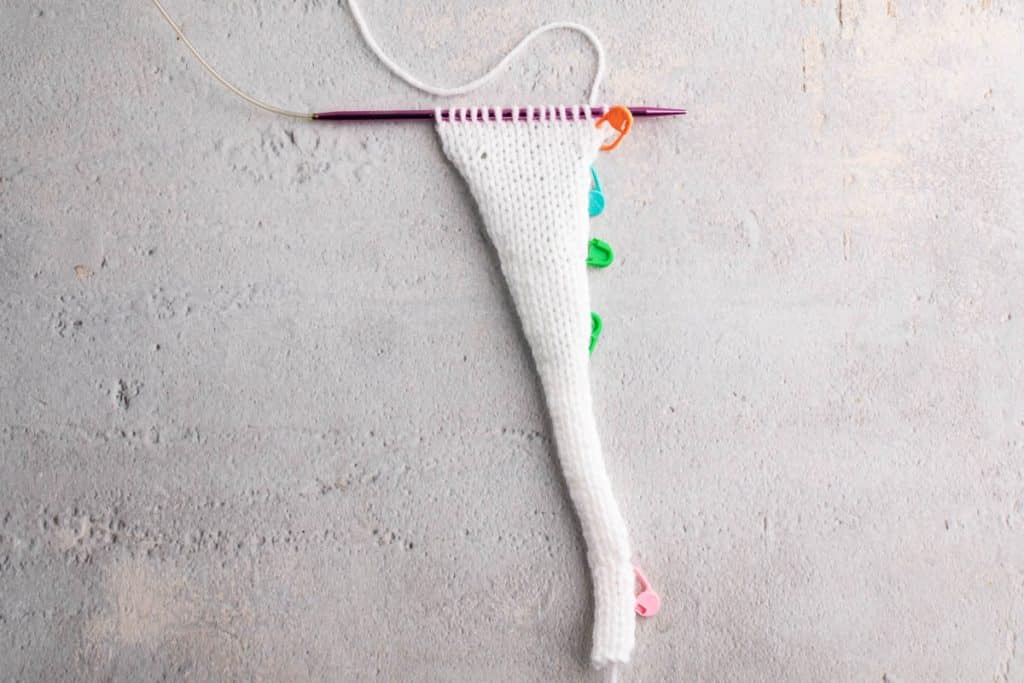
Decrease Rows
Row 55: K2, k2tog, k6, k2tog, k2. (12 sts)
Rows 56 to 64: Work in stockinette stitch.
Row 65: K2, k2tog, k4, k2tog, k2. (10 sts)
Rows 66 to 74: Work in stockinette stitch.
Row 75: K2, k2tog, k2, k2tog, k2. (8 sts)
Rows 76 to 94: Work in stockinette stitch.
Row 95: K2, k2tog, k2tog, k2. (6 sts)
Rows 96 to 104: Work in stockinette stitch.
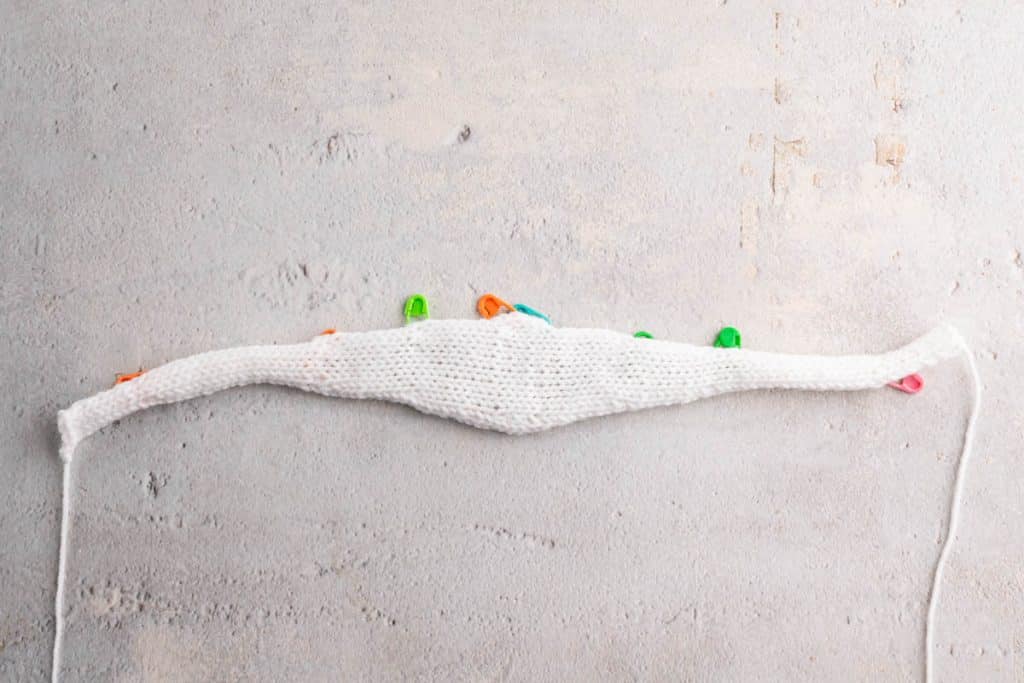
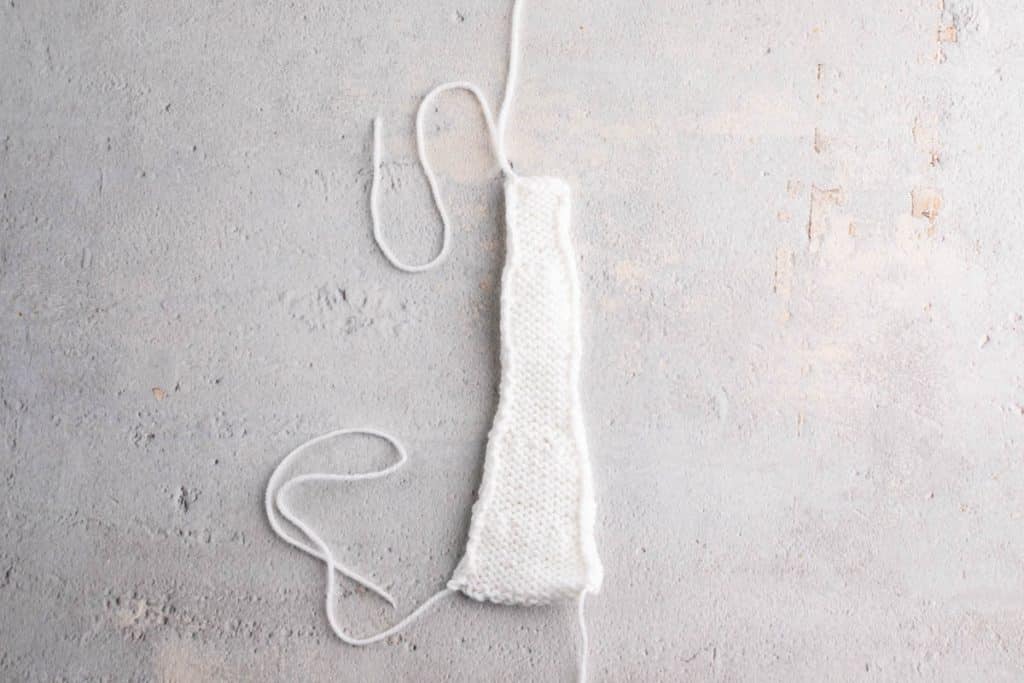
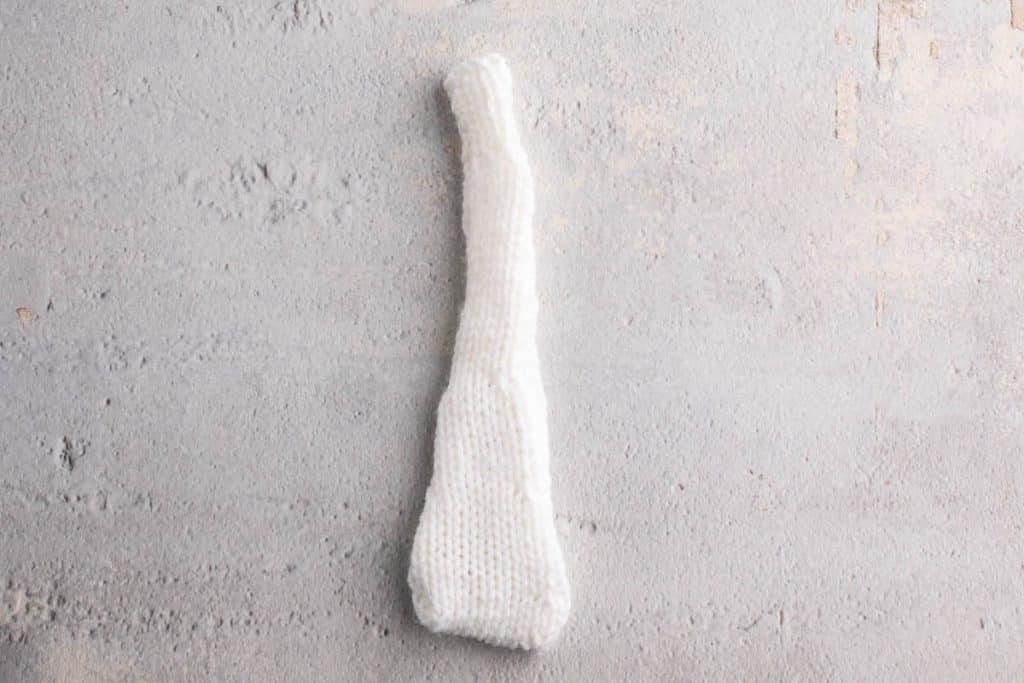
- Bind off.
- Fold in half crosswise with right sides together, so that the cast-on edge meets the bind-off edge and the fold falls at the widest point. Sew along both sides, leaving the top open.
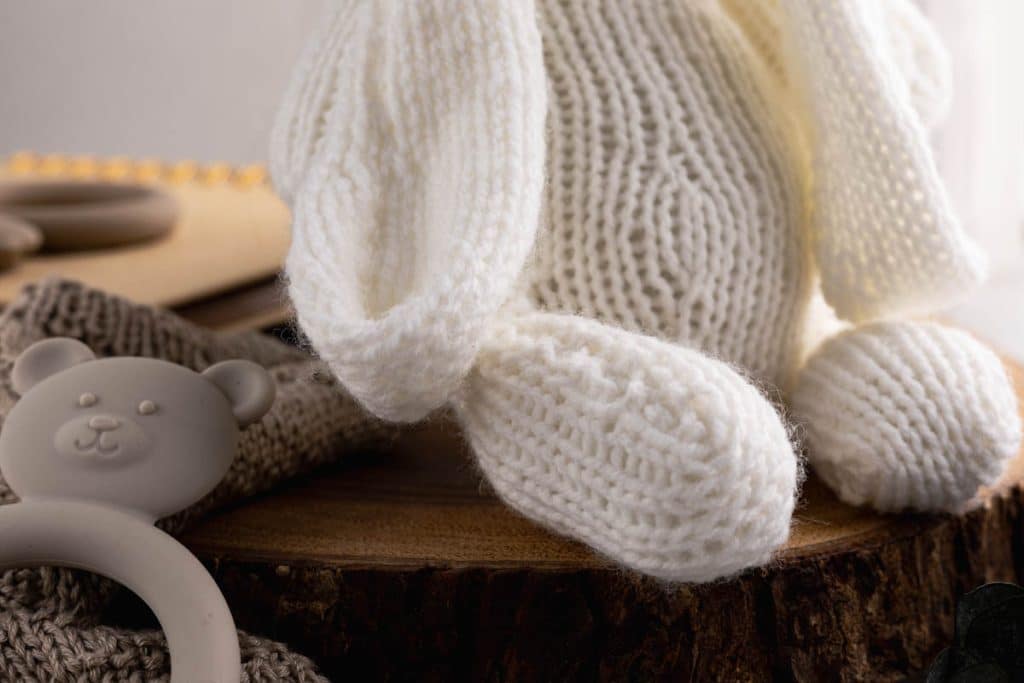
- Turn right side out. Do not stuff the ears.
- Flatten the seam sides together to create the rounded ear shape.
Finishing
1. Weave in any remaining ends.
2. Sew the body to the head.
3. Sew the arms to the sides of the body.
4. Sew the legs to the bottom of the body.
5. Sew the ears to the upper sides of the head so they hang down alongside the body.
Some of Our Other Patterns We Know You’ll Love!
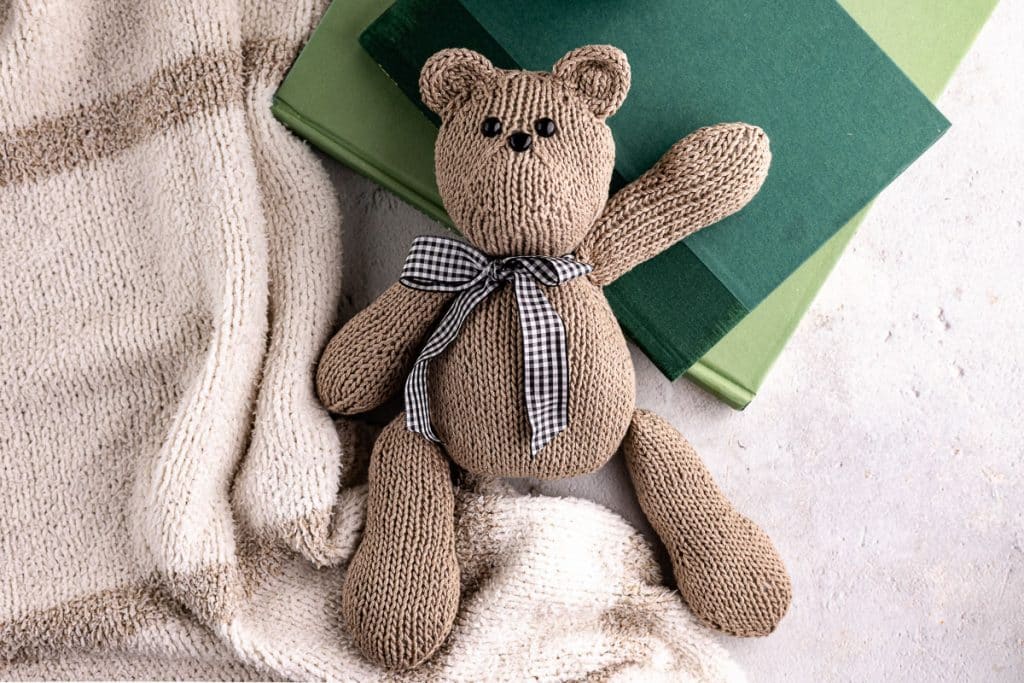
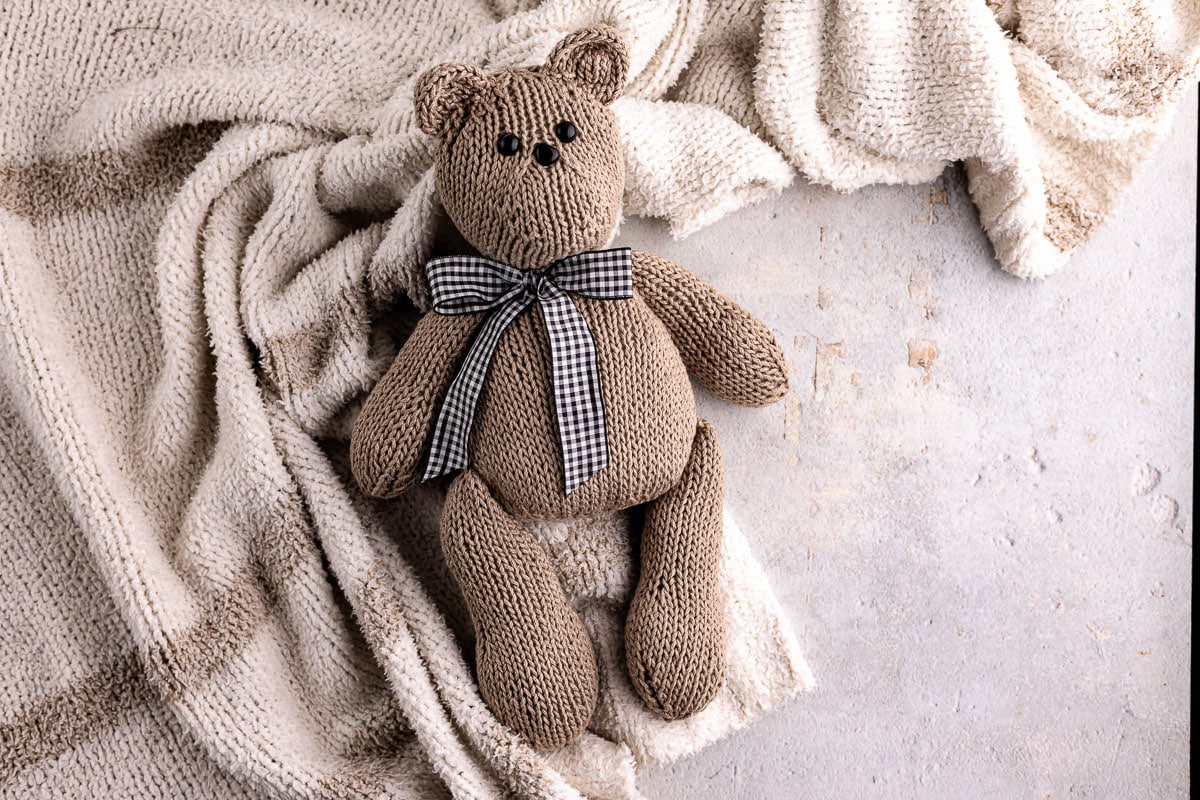
If Clover has you in the mood for more small people projects, the Knit Teddy Bear is a natural companion. Our bear is built the same way our bunny is, mostly worked in the round with the ears knit flat, so if you have just finished the bunny, you already know the rhythm. He does ask a little more of you, using an invisible lifted increase to keep the shaping tidy and German short rows to sculpt the snout without a seam, but both are explained in the post.
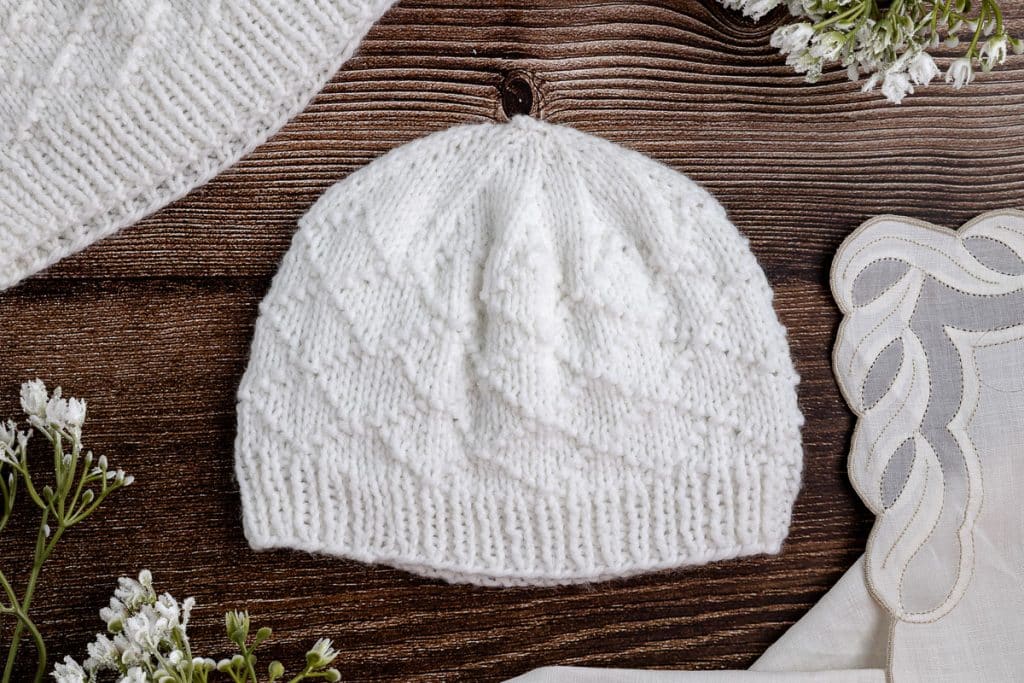
Speaking of yarn, remember that a single skein of Baby Soft makes about three bunnies. That leftover is exactly what the Little Diamonds baby hat was made for. I knit mine in the same Lion Brand Baby Soft, the smallest size takes only about fourteen grams, and the whole thing is done in an afternoon. It is worked seamlessly in the round from the brim up with an eight round repeat that you will have memorized by the second go, and it comes in sizes from preemie through six months. A bunny and a matching hat make a lovely little shower gift together.
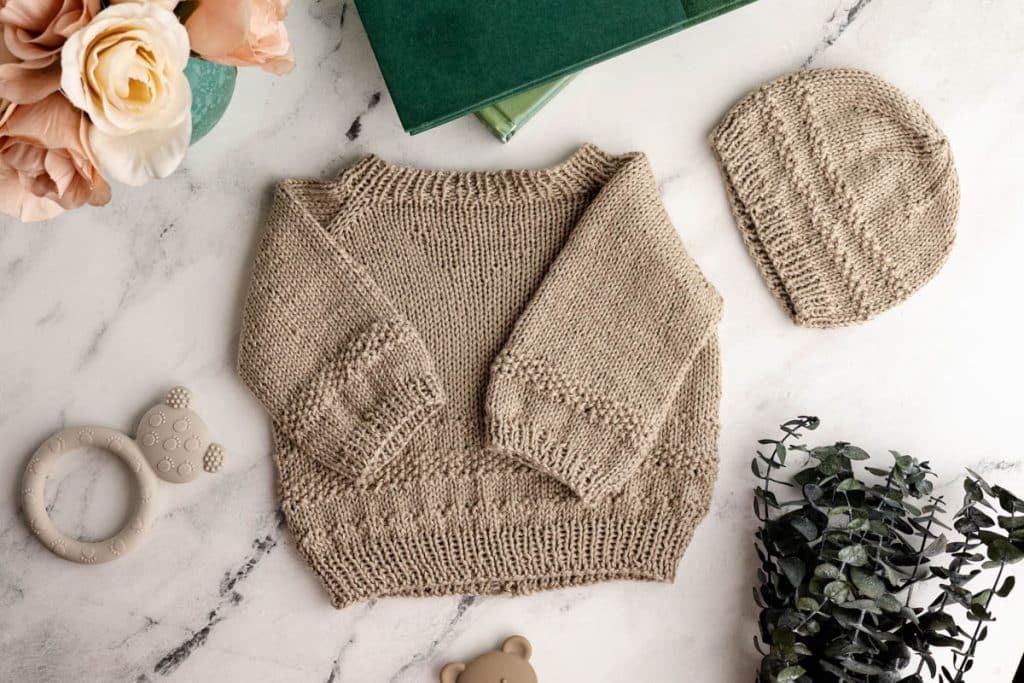
For something more substantial, the Seedling Knit Baby Sweater and Hat is a seamless top down raglan set in four sizes covering birth to twelve months. The body is mostly plain stockinette broken up by a few rounds of a soft textured stitch, so it holds your interest without demanding your full attention. Between the sweater and the hat it is a weekend project once the raglan increases click into place.
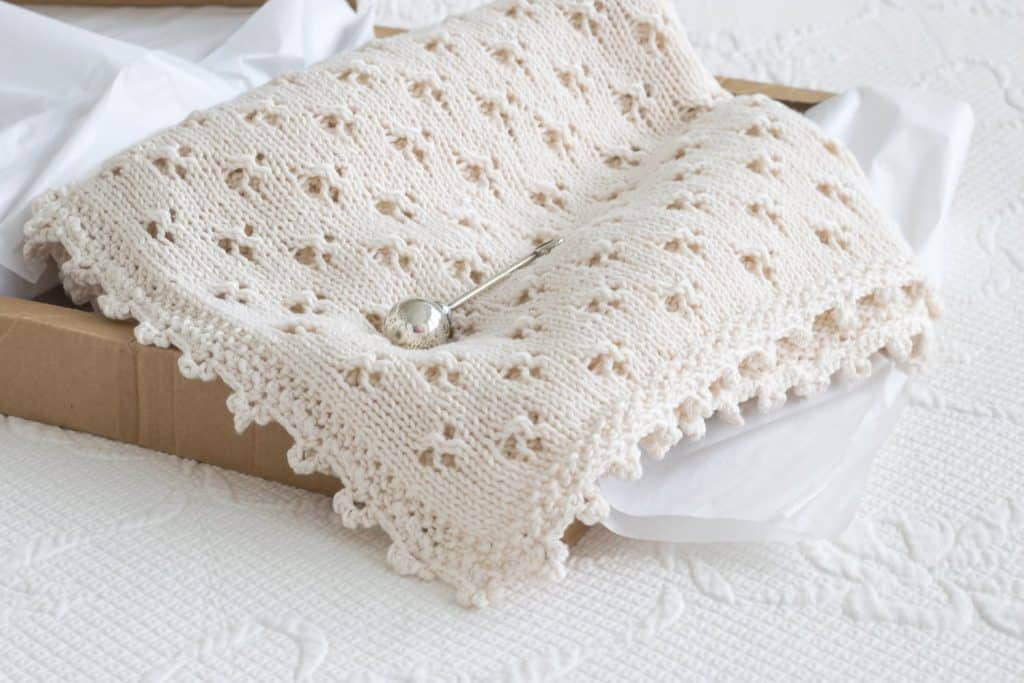
And if you are knitting for a new baby, it is hard to beat a blanket. The Cloverleaf Eyelet Baby Blanket shares more than a name with our bunny. It uses a delicate cloverleaf eyelet stitch through the body and finishes with a crocheted cloverleaf border, and there are short videos in the post showing both the knit stitch and the crochet edge. It has been one of the most loved patterns on this site for years, and it is my readers’ go to baby gift for good reason. If crochet is not your thing, the seed stitch border on its own finishes it beautifully.
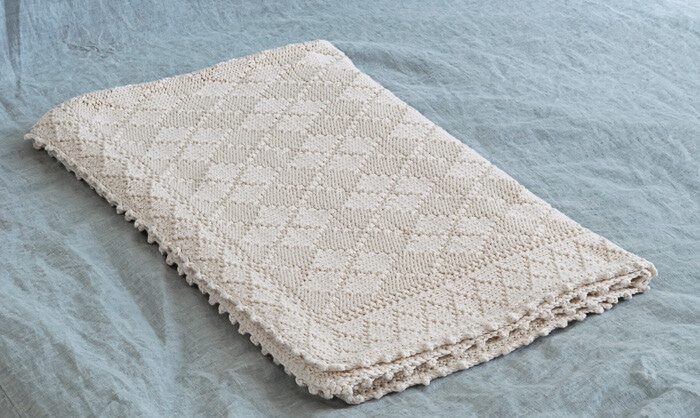
The Argyle and Diamonds Baby Blanket is the one I reach for when I want something a little more graphic. The argyle body is created entirely with knit and purl stitches, which makes it reversible and much easier than it looks; it is framed with a diamond seed stitch border and a crochet picot edge. It also coordinates with the Little Diamonds hat above if you want to give a set.
Thanks so much for spending a few minutes of your busy day with me!
To ensure you don’t miss future content, pop your email in the pale green box on the right or click here. I usually send one email weekly, so I won’t inundate your inbox. I’m sensitive to an overflowing email inbox!
We will only use your email address to send you emails, no more than 1-2 weekly. In addition, you will have access to my growing library of knit & crochet patterns and other printables. Check back often as this library will continue to grow. You can unsubscribe anytime by emailing me or clicking on the “unsubscribe” link at the bottom of all emails.
And you can access many of the products I refer to on my Nourish and Nestle Amazon Page. You can access it here.
So, if you’d like to participate in the ‘subscriber benefit’ action, simply subscribe to Nourish and Nestle here or use the form on the right sidebar. It’s slightly towards the top.
I have sent all my subscribers the link to the Subscriber Benefits Library. If you missed it or misplaced it, let me know.
Until next time…