
Knit Teddy Bear Pattern – Free
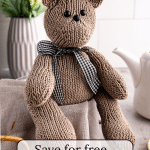

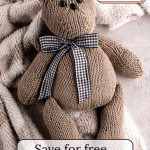
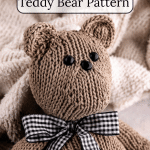
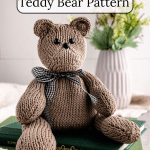


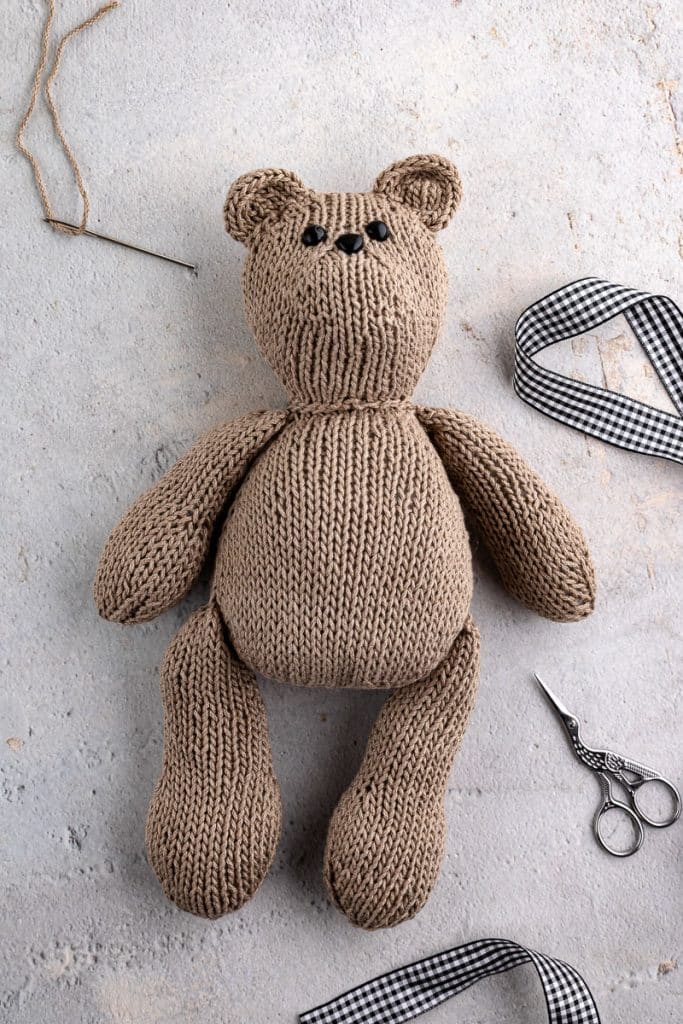
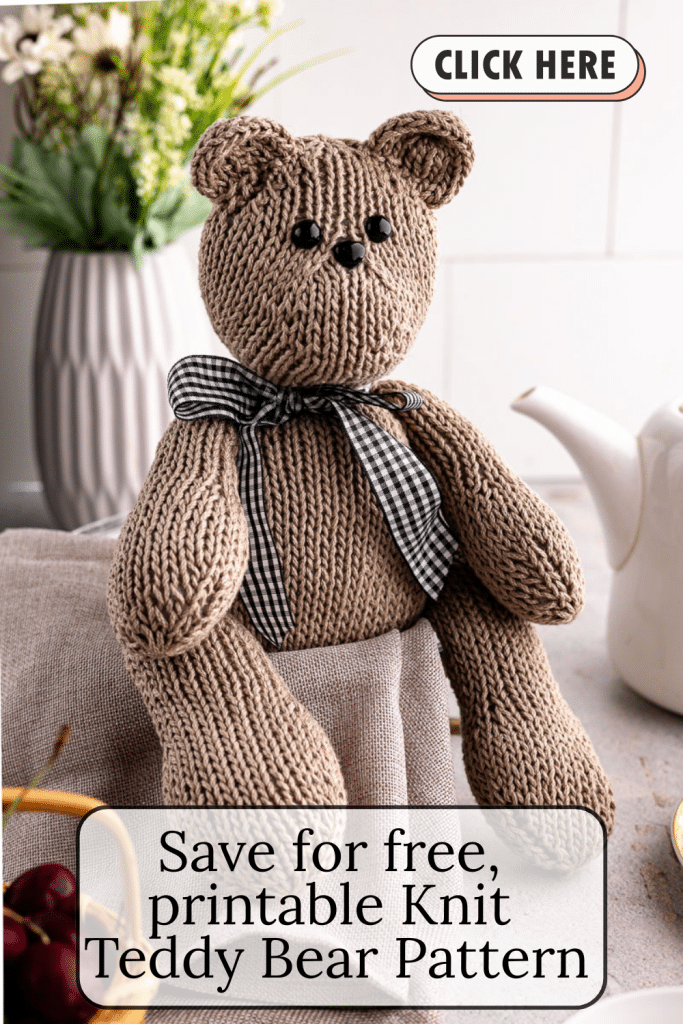
Whether you’re knitting a special gift for a child, a keepsake, or a soft companion for your shelf, this knit teddy bear pattern delivers a sweet, sturdy bear with just the right amount of personality. The details—like the gently sloped snout and optional embroidered features—add character without making things overly complicated.
This teddy bear is worked primarily in the round, with straightforward shaping and minimal seaming. The body and limbs are joined with a simple mattress stitch and a little patience. And while this bear may look intricate, it’s surprisingly approachable—perfect for confident beginners and satisfying for experienced knitters. The secret’s in the details: invisible increases, clever short rows, and the flexibility to personalize your bear with ribbons, bows, or even a tiny sweater if you’re feeling extra crafty.
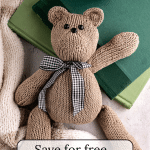
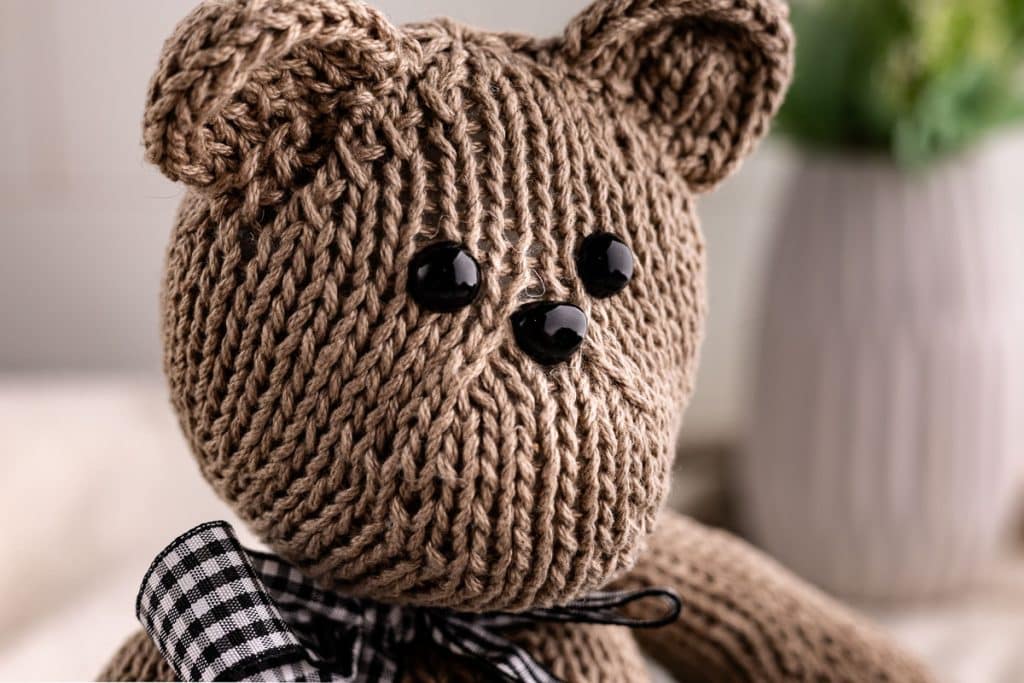
You can personalize your bear with safety eyes and a nose or embroider the features for a softer, vintage feel. A bit of ribbon around the neck adds a finishing touch, but the real magic is in the handmade details and your choice of yarn. Use cotton for a structured finish, or try a soft, furry wool blend for something extra cuddly—either way, it’s a project that’s easy to love and fun to make.
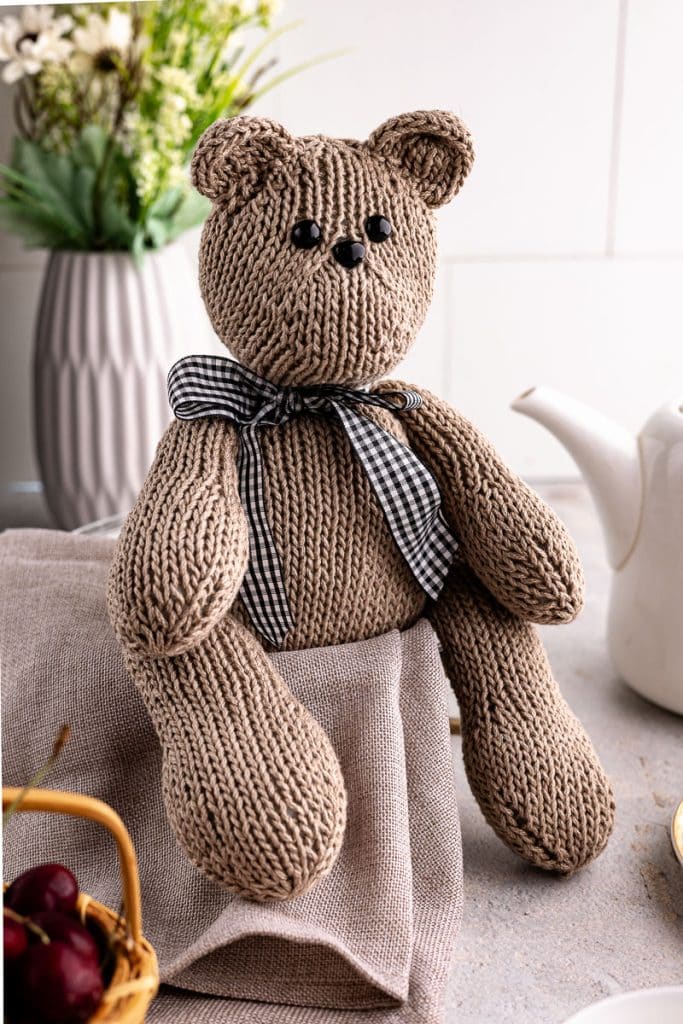
Table of Contents
Skill Level
If you’re comfortable knitting in the round, working simple increases and decreases, and aren’t afraid to try a short row or two, you’ll be just fine with this Knit Teddy Bear Pattern. The Invisible Lifted Increase (iLinc) keeps shaping clean, and German Short Rows help sculpt the snout without bulky seams. Both techniques are explained below. Most pieces are knit in the round, with the ears worked flat, and minimal finishing is used to bring it all together.
Tips for Success with this Knit Teddy Bear Pattern
- Use stitch markers generously. They’ll help you keep your increases and decreases on track, especially around the shaping of the head and body…and this comes from an ‘I don’t need stitch markers!’ gal.
- Practice the iLinc (Invisible Lifted Increase) on a swatch if it’s new to you. It blends beautifully into the fabric and keeps things looking tidy.
- Stuff as you go. Light, even stuffing prevents over-packing the limbs or ending up with a lumpy body. Keep the snout and feet slightly firmer for structure.
- Be gentle with safety eyes and noses. If using them, insert before stuffing and secure them tightly from the inside.
- Use the mattress stitch for neat joins. Especially where limbs meet the body, it makes a huge difference in the final appearance.

Material Needed for this Knit Teddy Bear Pattern
Some of these links may be Amazon affiliate links and I may earn a small commission from the sale of these products to help defray the costs of operating this site, but the price you are charged is not affected. You can see my full disclosure policy here.
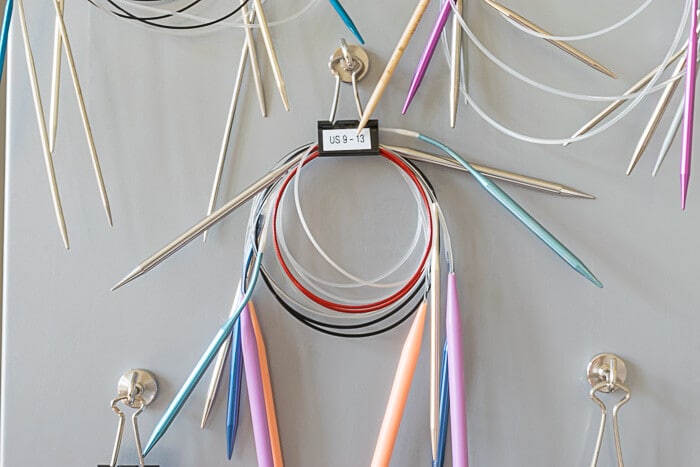
- US6 (4mm) circular needle (40cm/15″ cord)
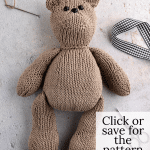
- Worsted weight yarn, 180 yards (sample shown in Lion Brand 24/7 Cotton, Taupe)
- Polyester fiberfill (Polyfill)
- Tapestry needle
- Measuring tape
- Stitch markers
- Scissors
- Safety eyes and nose (optional)
- Decorative ribbon (optional)
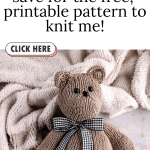
- This free Knit Teddy Bear Pattern is available in this post below and as an ad-free printable PDF for subscribers. You can find the pattern in the Library (your super secret password is included at the bottom of every Monday’s Newsletter email) or email me, and I’ll send it to you. Not a subscriber? C’mon—we’d love to have you. A subscription costs nothing and gives you access to all our printables and pattern PDFs. Click here to have the Knit Teddy Bear Pattern emailed to you.
Pattern Abbreviations and Terminology Used to Knit the Teddy Bear
- Knit (K)
- Purl (P)
- Stockinette Stitch
- Stitch Marker (SM)
- Slip Stitch (Slip)
Used when shaping or working increases. Slip a stitch purlwise by inserting the right needle into the stitch as if to purl, then transfer it over without working it. This helps maintain a neat edge or sets you up for shaping techniques, such as short rows. - Invisible Lifted Increase (iLinc)
A nearly invisible way to add stitches without leaving holes. Slip the stitch purlwise, then lift and knit the left leg of the stitch directly below it.

- Slip, Slip, Knit (SSK)
A left-leaning decrease. Slip two stitches knitwise, one at a time. Insert the left needle into the front of both stitches and knit them together. This lines up beautifully with right-leaning decreases for symmetrical shaping. - Knit Two Together (K2tog)
A right-leaning decrease. Insert your needle through two stitches as if they were one, then knit them together as a single stitch. This is used to taper limbs and shape the snout and crown. - German Short Row (GSR)
Used for shaping, especially on curved areas like the snout. To create a “double stitch,” turn your work mid-row, bring the yarn to the front (whether knitting or purling), slip the stitch purlwise, then bring the yarn over the needle and pull snugly to create a twin stitch. You’ll knit or purl this double stitch as a single stitch when you come back to it. - Magic Ring (or Drawstring Bind-Off)
Used to close up small circular openings, like the top of the head or the bottoms of the limbs. Thread a tapestry needle with the yarn tail and run it through the remaining live stitches. Pull the yarn tight, like a drawstring, and secure it on the inside. - Mattress Stitch
This is a neat, nearly invisible way to sew seams. With the right sides facing up, thread a yarn needle and pick up horizontal bars just inside the edges of each piece. Alternate sides as you stitch, pulling gently every inch or so to bring the edges together. Here’s a post showing in more detail how to sew the Mattress Stitch.
Gauge
- 5 stitches = 1 inch
- 20 rows = 3 inches
Instructions for the Knit the Teddy Bear Pattern
Pieces of the Teddy Bear
You will knit the following components:
- 1 Head
- 2 Ears (worked flat)
- 1 Body
- 2 Arms
- 2 Legs
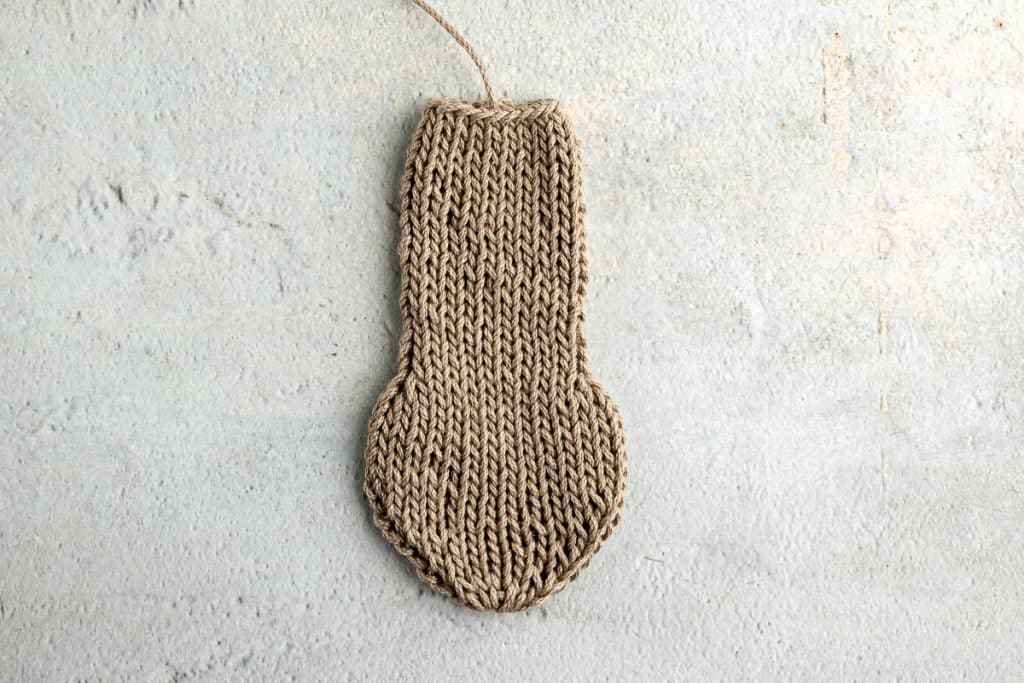
Head

Work Head From the Neck Up
The head is primarily worked in the round, except for the snout which is worked flat using short rows.
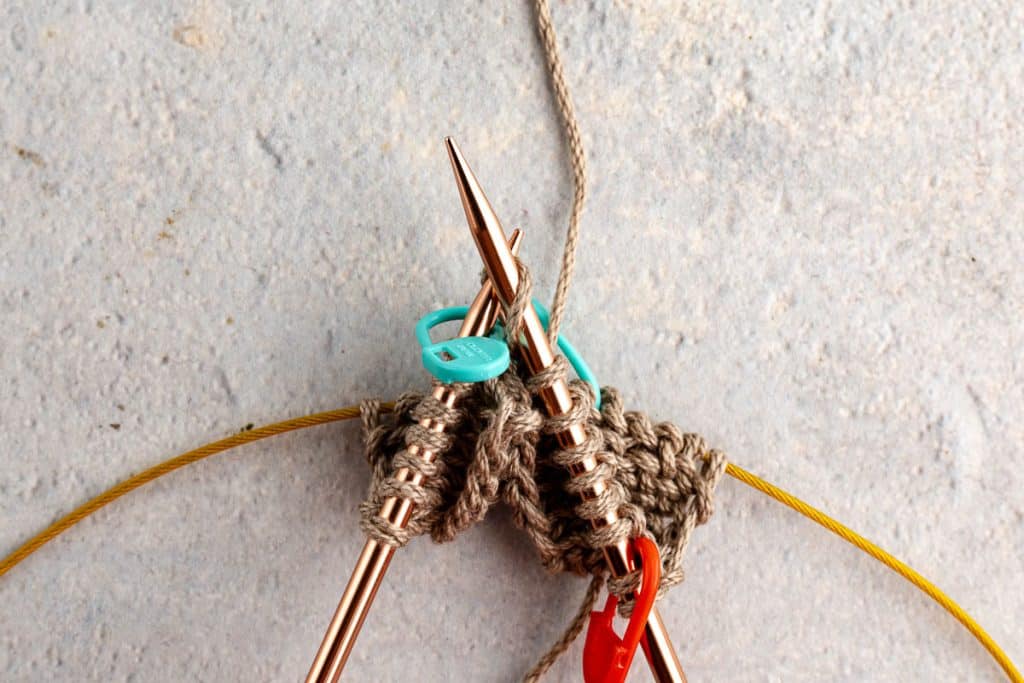
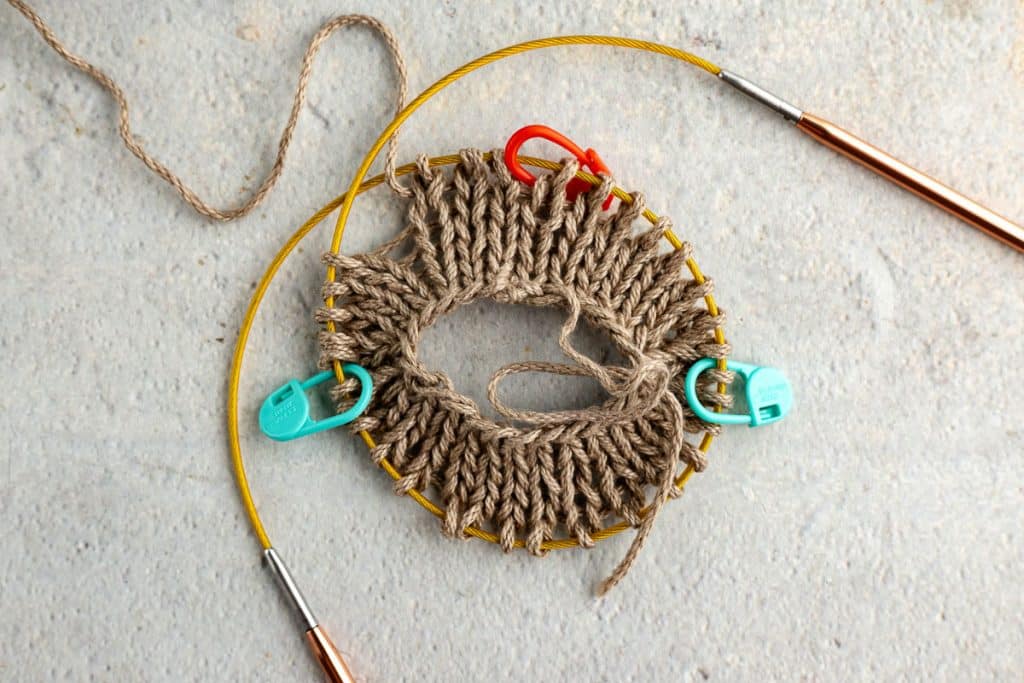
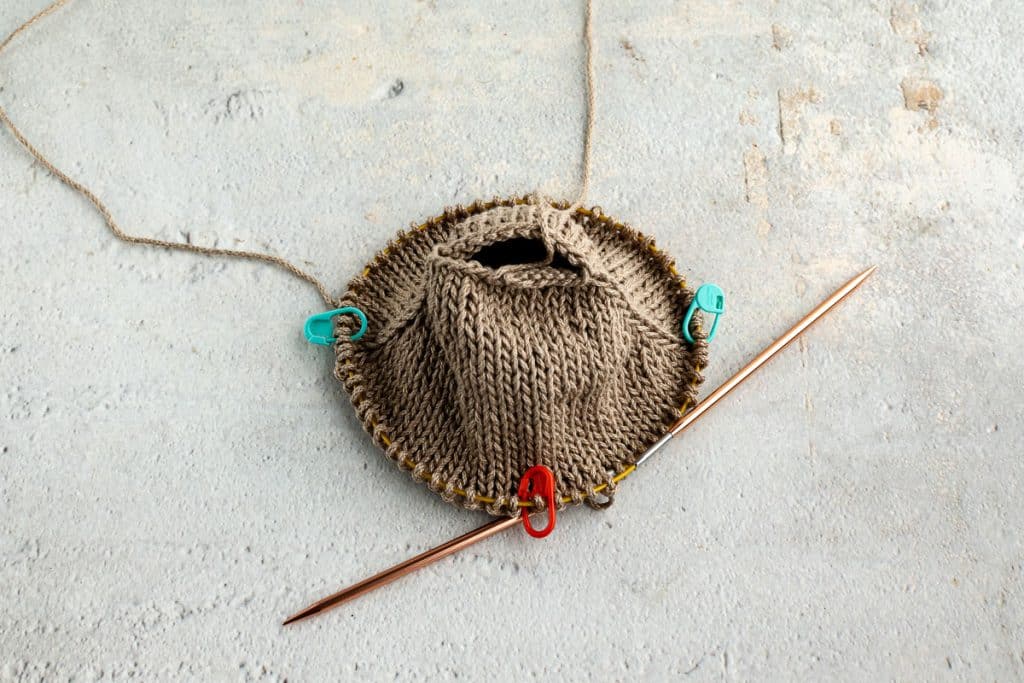
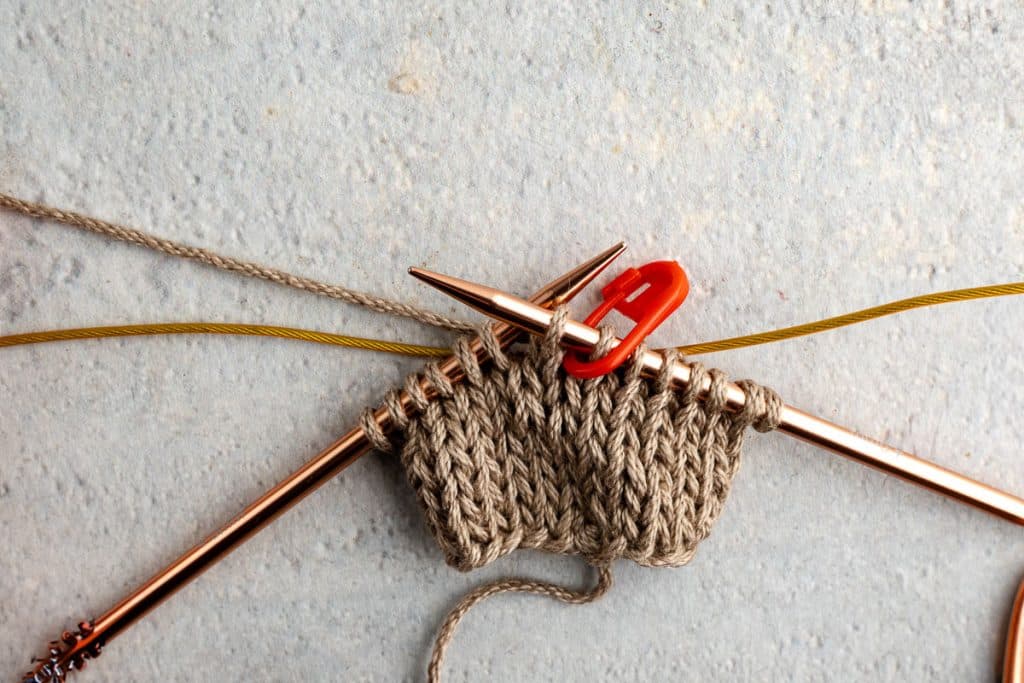
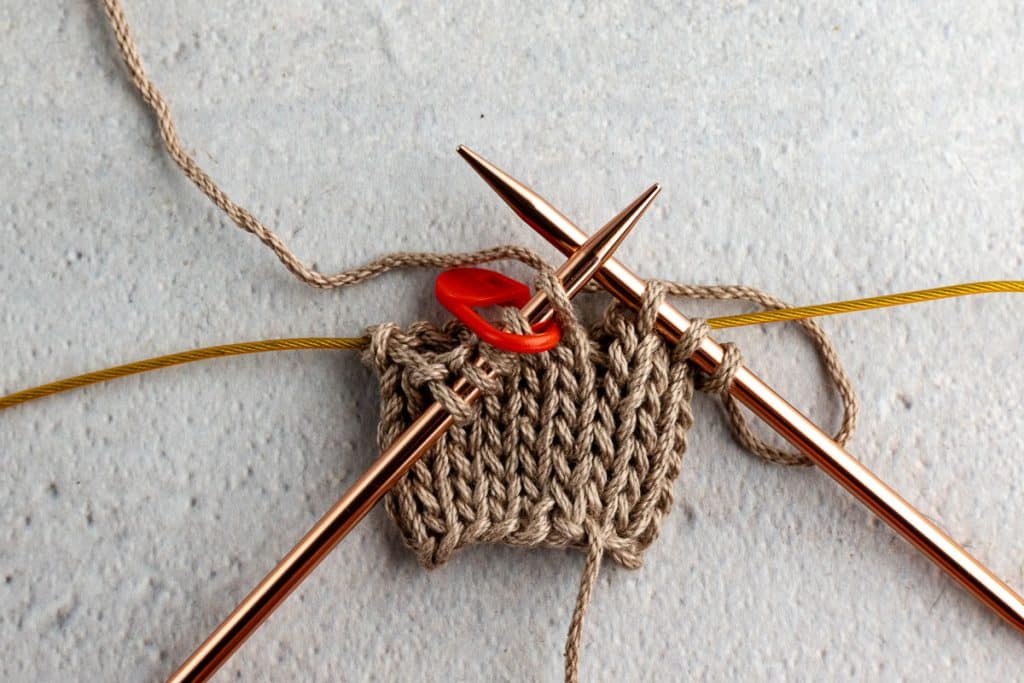
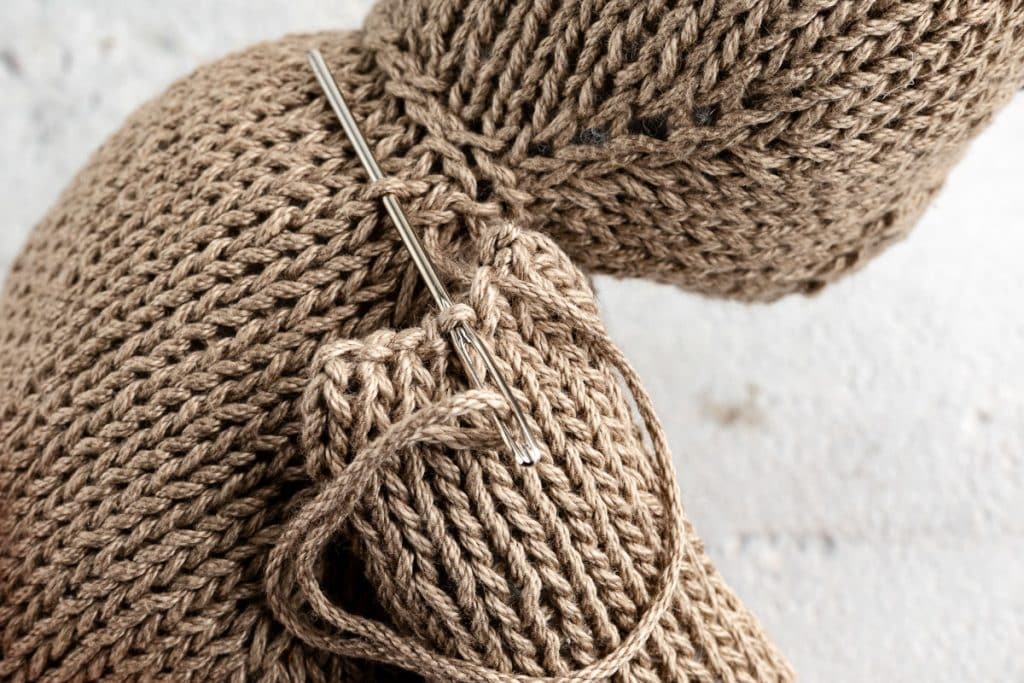
Having two different colors of stitch markers is helpful in this case. Use one color for the first stitch marker and then another color for the two other stitch markers, as shown below.
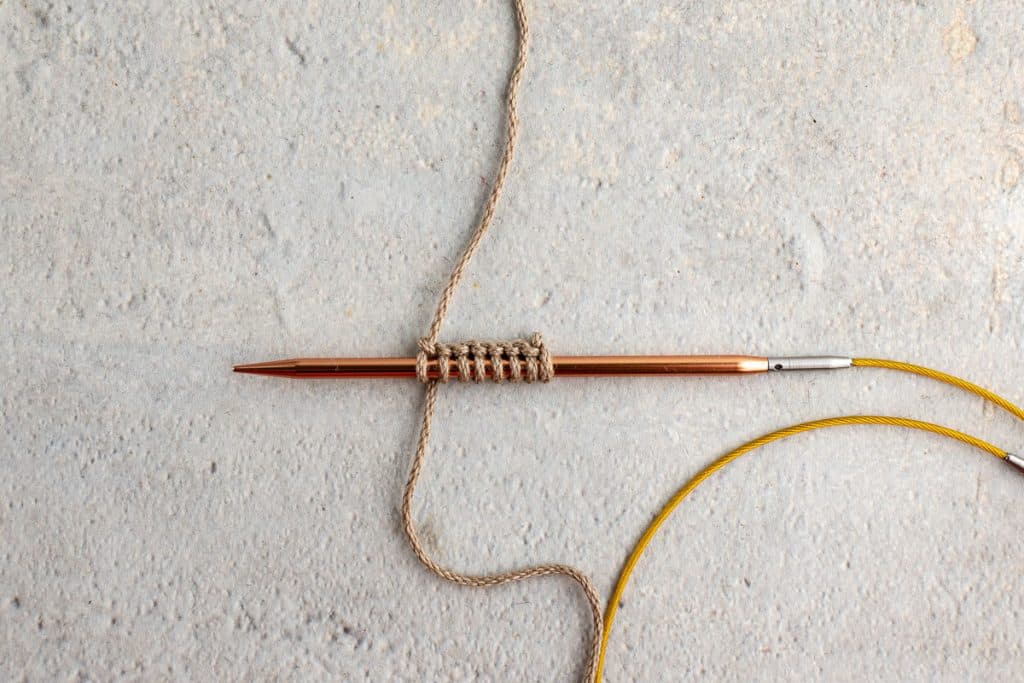
- Cast on 24 stitches plus 1 to join in the round.
- Join by slipping the first stitch on your left needle onto your right needle and then passing the next stitch on your right needle over the stitch you just slipped. Place a stitch marker (SM) to mark the beginning of the round. You should have 24 stitches once the pieces are joined.
- Knit one round.
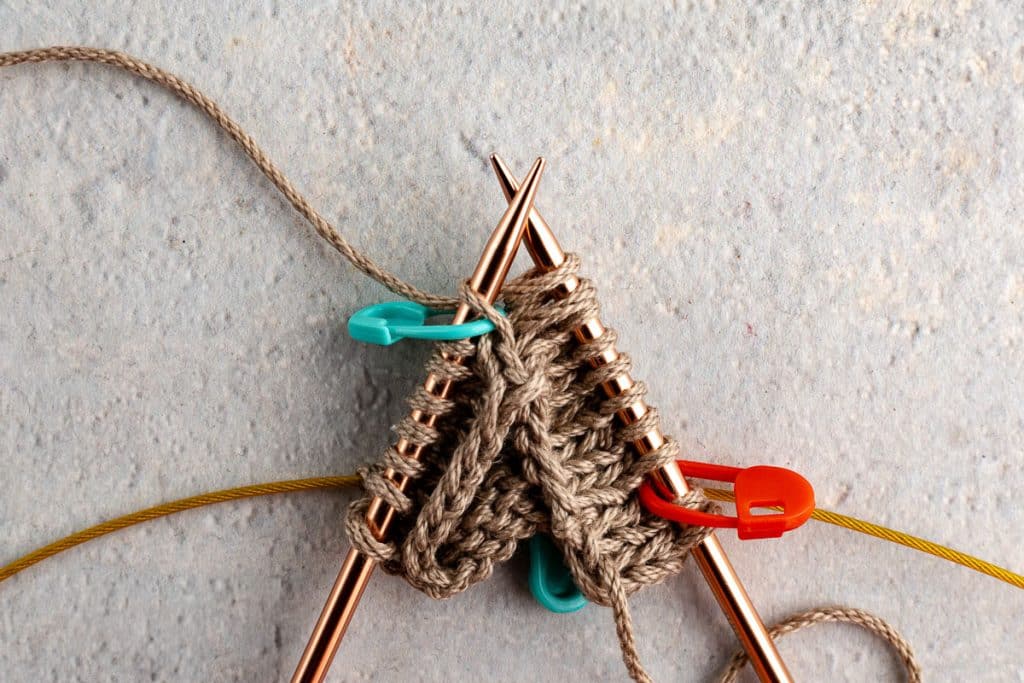
- Place two additional SMs to divide the front of the head:
- From the center SM, count six stitches to the right and six to the left (the twelve stitches, with the one in the middle, are the front of the bear’s head. The middle marker, shown below as the red marker, is where the nose will be.).
- Increase setup (every other round):
- Round One: K5, iLinc, slip SM, iLinc, knit to the first stitch before the next SM, iLinc, slip SM, iLinc, knit to end.
- Round Two: Knit all stitches.
- Repeat Rounds One and Two until you have 44 stitches in total (approximately eleven rounds).
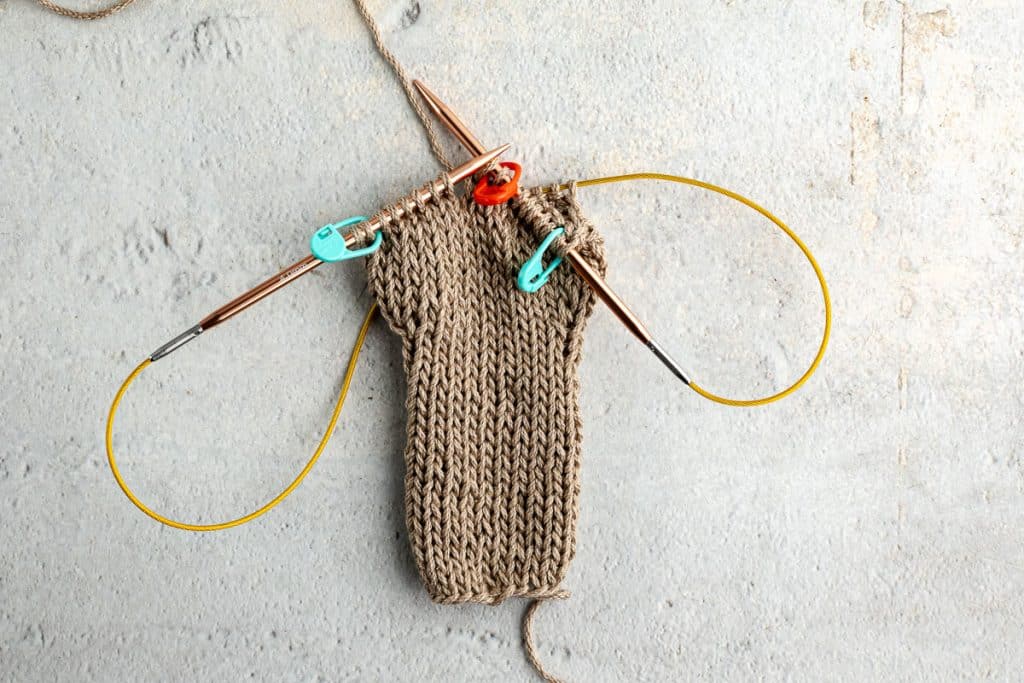
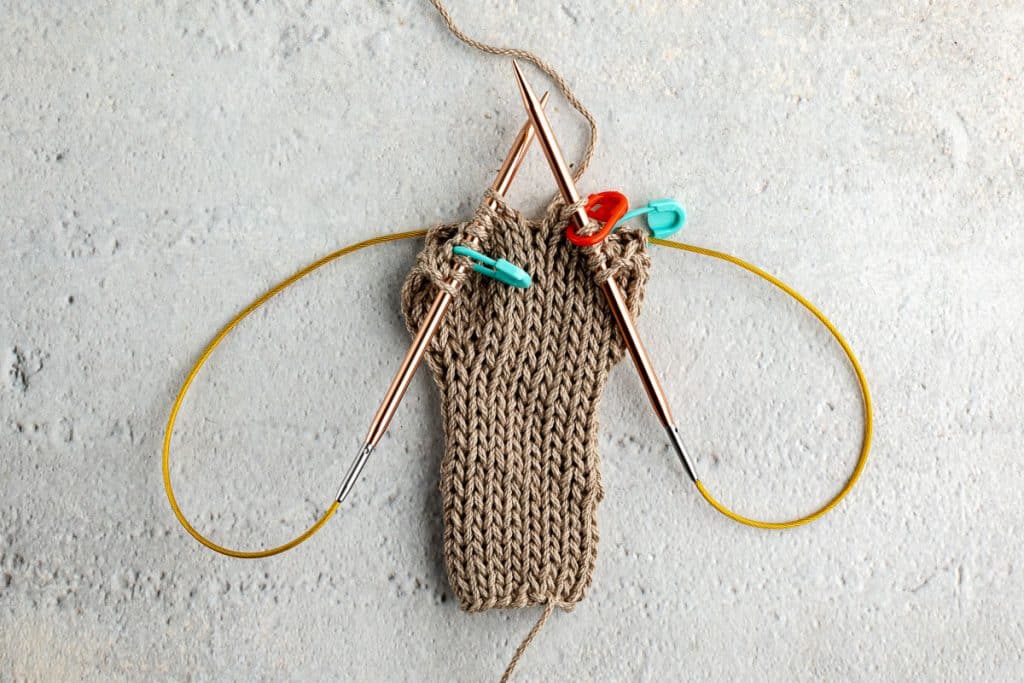
Shaping the Snout – German Short Rows
In this section, we transition from knitting in the round to knitting flat to create the snout using German Short Rows. So, every time we turn, we start a new row, but we only work on the front section of the face.
- Knit 3 stitches and turn.
- Work a GSR (German Short Row):
- With the yarn in front, slip 1 stitch, bring the yarn over the needle to the back, and tug to create a double stitch.
- Purl to the center marker, slip SM, purl 3, and turn.
- Work a GSR, then knit across to the marker, slip SM, knit 2, knit the double stitch (k2tog), k1. Turn.
- Repeat, knitting 1 extra stitch on each side of the center until you’ve worked across 12 stitches (6 stitches on each side of the center SM). For example, on the next row, you will “Knit 4 stitches and turn,” etc.
Continue Snout Shaping
Note that you will decrease one stitch on row one, two stitches on rows two and three, and one stitch on row four.
- Knit 2 complete rounds.
- Then work 3 decrease rows to shape the snout:
- Row 1: Knit to 4 stitches before the center SM, SSK, k2, slip SM.
- Row 2: k2, k2tog, knit to 3 stitches before the center SM, SSK, k1, slip center SM.
- Row 3: k1, k2tog, knit to 2 stitches before the center SM. SSK, slip SM.
- Row 4: k2tog, knit all remaining stitches.
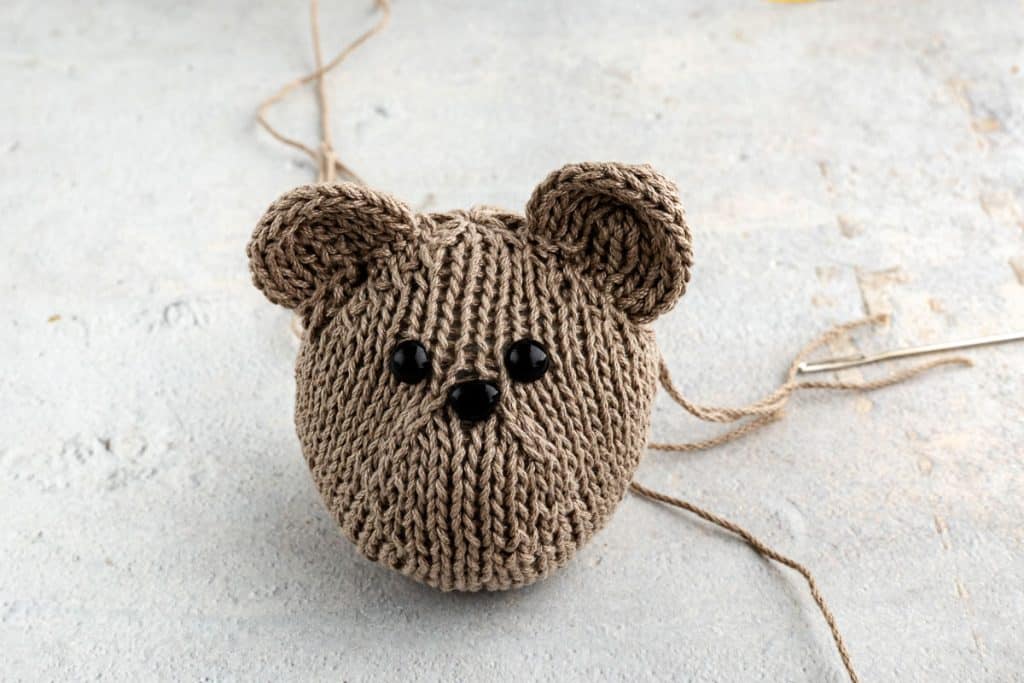
- Add a safety nose now, or place a marker to embroider it later.
·
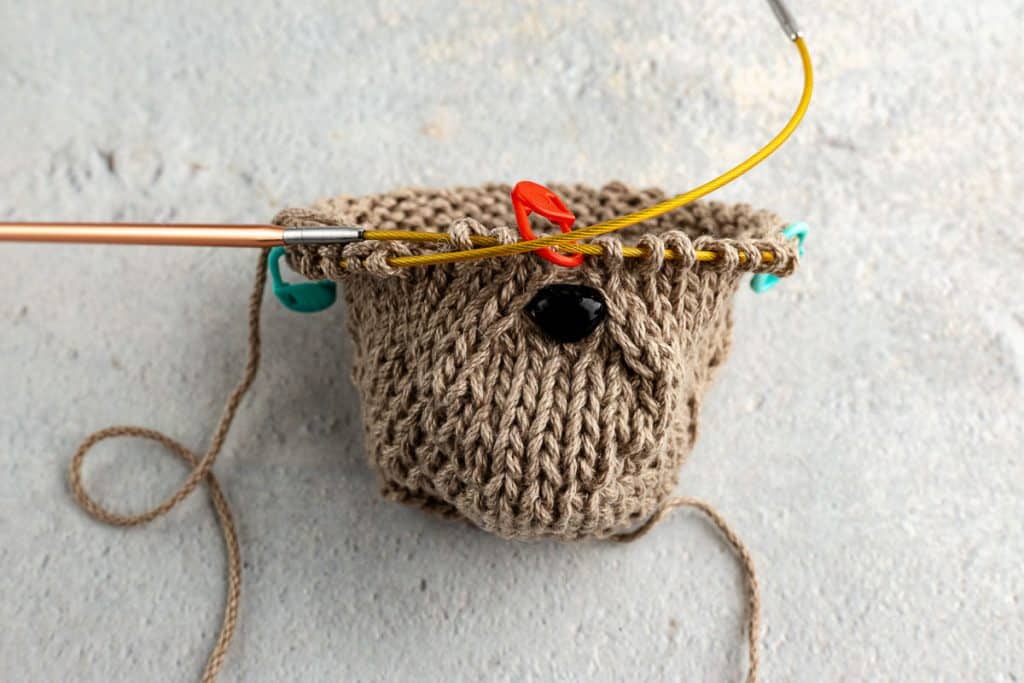
Eye Placement & Crown Shaping
- Decrease Round:
- Start at the center SM.
- Knit until 3 stitches before the left SM, SSK, k1, slip SM, k1, k2tog.
- Knit to 3 stitches before the right SM, SSK, k1, slip SM, k1, k2tog.
- Knit to the center marker and begin the next round.
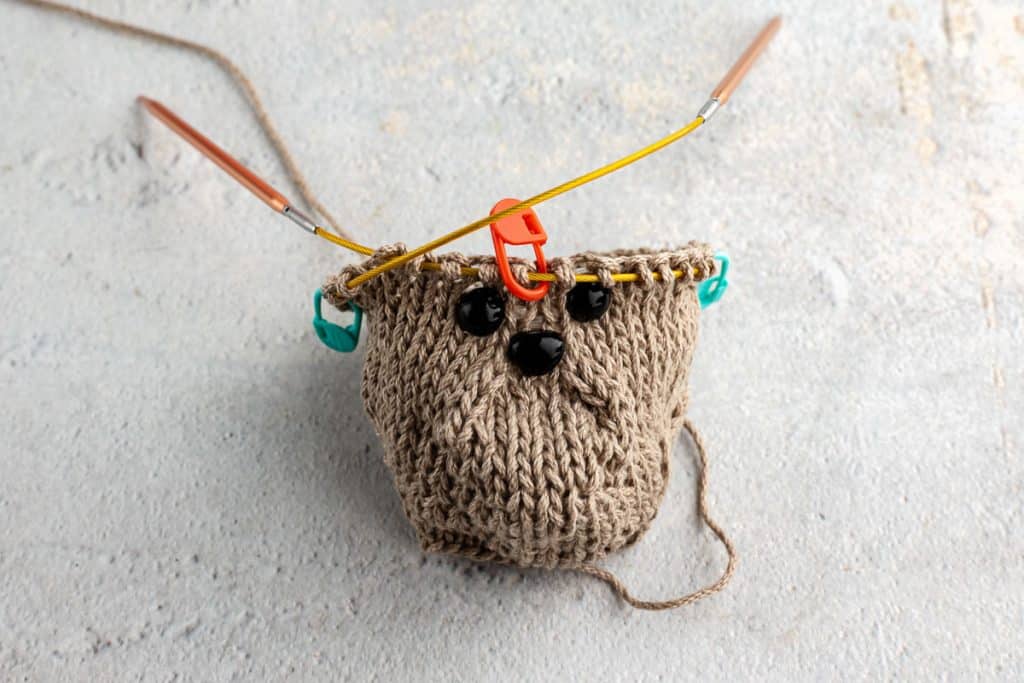
- After the first round is a good time to insert safety eyes or mark their placement.
- Knit 1 round.
- Repeat the decrease round above until 18 stitches remain.
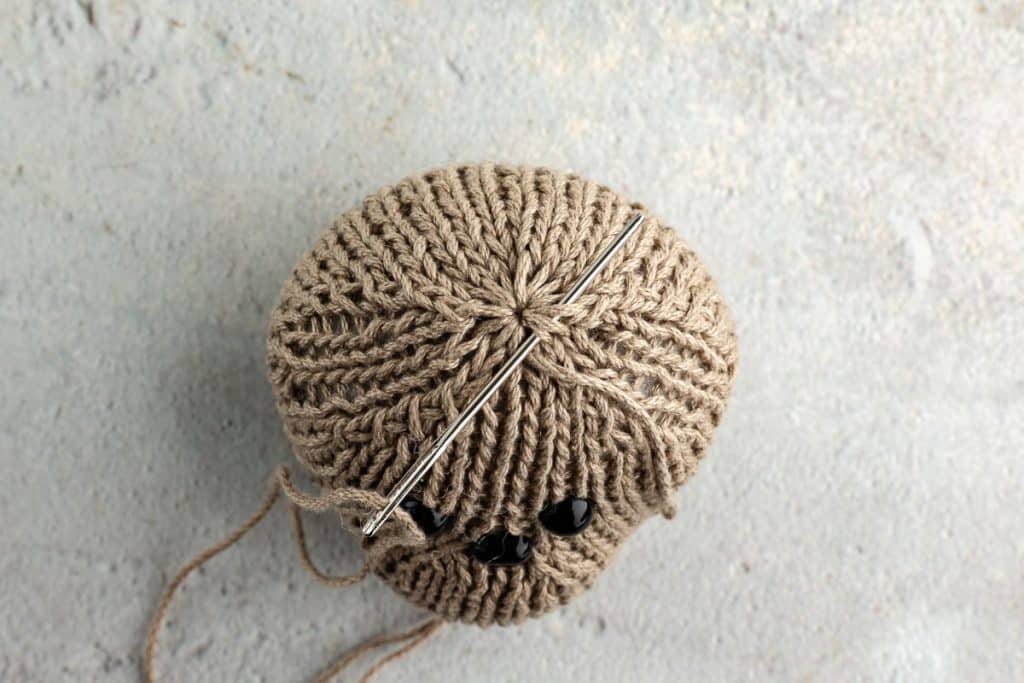
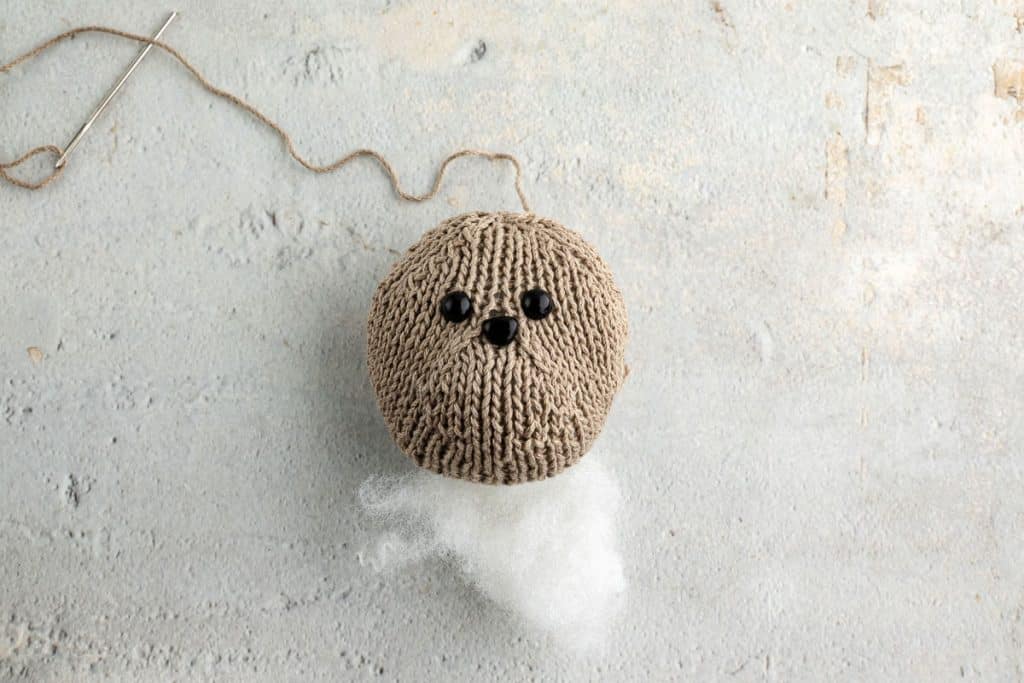
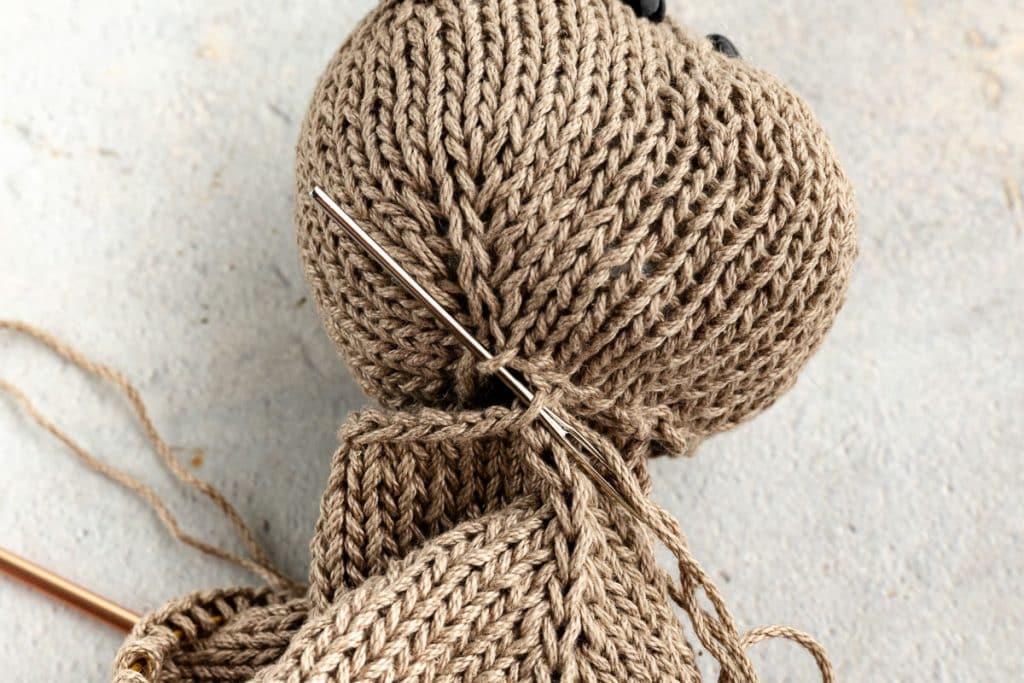
- Final decrease:
- Knit until 2 stitches before the left SM, SSK, slip SM, knit to the next SM, slip SM, k2tog, knit to end. You should have 16 stitches.
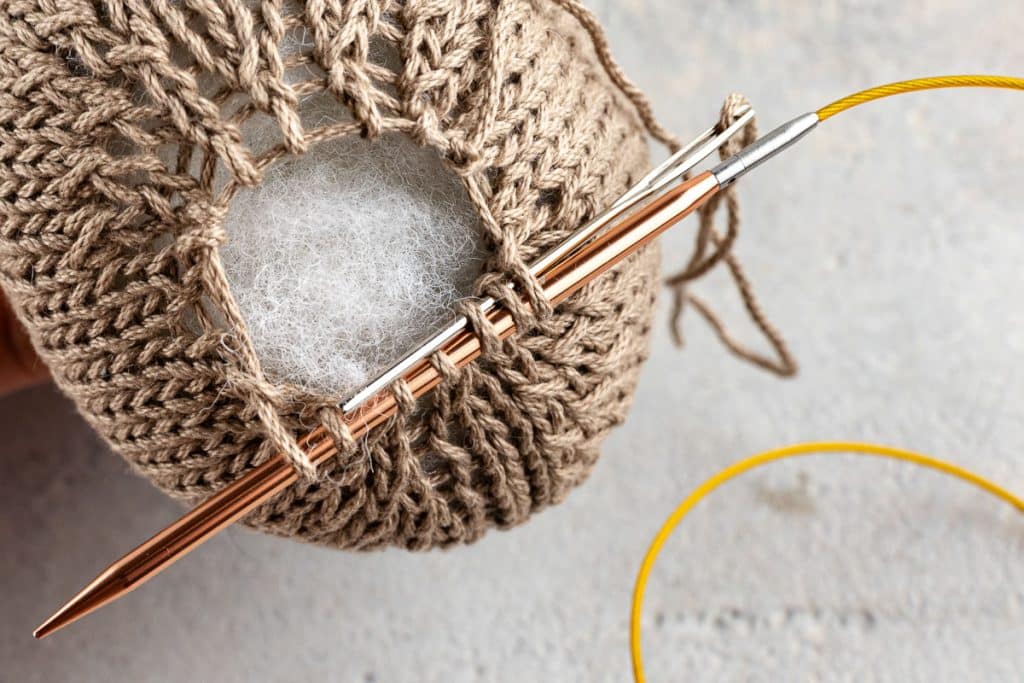
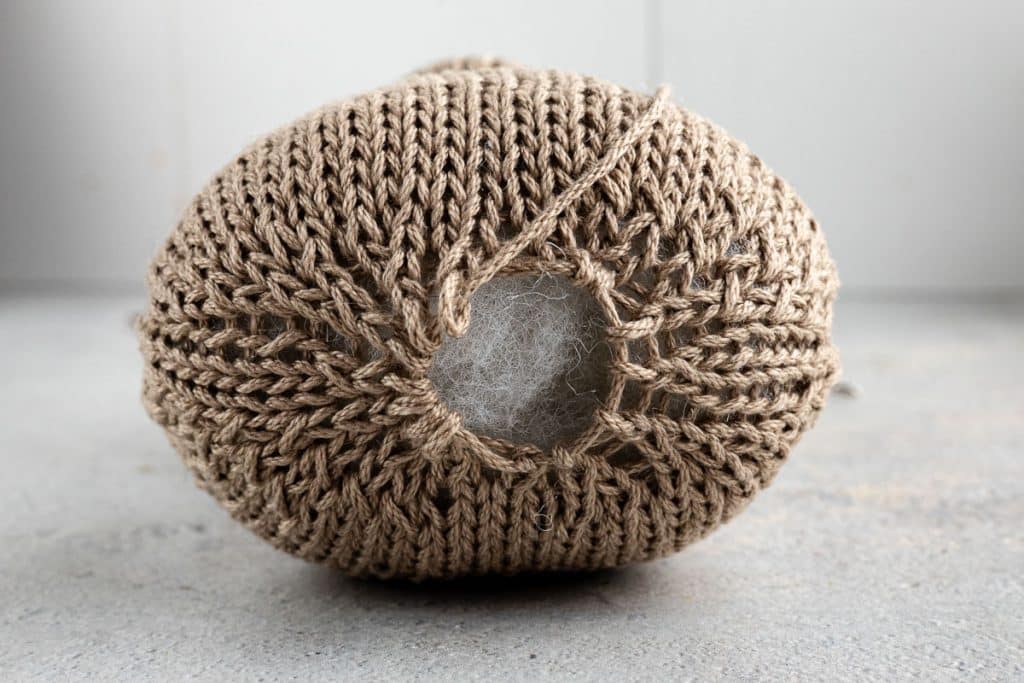
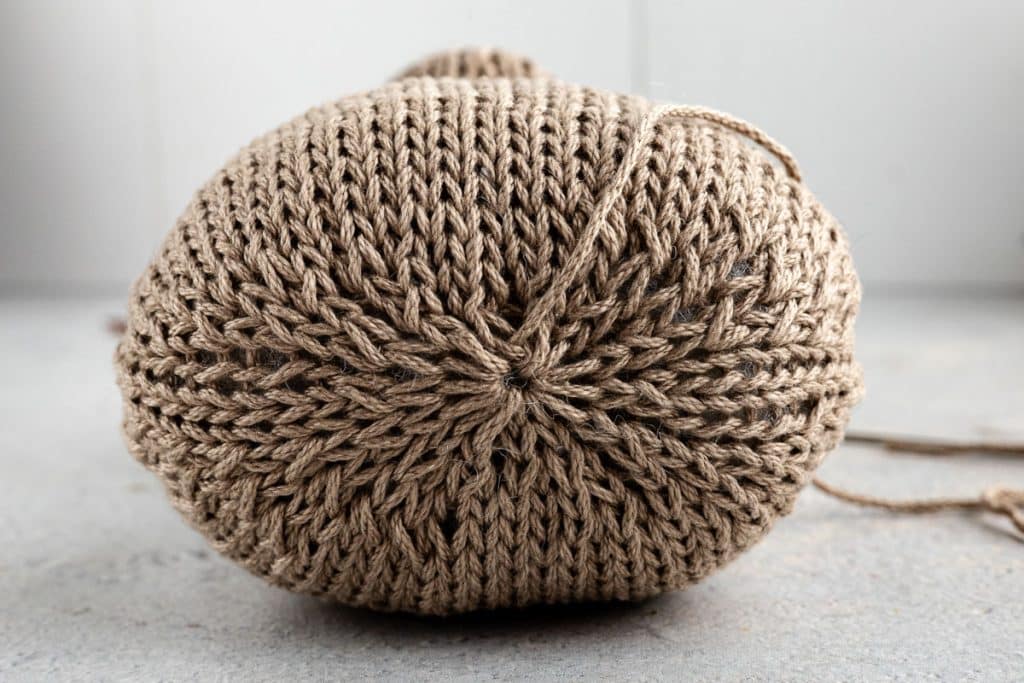
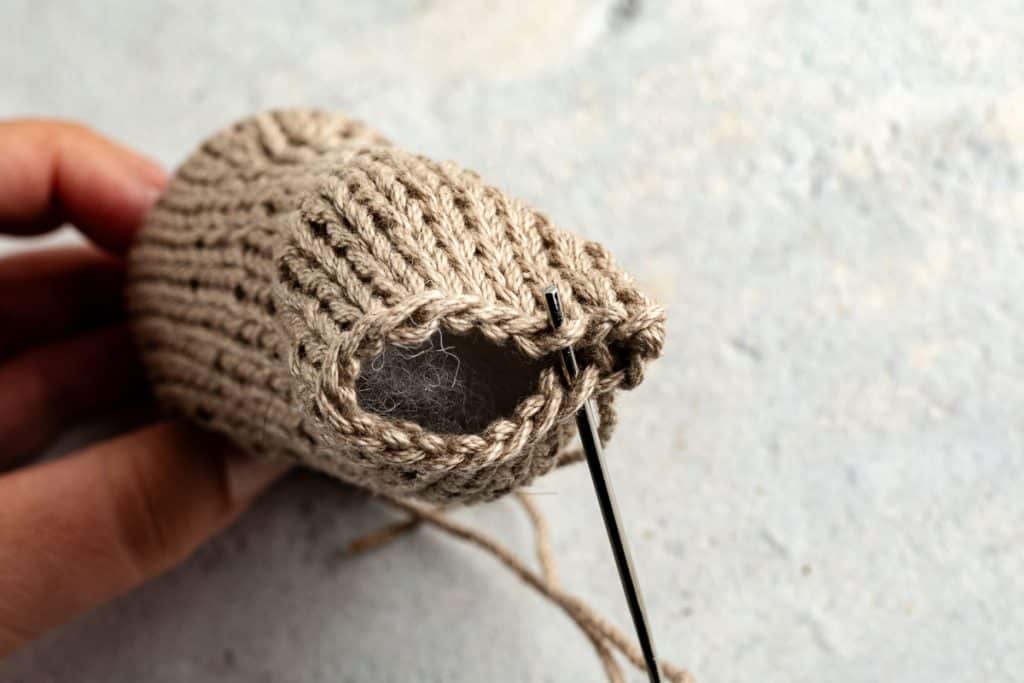
- Close the crown using the magic ring method and weave in the ends.
- Stuff your bear’s face, making sure to get a little ball of stuffing in his nose.
Ears (Make Two)

Worked flat.
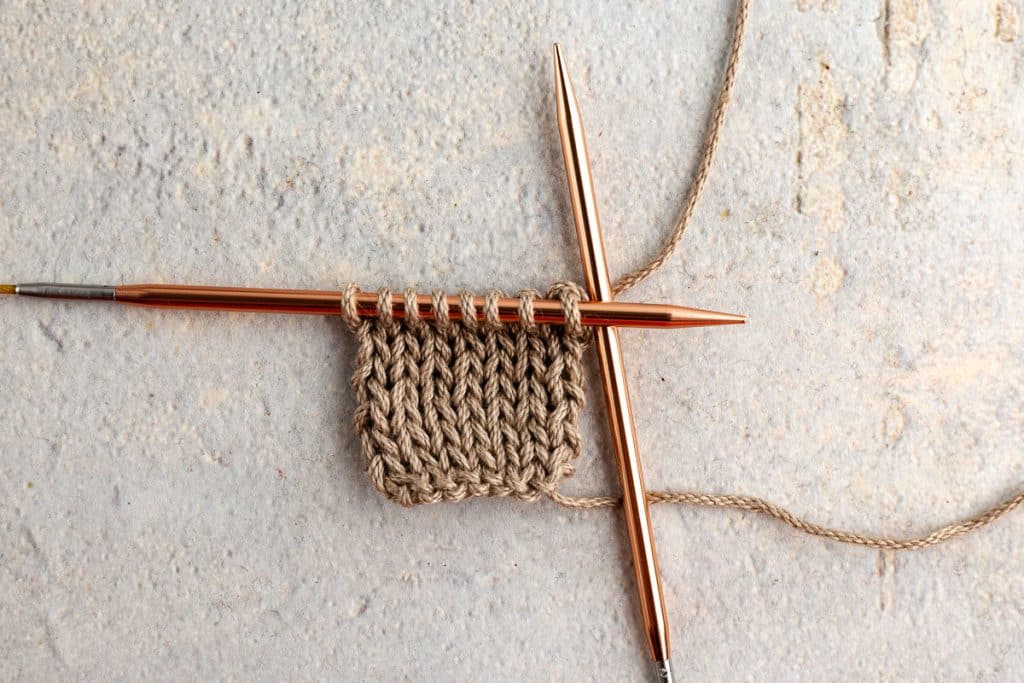
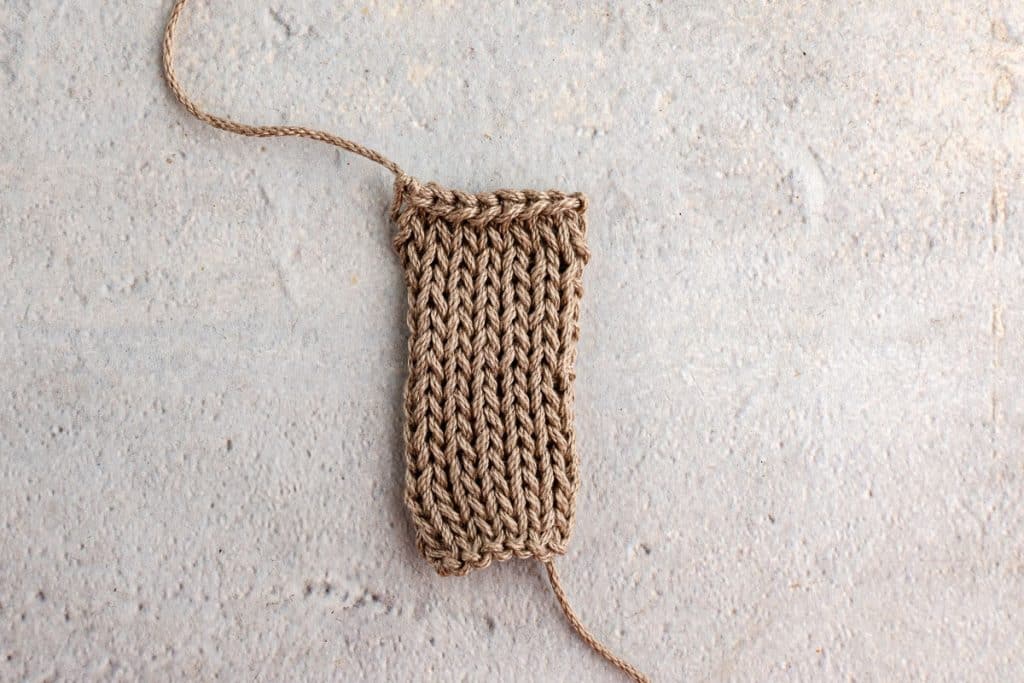
- Cast on 8 stitches.
- Work in stockinette stitch for 14 rows. Bind off. Leave tails on the bottom-right and top-left corners for sewing.
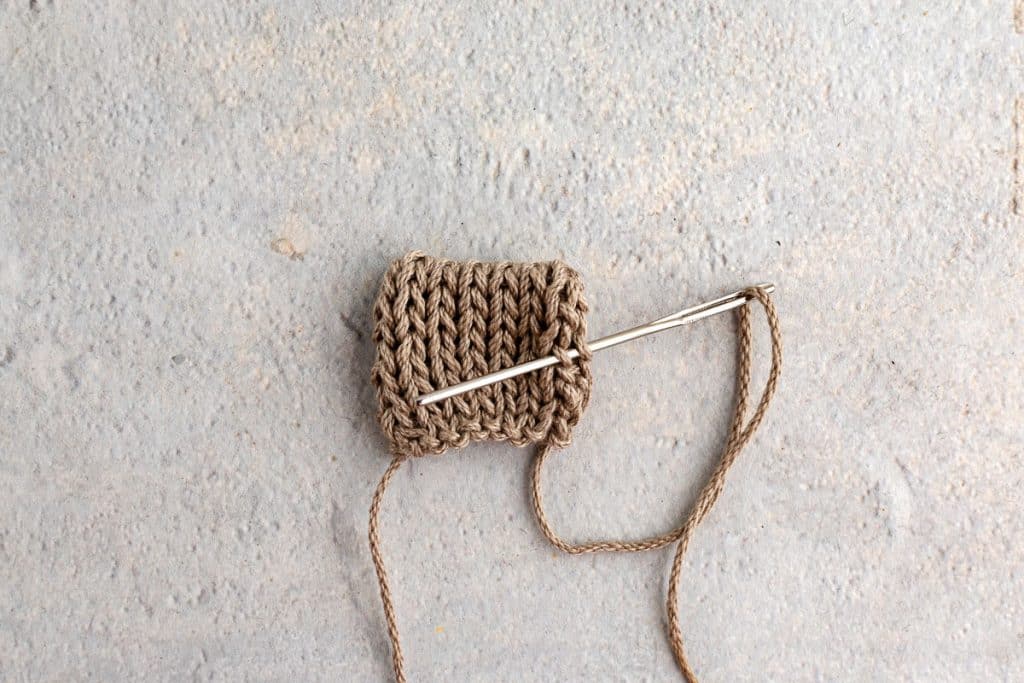
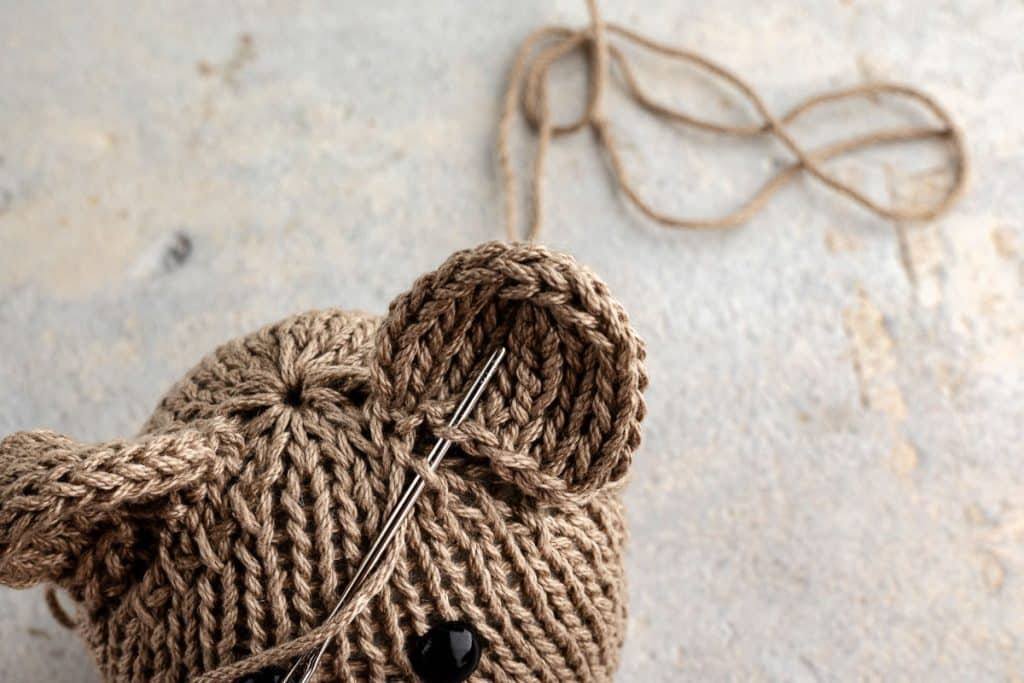
- Fold the ear in half and sew the sides together using mattress stitch.
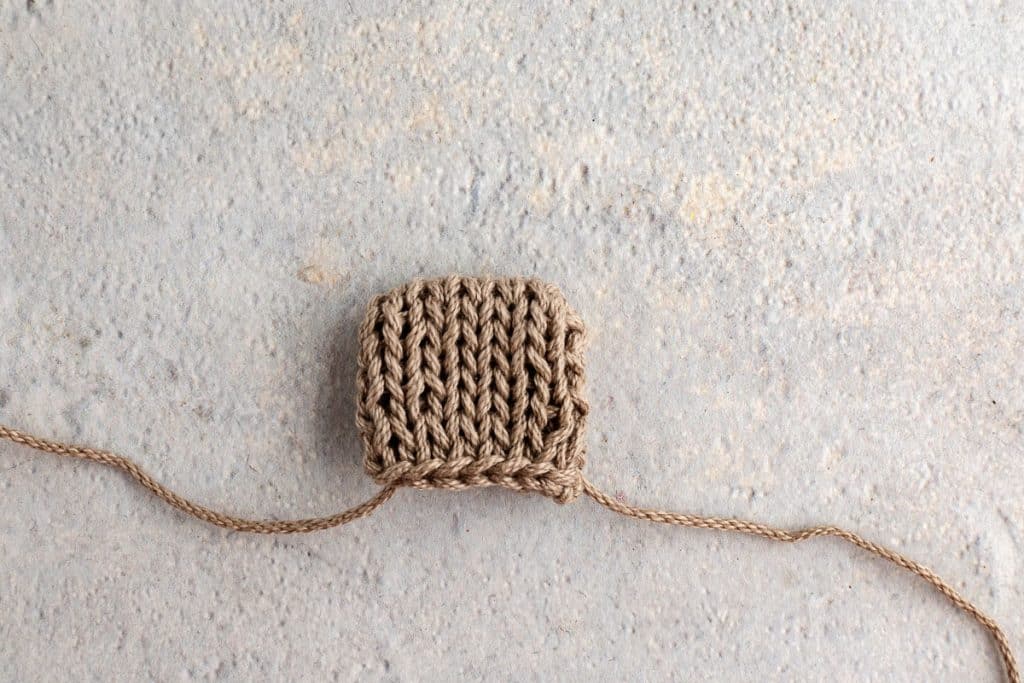
- Start at the bottom (bind-off and cast-on edges) and work up to the top of each side. When you get to the top, pull your thread through the corners. This will bring that corner into a more rounded shape.
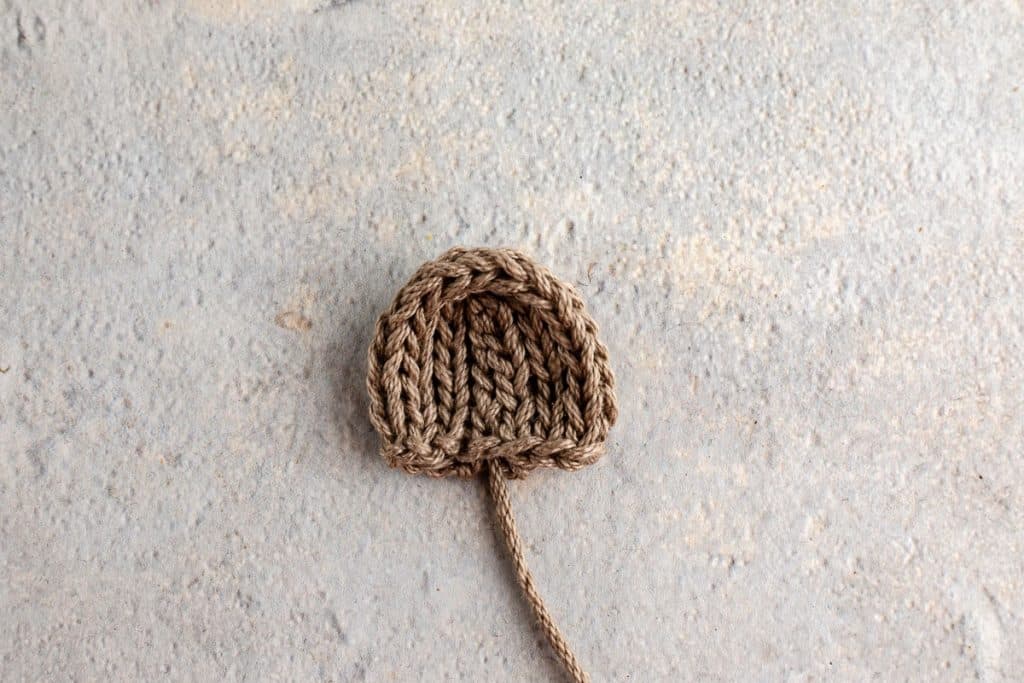
- Shape the ear into a soft, half-dome form.
- Attach to the head using the decrease seam as a guide.
Body
- Cast on 24 stitches + 1 to join in the round.
- Join by slipping the first stitch on your left needle onto your right needle and then passing the next stitch on your right needle over the stitch you just slipped. Place a stitch marker (SM) to mark the beginning of the round. You should have 24 stitches once the pieces are joined.
- Knit 1 round.
- Place two SMs six stitches to each side of the center to mark the front/back (12 stitches front, 12 stitches back).
- Increase setup (every other round):
- Round A: Knit to 1 stitch before each side SM, iLinc, slip SM, iLinc, for a total of 4 increases per round.
- Round B: Knit all stitches.
- Repeat until you have 68 stitches.
- Knit 3 rounds.
- Attach Head:
- Line up seams and mattress stitch across 24 stitches. Begin to stuff the top half of the body lightly.


Body Shaping – Decreases
You now have 68 stitches. Begin structured decrease rounds around the two side markers:
- R1: ssk, k1, slip SM, k1, k2tog .Repeat on both sides (64 sts)
- R2: Knit all stitches
- R3: ssk, ssk, k1, slip SM, k1, k2tog, k2tog (56 sts)
- R4: Knit all stitches
- R5: ssk x3, k1, slip SM, k1, k2tog x3 (44 sts)
- R6: Knit all stitches
- R7: ssk x4, k1, slip SM, k1, k2tog x4 (28 sts)
- R8: Knit all stitches
- R9: k2tog around (14 sts)
- R10: Knit one final round
- Finish stuffing the body and close the bottom with the magic ring method. Weave in ends securely.
Legs (Make 2)

- Cast on 20 stitches + 1 to join in the round. Place SM.
- Knit 20 rounds.
- Place SM 5 stitches on either side of the center for front/back (10 stitches on each side).
- Increase round: iLinc before and after each side marker. You will have 24 stitches.
- Knit 1 round.
- Repeat the increase round one more time, resulting in a total of 28 stitches.
- Knit 6 rounds

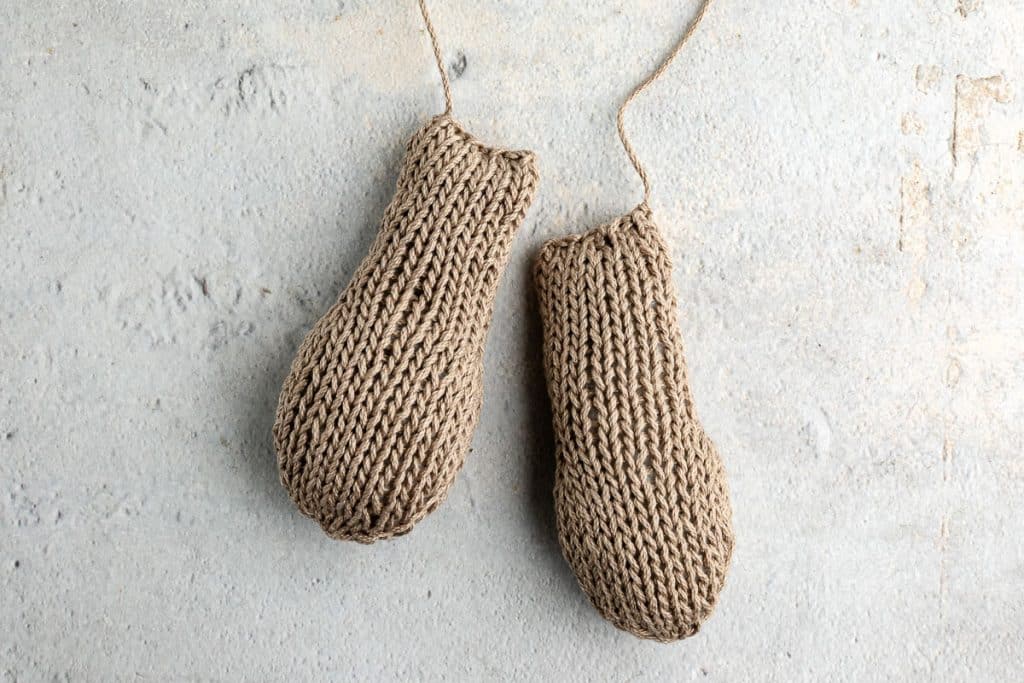
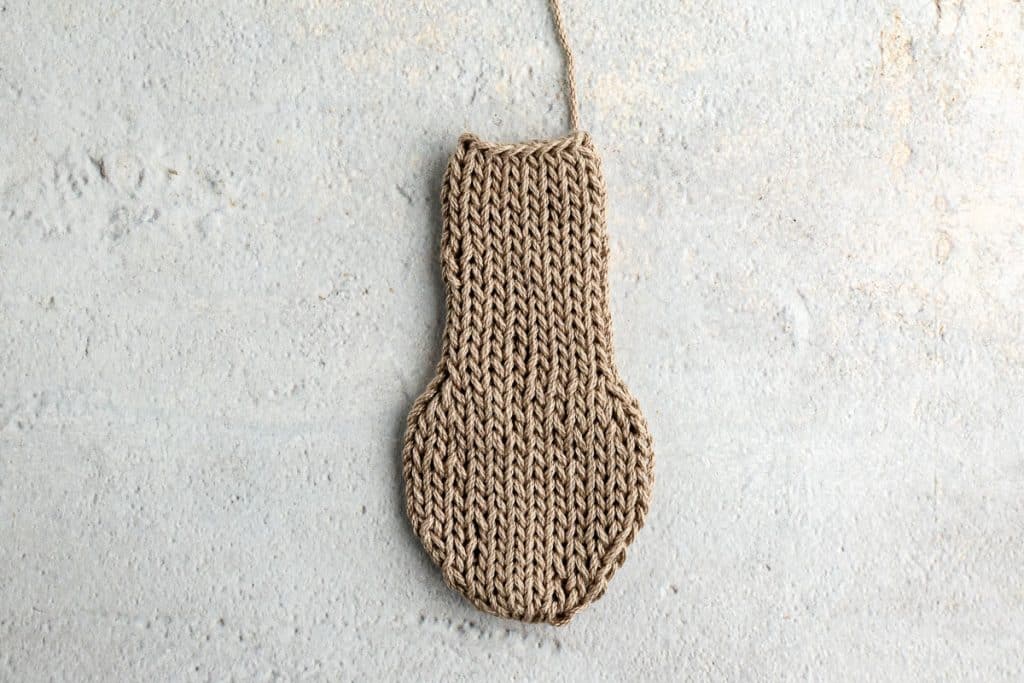
Shaping the Foot:
- Decrease rounds:
- k2tog before and after each SM; 4 stitches decreased
- Knit 1 round
- Repeat decrease rounds until 12 stitches remain.
- Close using the magic ring, lightly stuff, and leave a wee bit of room at the top unfilled.
- Sew shut and attach to the body.

Arms (Make 2)
Similar to legs, but slightly smaller.
- Cast on 16 stitches + 1 to join in the round. Join and place SM.
- Knit 15 rounds.
- Mark 4 stitches on either side of the center for the front and back, using 2 stitch markers.
- Increase rounds:
- iLinc before and after each side marker. You will have 20 stitches.
- Knit 1 round.
- Work another increase round, resulting in a total of 24 stitches.
- Knit six rounds
Shaping the Arm
- Decrease rounds:
- k2tog before and after each SM; 4 stitches decreased
- Knit 1 round
- Repeat decrease rounds until 12 stitches remain.
- Close using magic ring, lightly stuff, and leave a wee bit of room at the top unfilled.
- Sew shut and attach to the body
Finishing Touches and Ideas to Make this Bear Your Own
- Weave in all loose ends securely
- Embroider facial features if not using safety pieces
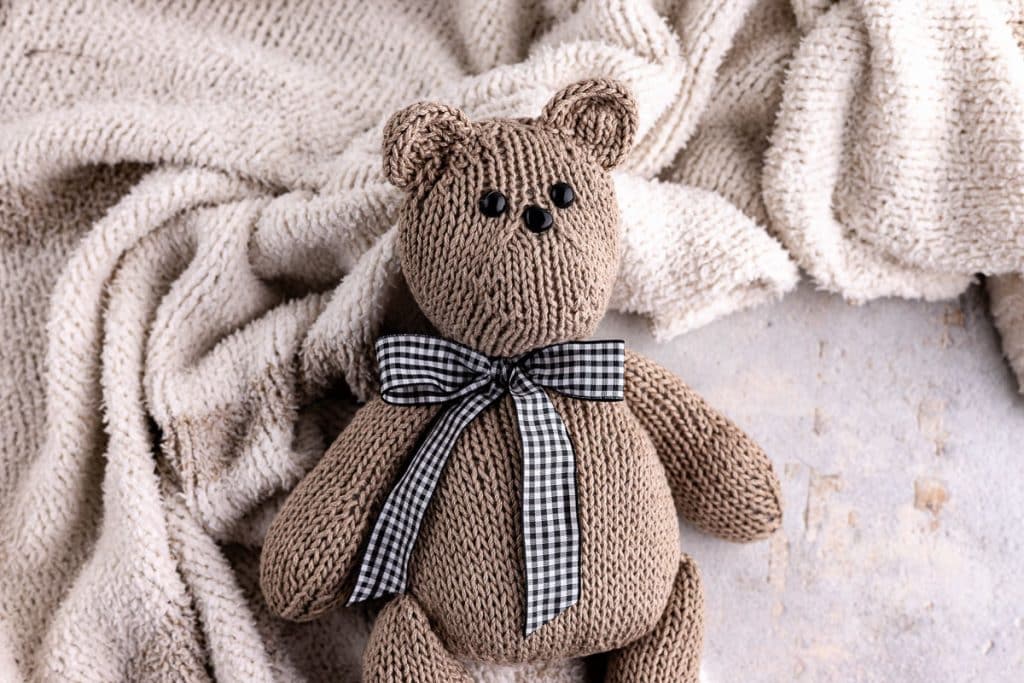
- Add a ribbon or bow if desired
- Embroider a heart or add a small heart patch.
- Small bows at the ears
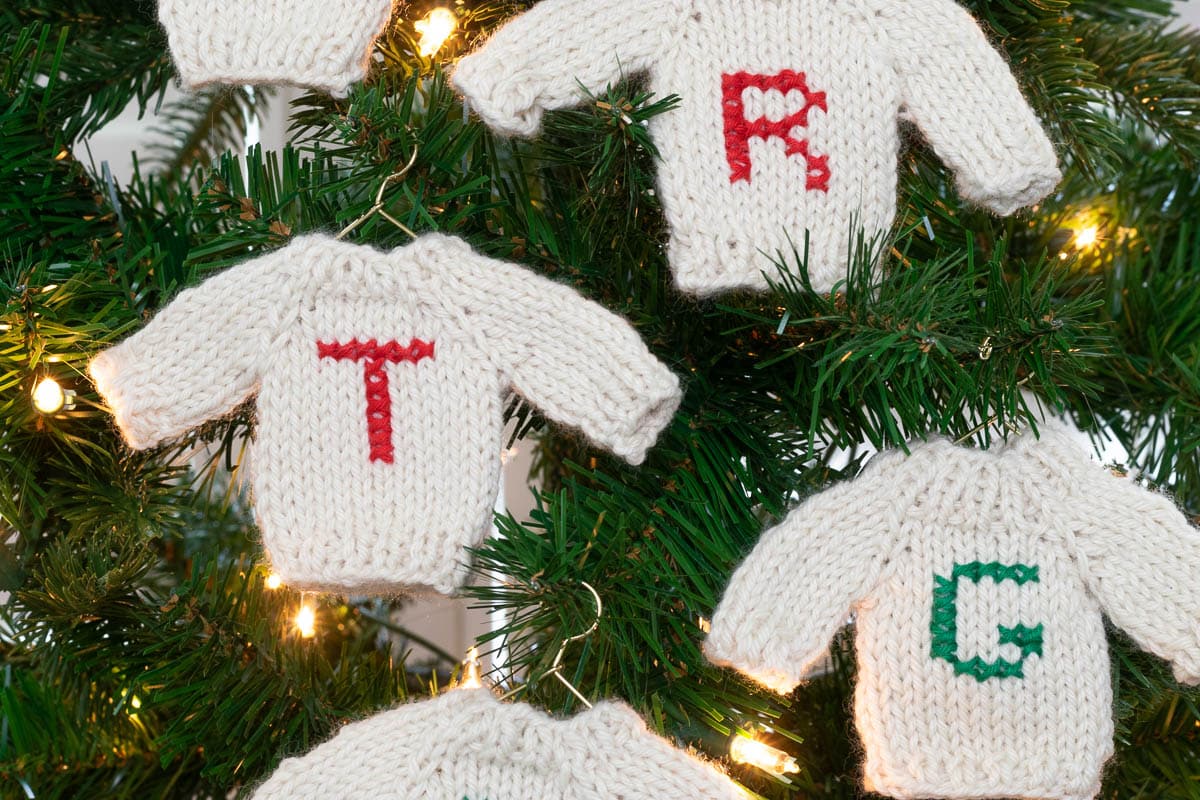
- Sew or knit a sweater.
- Use different colored yarns
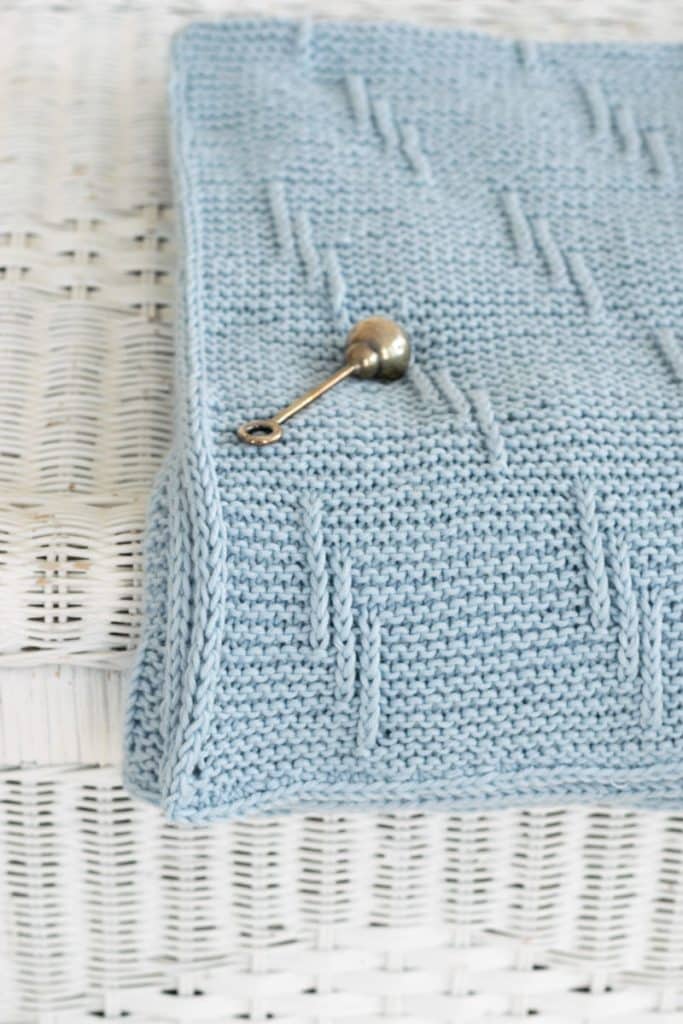
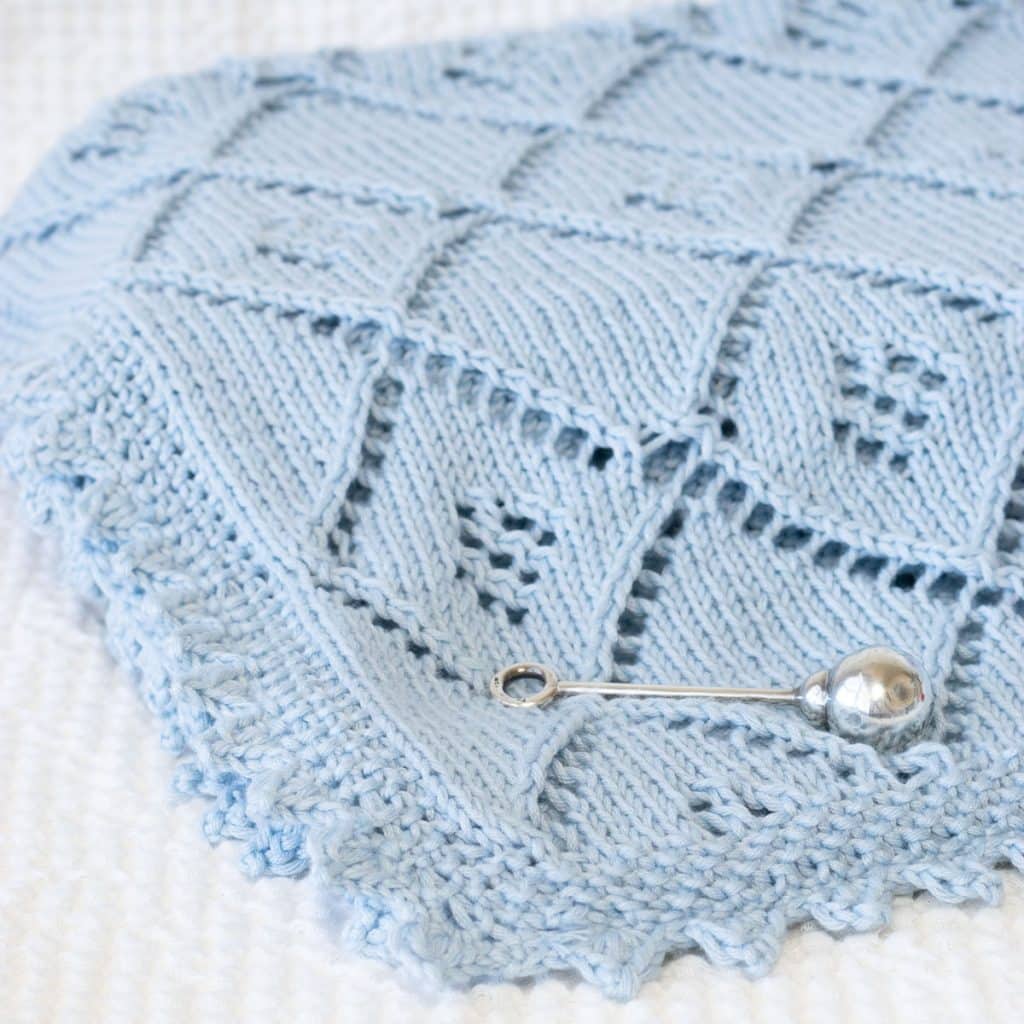
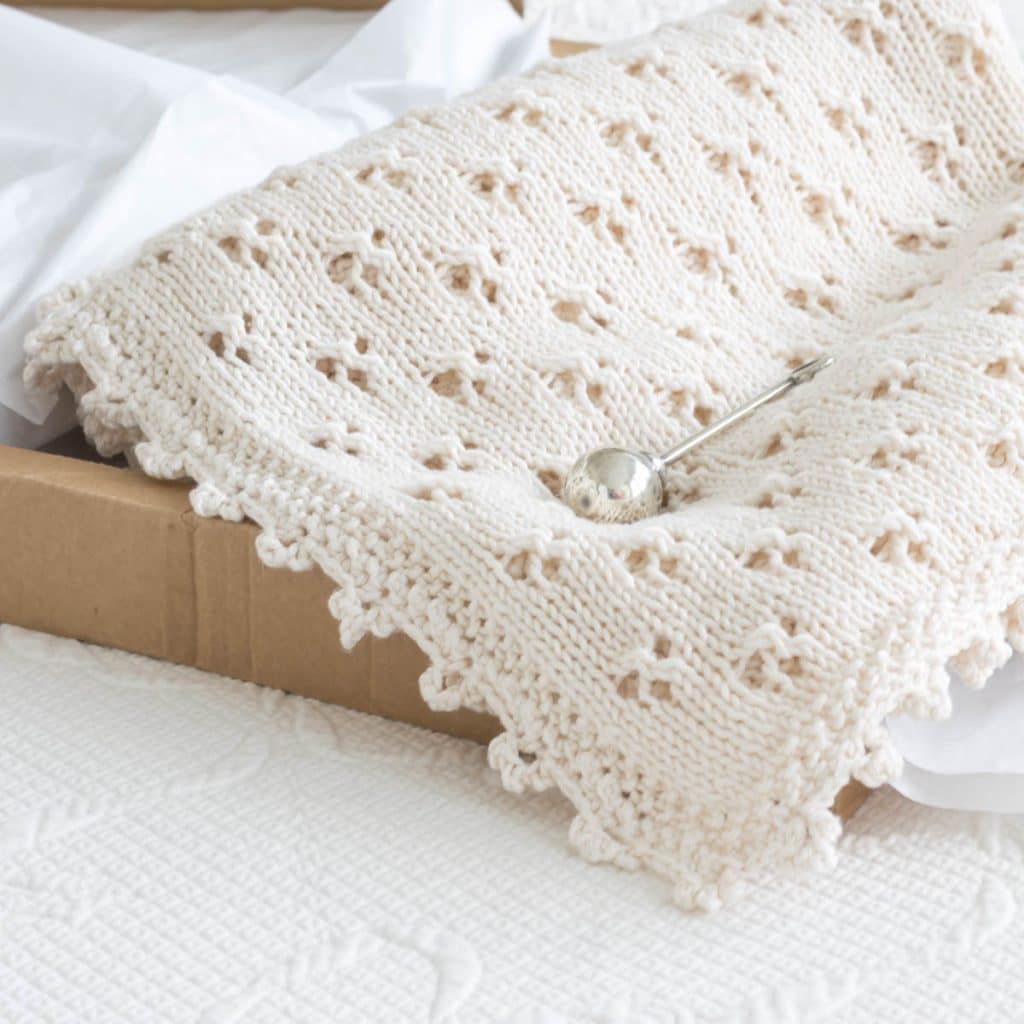
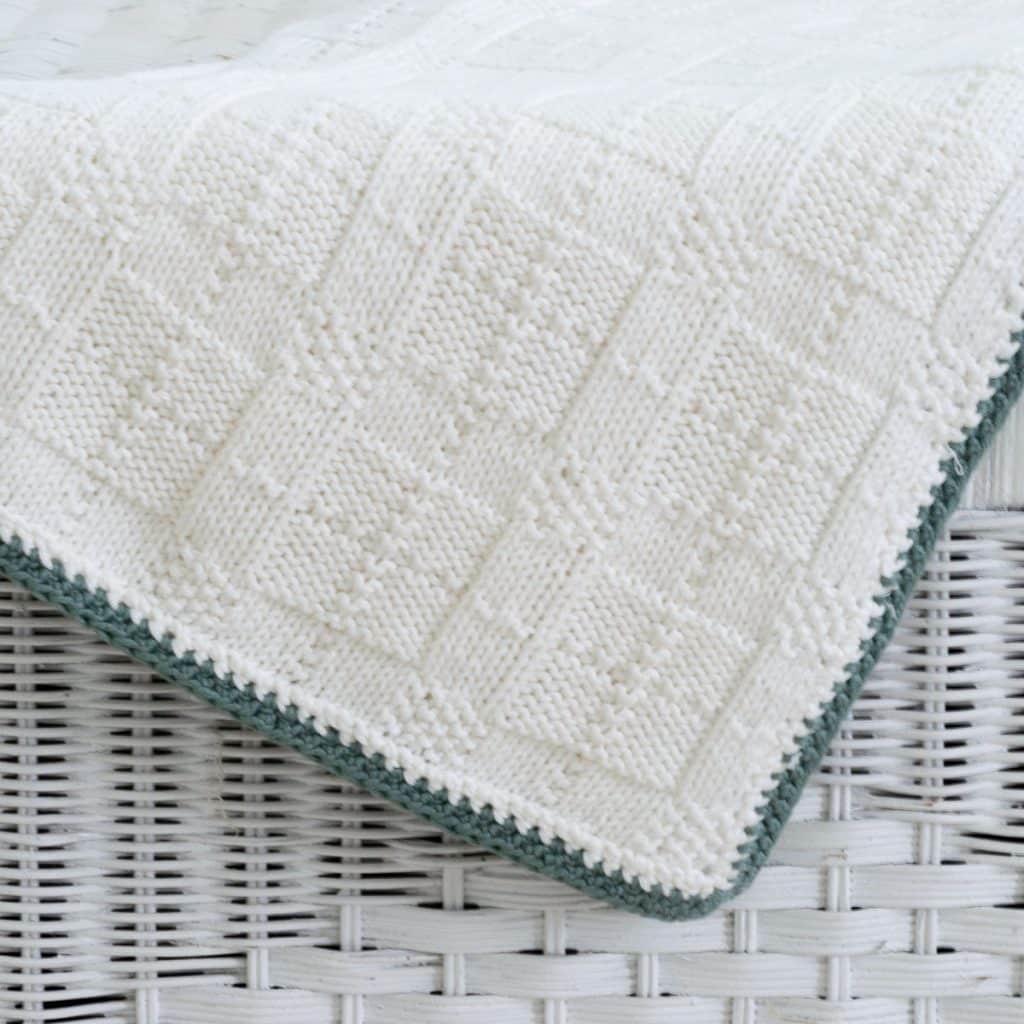
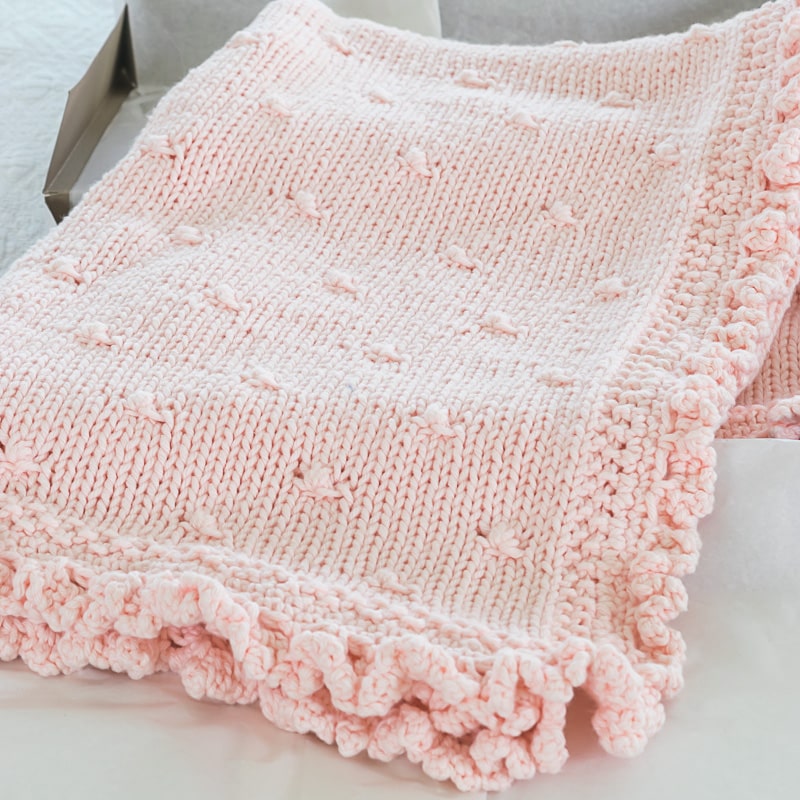
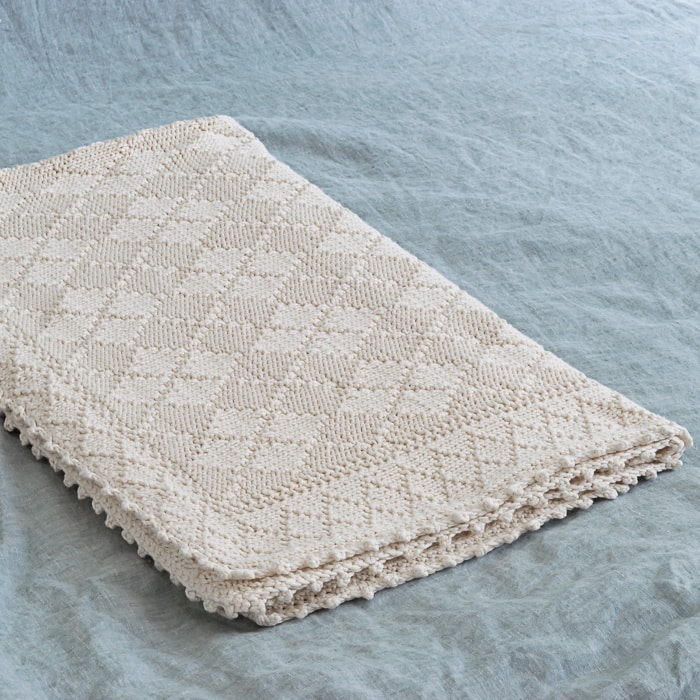
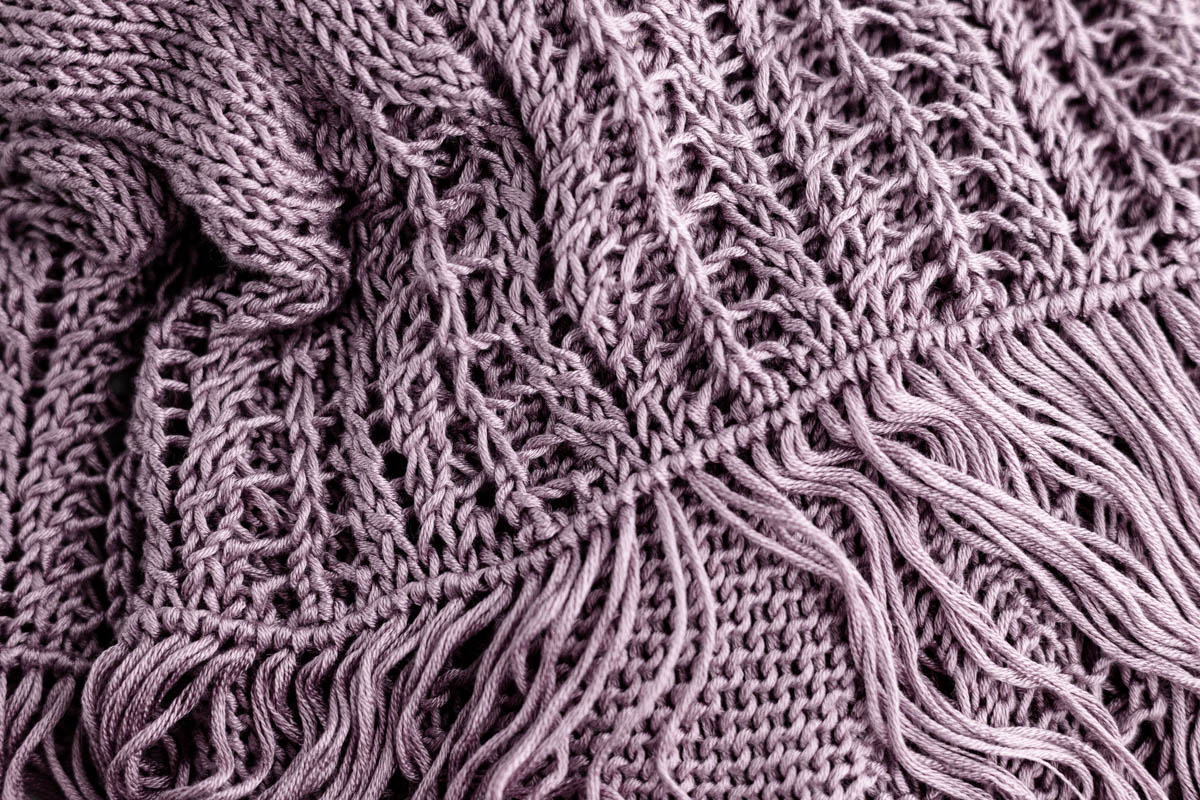
Pair Your Teddy Bear with a Blanket
Pair your charming knit teddy bear with a handmade knit baby blanket for the MOST PERFECT newborn gift! Knit the bear using the same yarn and color or a complementary one!
Bookmark this page or pin the following image to return to this knit teddy bear pattern in the future.
Thanks so much for spending a few minutes of your busy day with me!
To ensure you don’t miss future content, pop your email in the pale green box on the right or click here. I usually send one email weekly, so I won’t inundate your inbox. I’m sensitive to an overflowing email inbox!
We will only use your email address to send you emails, no more than 1-2 weekly. In addition, you will have access to my growing library of knit & crochet patterns and other printables. Check back often as this library will continue to grow. You can unsubscribe anytime by emailing me or clicking on the “unsubscribe” link at the bottom of all emails.
And you can access many of the products I refer to on my Nourish and Nestle Amazon Page. You can access it here.
So, if you’d like to participate in the ‘subscriber benefit’ action, simply subscribe to Nourish and Nestle here or use the form on the right sidebar. It’s slightly towards the top.
I have sent all my subscribers the link to the Subscriber Benefits Library. If you missed it or misplaced it, let me know.
Until next time…


I can’t find the link for the knit teddy bear. Please send to me at [email protected]. Thank you.
Done, check your email.