Mattress Stitch: How to seam your knitting


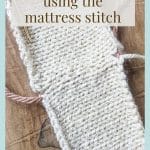
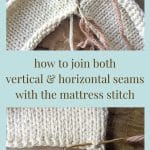

Instructions on how to seam your stockinette stitch or rib stitch knitting using the Mattress Stitch. This tutorial will discuss how to use this finishing technique to sew seams for both side edges (vertical seam), as well as cast-on and bind-off seam
There is just something so enjoyable about seaming your knitted work with the Mattress Stitch. First of all, it signifies that you are at the end of your project. But, just as enjoyable, the Mattress Stitch is basically foolproof and gives your knitted work a professional finish.
Most of the time you will be sewing your mattress stitch along the side seams of your work. But in some instances, like my Christmas pillow or a shoulder seam, you will need to seam both the vertical and horizontal edges. There are minor differences in sewing a seam along the side and cast-on/bind-off edges. We will discuss both of them.
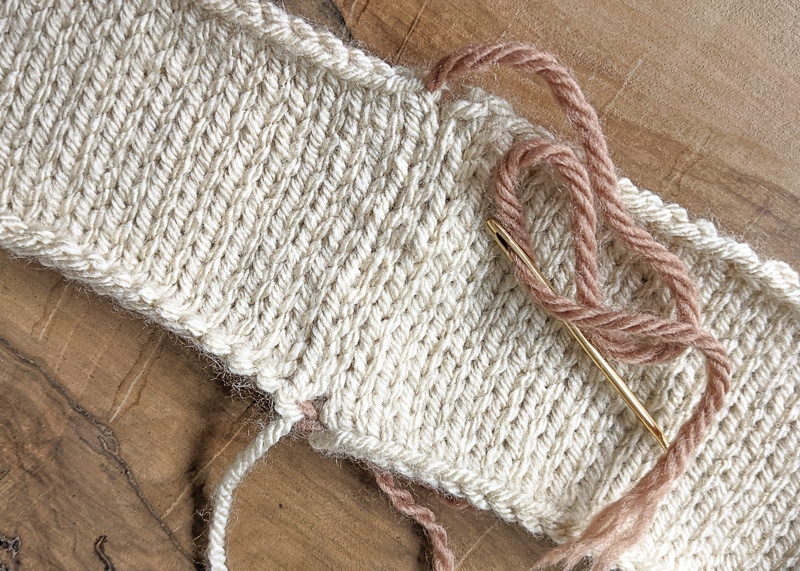
Table of Contents
Reasons to embrace the Mattress Stitch:
- It is very easy
- The seam produced by the mattress stitch is a very sturdy seam
- The mattress stitch creates a neat seam; in fact, it is almost an invisible seam.
The Basics of Sewing Vertical Seams with the Mattress Stitch
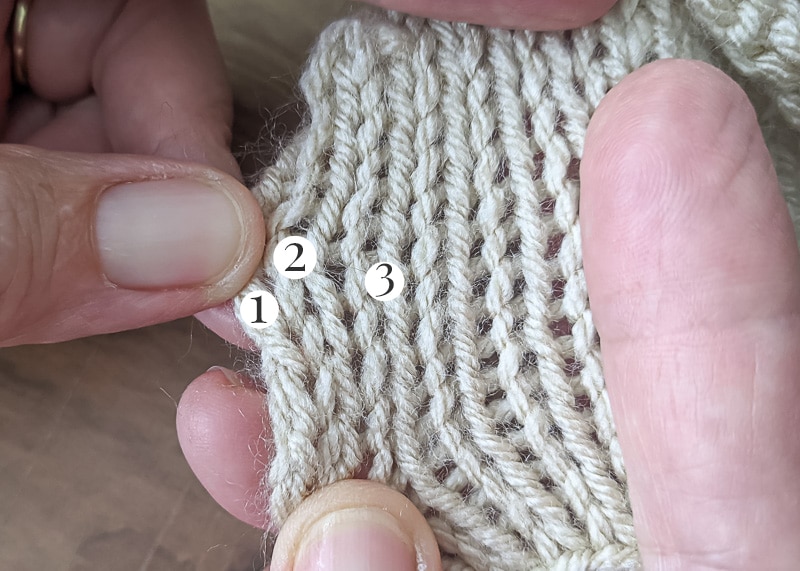
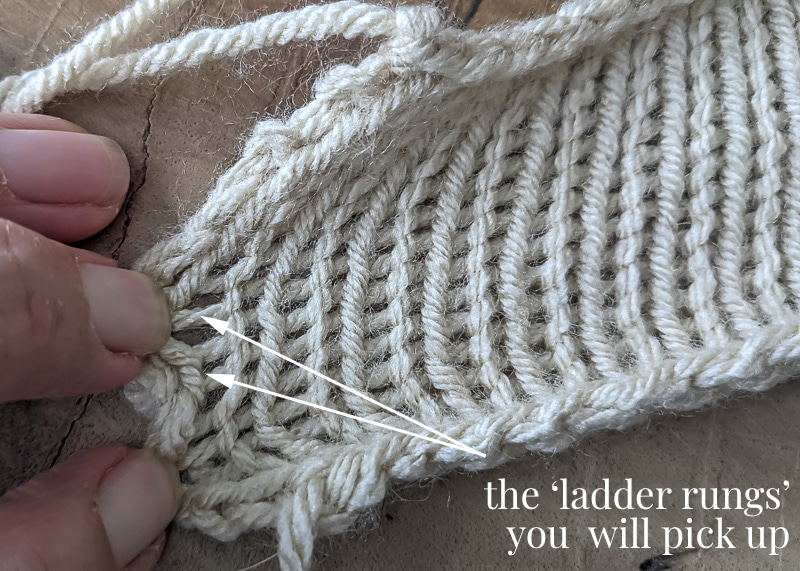
The Mattress Stitch seams two pieces of knitted material (knit in either stocking stitch or ribbing) with an almost invisible seam. The seam is ideally worked between the first two columns of knit stitches. It uses the horizontal bars or ‘ladder rungs’ between the two columns.
Working between the first two columns of knitting will produce a smaller, more flexible seam. However, if you need to ‘take in’ the sides of a sweater or something similar, you could work the mattress seam in later rows.
Some of these links may be Amazon affiliate links and I may earn a small commission from the sale of these products to help defray the costs of operating this site, but the price you are charged is not affected. You can see my full disclosure policy here.
Sewing a Side Seam with the Mattress Stitch
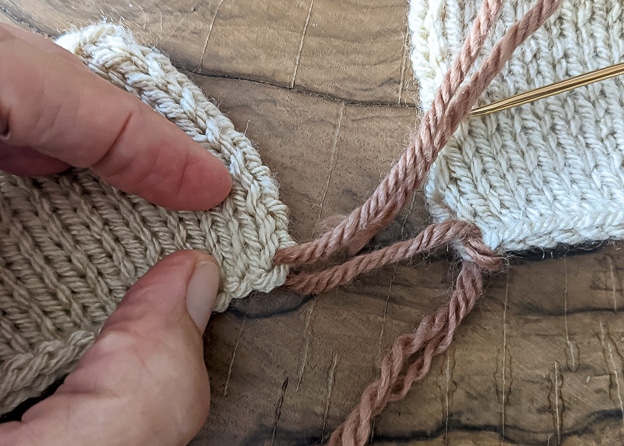
- Thread a tapestry needle, darning needle or yarn needle with the tail end of your cast on yarn or a length of yarn that is about 3 times the length of the seam you need to sew. For demonstration purposes, I am using a contrasting yarn color for my seaming yarn to illustrate just how invisible this mattress stitch seam is!
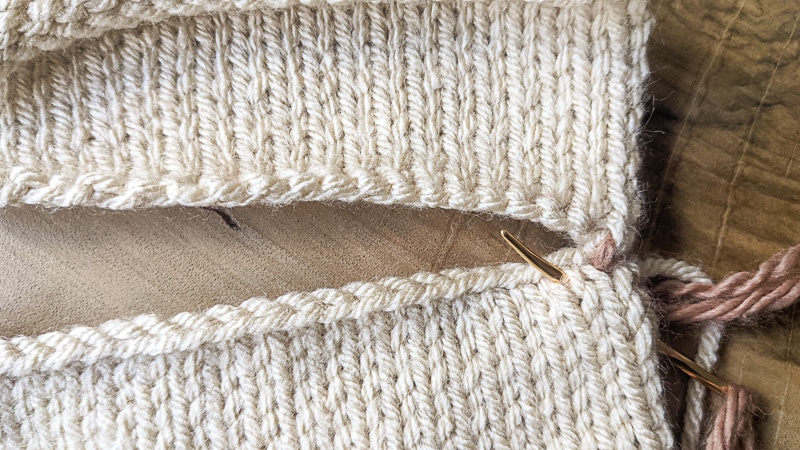
- With the right sides of your knit pieces side by side and facing up, start your first stitch by coming up from the bottom, between the cast on row and the first row, and between the first two columns of stitches.
- Take your needle over and under the cast on row and come up in the same spot again, creating a loose knot
- Find the corresponding stitch on the other knit piece and come up from the bottom again.
- Snug up the yarn.
- Go back to the first piece and with your needle, come from the top of the fabric and go into the hole where you first came out and grab the first ‘ladder rung’.
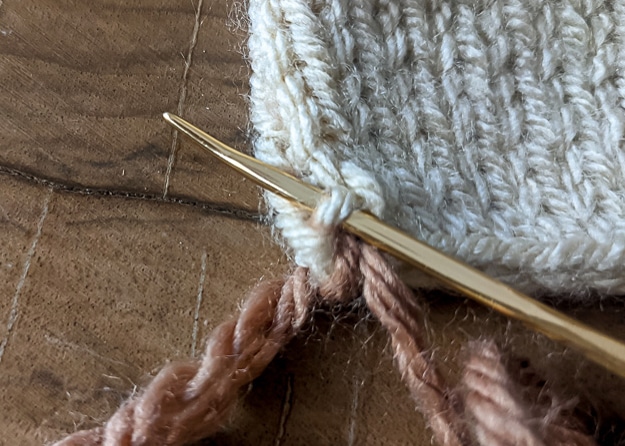
- Then go to the other piece and repeat that process, coming from the top, just barely into the hole where your yarn last came out and grab the horizontal bar or ‘ladder rung’ closest to the last worked yarn.
- Repeat these mattress stitch steps for the rest of the side seam. You will work back and forth between the two knitted pieces of fabric.
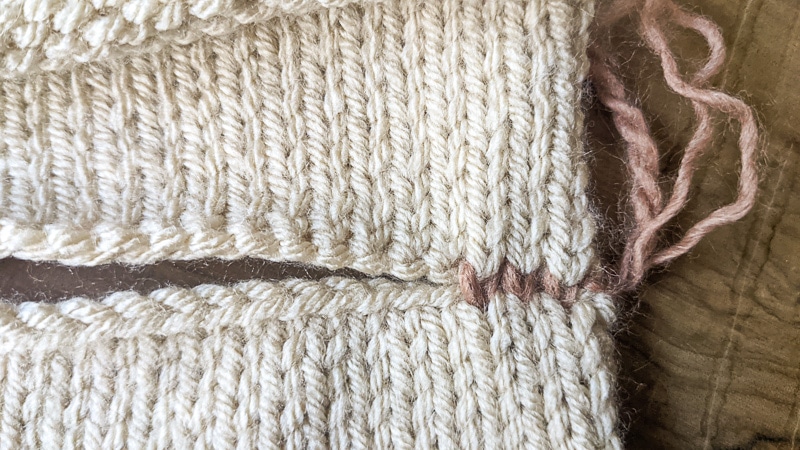
- When you reach the end of the seam, weave your yarn tail into the seam on the wrong side of the fabric.
- The back of your work will show a bulkier seam than the front of the work.
Tips for Beautiful Vertical Seams
- If you do it correctly, you won’t see your seam, and your two pieces of fabric will look like one piece.
- Always work the mattress stitch with the right sides of both knitted pieces facing up.
- I like to go rung by rung; it makes it easier to keep the two pieces lined up. You could go every other rung or horizontal bar…just be consistent as your work between the two pieces.
- For best results, make sure you stay in the same column on each piece of fabric. If you start in one column and then inadvertently move over to the next column, you will not have a straight seam.
- The seam on the wrong side of the fabric will be bulky-ish. The closer you stay to the edge of the work, the less bulky your seam will be. Conversely, the further from the edge of your work you work the mattress stitch seam, the bulkier your seam will be.
- Don’t snug it too tight…your work will not lay flat. If you do find that you pulled the yarn too tight, you can loosen it up by pulling on the fabric at each end of the seam.
So, that’s how to work the Mattress Stitch along the vertical edges/sides of your knitted work. Let’s now discuss how to seam your horizontal/cast on and bind off edges.
Sewing a Cast-On/Bind-Off Edge with the Mattress Stitch
You will most likely see a reference for a horizontal mattress stitch in a pattern with shoulder seams. Or, as previously mentioned, in a pattern for pillows like my Christmas Tree Pillow.
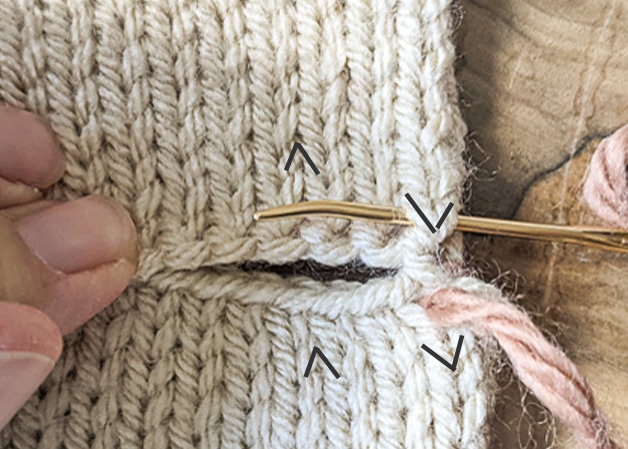
In general, the concept is very similar. But, instead of going under the horizontal bars on the side edge stitches, you will work with the Vs produced by the knit stitch. And pay attention that you work with the Vs facing up, as opposed to upside-down Vs, as illustrated below.
- Thread a tapestry needle, darning needle or yarn needle with the tail end of your cast on yarn or a length of yarn that is about 3 times the length of the seam you need to sew.
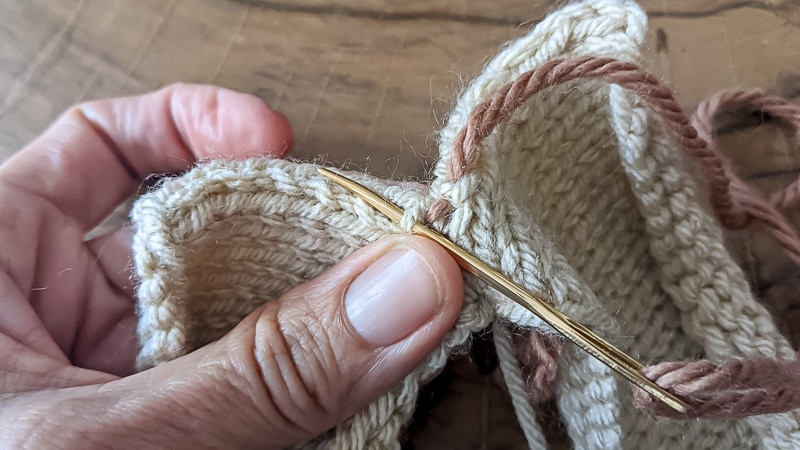
- With the right sides of your knit pieces facing up, have the edges to be seamed facing each other. Lay one piece of fabric above the other. I find it helpful to have the pieces laying on a flat surface.
- Make sure the columns of knit on each piece of fabric are lined up with each other. Again, make sure the knit Vs are facing up.
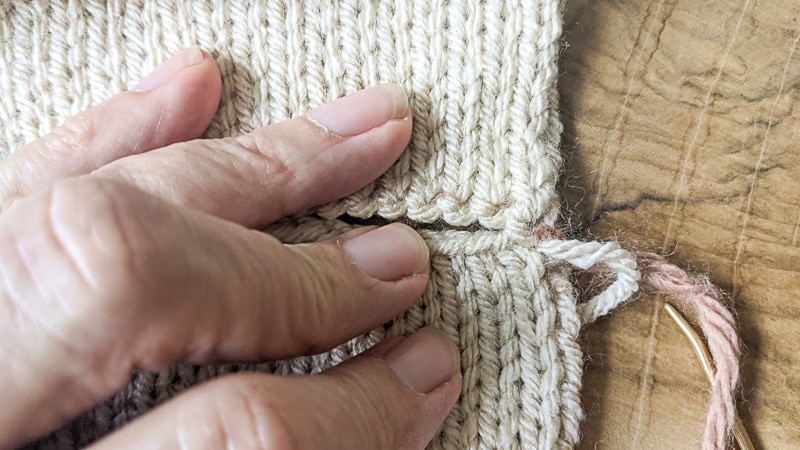
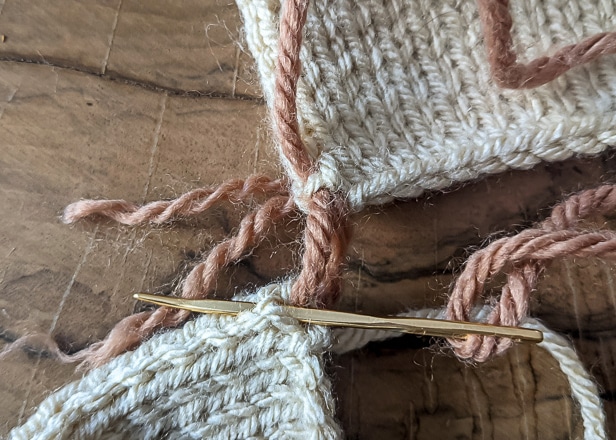
- Start your first stitch on the bottom piece of fabric, by coming up from underneath. Put your needle through the middle of the first stitch under the cast-on/bind-off edge, in the first column.
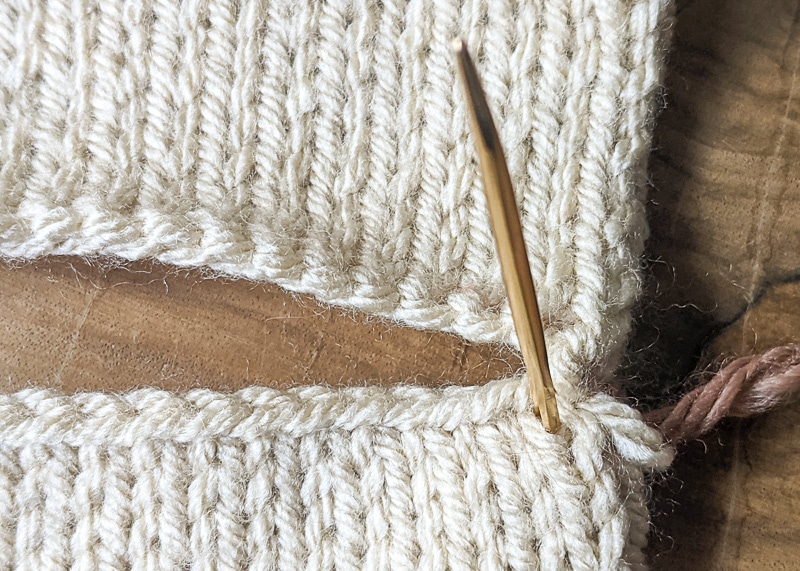
- Then find the first V in the same column in the second piece, right behind the cast off edge. Take your needle through that V.
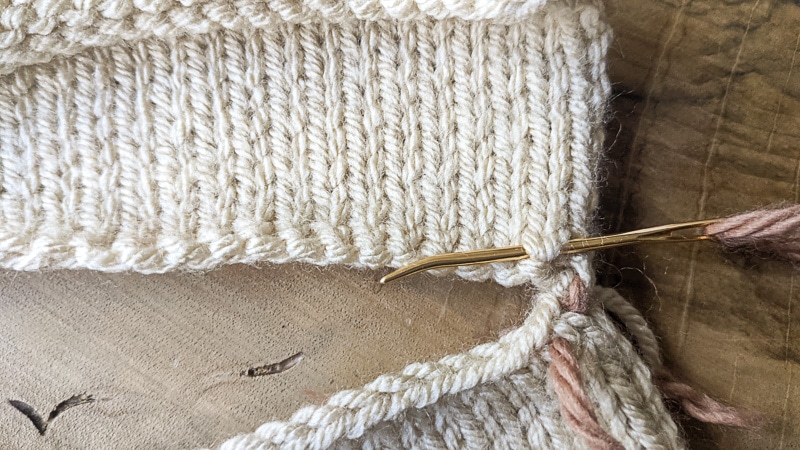
- Take your needle back through the stitch on the bottom piece where you initially came out, forming another V.
- Move to the next V to the left and repeat the process.

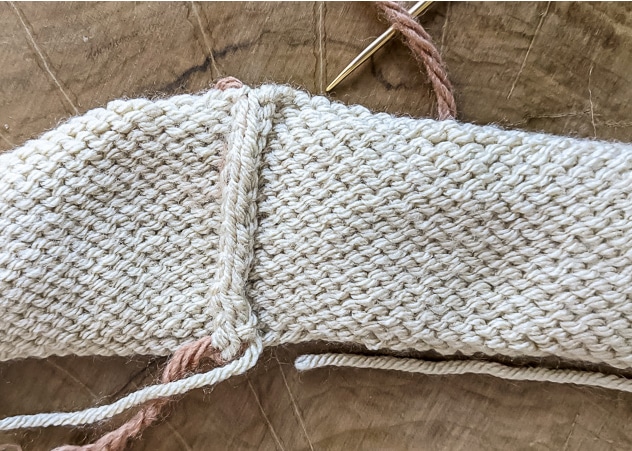
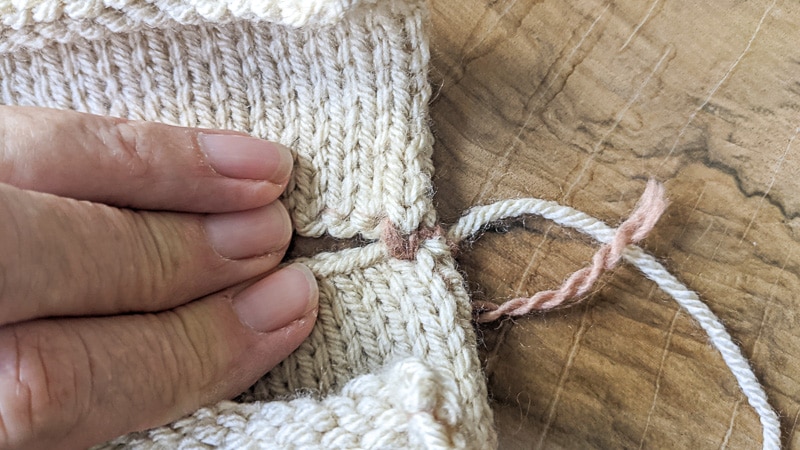
- Continue for the rest of the seam, snugging up your yarn as you go. The stitches of the horizontal mattress seam stitch will be more visible than the vertical seam, but it will appear as part of the knitting and not a seam.
Tips for Beautiful Horizontal Seams
- Make sure your knit fabrics are facing up
- Don’t pull your yarn too tight
- Make sure you don’t use the cast-on/bind-off edge to seam. You want to work the knit stitches right under or over the bo/co row.
- Ensure that your columns are lined up correctly.
- Once again, the resulting seam on the wrong side of the fabric will be bulkier. The closer you stay to the cast-on/cast-off edge of the work, the less bulky your seam will be. Conversely, the further from the edge of your work you work the mattress stitch seam, the bulkier your seam will be.
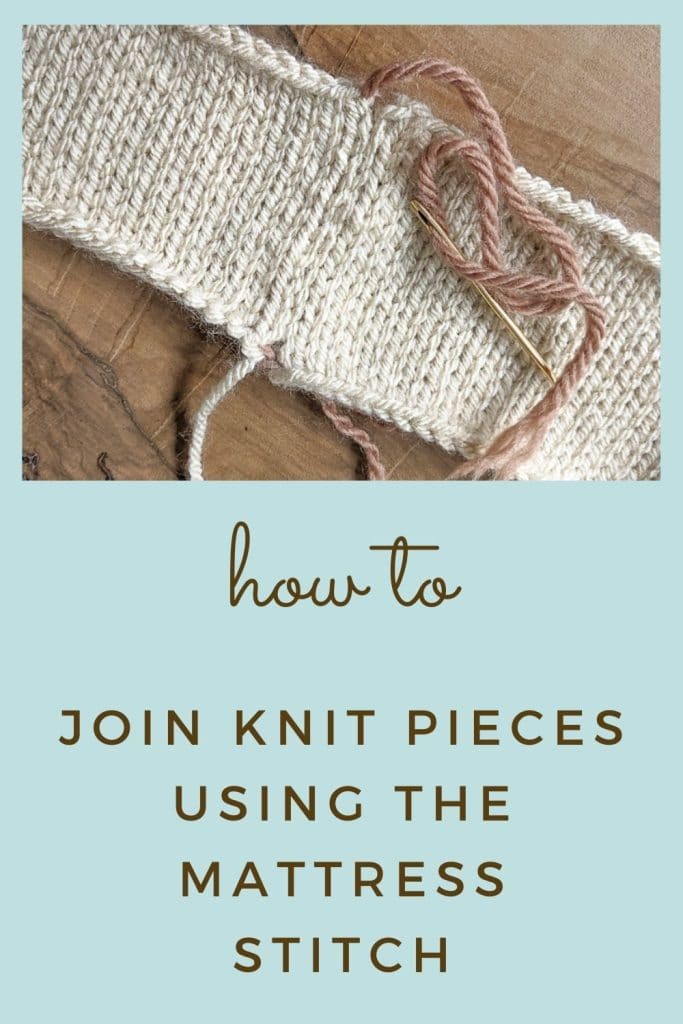
Bookmark this page or pin the following image to refer back to this discussion of the Mattress Stitch in the future.
Thanks so much for spending a few minutes of your busy day with me!
To ensure you don’t miss future content, pop your email in the pale green box on the right or click here. I usually send one email weekly, so I won’t inundate your inbox. I’m sensitive to an overflowing email inbox!
We will only use your email address to send you emails, no more than 1-2 weekly. In addition, you will have access to my growing library of knit & crochet patterns and other printables. Check back often as this library will continue to grow. You can unsubscribe anytime by emailing me or clicking on the “unsubscribe” link at the bottom of all emails.
And you can access many of the products I refer to on my Nourish and Nestle Amazon Page. You can access it here.
So, if you’d like to participate in the ‘subscriber benefit’ action, simply subscribe to Nourish and Nestle here or use the form on the right sidebar. It’s slightly towards the top.
I have sent all my subscribers the link to the Subscriber Benefits Library. If you missed it or misplaced it, let me know.
Until next time…