Knit Purse Pattern
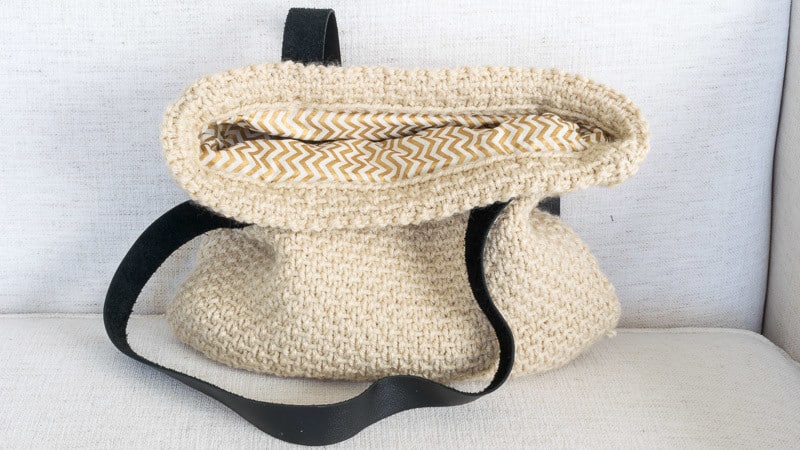
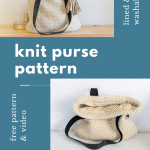
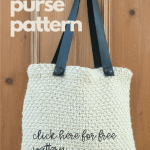
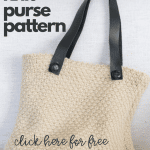
This Knit Purse Pattern uses the Half-Linen Stitch for the body of the purse. This easy to make handbag is lined and features detachable leather handles for easy washing.
This knit purse pattern was a first for me! After years of knitting washcloths and towels, I decided to try my hand and something new. It was a fun change and I will definitely be expanding my knit purse and handbag repertoire.
It did take me a while to figure out the best stitch for this knit purse pattern. I started several times, with a variety of different knit stitches, but finally realized that I needed a stitch that wouldn’t have much give to it. The linen stitch is one of my favorite knit stitches and creates a beautiful, non-stretch fabric that will lay flat. But, with 1 linen stitch project (this Linen Stitch Blanket) already under my belt, I wanted to try something else.
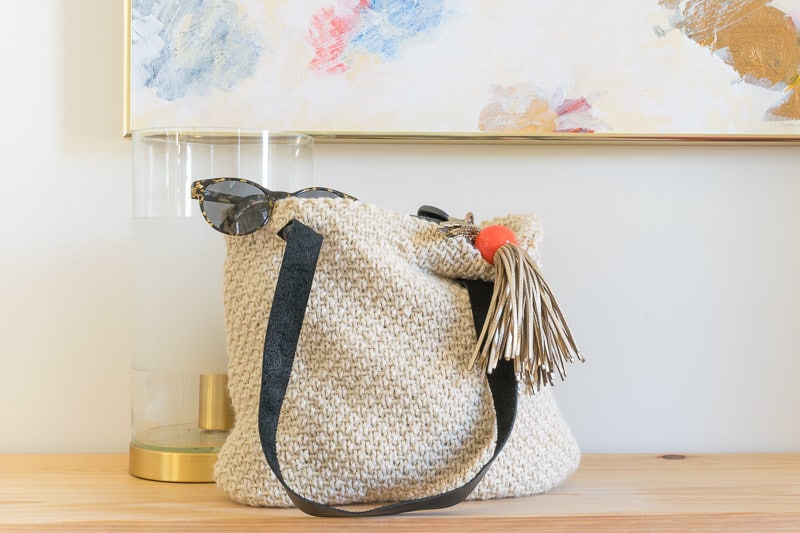
Table of Contents
While only a minor modification to the Linen Stitch, the Half-Linen Stitch is a great stitch that creates a non-stretch fabric. It doesn’t lay quite as flat, but is a much quicker stitch.
Other qualities I wanted to incorporate into this knitted handbag pattern were washable yarn, detachable straps so that the purse could be washed and a lining.
Some of these links may be affiliate links and I may earn a small commission off of the sale of these products to help defray the costs of operating this site, but the price you are charged is not affected. You can see my full disclosure policy here.
I used Paintbox Yarns Simply Chunky in Vanilla Cream for the body of the purse. It is an acrylic yarn that washes up beautifully. I have washed my knit purse twice already and it hasn’t shown any pilling.
Attaching the leather straps with buttons was my answer for making a washable purse. You can easily remove the straps when you need to toss your knit handbag in the washer.
The materials and instructions are all in this post, but if you would like a printable PDF version of the knit purse pattern, click this button.
Materials needed for the Lined Knit Purse Pattern
(body of purse measures 12” x 12”)
You can view the complete video for the Knit Purse Pattern here.
300 yards bulky/chunky yarn. I used 2 skeins of Paintbox Yarns Simply Chunky in Vanilla Cream in this knitted handbag pattern
US 10 (6mm) Straight Needles, 14″
4 buttons ( I used 3/4” as I wanted my buttons to fit within the width of my 1” leather straps)
2 leather straps (mine were 24” long. I cut off the ends with the holes that were there if I had wanted to sew the straps on)
Exacto knife or something to cut leather
13-inch square piece of fabric for lining
Tapestry Needle
Sewing Needle and thread
Sewing Machine
Gauge: 17 stitches and 28 rows in a 4” square, using half-linen stitch
If you can’t find what you need, Michaels will have supplies for most every crafting need under the sun. You can order online here and have it shipped or you can pick it up at your convenience.

Stitches Used
K: Knit
P: Purl
WYIF: with yarn in front
SL 1: slip next stitch from left-hand needle to right-hand needle, purlwise
Knitting Instructions for Purse
Using 2 balls of yarn, cast on 53 stitches twice, creating two pieces of knit fabric on your needle. This will ensure that your 2 pieces are the exact size.
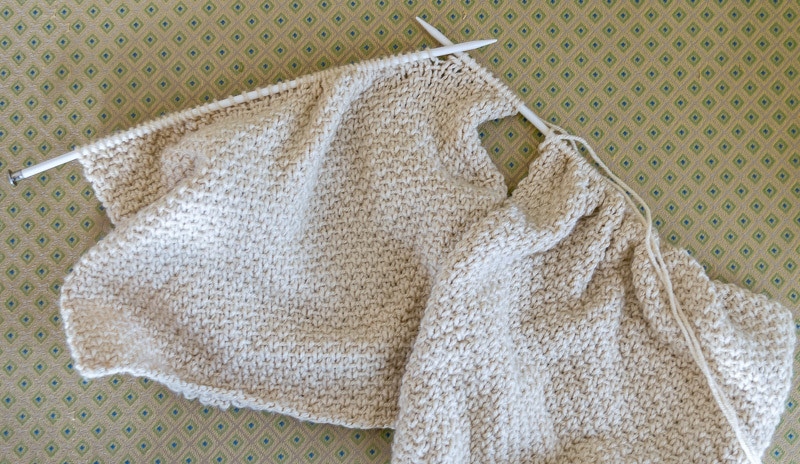
1st row : *K1, WYIF SL1* Repeat until last stitch, K1
2nd row: Purl all
3rd row: P1, *K1, WYIF SL1* Repeat until last stitch, P1
4th row; Purl all
Repeat these 4 rows until work measures 12”
On the right side (an odd-numbered row) Purl all stitches to create a fold-over, turn edge.
Repeat rows 1-4 for one more inch, 8 rows.
Bind off loosely.
Wash and block
Constructing the Knit Purse:
Sew sides of the knit purse together, wrong sides together, on three sides, leaving the side with the turn edge open. Pin your purse sides at corners and at several spots to make sure the pieces are lining up correctly.
Cut fabric for lining 1 each wider and longer than purse dimensions. In this case, with a 12” by 12” purse dimension, I cut my fabric 13” by 13”. It is better to err on the side of making your purse lining a wee bit bigger than too small.
Sew lining fabric together with right sides together, using a 1/2” seam allowance.
Place lining inside of the purse, with the wrong side of the fabric facing the inside of the purse
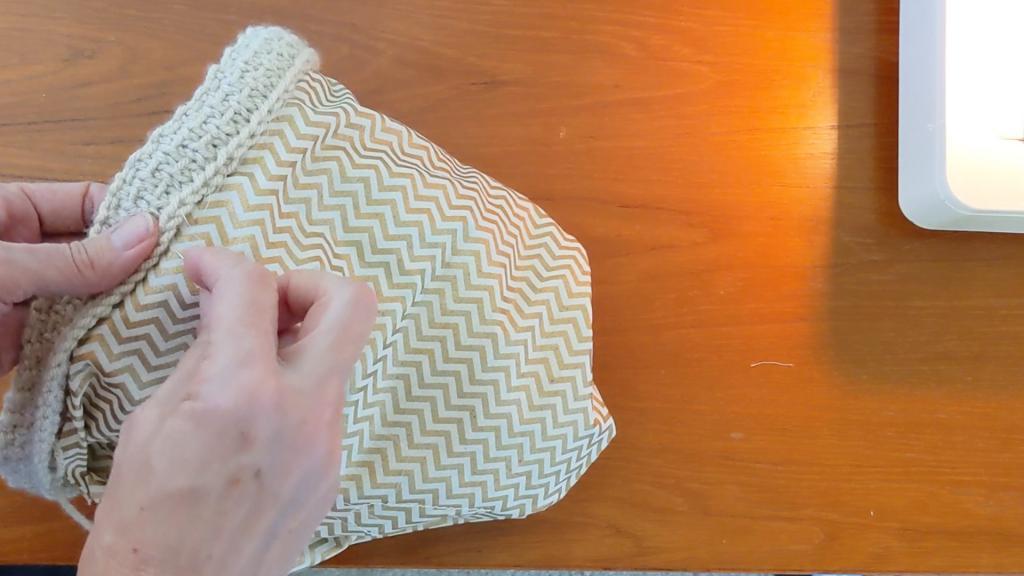
Turn over the top turn edge of your knit purse, catching the top of the lining fabric and using needle and thread, sew the bottom edge of the turn through the lining to the knit fabric of the purse.
If you’d like, you can wash the purse and block it again after sewing.
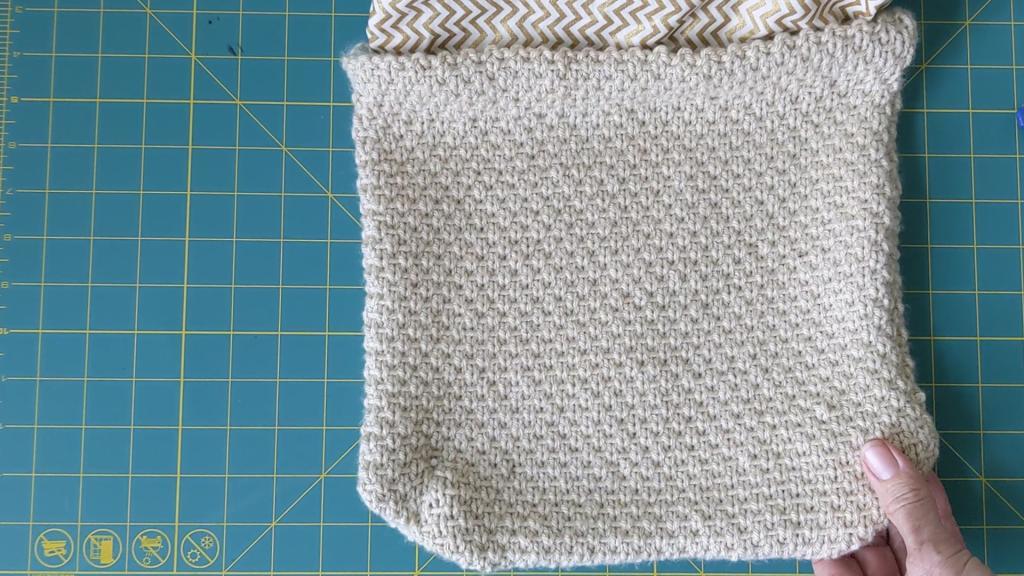
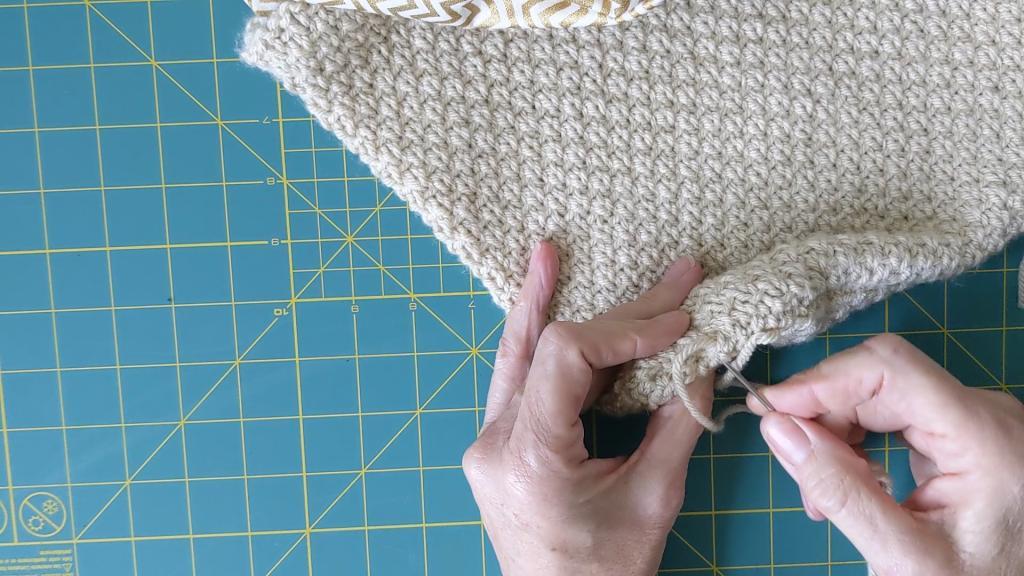
This is optional, but I wanted to finish my knit purse off a bit by tucking in the corners.
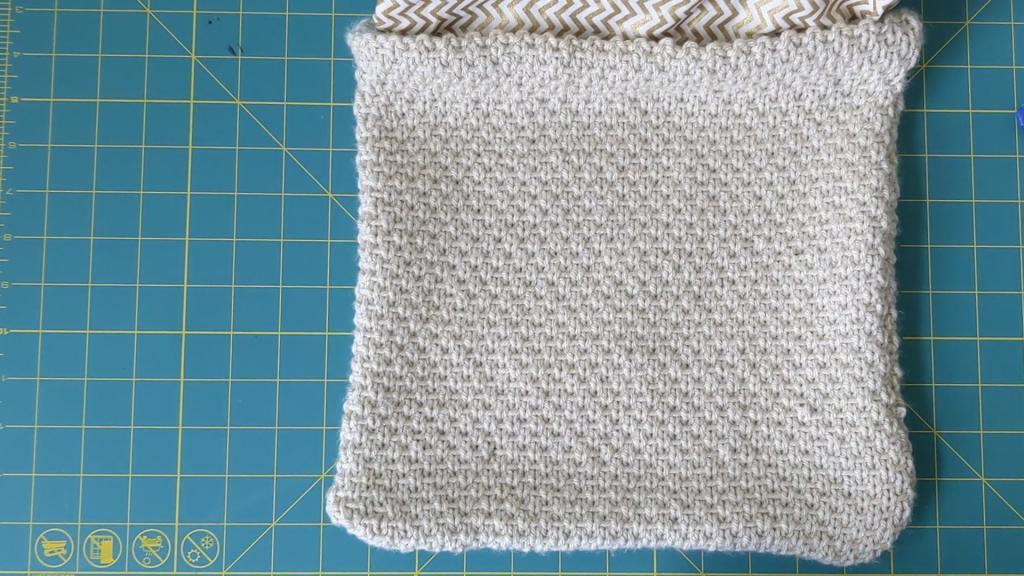
I tucked in the corners to match, pinned them and then sewed the edge.
Attach the Buttons and the Leather Straps:
Mark where your buttons will go. I measured in 3” from each side, right along the seam where you turned the edge over and sewed it. Sewing your buttons here will provide more support for the buttons and the purse.
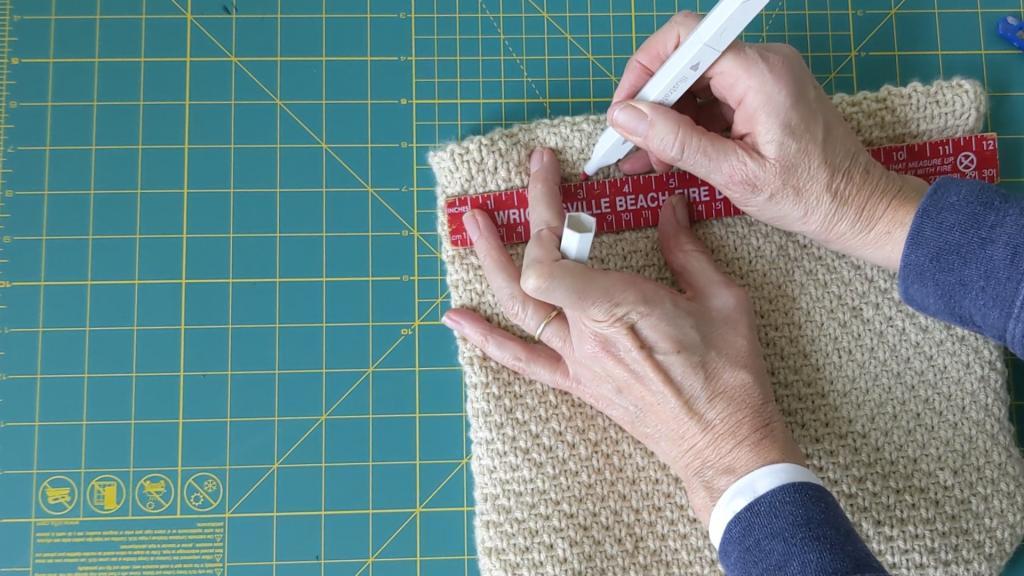
Before you sew your buttons on, measure and cut your leather. It’s hard to say exactly how long your cut should be, it depends on the diameter and depth of your button.
Using an Exacto knife or something similar, start 1/2” up from the bottom edge of your strap and make small cuts until you can squeeze your button through the cut.
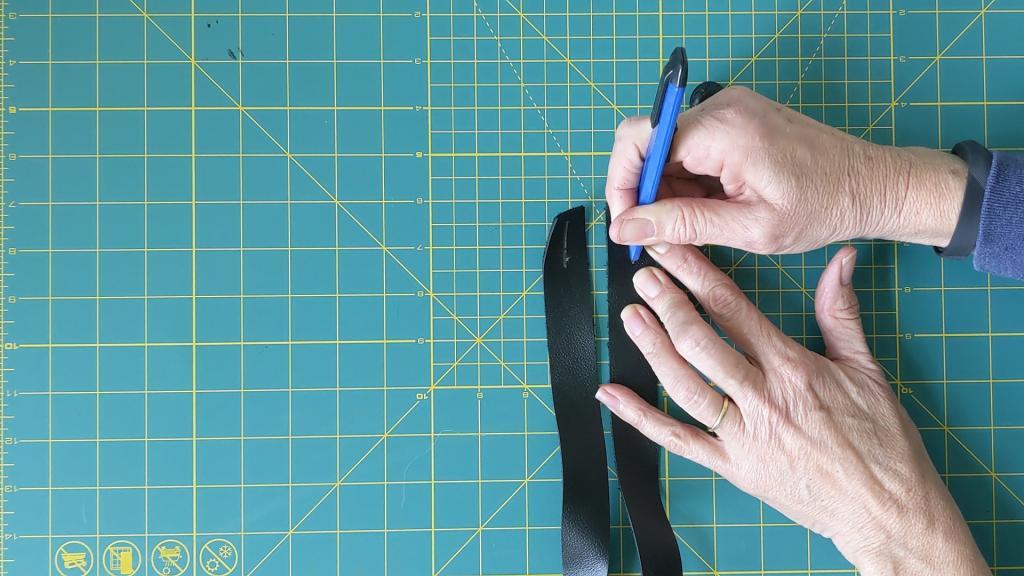
Sew your buttons on the knit purse, once again making sure you sew them on the thicker seam created when you turned the top edge of your purse over.
Attach the straps and enjoy your new knit purse!
When you want to wash your handbag, remove the leather straps.
To refer back to this Knit Purse Pattern in the future, bookmark this page or pin the following image.
If you want to be ‘in the knit know’ and you’d like to be notified of the publication of any knit or crochet pattern before the rest of the world, you can do that here.
Thanks again for spending a few minutes of your busy day with me today.
Please know that I welcome each and every comment that comes my way.
If you want to make sure you don’t miss future content, pop your email in the beige box up on the right or click here. I usually send out 2-3 emails a week, so I won’t inundate your inbox. Believe me, I’m sensitive to an overflowing email inbox!
By subscribing to Nourish and Nestle, we will only use your email address to send you emails, no more than 2-3 per week. In addition, you will have access to my growing library of knit & crochet patterns, as well as other printables, so check back often as this library will continue to grow.
Please know that you can unsubscribe at any time by emailing me or clicking on the “unsubscribe” link at the bottom of all emails.
And, you can access many of the products I refer to on my Nourish and Nestle Amazon Page. You can access it here.
So, if you’d like to get in on the ‘subscriber benefit’ action, simply subscribe to Nourish and Nestle here or using the form on the right sidebar. It’s towards the top a bit. I have sent all my subscribers the link to the Subscriber Benefits Library.
If you missed it or misplaced it, drop me a line.
Until next time…



I pinned this project to make for later.
Hugs,
Kippi
Oh, I am so glad Kippi! Happy Knitting
For this knit purse, do I have to put a fabric lining in? Thanks!
Hi Stephanie,
You would be fine to leave the purse unlined!
Happy knitting
Lynn
Not sure I understand the half linen stitch, but will give it a go according to your directions. Love the look. It would make a terrific gift for someone special. You are a very special person, Lynn. Thank you for all you do. Love ya! Lucy
Aw Lucy, thanks for the sweet words, my friend! The half-linen stitch is really easy…I know you will not have a problem. But, if you have any questions, please don’t hesitate to reach out to me!
Happy Knitting!
Hugs,
Lynn
How wide were leather strips?
Hi Karen, my straps are 1″ wide
Happy Knitting!
Hugs,
Lynn
Love this purse. I haven’t tried this stitch yet but would love to make this when I finish the baby blanket on which I am currently working. I carried a fabric Sakroots purse for several years but am afraid I ruined it this Spring. I washed a new navy dress before I wore it and even soaked it in cold water with vinegar first. But after wearing the dress and carrying the purse one day on vacation, I realized the purse and my French manicure looked blue. We are still on vacation so I will see what I can do with the purse when we get home. I just put it away and am using a different one now. Thanks for sharing and brightening my Mondays.
OH No! Not sure what’s worse…the blue purse or the blue French manicure!!!
I hope you are have wonderful travels, wherever you are! And let me know how the purse washes when you get home.
Hugs,
Lynn
I have been searching for a relatively easy purse pattern. Thanks! My biggest issue for finally finishing a project is sewing it up. Do you have any tutorials or videos on “finish sewing” instructions? I am a visual learner. I look forward to your blogs!
Hi Janice,
I did produce a simple video on this purse that includes how to sew it up. You can see it here.
I hope it helps, but feel free to reach out if you have further questions.
Hugs,
Lynn
Lynn
Lynn, please tell me how you “sewed” the sides of the knitted purse, by machine?, by hand with needle and thread?, by hand with yarn from purse leftovers ?
Enjoy your Monday posts so much, thanks
Sandra
Good Morning Sandra!
I used a sewing machine, but you could use the mattress stitch to sew your knit pieces together, if you’d rather.
Thanks for pointing that out…I need to clarify that in the pattern.
Share a picture of your purse when you are done.
Hugs, Lynn
What I’m not sure about is the lining. Do you cut two pieces and sew them together? It looks like you only cut one and folded it. If that is so, then I’m not understanding. My pattern only asks for one piece an inch bigger than the bag dimensions. What am I missing?
Oh my heavens, Janet. That is a typo. You need 2 13-inch square pieces of fabric. So then, sew three sides of the lining fabric with the right sides, using a 1/2” seam allowance. Then you should be able to pick up with the pattern. I am traveling today, but will fix when I land later today. I’m so sorry for the frustration, but thanks for the heads up.
I LOVE this pattern (and your website)! I have one question. After reaching 12”, it says, “On right side (an odd numbered row) Purl all stitches to create fold over edge.” It then says, “Repeat rows 1-4…”
But if I purl a row on the right side and then do the pattern repeat, the pattern will be backwards. From what I can see in your pictures, the pattern stays right side up when folded over. So am I missing something or should I purl another row and *then* pick up the 1-4 repeat?
Thank you for sharing all the wonderful patterns!
Good Morning Erica,
I hope you are well on this gorgeous June morning!
If I understand your question correctly, the fabric will not be backward when folded. Basically, that purl row just puts a ‘crease’ on the front side of the fabric, but you continue in the front side pattern after the crease, so when it is folded, the right side still shows.
Let me know if you have further questions.
Thanks so much for responding so quickly Lynn! I had to do a wrong side row in a pearl (in addition to the pearl row on the right side in the pattern) in order to continue the pattern on the right side. It came out great! I love this pattern and I can’t wait to complete the bag. I’m sewing on wooden rings to knot fabric handles onto. Thank you for your generosity and fabulous website.